

![]()
COMPOSITES
This week we were given enough material to make (almost) anything roughly the size of a breadbox using
composites (a.k.a. epoxy resin and linen cloth). I initially wanted to make a light fixture out of a
milled foam mold, but then I happened upon the Blink/Steady
bike light project on Kickstarter. The light
has a CNC machined aluminum case just big enough for the two AAA batteries that the case houses, but since
the project this week was with composites, I decided to make a composites case instead. Hopefully next
week, I will be able to put together a flexible circuit powered by just one battery (or two in series) that
will be able to fit into the case. The new bike light, complete with an accelerometer and phototransistor,
will replace my old one that got stolen from in front of the Student Center a couple of years ago. I want
to make it able to detect (a) if it is too dark out and (b) is the bike is moving in order to turn the
light on or off. I also want to play with high-output LEDs that can shine through the night so that you
can still see when you are riding.
THE MATERIALS AND INTRODUCTION TO VACUUM BAGGING
Composites are made up of two main components: the fibers and the matrix. Most materials are, by
themselves, either strong in compression or tension. Composite materials help "marry" these characteristics
of a compressible and a tensile material to create a stronger material.
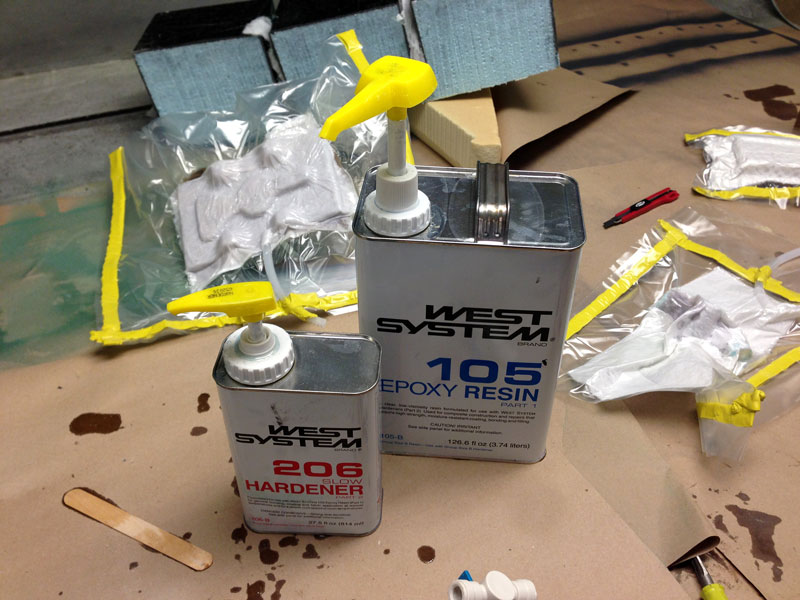
The matrix material flows around the fibers to support them and hold them in place. We used a two-part
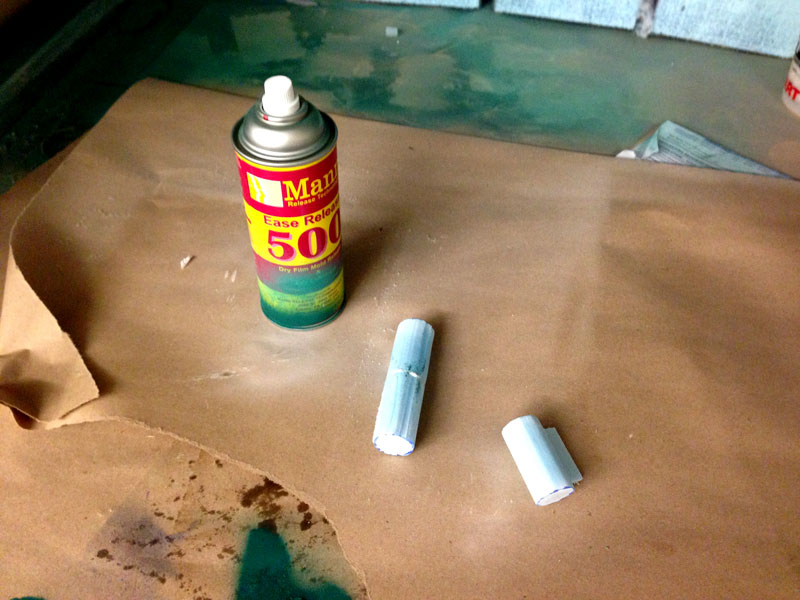
WEST SYSTEM #105 epoxy resin
and #206 slow hardener. West Marine
is an online supplier of the entire line of WEST SYSTEM products. After creating the resin/hardener
mixture, the pot life at room temperature is 20-25 minutes with a ten- to 15-hour cure to a solid state.
It takes one to four days for the mixture to cure to maximum strength. The pumps on top of the cans can be
purchased for an additional cost, and they help you exactly measure out the amount of resin/hardener that
you need: one pump of the resin uses one pump of the hardener exactly.
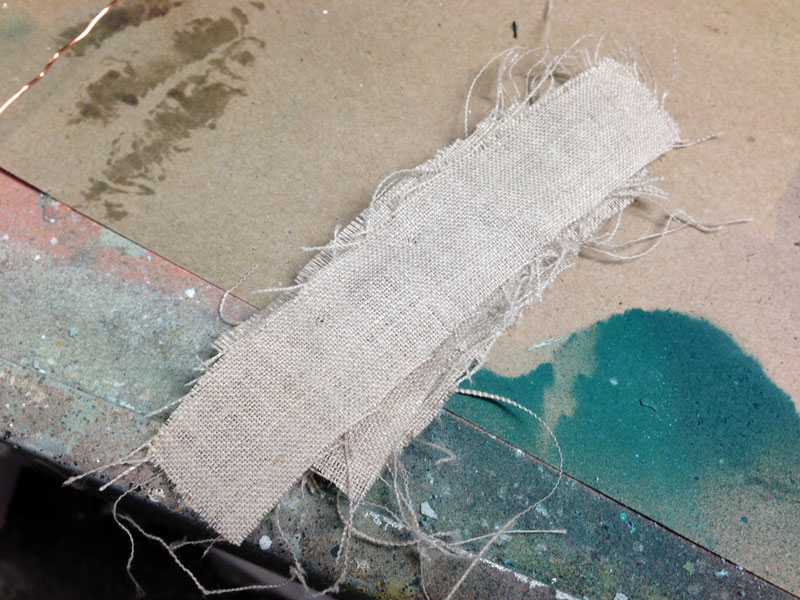
The linen cloth/reinforcement fibers helps to increase the tensile strength of the composite by acting as
a framework for the matrix to support. The linen needs to be cut in strips to conform to more complex
surfaces.
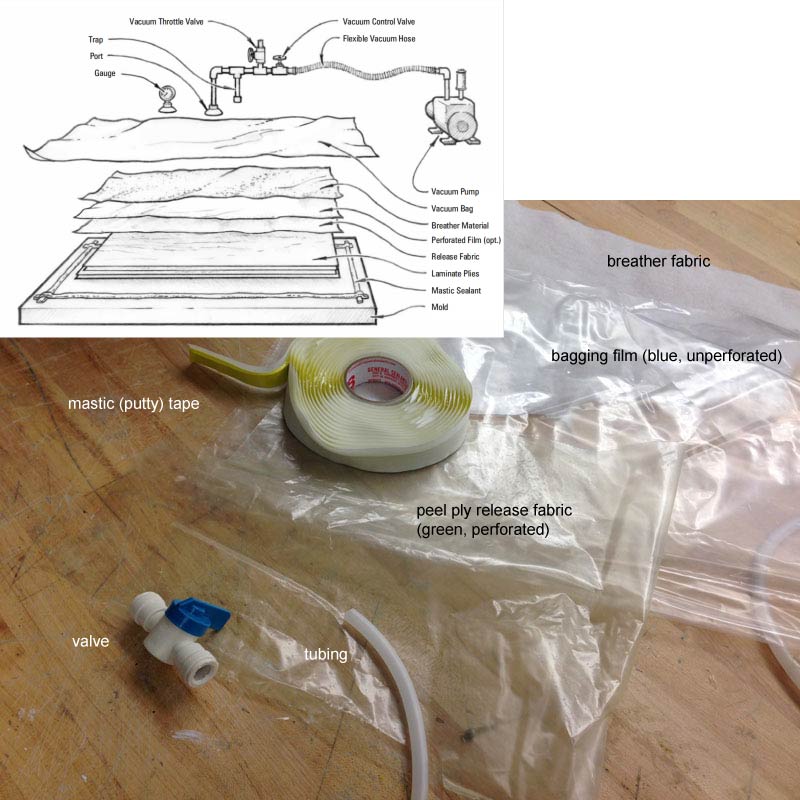
To make the vacuum bag, you need:
- a vacuum pump
- plastic tubing and a brass joint
- mastic (putty) tape
- vacuum bagging film
- breather material
- peel ply release fabric (perforated)
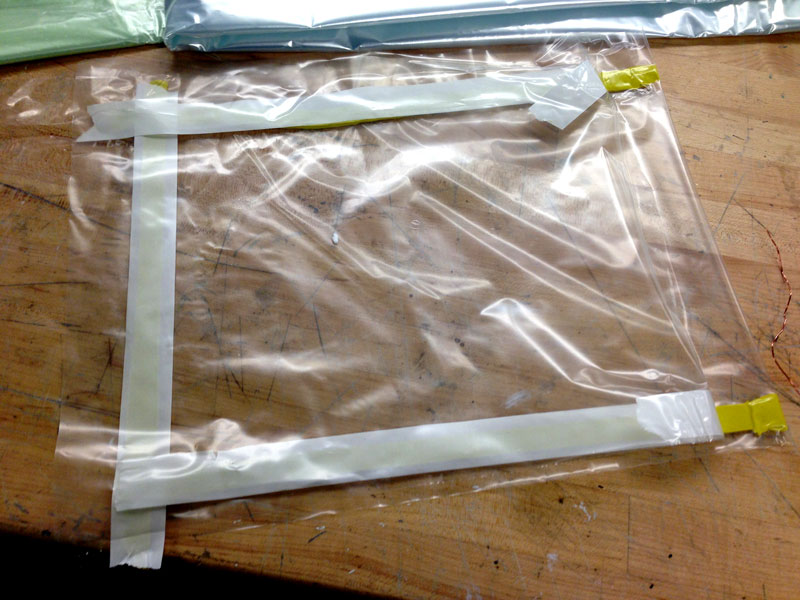
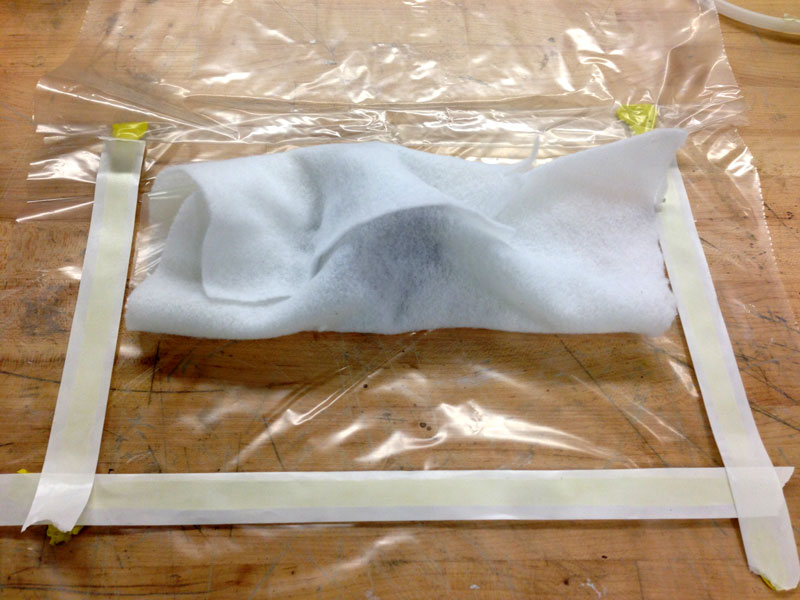
Cut a piece of the vacuum bagging film and fold it in half. The resulting "bag" should be large enough
to fit your mold in with a little room to spare. Line the edges with the mastic tape, but leave the
white non-stick paper on until you are ready to seal your bag. Also cut a sheet of breather material
(fuzzy white cloth) and peel ply. Depending on your end product, these two sheets need to be either
enough to cover the mold on one or two sides.
If you want to reuse your mold, you can spray two layers of a product like Ease Release 500, but do not
be too optimistic that mold will make it. The resin naturally wants to seep into the foam. If you want
to keep the foam as a sandwich core between or under layers of composite material, you can simply apply
the linen/epoxy to the surface of the foam mold. Another trick is to use acetone to melt away the foam if
the mold is sacrificial.
Use equal parts of the epoxy resin/hardener and squirt them into a container. I used a popsicle stick to
stir the two together, but you can also use paint stir sticks depending on the amount of resin you need.
Make sure that the two parts are completely mixed together; any resulting air bubbles will be squeezed out
during the vacuuming process.
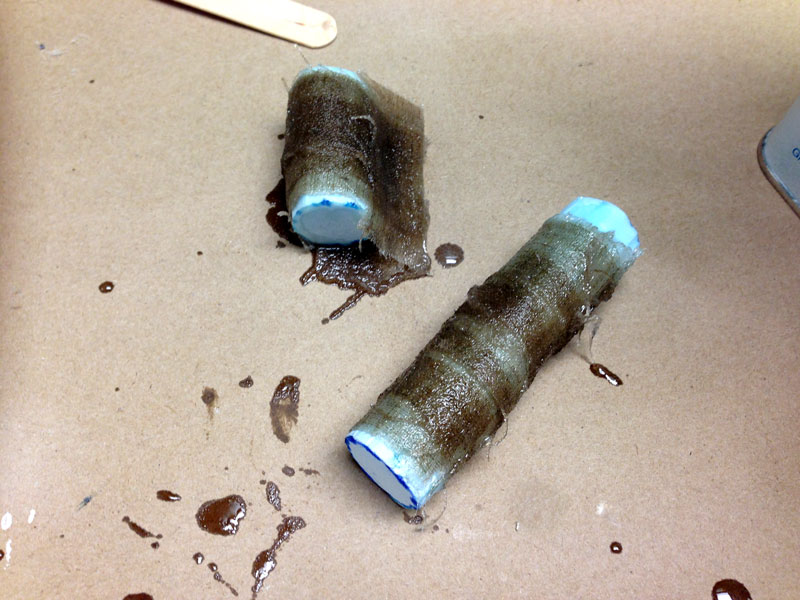
Put the linen fabric (or fiberglass, etc.) into the resin or brush the resin onto the two sides of each
piece of fabric. Next time, if I am making a small part like I did for this project, I would probably
rather take the time to carefully brush the resin on. I put way too much resin on so the resulting form of
the bike light case is mostly due to way the extra resin cured.
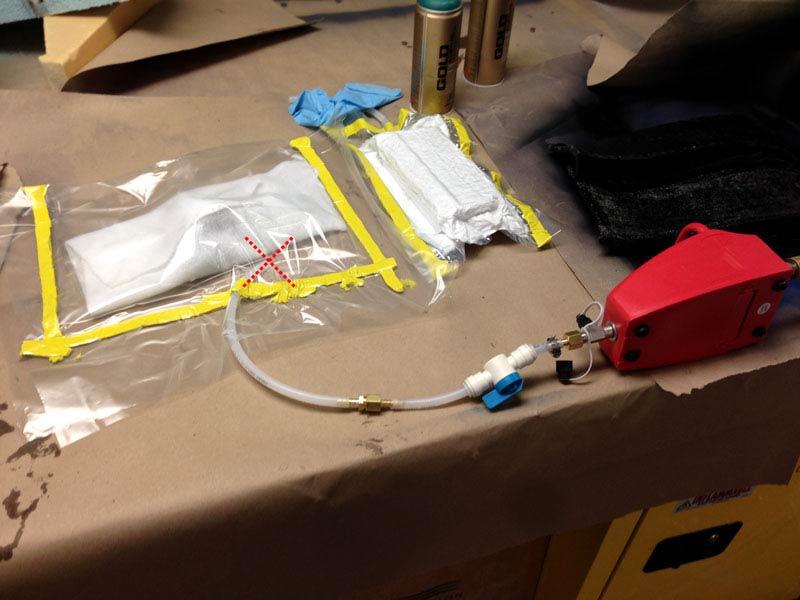
After you finish apply your epoxy/linen strips onto your mold, put the peel ply either over or around the
wet parts before putting it under the breather material. Place the bundle into the vacuum bagging film.
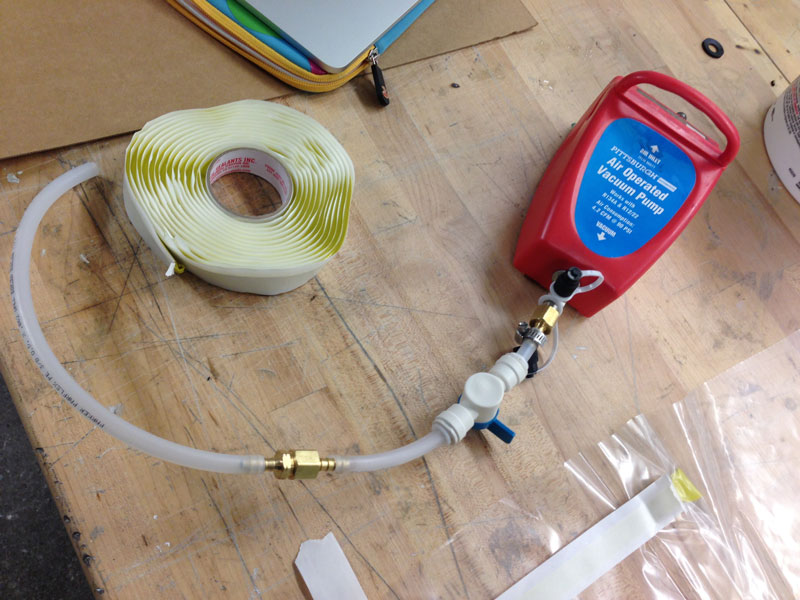
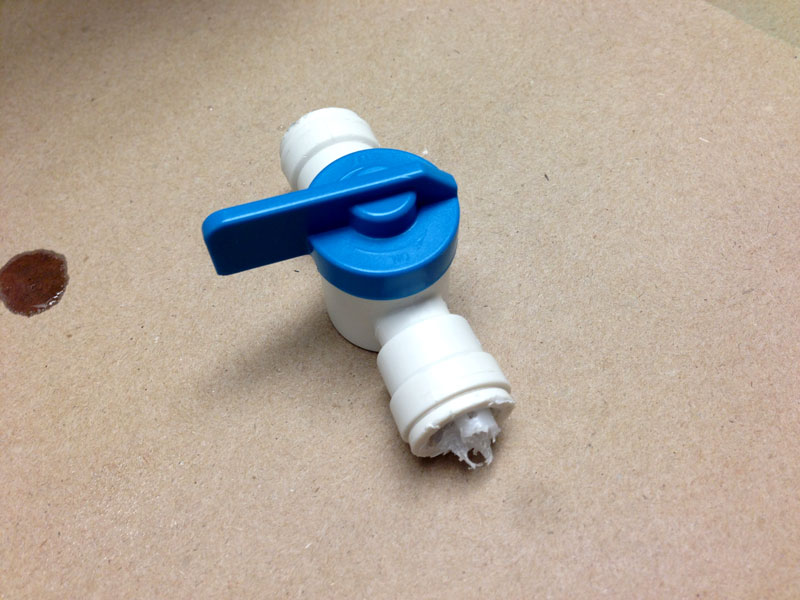
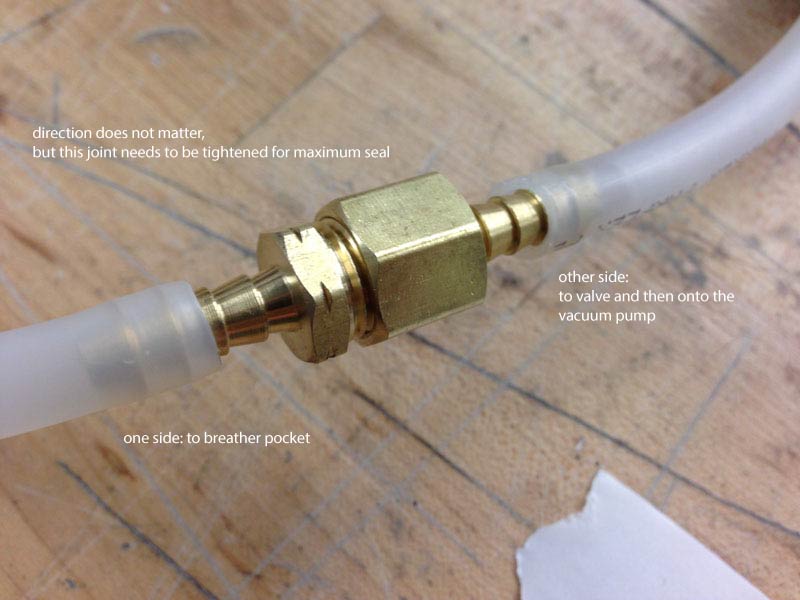
To ready the vacuum pump, put the teal and white valve with a tube on the opposite end on the vacuum pump
tube. To avoid breaking the sealing mechanism on the valve, just insert the brass barbed fitting into the
opposite the vacuum pump on the valve. On the other side of the fitting, the tubing will go into the
breather fabric pocket outside of the peel ply layer.
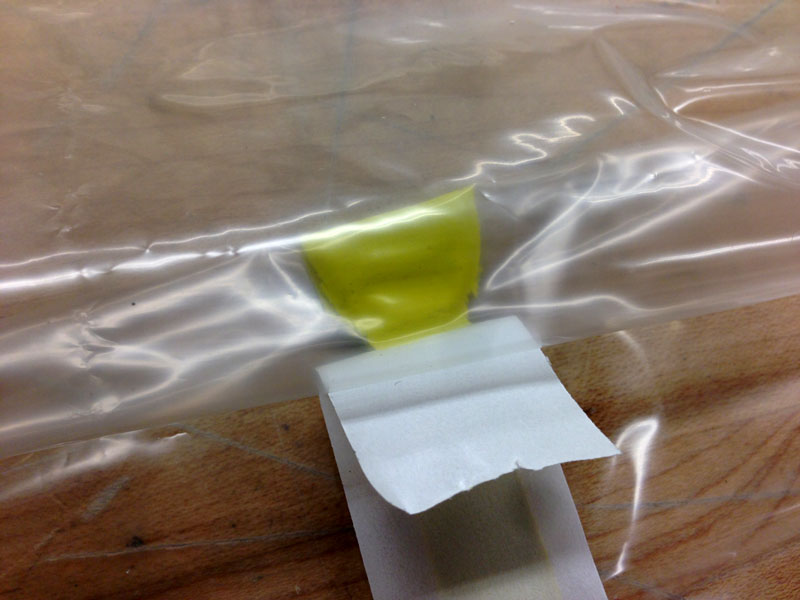
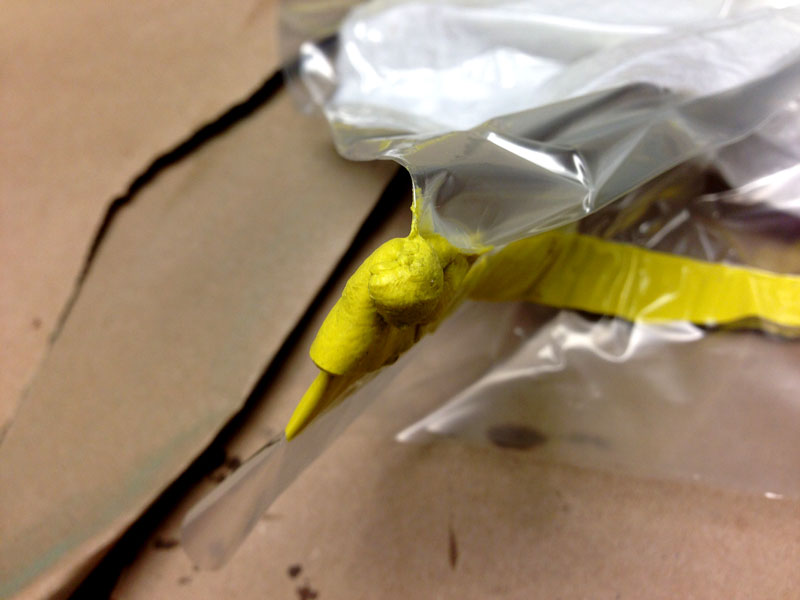
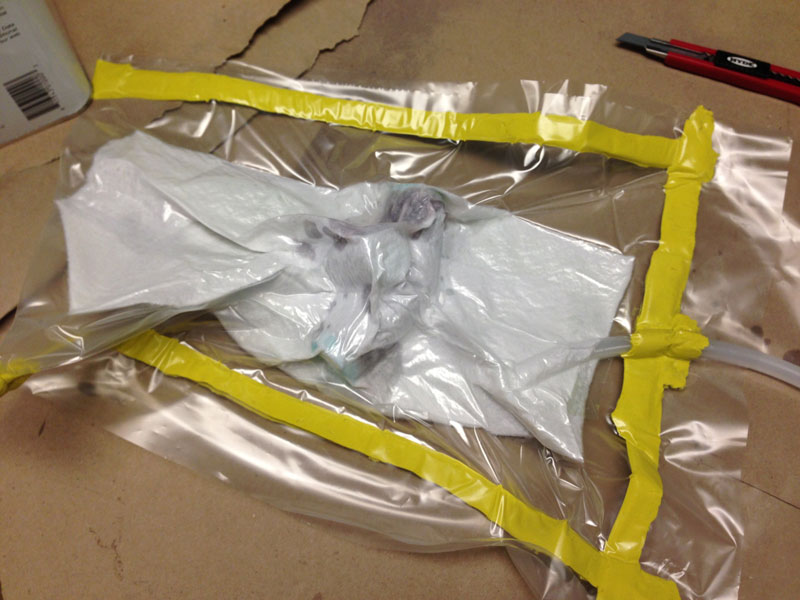
THE MOST IMPORTANT STEP OF VACUUM BAGGING: Seal the bag. Much easier said then done... If the vacuum is
not working, keep working your way around the mastic tape and press down. My bagging film had a cut in it
inside of the taped area so I used some extra putty to seal up the additional hole.
Plug in the vacuum pump by pulling down the brass fitting on the hose and attach it to the back of the
red vacuum pump.
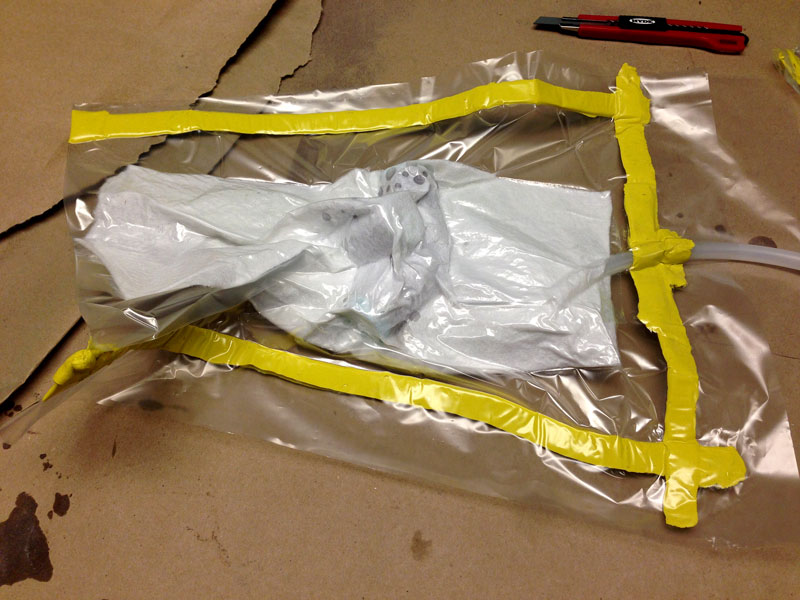
Depending on how much epoxy leaks through the breather fabric (initially just looks like a bunch of wet
circles), you can tell if you over did the epoxy or not.
I left my vacuum bag suctioned for about an hour and 15 minutes (roughly the minimum
amount of time you need to leave it on before taking it off). It did not hold the vacuum like some of the
other projects lying around to I recommend leaving it on for longer if you can. The resin is fully solid
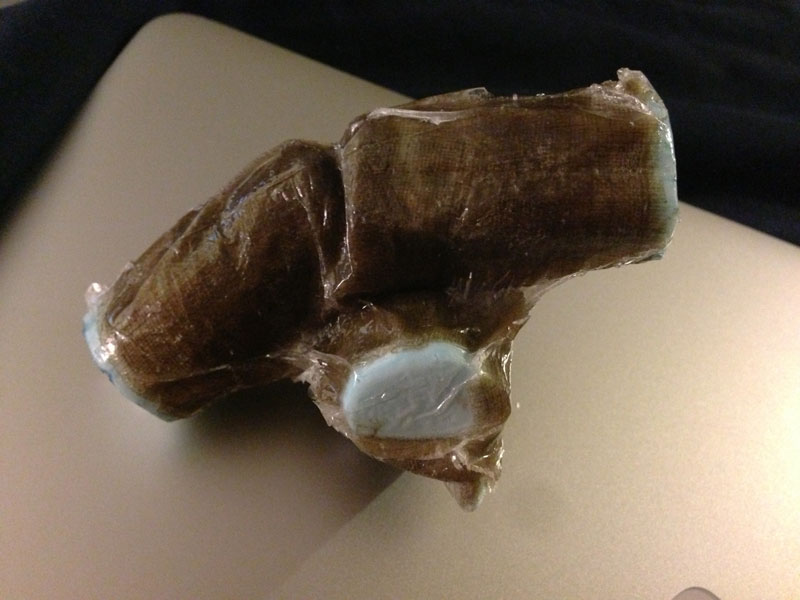
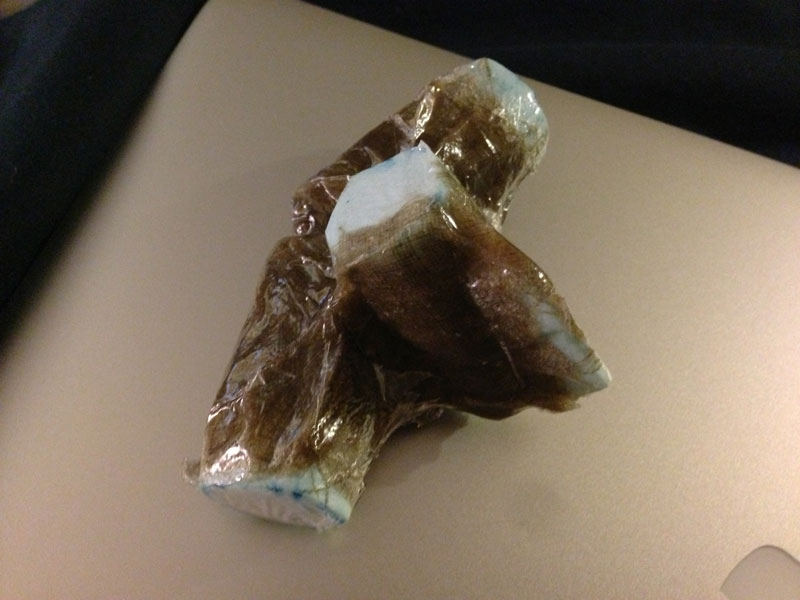
after about ten hours so I unwrapped the bag at that point.
Unfortunately, both the thin fin and the laminated tube did not quite make it since the (apparently intense)
vacuum flattened part of the fin and delaminated the tube. Overall, vacuum bagging seems to work better
with larger molds so for small cases like a bike case light, I might use the Dimension 3D Printer or the
ShopBot to make the case next time.