


![]()
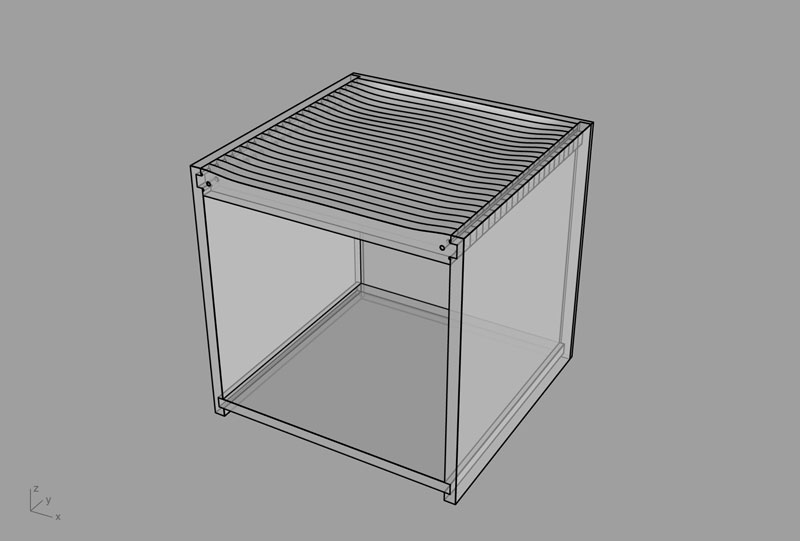
FAB CUBE
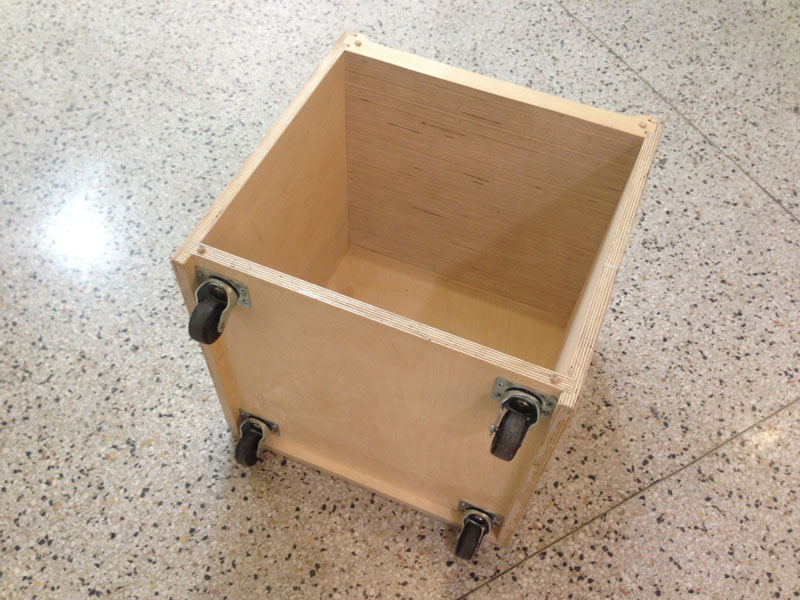
For pin-ups and reviews around the AVT in the Architecture Department, there are little rolling cube
chairs that double as storage blocks to present your project. Since extended borrowing (*cough* stealing
*cough*) is not possible, I thought that I would use this week as an opportunity to make my own!
I modeled the chair in Rhino after measuring the cube. TA James showed me a couple of nifty commands
like
Rebuild
and
SoftMove
. I used them to manipulate the seat surface at the top for a more ergonomic shape. I made the mistake
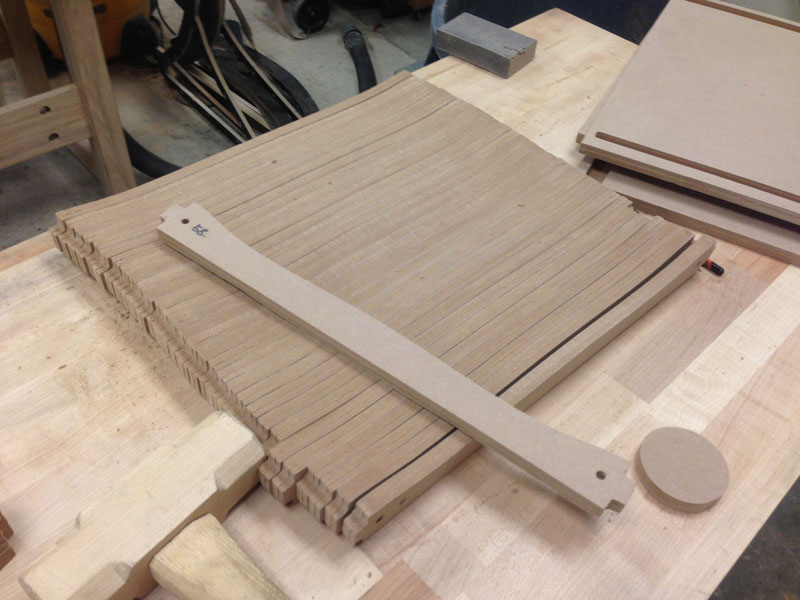
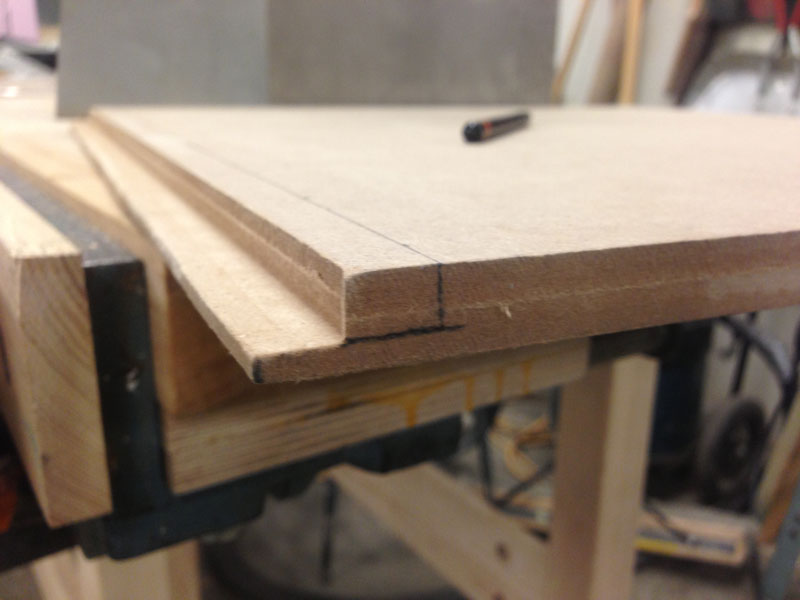
of not double-checking the medium density fiberboard (MDF) thickness provided for us so I modeled
everything based on a 3/4" thick
sheets when in reality, the sheets were 4' x 8' x 1/2". Thankfully, I noticed that the last couple of
pieces toward the front edge of the seat were the same so I just copied those pieces to make 12 extra
to fill out the original dimensions.
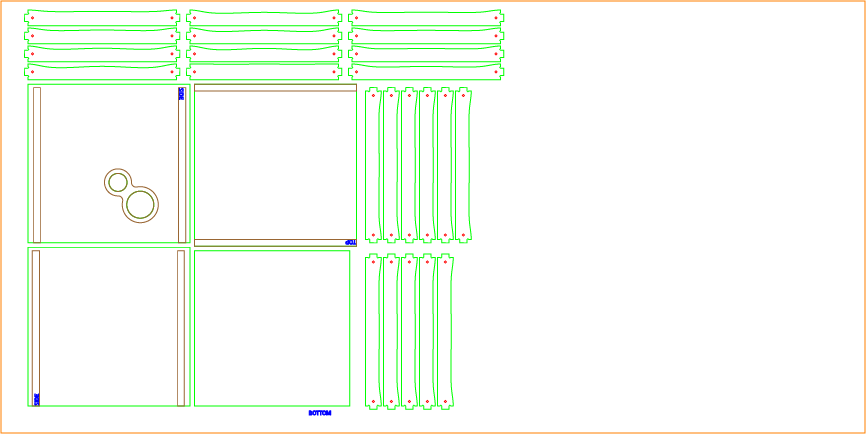
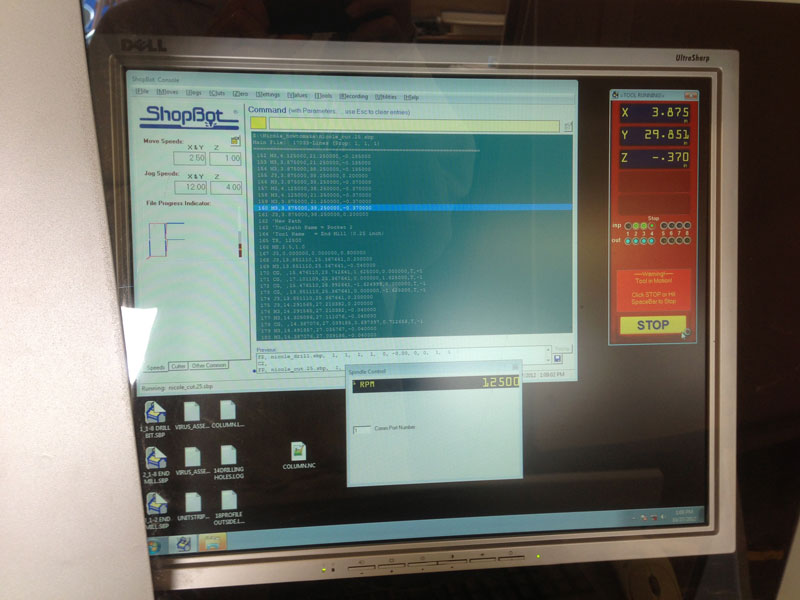
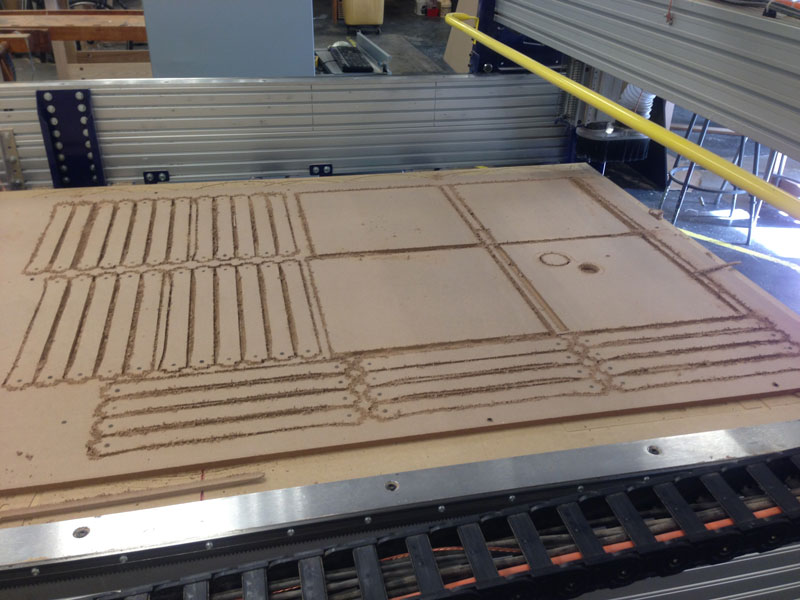
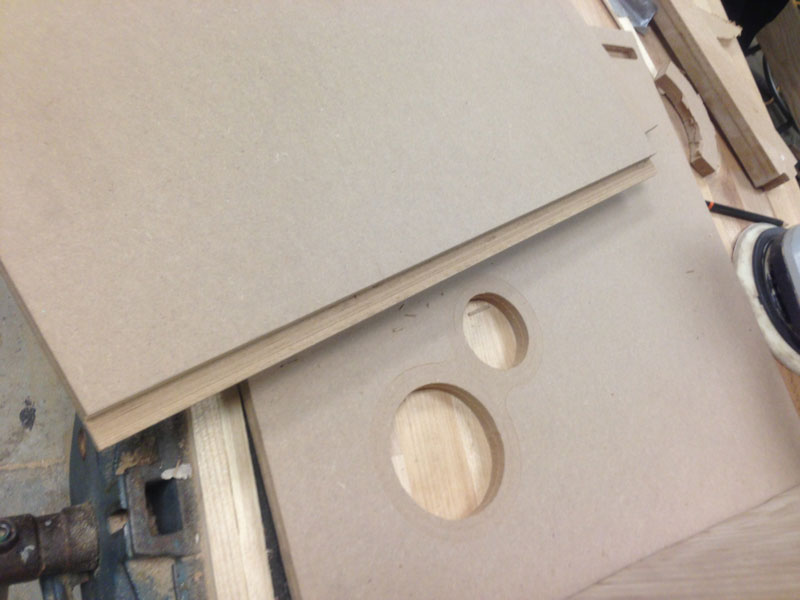
I originally thought to do a surface mill to contour the top surface and use Mastercam
to set up the file, but in the end, the containment
boundary for the surface mills revealed that the width of each mill was less 1/16". With so little
actual surface milling, I decided to just use ShopBot PartWorks
instead. I imported the .dxf file I
exported from Rhino of just the 1/4" drill holes, the pocket outlines, and the outside cut boundary.
If you put all your different eventual toolpaths (different drill hole diameters, pocket depths,
etc.) in separate layers in Rhino, the different layers will be imported in PartWorks. At the lower
left side of the screen, you can turn the layers on and off so that you only select what you want to
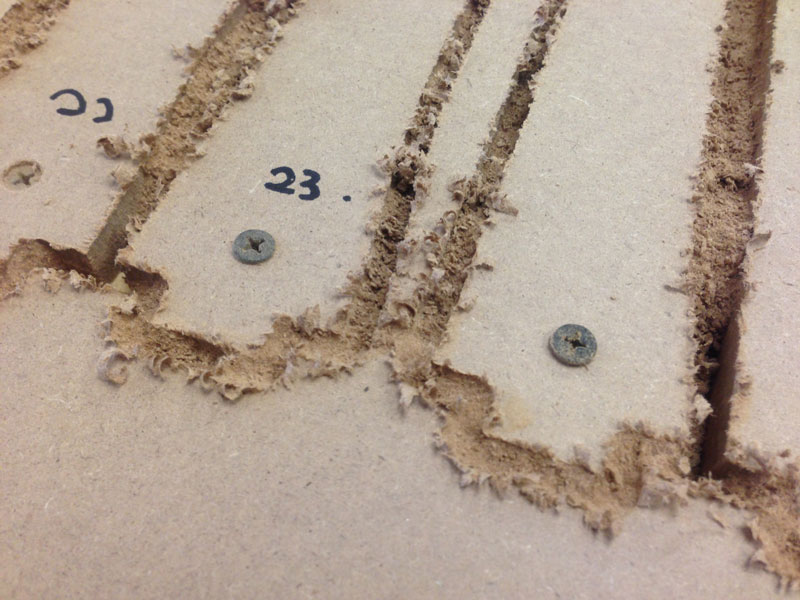
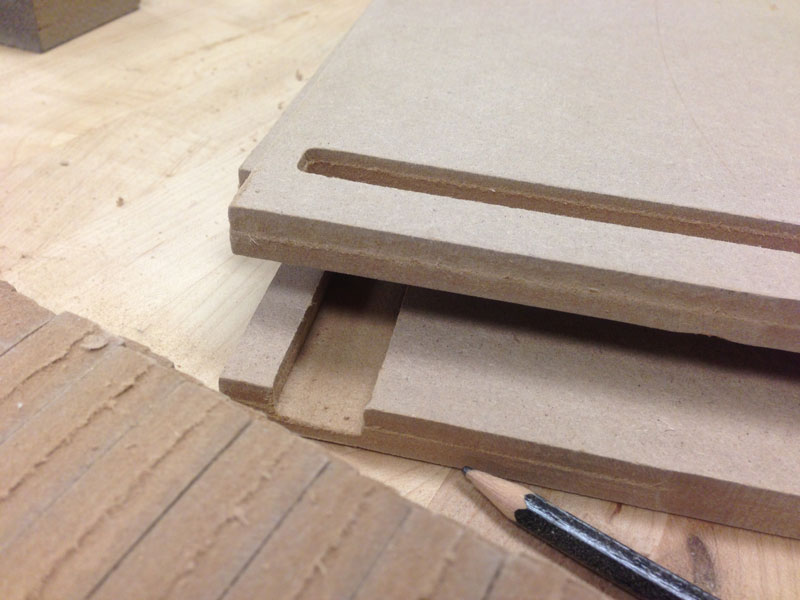
assign to each toolpath. I hurriedly set up the actual cut file so I forgot to add in T-bone fillets
for the pockets. For profile toolpaths (i.e. cutting through all the material), make sure that you
pick the side (or "machine vectors") of the lines to cut on. If you have two cuts, one nested in the
other, you want to make sure that the G-code generated cuts outside of the outer profile and inside
of the inner profile. Cut at a depth of 0.52" instead of 0.50" to ensure that the endmill cuts through
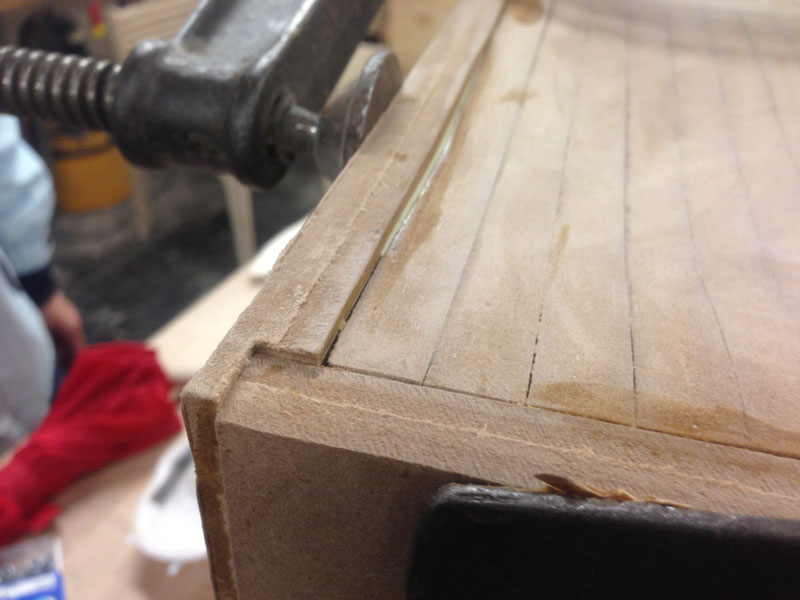
all of the material. Even so, my pieces did not cut out nearly as nicely as I would have hoped so I
sanded down each piece before assembling them together on the dowels.
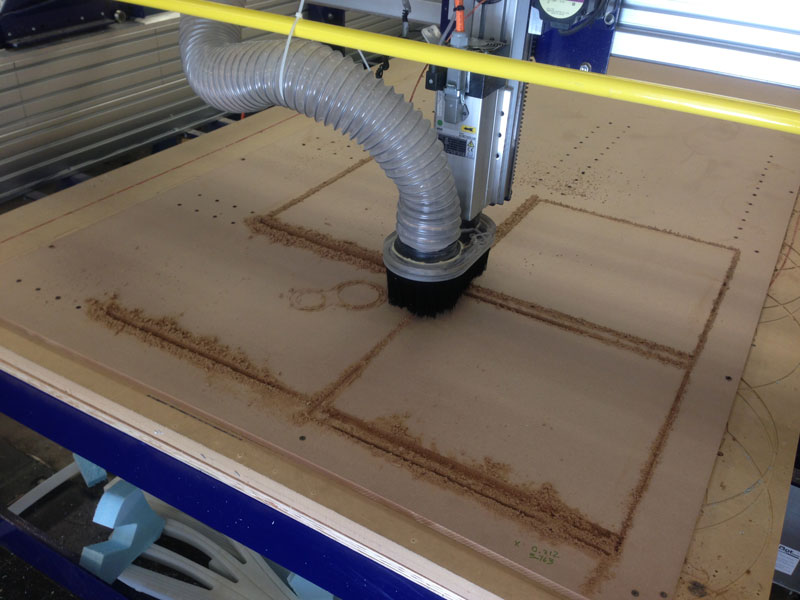
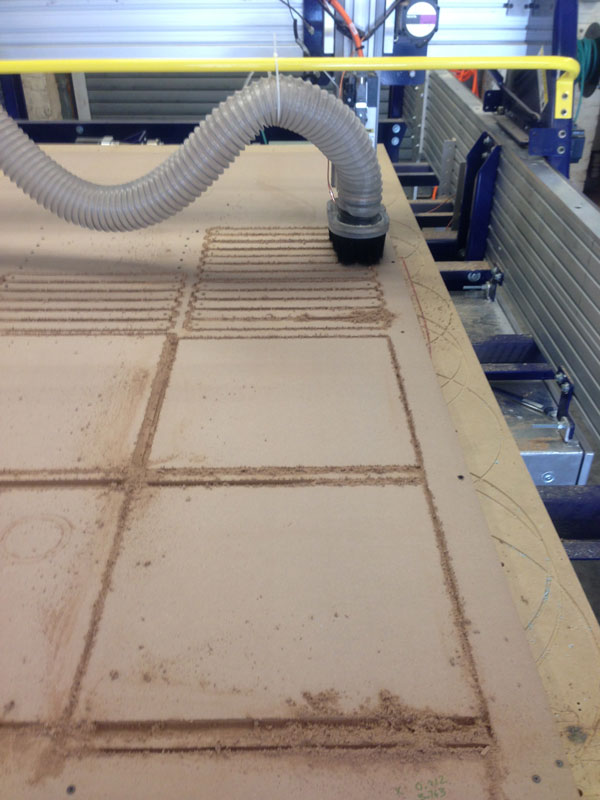
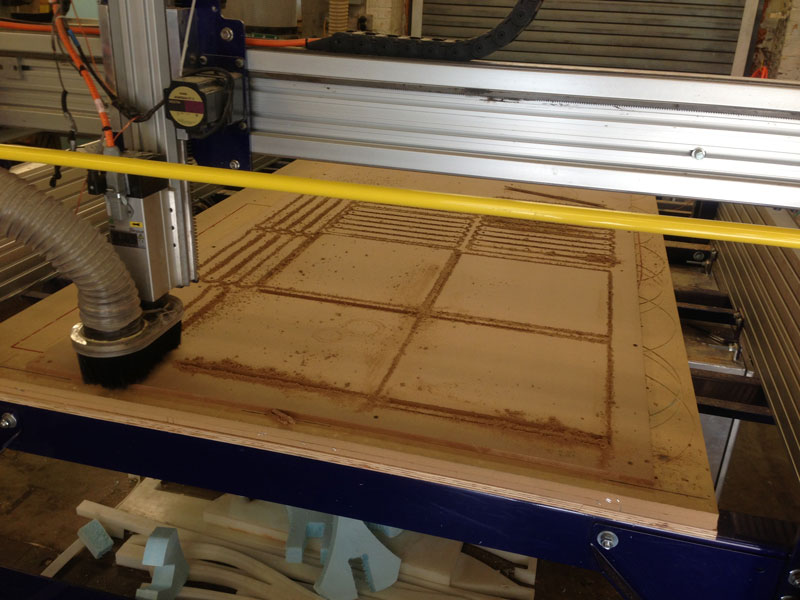
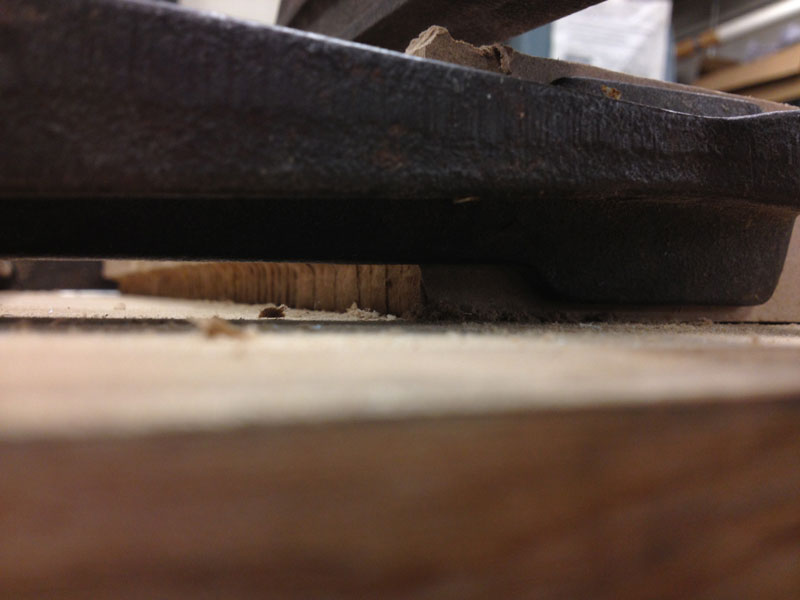
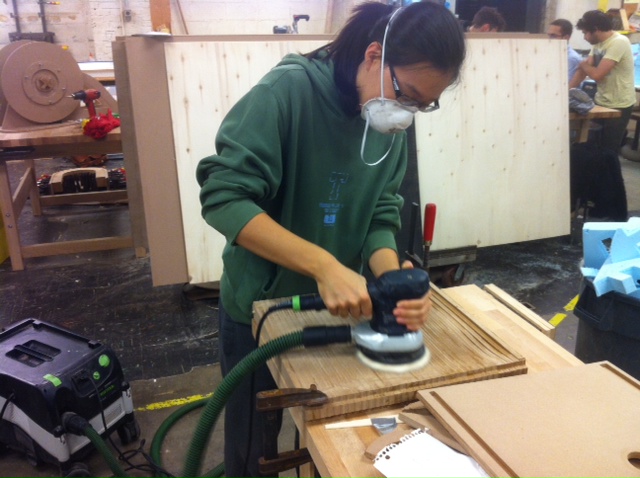
CNC Machining
It helps to stop up the operable end of the vacuum so that the suction head and brush
around the endmill picks up as much of the MDF shavings and dust as possible.

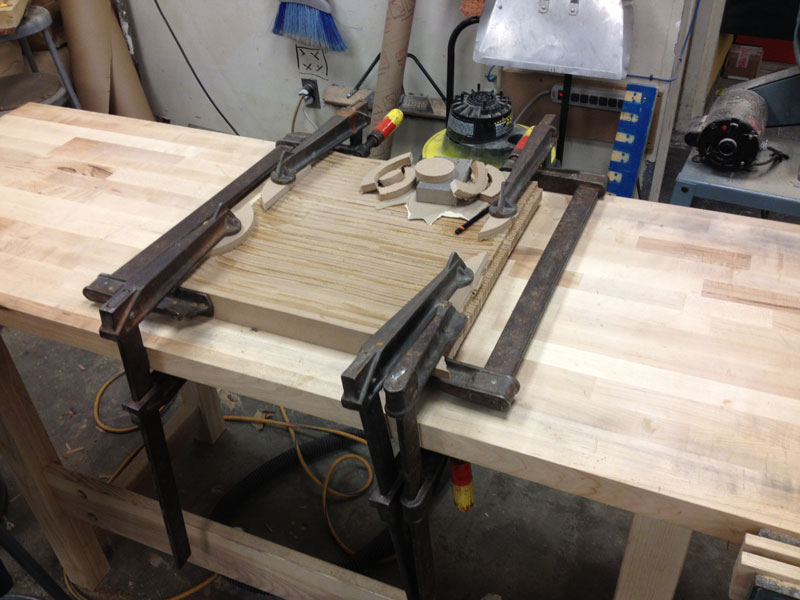
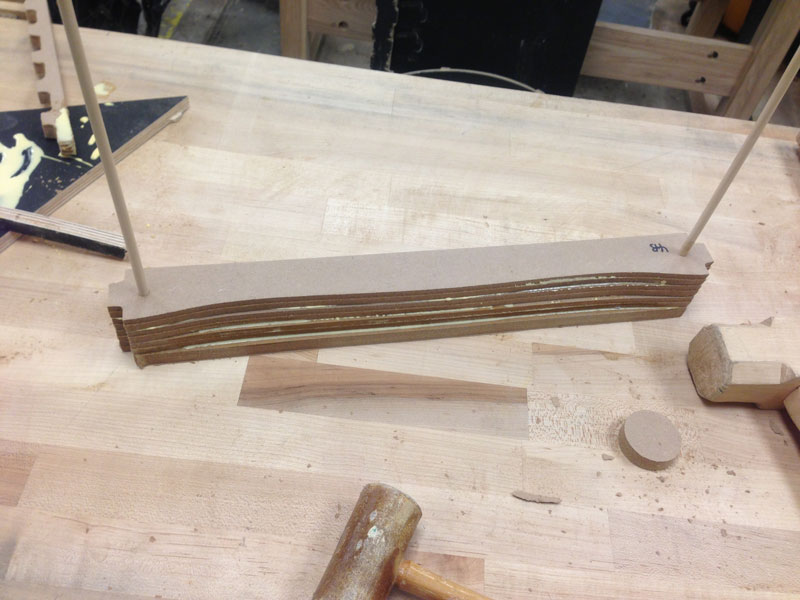
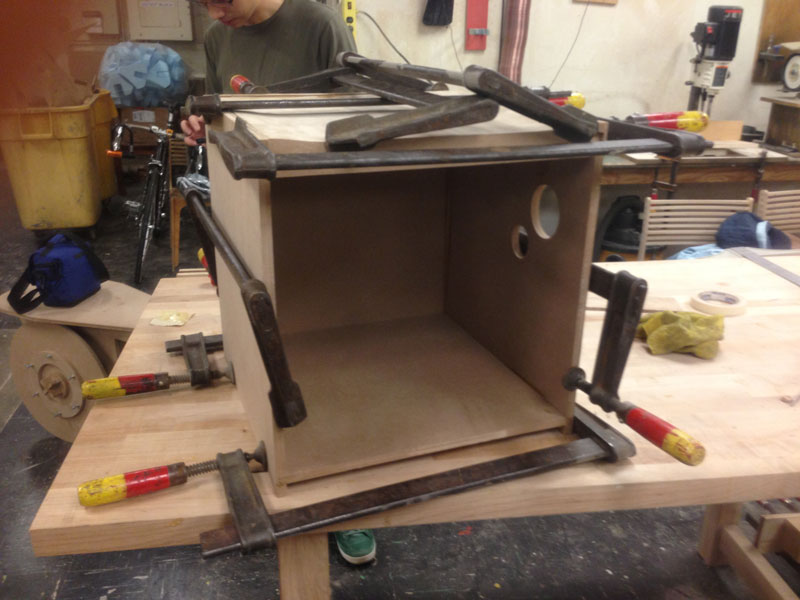
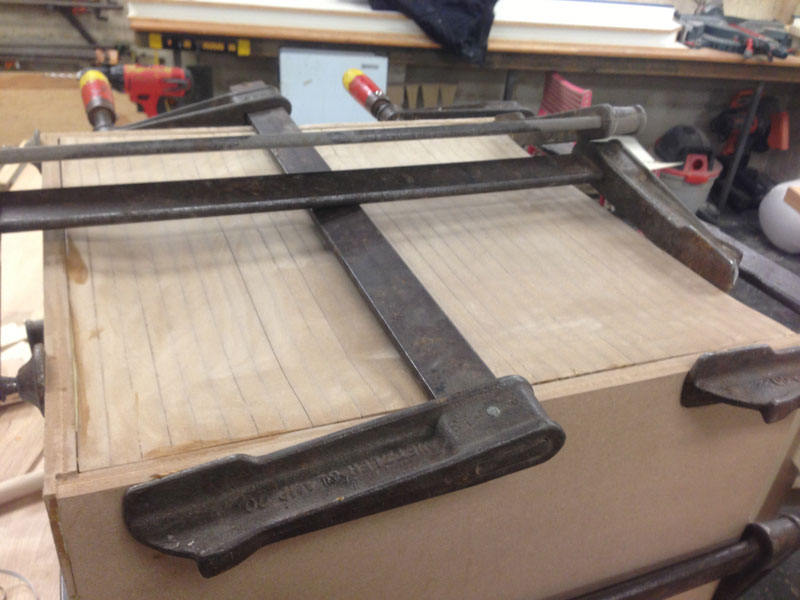
Despite initial warping of the seat around its contoured side, we carefully corrected
the warping by gently clamping the seat to the table.
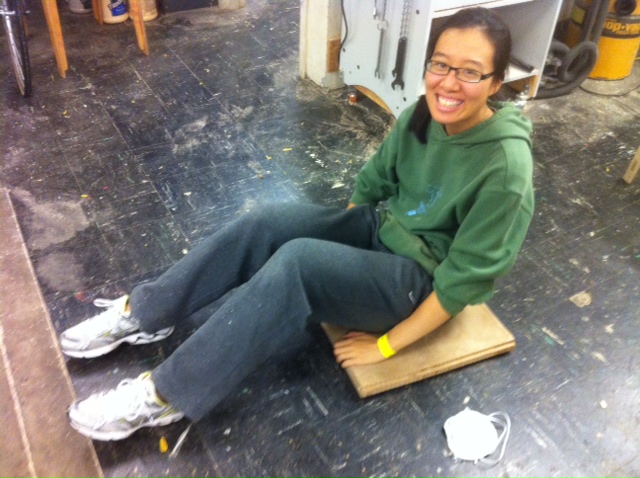
SUCCESS!
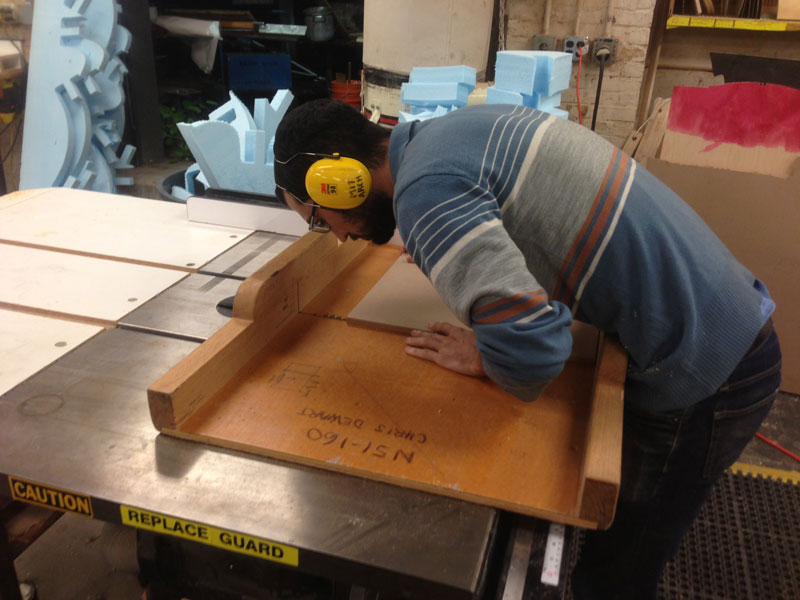
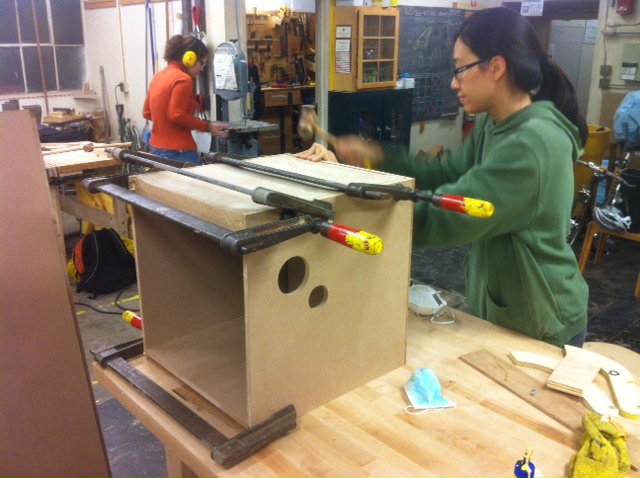
Assembly
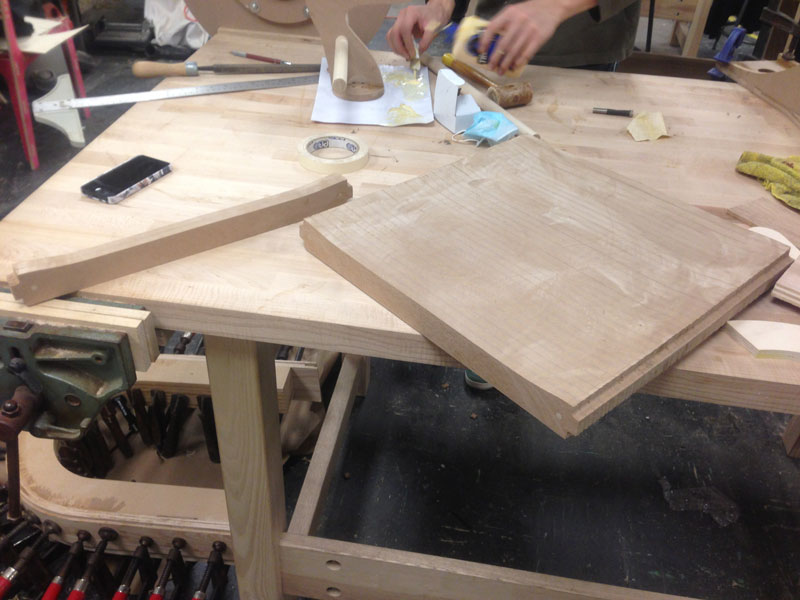
Many thanks to David^2 for helping me to finish up the project by extensive sanding and using the table
saw.
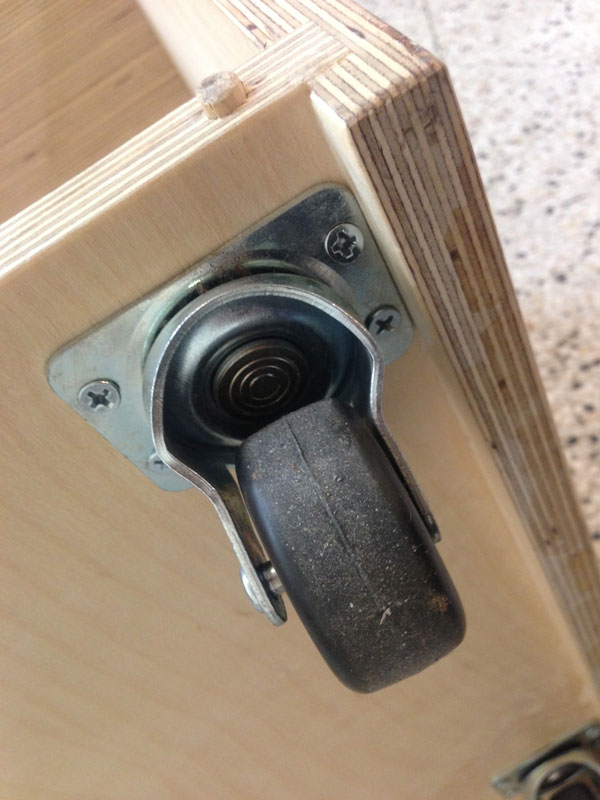
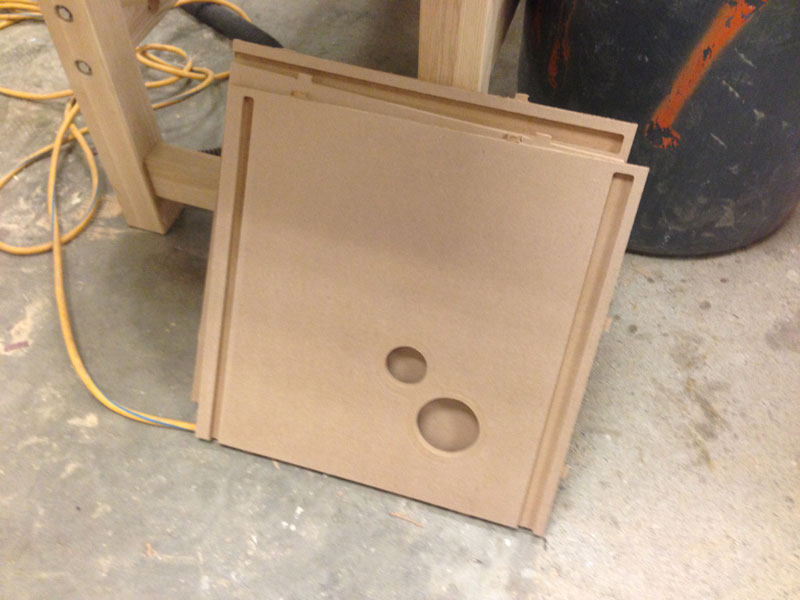
Done! I still need to add the casters and the water jet cut aluminum plate with my
name on it since the water jet is currently down.