/ / / / / / / / / / / / / / / / / / / / / / / / / / / / / / / / / / / / / / / / / / / / / / / / / / / / / / / / / / / / / / / / / / / / / / / / / / / / / / / / / / / / / / / / / / / / / / / / / / / /
week 03 / in-circuit programmer
This week was a crash course in electronics production--a completely new experience for me (and something I had always taken for granted!). Our task was to make a FabISP, an in-system programmer for AVR microcontrollers, which is essentially a tiny computer on a circuit board with a processor core, memory, and programmable input/outputs. As we learned in class and by following David Mellis' guidelines, these small devices can be used to program microcontrollers on other circuit boards using a simple USB connection.
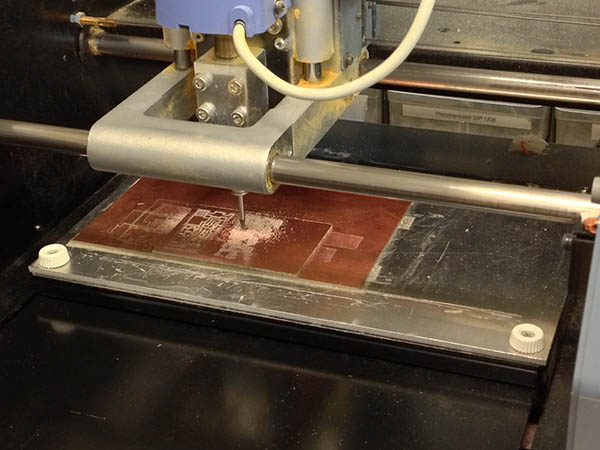
The first step is to mill out the circuit board using a Roland Modela MDX-20 portable CNC milling machine. The board is cut out of a piece of FR-1 (phenolic paper) with a laminate of copper. The Modela, in combination with the Fab Module software, converts a black-and-white PNG image (provided for the class) into a milling toolpath. I milled out the interior traces of the board first with a 1/64" bit, then switched to a 1/32" for the exterior cutout.
A close-up of the milling process for the interior traces.
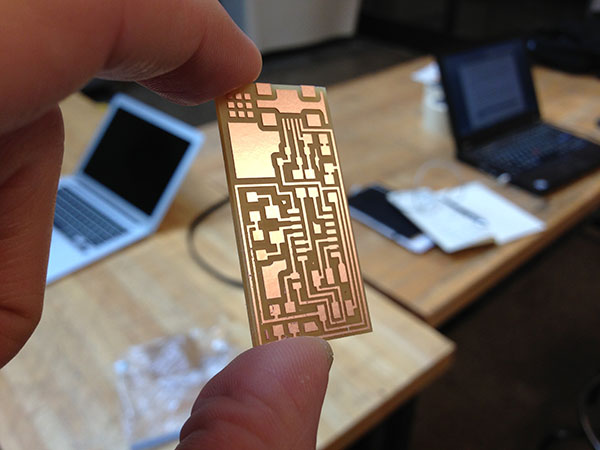
This is the outcome of the milling. A beautiful artifact! Of course, it needs to be populated with electrical components, in a fun process called "stuffing." Following the blueprint of the FabISP schematic, I grabbed the individual components from the Fab Lab shelves, including resistors, capacitors, jumpers, diodes, crystals, a 6-pin header connector, a USB port, and, of course, the ATtiny44 microcontroller. I learned how to solder these components onto the board.
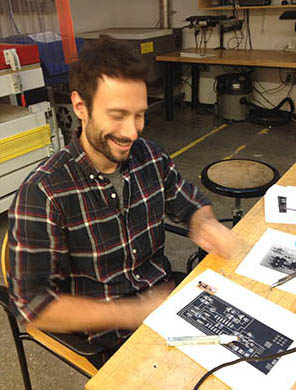
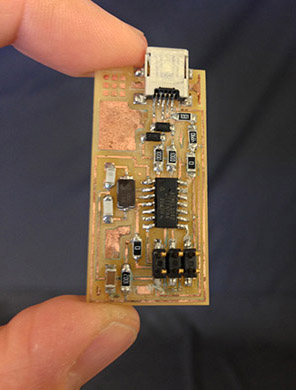
Soldering is a delicate process, especially so on these tiny components. I used a bit too much flux, which is a liquid intended to assist in the soldering process, and I didn't properly clean off its residue after stuffing, resulting (after a day or so and even after cleaning) in a dirty board. I was still able to program it, but I decided I wanted to make another one and keep it clean!
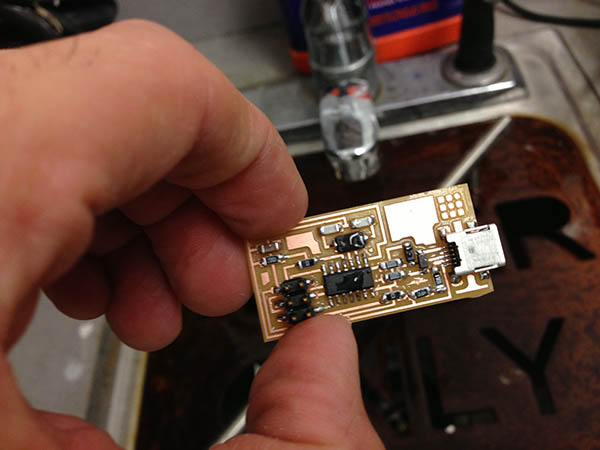
Repeating the milling and stuffing process on the second board, I then washed it out thoroughly with soapy water, rinsed, and dried it.
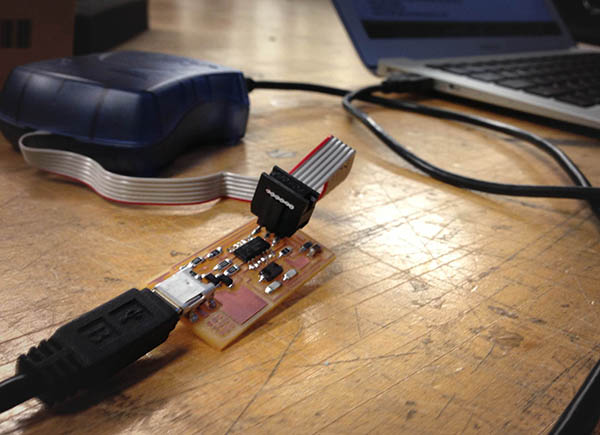
I hooked it up to my computer via to an in-system programmer (AVRISP mkII) and programmed firmware onto it using an AVR development tool called CrossPack.
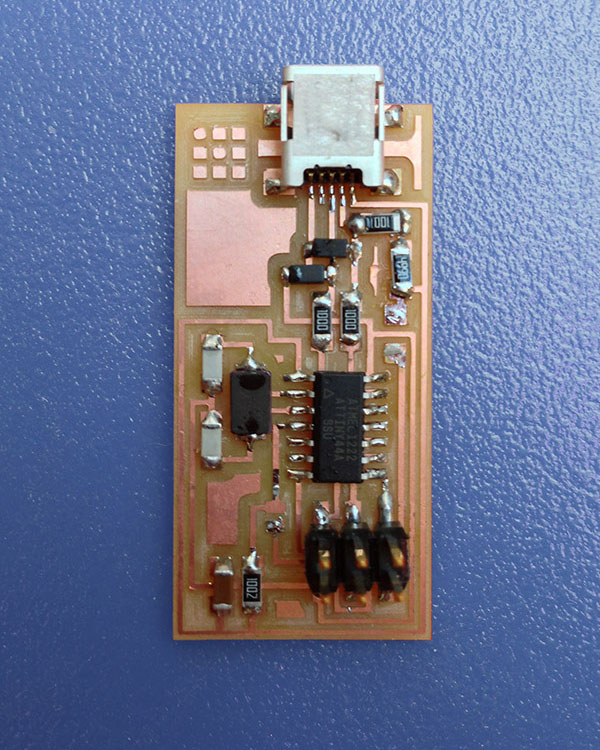
In the last step, I desoldered the two jumper components--now that the board is configured, they are no longer needed. I'm excited to use this microcontroller to program my future projects--whatever that application will be!