/ / / / / / / / / / / / / / / / / / / / / / / / / / / / / / / / / / / / / / / / / / / / / / / / / / / / / / / / / / / / / / / / / / / / / / / / / / / / / / / / / / / / / / / / / / / / / / / / / / / /
week 07 / molding + casting
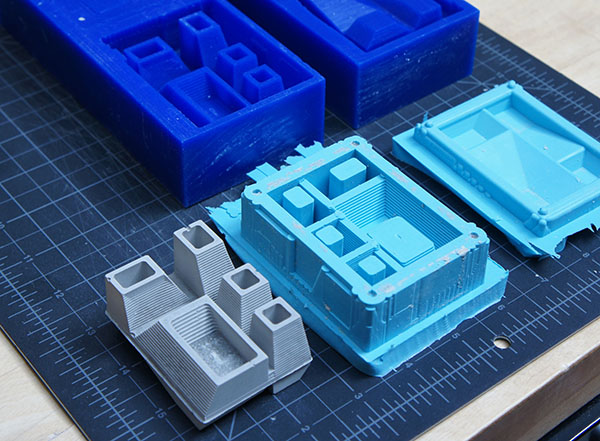
This week I learned how to mold and cast an object I designed. Starting with a digital model, one converts it to a positive mold, mills that mold out of wax, forms a negative mold, and then casts an object. Here is my journey through that process.
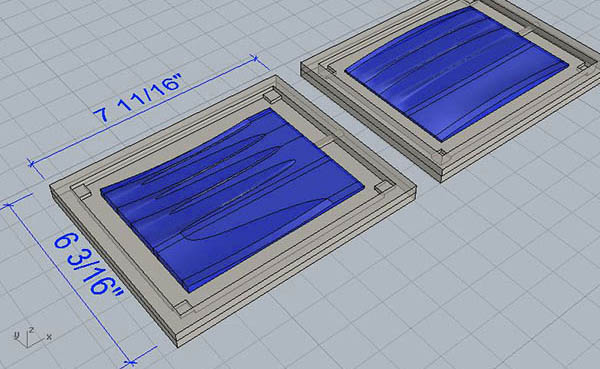
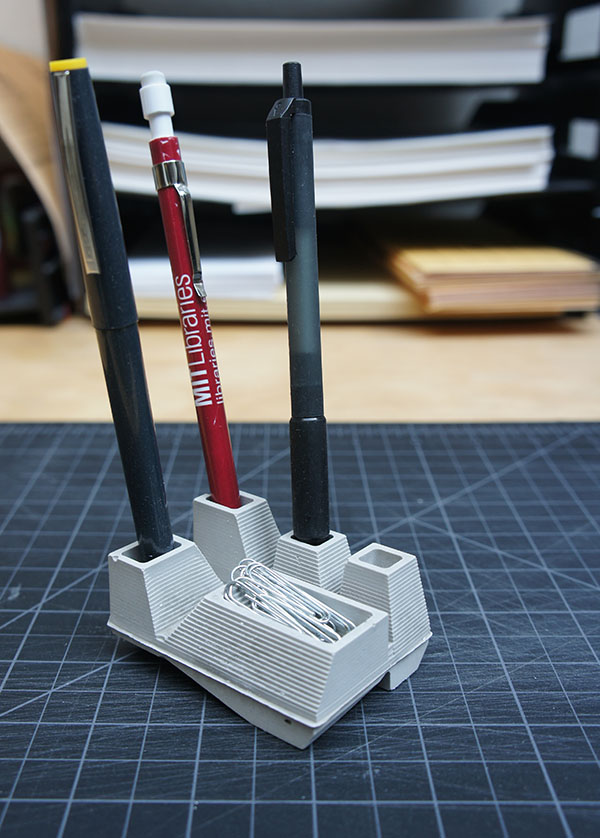
I wanted to make something that I could use in my day-to-day life at school, so I decided to make a desktop organizer. My first iteration was an undulating surface, modeled in Rhino, featuring nooks and valleys to accept pens, paper clips, and other miscellaneous items. One of the most important things anyone should do before designing is to understand the constraints of the material with which they are fabricating--had I done this first, I would have realized that my design wouldn't fit onto the 3" x 7" piece of machinable wax provided for the class (of course, I could have purchased used a larger piece of wax or foam, but time was a deciding factor!).
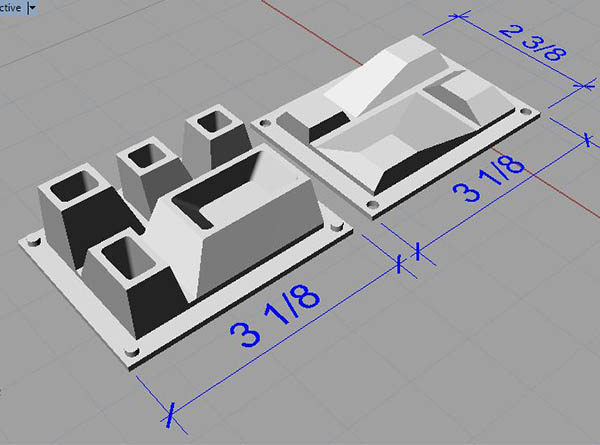
So I went back to the drawing board and created a smaller, but hopefully equally as utilitarian, object to cast. I designed a paperweight-sized piece with different sized pods. As I did before, I made the piece double-sided, to give it a little more height and volume. I made sure to split the geometry in two, model a base datum, and include positive and negative registration marks (in this case, male and female cylinders). The registration marks are to ensure that the final molds are correctly aligned before pouring. I then exported the 3D geometry to .STL format.
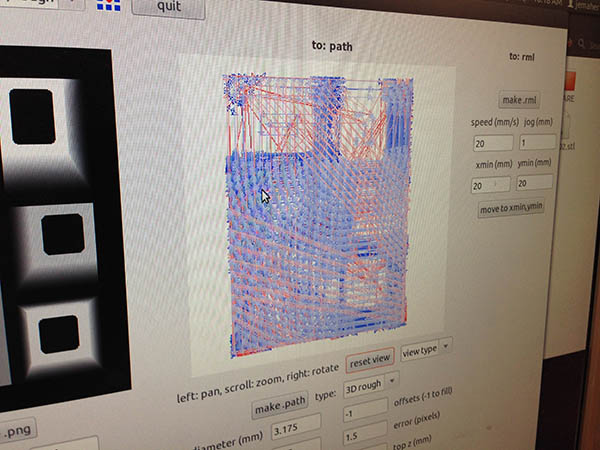
Next, in preparation for milling on the Roland Modela CNC router, I opened the .STL file in the fab module. The interface converts the 3D geometry to a grayscale gradient height map, which then translates to a tool path. I used the default settings for the 1/8" rough cut pass, with a path overlap of 0.25, and a flat-end bit.
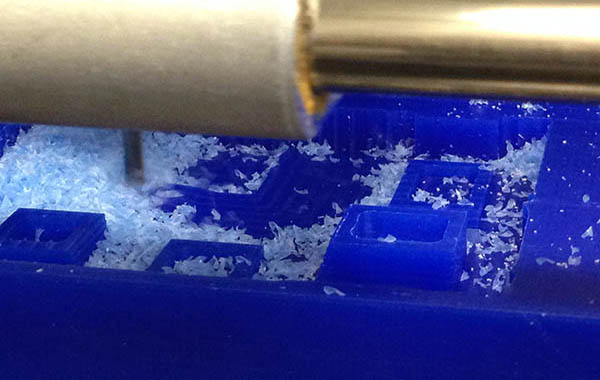
After securing the machinable wax to the bed of the machine using double side tape (others used a perimter bead of hot glue, but four lines of tape worked nicely for me), the Modela begins to mill out the positive mold .
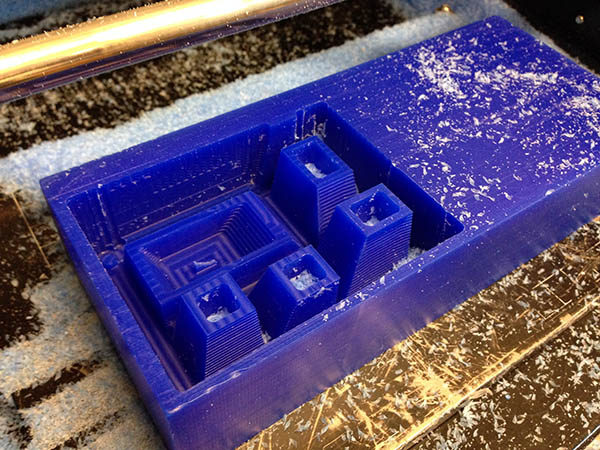
The machinable wax is 1.5" deep, and my file was just a tad over 1". While not sounding like much, this amount of depth led to very long milling time (I estimated it at about an hour and a half). Short on time, I decided to remove the piece without running a finish pass and cast with it as-is. As you can see in the photo above, the steps are pronounced, but I actually was satisfied with the texture it created.
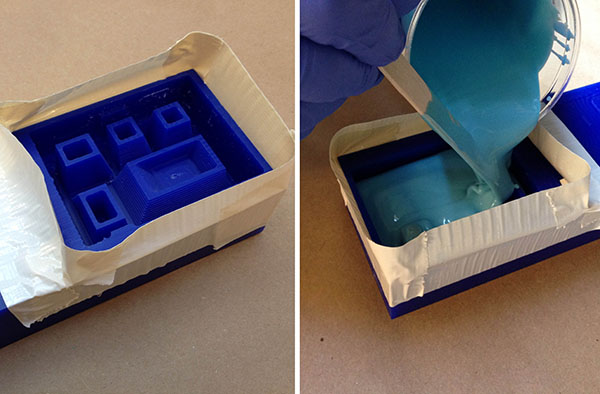
Because of the long milling time, I considered punting and just making it one-sided. So I went ahead and poured my first casting to create a negative mold (using Oomoo flexible silicone rubber) from the wax positive. I taped all the way arouind the positive geometry to create a temporary pour-stop. I mixed equal parts of the two Oomoo components. Be sure to use a shearing action to stir instead of swirling bubbles, to pour slowly, and to tap the mold after the pour to prevent air bubbles from getting trapped inside.
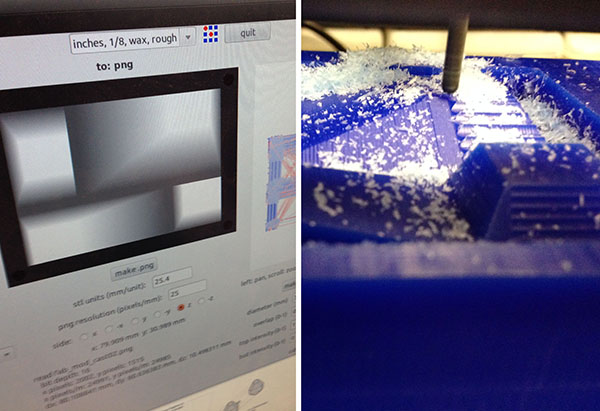
In the time I was waiting for it to dry, I thought I'd give the bottom piece a try, especially since it was shallower and therefore would hopefully take less time to mill. It did in fact turn out to be a much faster milling time, and so I decided to go for broke and run the finish pass on this piece, to smooth out the steps and create a finer surface. I used an overlap setting of 0.9, and a ball-end bit. It came out great, and I repeated the Oomoo casting process for this second piece.
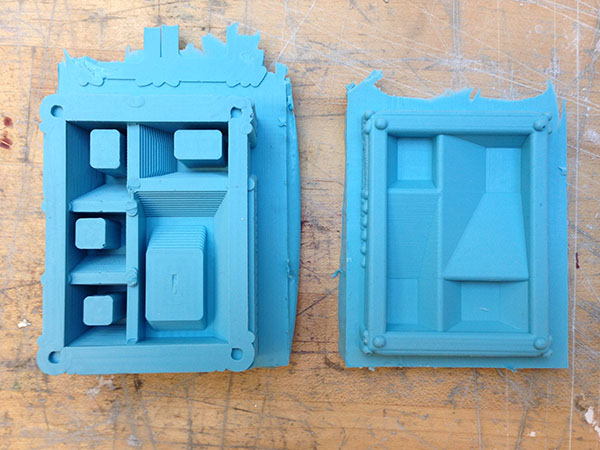
Here are the two sides of the flexible rubber mold--note the registration marks at the corners.
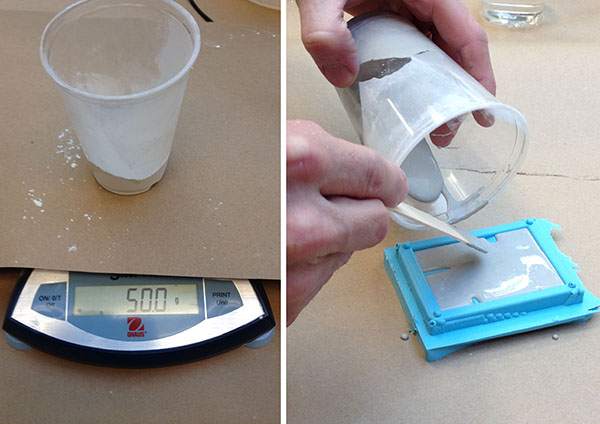
Time for the final cast. I used Hydrostone, a quick-drying gypsum plaster. This material requires a combination of water and plaster by weight (100g of plaster to 22g of water), so using a scale I set up the proper ratio, mixed, and poured.

Now, I didn't use the optimal method for joining the two negative molds. The best way to do this would be to design a vent channel in both molds that would create an opening in which to pour the casting material after the molds are joined together. Instead, I poured the shallow side and let it mildly cure for about five minutes. When it was still wet but settled enough to not spill out, I then poured the deeper side and flipped the shallow side on top of it.
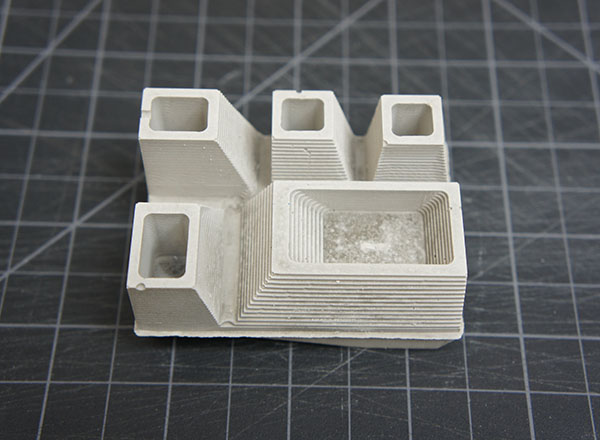
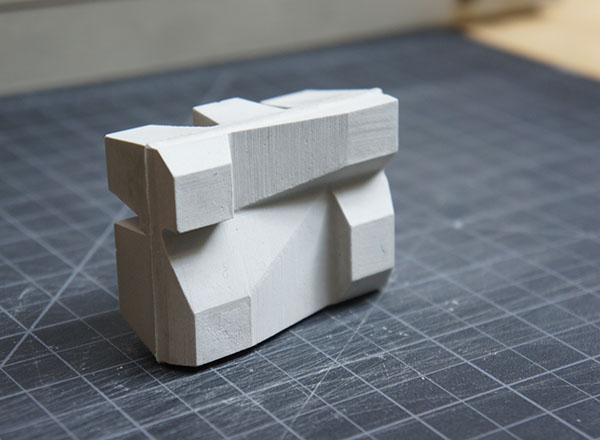
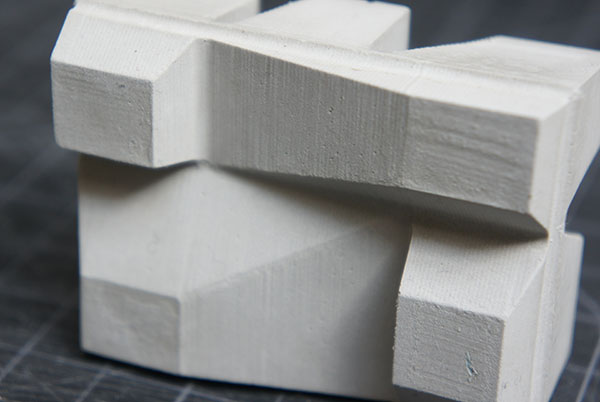
Here is the final casting. I was pleasantly surprised by the results--I loved the contoured stepping on the top side and the smooth evenness of the underside. Although this is definitely not a perfect cast: as you can see in the photos, my flipping technique left a small seam dividing top and bottom, and some circular voids show that I didn't take enough care in the final pour to avoid air bubbles from building up. If I were to re-pour, I would mix the plaster more carefully, pour more gently, and agitate the final mold a bit more to prevent this.
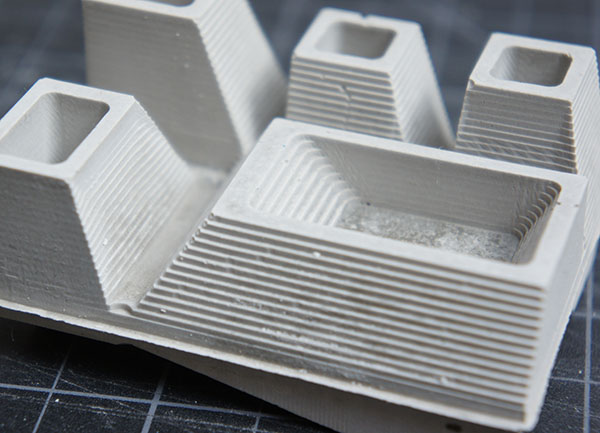
Above, the tell-tale imprint of the CNC router's rough stepping pass. Below, the smooth texture of a closely-overlapped finish mill pass.
/ / / / / / / / / /
Files: