/ / / / / / / / / / / / / / / / / / / / / / / / / / / / / / / / / / / / / / / / / / / / / / / / / / / / / / / / / / / / / / / / / / / / / / / / / / / / / / / / / / / / / / / / / / / / / / / / / / / /
week 08 / embedded programming
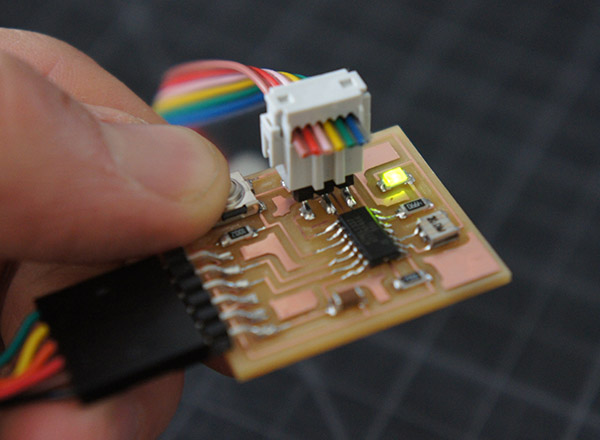
For someone like me who's never programmed before, the thought of writing computer code to make something turn on or off, or do anything for that matter, seems like an insurmountable task. After this week, it still does. But I learned a lot this week and took some small yet important steps in programming, like how to take existing code and tweak it to do a few fun things with our circuit board. First, of course, I had to de-bug my board (which I'll refer to as my "target board"), since I quickly found that it wasn't working properly!
I started by following former student Irina C's helfpul tutorial, and did these steps to attempt to turn on the LED on my board.:
1. Download the proper FTDI driver (I'm using a Mac so I found an OSX driver) as well as a C code file (an existing "blink.c" and corresponding make file in this case). Save the files into a designated directory that you will later call to in Terminal.
2. Make the hardware connections. I connected my FabISP to one of my computer's USB ports. Your computer should recognize that it's plugged in (I check in "Utilities" under "System Information," and see it in the USB line). I then connect the FabISP's 6-pin header to the 6-pin on my target board. The FTDI on the target board then connects back to another USB port for power.
3. In Terminal, change directory to the folder where the C and Make files are located. Create a "hex" file by typing in the command:
make -f [insert filename here].c.make
Then program the FabISP fuses (I learned from Matt you do this once only, unless you want to change clocks/resonators on your board):
make -f [insert filename here].c.make program-usbtiny-fuses
Last, program the c. file onto the board:
make -f [insert filename here].c.make program-usbtiny
If all goes well, the led should blink (or whatever program you ran should now activate). In my case, nothing happened. I received the following error:
avrdude: initialization failed, rc=-1. Double check connections and try again, or use -F to override this check.
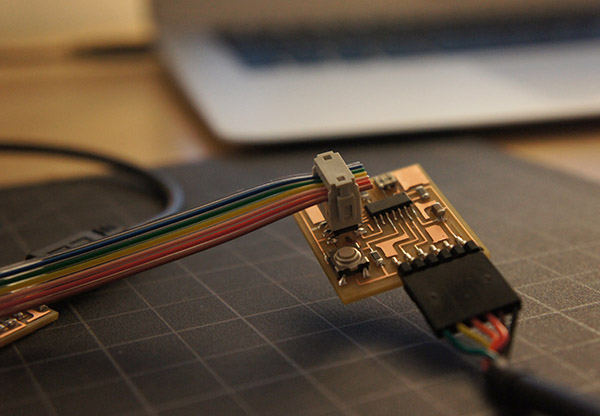
I knew that my FabISP was ok, because it worked on other people's computers. The problem was definitely with my target board. I trusted that my schematic was fine, since all the proper routing was there and all my components were there and oriented correctly. I ran a multimeter check and everything seemed ok. I thought I might have accidentally burnt my microcontroller chip while soldering, so I de-soldered and removed it. In doing so, I pulled up a small piece of copper tracing (above). Not sure if this loose copper was always there or if it just came up as I pulled off the microcontroller, though I'll never know. All I knew was this board wasn't working and I had to make another one!
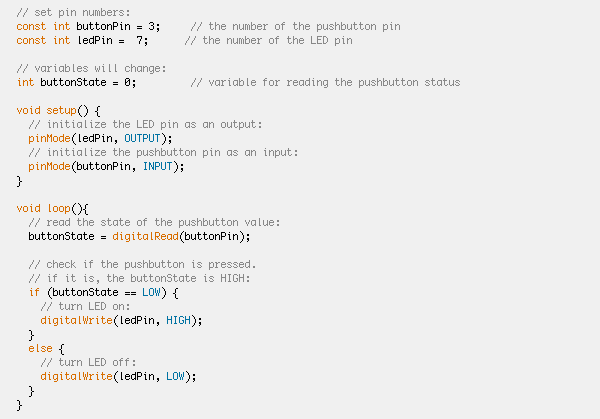
I accepted the reality of the situation and milled and stuffed a new one. It worked!!!! I thought I'd try some blinking light variations using Arduino IDE, starting with their example "blink" file. For a great beginner's tutorial on programming with Arduino, see MIT's High-Low Tech page. Here is the modified code I used for simple blinking via the button push:
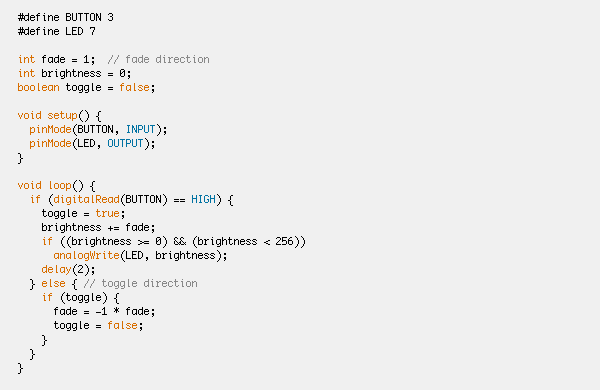
Here is some modified code to make the led light not only turn on and off, but fade in and out while doing so, followed by a video of it in action!:
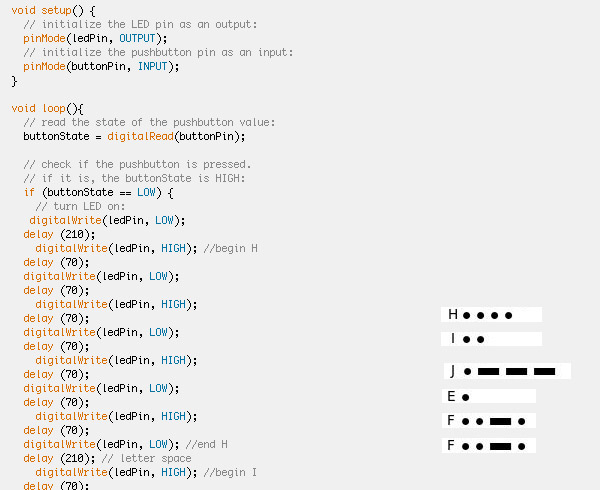
I thought it would be fun to take advantage of the blinking capabilities (and blink duration), and to try writing out something in morse code:
Then I went back to Terminal to give a go at the "hello echo world" program in C. I made a minor modification to the code, and ran it through:
/ / / / / / / / / /
Files: