/ / / / / / / / / / / / / / / / / / / / / / / / / / / / / / / / / / / / / / / / / / / / / / / / / / / / / / / / / / / / / / / / / / / / / / / / / / / / / / / / / / / / / / / / / / / / / / / / / / / /
week 09 / composites
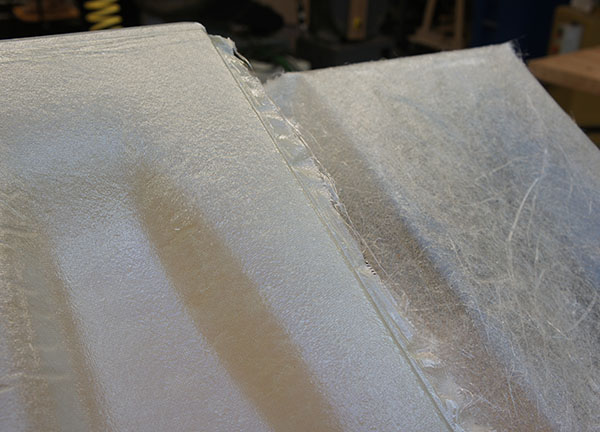
Before starting my post, I have to thank the course staff and TA team, especially David Costanza, James Coleman, and Justin Lavalee, for their big help on this week's project.
A composite is a merging of two or more different ingredients to form a new combined material with different properties than its individual components. This week I made a roofing panel out of fiberglass and epoxy resin. The panel is a prototype for the bike shed I designed during week 05.
/ / / / /
Part One: Designing the Form and Choosing a Material
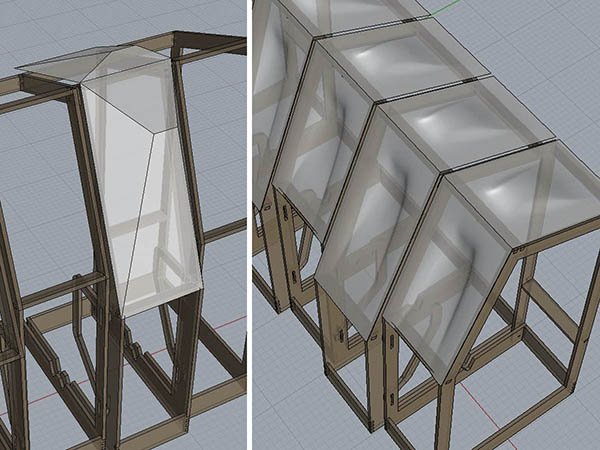
Designing the part in Rhino. After exploring a few design variations to build in some rigidity to the panel, I decided on an indent/bump scheme. Instead of making two roof panels per plywood section, I learned that I could make a single panel that could turn the 90 degree corner. This would just require a special mold, which I set up below:

This mold also accommodates flanges on either side of the geometry so that my roof panels can (hopefully) snap into the reveals in my shed structure and make for easier fastening.
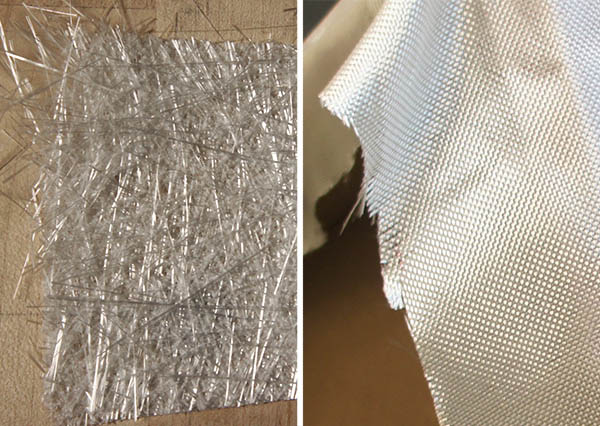
I want my roof to be translucent and light, so I decided to go with fiberglass as my base composite material. I ordered some fiberglass mat (left) and cloth (right) from Jamestown Distributors. This fibrous material will be set in a matrix of epoxy resin.
/ / / / /
Part Two: Making the Mold
It turns out to make what I was proposing, my mold had to be a composite of sorts--a lightweight and easily millable block of foam provided for by the class, and an MDF backer to give the shape rigidity so that it won't deform during the layup process (will get into that later). Here I'm laminating 2" foam to 3/4" MDF.
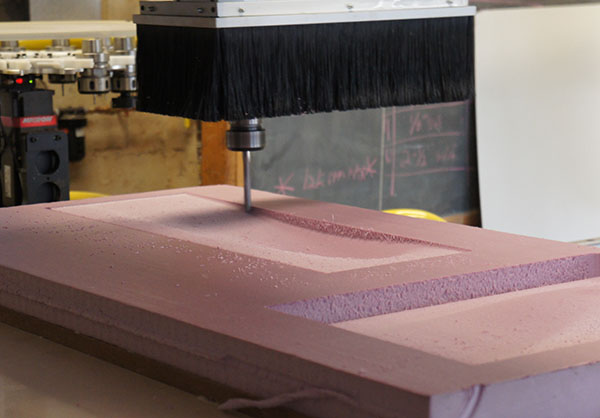
Machining the foam/MDF on the CNC router. Thanks to James for setup help with Mastercam!
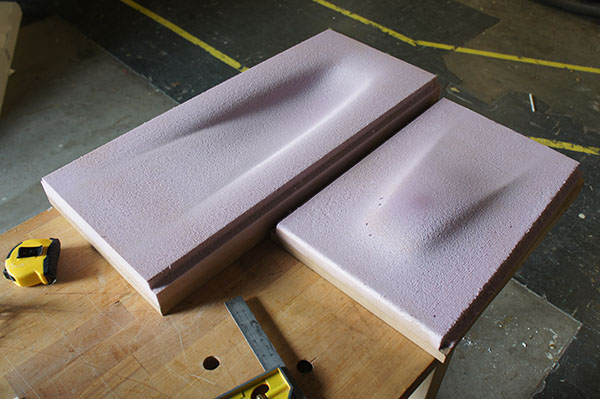
The milled mold pieces ready to be assembled.
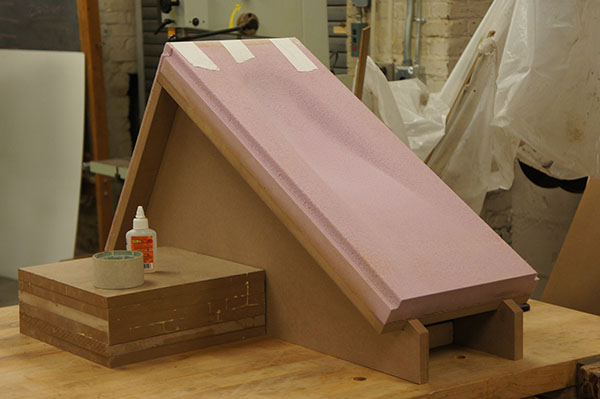
I raised the mold off of the surface a bit, so I glued the assembly up onto an MDF jig.
/ / / / /
Part Three: Laying Up Fiberglass (First Attempt...)
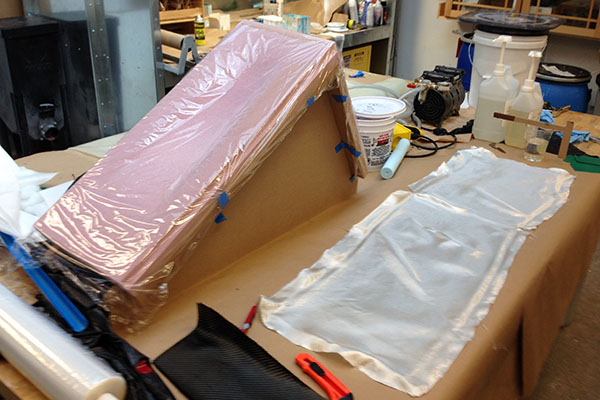
With any mold, care has to be taken so that the "laid up" material doesn't stick (unless permanently casting the mold into the composite is the intention). Since I'm using foam, some sort of form release must be used--in our fab lab, we are using cellophane release film. I decided to go with the fiberglass cloth first, and cut the material down to size. Although not pictured here, in this step of the process I wet the fiberglass with the epoxy resin / hardener mix, apply breathable release film and breather/bleeder polyester batt layer to soak up excess resin, and then place that assembly into the vacuum bag.
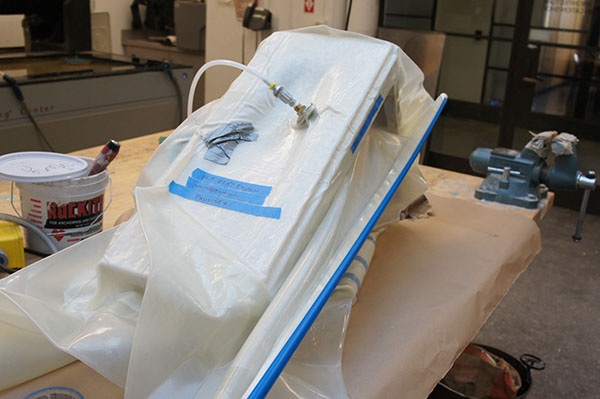
The composite and mold placed in the vacuum bag and left to cure.
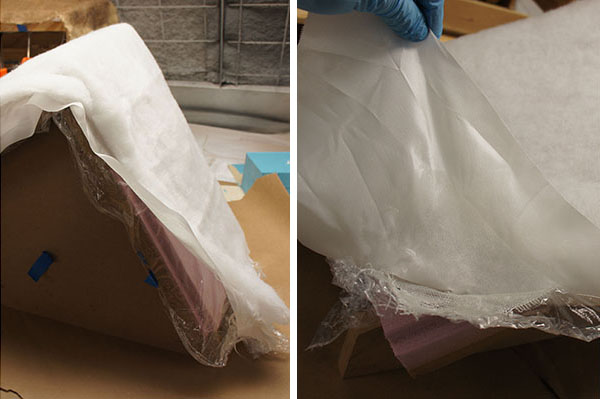
I only layed up a single layer of fiberglass cloth, and when I removed it from the vacuum bag, it was not fully cured. I had to discard it, unfortunately.
/ / / / /
Part Four: Laying Up Fiberglass (Second Attempt...)
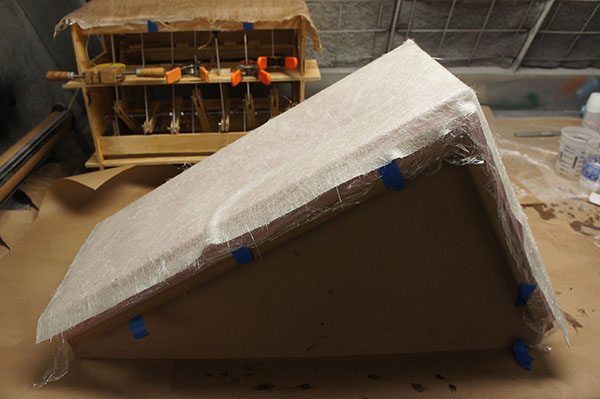
For my second attempt at laying up fiberglass, I used some of the fiberglass chopped strand mat that I bought from Jamestown. Frustrated by the outcome of the last layup, I decided to forgo the vacuum bag process and test what gravity alone would do to the wet mat.
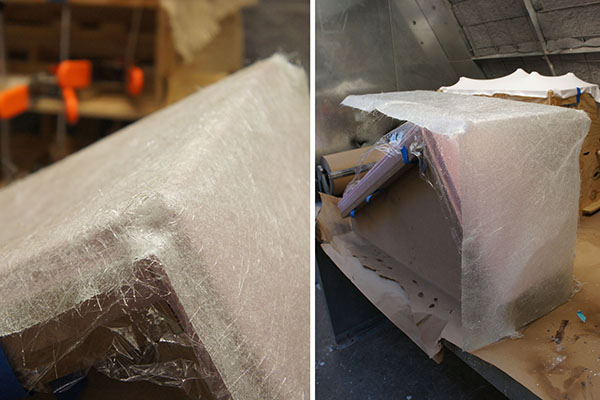
I learned that chopped strand fiberglass mat does not conform very well to complex geometry, even when fully soaked with epoxy resin and with only a single layer. It did not come close to reaching the shape of the mold. I had to discard this test as well.
/ / / / /
Part Five: Laying Up Fiberglass (Third Attempt...)
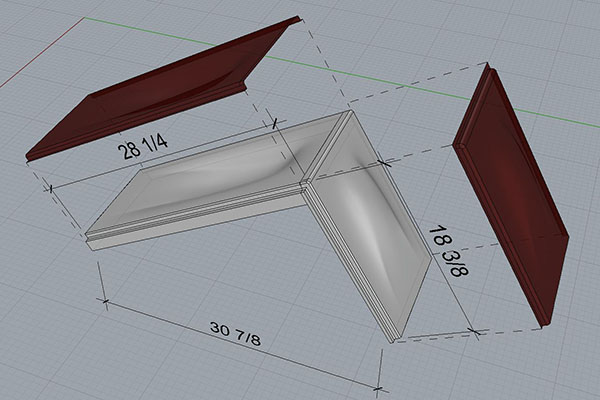
I hoped that a better mold design would help make my composite panel conform to the desired geometry. So I created negative closure pieces to make my jig assembly into a two-piece mold system. The intent is to have a negative piece of geometry applying constant pressure to the wet fiberglass while it cures. I offset the surfaces by 1/8" to allow for the thickness of a few layers of fiberglass and the batt breather/bleeder layer.
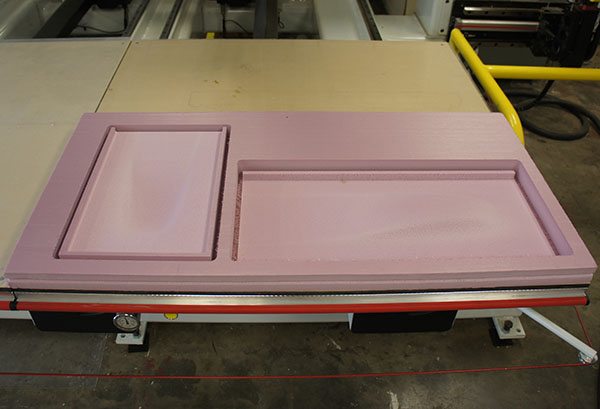
I went back to the wood shop and milled out my negative pieces...
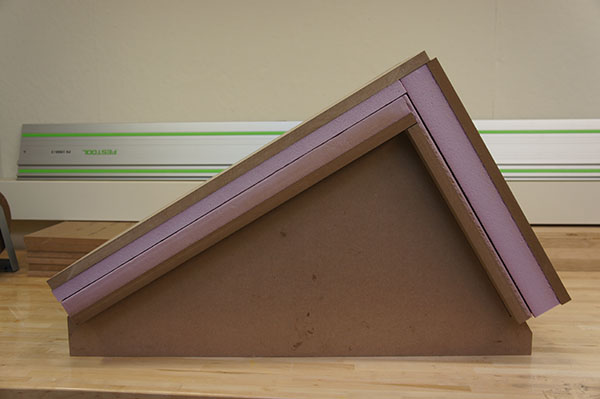
...and glued up some MDF backers for support and rigidity. I repeated the process, this time using three layers of fiberglass cloth (which conforms more flexibly to complex geometry) and my new mold system.
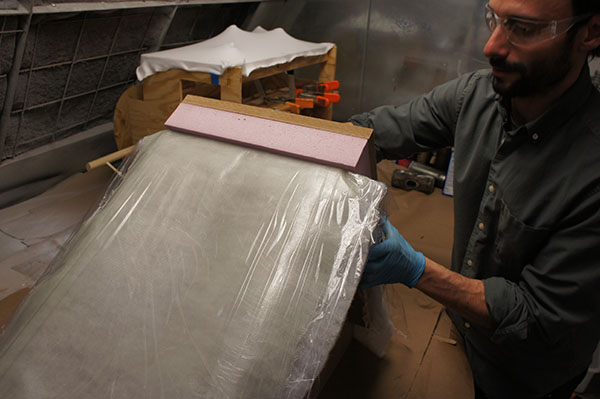
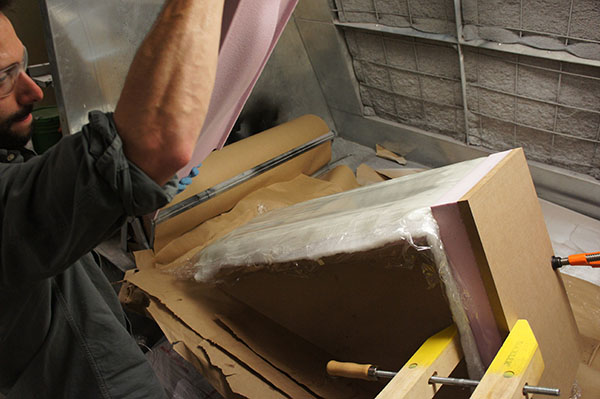
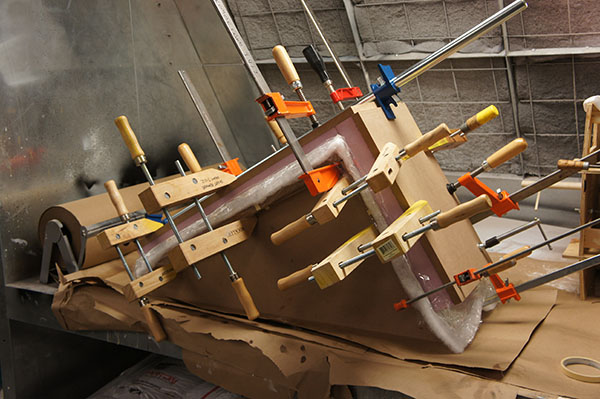
I clamped everything together and waited for it to cure overnight.

It worked. The top molds came right off, and the triple-layer fiberglass cloth / resin composite panel conformed pretty well to the shape.
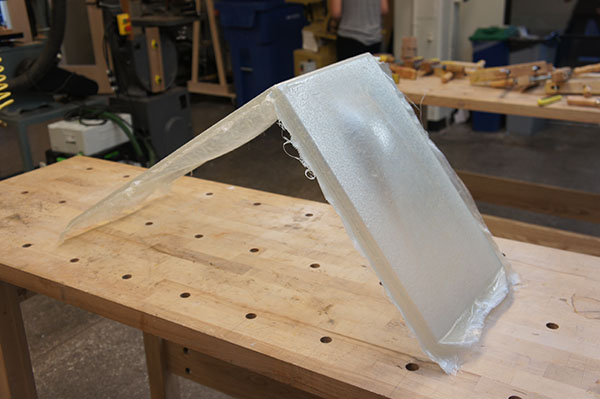
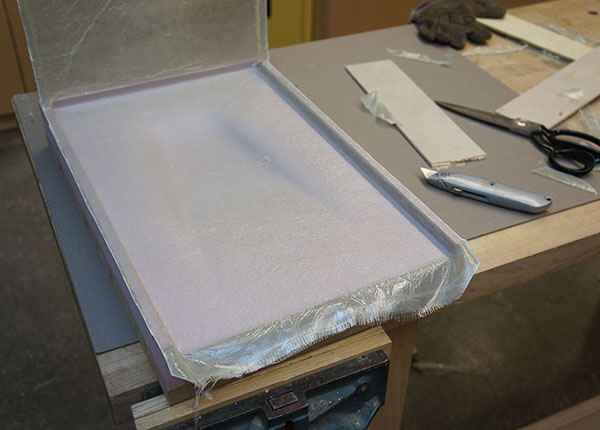
I took advantage of the negative molds to trim around the edges of the panel. I was able to accomplish most of the cutting with a razor blade but had to take it to the band saw for some finishing touches.
/ / / / /
Part Six: Fitting the Panel on the Shed
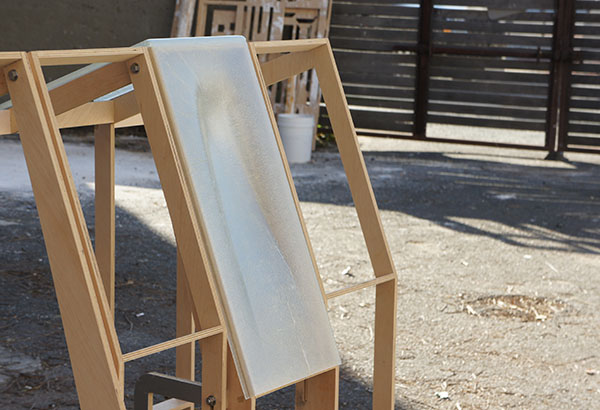

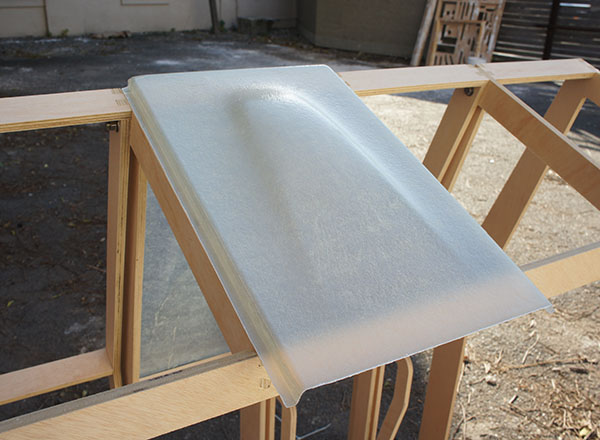
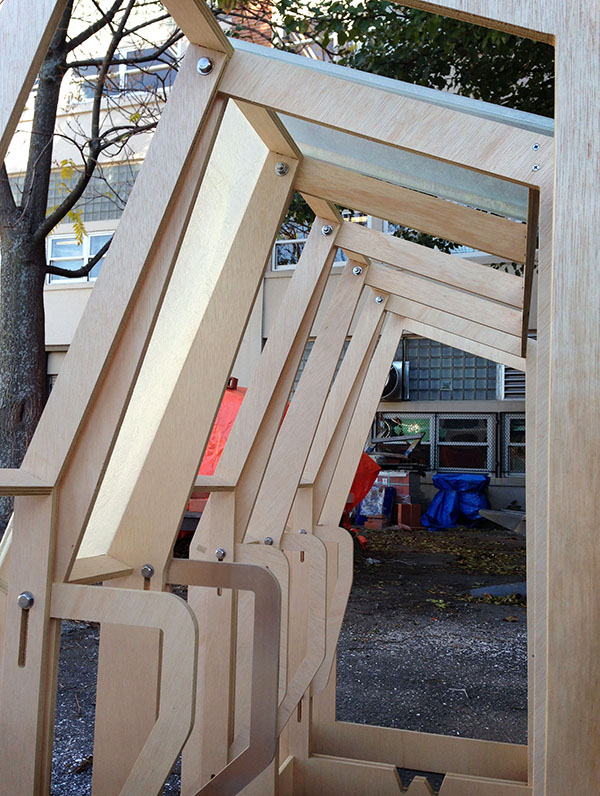
Only five more to go!
/ / / / / / / / / /
Files: