Assembly
Machine Design
This weeks assignment is to build a fully-functioning machine with our sections. For our project, the Harvard section decided to make a "Light-bot" that would use light to paint a canvas or photon absorbing paper in this case. We split the section into 3 smaller teams: Machining, Programming, and Assembly. I was part of the assembly team.
This process actually took much longer than we expected. the first few hours was spent trying to connect our two axes together. We realized that we were missing the piece that Jake used to fasten the two axes together. Since this part was not milled, we went back into Rhino to isolate the piece then create the cut path in VCarve. After we got this piece, we spent the next chunk of time tweaking how the motor and movable parts worked together. We had trouble with one part of the axes being tighter and the other end being looser. We found out that this was due to an even flatbed in the shopbot.
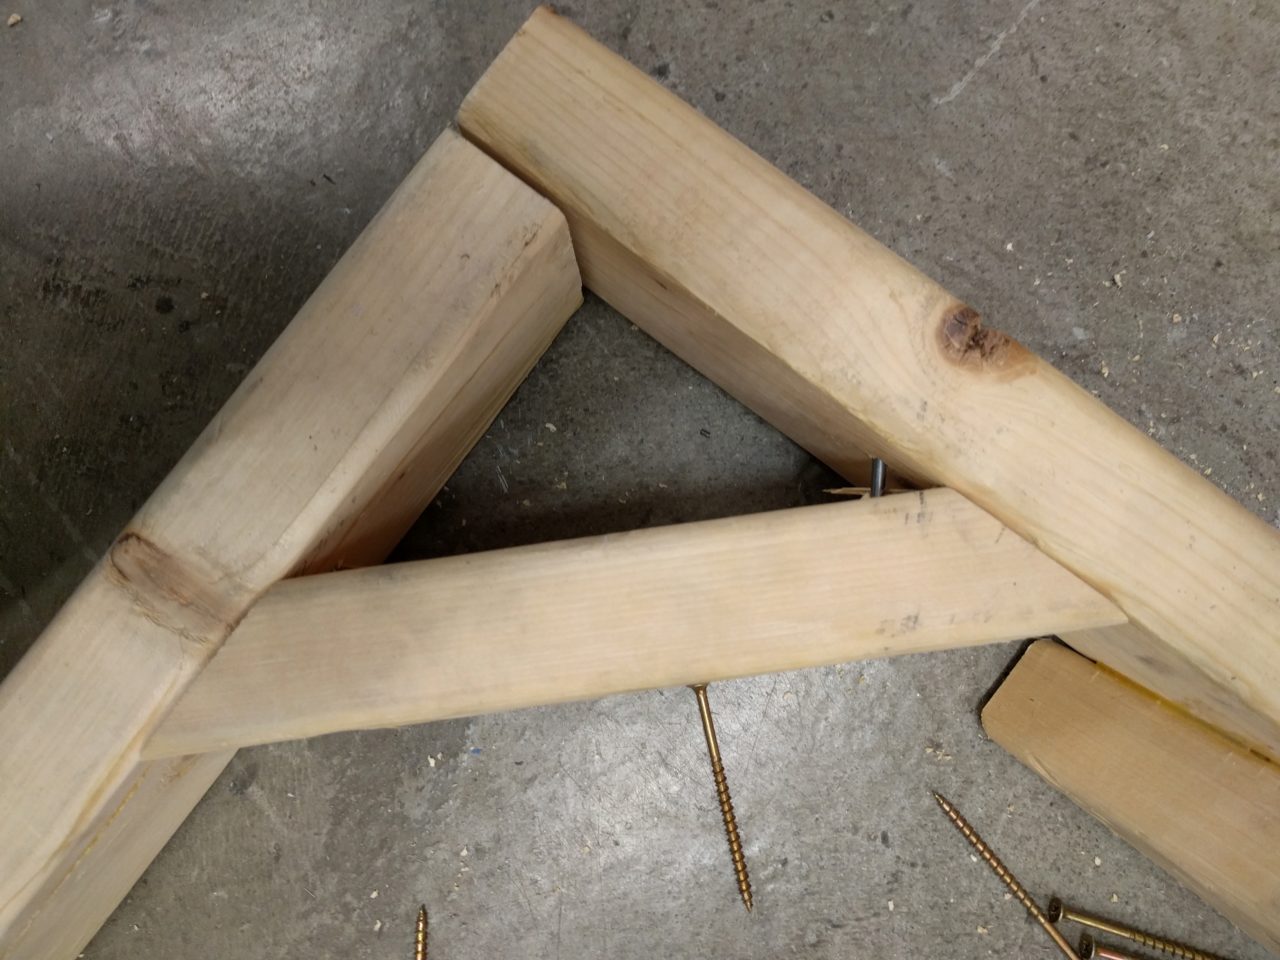
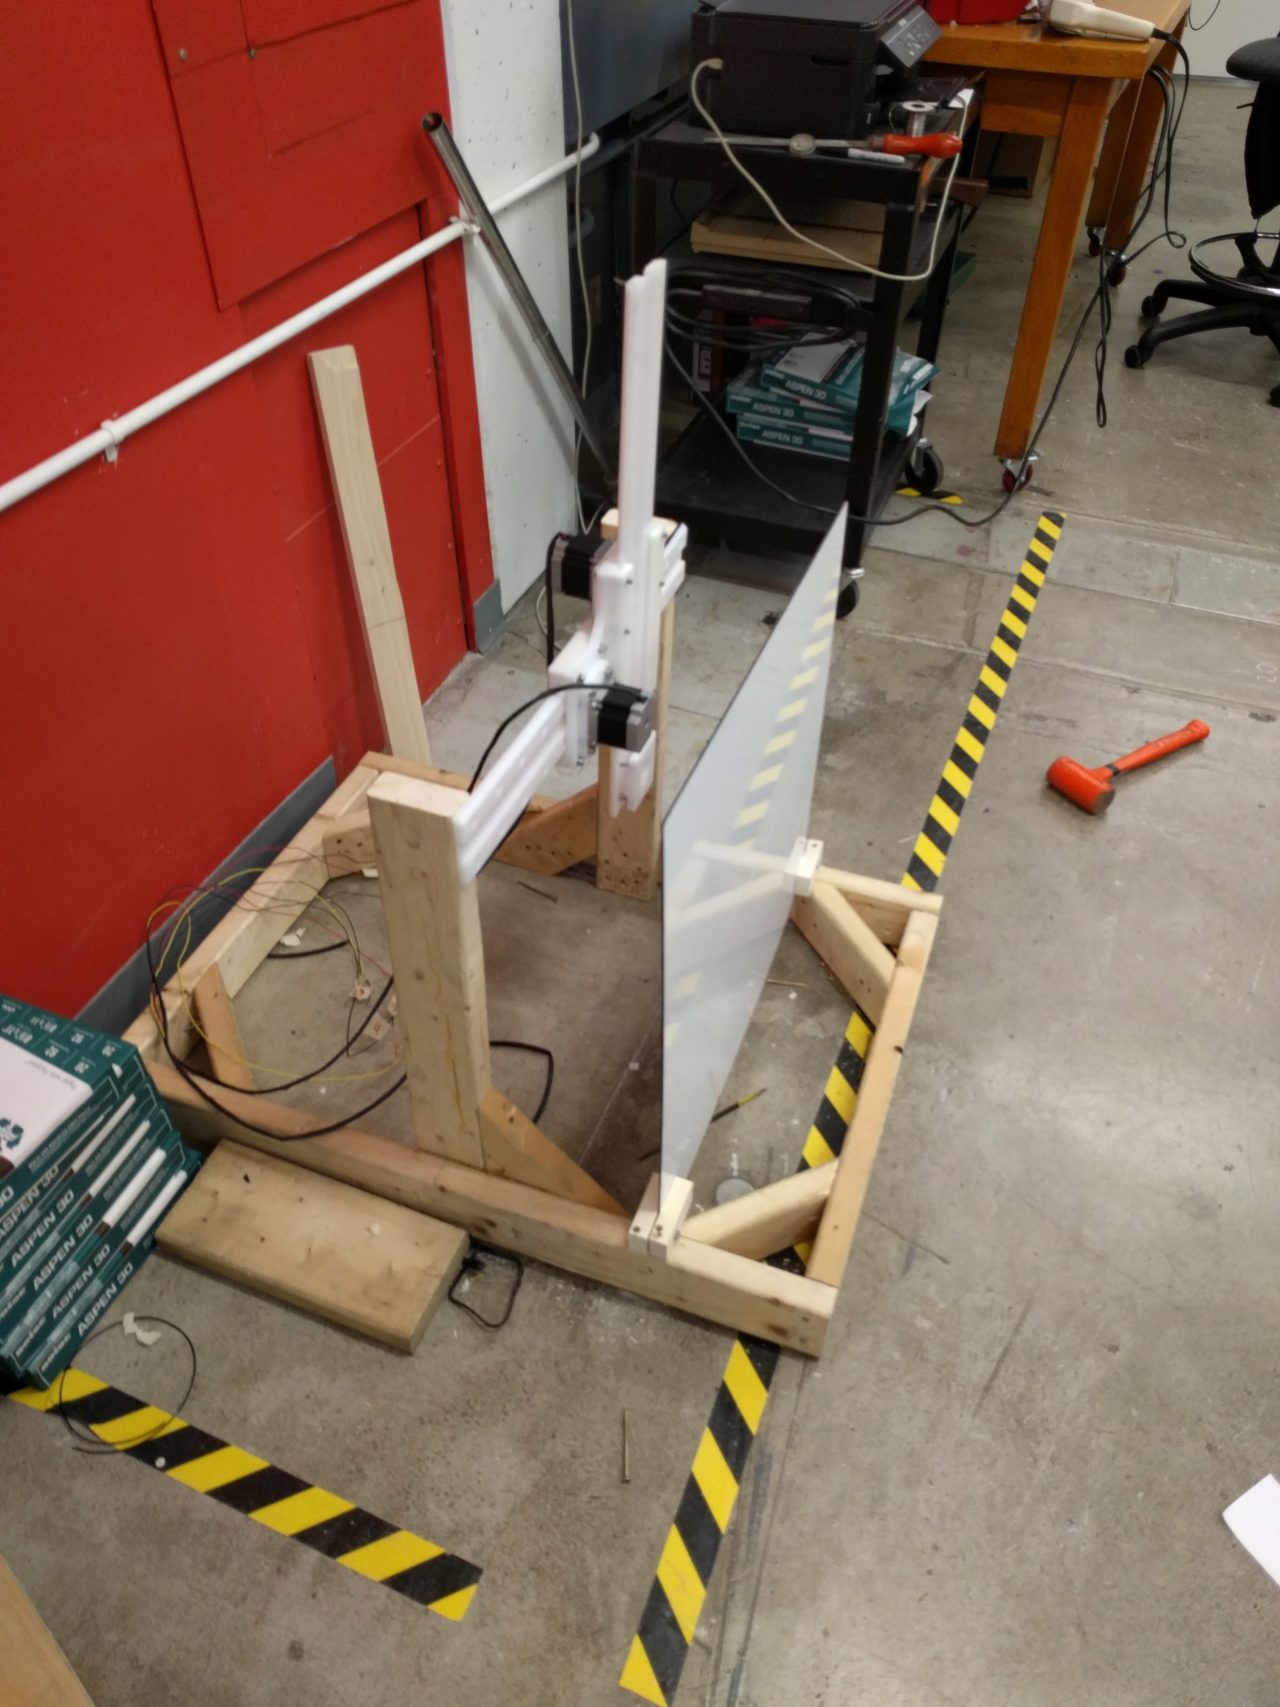
After assembling the axes together and installing the motors, we had to work on the frame that was built. The frame was not sturdy at all and several of the nails were not hammerred in. We also added wood screws and wood glue for more support.

We then were able to drill the axes into the frame. We decided that we wanted to package the electronics in one corner of the frame and simply extend the wires so that the machine could move uninhibitably.

When I got back from my class, the motors on the machine were connected and communicating with the program. The photon absorbing paper was fastened to an acrylic base, in front of the end-effector, The end-effector we used was a UV light that was essentially just a flash light with different lights it could emit. Joe from the Harvard TA squad cleverly crafted a black sticker with a hole in the middle to focus the beam of the flashlight. This tremendously helped with decreasing the brush-stroke size of the light. The result was a temporary and fairly accurate shape.
Thank you to everyone who helped on this project!