
Additive Production
3D Printing
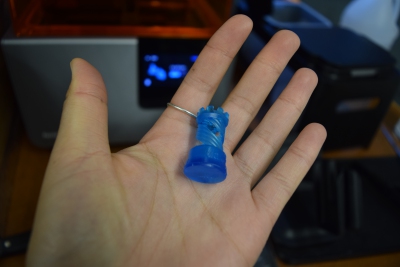
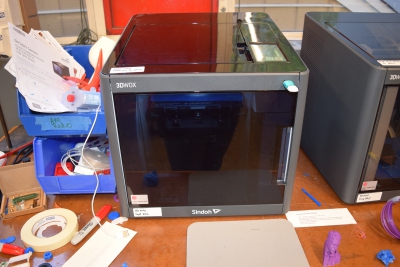
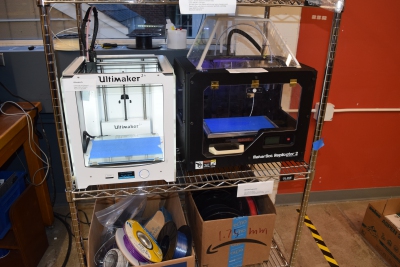
The first task for this week is to 3D print an object that cannot be made subtractively. From a quick Google search, you can see that people make really cool things using 3D printers. My greatest limitation is CAD modeling. For my small project, I made a hollow sphere with a coil rapping around it. Fusion 360 makes it really easy to export your 3D models to a printer by making the STL file of the object. I then just opened this file on 3DWOX which is the software for the Sindoh machines. The 3D printers available in SC102 are the Sindohs, MakerBot, Ultimaker, and Formlabs. The software automatically built support systems into my model. For example, the hollow inside has a grid like support since the printer cannot print in air. It also built pillar type supports in places where the coil was free hanging. I was shocked to see that my tiny, simple design would take 3 hours and 19 minutes to print. This was scaled way down at only about 1 inch by 1.5 inch.

The support structures were pretty easy to break off with just your hand but I know that for more intricate designs, the support might be more annoying to remove. You could clearly see the individual layers that were piled onto each other to make the final object. There are some areas where you can see that the 3D printer was struggling. The bottom of the loops needs to be smoothed out. Part of the sphere also seems to be a bit deformed. It needs to be smoothed out and also like another layer needs to be added to it to make the full sphere. You can't capture this detail with the camera so I don't have a picture of the deformations.

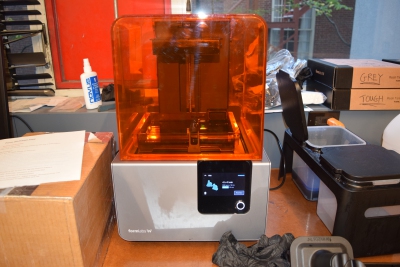
The formlabs printer works in a different way than the other printers in the lab. It has a heated resin tank on the bottom and lifting the piece each time a layer is added to wipe through the resin. It's a cool process to watch and the outcome is a much cleaner, smoother piece. For these printed objects, you can't see the layers that were combined to make it. The downside is that prints on this machine take longer. I plan to come back next week to try it out when there isn't so much demand for the 3D printers.
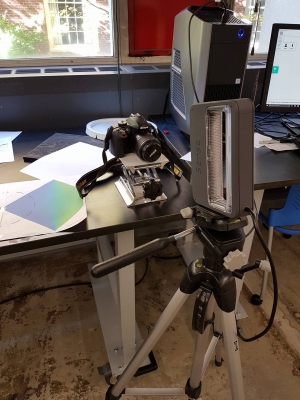
The next part of this week's assignment is to scan a 3D object. In the Harvard shop, we have a Sense, hand-held scanner. For some reason, people are much easier to scan than objects. For my first attempt, Dixon helped to scan me. I sat in a rolling chair and spun around slowly in front of the sensors path. The sensor was mounted on a tripod. I had to make a full revolution 4 times to fill in the holes. Dixon then took the sense and held it above my head at angle to try to fill in my hair. This did not work at all, probably because my hair was too curly and crazy. He then held it at an angle below my head to get my chin. The final result was terrifying. I chose not to 3D print the bust.

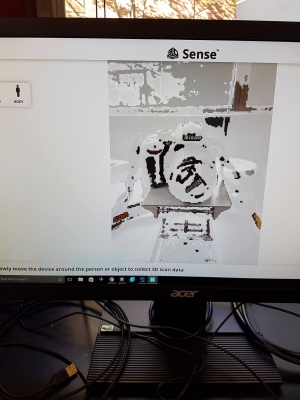
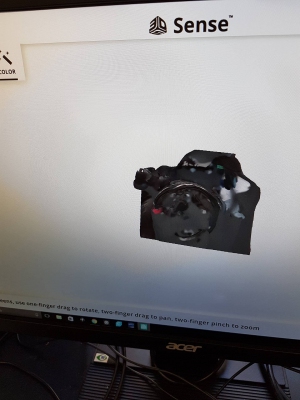
Although I knew it would be even harder to work with, I tried to use the Sense in the object mode to scan my camera. I had the camera resting on a piece of paper on table and unclamped the scanner to use it in the hand held mode. It was extremely difficult trying to rotate my arm around the object, being careful not to lose it in the scan. I lost it several times and had to restart several times. By the time I made one complete circle around the camera, my arm was sore and I knew attempting another revolution would result in me losing the object in my scan. I ended the scan and found that most of the camera was still missing. The software does an okay job at filling in the gaps so that you have some shape to print atleast. I also chose not to print this one.
When there is less demand for use of the printers, I am hoping to come back next week to print some cool objects from thingiverse and also to design something harder on CAD that I could print. I also have some requests from friends to be scanned so that they can have a printed bust of themselves.