Computer-Controlled Machining
ShopBot
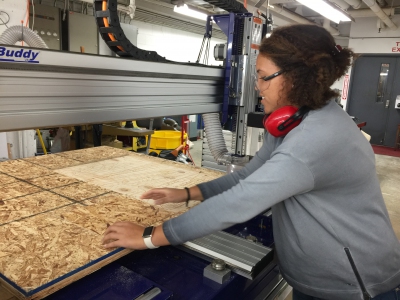
The assignment this week was to make something big using the Shopbots in our labs. It turns out, the make something big is restricted by the size of the shopbot bed. In the Harvard section's case, 4x4 feet. The material we are each given is OBE wood which is basically the leftover crud from various other types of wood. What we get is cheap but workable material with a rough cut.
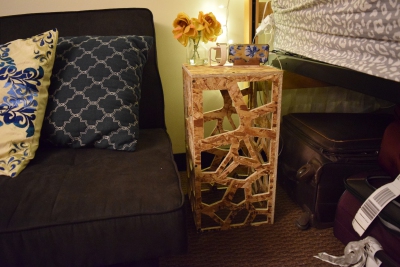
For this week's project, I decided to make a side table. The beds in my dorm are abnormally tall so the current side table I have from Target is less than half the height of my bed. So my goal is to make a tall side table that I will actually use in my room. For the design, I used Fusion to make a Voronoi pattern on the sides of the desk and have a simple square top. After researching on how to do this, I found that Fusion actually has an add-on that will automatically generate the Voronoi pattern. I qucikly downloaded the add-in from Fusions app website and voila, my create menu had a new option to generate a voronoi sketch.
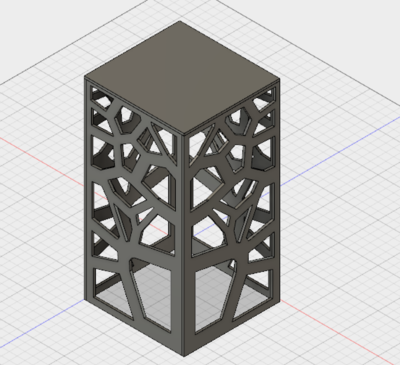
I exported the files into a DXF and imported them into the ShopBot software, VCarve Pro. For my test cut, I scaled the sides of the table into a 3 inch by 3 inch square. Because of the limitations of the material (not so great wood), the thin pieces broke off and what came out was a destroyed mess. Daniel, who was helping me in the lab all day, and I decided that the larger piece would work since there was a big enough gap between the cuts. We resized my 2 foot by 1 foot side panels so that all of it would fit on half of the 4x4. I ended up with a 2 foot by 11 inch piece. The job took about 38 minutes to finish. Note: the tabs I added did not work because I set the thickness of the board to be at .49 inches even though it was probably only .47 inches in reality. Each of the boards vary slightly. Since my tabs were only .1 inches thick, the machine proceeded to cut through my tabs anyways. Luckily, this did not pose a huge problem. Many of the small cuts got sucked into the vaccum which was scary at times but all the pieces I needed remained intact. We paused the ShopBot after each panel was completed to quickly remove the loose pieces to avoid any rattling or from any pieces from getting in the way.
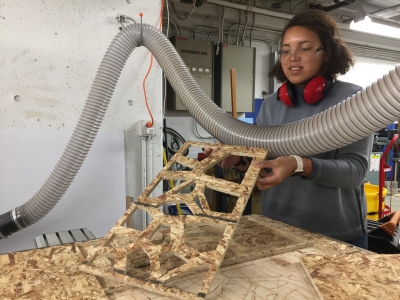
I decided that for my design this week, I did not want to use pressfit construction. I wanted something a little sturdier and permanent. After I had all my pieces, Daniel helped me to glue and screw the pieces together.
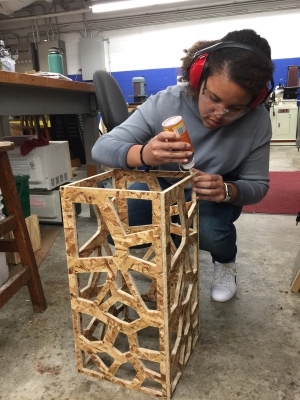
Even though the wood seemed horrendous at first, it actually matched beautifully with my room! I've already gotten a few orders for people with the same bed height issue.
