
Week 7: Molding and casting
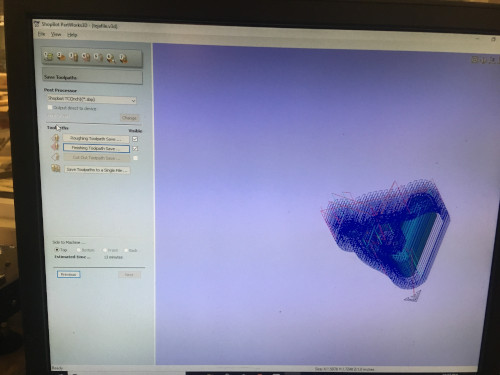
This week I had to make a mold to cast something. I wanted to make a Meditating idol. Here is the link to access .stl file of Meditating idol. I used a desktop shopbot to make the positive. Desktop shopbot has its own software, Xcarve. Here are the steps I followed to import my .stl file and setting up the tool paths.

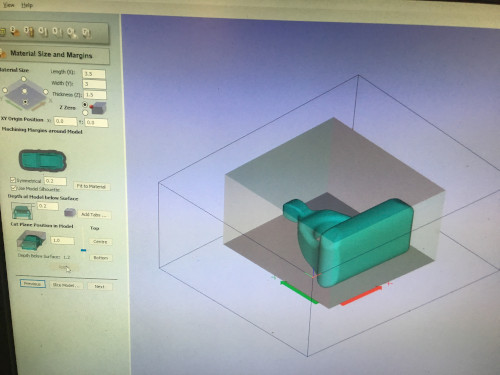
Make sure you save the toolpaths and project file for future use.
Here are the steps I followed:
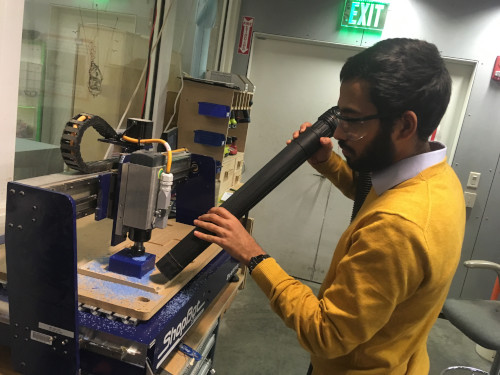
1. Take a block of wax and use the hot glue machine to glue it to a wooden surface. Try not to glue too much. Make sure it's firmly attached so that it doesn't move during machining process.
2. Attach the wood to the sacrificial layer by screwing in the wood.
3. Make sure you Zero the X and Y to the correct origin selected on the Xcarve software like in week5, Zero Z plate as shown in the following image using the aluminum plate.
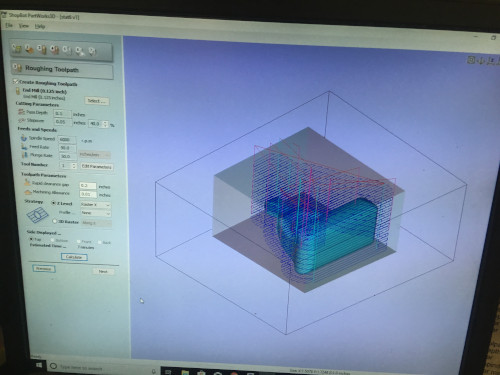
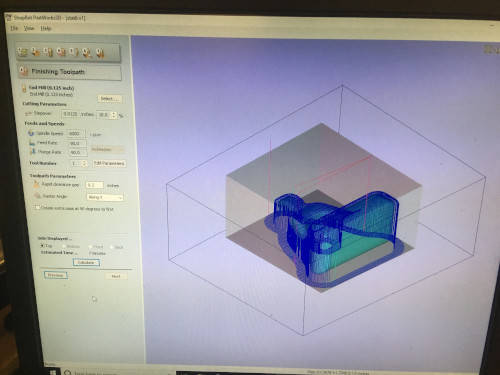
4. Start roughing toolpath followed by finishing toolpath.

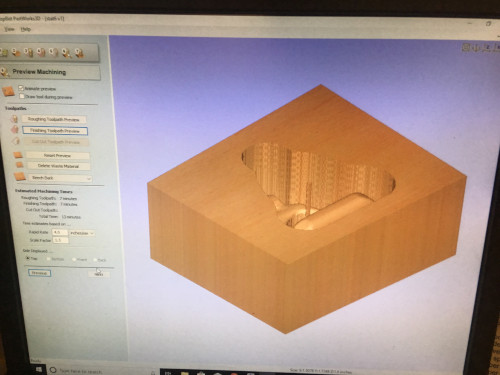
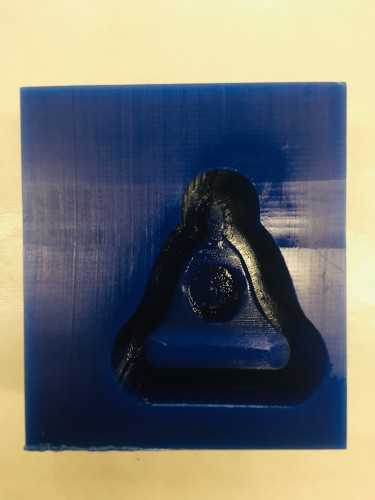
Positive after the machining process:
I used Mold remover spray to proceed further, this helps in removing negative easily after curing.
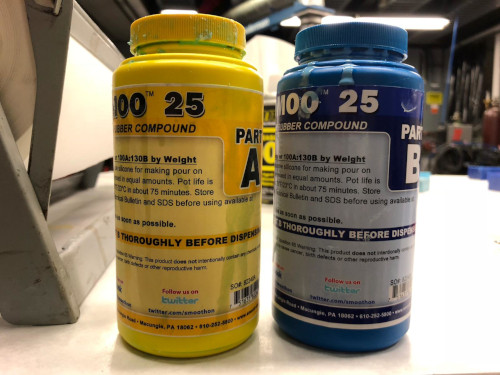
Silcone rubber polymer mix Part A and Part B used for making the negative. Equal proportions of Part A and Part B were used to make the mix.
Pouring the polymer mix into the positive!
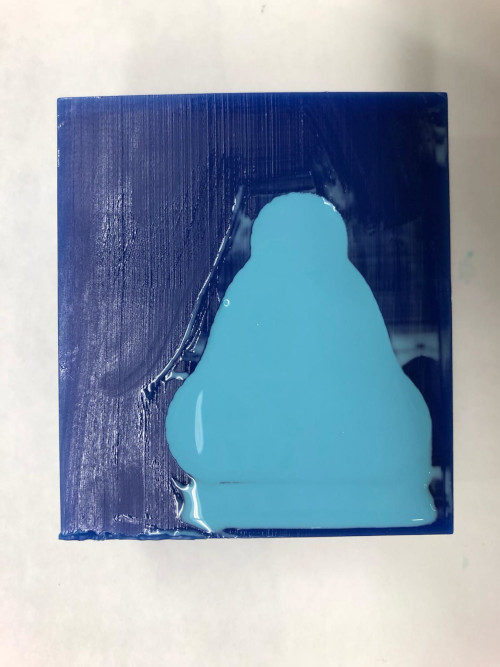
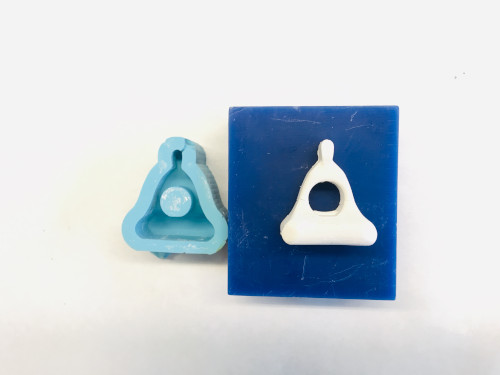
Mold remover spray used before made it easy to remove the negative after it's cured [one hour-two hours curing!]. Then I used the negative to make positive made up of drystone shown in the following images. I had to mix 18gms of water for 100gms of drystone used. The water wasn't sufficient to make a good mix, I had to add more water to get fluidity right.

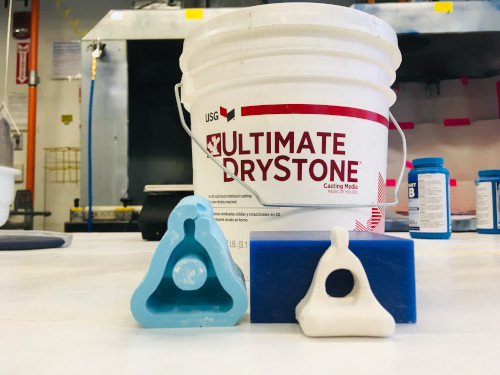
Here is the meditating idol!!
