CNC Cutting
A Laser Cut Construction Kit
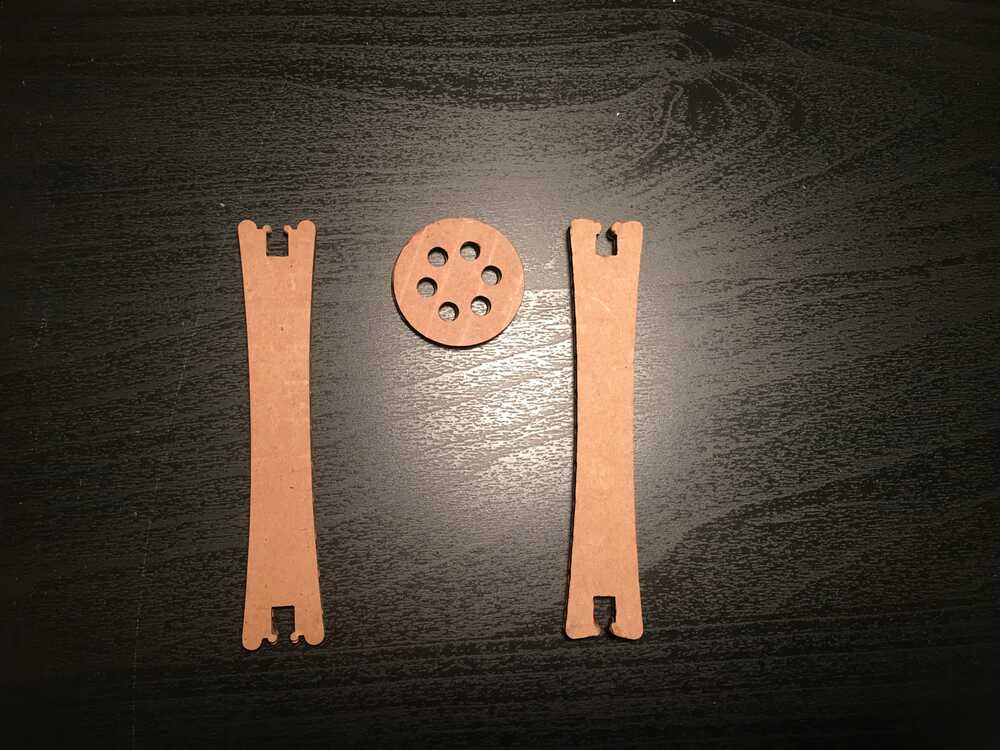
The first assignment this week was to make a parametric cardboard construction kit, which can be assembled in multiple ways, on a laser cutter. I’m not very experienced in CAD, and I wanted my kit parts to be very simple and able to be assembled in various ways. So, I came up with these two parts, which I designed in Fusion 360.
Files: tile.dxf, connector.dxf, and connector.dxf
The cardboard thickness was 4.3 mm, while during the group assignment we measure the kerf to be 0.23 mm.
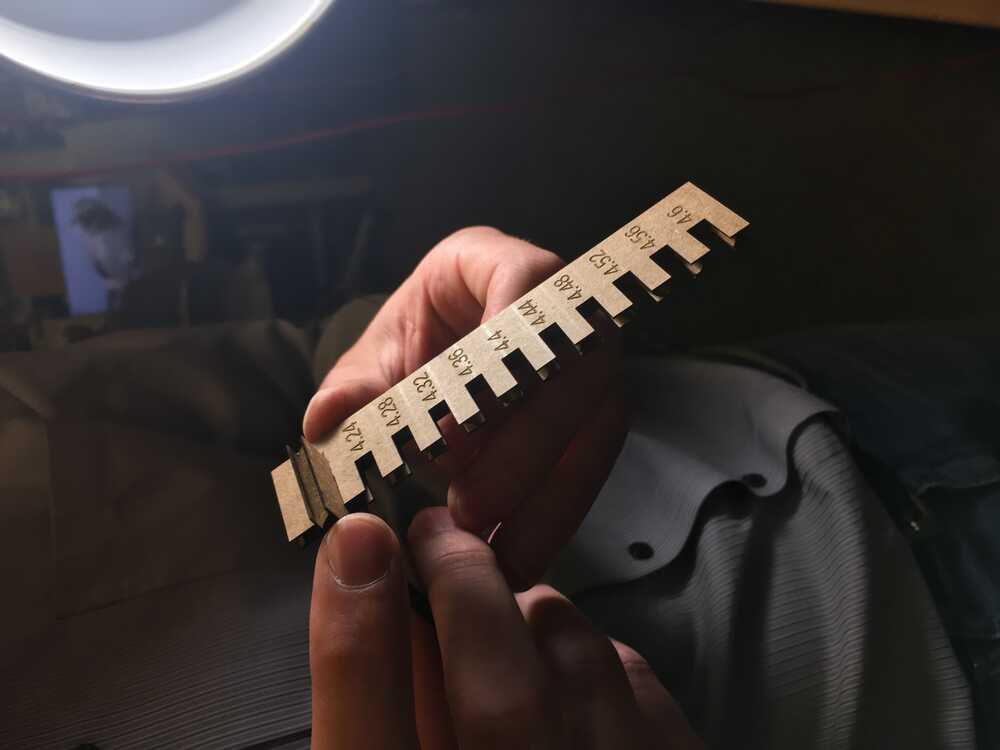
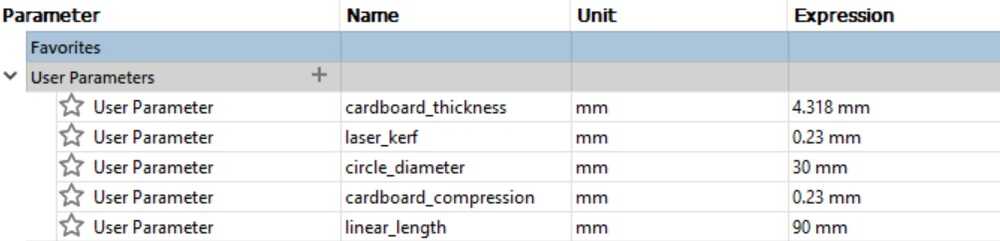
Thickness and kerf were taken into account to make shapes that should exactly interlock. I also took into account another parameter in the design, the compression of the material, which determines how much I intentionally undersize certain components in order to compress the cardboard. Compression of the cardboard was estimated about 0.23 mm. While testing different printing settings in the GCC pro laser cutter, i.e. speed, power and PPI, we found out that the optimal settings for cutting through were: speed:2.5 (above 3.5, parts cannot be cut through); power: 100 (below 90, parts start needing encouragement to fall out); PPI: 200 (below this threshold its difficult to cut through).Below are shown the parameters that were concidered in the design.
Even though I designed and cut the linear part two times, my parts were not connected very well, and the joint was weak. As I learned afterwards, I have to be within a few thousands of an inch for the tolerance to be good for the joint.
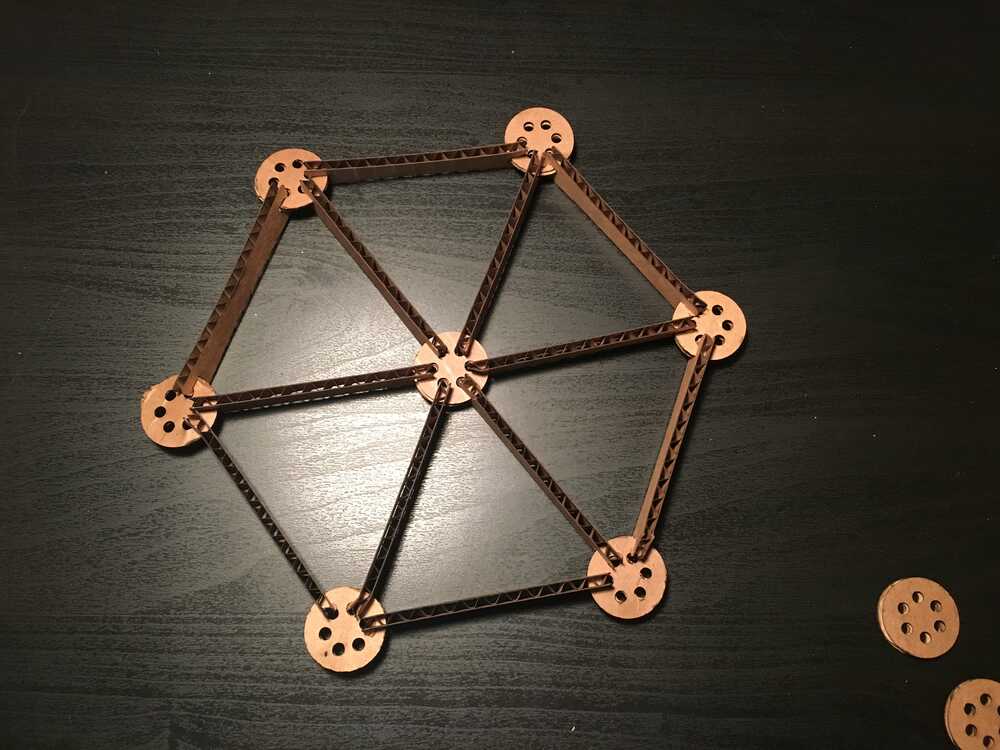
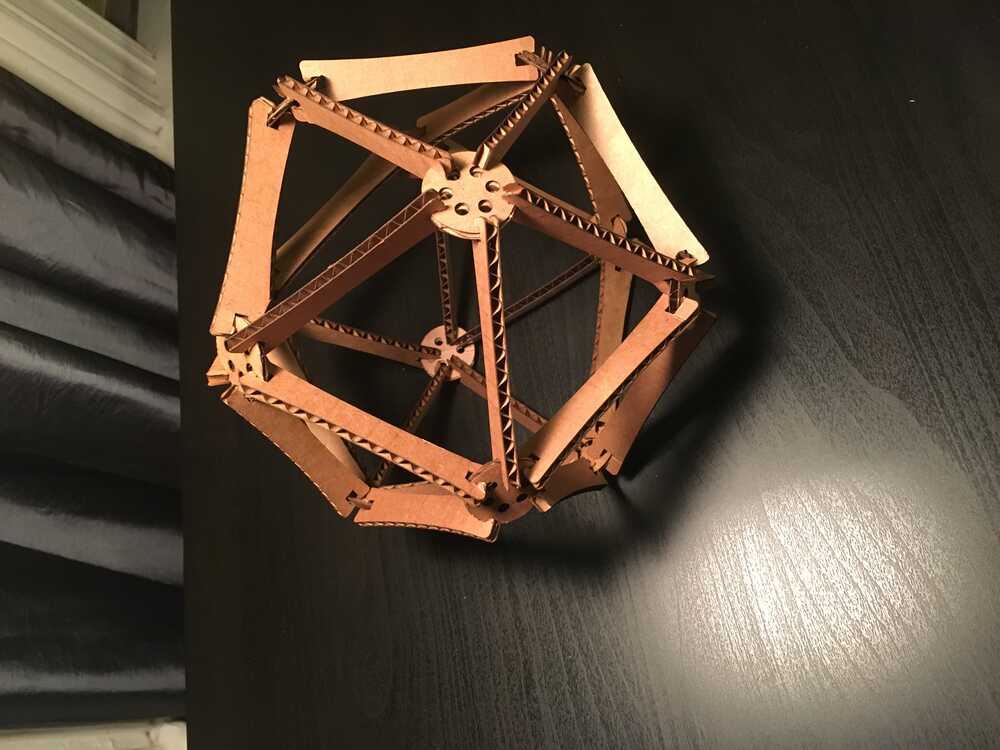
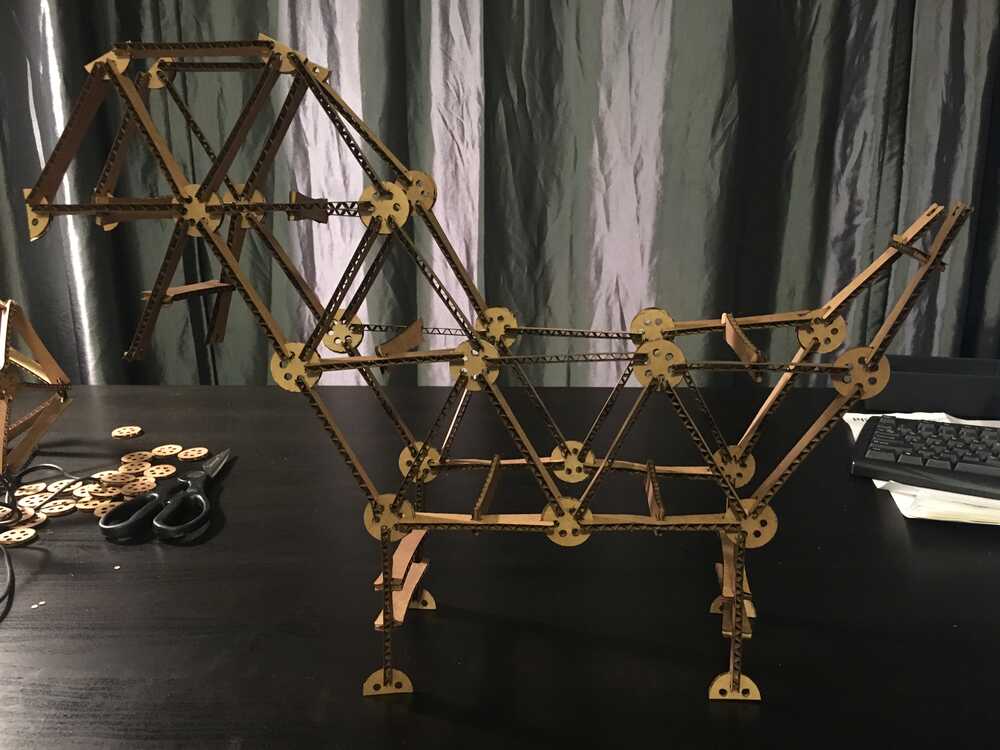
Despite the design failure, these two parts can be combined to develop various constructions, from classic geometric patterns and polyedrons to more complex shapes like a dog (I always wanted to have one!).
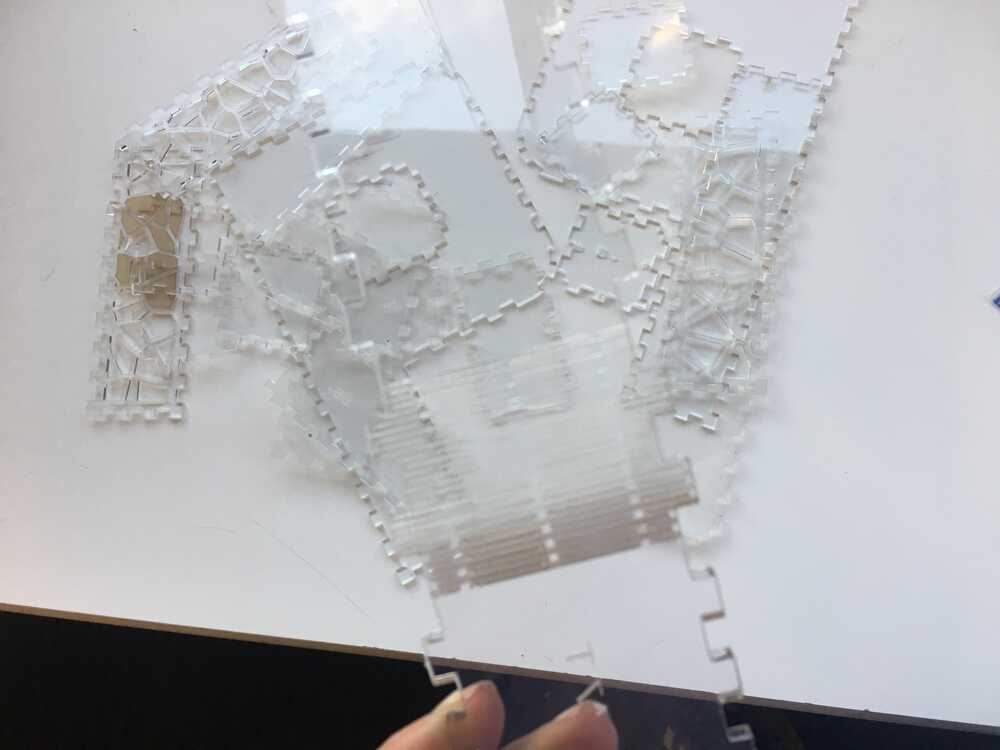
I also tryed Kyub software to design a construction kit. It was very easy and fun and I used it to explore the design and cut of bendable parts and patterns. I wanted to explore also different materials instead of cardboard, and I first tried acrylic, which was a disaster. Although my parts came out well - except for the bendable which broke before the assembly process - their assembly was impossible, because acrylic is very rigid.
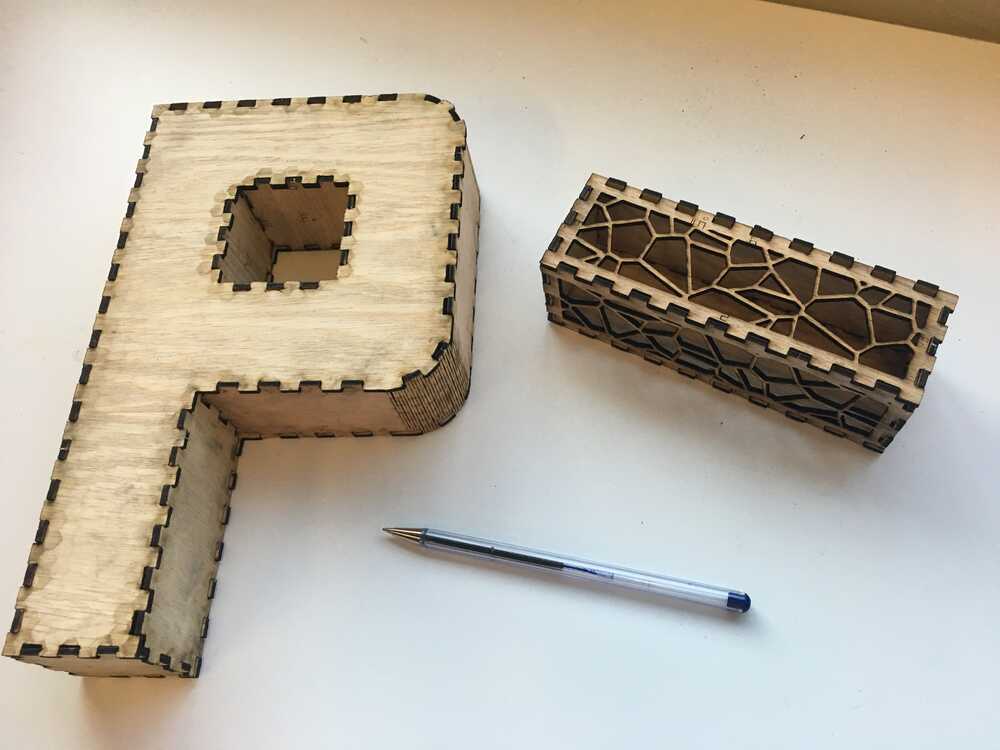
I tried again using plywood this time. Cutting proceeded smoothly. The bendable part was very difficult to cut and being functional; in order to acheive this I printed it 4 times with different settings in the Epilog laser cutter (optimal settings:speed 20; power: 40; frequency: 400). Different settings were used to cut the outer frame of the bendable part (speed: 9; power: 70; frequency: 600).
Cutting on the vinylcutter
The second assignment of the week was to cut something on the vinylcutter. I learnt how to use the Rolland GS 24 vinyl cutter, which is a very easy to use and fun machine. I decided to use the vinylcutter to develop an educative poster to decorate my new CBA office.
I found online in the webpage of Water Footprint Network an image showing the water footprint of different products, i.e. how much water (in liters) was consumed to produce them. I edited the image in Photoshop in order to isolate the parts of the image that I wanted to print. Then, I imported the images in Inkscape for bitmap tracing to convert it to a vector.
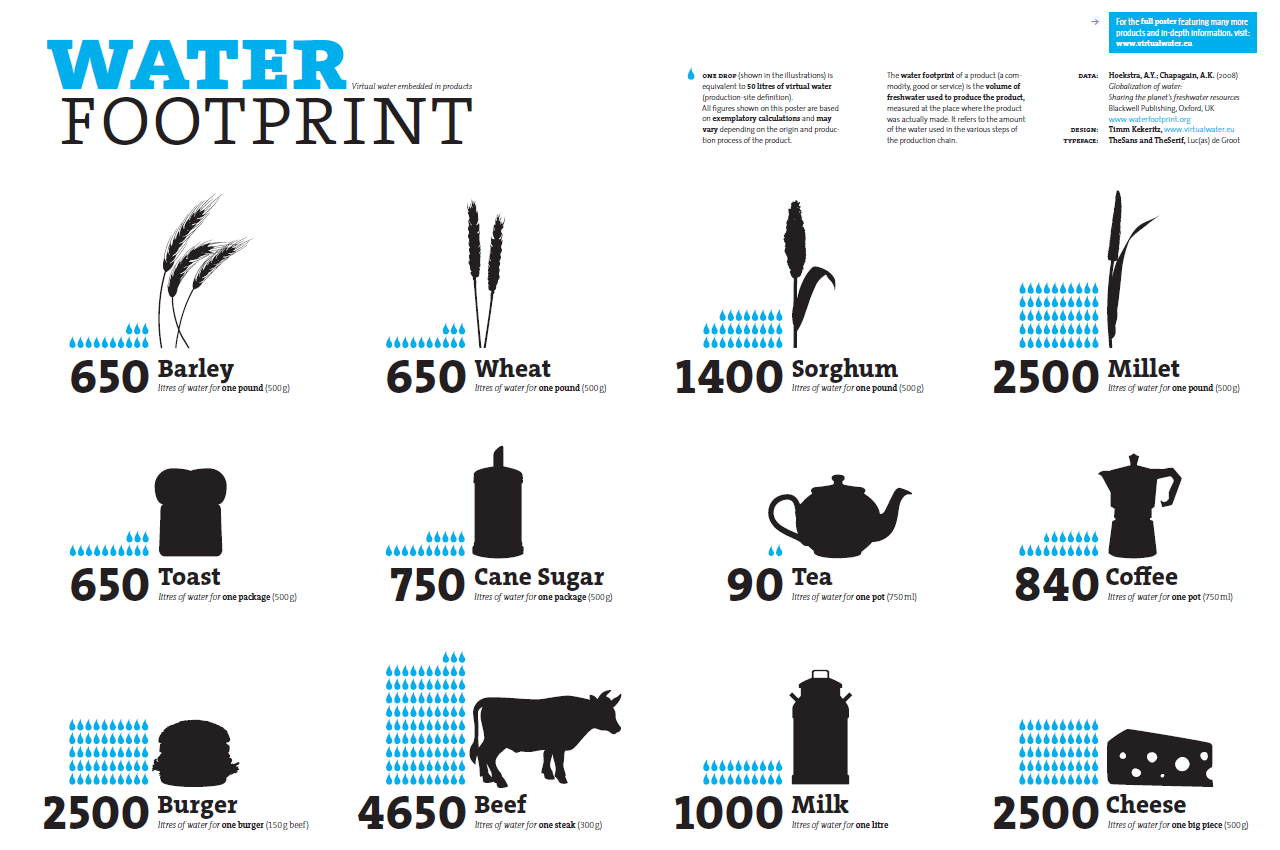
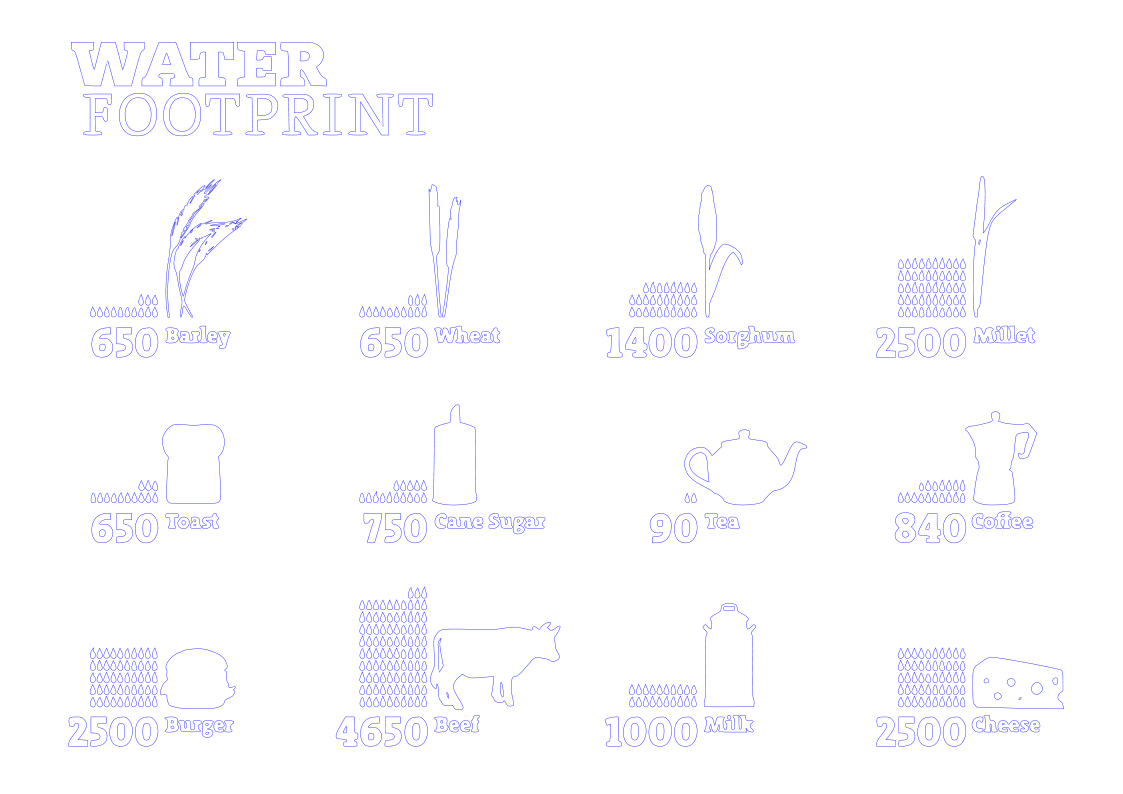
I used 2 different vinyl colors, black and blue, to cut different parts of the image. Although the vinyl cutter took only a few minutes to cut my design, weeding took about two hours. Weeding of the tiny blue dots of the original image was impossible, so I redesigned the drops and recut them. Then, I took an acrylic sheet, cut it in the laser cutter to the preffered dimensions and transferred the image on it.
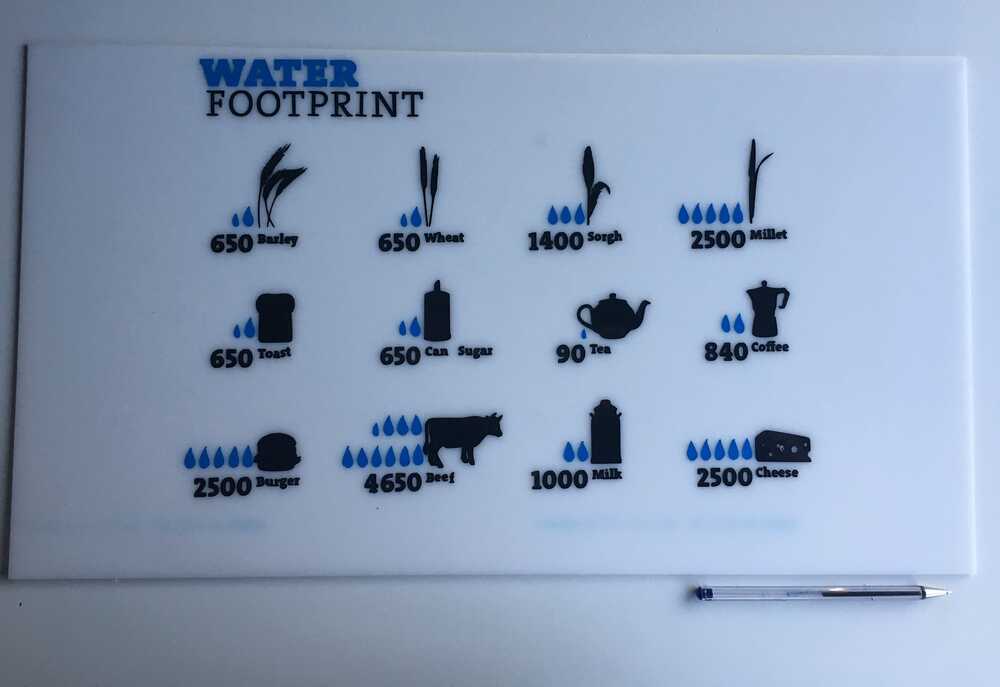
I like it! I will use this machine to decorate my items and develop more cool stuff in the future.