Final Project
This is the page where I kept track of the development of my ambitious final project. It was updated regularly during the semester. The first part (The Big Idea: Robotic fish for monitoring water quality) describes the inspiration and initial ideas, while the second part (Implementing The Big Idea: Mr. Fishy!) descirbes the actual final project and its implementation.
The Big Idea: Robotic fish for monitoring water quality
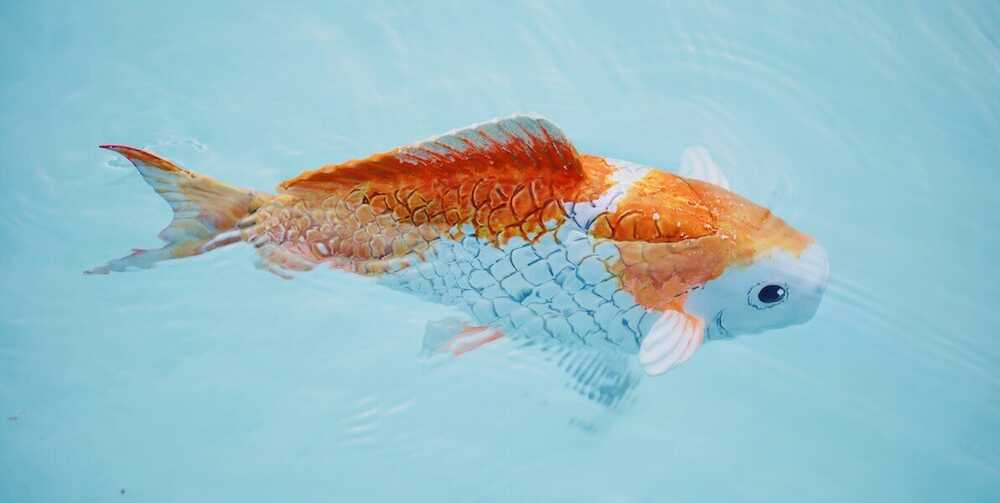
I want to build a soft robot, mimicking the physical (e.g shape and color) and behavioral (e.g. buoyancy, linear velocity, vibration in motion) characteristics of a fish, in order to be integrated in the marine environment and moving efficiently underwater. The robotic fish will provide on-site, real time water quality monitoring to control and protect marine environment and drinking water supplies.
Who have done similar things before and why?
A significant amount of research has been focused on developing similar (soft) robots, using them as efficiently moving underwater vehicles for different reasons. Some examples are:
- Scientists at MIT designed and built a series of robotic fish in the RoboTuna project (started in 1993) to investigate the possibility of constructing a robotic submarine that could reproduce the way tunas swim and see if they could find a superior system of propulsion for the Autonomous Underwater Vehicles (AUVs).
- A previous HTM(a)A student built an interactive fish tank in 2012, where the robotic fish would respond in human presence.
- Researches at Ecole Polytechnique Federale de Lausanne (EPFL) developed in 2017 a miniature robot for studying the social interactions between fish. This "robotic spy" can swim with fish, learn how they communicate with each other and make them change direction or come together.
- Scientists from MIT's Computer Science and Artificial Intelligence Laboratory (CSAIL) made in 2018 SoFi, a soft robotic fish that can independently swim alongside real fish in the ocean, to document and study marine life up close.
- A team of mechanical engineering students in the University of South California built the SCI-FI BOT in 2019 to understand the fish motion. It was made as realistic as possible mimicking the look and appearance of a Sarasa Comet Goldfish.
- Researchers at the University of Western Australia developed a robotic fish in 2019, that behaves like a bodyguard for native species and safeguards them against the aggressive attitudes of invasive pests.
How would it be made?
Some first ideas:
- A flexible and strachable material should be used (e.g. silicone rubber, flexible plastic) - maybe by molding and casting? - to emulate the capabilities of a real fish;
- Embedded electronics: pH sensor and conductivity sensor for water quality data, camera to record marine environment;
- 3D printed parts to hold the electronics;
- In addition to providing water data, the robotic fish maybe able to modify the way it swims according to to change its swimming patterns according to the conditions detected by the sensors.
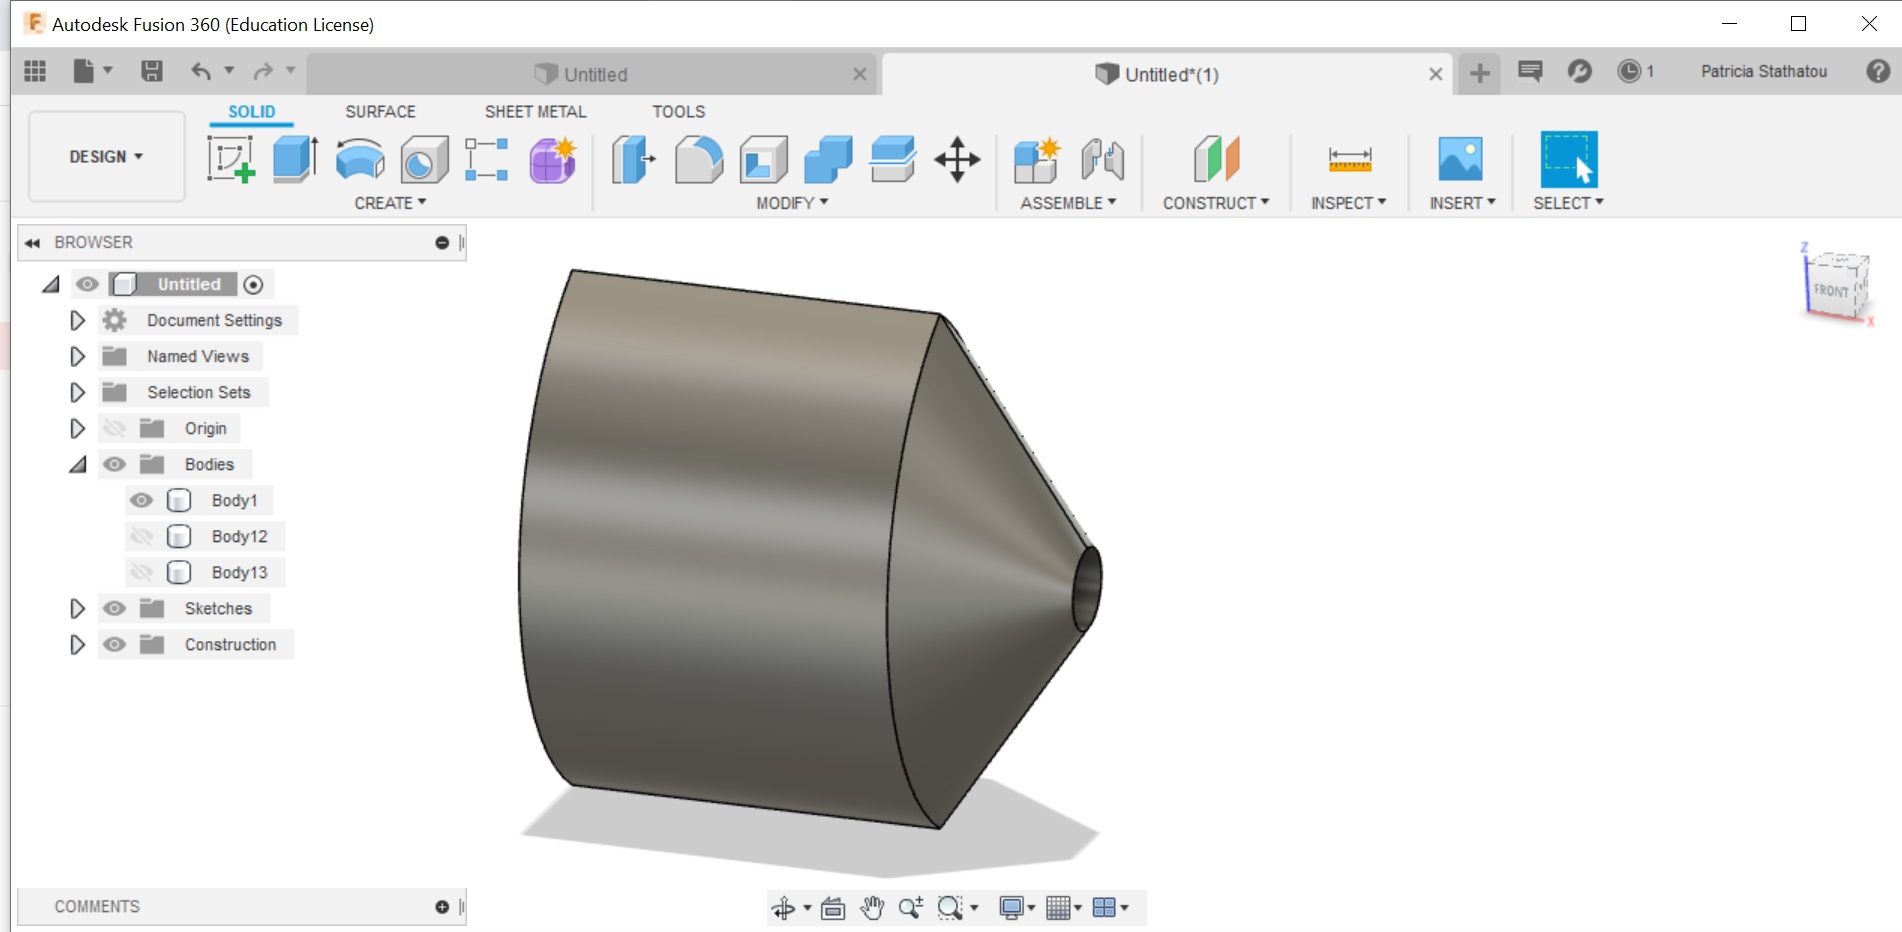
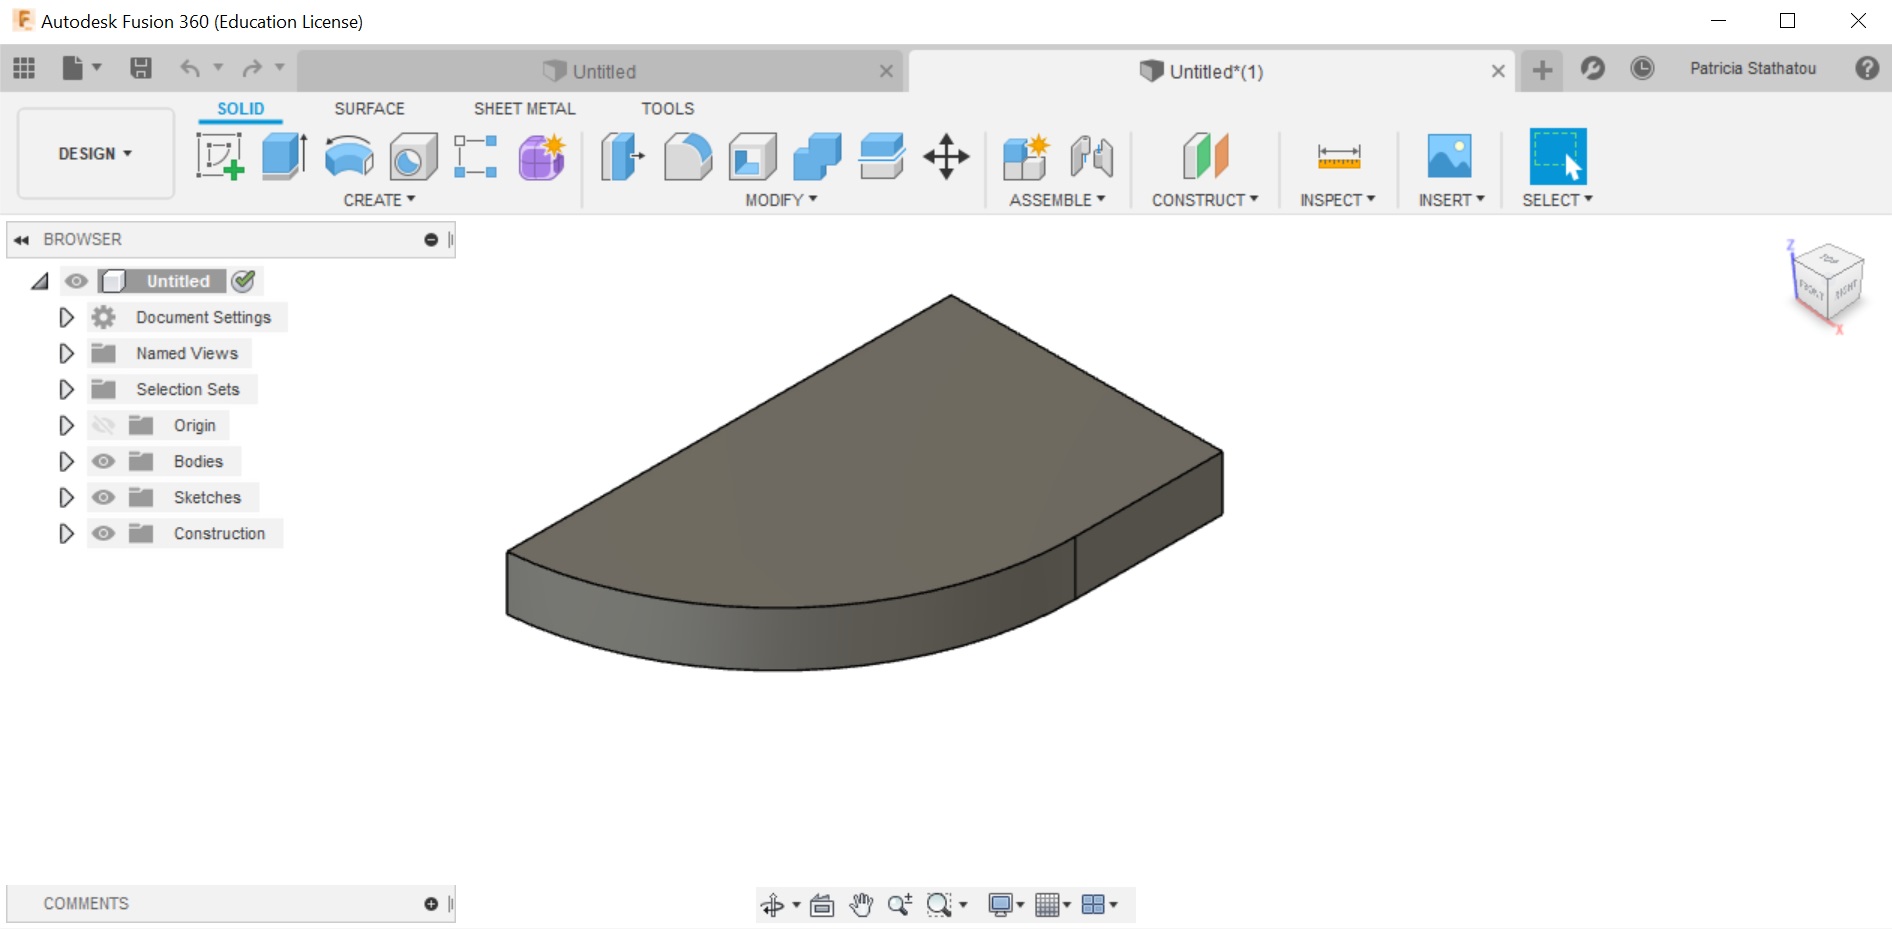
Here is a fist 3D model I developed in Fusion 360, it needs a lot of improvement though...
Organization & Planning
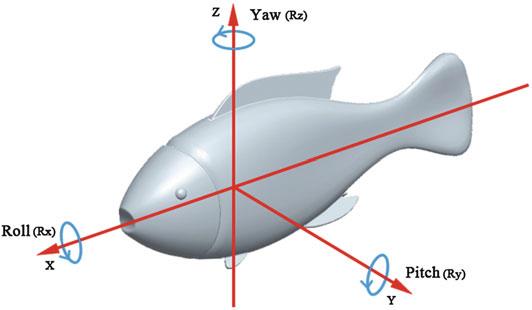
Locomotion - Fish propulsion method
- The shape of fish determines how the fish swim;
- Fish are subject to various forces causing it to roll, pitch, and yaw.
Fins
- Fish fins also play an important, and in many species a dominant, role in propulsion.
- Pectoral fins are commonly used for slower speed swimming and to generate thrust for steady swimming, and off-axis forces for maneuvering.
- Swimming bluegill sunfish as speed increases: At slow speeds below 1.0 L/s, the paired fins contribute 100 % of thrust, and the body provides no thrust. As speed increases to over 1.5 L/s, pectoral fins contribute approximately three-quarters of needed thrust, and body undulation occurs to complete the needed thrust to swim at this speed. At the highest steady swimming speeds, the pectoral fins contribute almost nothing to thrust, and the body nearly 100 %. And the bluegill dorsal fin contributes about 12 % of total thrust at speeds of 1.1 L/s.
There are generally two types of swimming methods: one using Body and/or Caudal Fin (BCF) and the other using the Medium and/or Paired Fin (MPF).BCF (i.e. tail flapping) is used by approximately 85 % of the fish species.
- Oscillatory motion, or the “C” mode, (e.g. carp);
- Undulatory motion, or the “S” mode (e.g. eel).
Implementing The Big Idea: Mr. Fishy!
As the semester went by, and I got more familiar with 3D design, electronics and programming, my idea was finalized. My final project would be a robotic fish which would measure the pH of water while swimming, and be able to send the measurements real-time in a web page through wifi. The fish would be named Mr. Fishy!
The Fish Brain: PCB Design & Manufacturing
After brainstorming and consulting with the electronics gurus Jiri and Chris (thank you soooo much guys!) the draft schematic of the fish brain/pcb board was developed and the necessary components to build it were finalized.
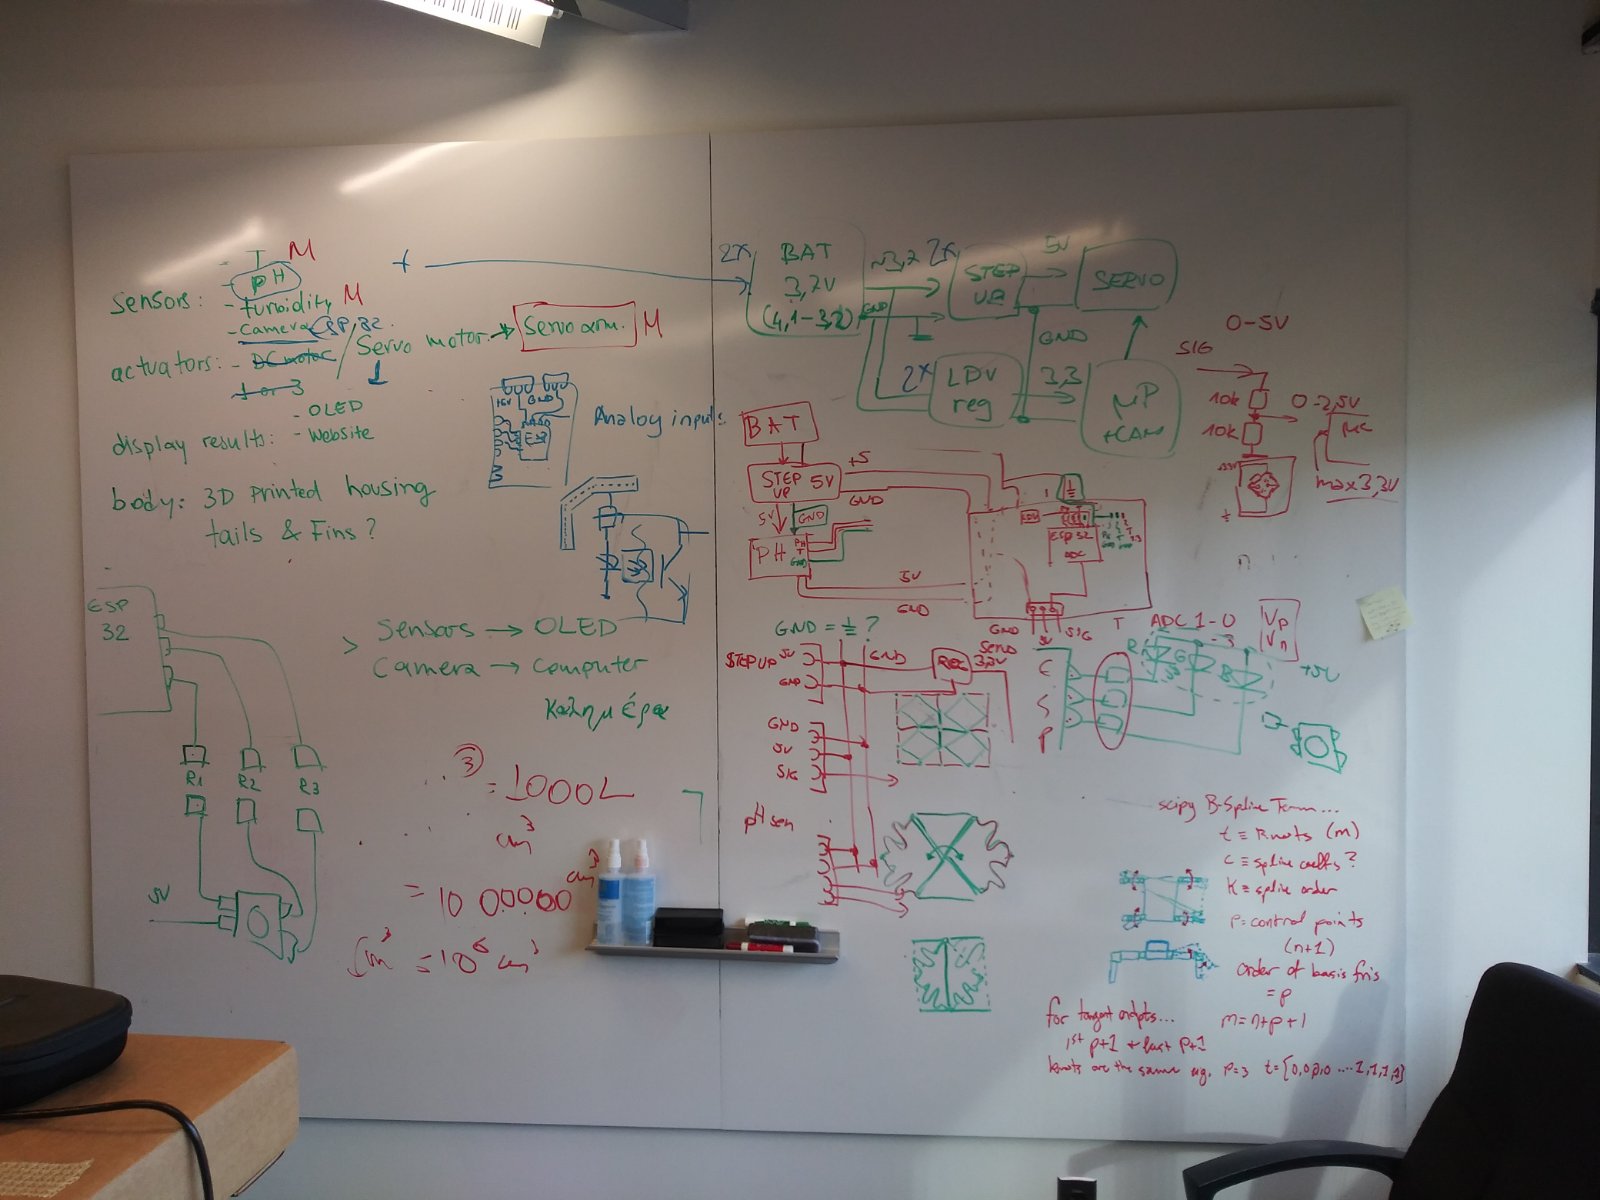
The following components were used to build the brain of Mr. Fishy (main pcb board):
- Microcontroller ESP32-WROOM;
- Step Up Power Supply Module;
- pH sensor;
- Servo motor;
- R1 10kΩ;
- RGB LED;
- R2 330Ω (red);
- R3 220Ω (blue);
- R4 220Ω (green);
- Slide switch;
- Button switch;
- 01 x 06 male connector;
- 01 x 03 male connector;
- 01 x 04 male connector x2;
- 01 x 02 male connector;
- C1 1μF;
- C2 10μF;
- C3 1μF;
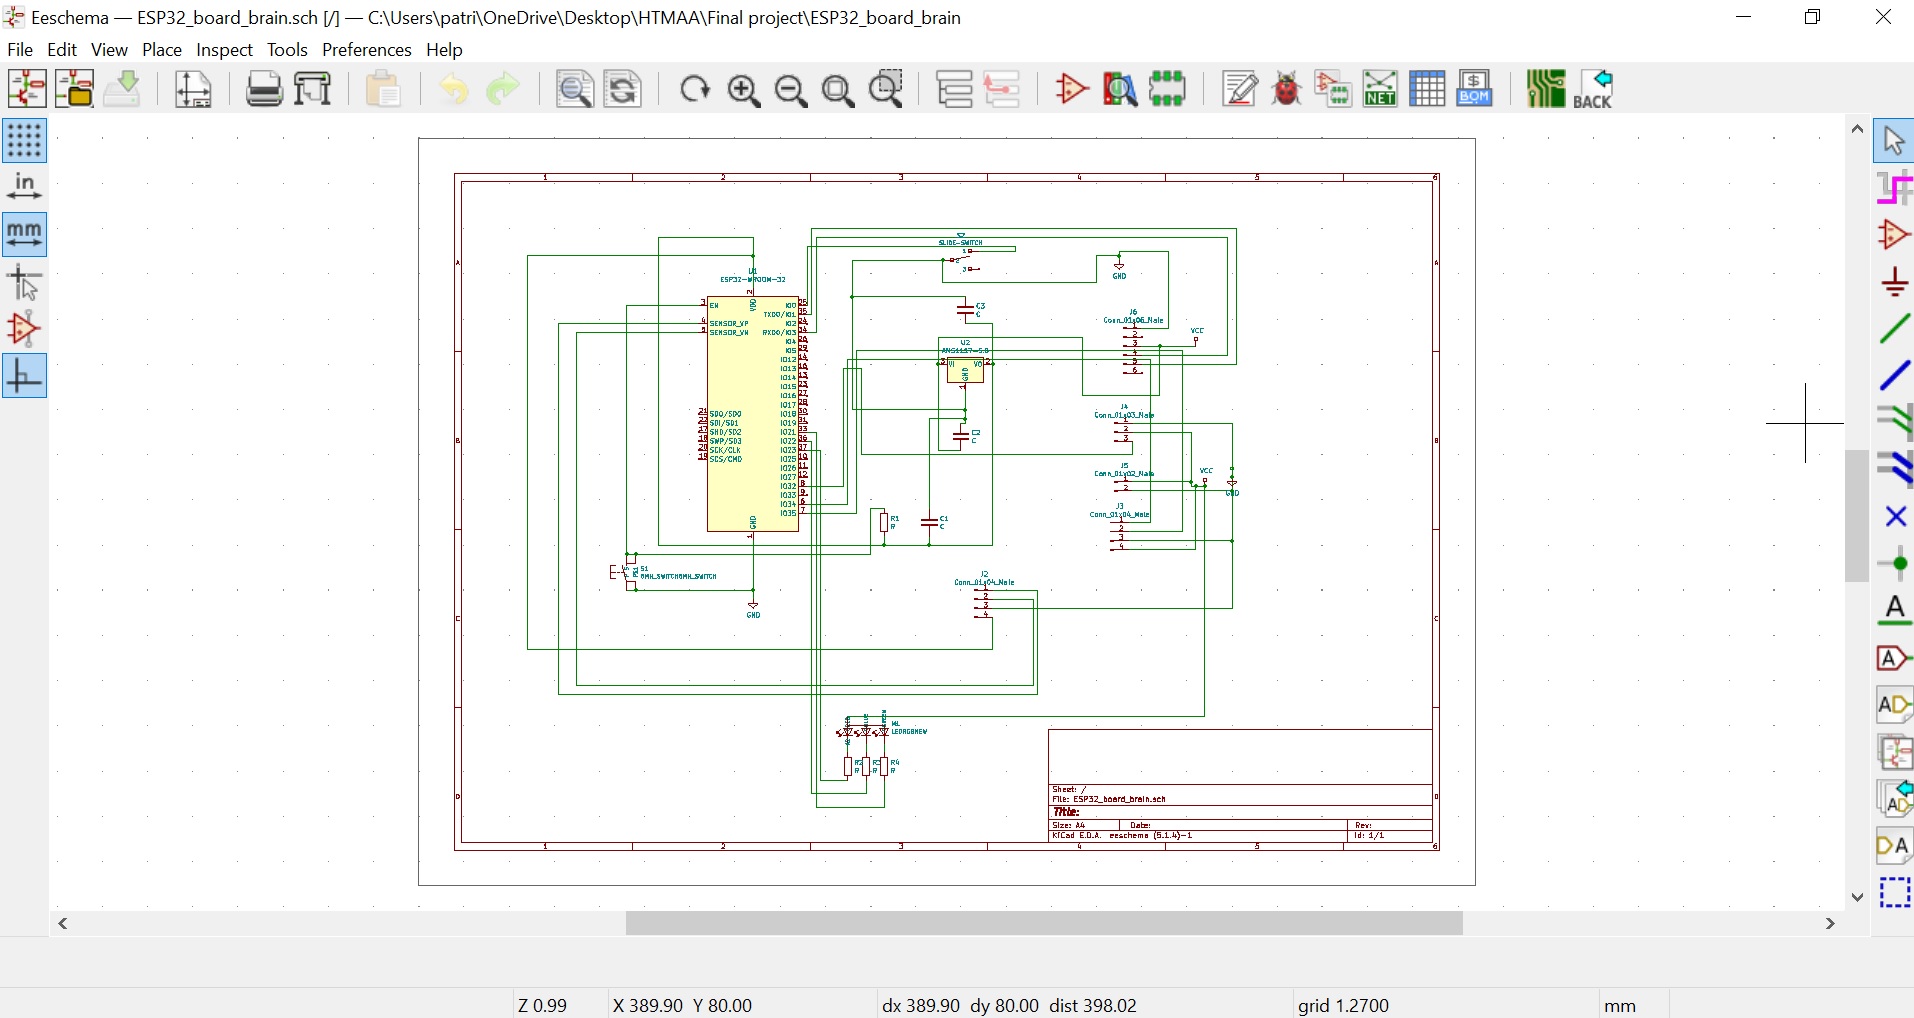
I designed the pcb using KiCad. The pH sensor was connected to ADC pins of ESP32 to convert the analog signals to digital outputs.

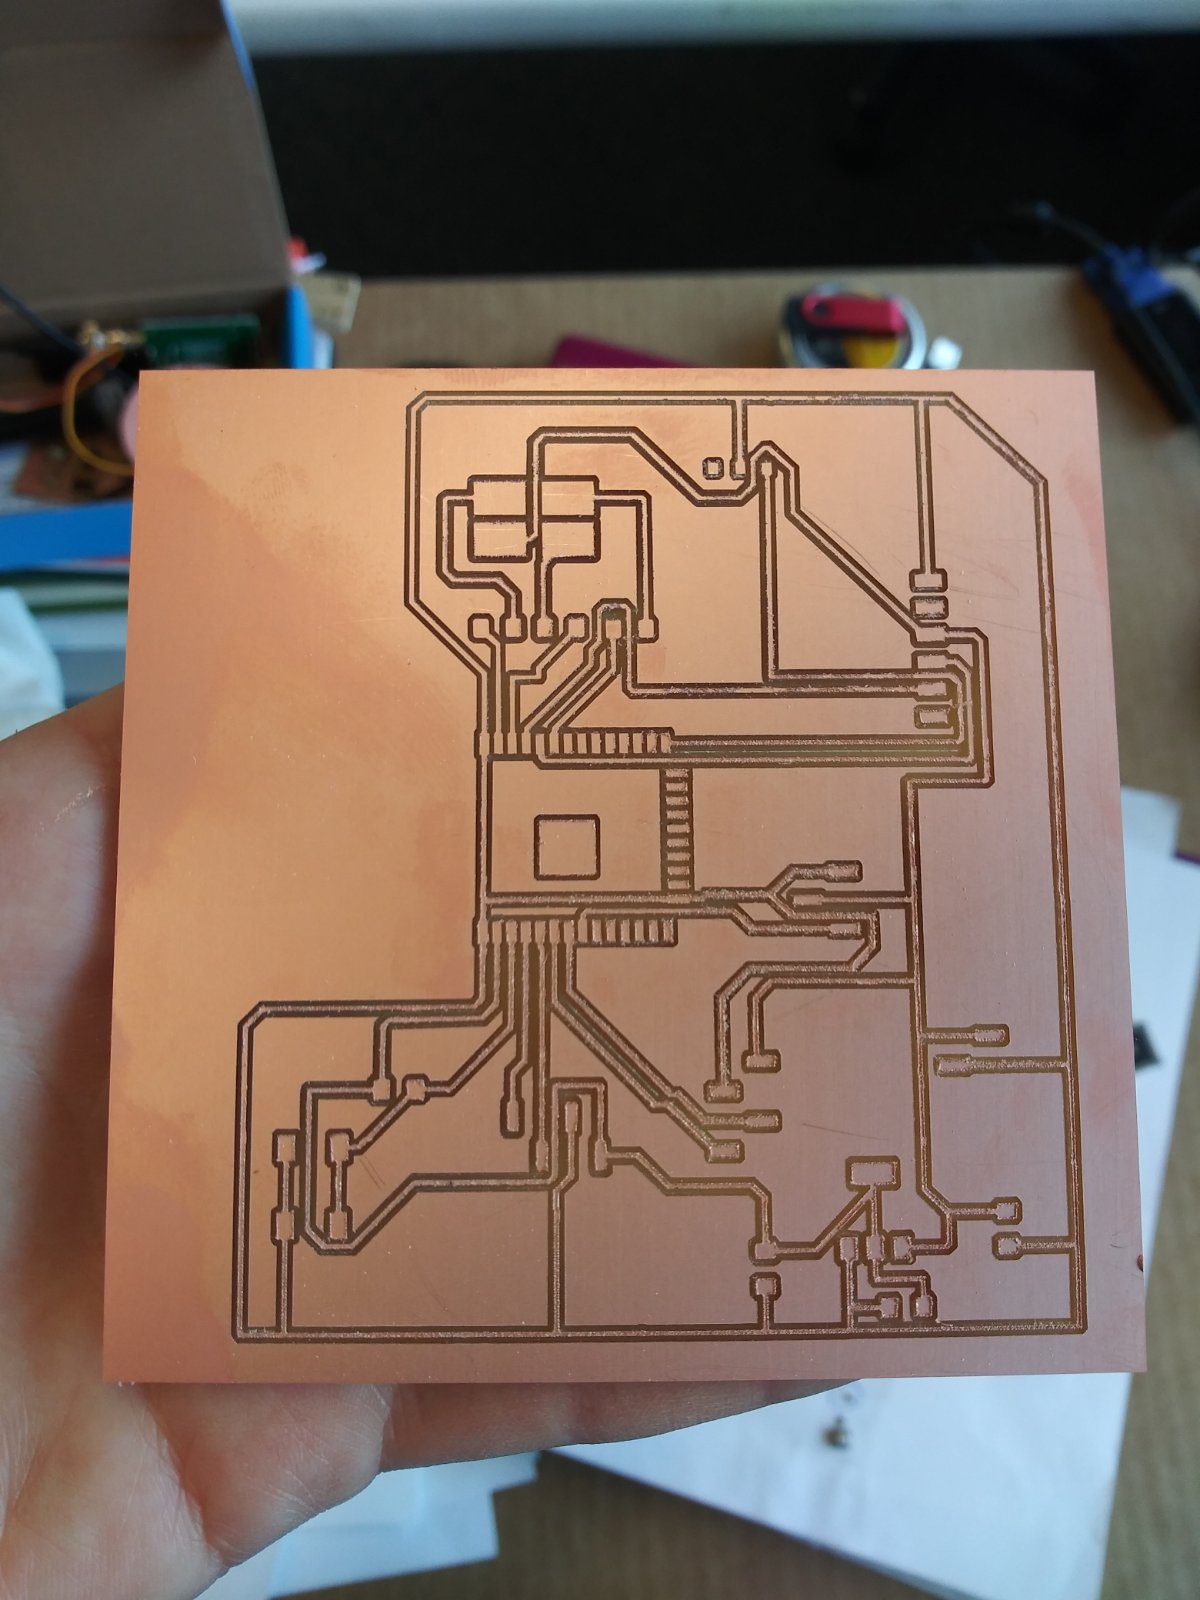
I used the Roland SRM-20 milling machine, controlled with mods to mill my board. I opened the traces file first in mods and mounted the 1/64" end mill. After setting the origin and zeroing the tool Z-axis manually, I set the cut depth at 0.004", the maximum depth at 0.008" and the offset at 4. I then sent the file to the machine and everything went smoothly. After milling the traces of the board, I mounted the 1/32" end mill to the machine and I imported the outline file in mods. I used the default settings, set the origin, zeroed the Z-axis and sent the file to the machine. My board was ready!
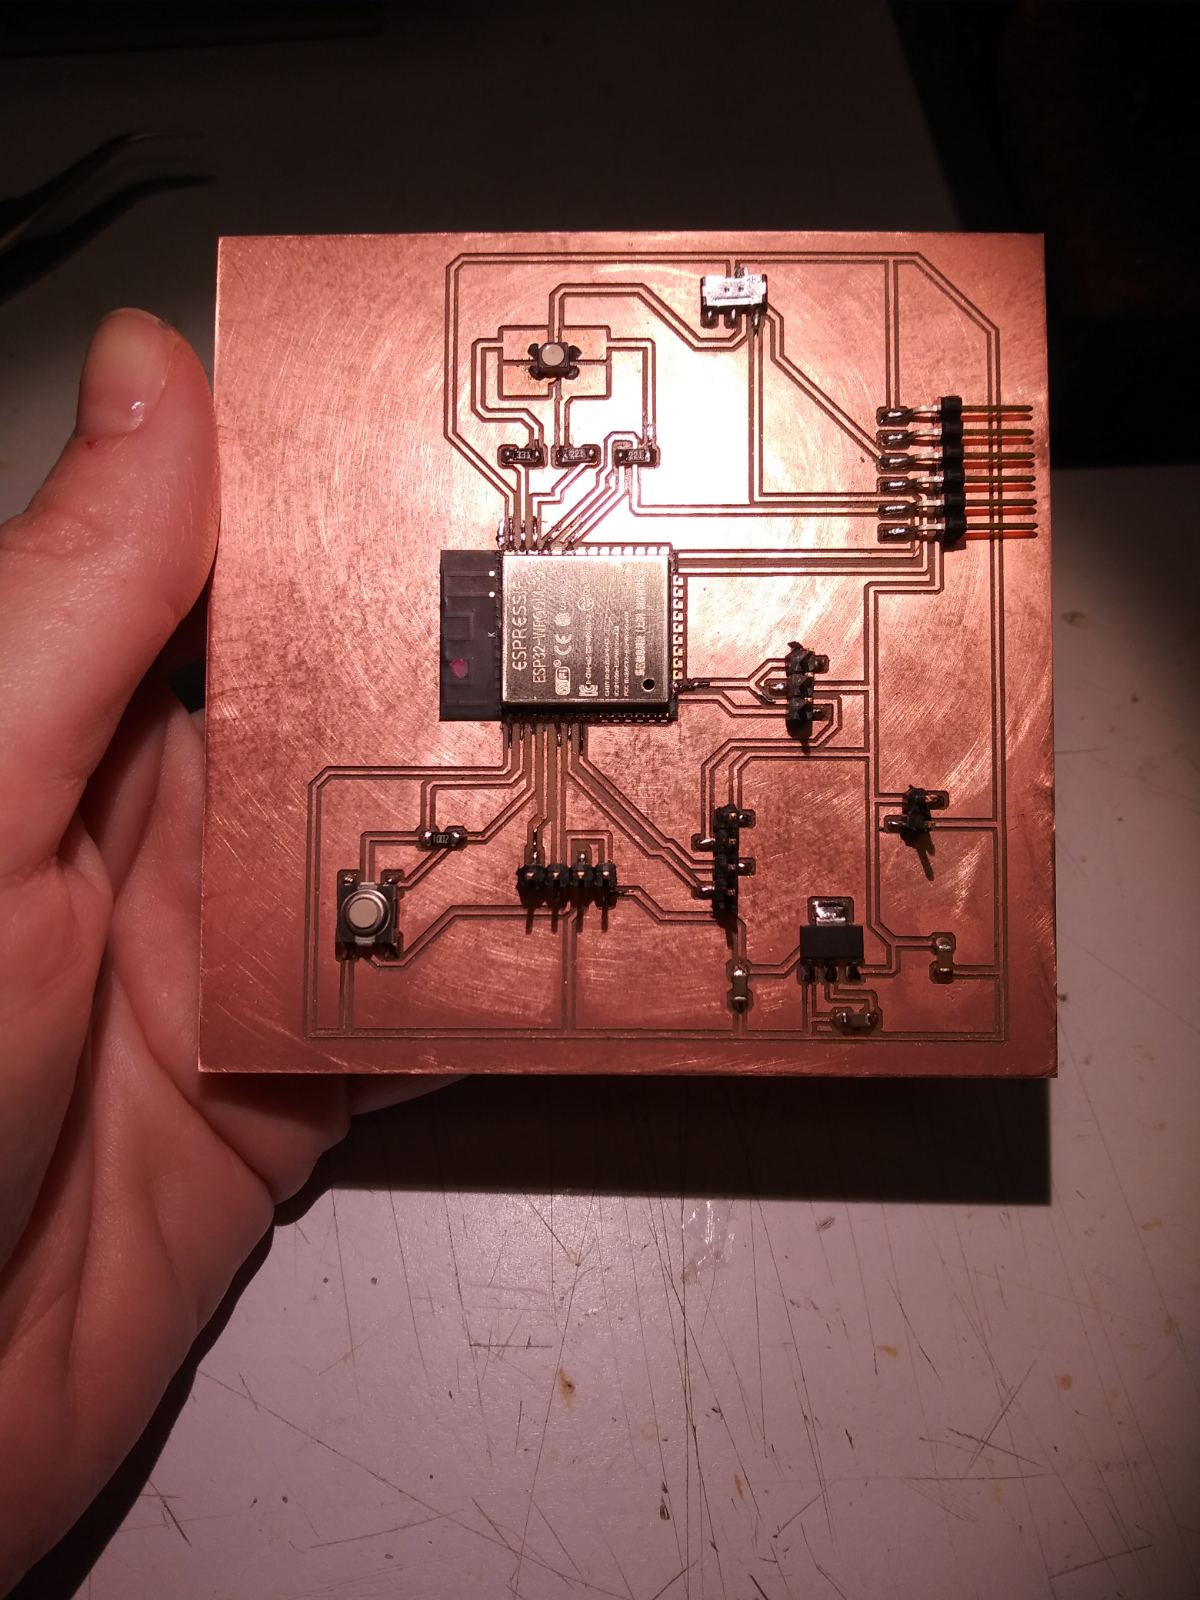
Then, I soldered the necessary components (see the list above) on my board.
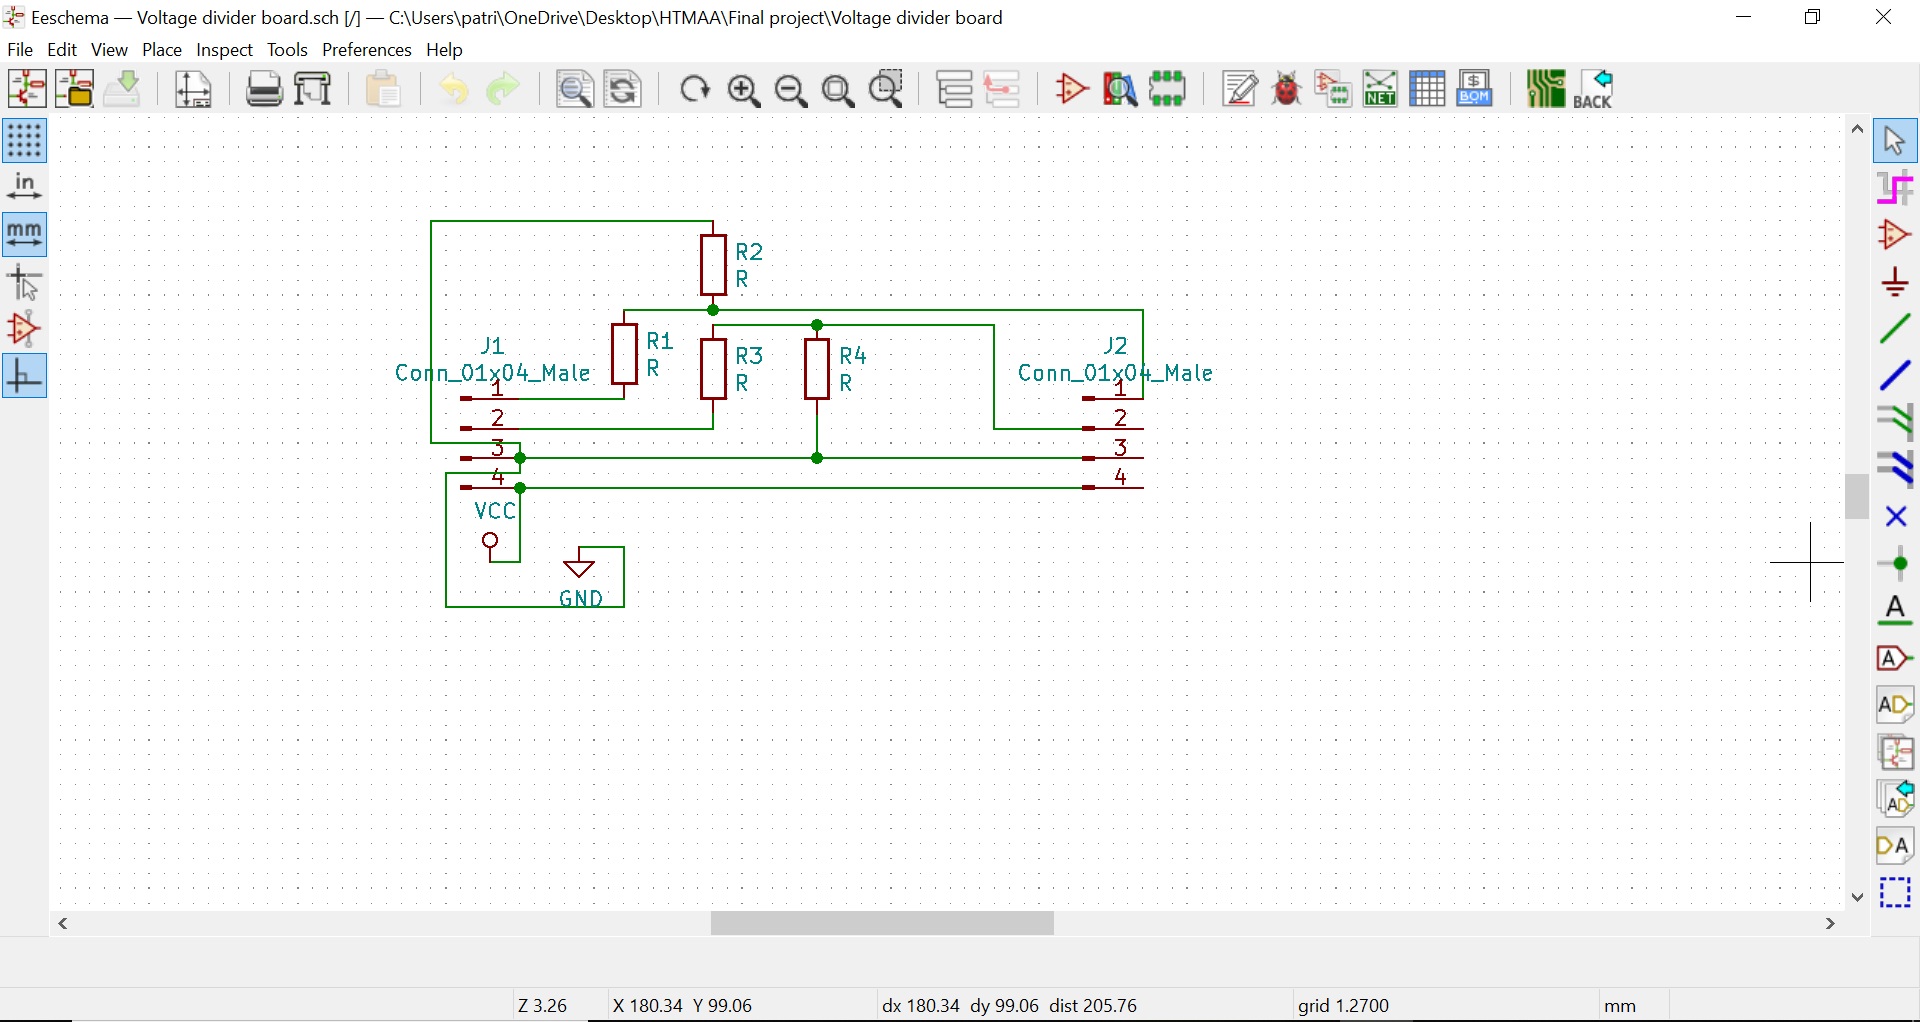
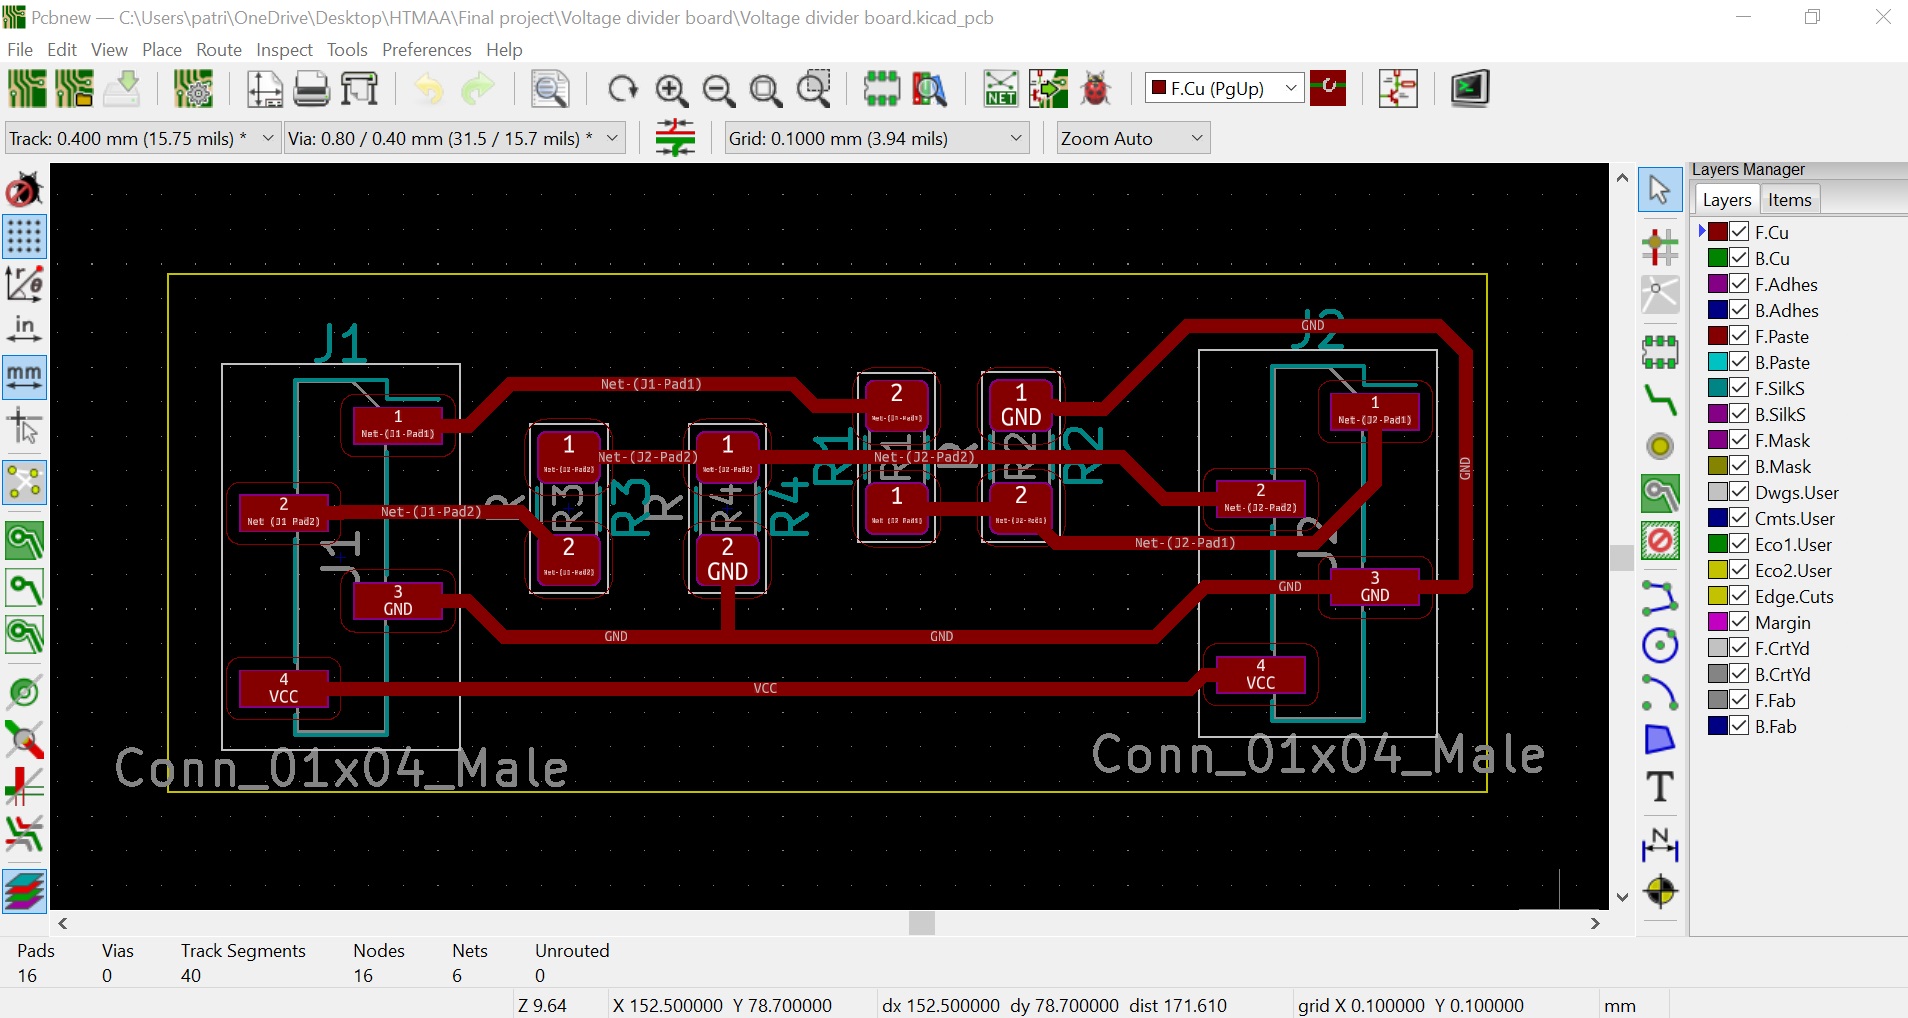
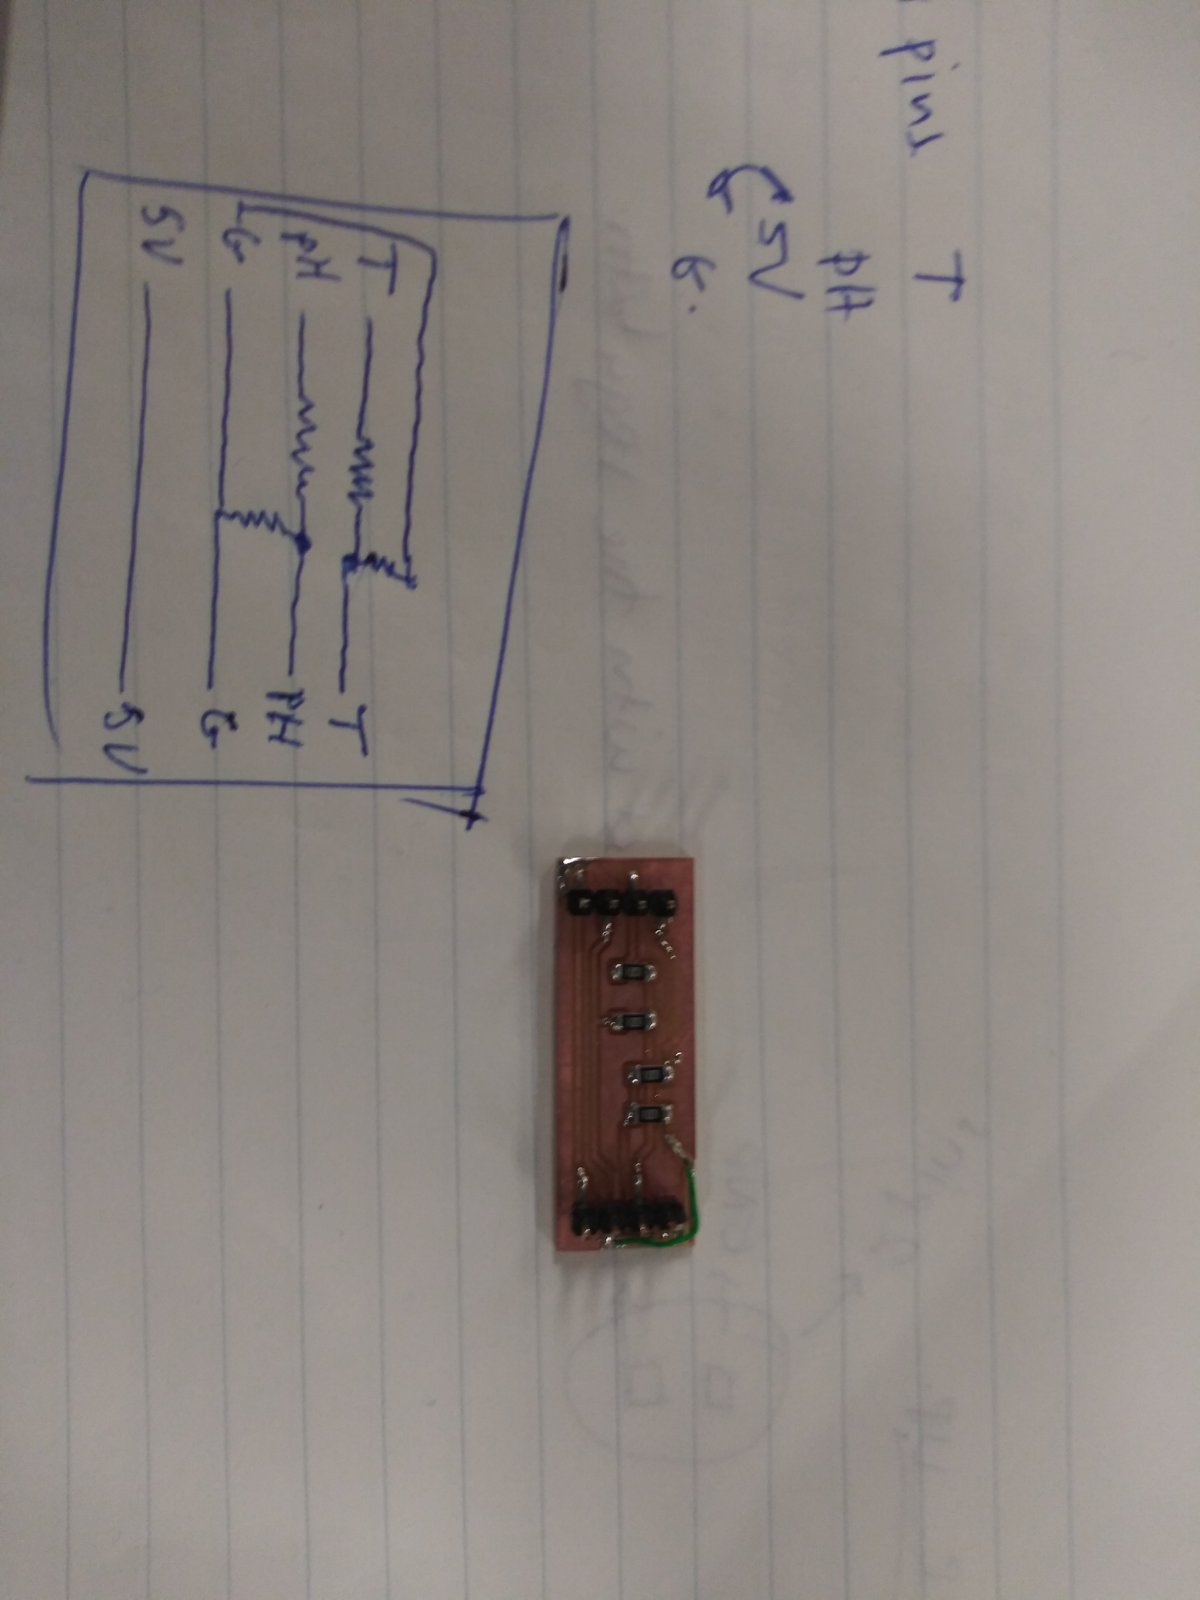
A 3V FTDI camble was used to connect the PCB with my laptop and program it. Arduino IDE was used for programming. A voltage divider board (the voltage going to the analog pin of ESP32 should be half the voltage coming out of the pH sensor) was also built for the pH sensor and connected with the main board. The voltage divider board was designed with KiCad and milled in the Roland SRM-20.
Then, I calibrated the pH signals (counts) read by the ESP32 using 3 different solutions of known pH (4, 7 and 10) and I made a linear regression using the known pH values and the relevant counts (y=-110.16667x + 2851.1667). I then programmed the RGB LED to turn red if the pH is between 0-6 (acidic pH), green if the pH is between 6.1-8.5 (neutral pH), and blue if the pH is gretaer than 8.5 (basic pH).
A lithium polymer battery was used to power the pcb.
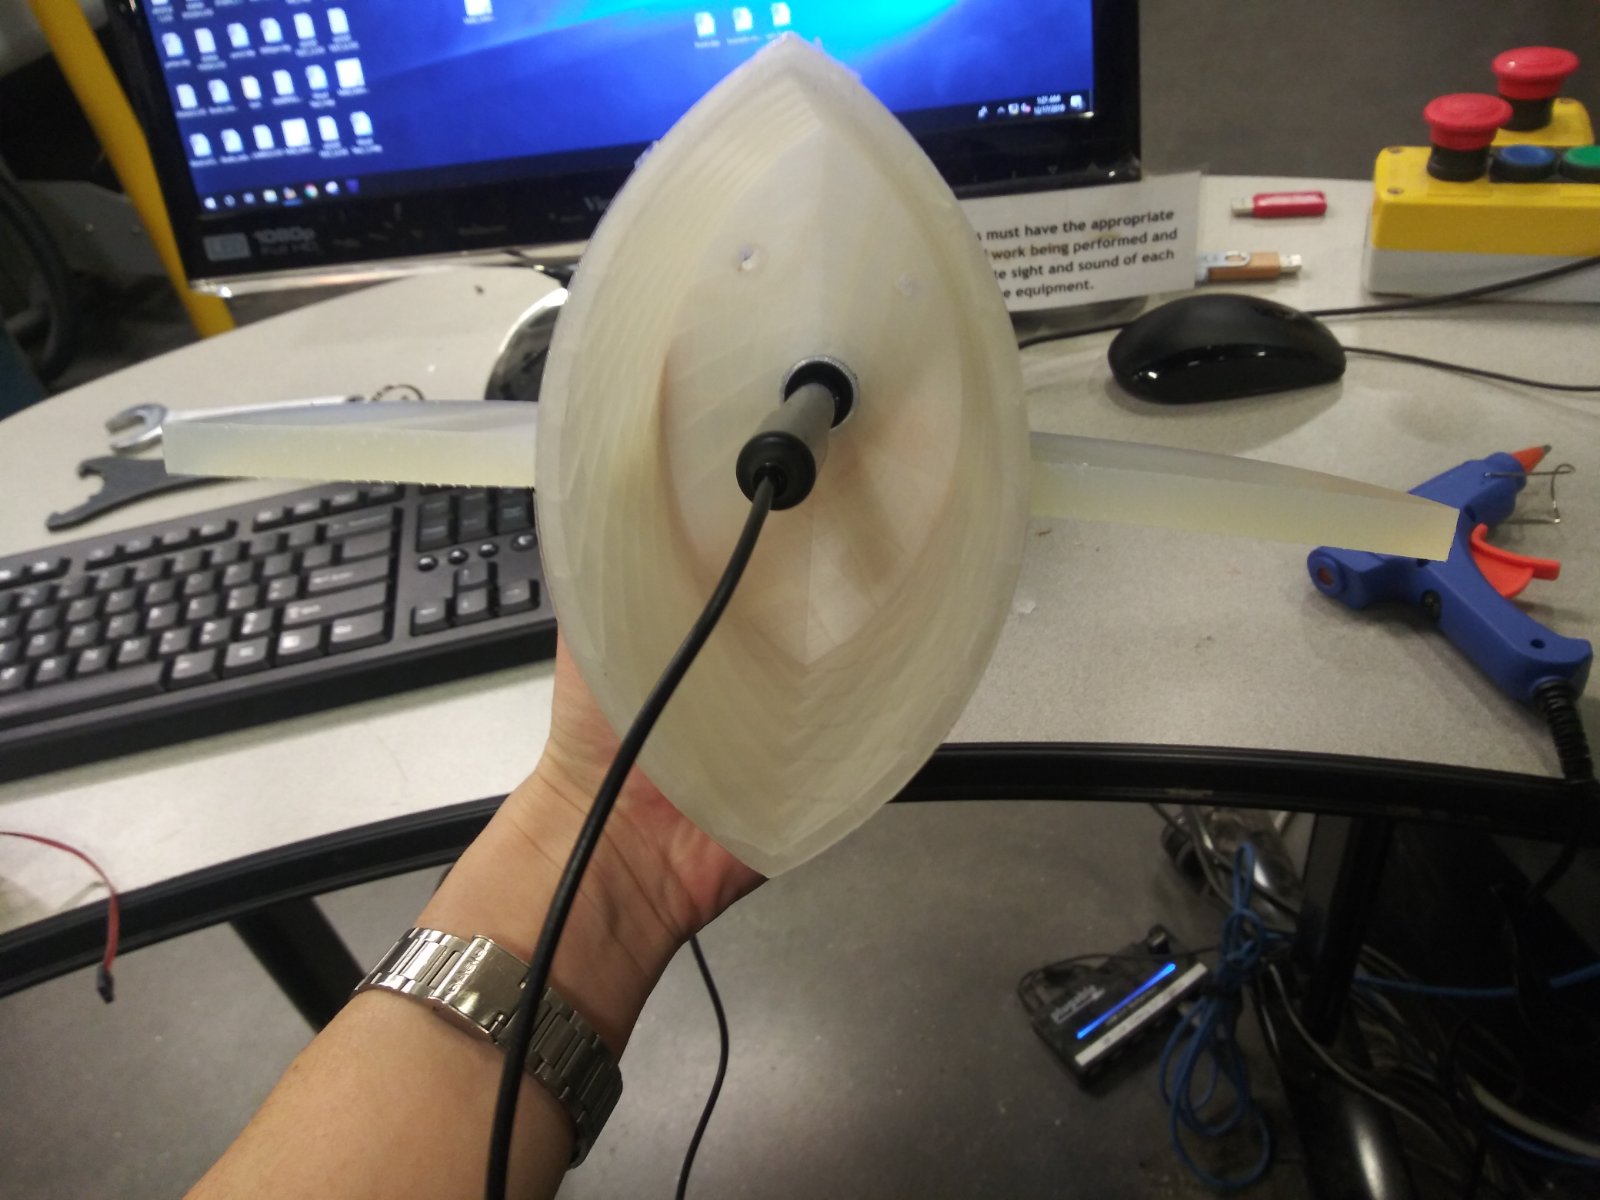
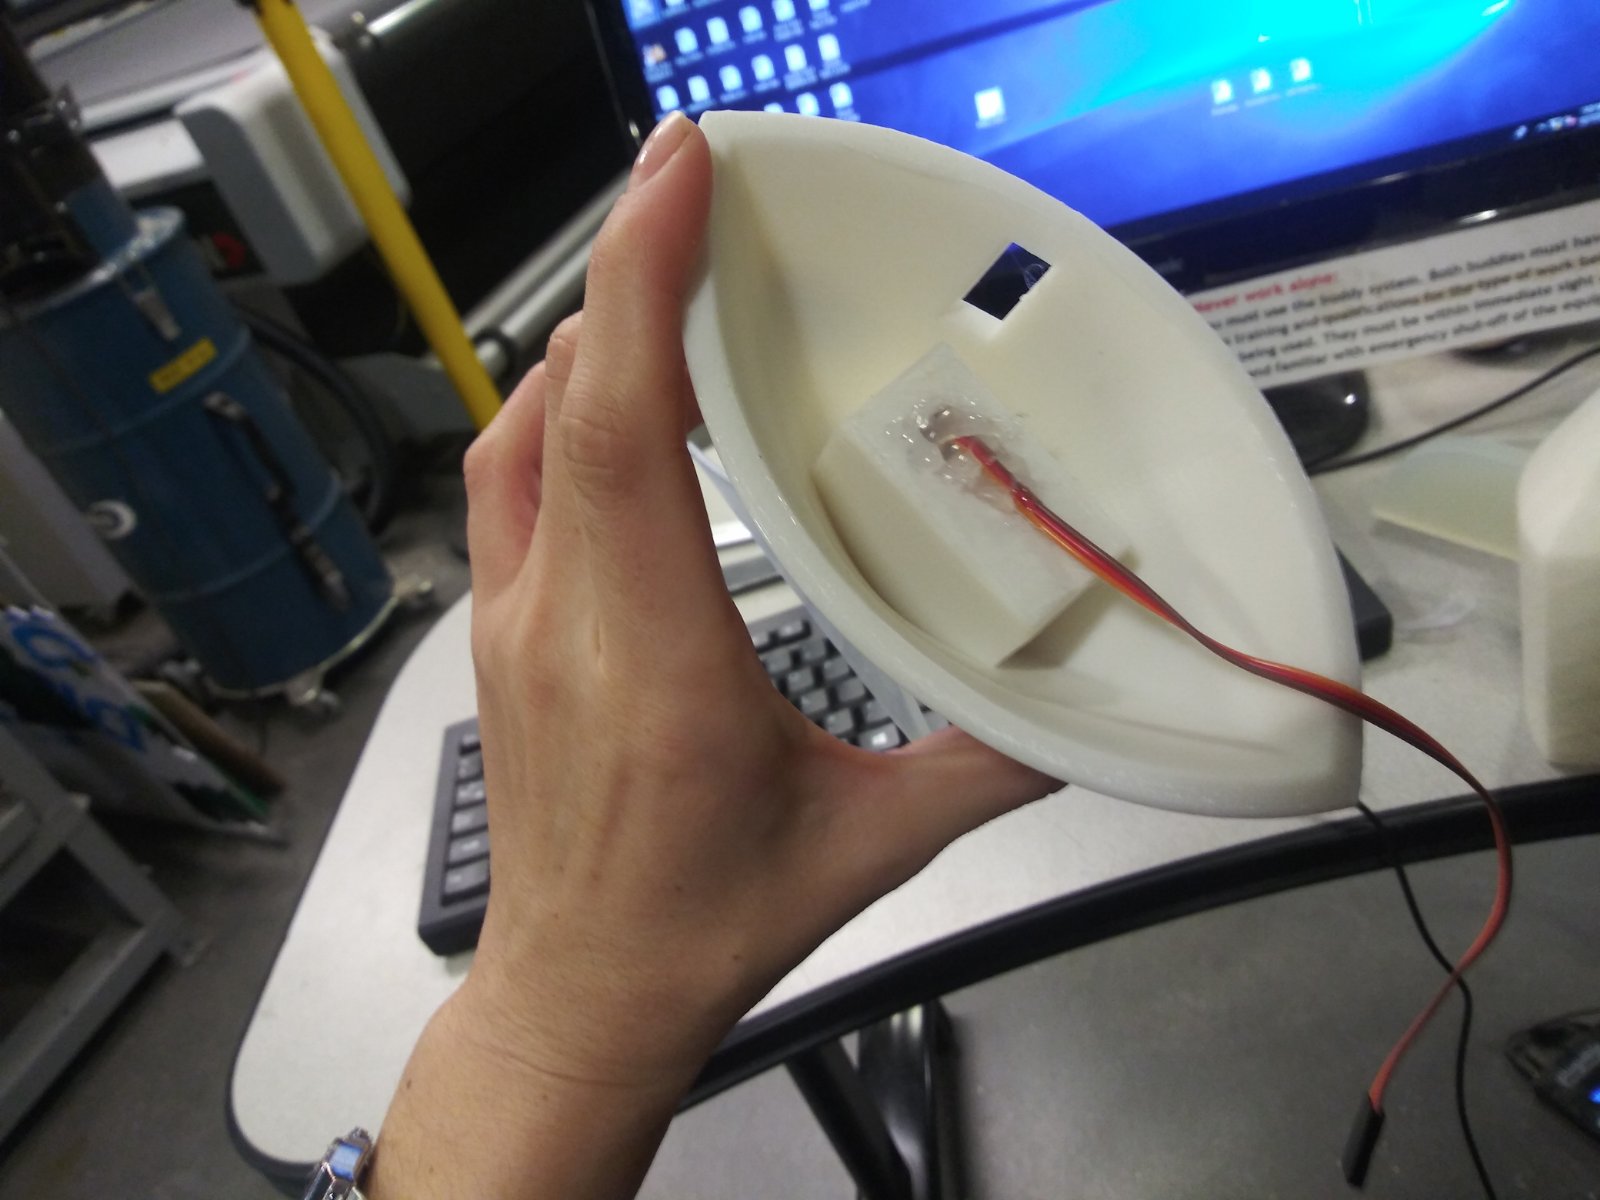
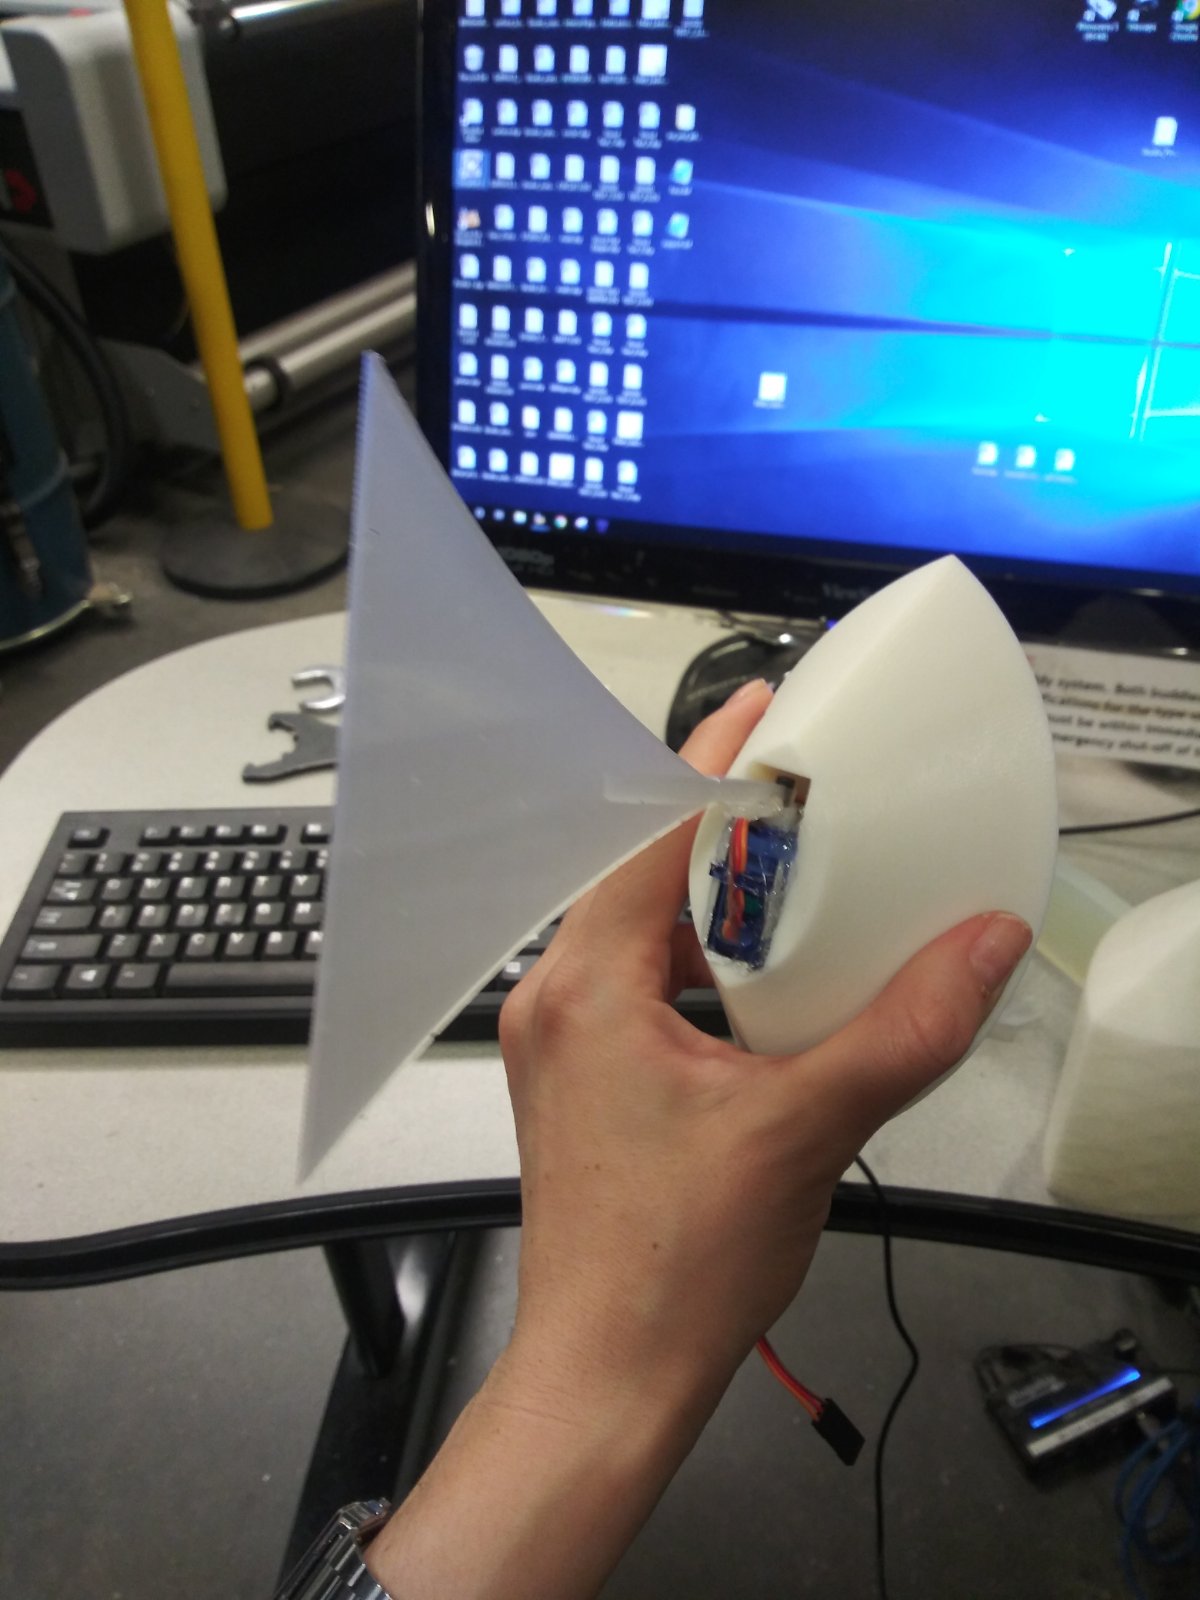
The servo motor was also connected to the pcb and programmed in order to move the fish tail.
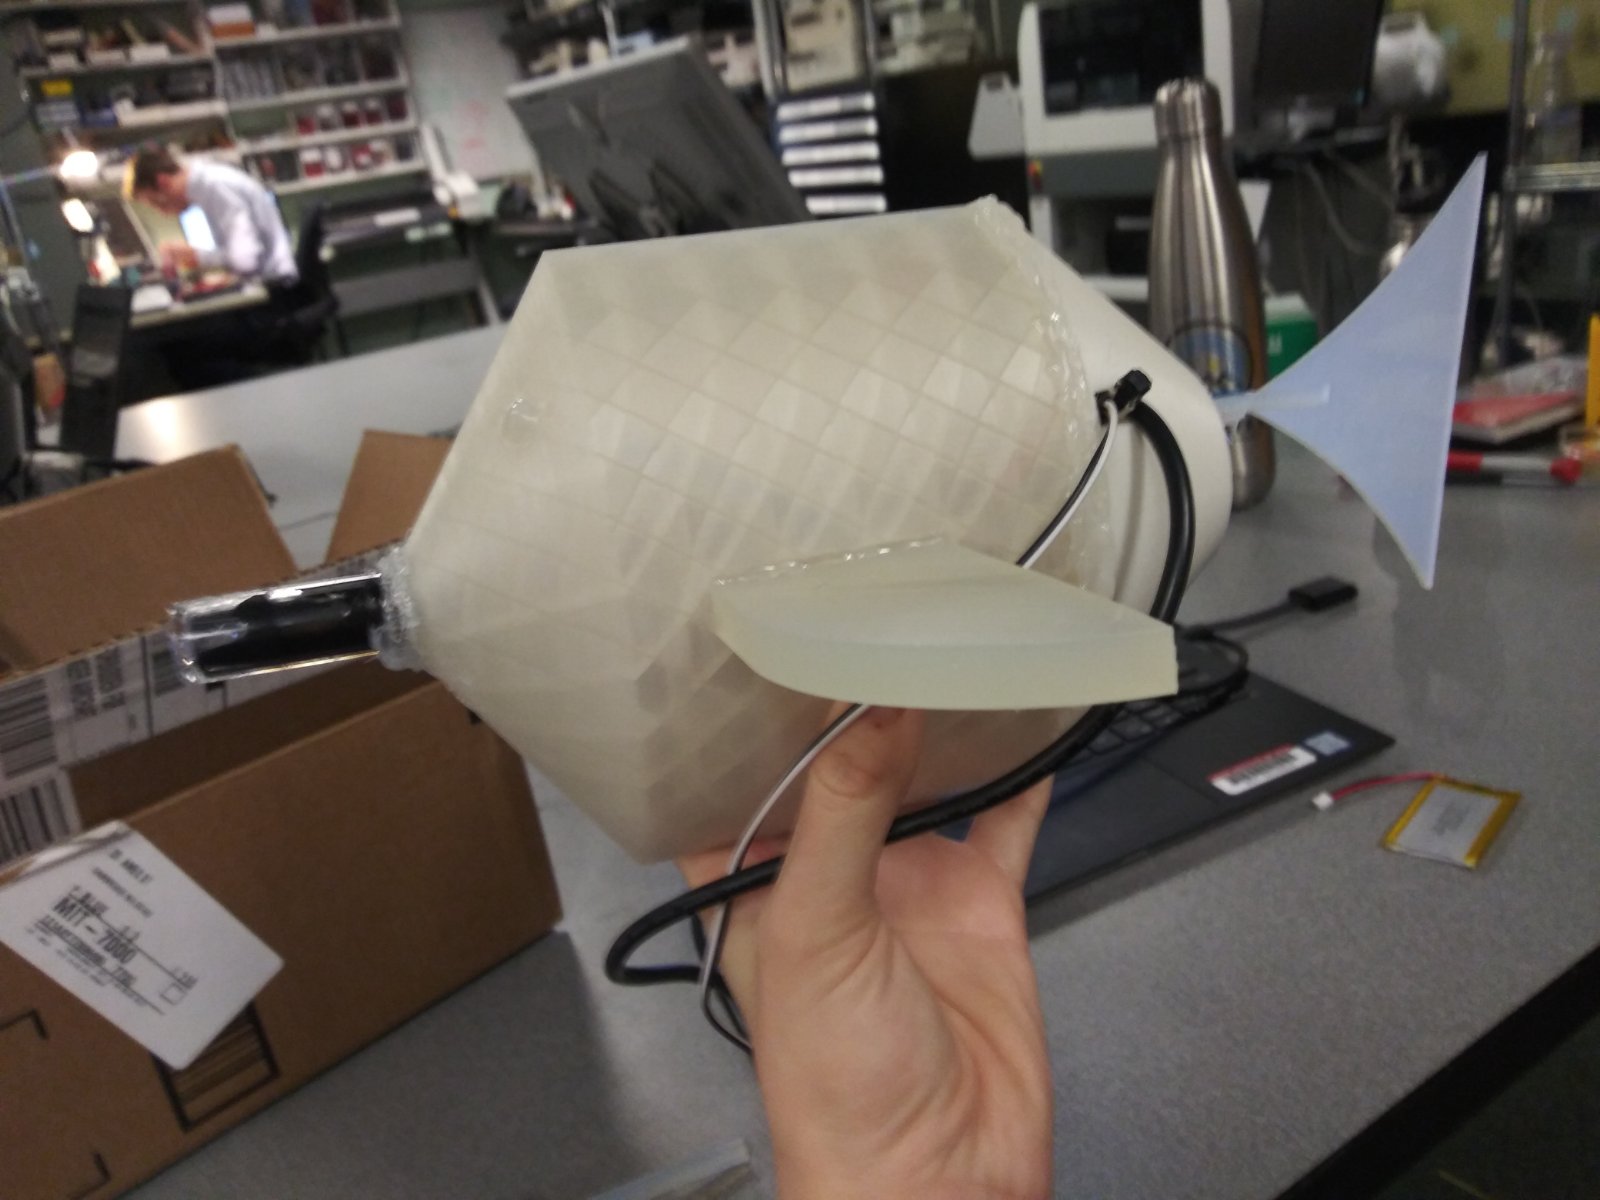
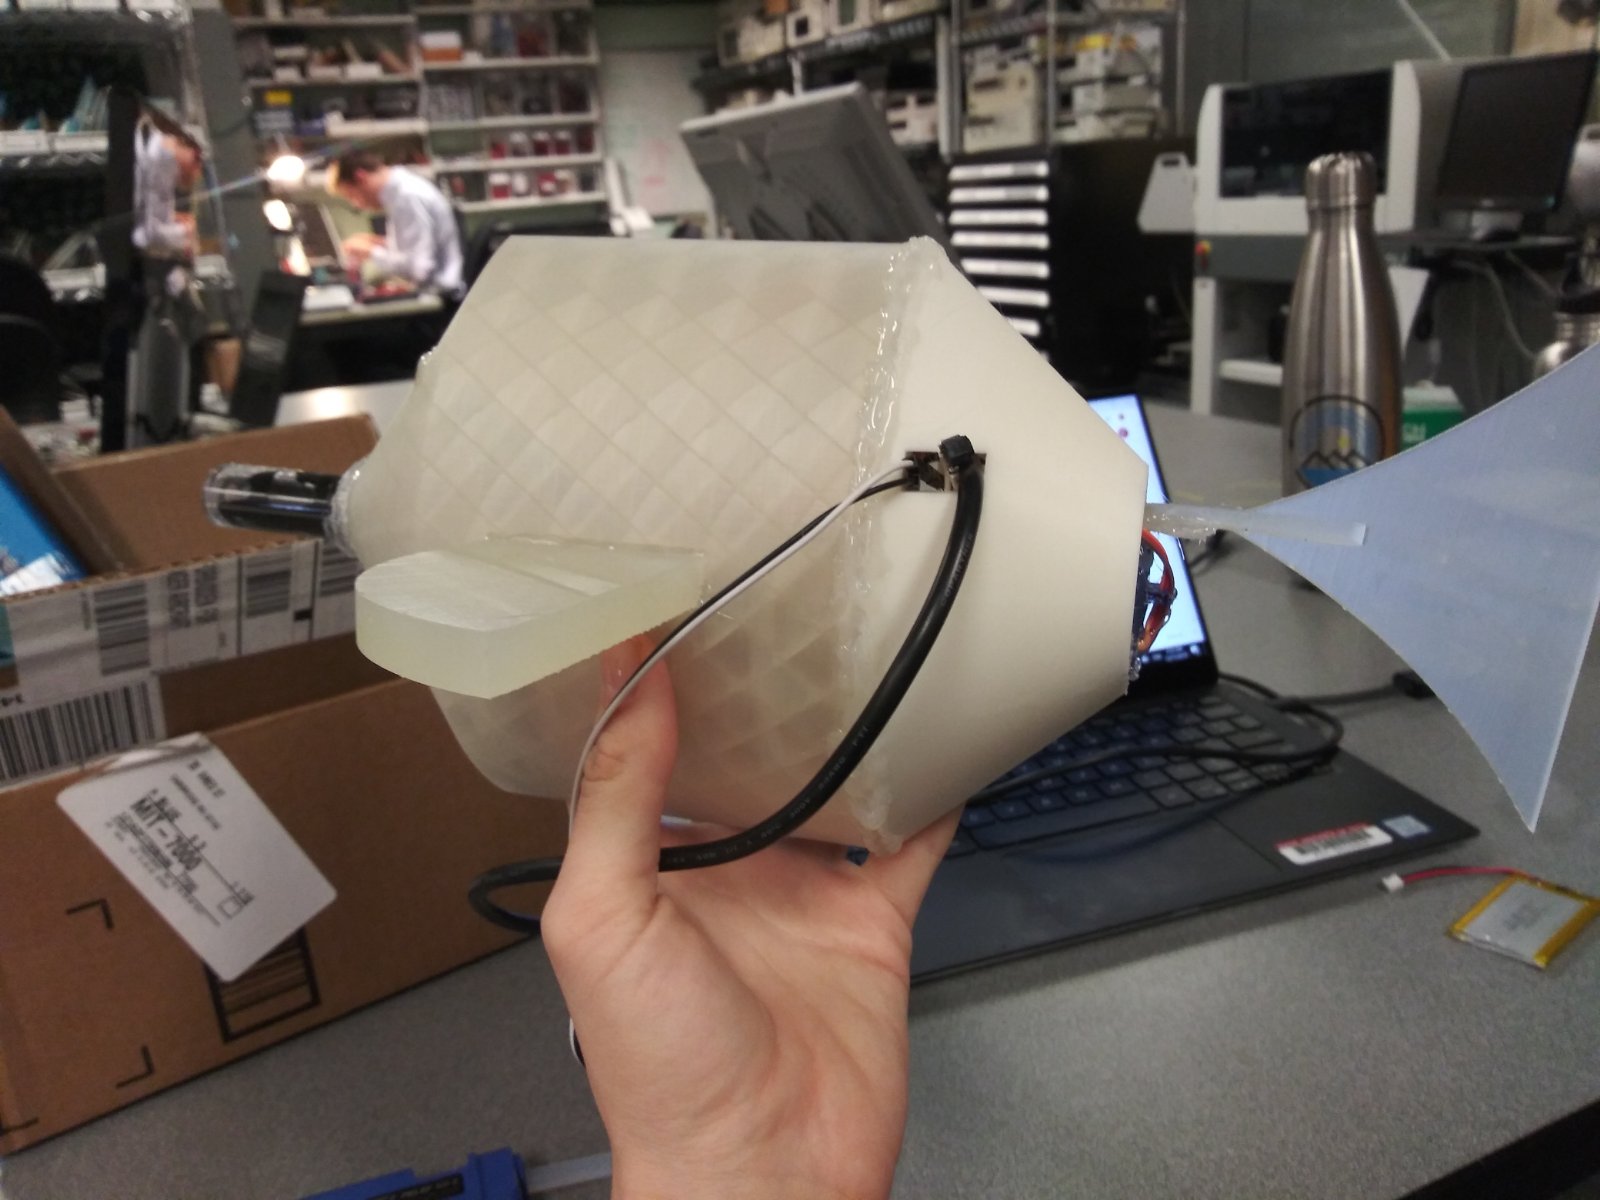
The Fish Body: Design & Manufacturing of Main body, Tail & Fins
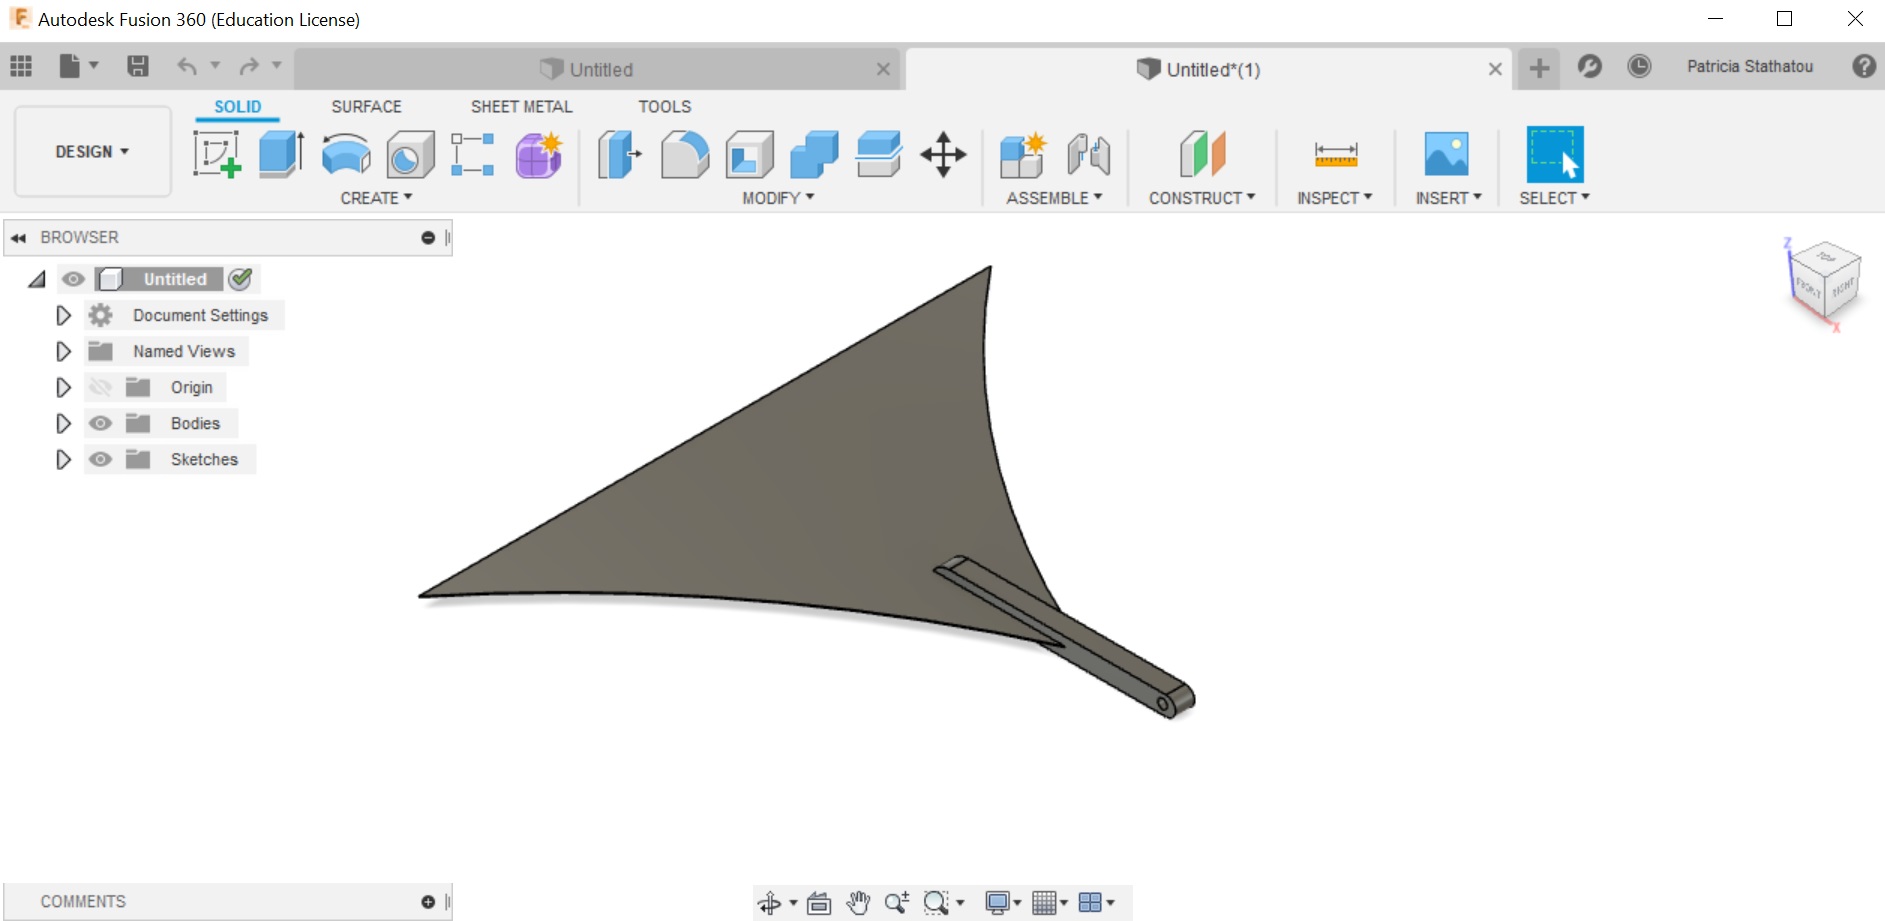
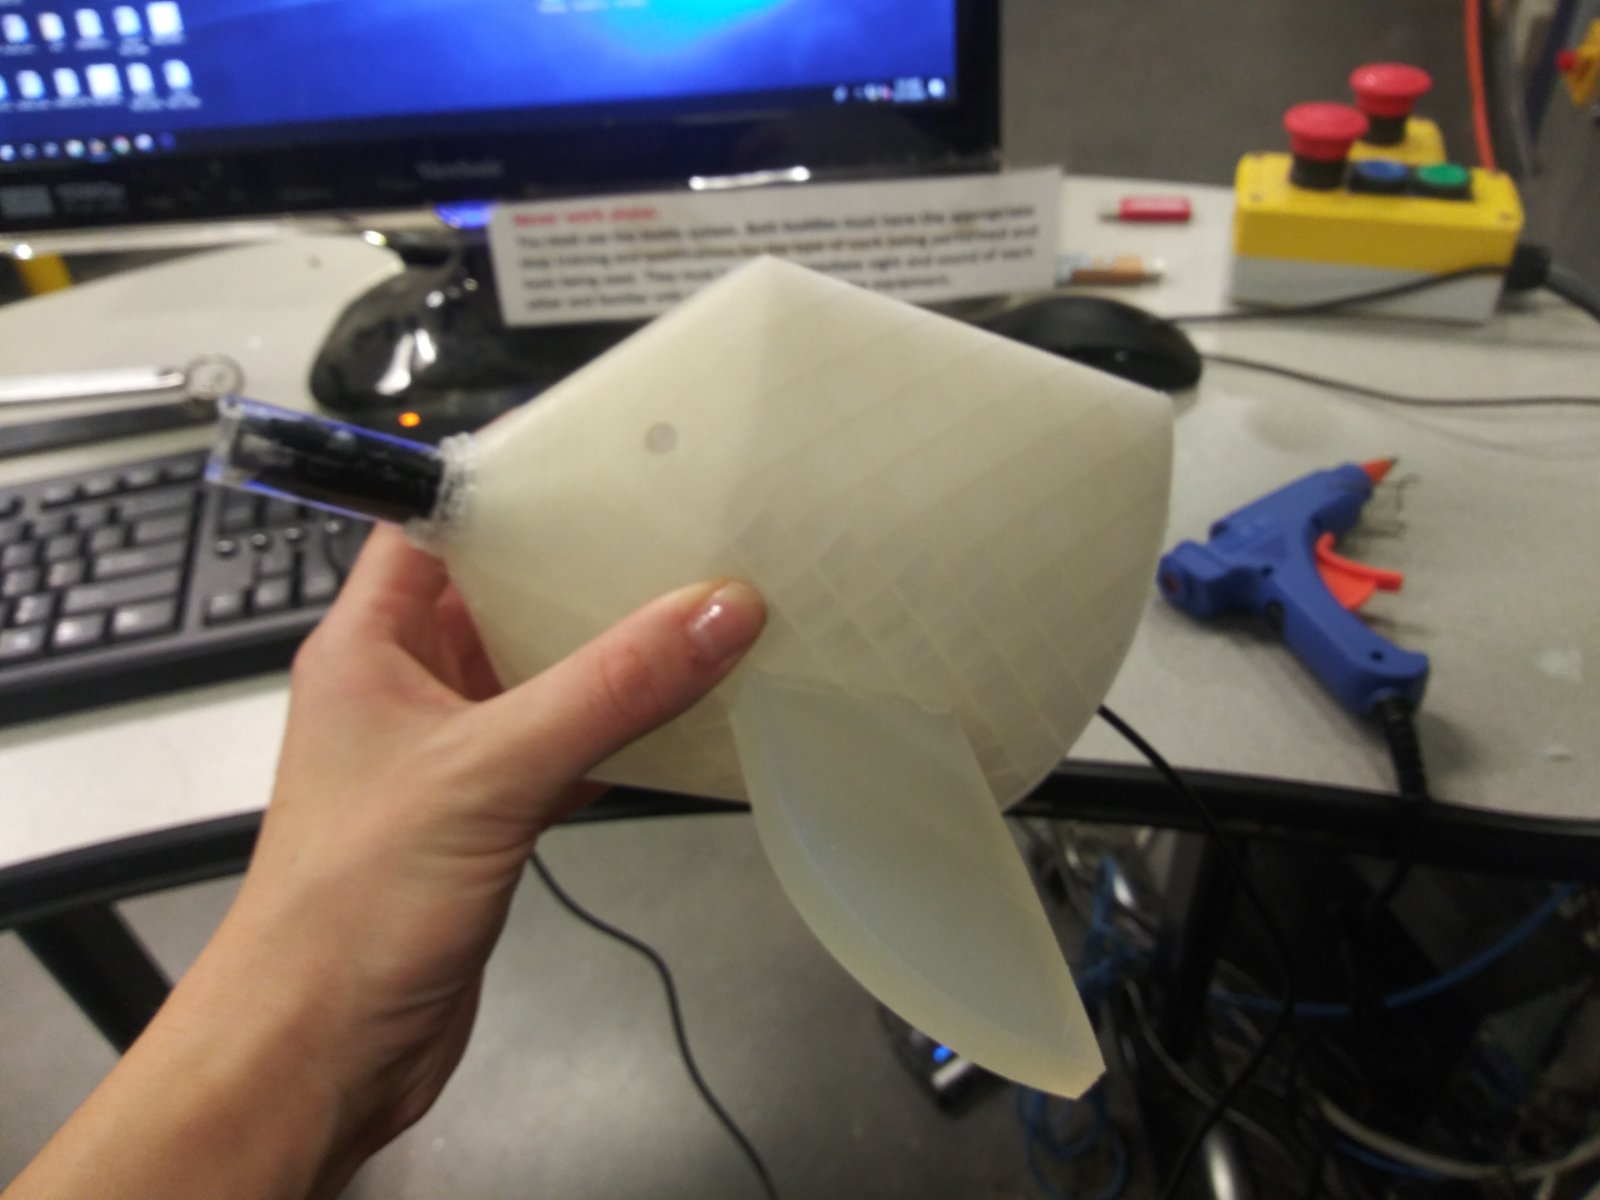
I designed the body of the fish using Fusion 360. The fish consists of its main body (front and back part), the tail and the fins.

The files of the 3D models of the fish body parts can be found here:
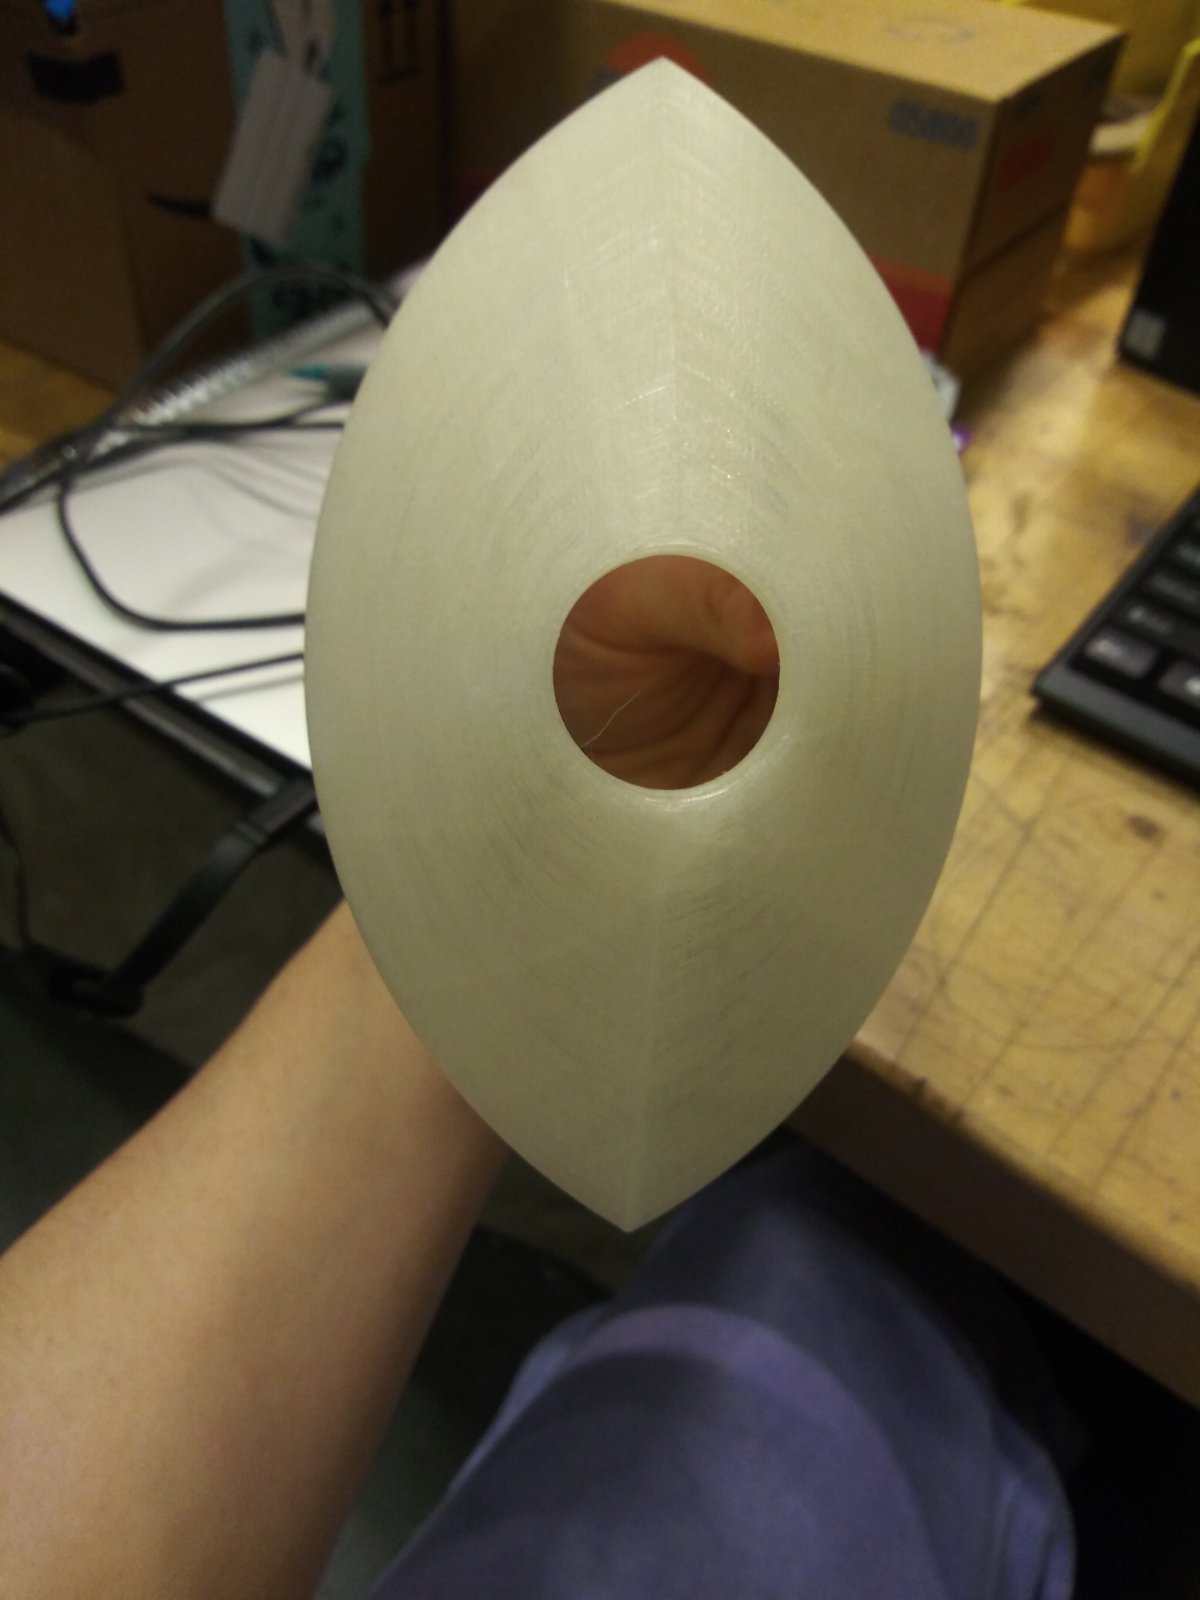
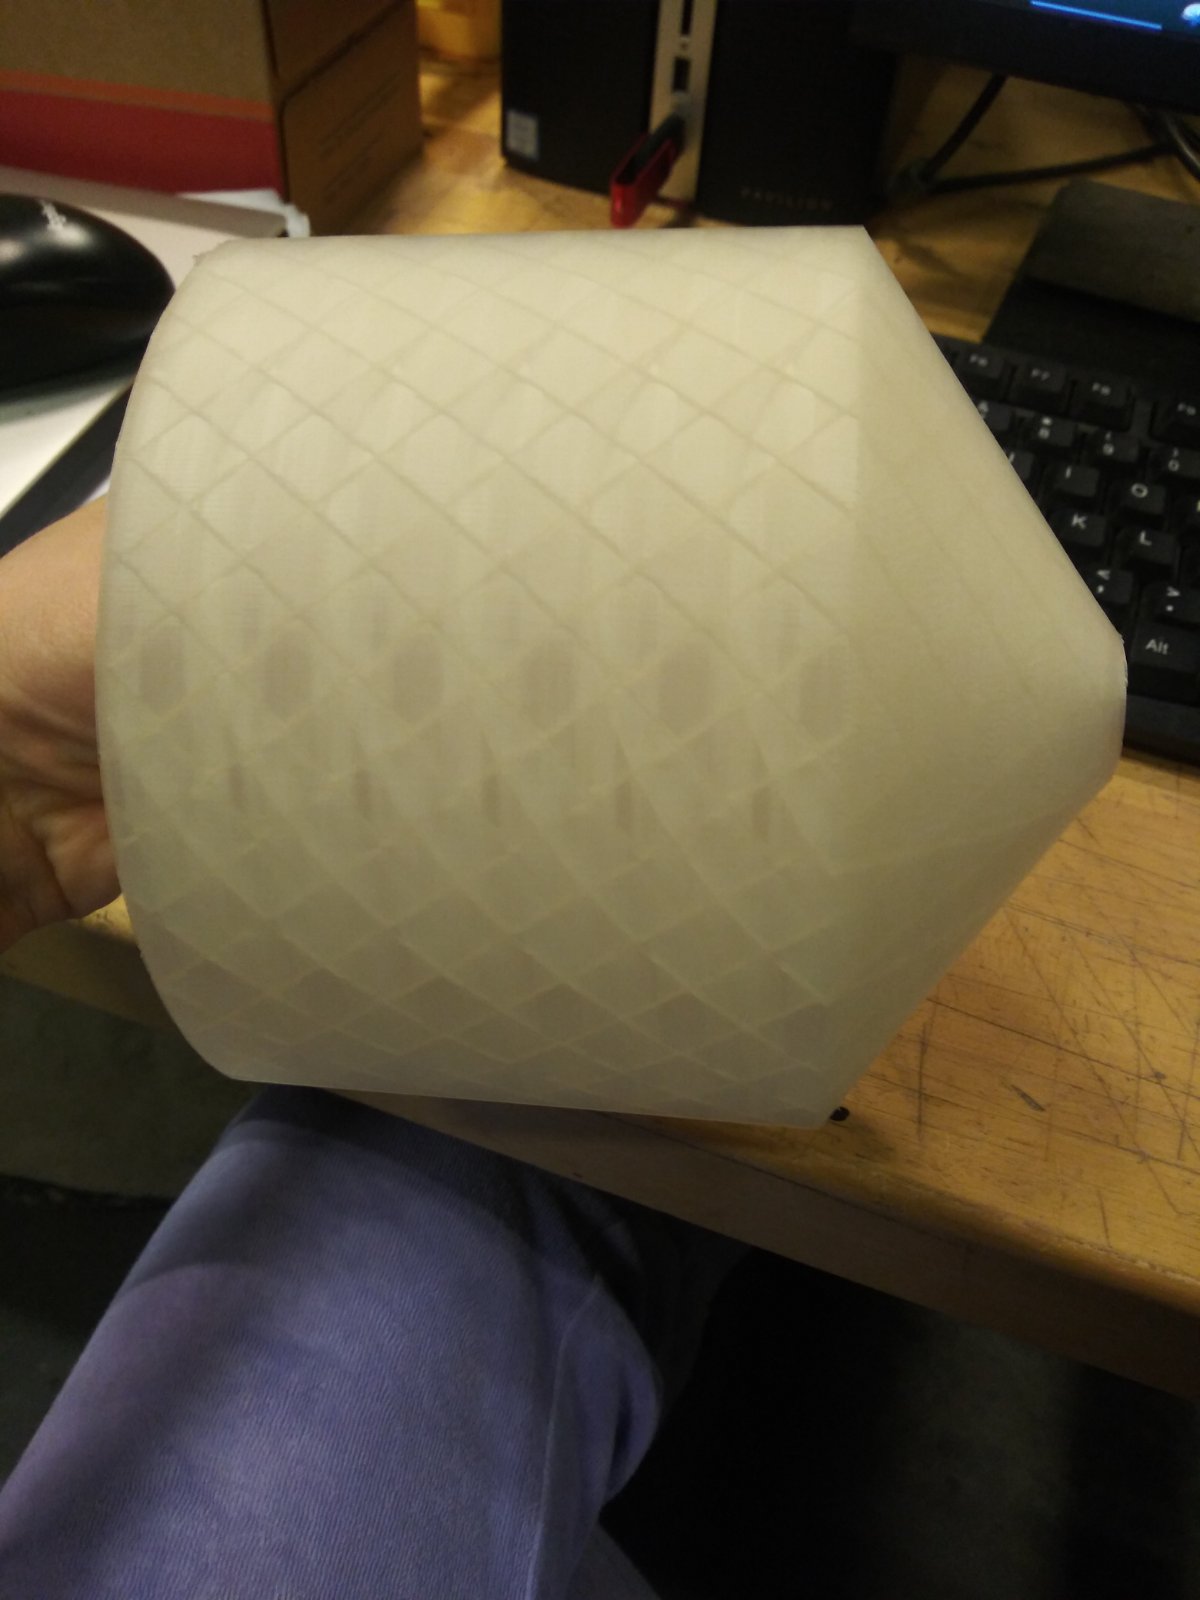
The main body of the fish was printed in the Prusa i3 MK3S 3D printer (front part) and in the Sindox 3DWOX DP200 3D printer (back part).
I tried to print the fish tail in the Prusa i3 MK3S 3D printer, but my print failed several times, probably because it was very thin.
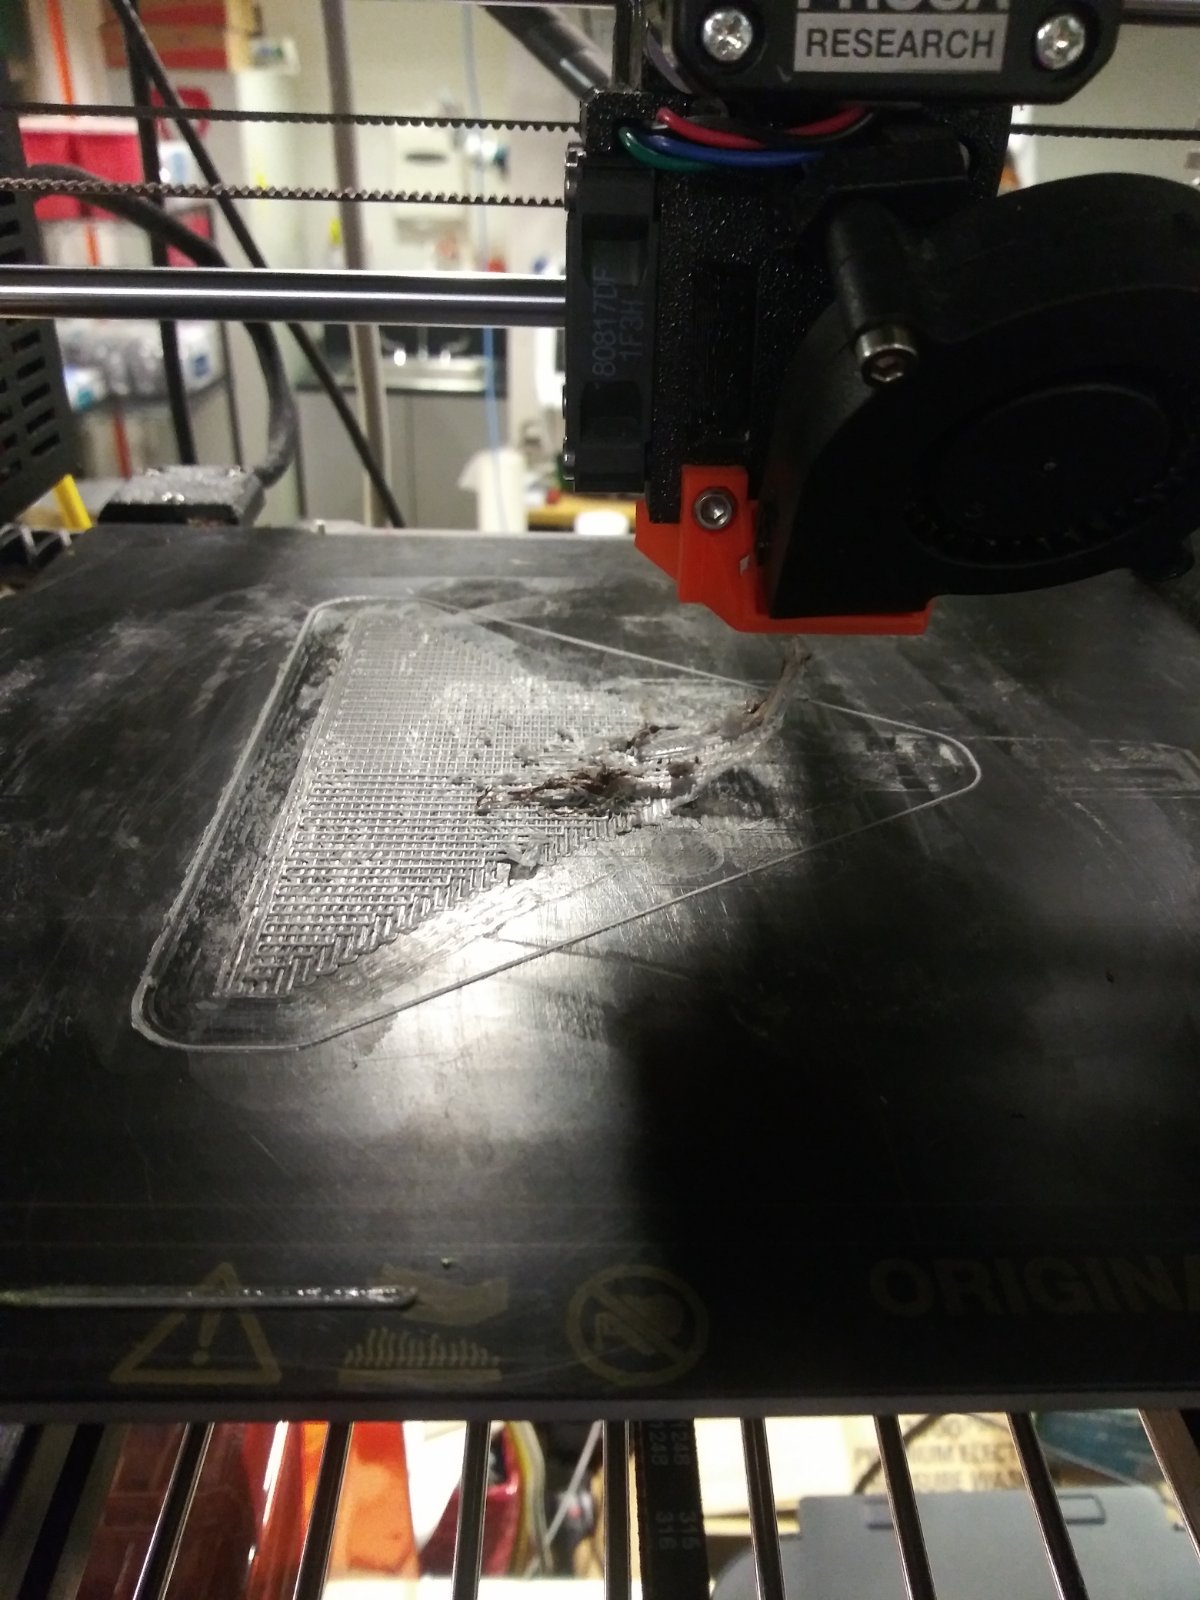
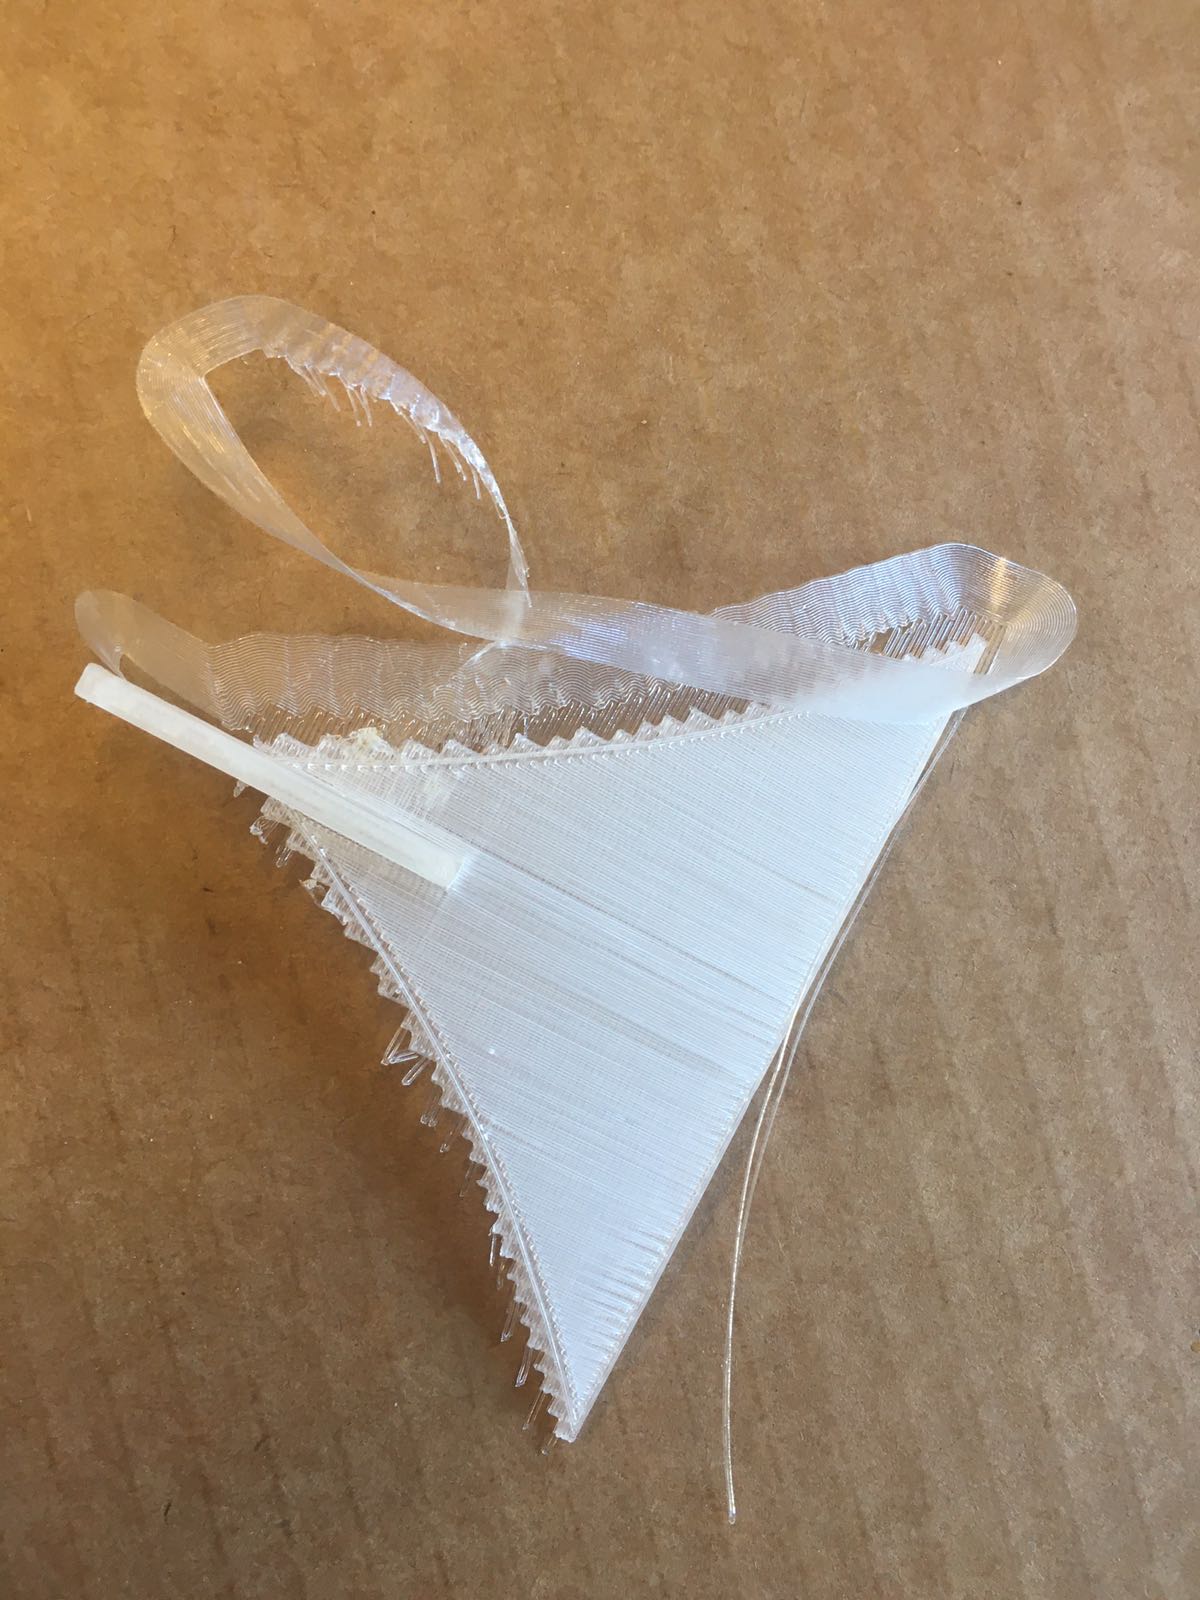
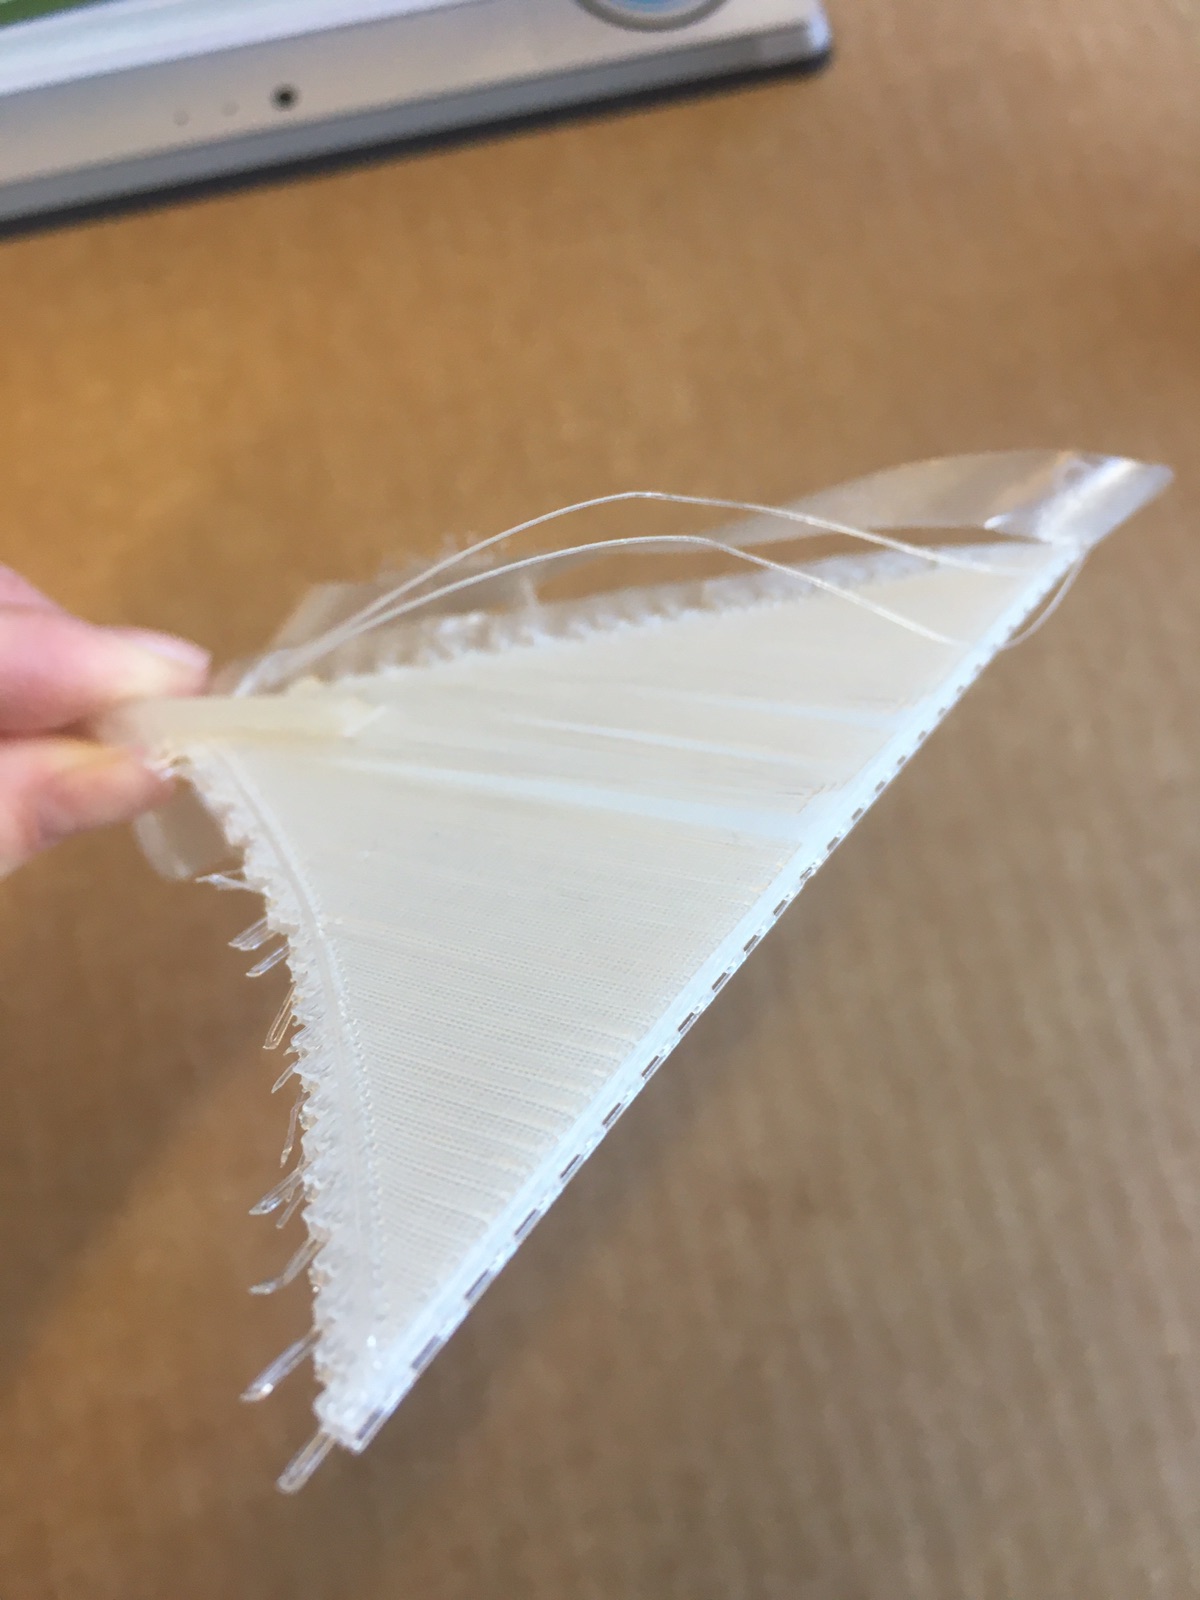
I decided to use the Formlabs Form 2 3D printer instead, for both the tail and the fins, and the parts came out succesfully!
Assembling & Testing Mr. Fishy
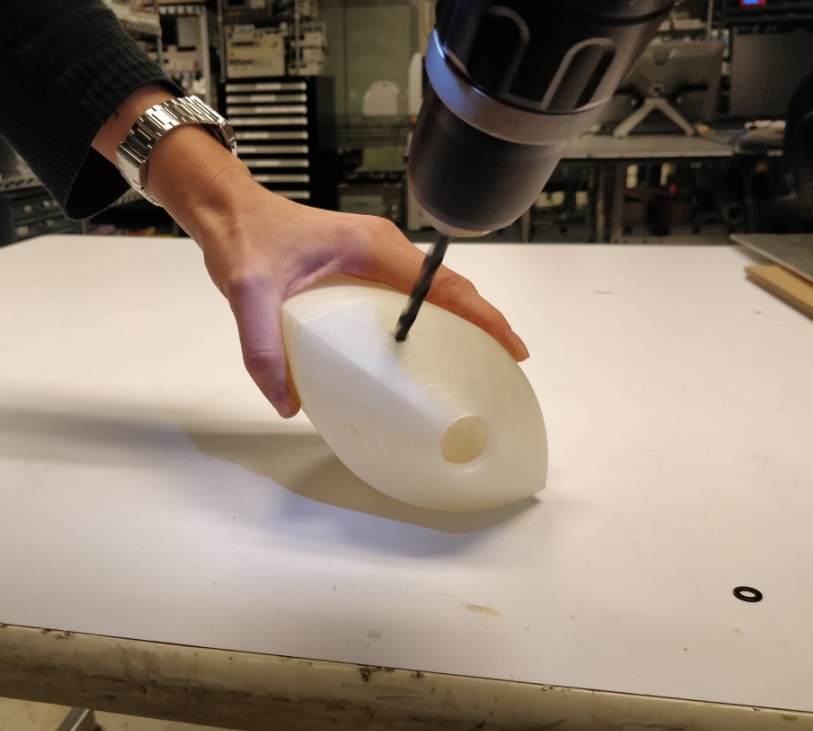
After printing all the parts, I assembled everything together and used the glue gun to connect parts and seal holes.
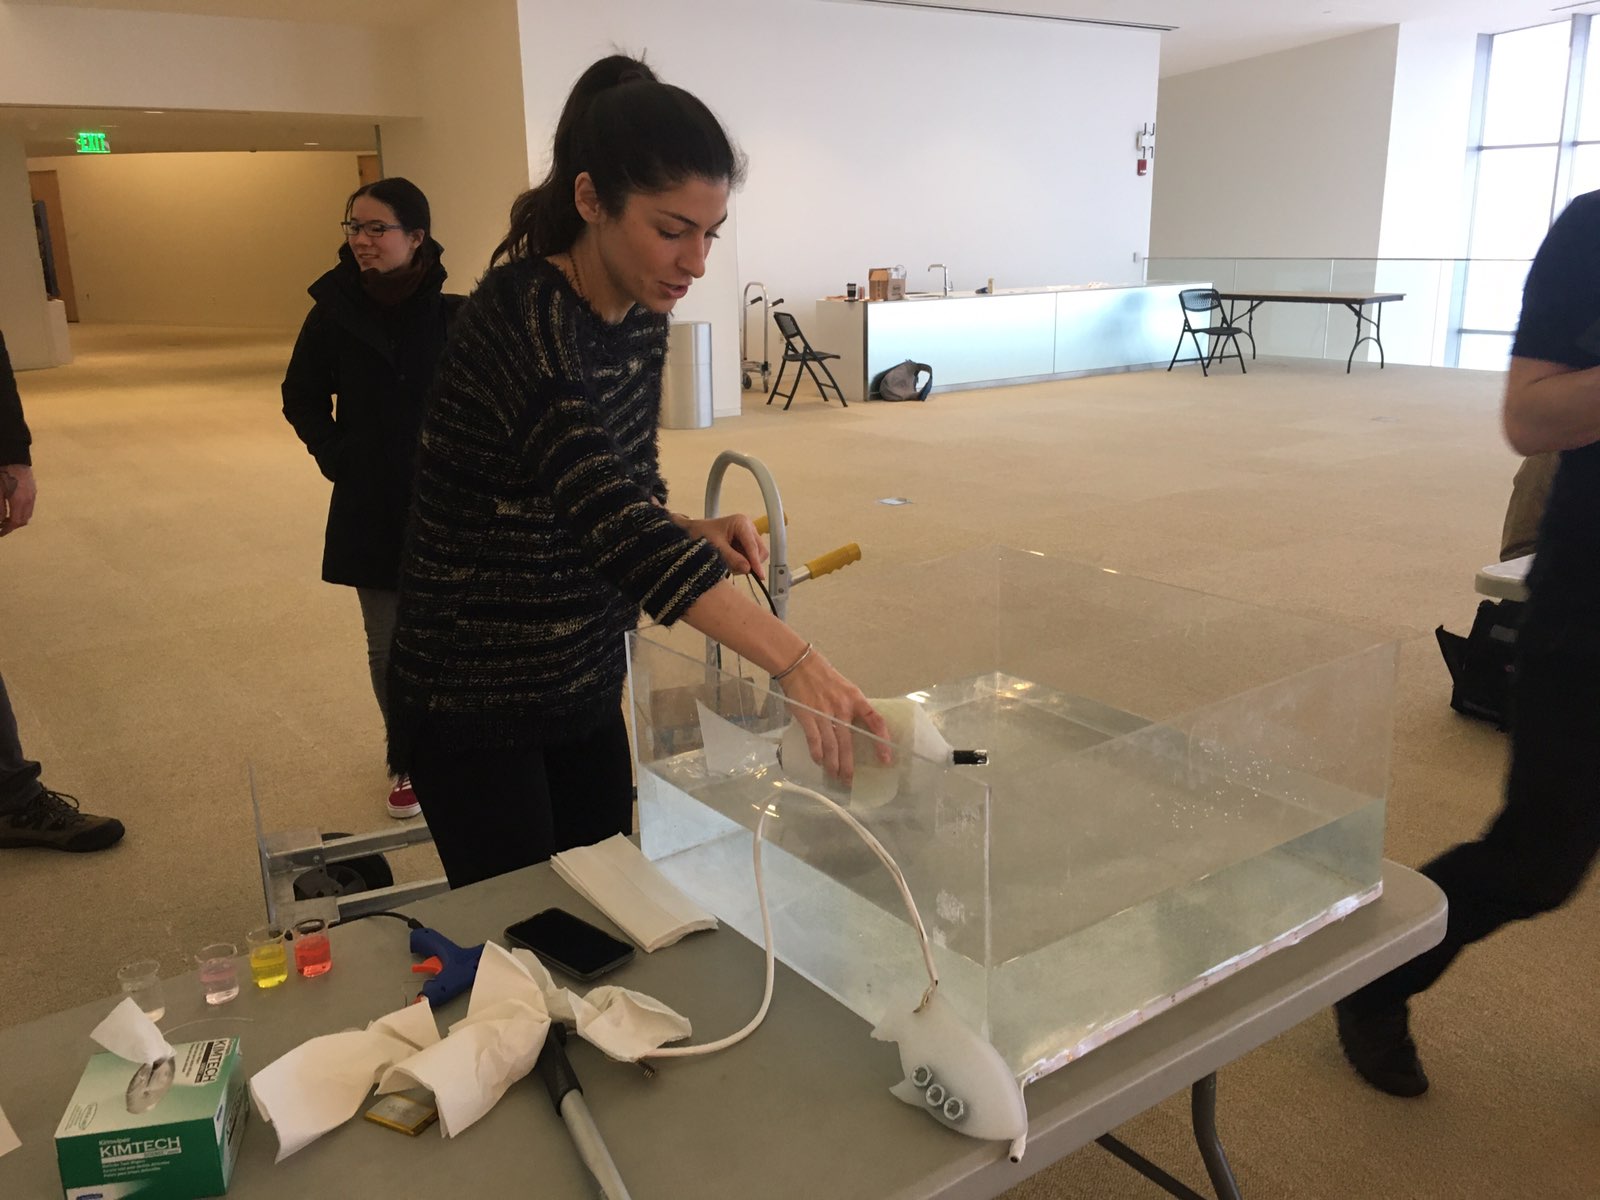
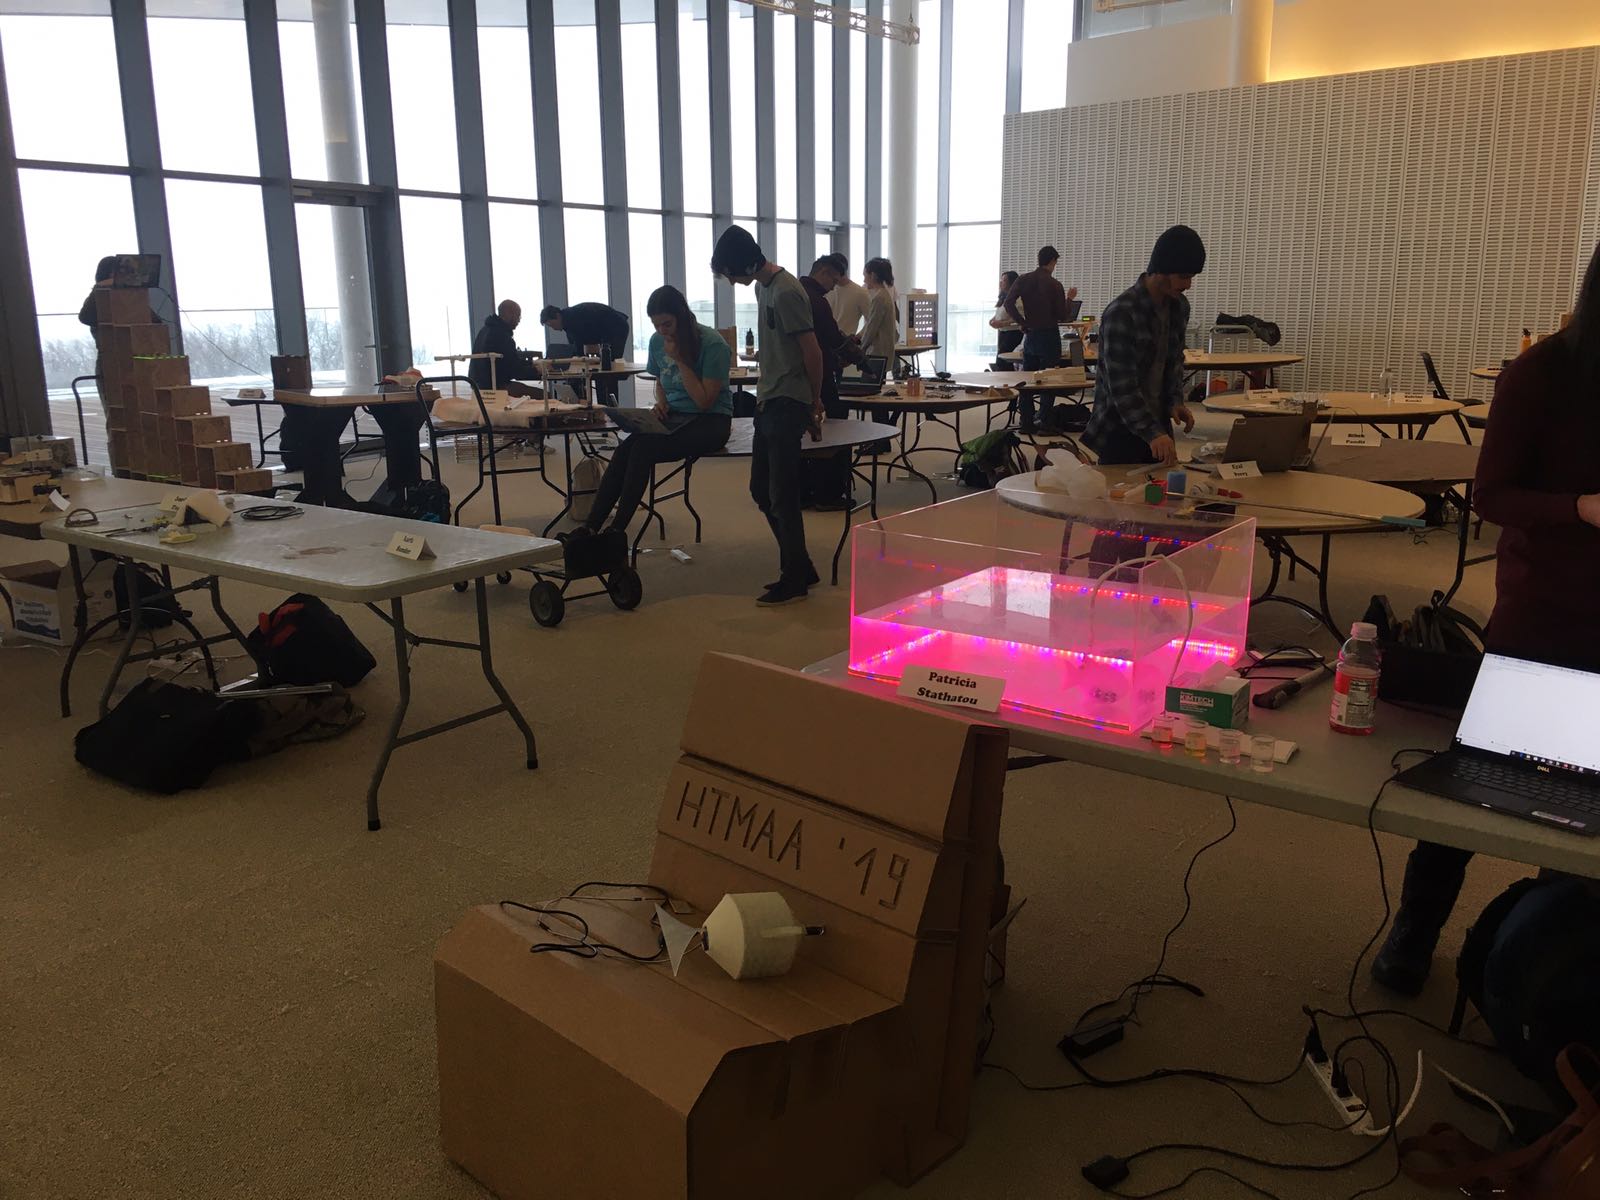
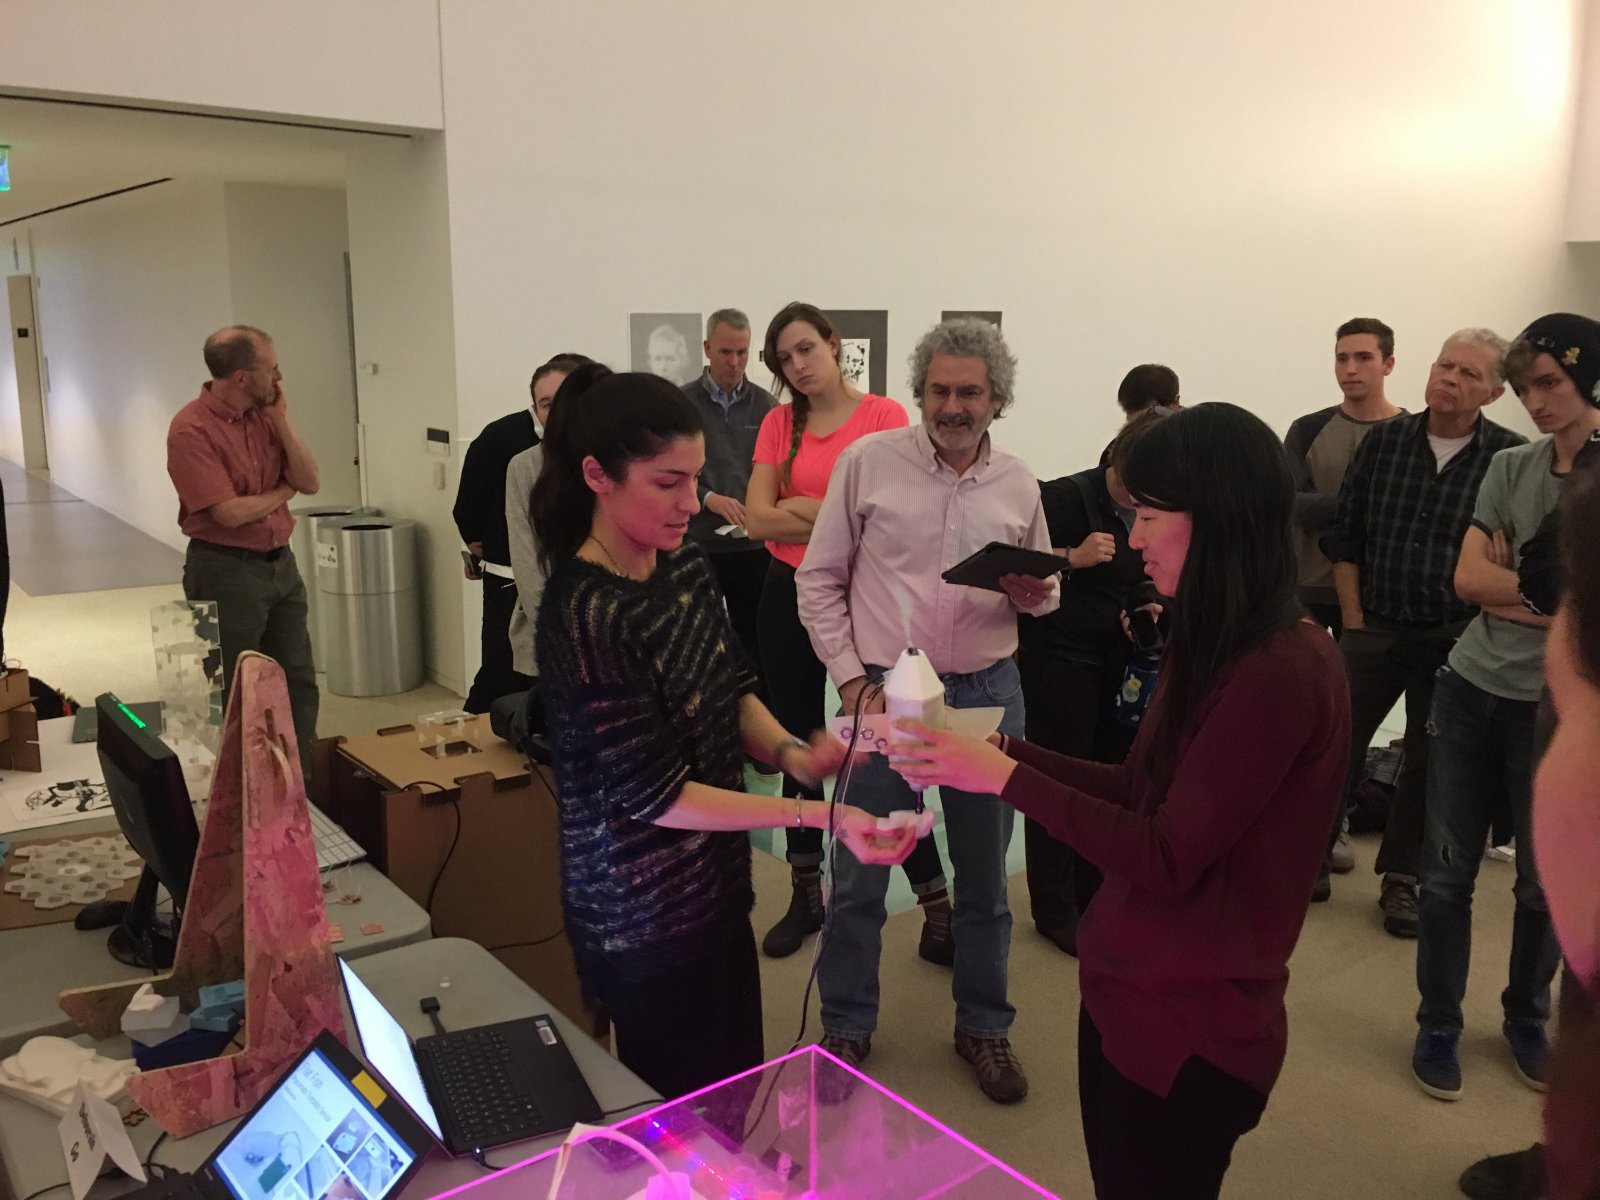
Mr. Fishy in HTMAA Openhouse