Mechanical Machine Design
Files: End-effector design
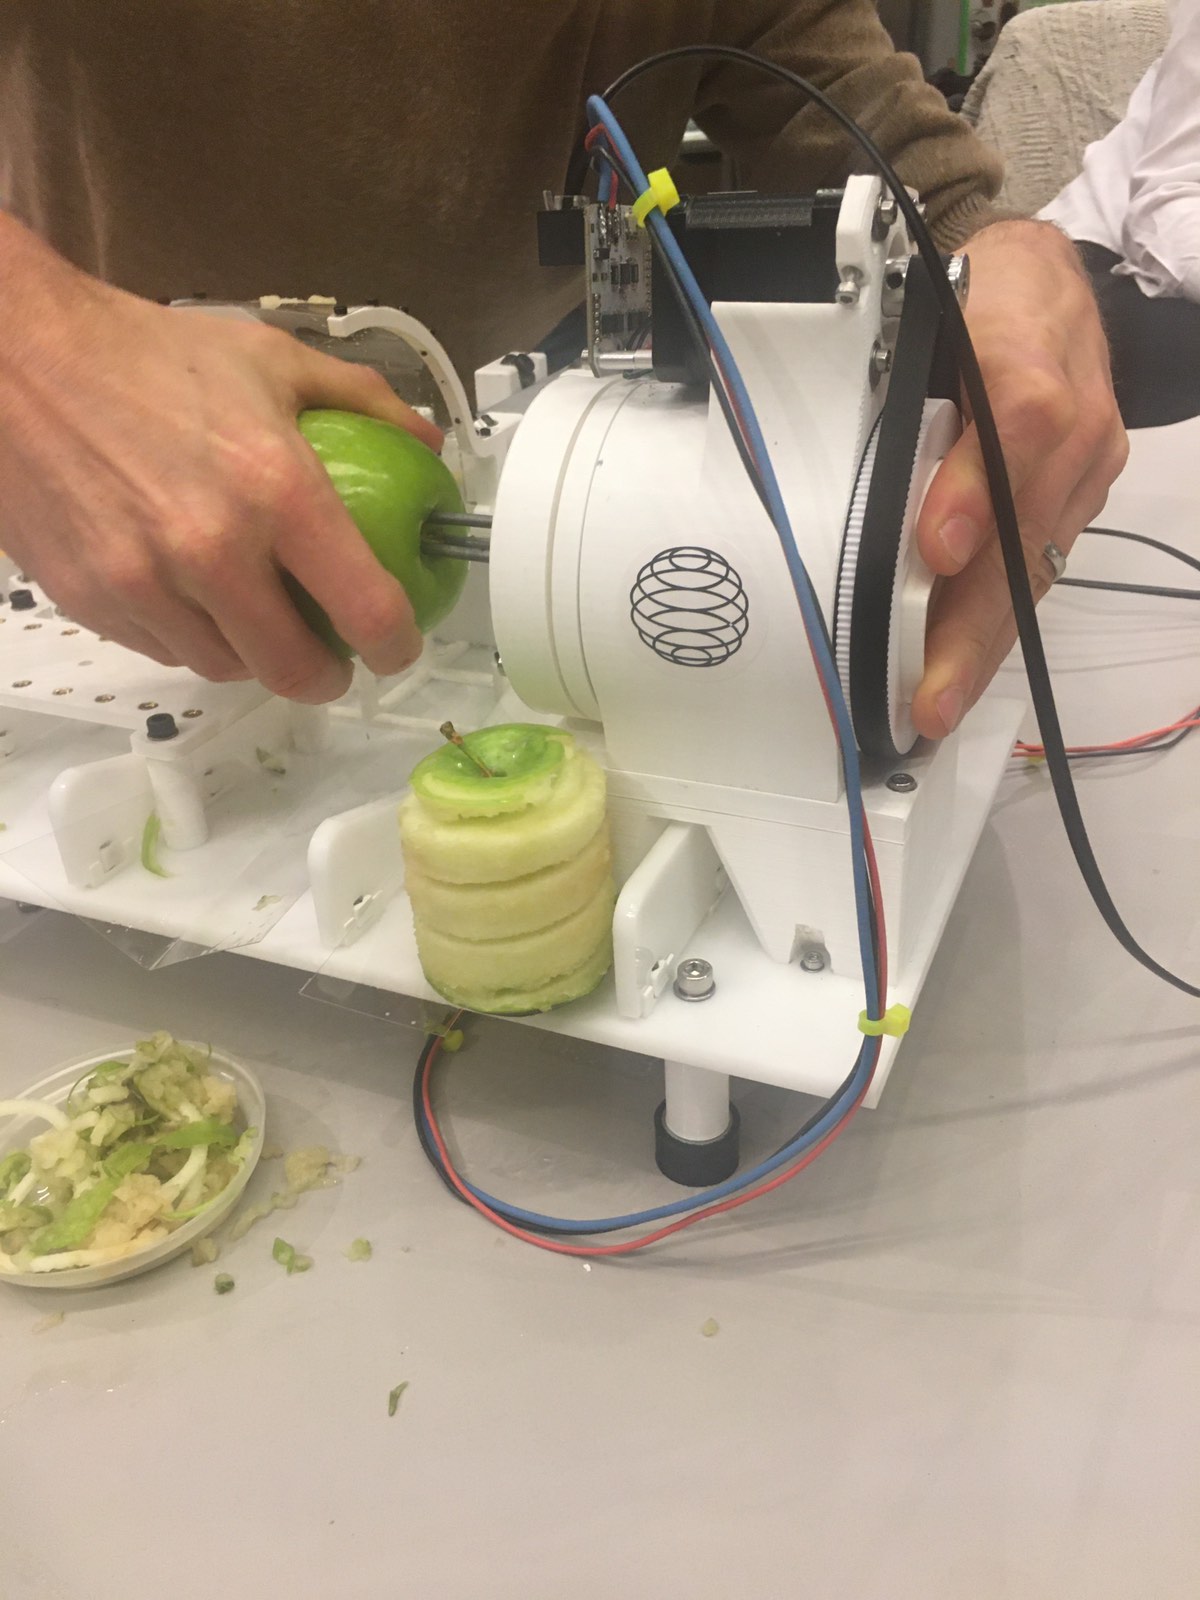
This week each group had to design, manufacture, actuate and automate a machine using Jake's hardware kit and softeware (squidworks). The CBA group decided to make an apple peeler! My group’s collective documentation can be found here. This page describes my individual contributions.
Saturday 23 Nov: 3D printing
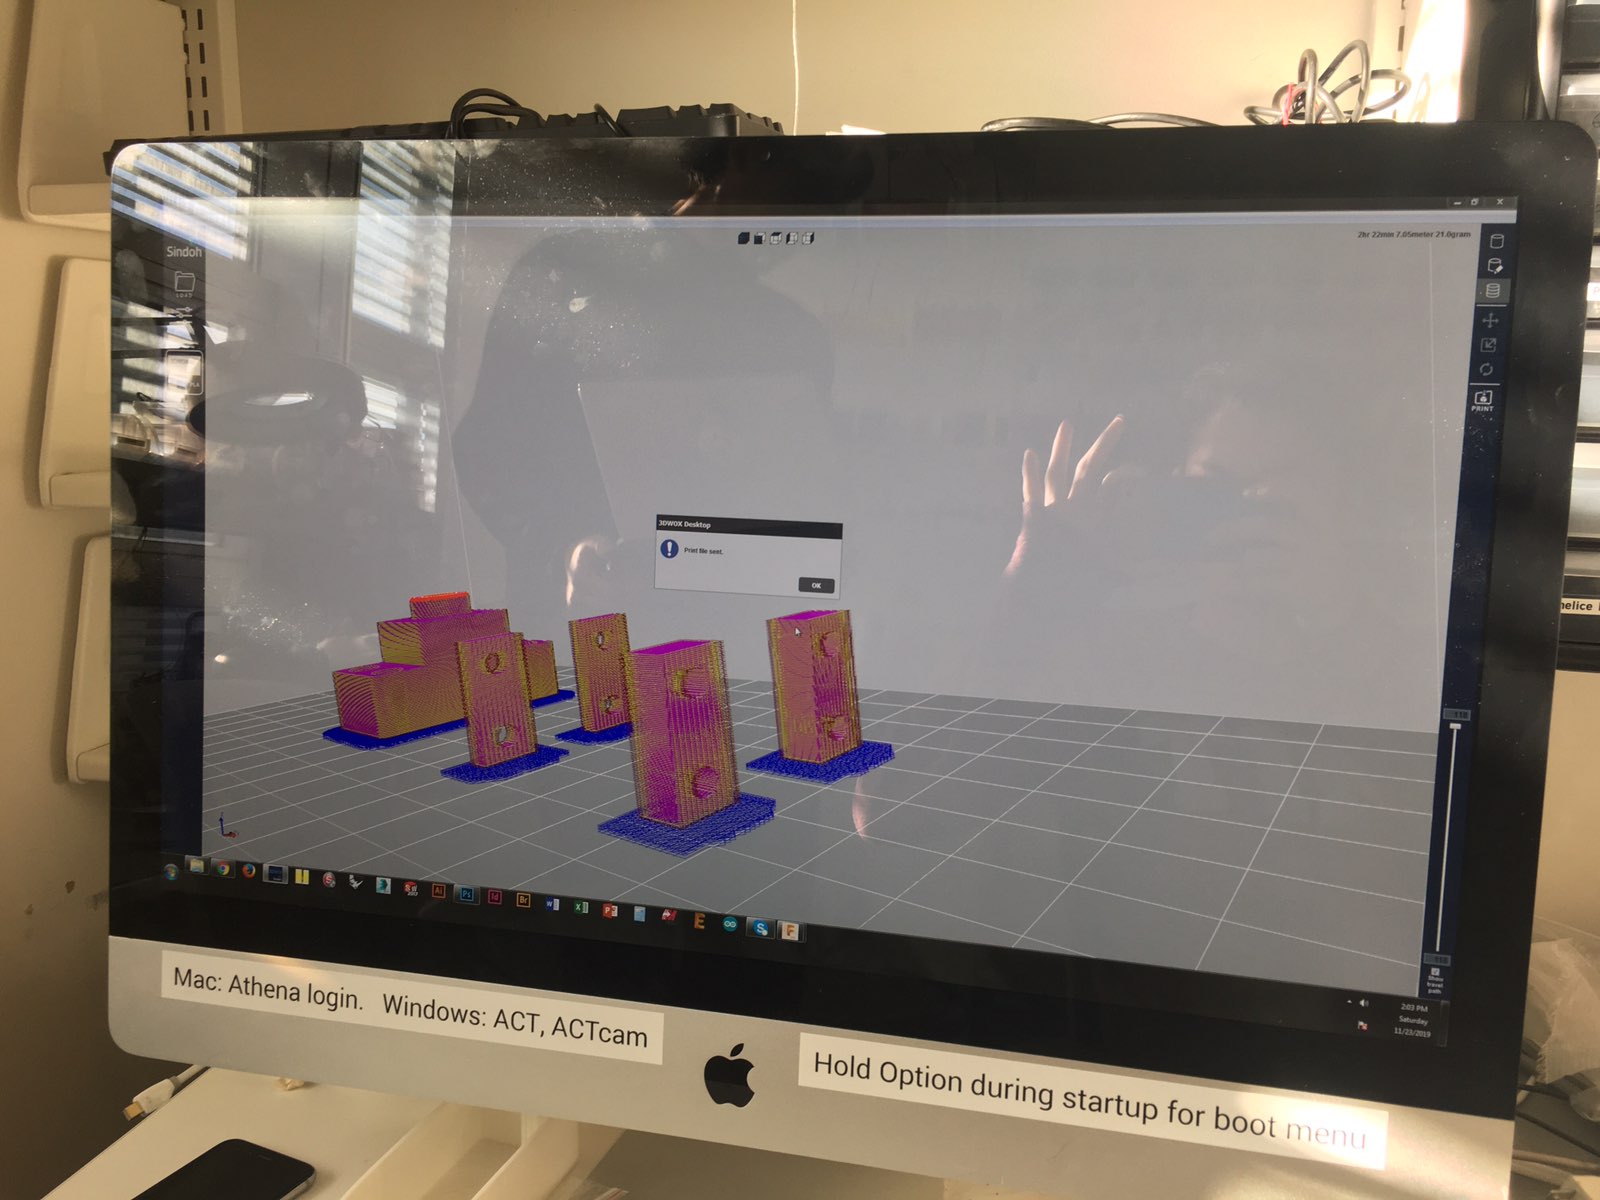
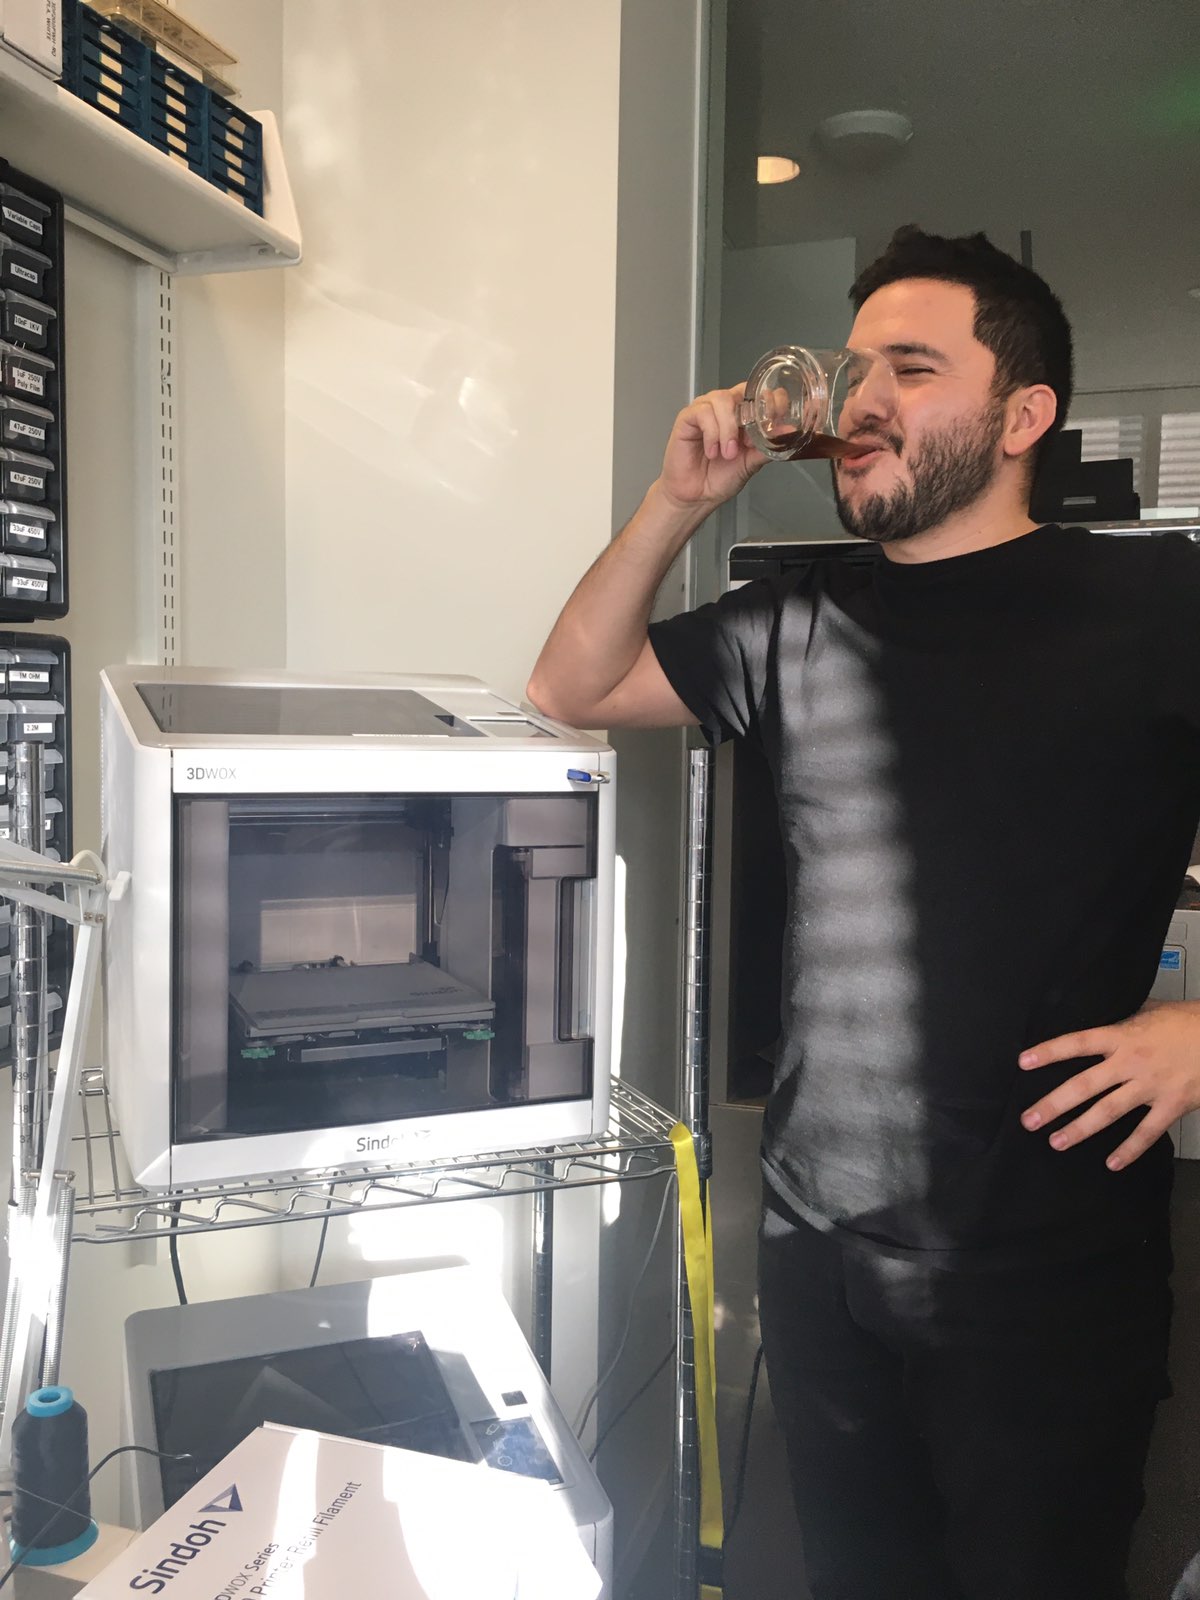
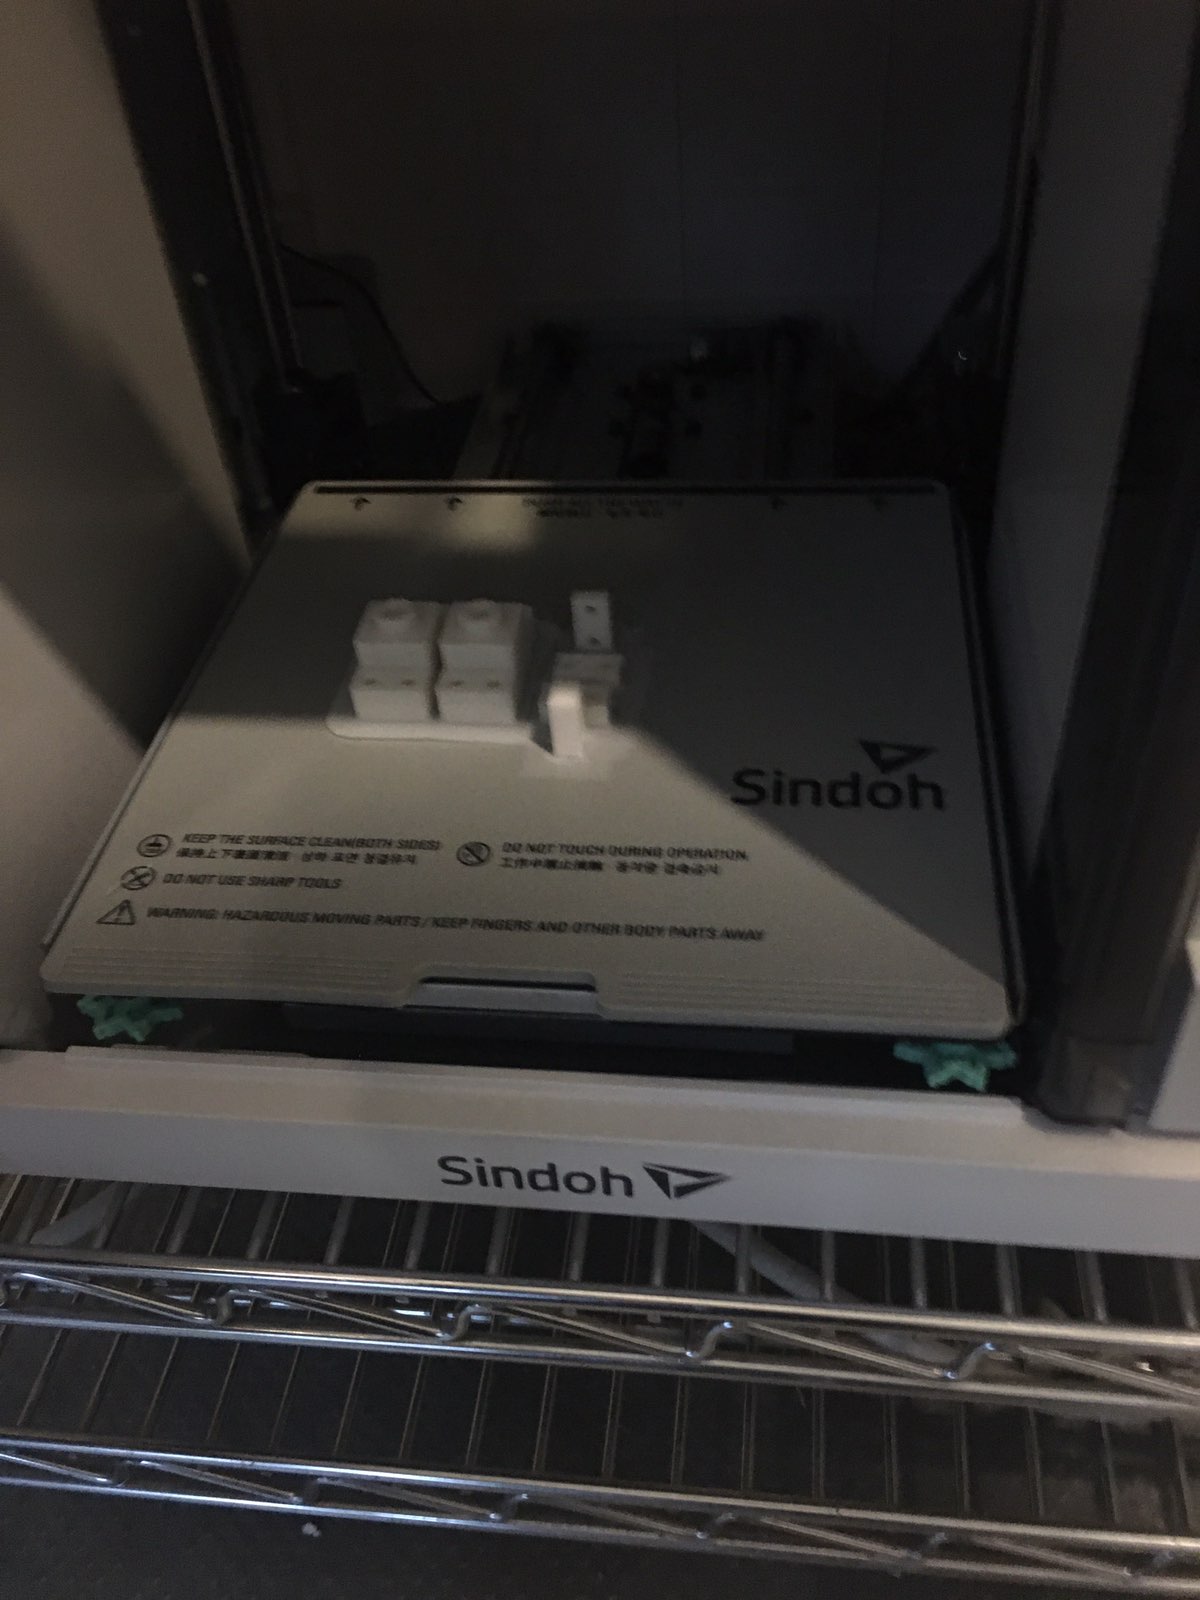
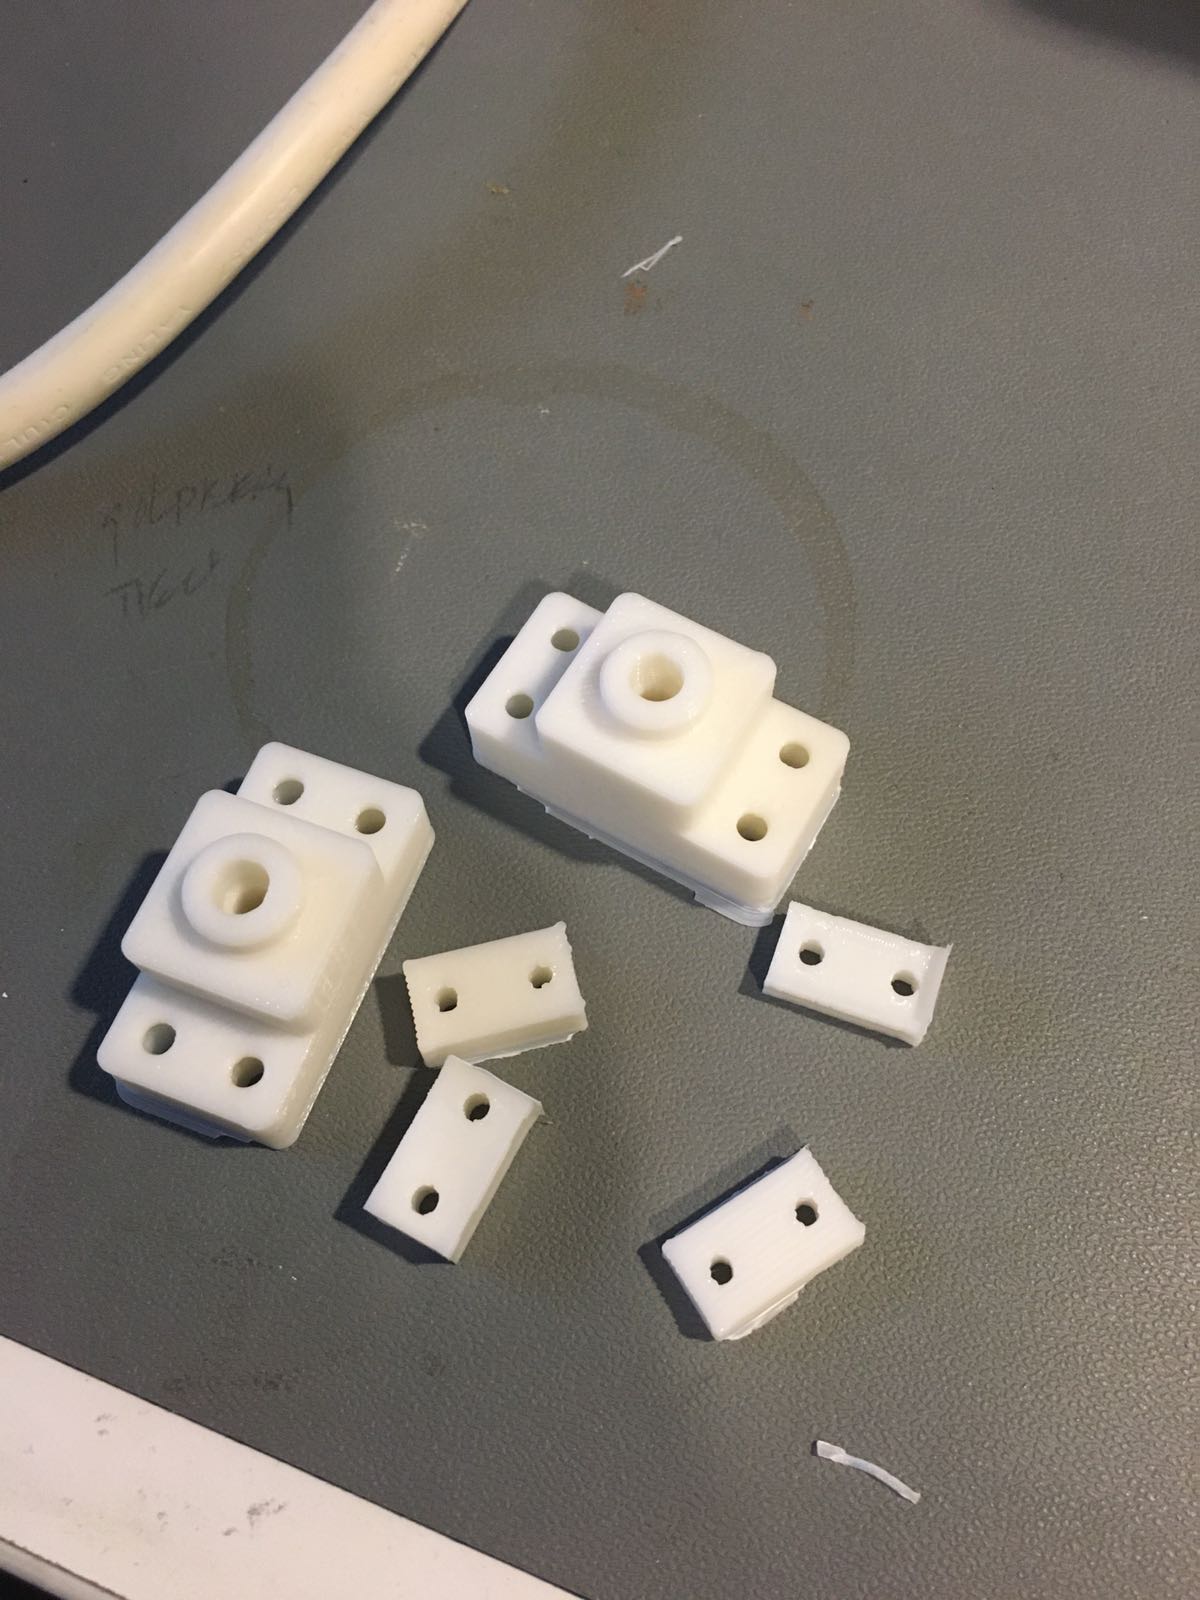
On Saturday me and Chucho printed the belt breaks and a small body holding the carrier beam of the machine using the Sindoh 3DWOX printers at the ACT.
The first print failed. We haven't understand yet why.
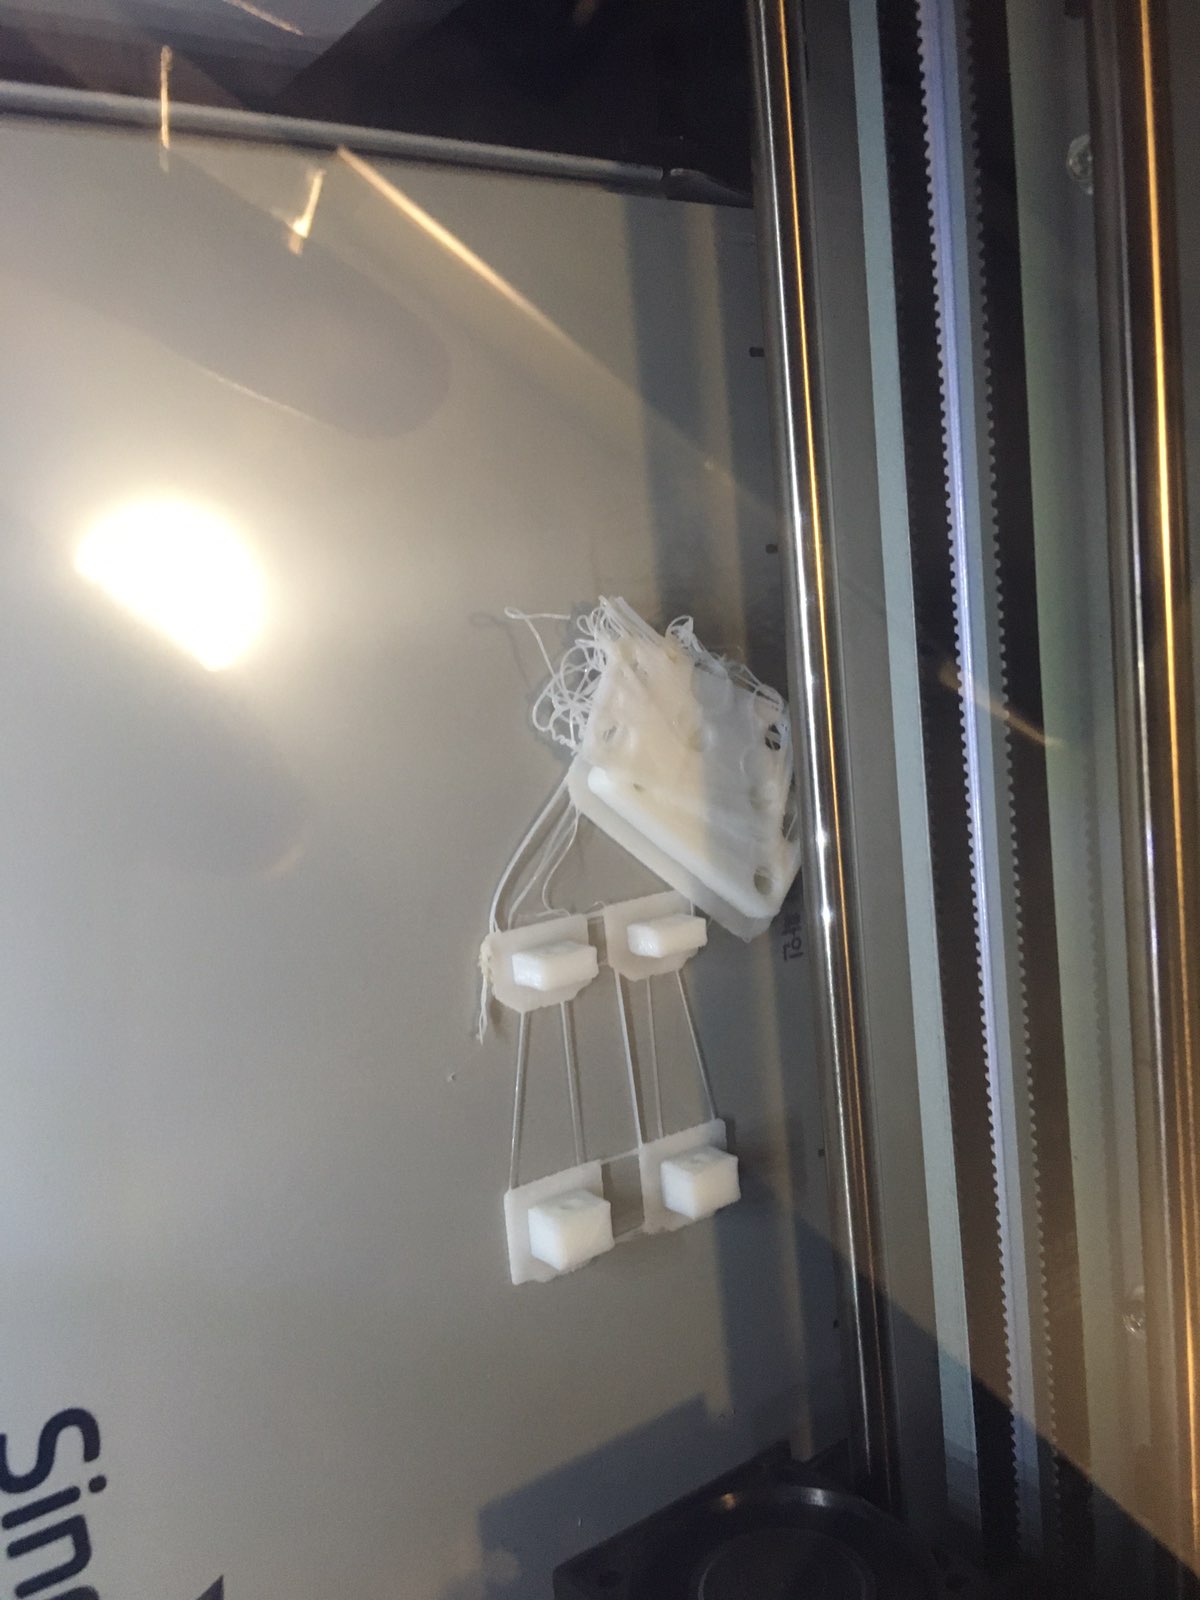
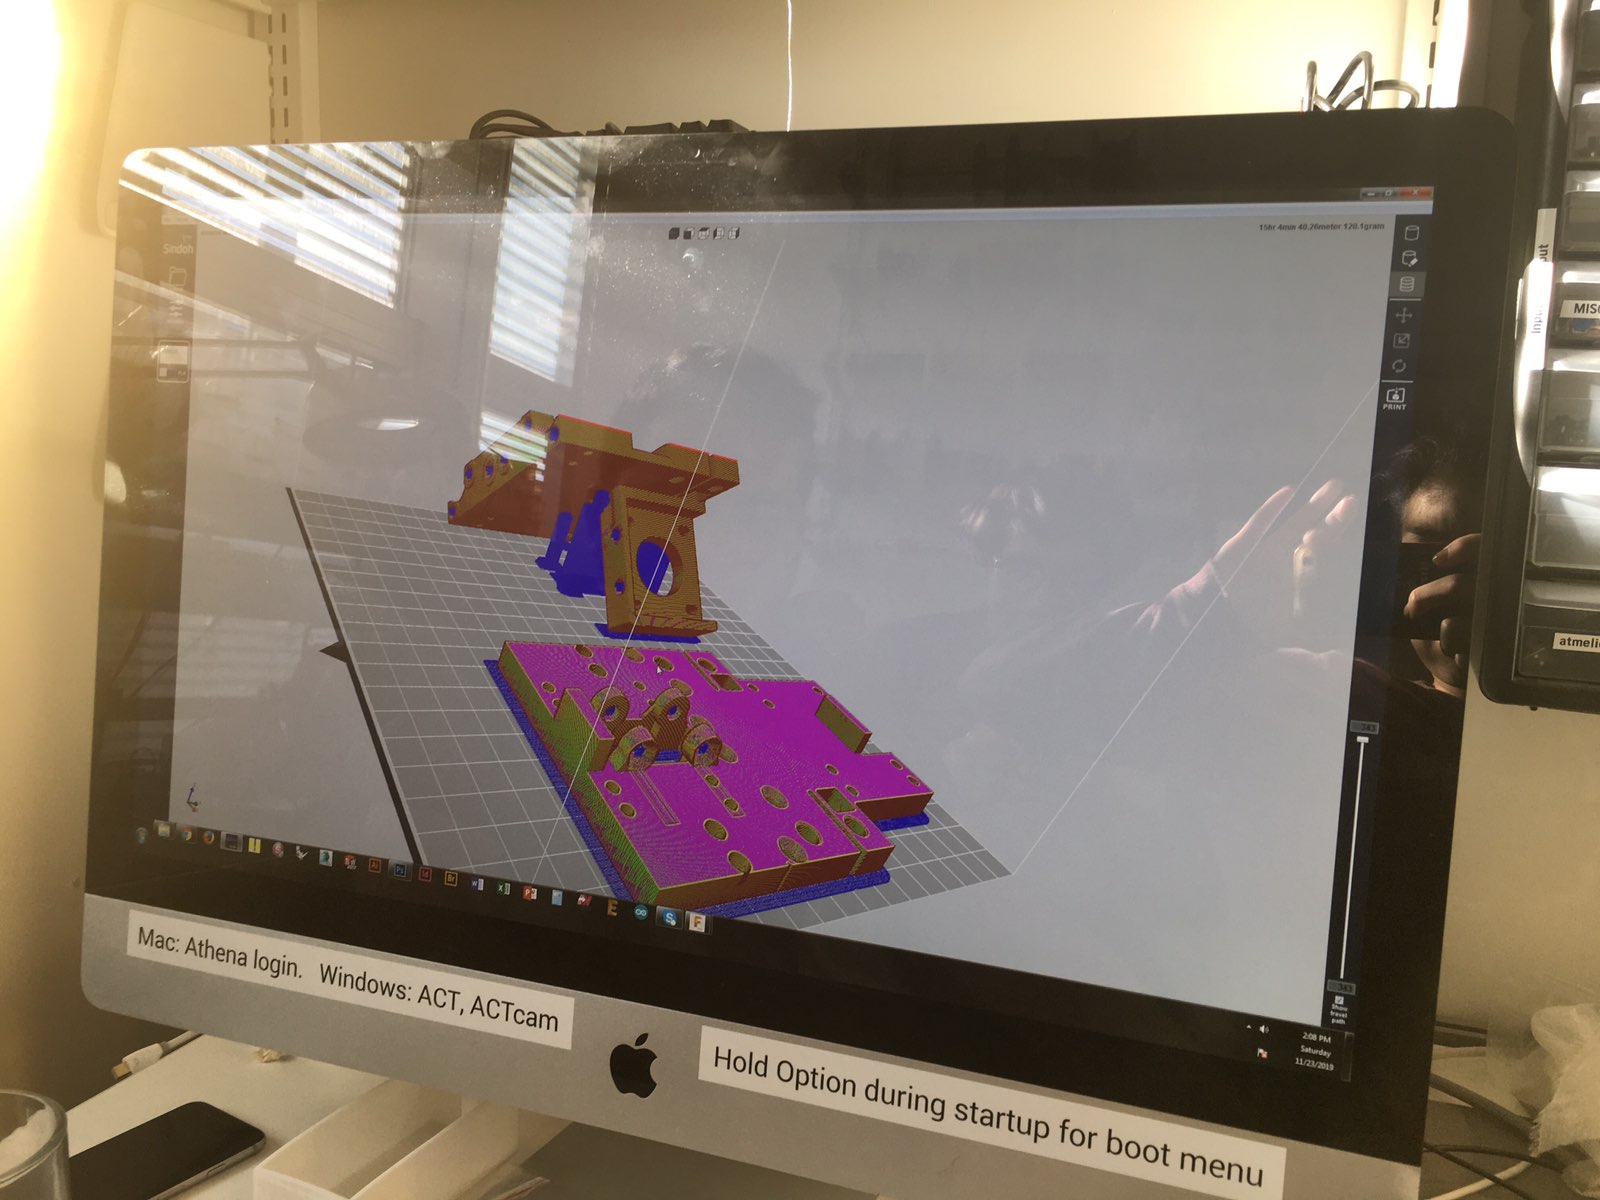
Then, after encountering several problems (the Mac PC on the ACT crashed, tried to use the Prusa printer on the shop but the prints failed again) we managed to print the parts at the ACT, after recovering the Mac PC with the help of Pohao and Emma.
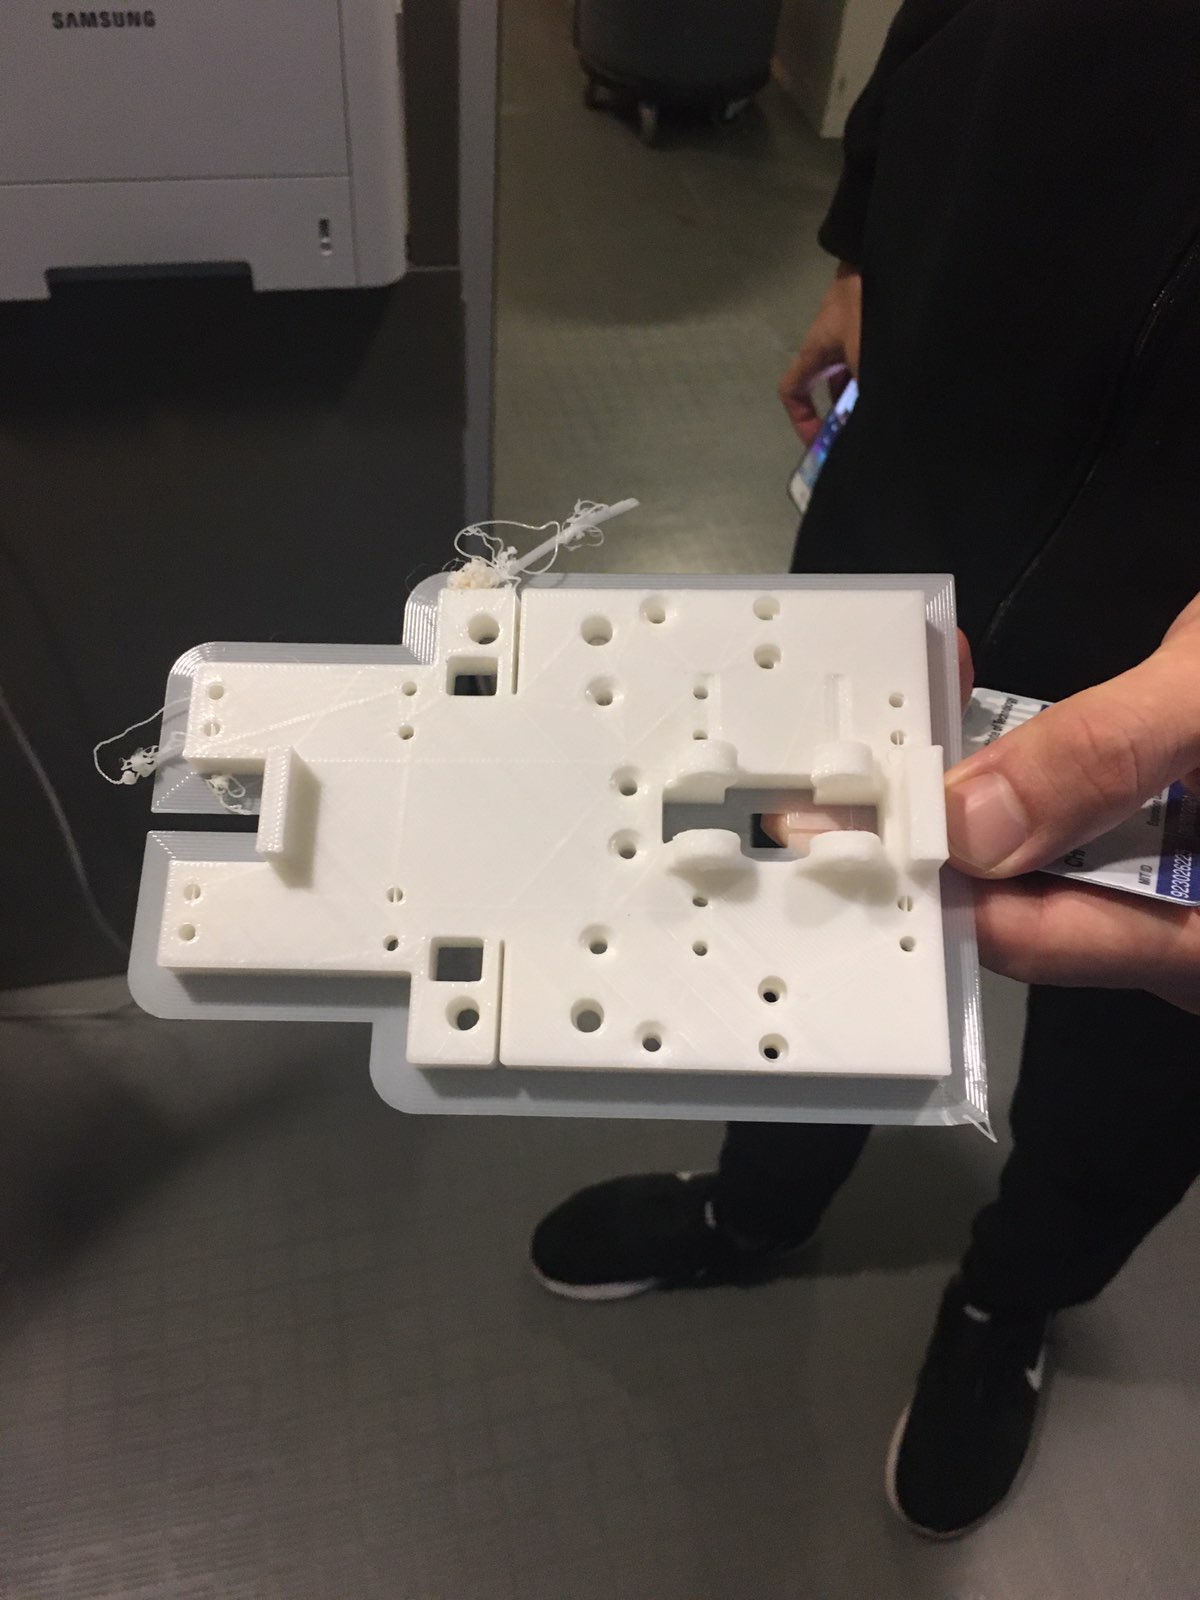
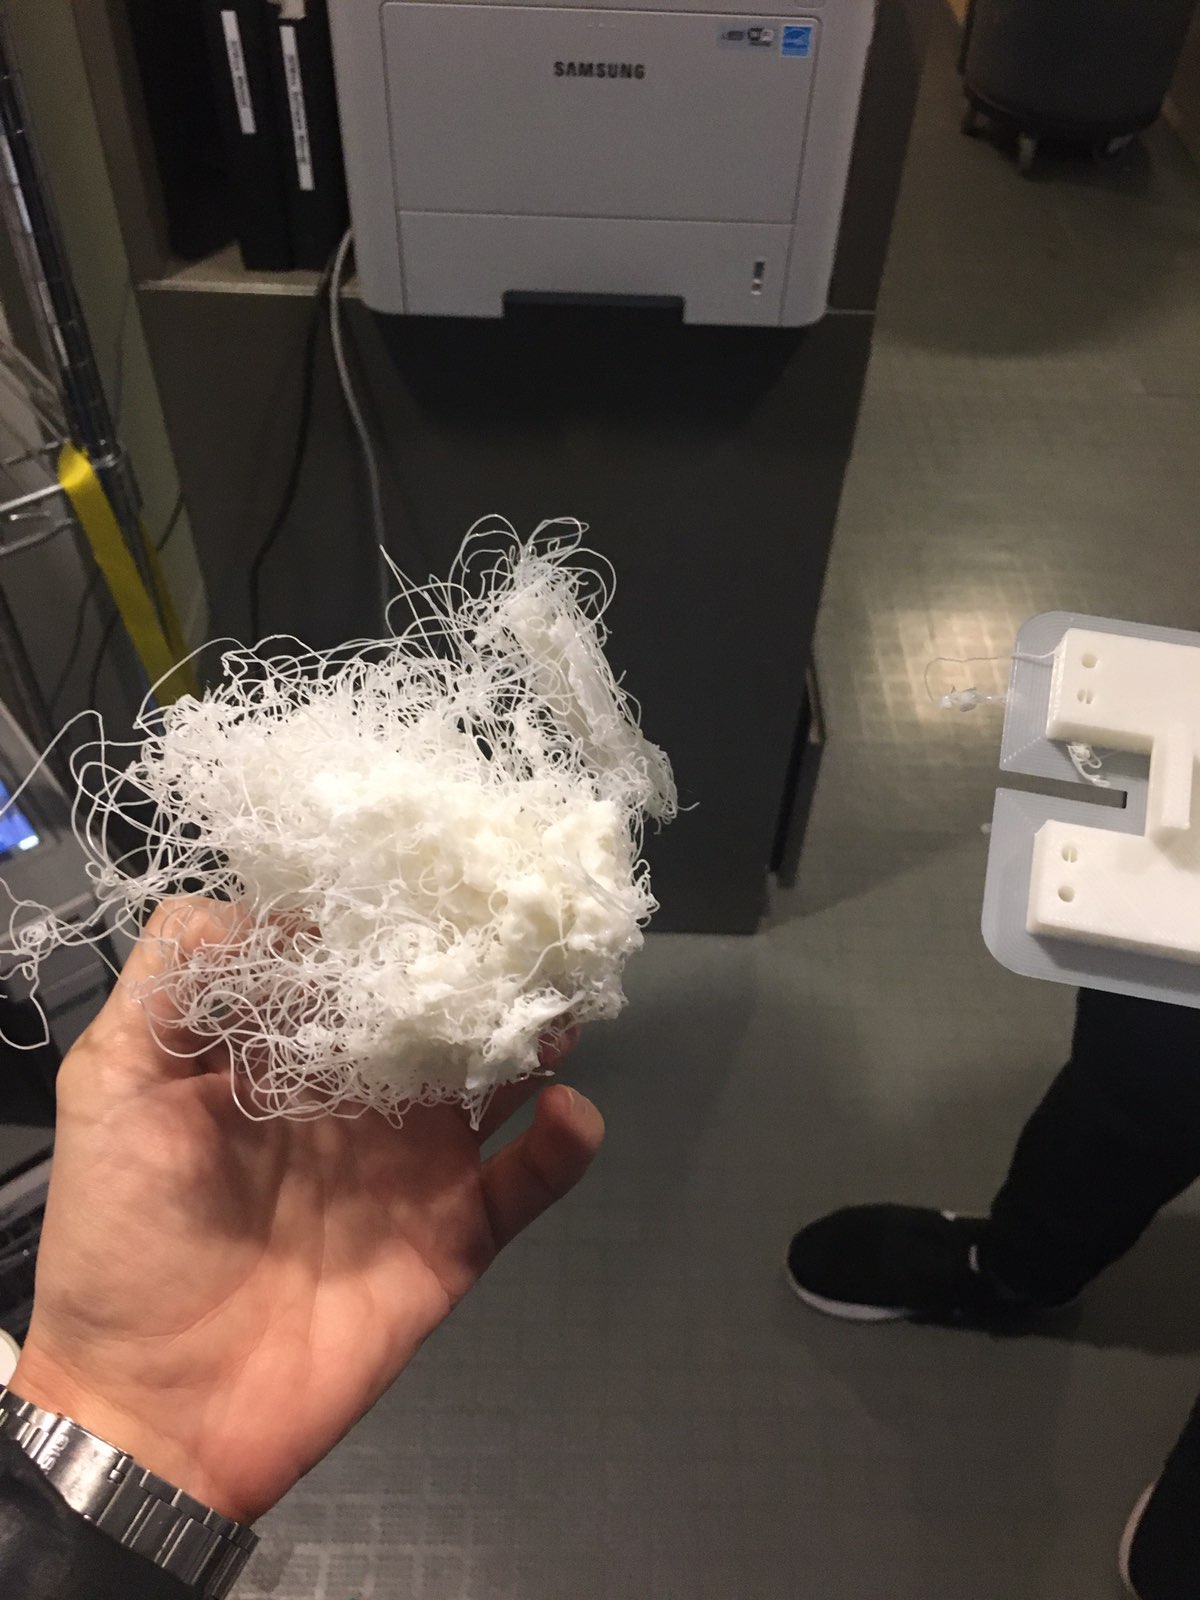
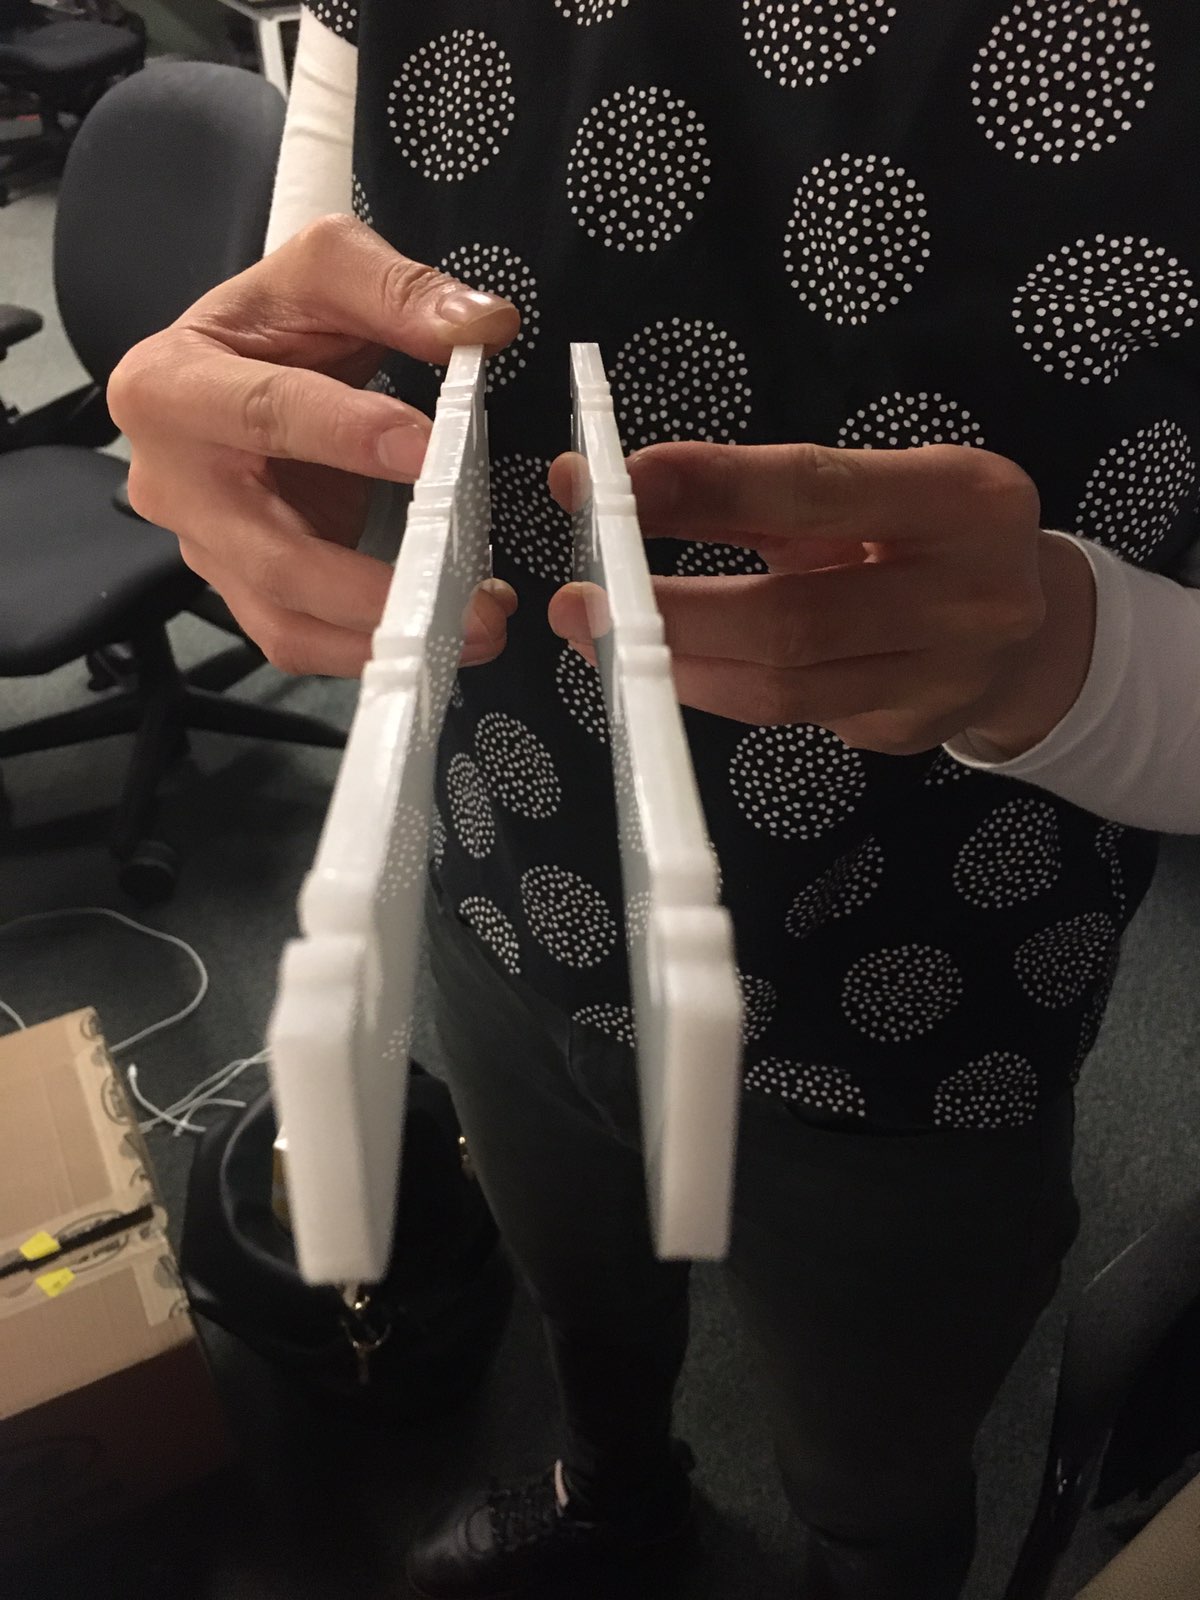
We were also asked to 3D print the long and the double plates that would hold the end-effector using 20% infill to have them as spare / test parts (this parts had already been printed with 100% infill). The long part came out pretty good, while the double part which was in an angle was a mess. The 3D printers were printing overnight, so we weren't there to actually see what went wrong.
Sunday 24 Nov: Assembling and Laser-cutting
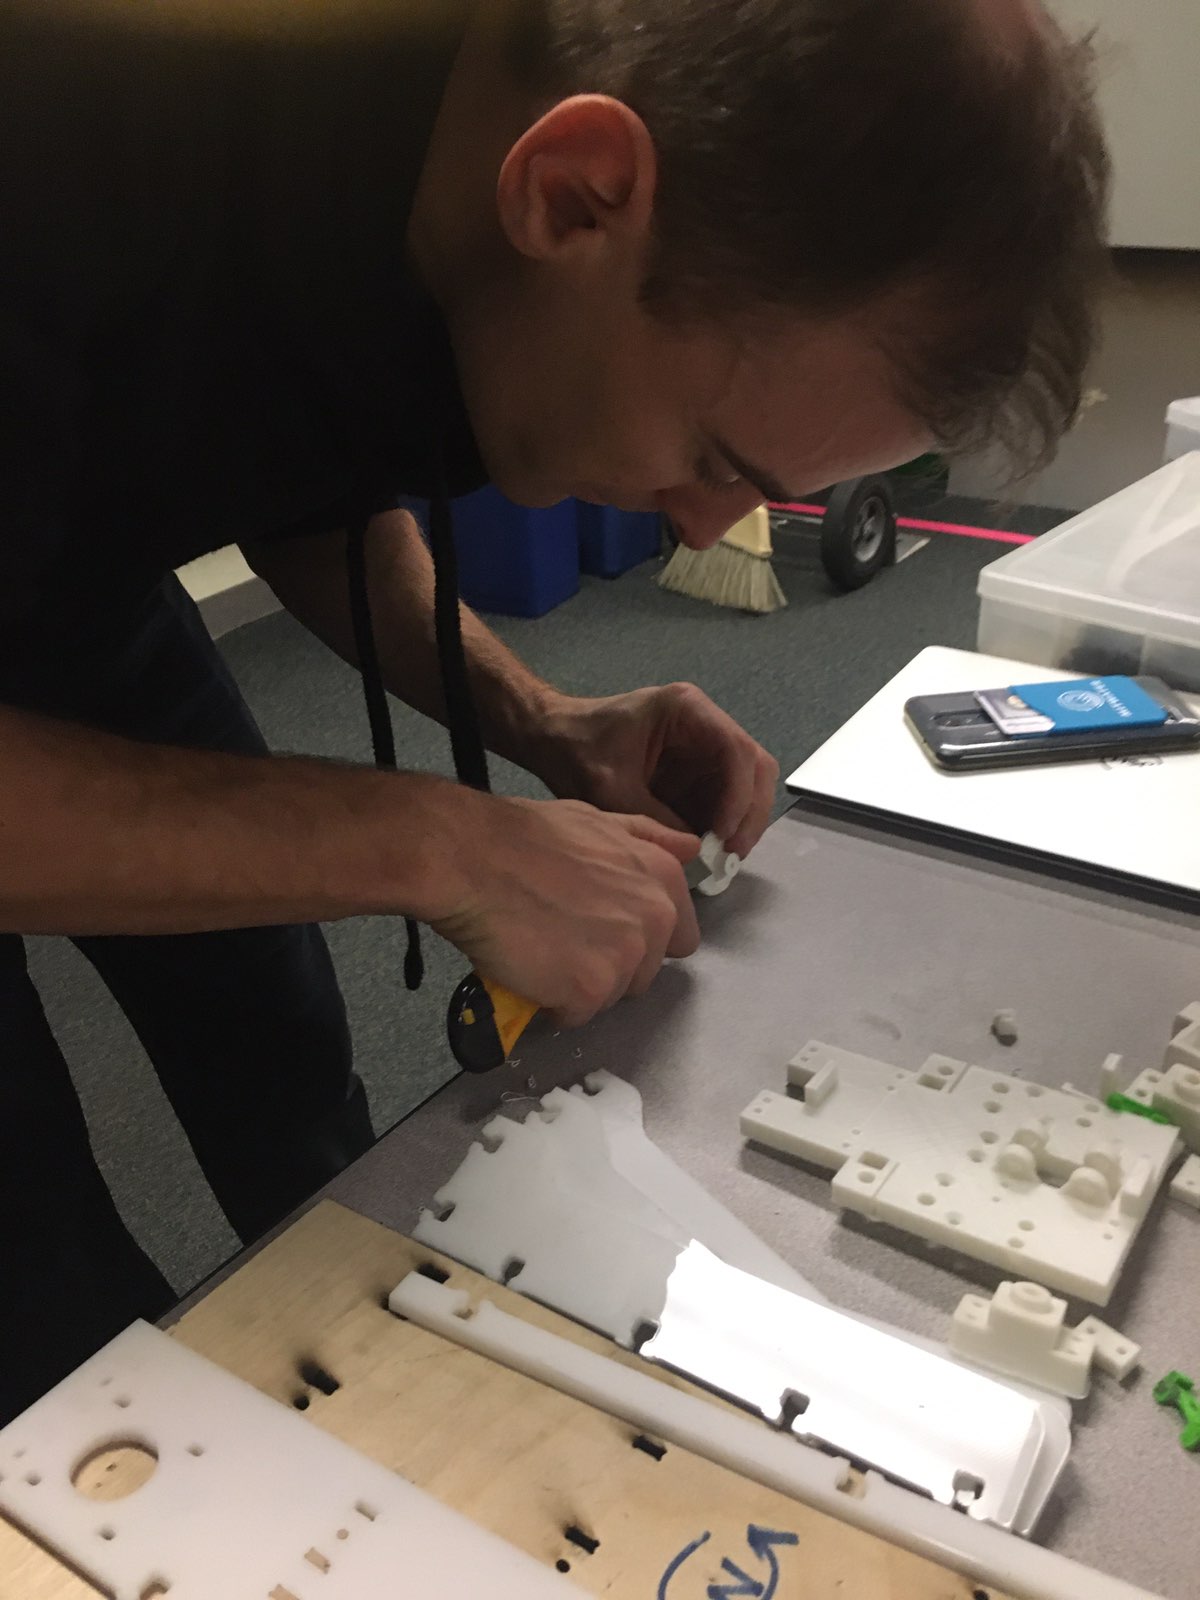
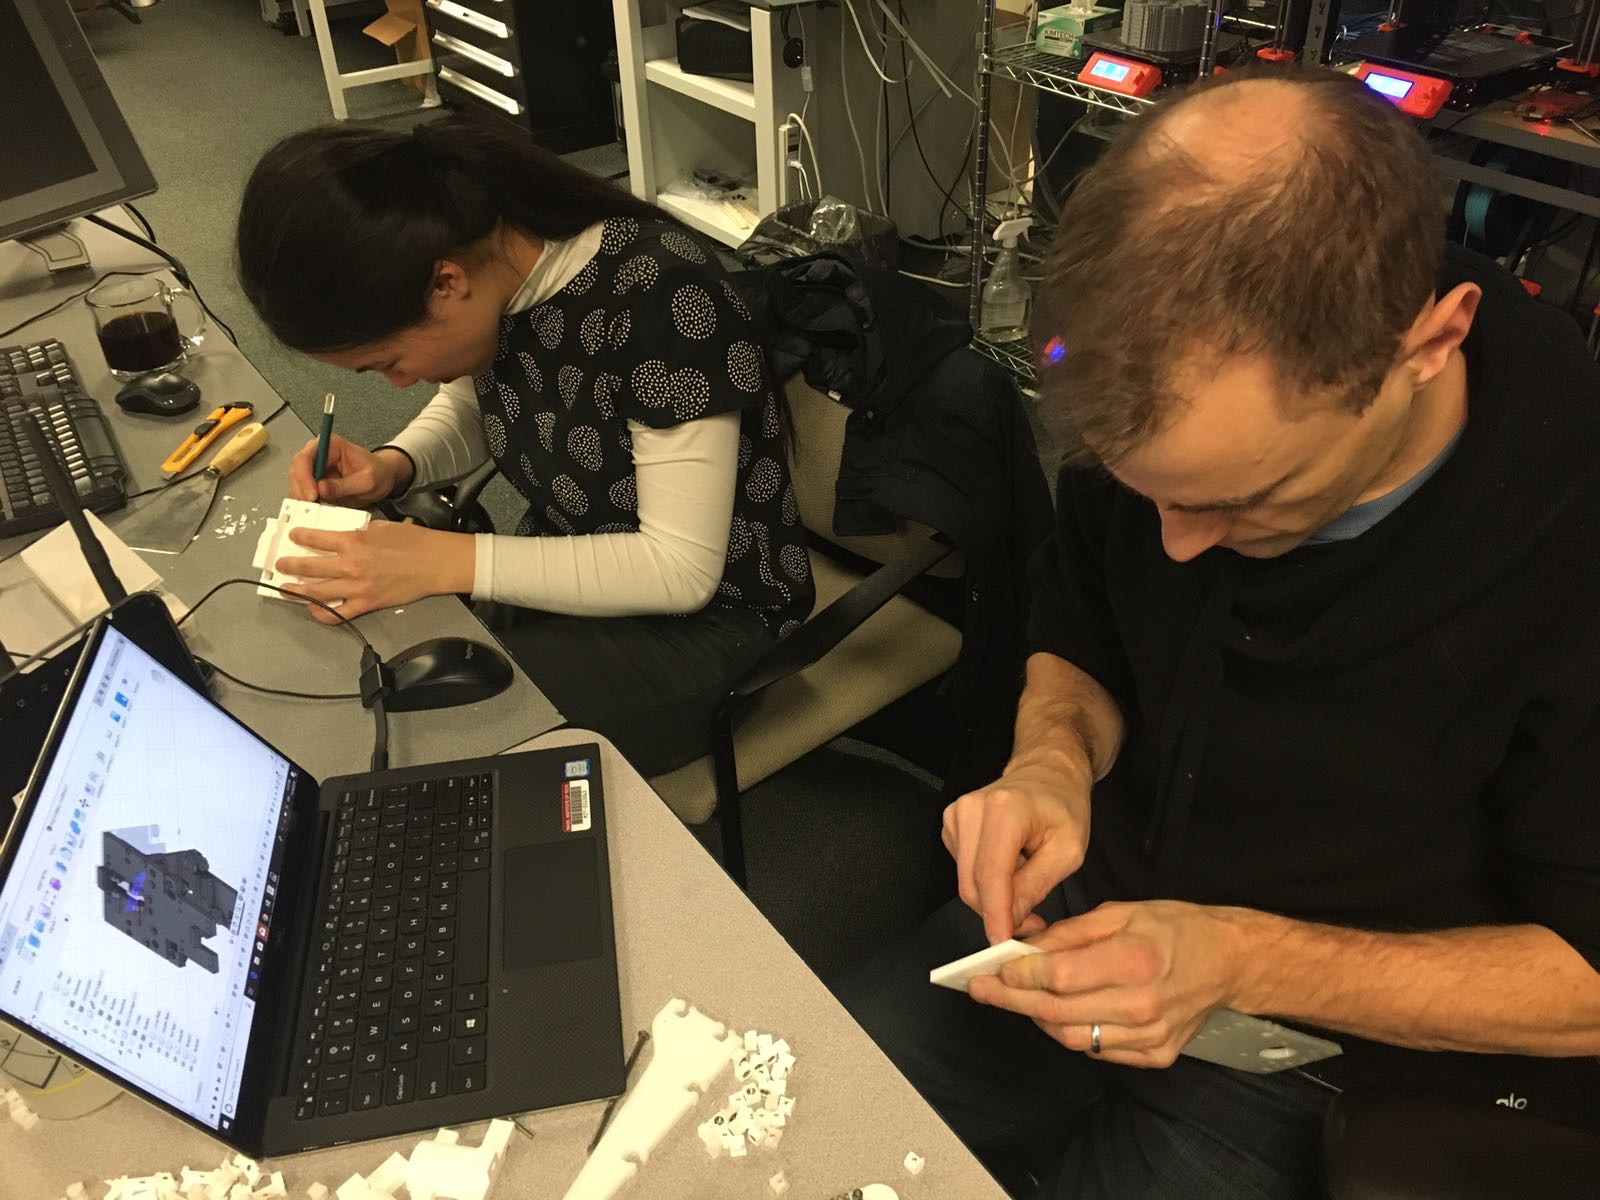
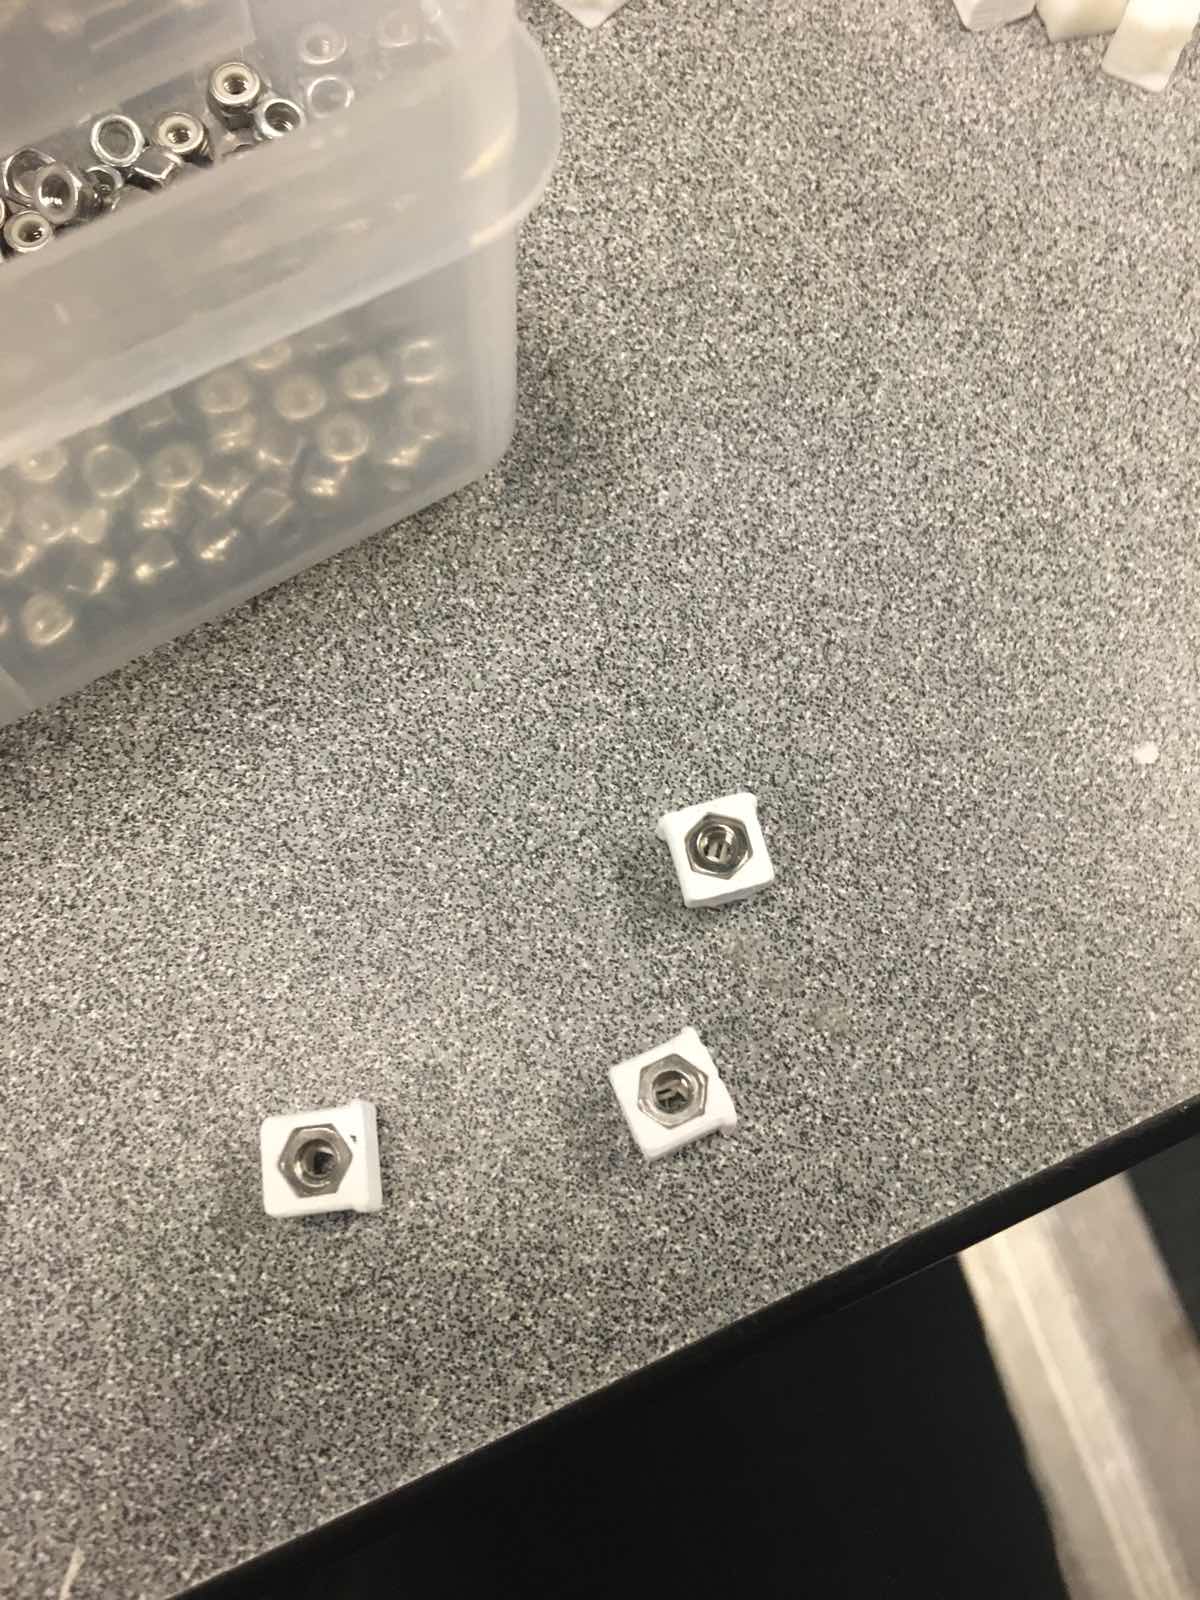
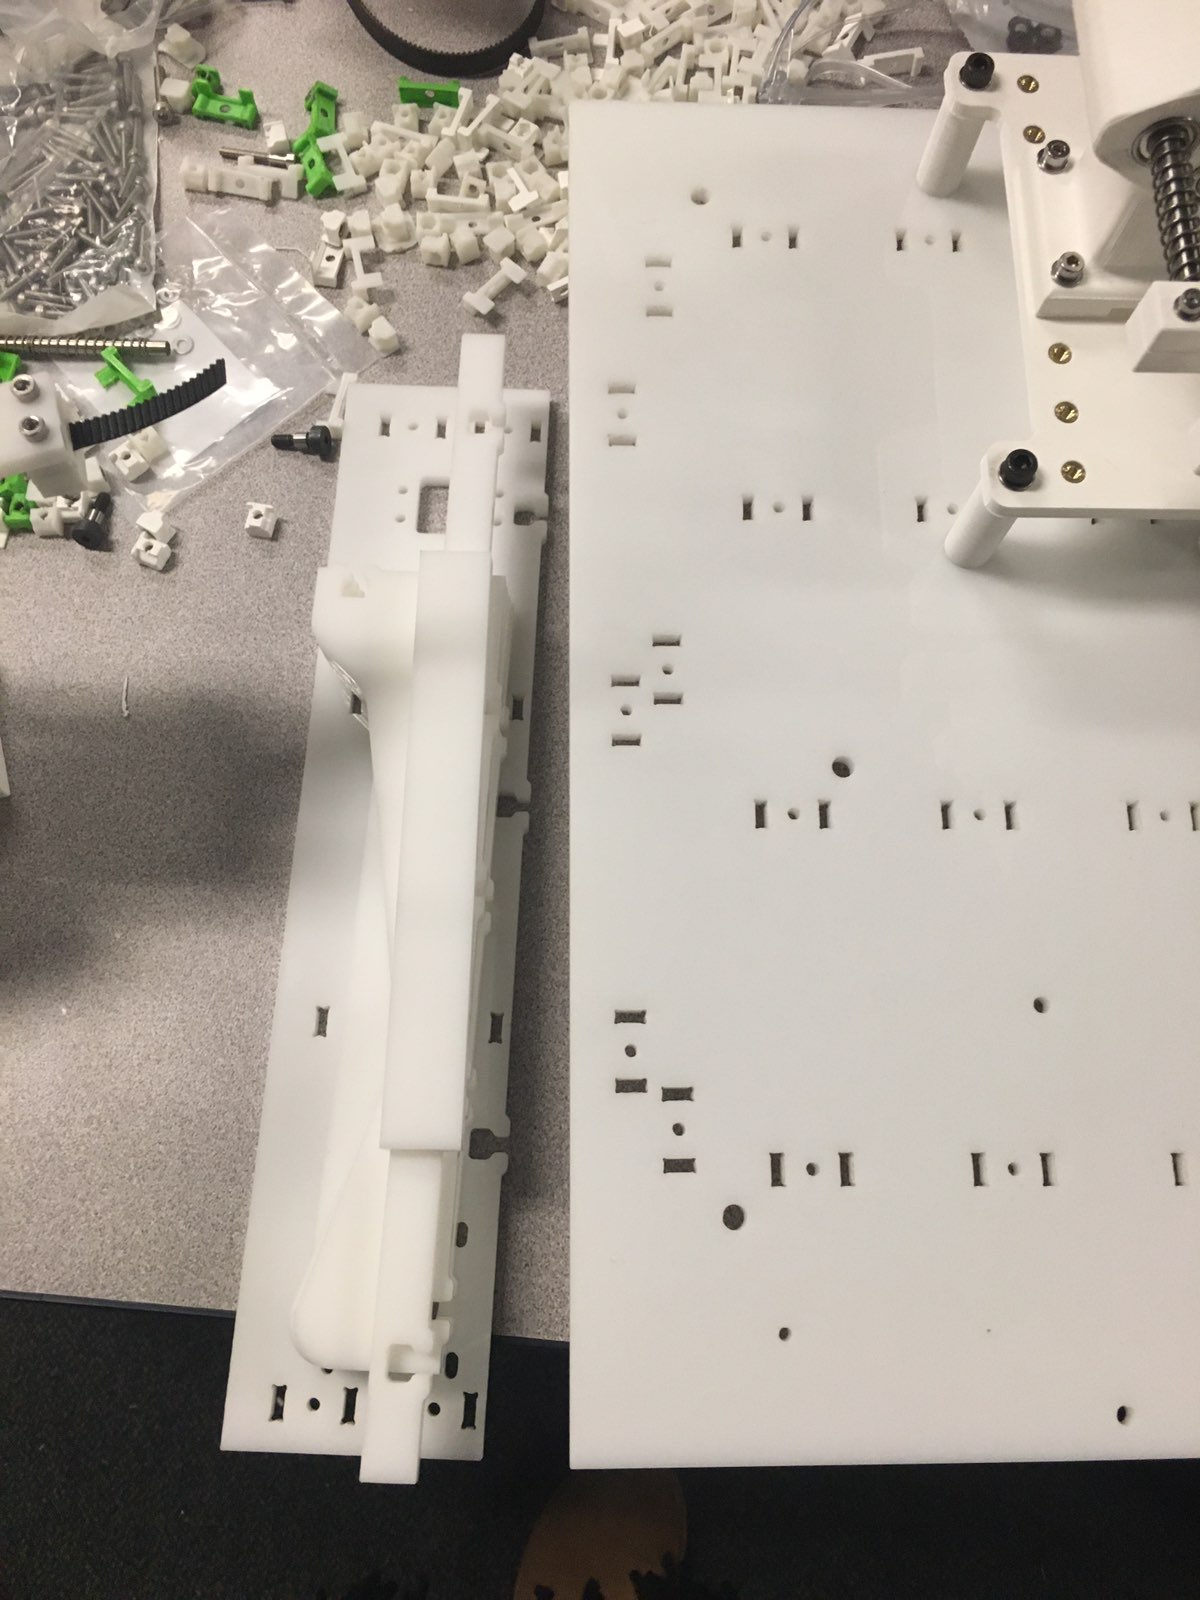
On Sunday I cleaned together with D and Sabrina the 3D printed parts, and I added nuts to the tiny joints holding the ribs on the peeler base. I also helped in assembling several parts of the machine.
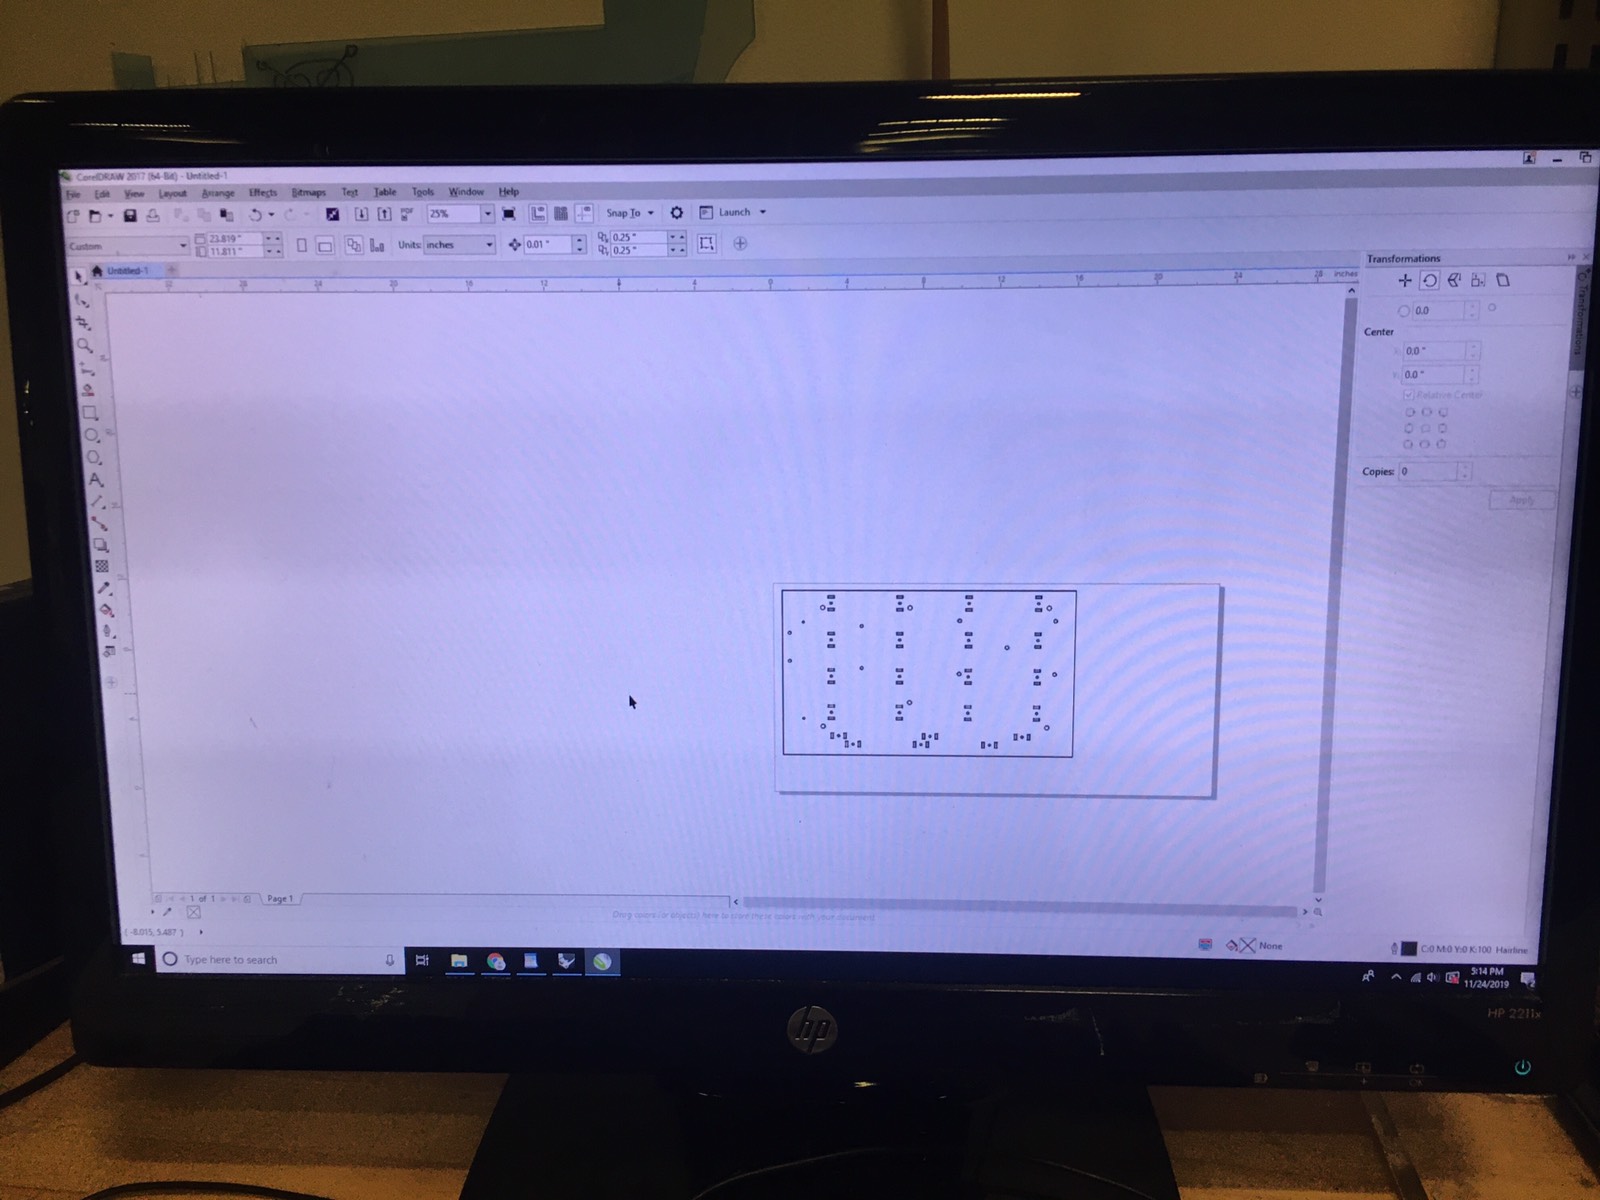
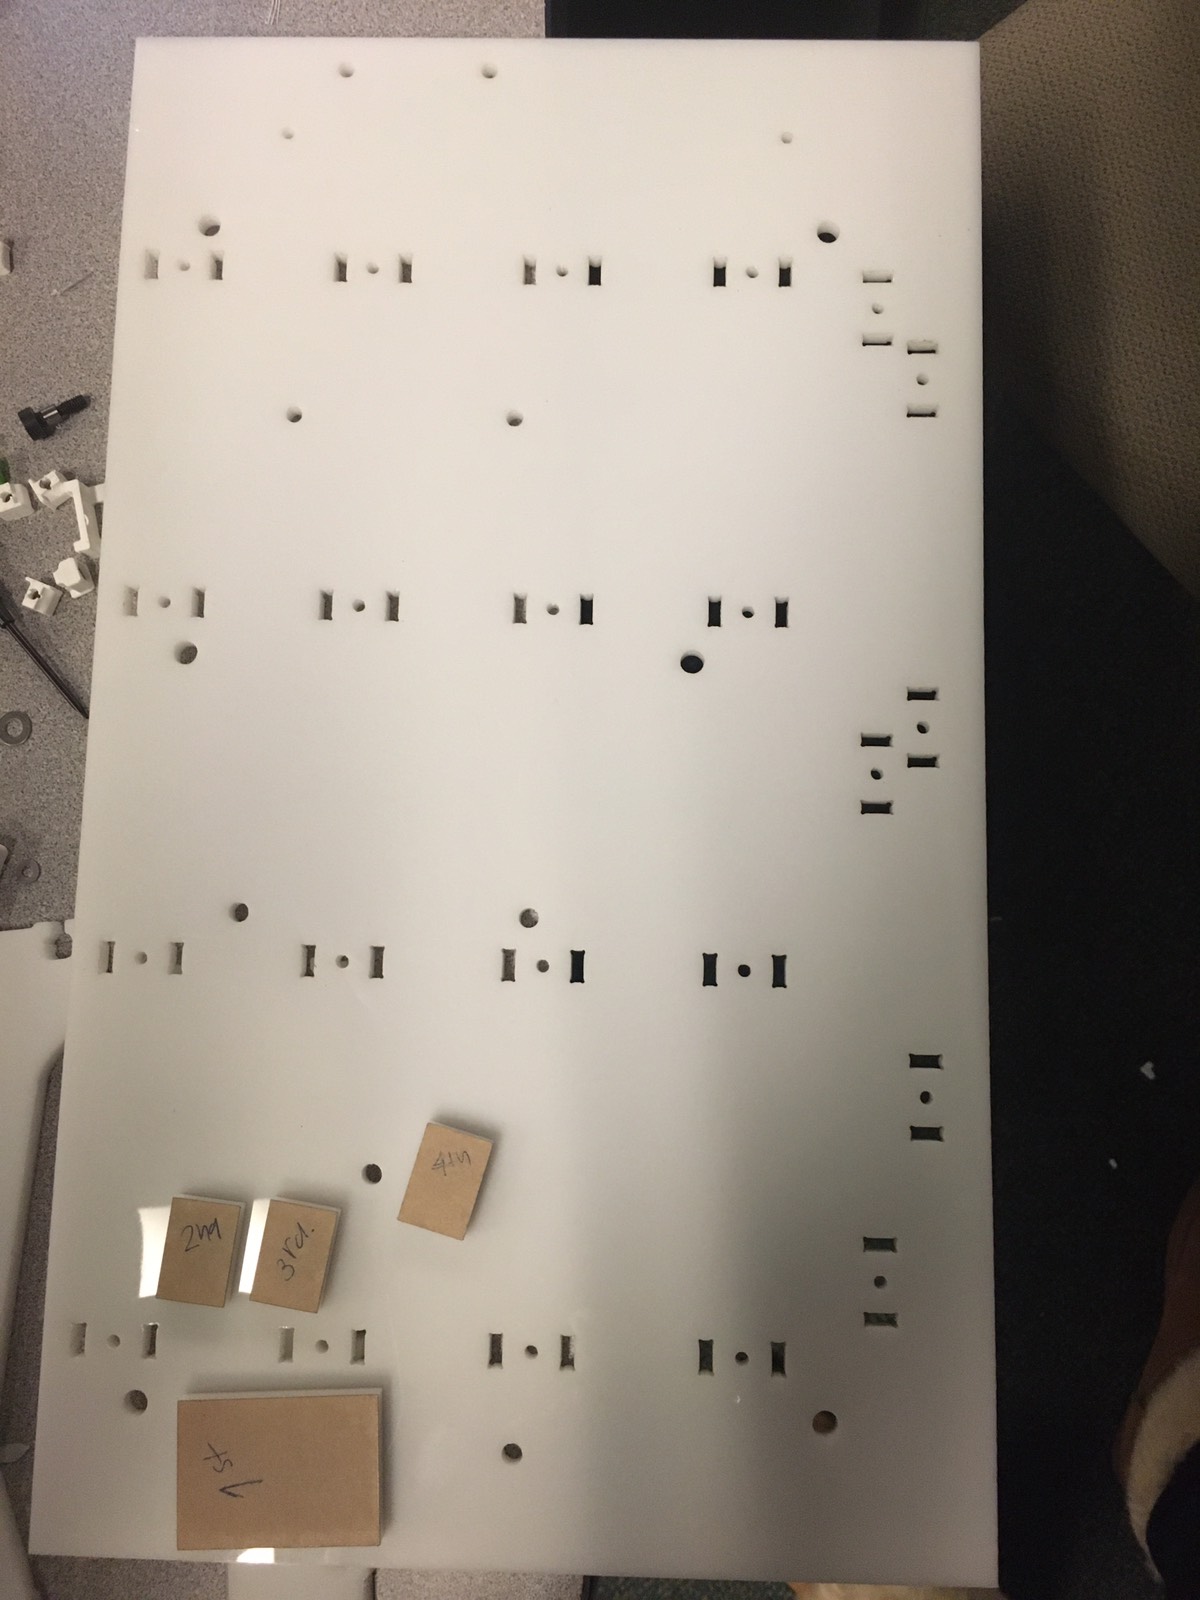
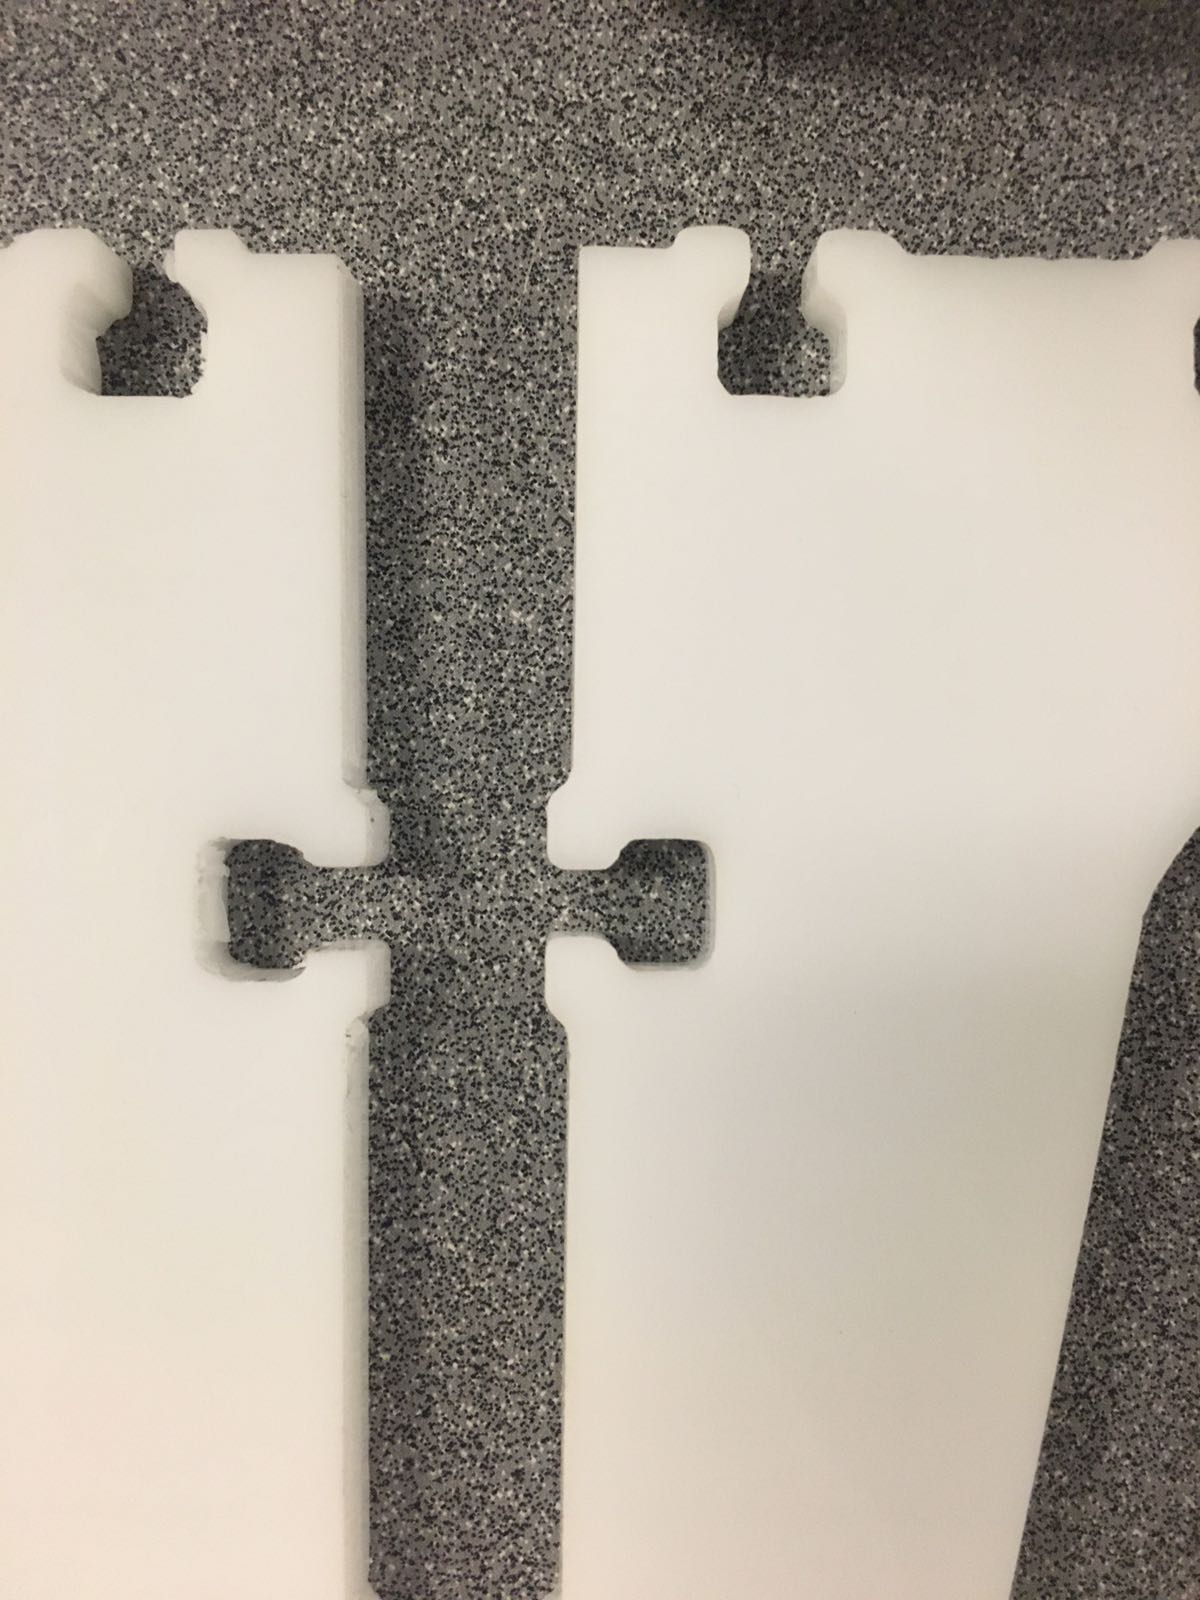
Then together with Sabrina we used the GCC laser cutter of the CBA shop to cut the acrylic parts of the machine, i.e. the base of the apple peeler as well as the ribs and the main beams. We first ran some tests to see which were the optimal settings for cutting the parts as straight as possible (some of the ribs were already cu on Saturday but they didn't come out very straight after 2 cuts, so we decided to try increasing the speed and cut multiple times). After several tests we decided to use the following settings: speed 3, power 100% and PPI 400. We ran the laser cutter 7 times in order to cut the base and 8 times in order to cut the ribs and the beams.
They came out pretty straight and clean compared to the previous ones.
Monday 25 Nov: End-effector design
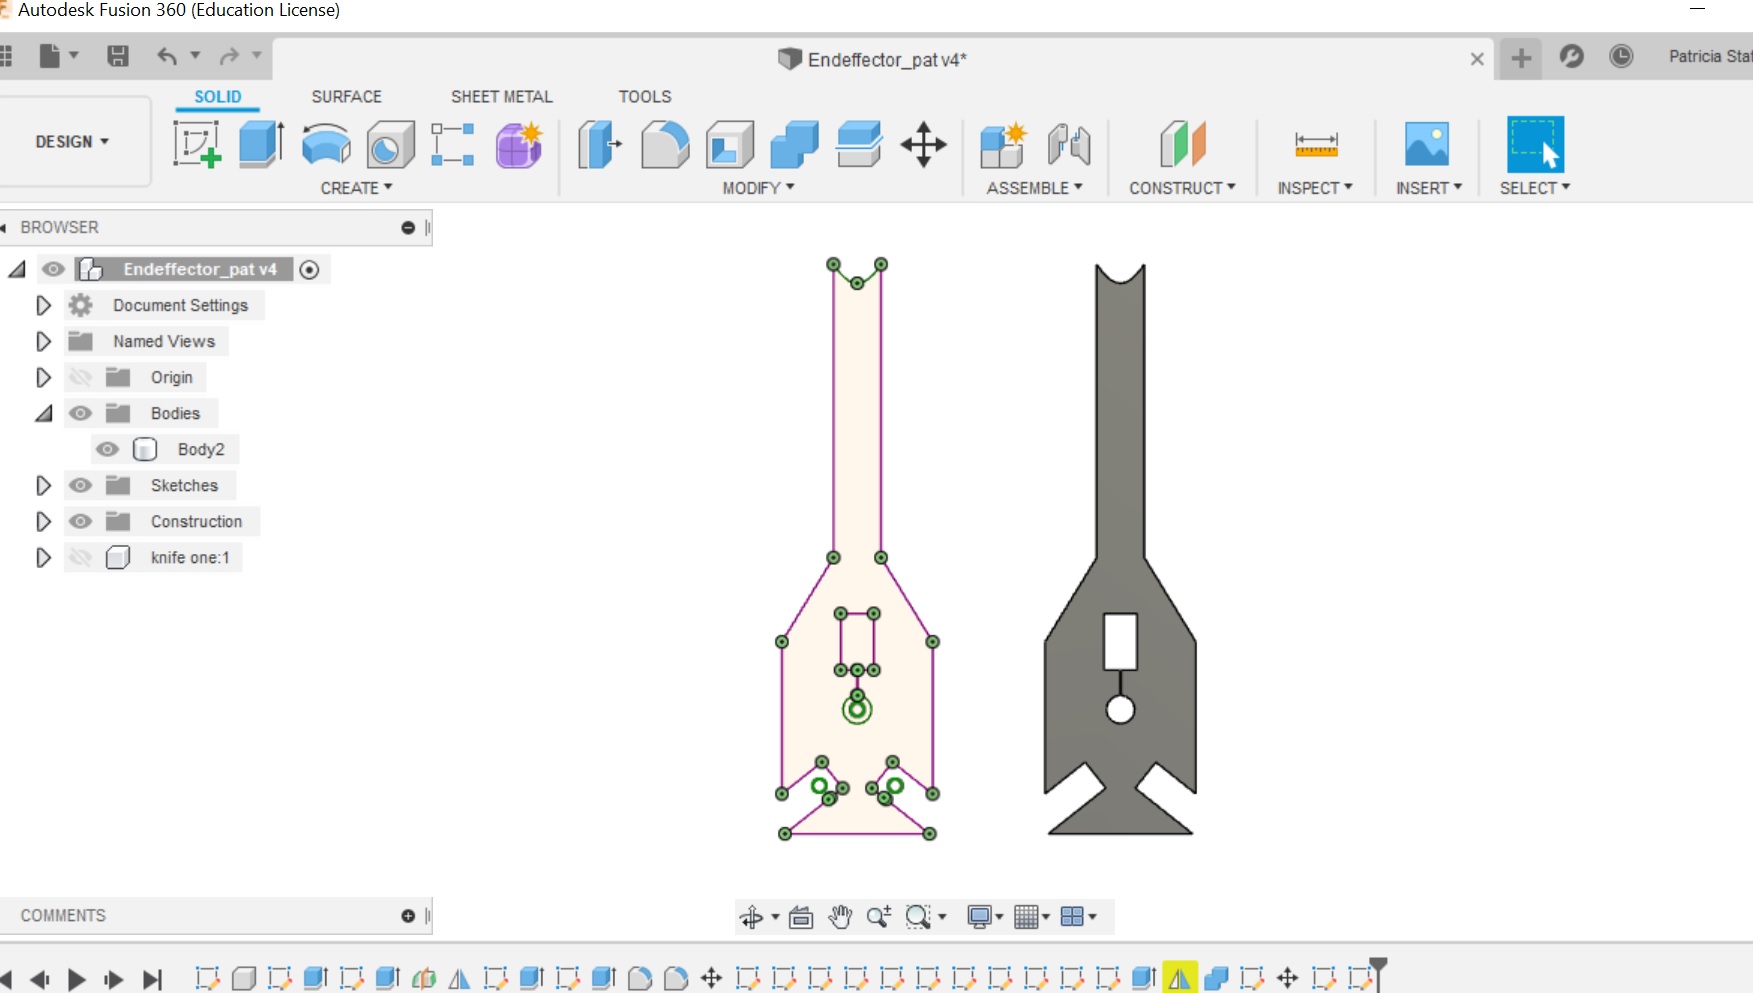
On Monday I decided to design a second end-effector for the machine for having the opportunity to play with different patterns on the apples. I used Fusion 360 and I took into account the constraints of the end-effector base together with Alfonso's and Zach's advice. The file can be found here.
Tuesday 26 Nov: EDMing & Vinyl-cutting
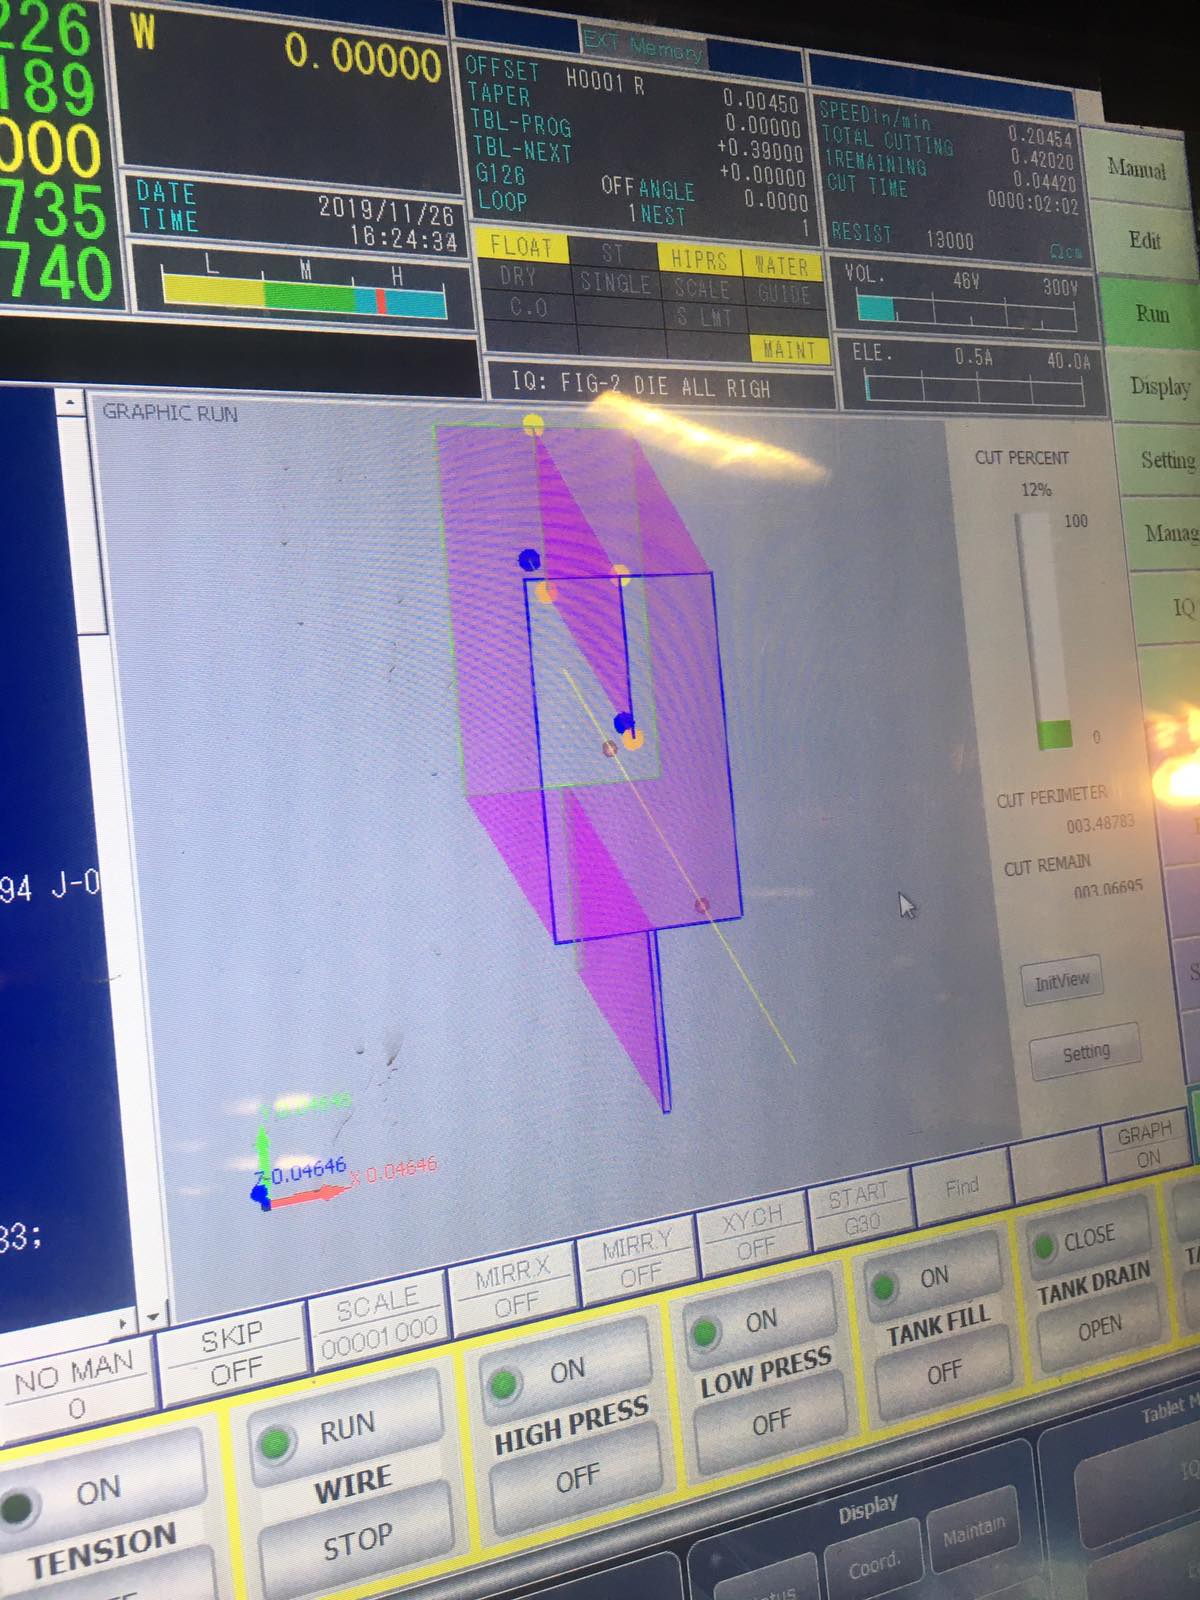
Zach helped me to cut the end-effector using the Sodick SL400G Wire EDM machine on the CBA shop. First we drilled a hole on a sheet of 17-4 stainless steel to provide a starting point for the wire of the machine to cut the surface of the metal. Then, we mounted the sheet on the EDM bed.
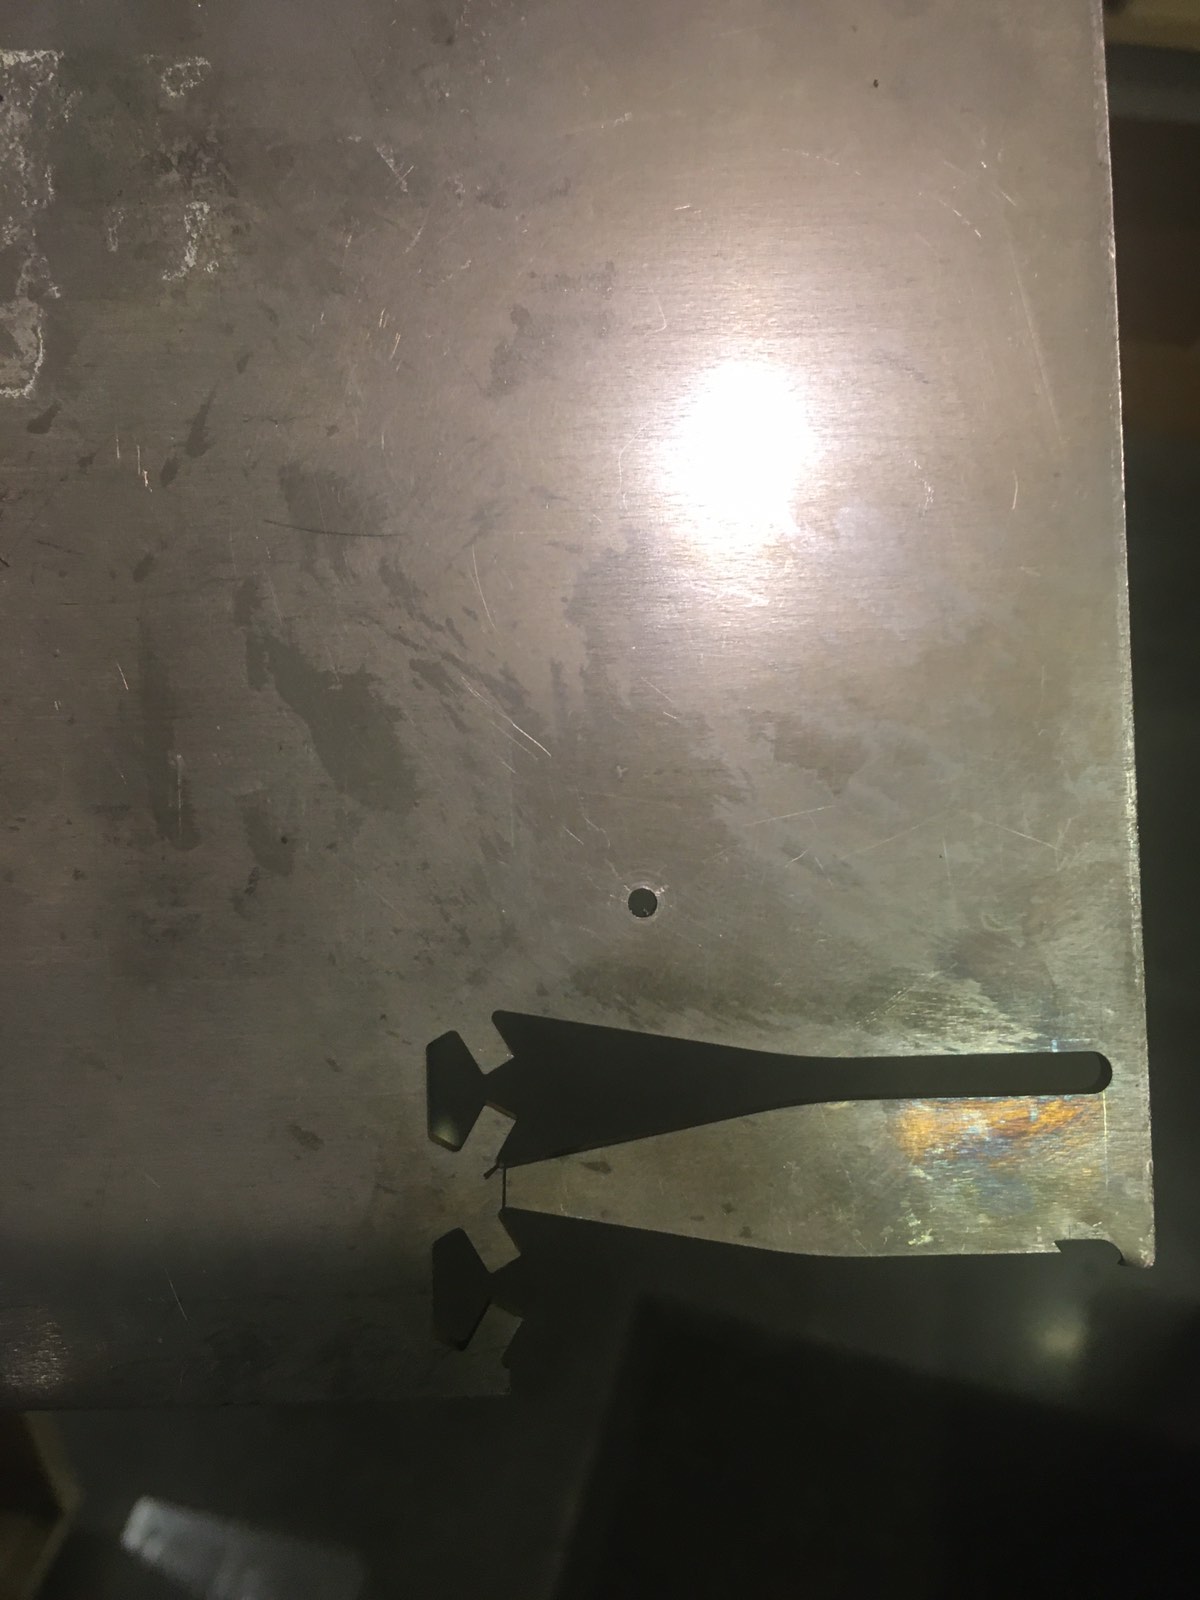
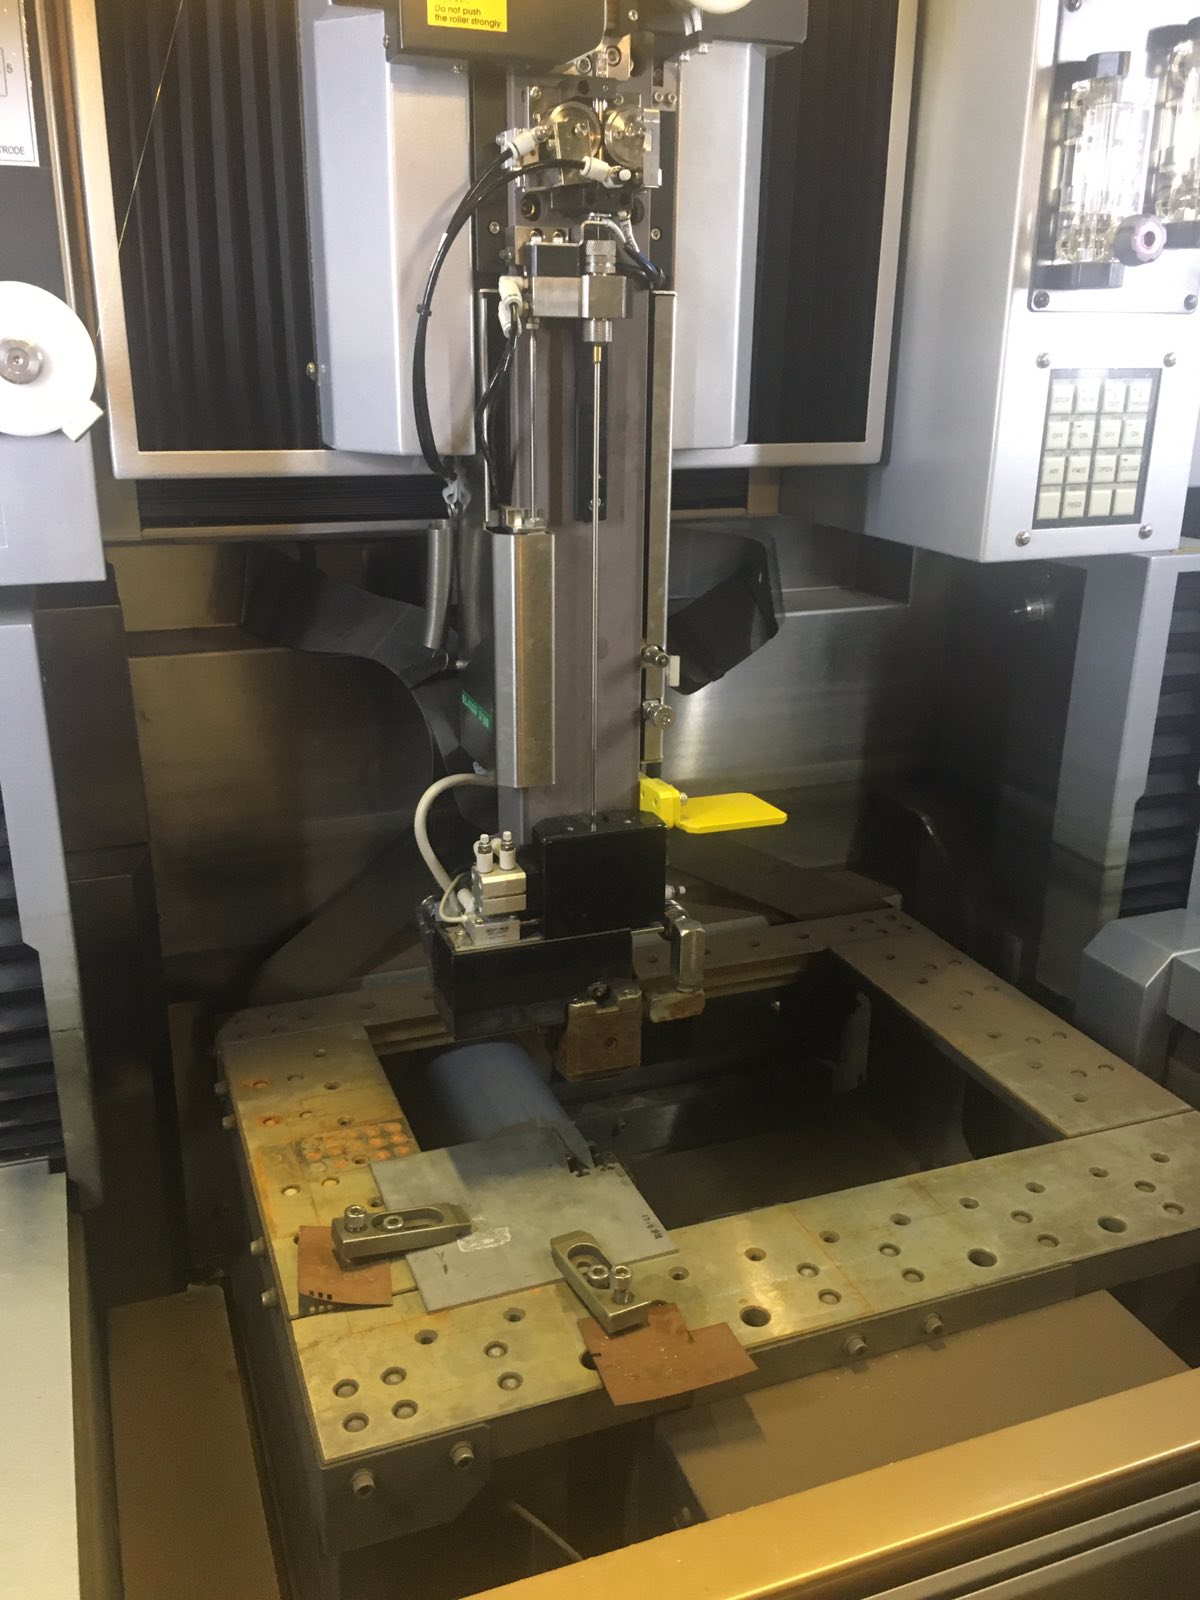
Zach made his magic and the machine started cutting, first the inside pattern (called die) and then the external pattern (called punch).
The end-effector came out looking great! Can't wait to see it cutting.

Then, I used the Rolland GS 24 vinyl cutter on the CBA shop to print the wonderful Apfelstrudel logo that Joao made. We cut both bigger and smaller logos and decorated the machine together with Aubrey and Sabrina. The machine looks GREAT!