Week 8: Molding and Casting
Assignments
This week’s assignment was to design a mold around the stock and tooling that I’ll be using. I would mill it(rough cut + finish cut) and then use it to cast parts. I chose to make a coin with a 3d print of my face, and then make a mold so I can cast it with a bismuth tin alloy.
Design
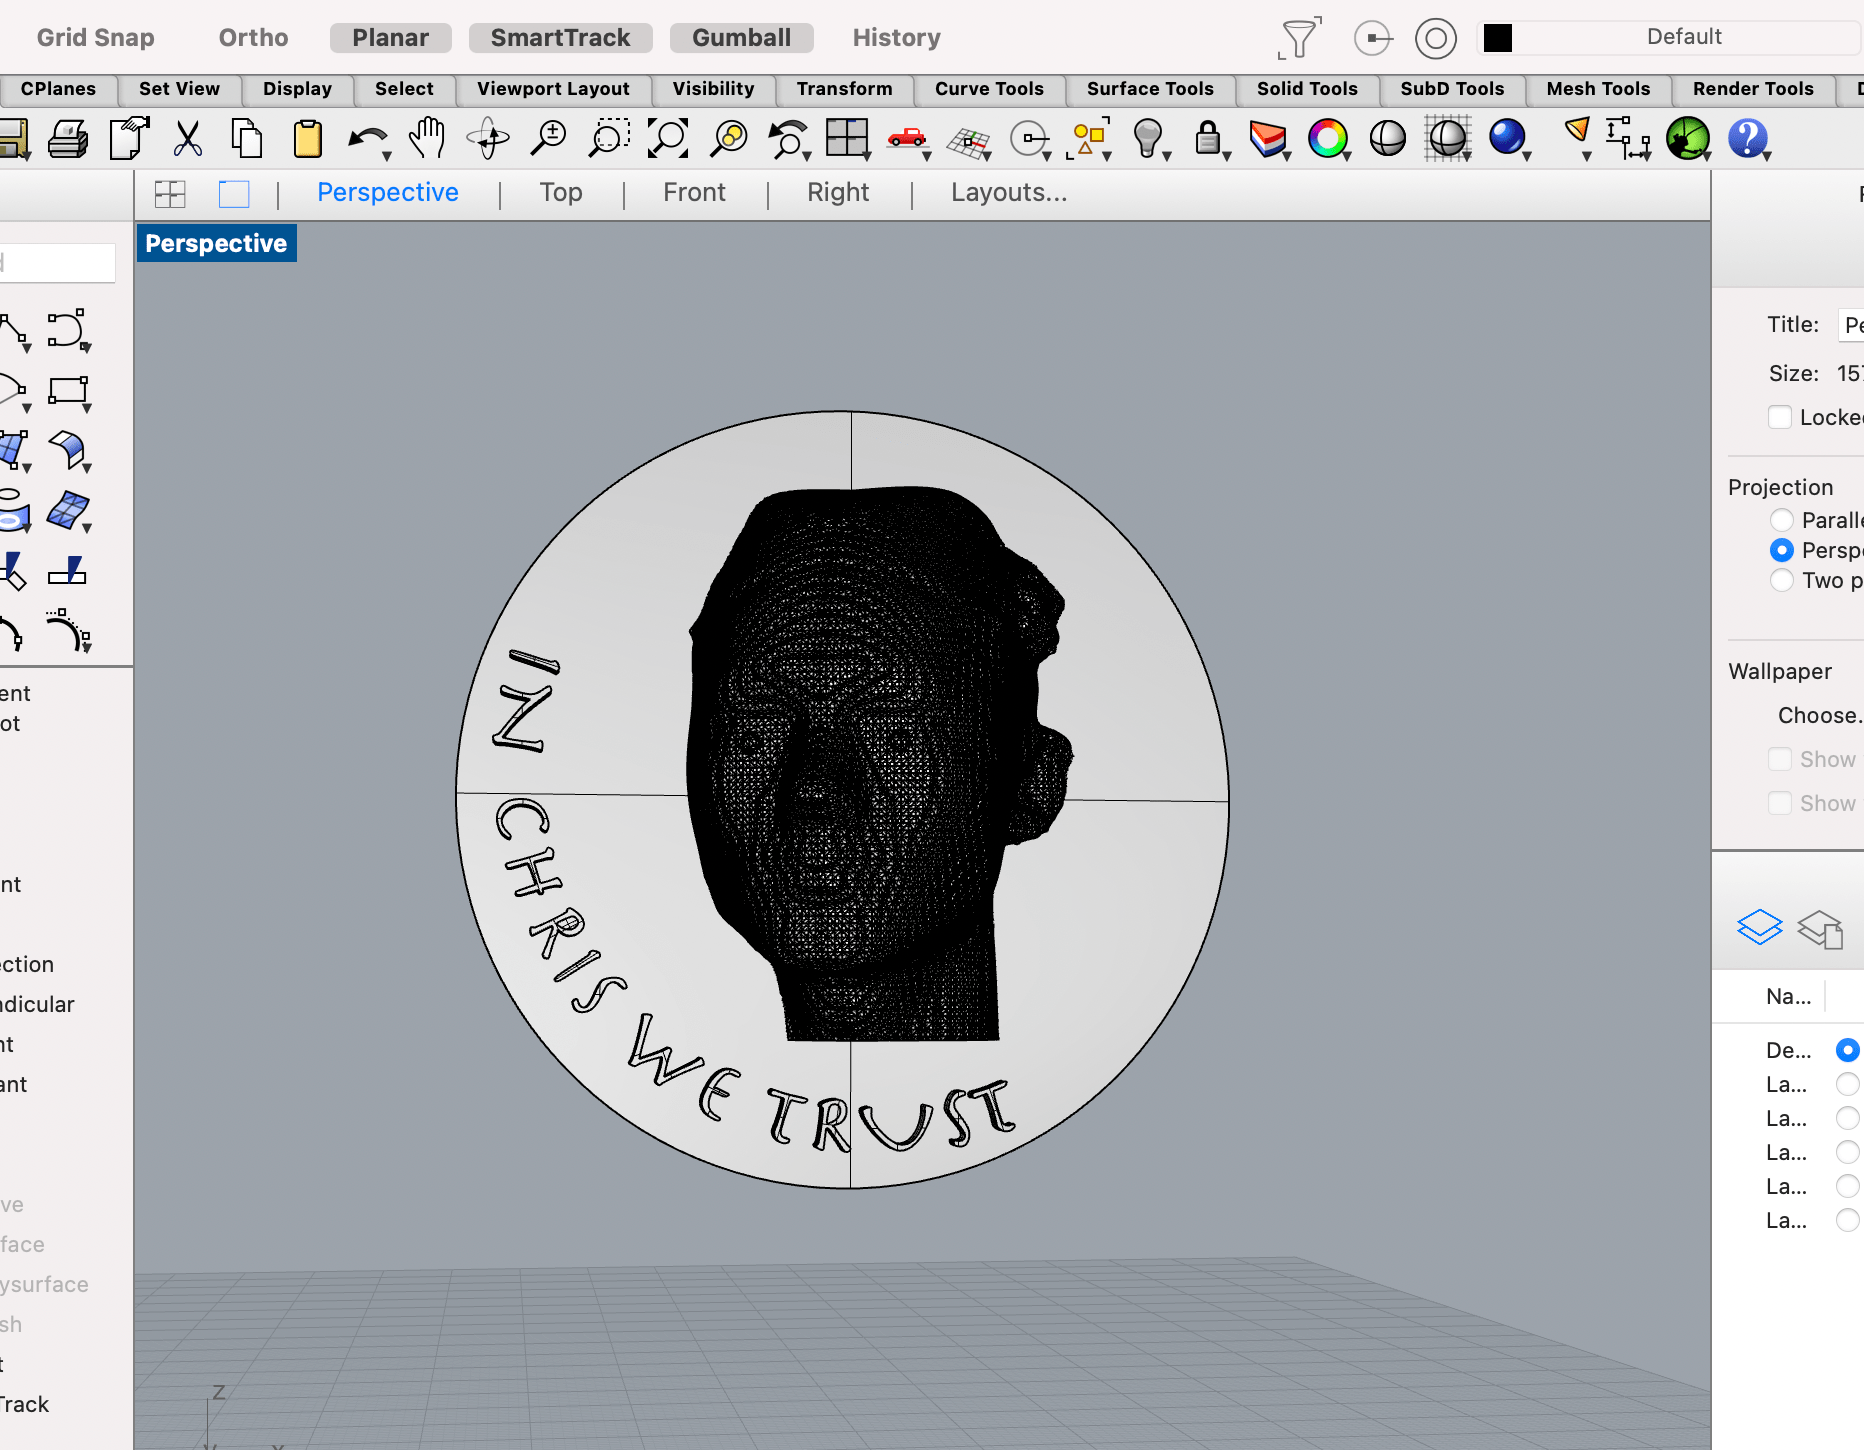
I chose to use Rhino again for my assignment. This was a mistake, because Rhino is very unintuitive and I didn’t even know basic features like scrolling and zooming with the mouse. However, with Rosalie, Ben, and Ibra’s help, I was able to figure out how to slice and scale my head so that it could be printed onto a coin. The hardest part was closing the polysurface, as I had problems with aspire the last time because I had so many intersecting and open vectors. For someone who is experienced with rhino this design would take ~5 minutes, but I spent around 5 hours trying to familiarize myself with Rhino. At least I know I learned a lot this week, hahaha.
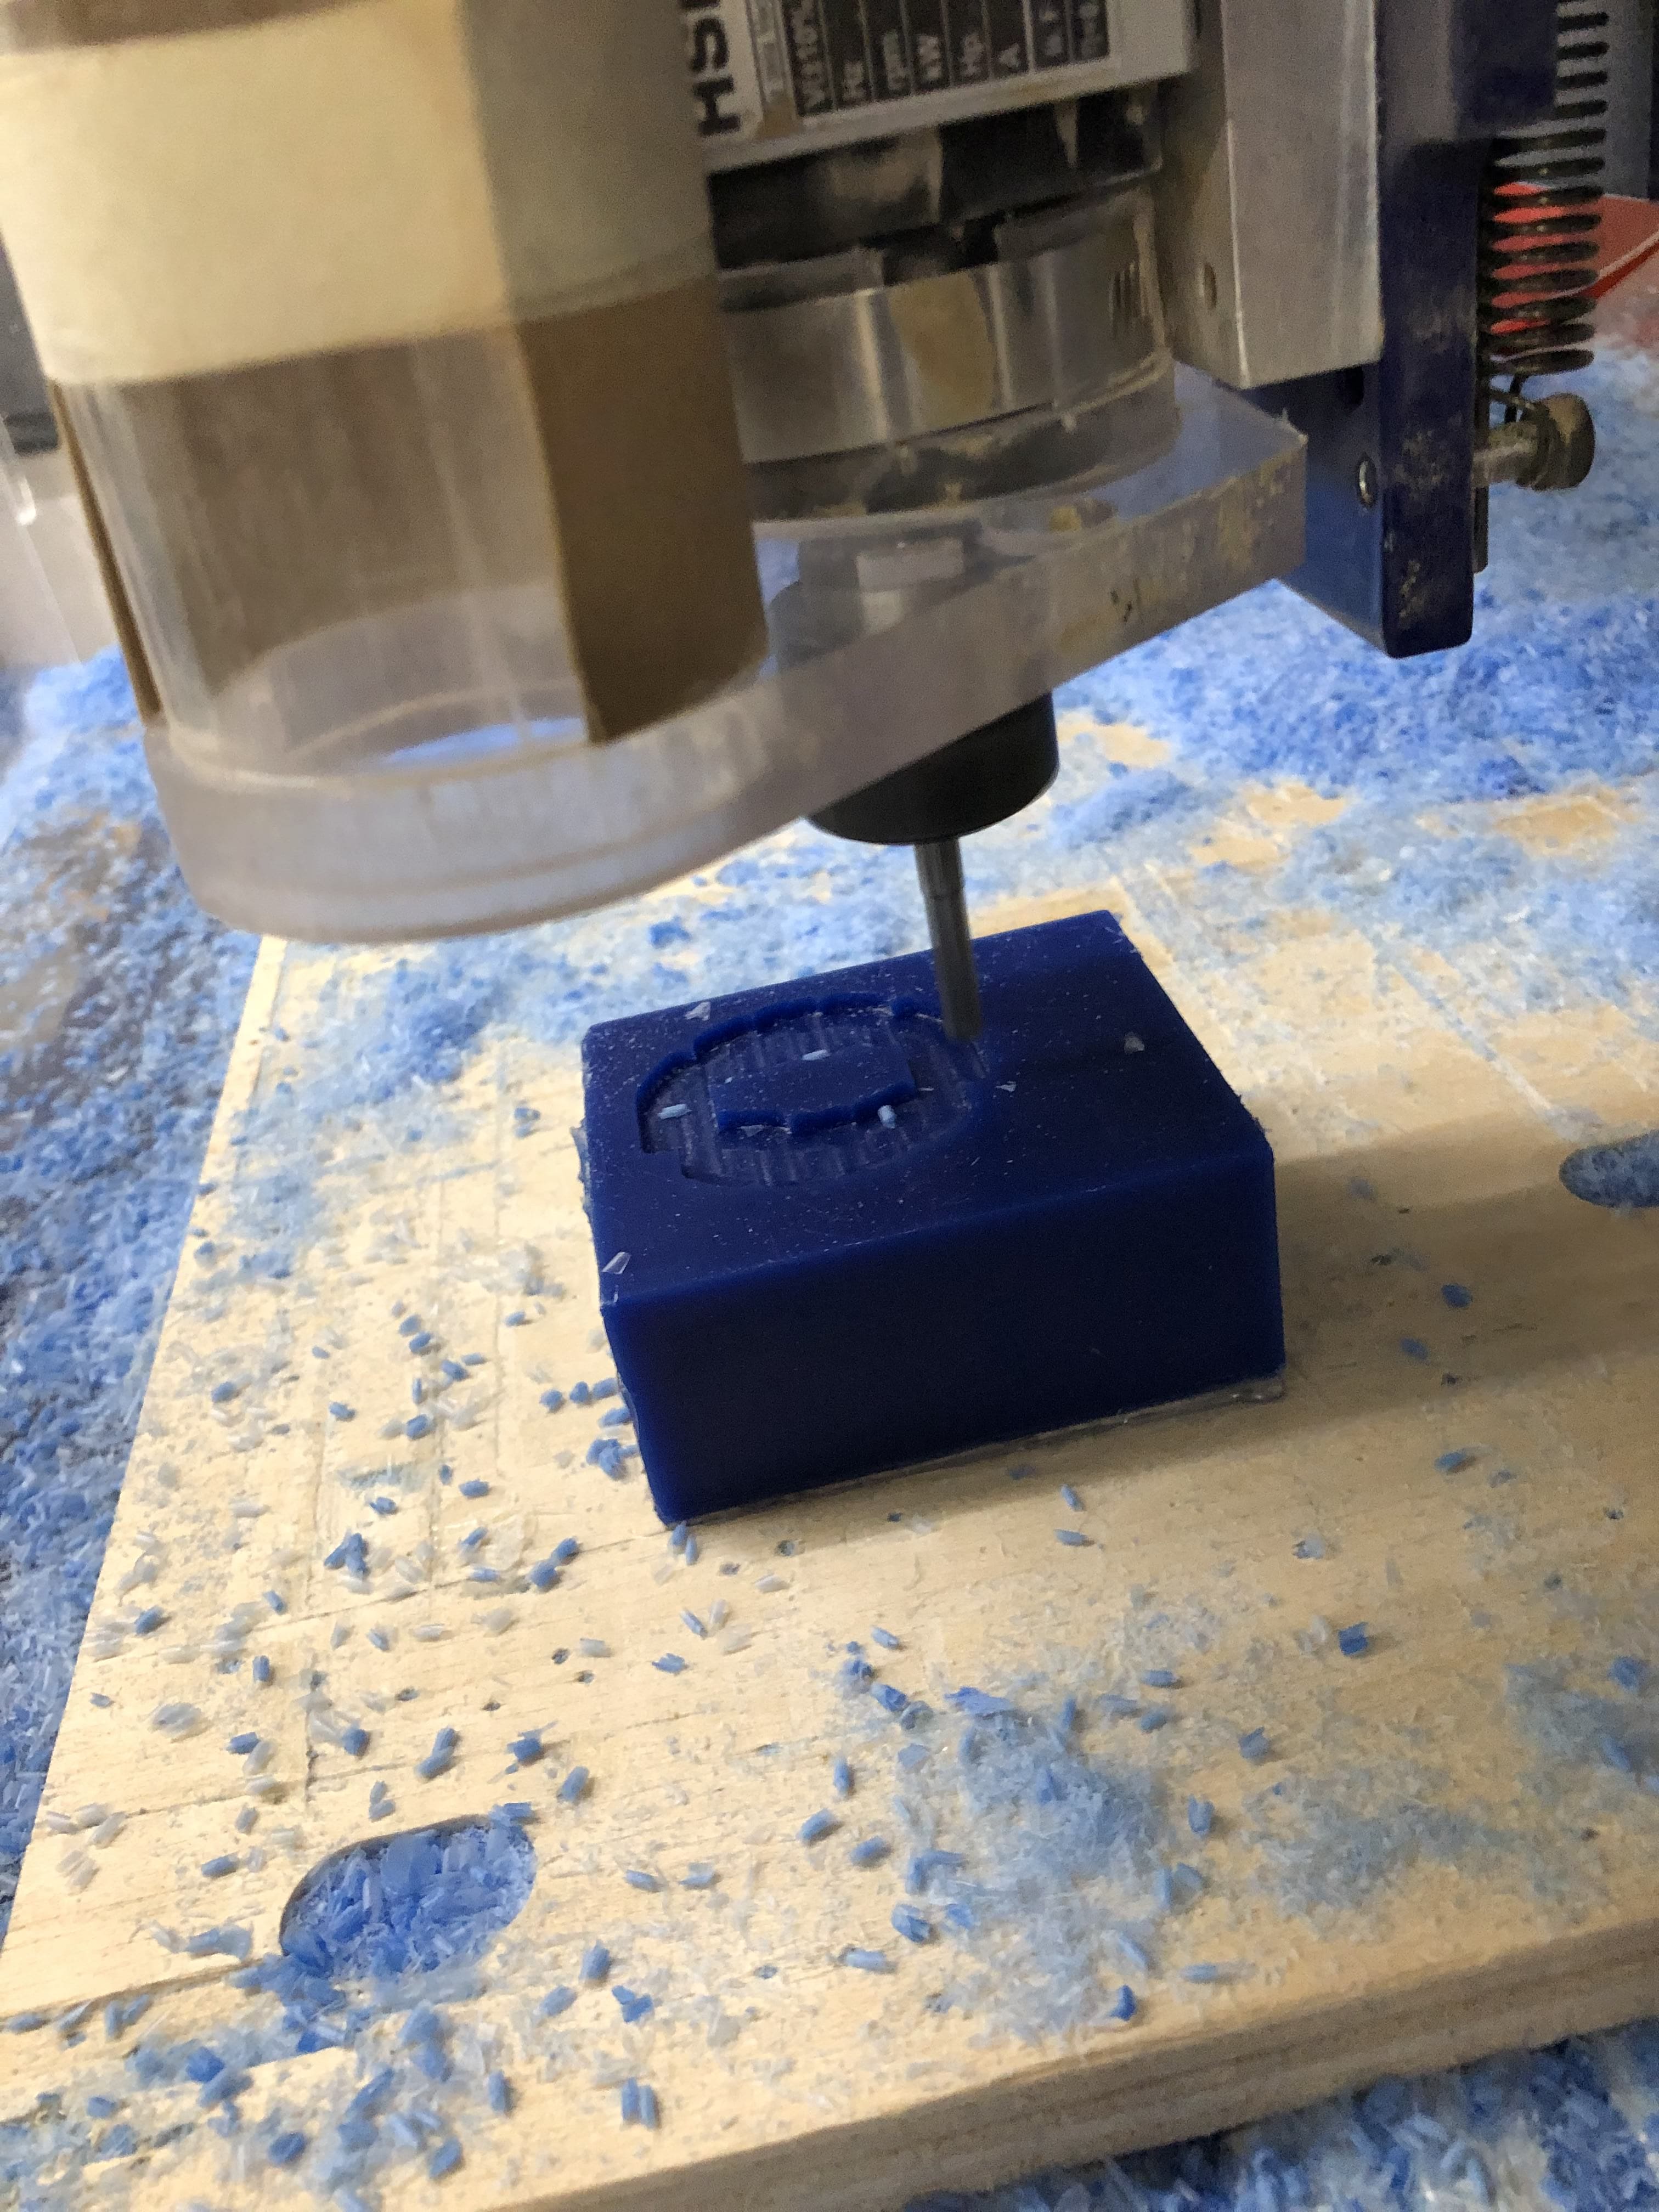
This has been the neatest mill I've done in this class so far.
Milling
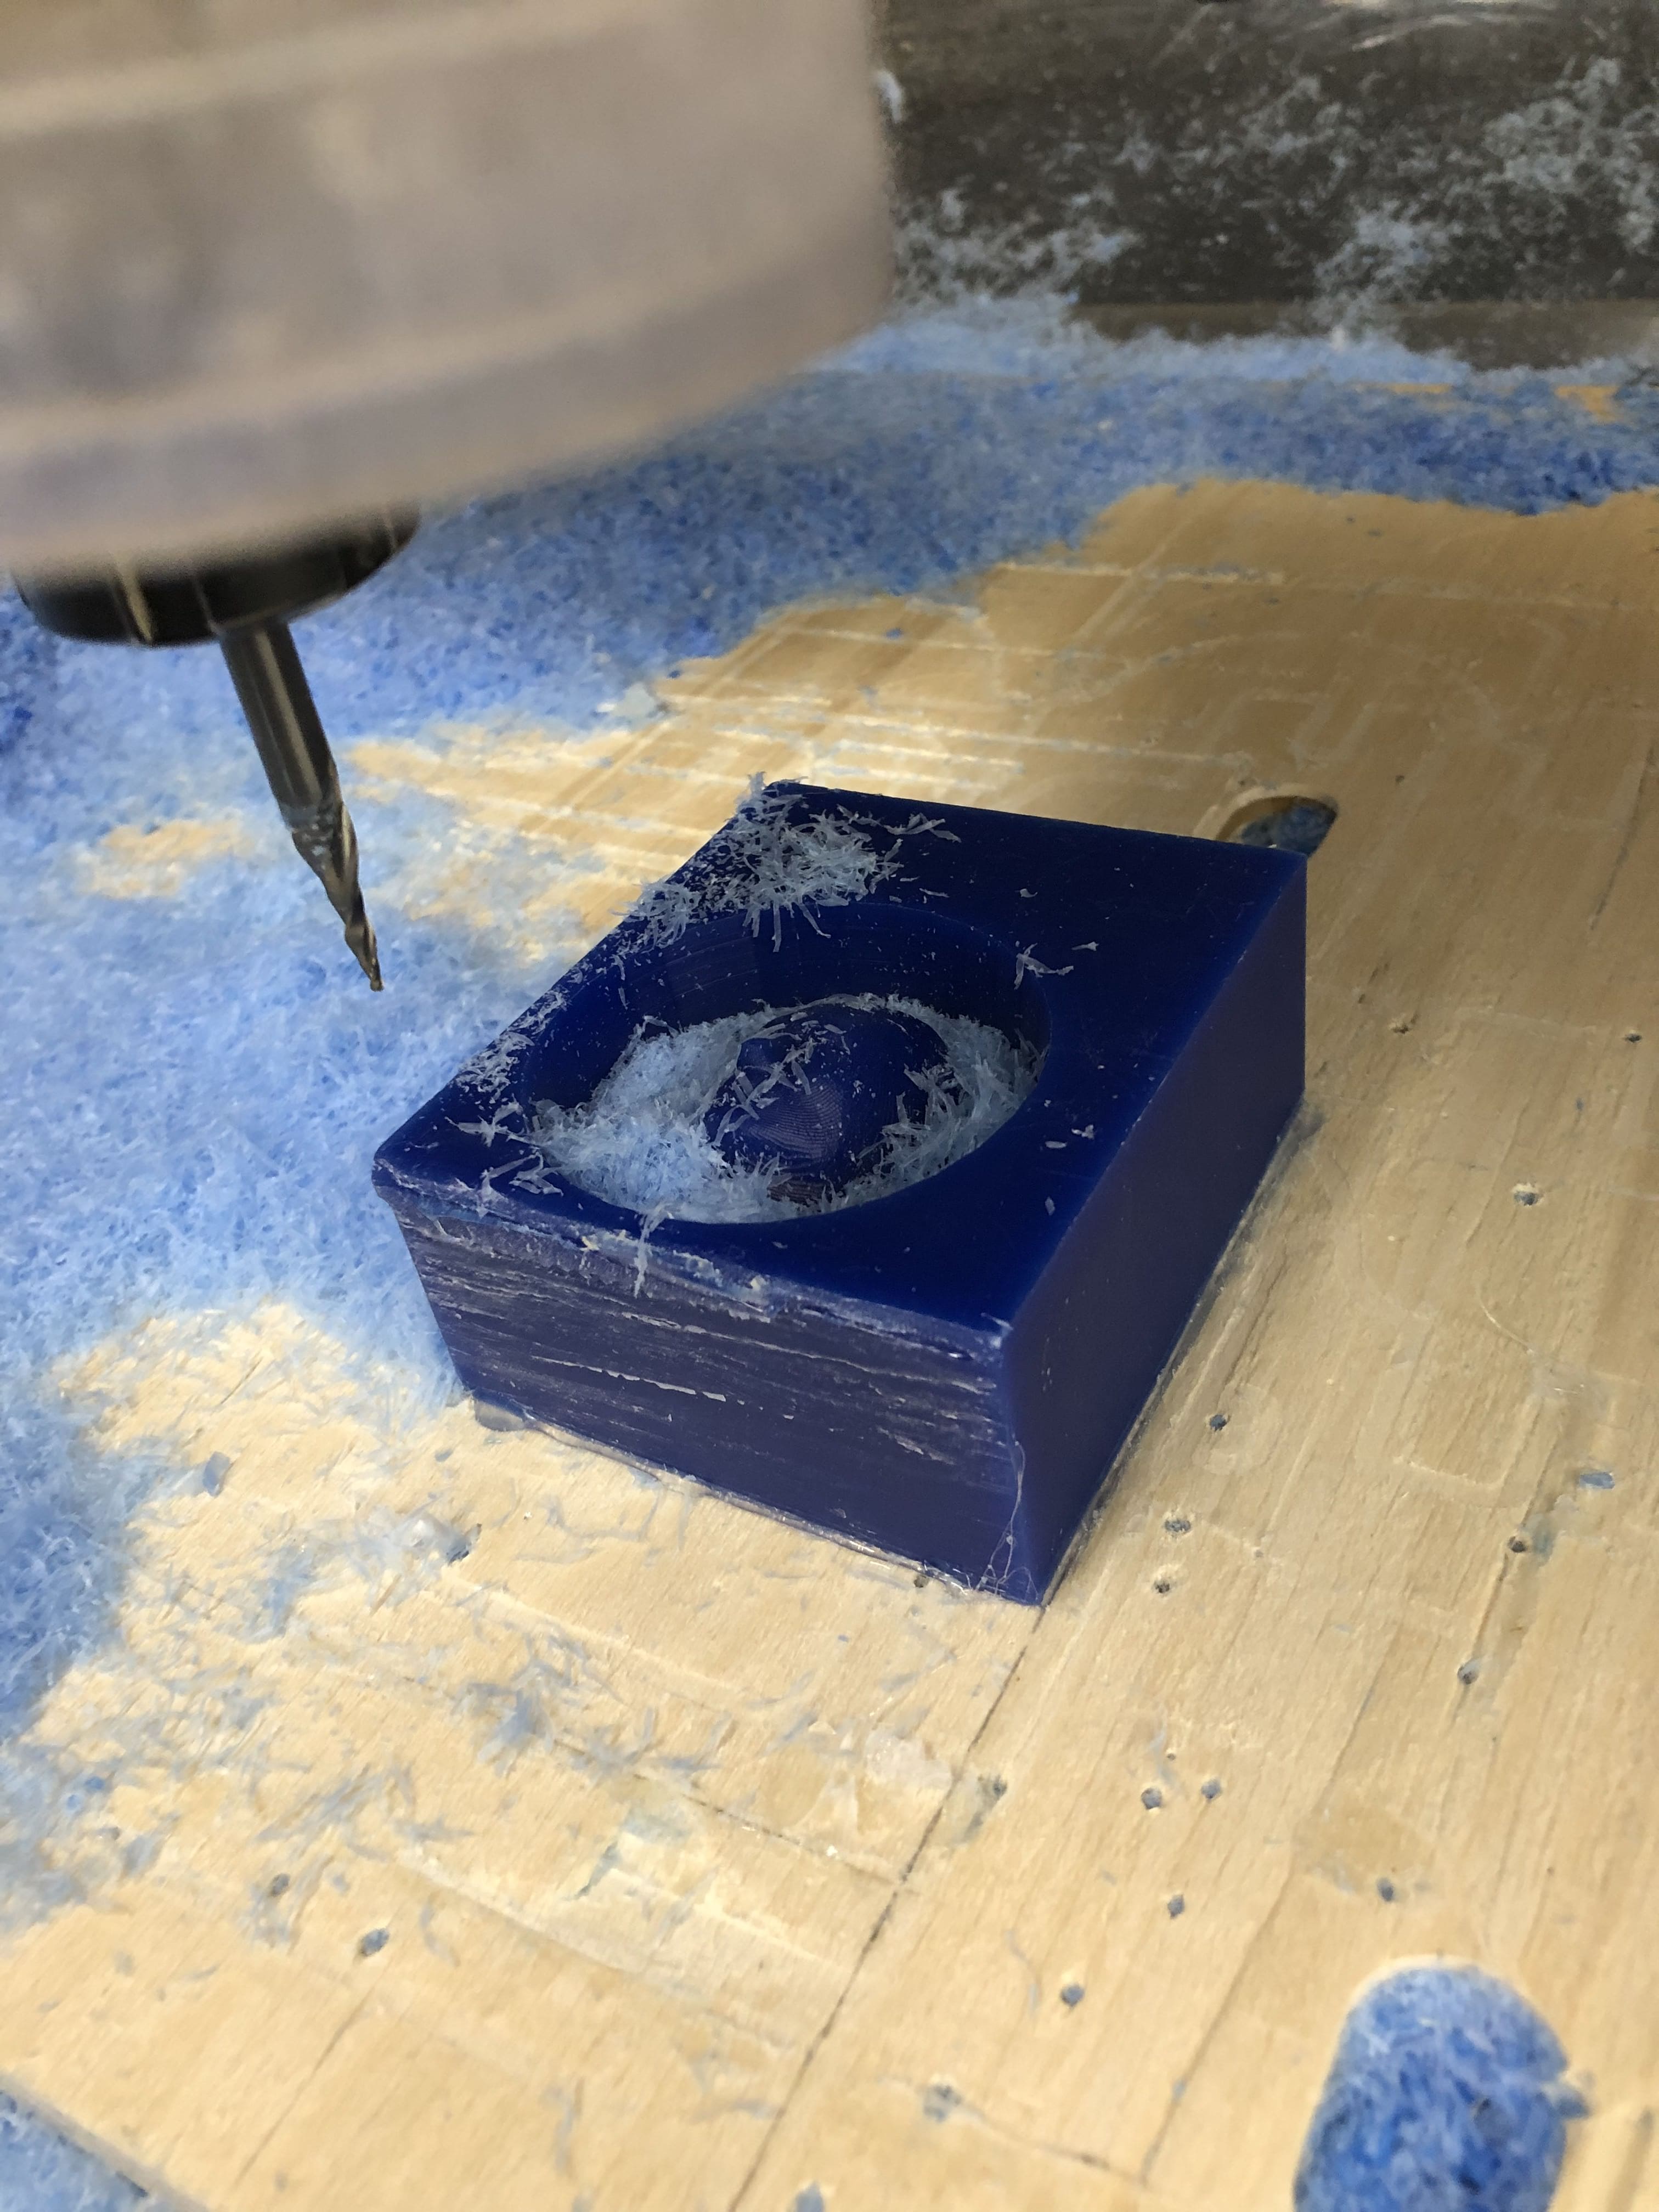
After finishing the design, I wanted to use the mods for the Roland cutter in room 101, but because the internet wasn’t working, nothing was calculating in time, so I ended up having to calculate 2 toolpaths in aspire, one rough and one final. The rough cut was done with a drill bit that's .25”, so the large majority of wax could be milled away before the final cut with a .0625” drill bit could go over again and add in all the fine details. I then milled the design twice, switching the drill bit in between. I made sure to use hot glue to keep the wax block in place.
Molding
I mixed the two colors of oomoo together before pouring it into my wax, making sure to tap the wax on the table many times to get the dreaded bubbles out of the design. I then left it for 12 hours, and came back the next day to cast my face with bismuth tin alloy. I will upload a picture of the mold soon, as it is still in the lab and I forgot to take apicture before I left.
Casting
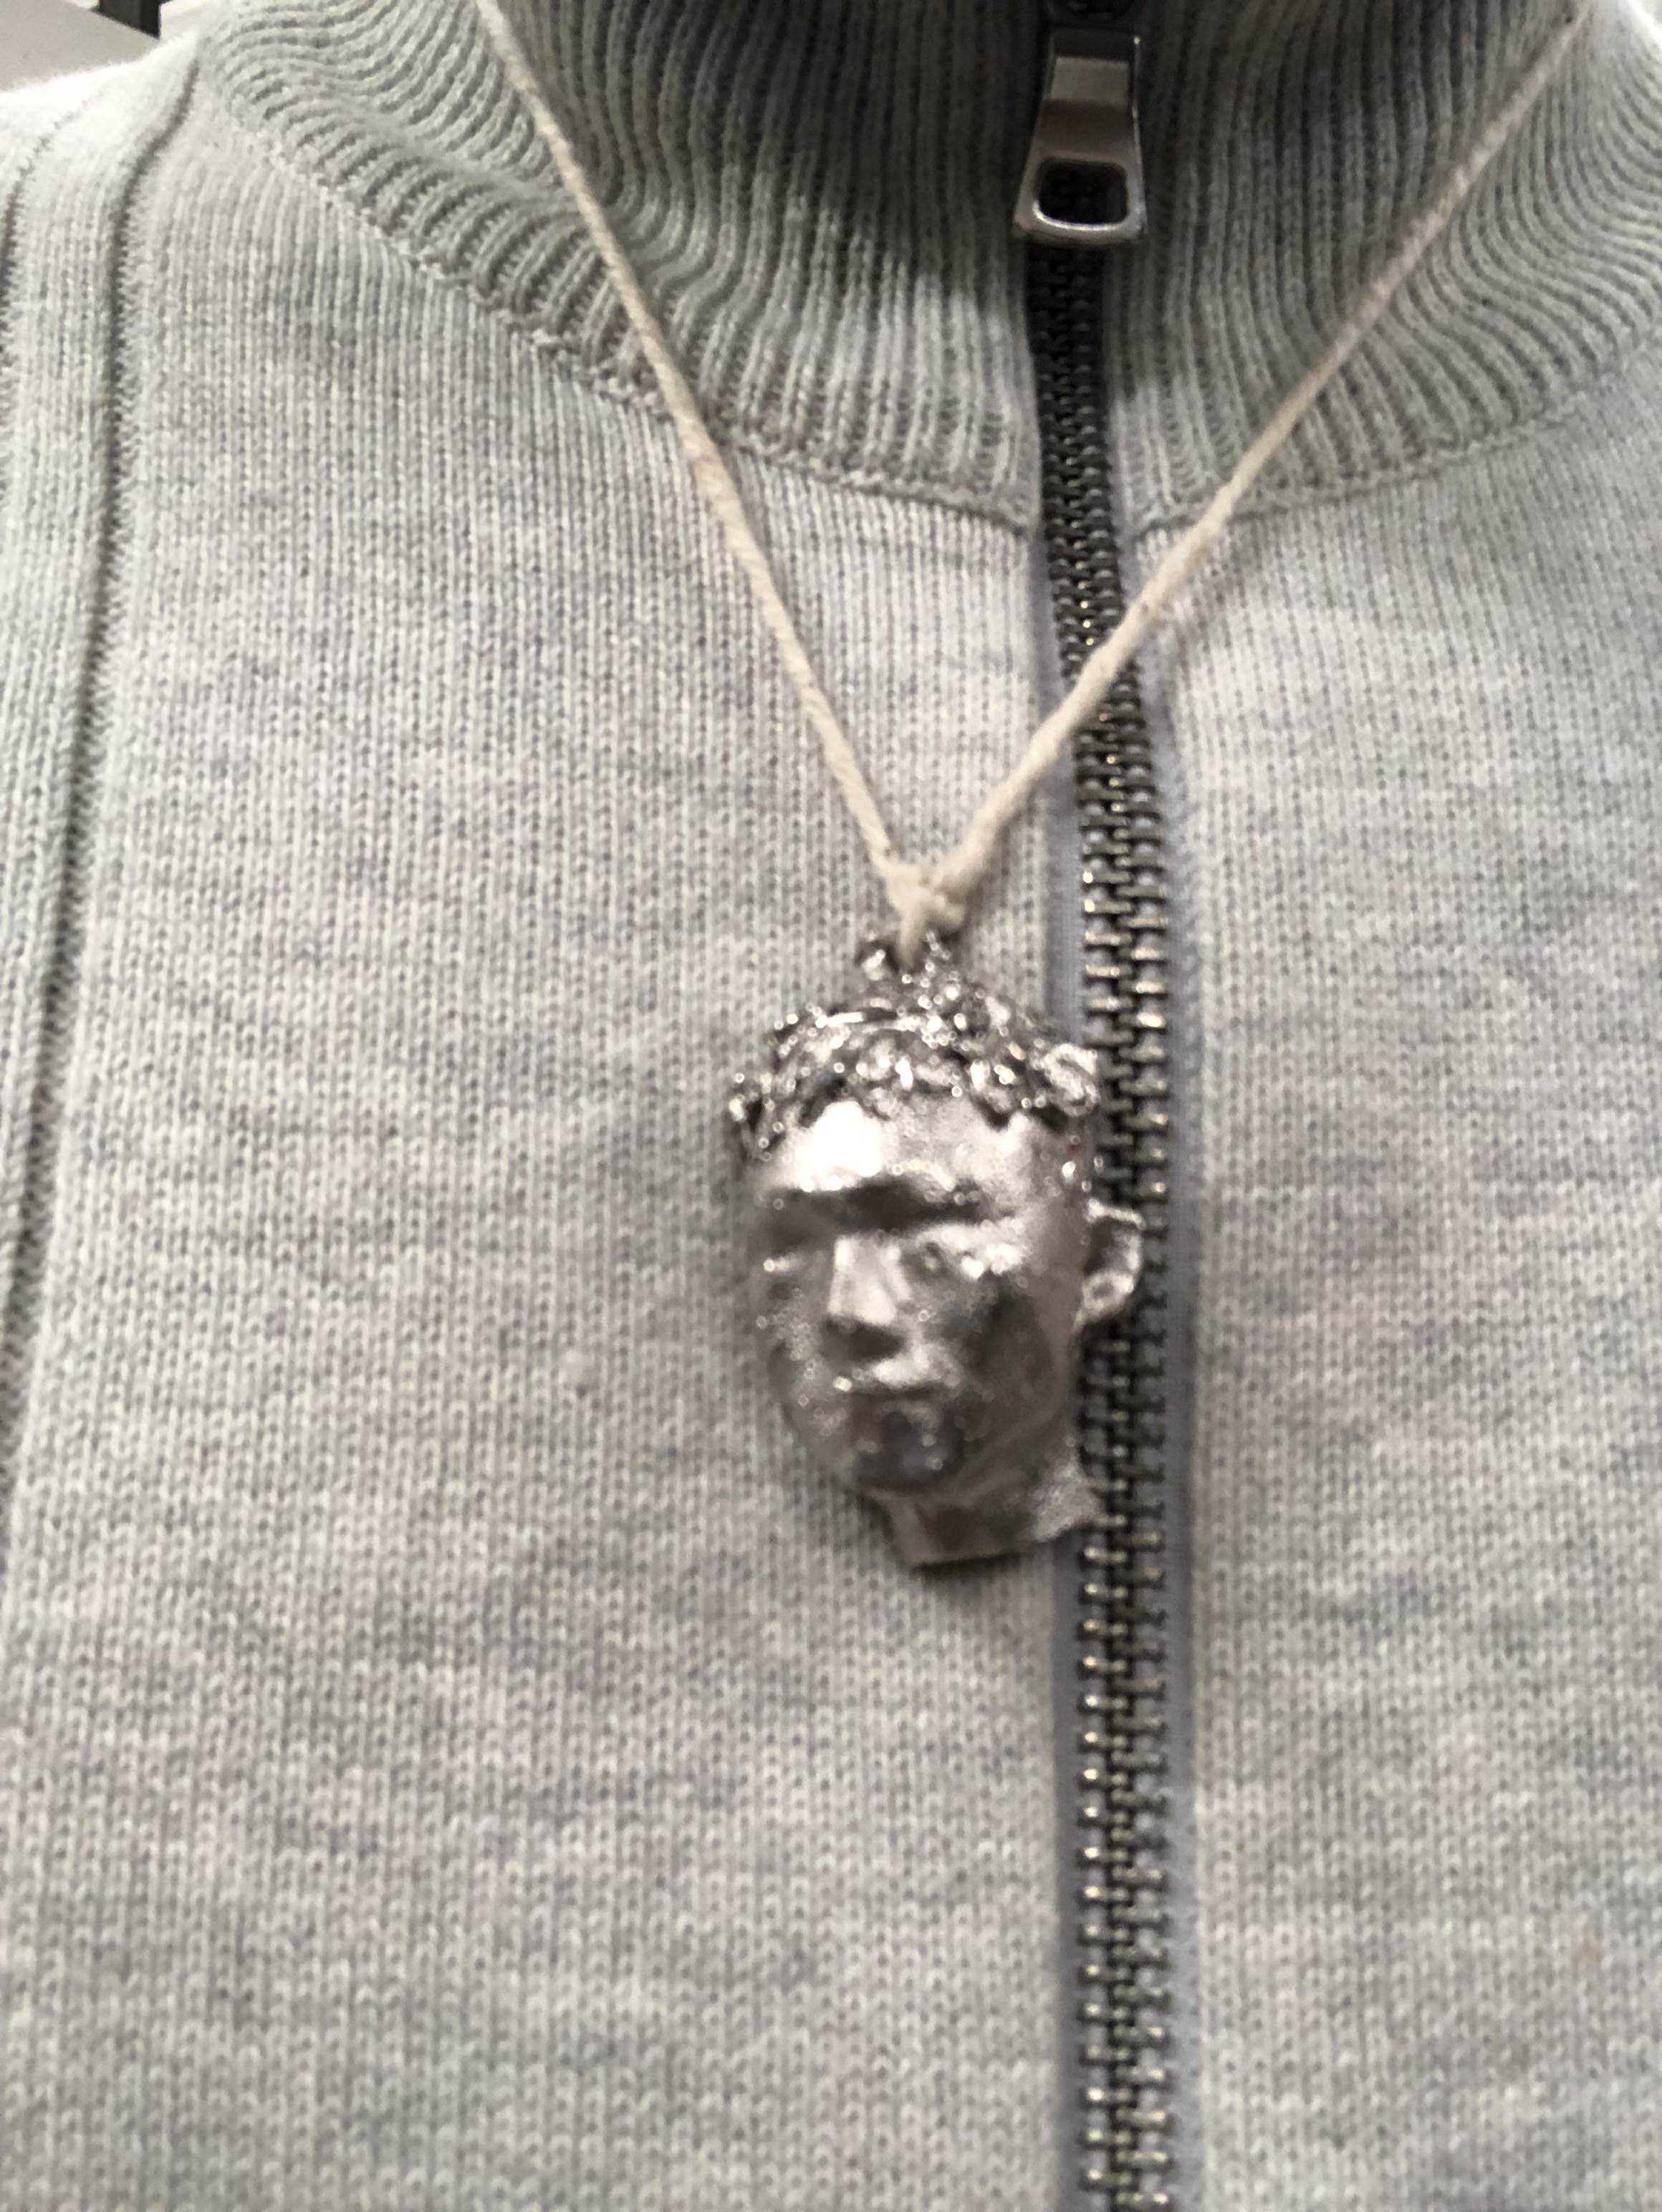
The next day, Ibra and I put the metal in the toaster oven and cast our molds. I noticed that I had to pour it very slowly to minimize bubbles, and to continue tapping so that bubbles wouldn’t form at the bottom that would distort the surface of the cast. I realized that the bismuth tin is very easy to solder. I used the soldering iron to add hair to my figurines, as my 3d scan was done with a headband one to scan the shape of my head. After I finished this part, I added a string and made a necklace, trying my best not to look like an egomaniac.