Zijun Wei - How to Make Almost Anything
Week 2.
Computer-controlled Cutting
This week we learned how to use the laser cutter and vinyl cutter in the CBA machine shop.
For group assignment, we (Zijun, Elena, Teja, Ravi and Yusuf) characterized the tolerance for laser cutting using the GCC machine and found the proper cutting parameters (mainly speed and power) for cutting cardboard.
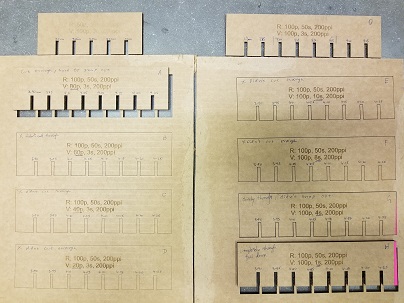
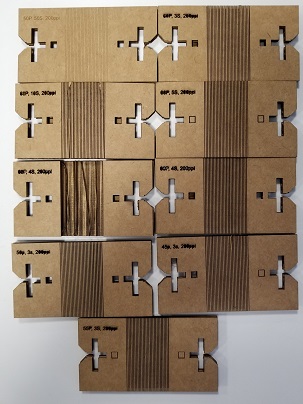
We would like to find out the proper width of the slot for a part made of this cardboard can fit in, not too loose and not too tight. We first measured the thickness of the cardboard we are going to cut using a caliper. The value is 4.1mm. Neil suggests we should change the parameter at a step of 1mil ( 1/1000 of an inch, or about 25um, 25.4 to be exact). Since cardboard is a more forgiving material, we chose a larger step size, of 250um, and started with the following range: 4.00mm, 4.25mm, 4.50mm, 4.75mm, 5.00mm. It seemed that the 4mm is a bit tight and the cardboard gets bent and above 4.25mm the joint is a bit loose. After doing a second round of test (50um increment from 3.9mm to 4.25mm), we found the desirable range of slot width to be between 4.00mm to 4.15mm.
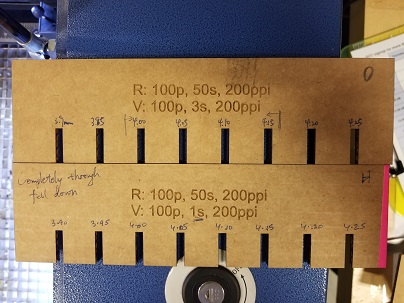
We also did some laser-cutter parameter tests, varying the speed and power. It seems that for 3% speed of the GCC machine, the power should be above 60% for a successful vector cut. And for 100% power the speed should be below 4s.
For the individual assignment, I made a laptop sticker with the vinyl cutter and made a press-fit kit using the laser cutter.
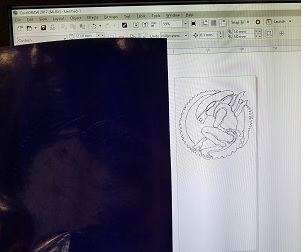
For the laptop sticker, I chose a xenomorph silhouette. The original picture is in png format as this

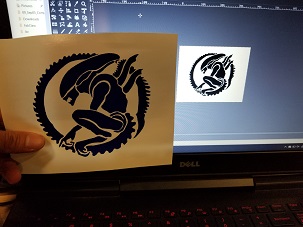
I used GIMP to convert it to ESP format, a vector image format and imported it to CorelDraw. However, the resulted image looked filled instead of vector line, as I would see in a laser cutter application. Not sure if this would give me the desirable result, I converted the png file again to dxf and this time it worked perfectly. Later, I learned from the experience of another student that filled patterns will cut out as along their outline, which means the original ESP import might work just fine. Below are the dxf import and the vinyl cutout (barely visible due to the color), a comparison of the original png with the weeded vinyl sticker.
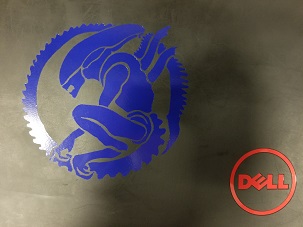
After weeding it and transfering it to a sticky tape, I placed the pattern onto the back of my laptop. The very cheapo way to make an alienware XD
For the press-fit kit, I initially wanted to make a cony or spherical shape. The unfolded cone model I drww in fusion with cut-line did not bend well. It seems that cardboard is easy to bend and twist plastically, and the orientation of the cardboard support layer (curvy part in the middle) also makes its strength different along different directions.
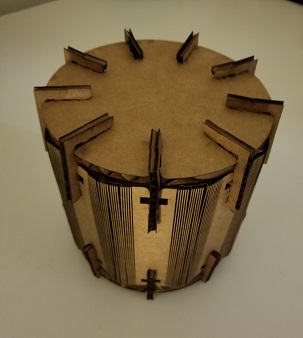
I switched to making a cylinder later, hoping to make it using flexible parts with the smallest number of pieces. My initial idea was to have a raster pattern where the cardboard is weakened and easier to bend. As it came out, there was hardly any difference in terms of strength, and easier to wrinkle than bend along the lines.
From our group assignment, it was found that setting the vector-cut power to be 60%, with a 3% speed and 200ppi can barely cut through the cardboard. The part was hard to snapped out. So I played with the power setting to see how well the cut depth can be controlled. After some trial and error, I found the parameters that cut the bending lines just deep enough for the GCC machine. And the part bends like a spring.
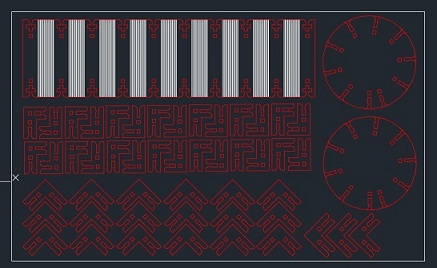
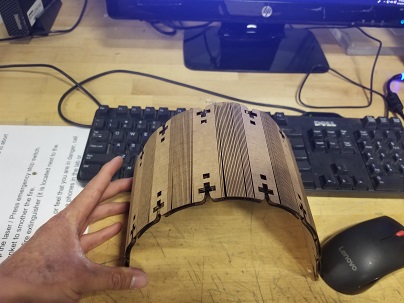
With that I moved along to design the parts, which consisted of a sidewall, two bottom plates and a few joints. The side wall is unfolded into a rectangle, with repeating patterns of fold lines and joint slots, and the cutout bends pretty well.
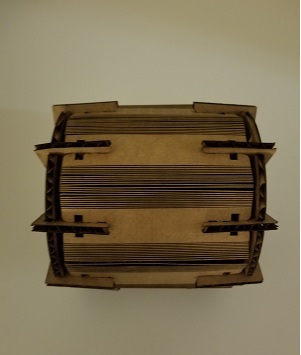
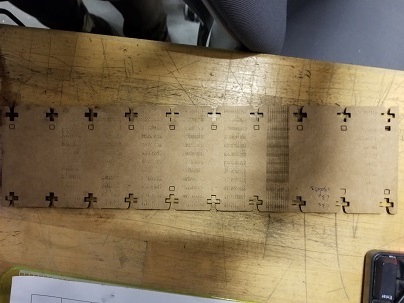
The main issues I ran into was that the laser beam focus cannot be always fixed to the surface of the cardboard.Since the board cannot be made completely flat, the laser tend to focus beyond the cardboard surface as the laserhead gets to the center of the bay, where the cardboard tends to buldge up. This affect the cut depth of the partial cutting I need for the bending lines, as seen below. Some part are completely cut through, make it too fragile to bend, while other parts are hardly cut.. It seems that the 30W GCC cutter can give a more controllable result than the 120W Epilog cutter.
This is the final assembly, a lamp shade.