3D Printing and Scanning
Disclaimer - My 3D History
From 2014 to 2016, I worked in a startup which focused around 3D technologies. Specifically, we aimed to create an algorithmic platform for 3D understanding. Although we created software, we did purchase a bunch of equipment such as a MakerBot printer and a 3D scanner to meddle around with, back when it was quite fresh and flaky.
As it relates to this week task, here is a 3D scan of my 2015 face:
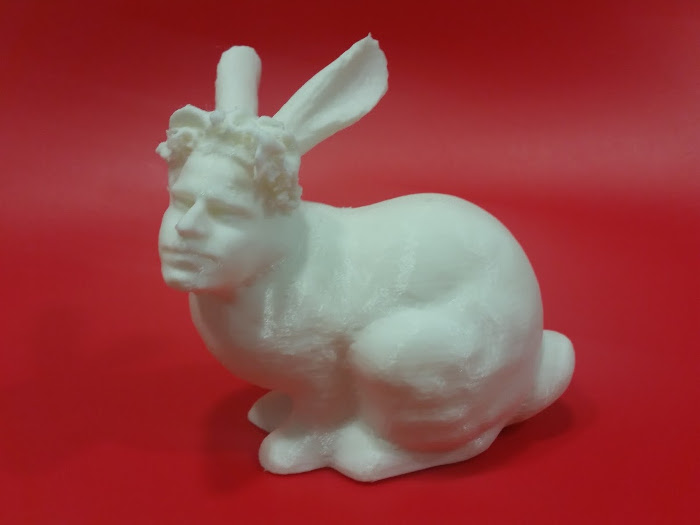
Which I used to 3D print a personalized version of the Stanford Bunny:
A few years had past since then, I was interested to learn about what had changed in the field.
3D Scanning
As I had some experience with the handheld scanner (although from the demonstration given to my group by John, the reconstruction quality seems much better than i remember). I was interested to play around with the stationary laser cutter (find name). I couldn’t think of anything useful today, so once more I resolved to cats Specifically, I tried to scan the same parameterized cat which I laser-cut a couple of weeks ago.
I first experimented with a relatively quick setting. Specifically - 6 divisions (meaning, the turn table thing turns by 60 degrees each time). This produced horrendous results:
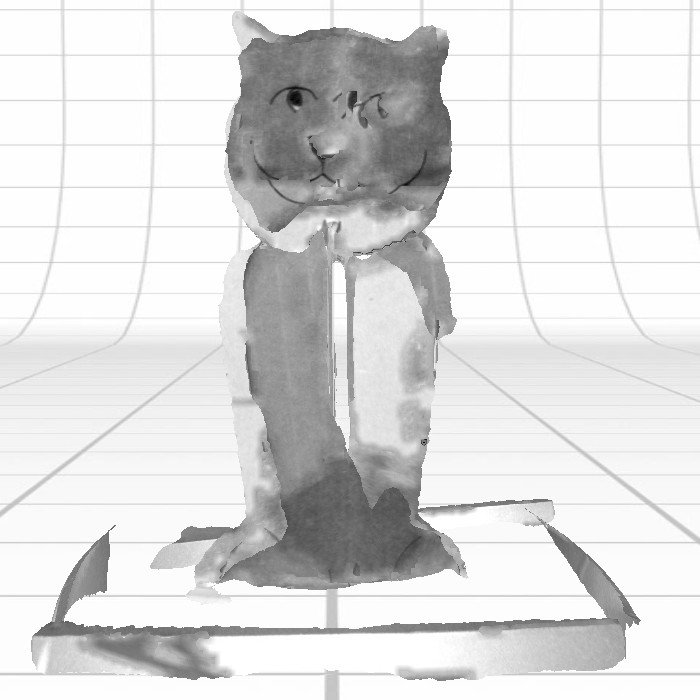
Lets take another close look at that:
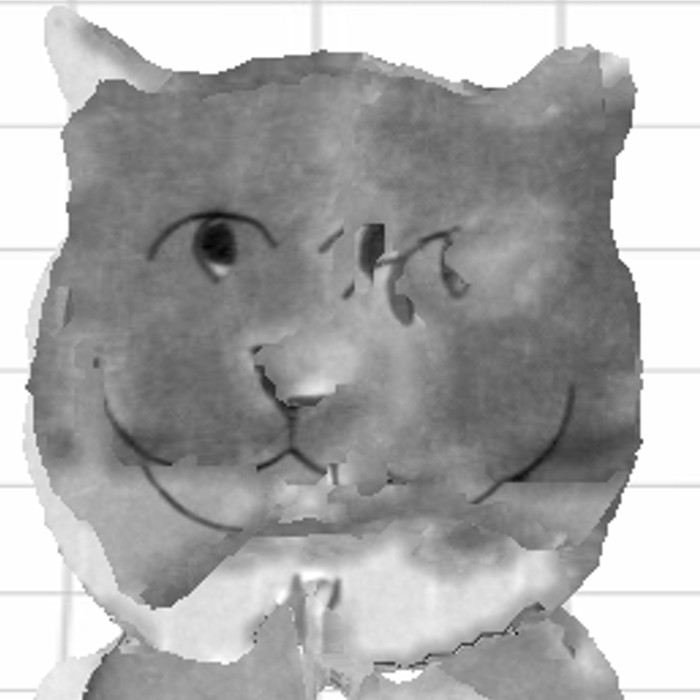
Unsettling.
Fear not, for I gave the 3D scanner another chance, understanding that the thin geometry of a cardboard kitty is a challenging one. I doubled the division number, and went for a cool sip at the water fountain. When I came back, I found out an important fact - the laser cutting room locks down at 11pm. Luckily, I had my house keys, phone and wallet on me - but my laptop, jacket, phone charger and cardboard cat were all locked-in. A long, cold night was approaching - with no laptop, and 10% phone battery left. Luckily, I found warm company in a random MIT party with free beer. Tomorrow morning, I took my belongings and decided it was a sign that some things should not be 3D scanned.
3D Printing
For 3D printing, our task was to design and print an object that could not be made subtractively.
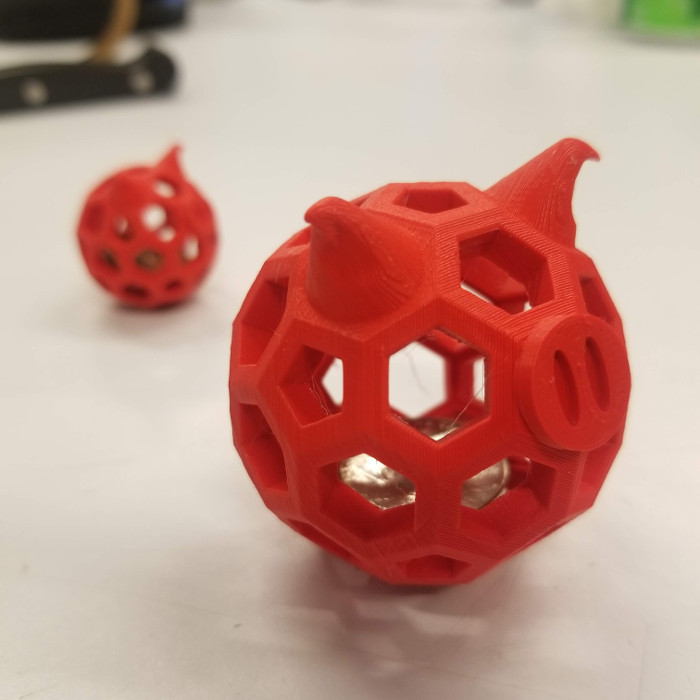
I decided to create a unique piggy bank.
In the design part, I learned how to use Blender by following a few Youtube tutorials. Started by making a holed Icosphere, added a nose and cone ears using Boolean operations, remeshed to allow sculpting, sculpted the ears to look more piggy-like and finally decimated to get the model back to reasonable size (38MB -> 800KB). The result:
I should mention the learning curve in Blender is very steep. Very few things are intuitive, and there’s also quite a few differences in v2.8 that makes some tutorials obsolete. Interestingly, once you do learn how to perform a certain action (e.g. rotating a camera around an object) - doing it again from scratch is 20x faster! While it took me around 1~ hour to design this piggy, I’m quite sure I can recreate it from scratch in less than 5 minutes now. Perhaps this is a key characteristic that separates user friendly interfaces to professional interfaces. Can one do both?
Anyway, I 3D printed two copies of my design on a Prusa. The experience is so much smoother than my old MakerBot. I am quite used to trying multiple attempts, and random failures (e.g. filament gets stuck, bed is unbalanced). The Prusa seems to overcome those problems easily and really lets you have a print-and-go experience. Midway through the print, I paused it and put my funds inside - a nickel for the first print and a dime for the larger print (Thanks Zach for helping out with this!).
As you can see, the coin is safely deposited inside.
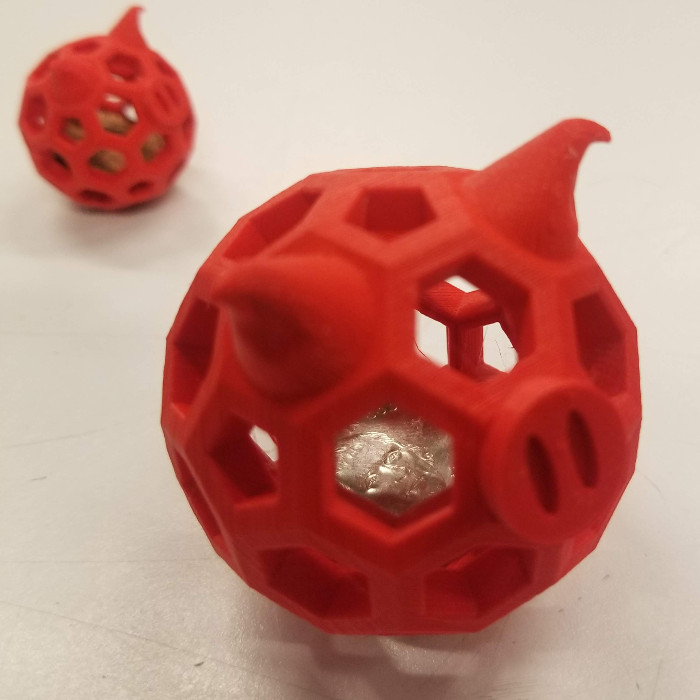
Overall, my experience was very positive compared to the hardships I remember from 3D printing. And that’s without even trying out the significantly more expensive machine under Tom’s supervision. However, it’s still worth to note that if you look closely, there are still quite a few defects in my print which prevents it from being a near-perfect copy of the 3D model. This is extremely noticeable in the calibration models printed out by different groups. The Prusa seems like a great solution for prototyping and you don’t care much about the finest details.
One more pigture:

The original design files (Blender + STL format) are available here
Waste Report
None! (except a few grams a filament)