Computer-Controlled Machining
This week we learned to use a ShopBot to mill big stuff. In my opinion, this week was exceptionally complicated logistically, since this machine is much more hazardous than anything we tried before. We had to make sure we work in pairs and in the proper working hours of the workshop staff. Oh well, no late night Tuesday rapid fabrication this week.
Characterizing the machine
We had a big group (Alfonso, Aubrey, Brian, Camron, D, Joao, Sabrina) doing the machine characterization together. Basically, we designed a few simple shapes, and compared their actual sizes with the expected sizes.

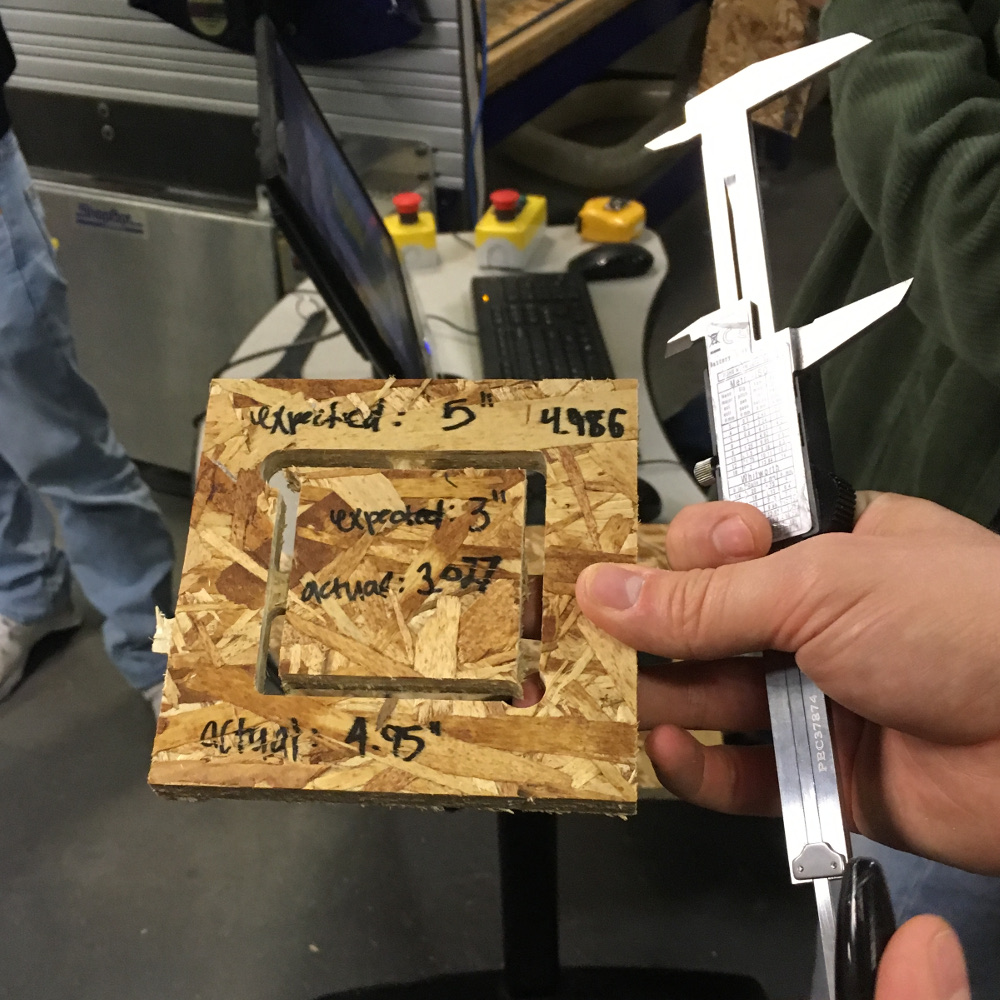

To conclude, the precision of the machine is surprisngly good, although the edges are quite rough, they are very close to the expected size.
Make something BIG
For this week’s task, we had to build something big, given one 4x8 feet sheet of OSB.
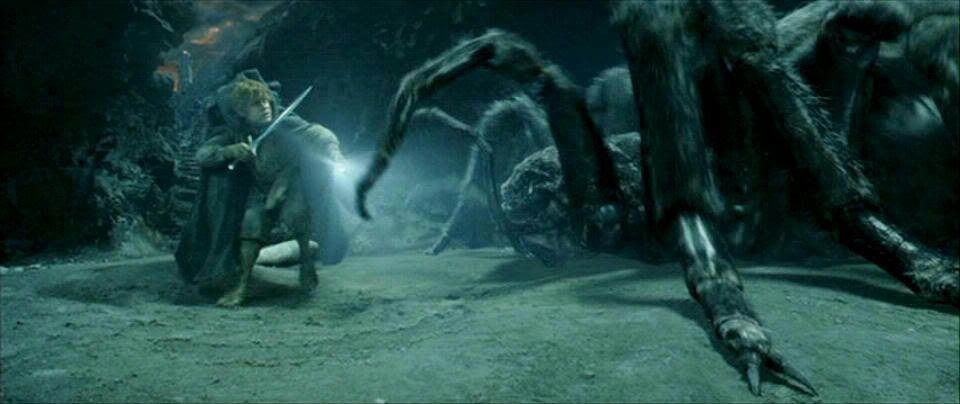
I decided to take the task very literally, and make something BIG. I was thinking what kind of tall structure I can make, with only one sheet of this material. It had to have thin long legs, but be stable so there’s not a lot of weight on any leg… Quickly, the idea of making a huge spider popped up. It fits with the general animal theme I have on this class. And, while not directly related to my final project (Frodo’s sword, Sting), it is worth noting that both Bilbo and Frodo used Sting to defend themselves against giant spiders (Shelob).
The plan was to use as much of the sheet as possible. Specifically - the whole 8 feet of length for the spider long leg. That way, depending on the angle, the spider would be over 2 meters tall. Spoiler alert - I failed. So here is my story on how I failed to make a huge spider and what I learned from it along the way.
Design
Back to my beloved FreeCAD constraint solver, I focused on creating a sketch for the leg.

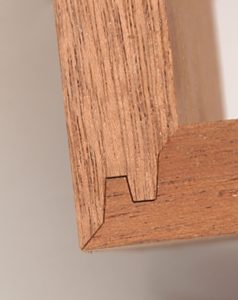
The sketch is fully constrained, so I can easily change the angle, while the joint connected to the body will stay in the same height. I contemplated on how to create the joint between the long and short parts of the legs. While this could be cut as a one piece - I could not use the whole length of the sheet for that, thus losing spider height. I was inspired these beautiful Japanese joints, and decided to try a Lock Mitre Joint, which supposed to look like:
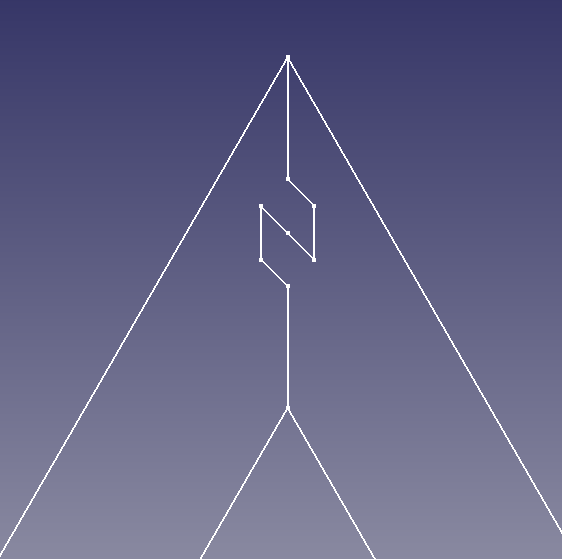
And on my sketch:
This was a mistake (#1). Well, choosing to use a complicated joint was not a mistake per se, but my true mistake was that I did no test cut. I decided not to use cardboard, since it didn’t have the thickness to really simulate this joint. I created a design which practically used every space on the sheet, and as I was somehow obsessed with using one sheet only - I didn’t do any test cuts on the true material as well. I will come back to what happened later on, but let’s continue with the rest of the design for now.
Overall, I created six distinct parts - body, jaws (x2), 60 degrees legs (x2, each two parts), 50 degrees legs (x6, each two parts). Here are the SVGs:
![]()
![]()
![]()
![]()


Machining
The ShopBot had a busy week, as it takes quite a lot of time for each HowToMake-er to make it work. At least now I know by heart the operating procedure. When it was my turn to run my job, I decided to do a few changes. Since my design was packed with parts, with just an inch gap (forgot to take a picture of it!), I decided to switch to the 1/8 endmill, thinking it will handle my complex design more delicately. This was a mistake (#2). While it did make the round “jaws” very smooth - using the default settings - 5 (!) passes and around 0.11 inch step size (cut depth 0.55 inch) - took a LONG time. Not so nice as many people were already waiting to use it. Sorry folks.

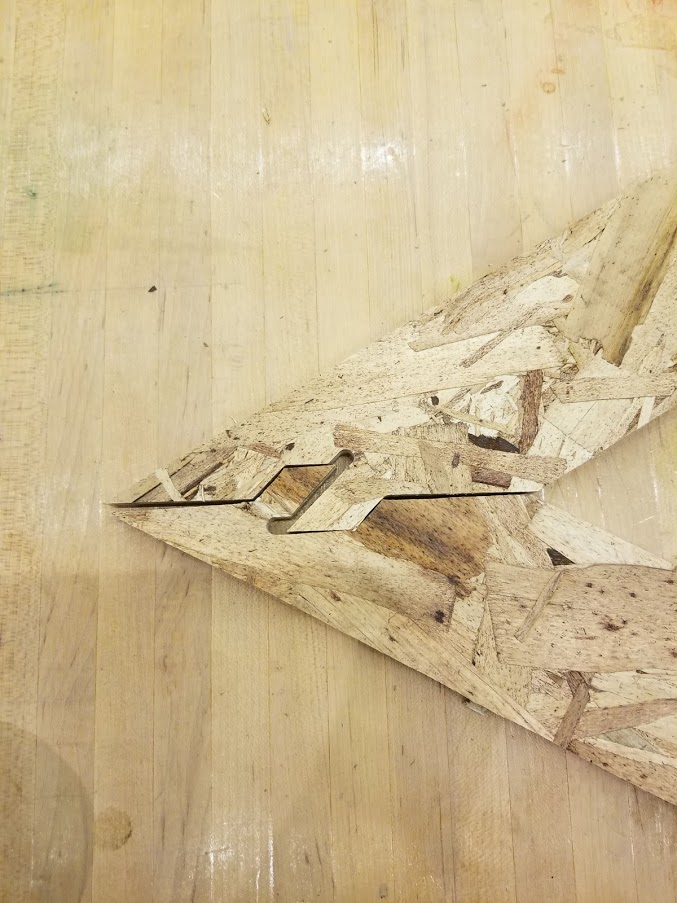
Another big mistake (#3) I did was when adding fillets. I chose to use a T-bone fillet, but I accidently used the tool radius of 0.125in, which corresponds to 1/4 inch endmill, while I was using the 1/8 one. This created very significant T-bones throughout my parts, and especially at the lock mitre joints:
This mistake rendered the joints useless. But that’s not all, I also did some mistake (#4) when setting the tabs, although I’m still not sure what exactly (not enough tabs? or too thin?). The tabs didn’t hold the small pieces together, so on the last passes these pieces were shaking like the knees of a student when their name pops up in Neil’s random generator. This caused the clearances in those parts to be 1/8~ inch wider than needed, thus rendered these simple joints also, useless.
Assembly
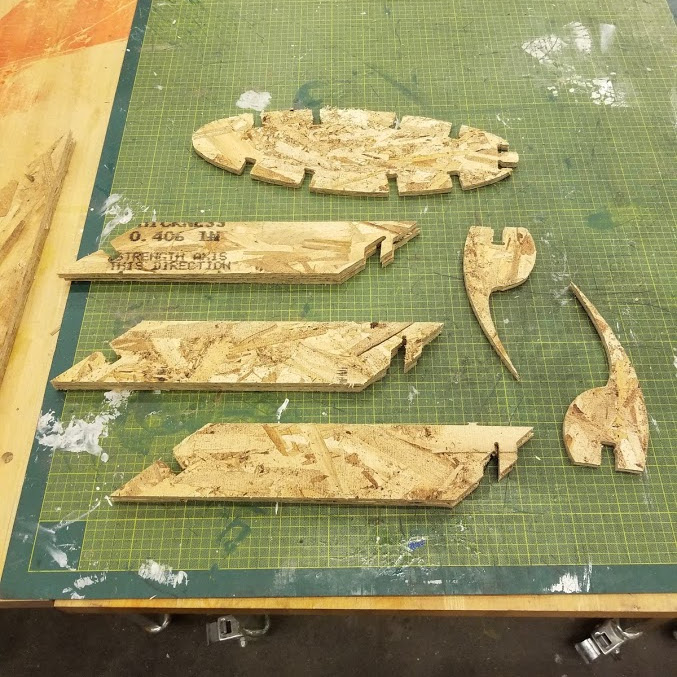
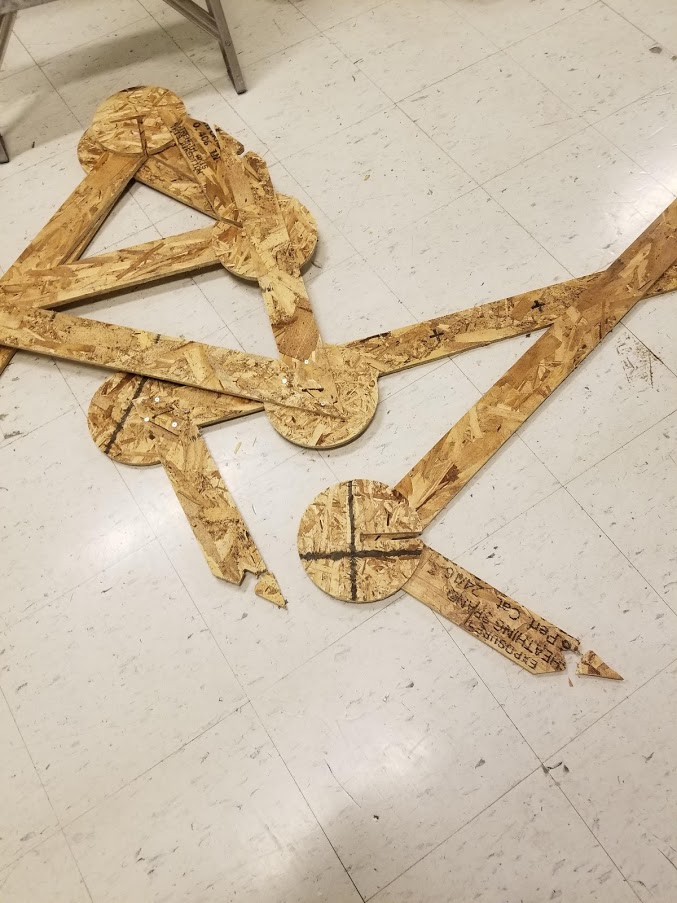
Let’s look at all our parts:
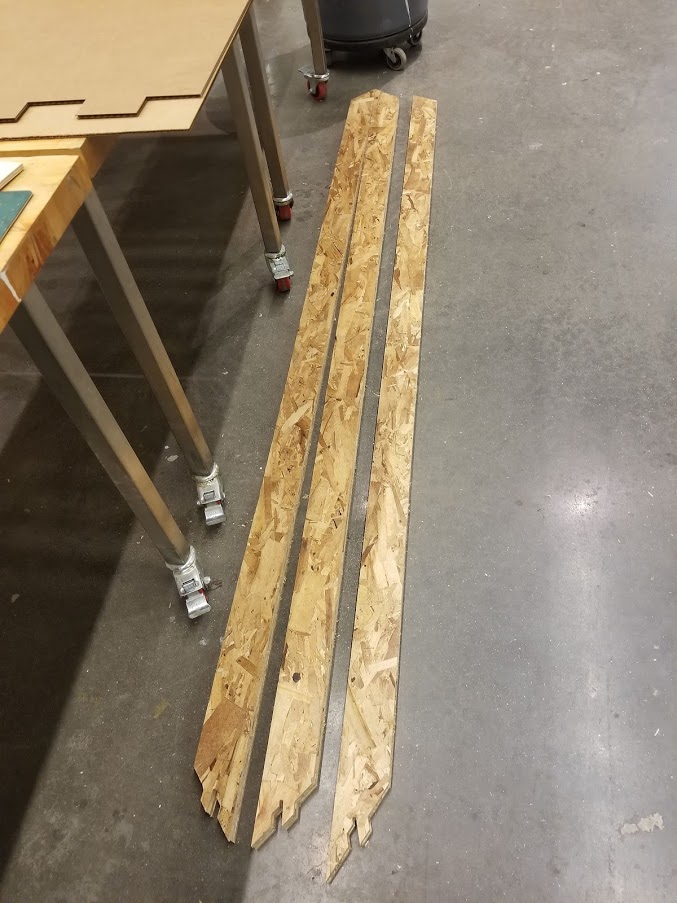
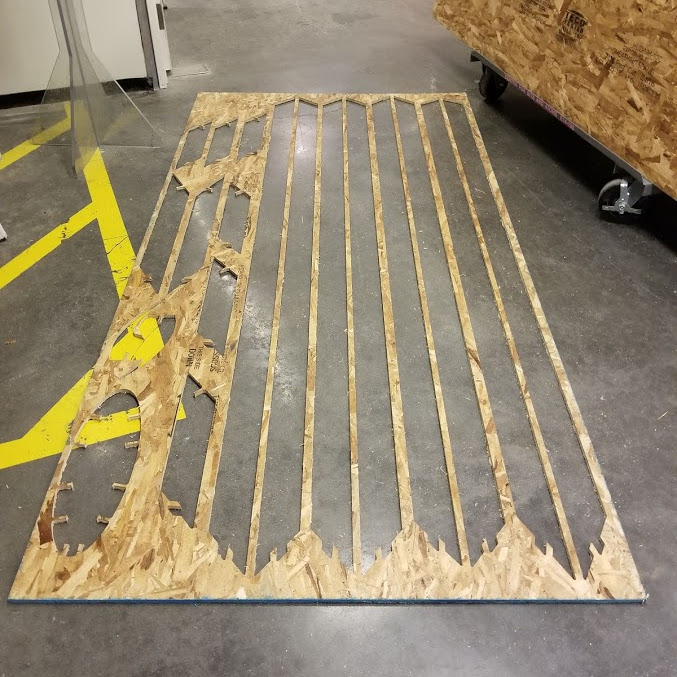
And what’s left from the sheet:
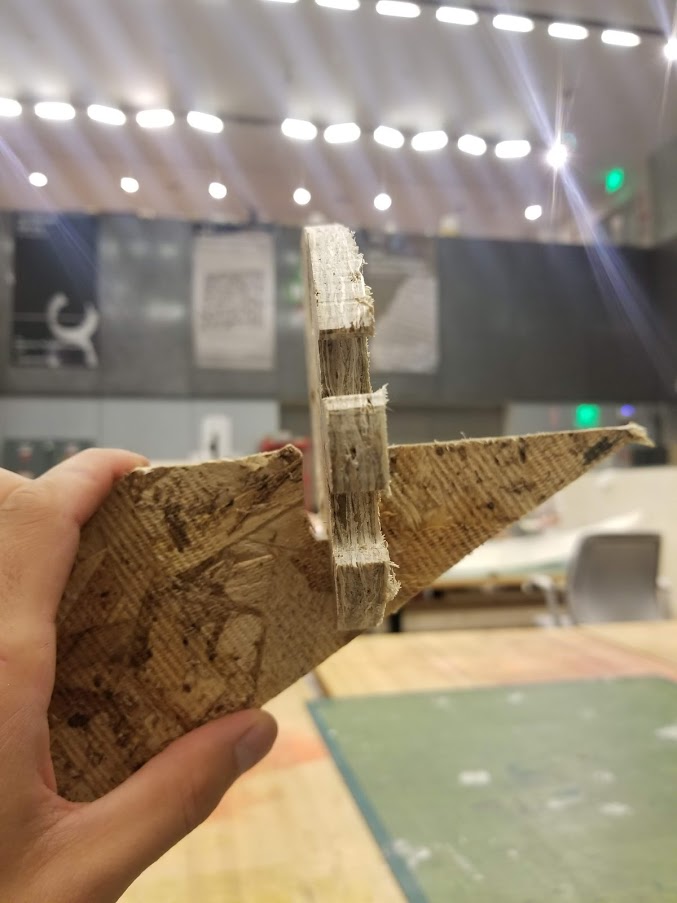
Even though there were so many wrong things going on, I though to try and assemble it as bigger miracles have been recorded throughout human history. To make up for the joints, I took spare parts (circles) that Tom had cut as an example, and screwed them down to hold the joints, like this:

This spider is big, too big to even assemble in the workshop without disturbing anyone, so I found a space and a ladder and just tried to piece it together. It didn’t work. Here is a close attempt:

However, when I tried to assemble it all, it very quickly collapsed and some parts broke:
Sad.
The main reason is the huge clearance, each leg had a very small contact point with the body, thus creating a lot of pressure in a specific point. If OSB happened to be less dense in that area, it broke. With a stronger material it might have worked.
And another crucial mistake (#5) - the friction-less legs. While I did (try to) think how to design the joints and body to withstand stress, I somehow assumed the legs will just be planted in the ground. While in reality, and especially in the smooth floors of the CBA workshop, the legs slip. In retrospect, designing a little “spider shoe” might have helped a lot. In general, I think that doing this whole design without any simulation was foolish.
I was thinking how to salvage this cute mega spider. I didn’t want to take any more machine time than I already did. I thought maybe making the body thicker would help, so I laser cut the design (same size) on a cardboard:

And I taped it to the OSB body to add more thickness to it, alas, it didn’t help.
Conclusion
Test cut. Yes it might seem obvious and I don’t know what I was thinking that I just cut the whole thing right away. I think that since I spent so much time and details on the design, I felt it must be good enough. Not. Test cutting would have allowed me to address the problem with tabs, fillets and joints much sooner and probably save the whole thing.
The irony of it all is that my goal was to make the best of a single sheet, which led to just wasting the whole sheet. Better luck next time.
And here is a cute spider to end on a good note:

All of the original design files (FreeCAD and DXF formats) are available here.