Molding and Casting
This was a fun week!
Learning from my mistake a couple of weeks ago, of aiming to high from the start, this time I decided to go for something simple and improve it incrementally.
My final project is going to be a glowing sword. At the beginning of the week, I wasn’t sure if my plan is to cast the blade or mill it, but after seeing how easy (and fun) it is to cast stuff, I now have an (almost) definite plan for the blade, which I plan to start next week.
So for this week, I wanted to just learn the basics by making the basics, starting from a simple blade-like shape.
I designed something quick and simple in FreeCAD using Loft, and exported as STL file:

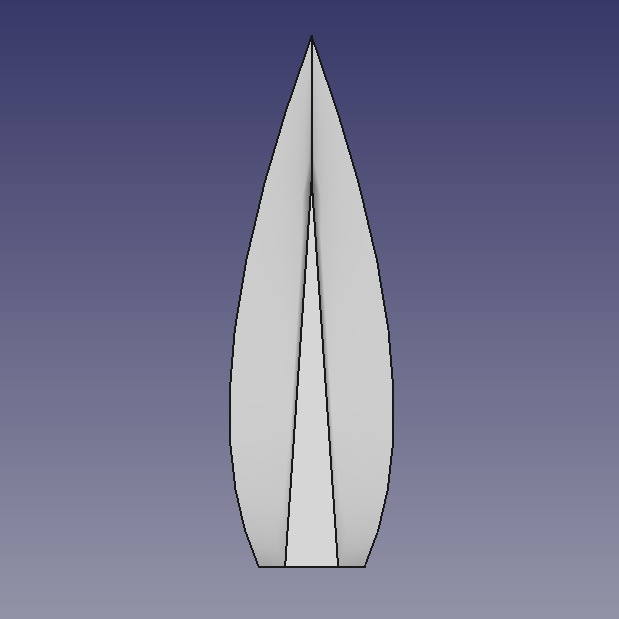
Notice it’s a half blade. To make the full blade I will have to create two molds and attach them together. For that I also need a pour hole and an air hole, which I will later add manually.
Milling
Each of us got a 3.5x3x1.5 inches block of wax to experiment with. Our shop has ShopBot Desktop machine, and I chose to use a 1/8 inch downcut flat endmill.
First, I had to import the STL file to PartWorks to create a toolpath. The toolpath has two stages, both with the same endmill: rough and finish cuts. The software is pretty straightforward and you can see a nice simulation in the end to make sure you are on the right track. Sadly, I didn’t take any screenshots.
The main points to remember for next time:
- Leave a margin around the model, which is larger than the tool diameter (0.15in)
- Sink the model below the surface a little bit (0.15in)
- For rough cuts: Stepover 50%, Speed 6000, Plunge rate 50.
- For finish cuts: Stepover 10-15% (the smaller, the better finish), plunge 90.
- Check out the different finish profile and find something that suits your shape.
And off to milling:
Molding
While making this simple structure, I started having ideas on how to make the sword glow. I also consulted with Tom and Graham from the shop, and they pointed out helpfully to the EXIT signs scattered around the shop, which light up using a single light source from the base. I decided that that will be a good setup for a glowing blade - most of it will be metal, except for translucent path, all connected and rooted at the handle. Aiming light from the handle will make it all glow. I also wanted to give it an Elvish look and feel… and then it hit me, Nature already has a very similar design pattern, on leaves! By (literally) copying leaves’ veins - I can create a beautiful pattern, and have insets that go throughout the sword, without breaking it. So for my mini-blade, I decided to just decorate it with a single leaf (thus creating outsets for every vein, which for my final project I plan to inverse).
Some leaf-gathering at MIT campus (which luckily is still abundant with flora), cutting and gluing it up on the mold:

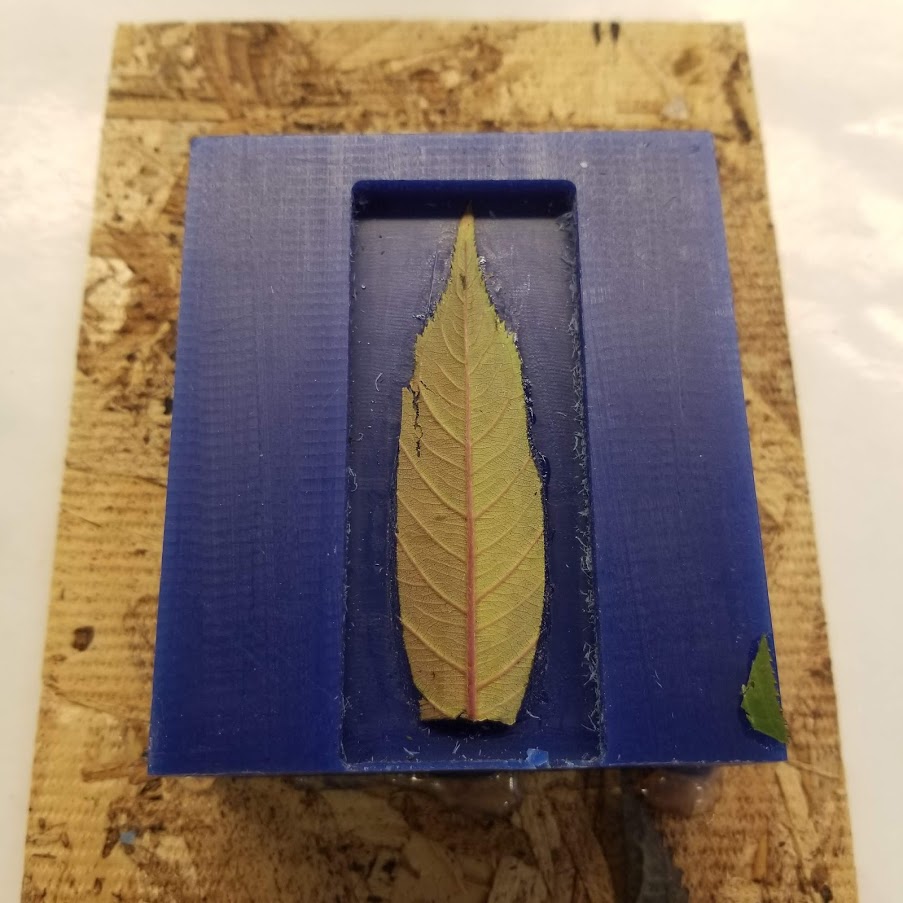
To glue it to the mold, I tried two ways - superglue and epoxy. Pouring OOMOO to the superglue mold - the leaf broke off. After using epoxy, it stayed there valiantly.
First I started to make an OOMOO mold, by following the instruction. I did realize I had a problem, one of the walls of my milled wax was too thin and broke off, so puring OOMOO to it will spill all over. As I had supergluw nearby and a wooden stick, I quickly glued those up and poured the OOMOO (making sure the agitate it):
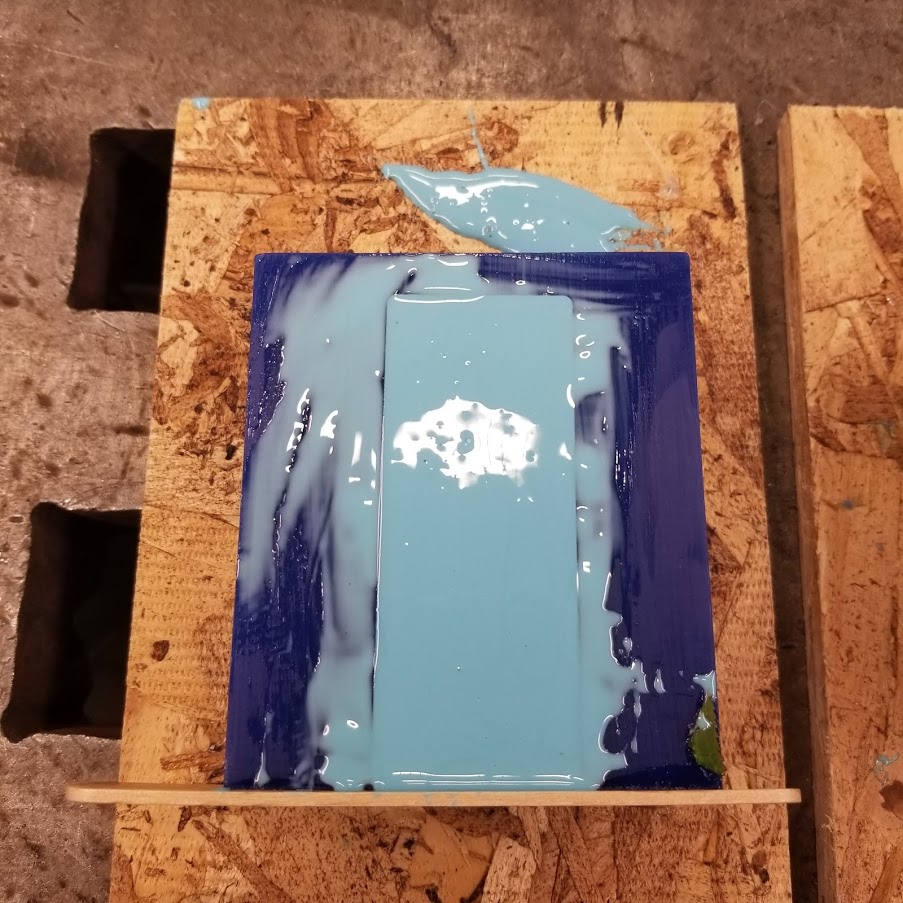
And after 75 minutes I got this very well detailed mold!

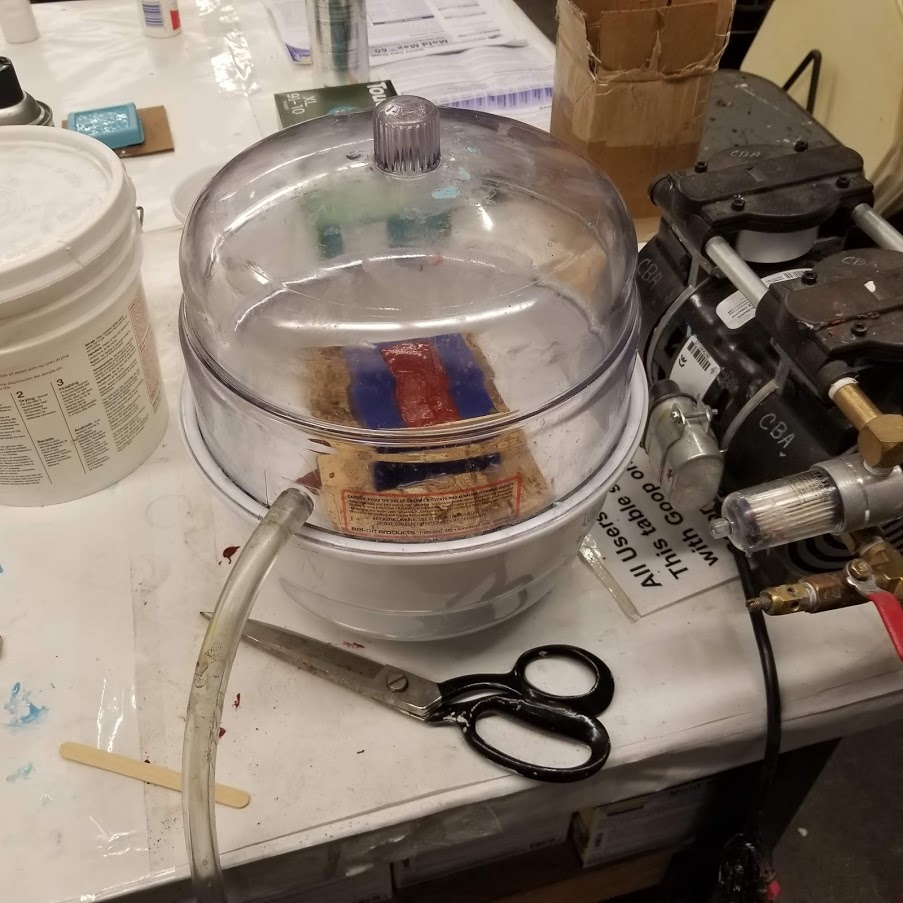
As I wanted to try out everything, I also tried out later to make a Mold Max mold, and use the vacuum machine as instructed to get the bubbles out:
Casting (Drystone)
Next, making some plaster from Drystone (I think it has better detail capture compared to Hydrostone). I tried to methods, as Graham showed us. One is a precise method using the gram weight, mixing 25ml of water with 125gram of drystone:

The next method is very similar to how I make Tahini. Ok well it’s not exactly similar but it is similar and made me crave for it. Anyway, you pur drystone into water slowly until a solid island is formed.
While the first method creates a very thick paste, the second one is much more milkshake-y and in my opinion, easier to control when pouring into the mold.
After pouring it into the mold, we get a nice looking plaster leaf:

Notice that there are a few gaps in the veins though.
I continued on to use the two molds and attach them. I hacked a pouring hole and air hole using a knife and attached them together using simple wrapping nylon.
The result:
And a group photo:

Casting (metal)
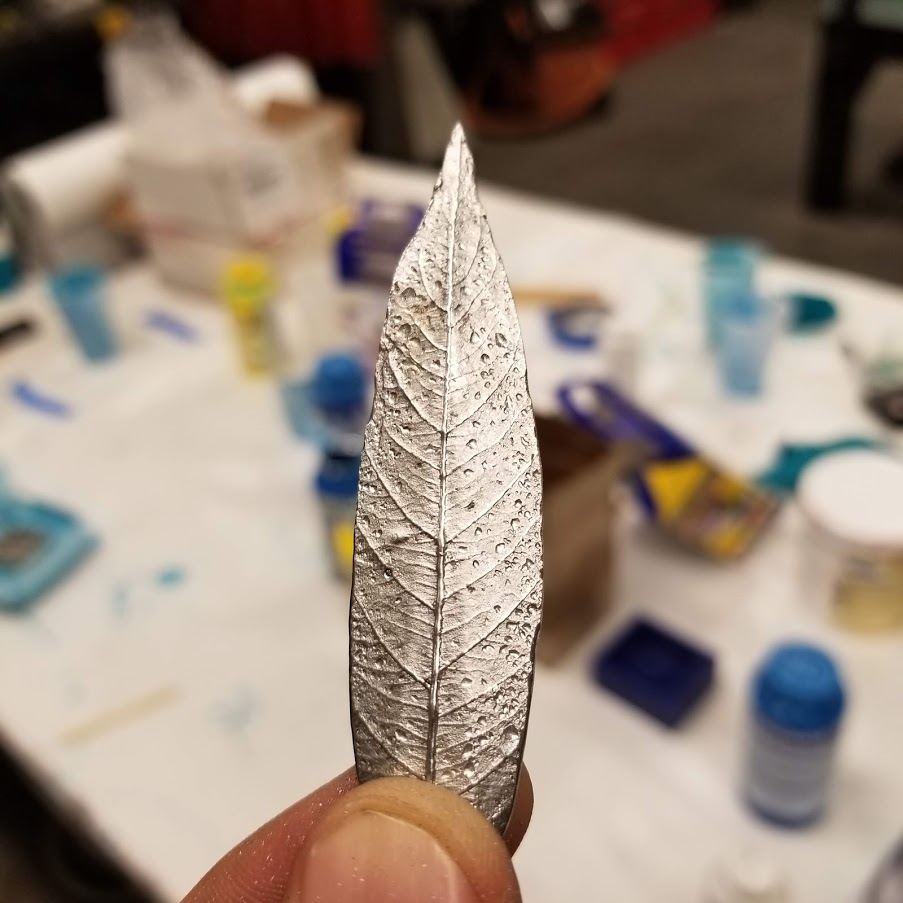
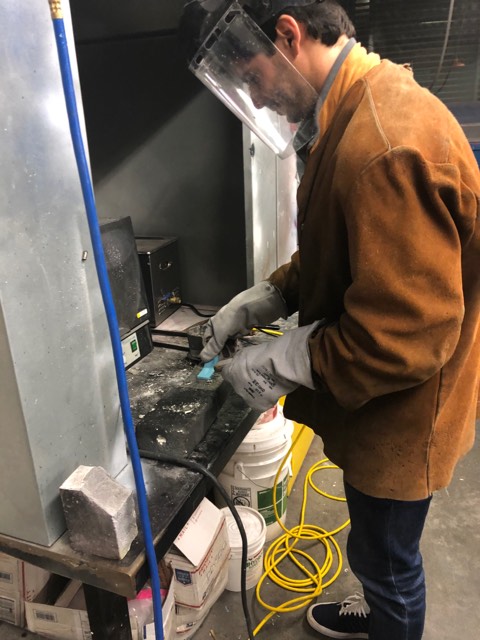
My original plan was to stop there, but as I was visiting the shop to admire other peoples molds, and I saw how easy it is to cast metal, I decided to try and create a few metal leaves. First, you get to wear a pretty sharp suit:
My first attempt was quite bad, but on the second one I used a wooden stick to balance (and push down) the liquid metal, and get a nice photo:

And the final result, while still being filled with bubbles, is surprisingly beautiful: