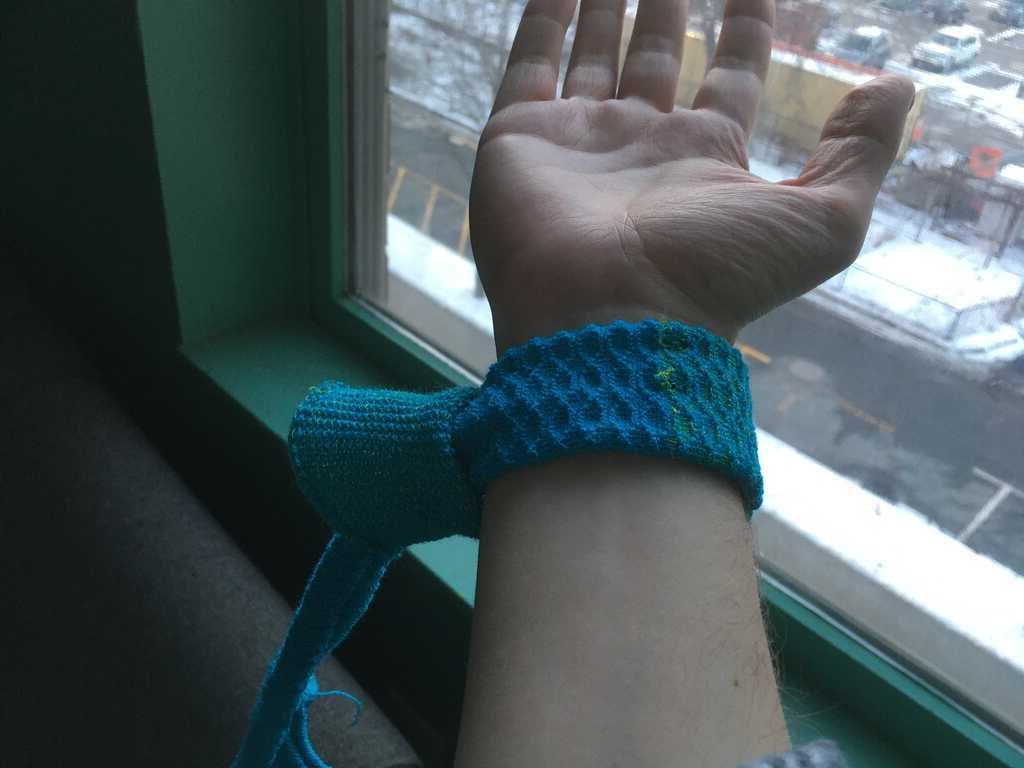
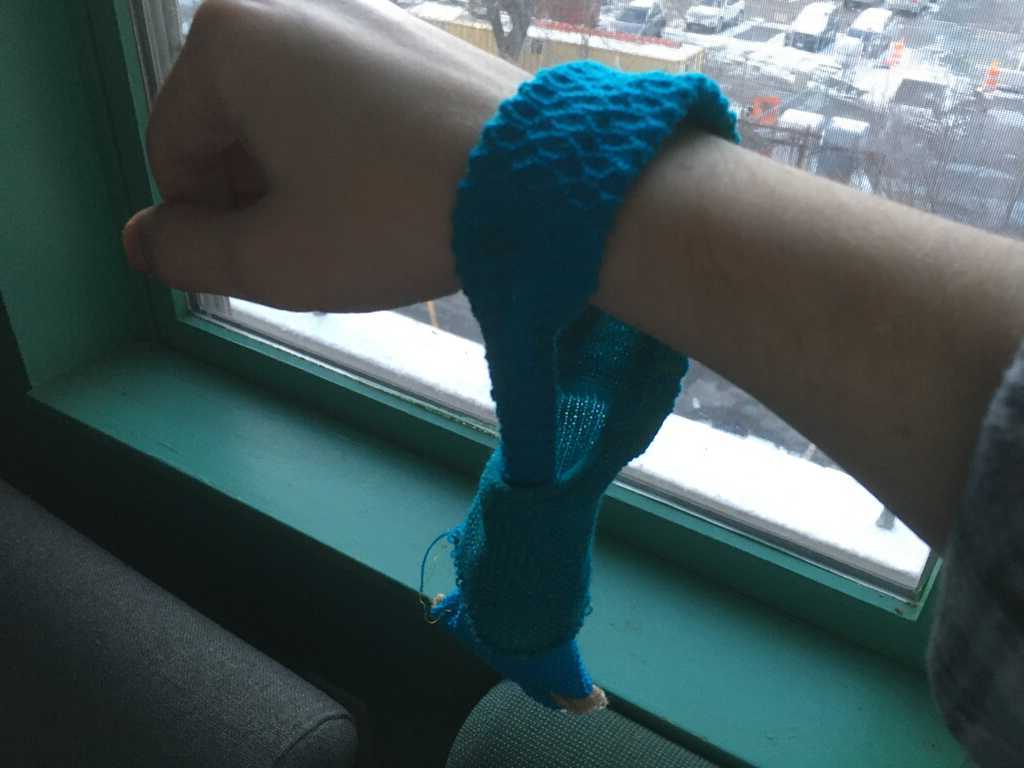
Since I was developing a wearable, I had my eye on knitting from the start for wildcard week. My original idea was something like this:
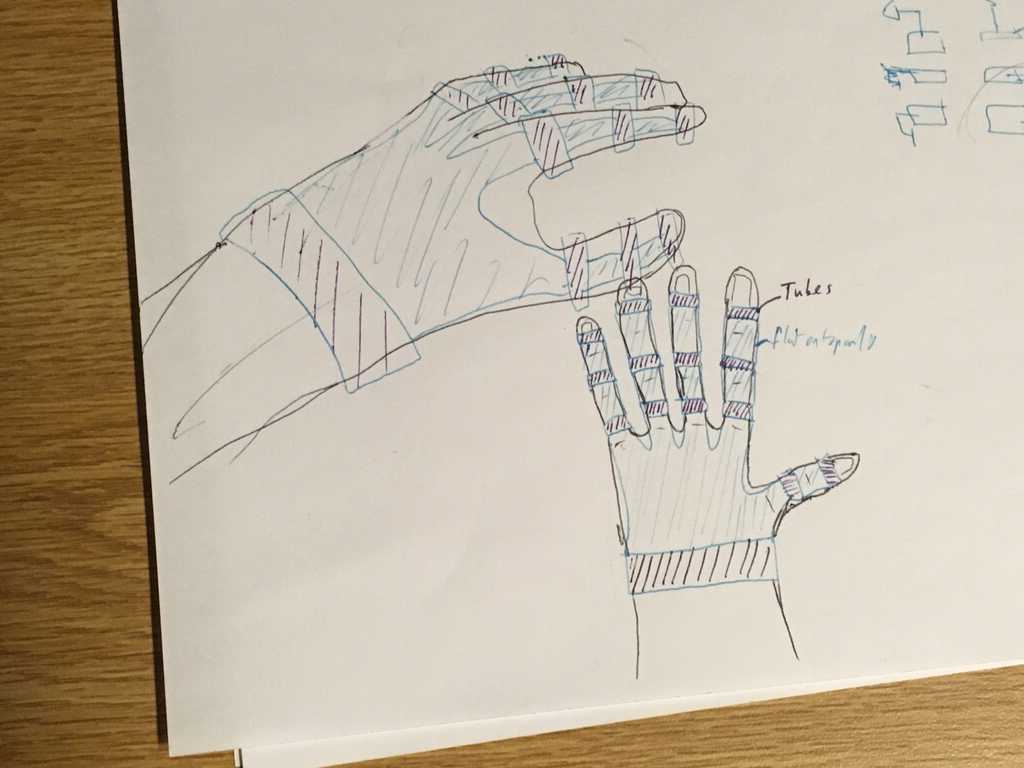
It's a glove that wraps around the wrist and finger segments, but each wrap is only connected on the back, leaving the palm of the hand exposed. The idea for this was that I could attach sensors or actuation to these wraps, allowing for a variety of functionality.
However, I ultimately decided to go with a wristband and add my own pattern to it.
Designing
This week, Alexandre taught for this project. The machine we used was a Shima Seiki Wholegarment with with 15 gauge needles. The software it uses is rather complex and takes quite a while to learn, so one of Alexandre's projects is a tool to make this more accessible. The tool is called KnitSkel. In KnitSkel, I was able to take a template for a wristband and code in a pattern. Of course, what else would I do besides hexagons?
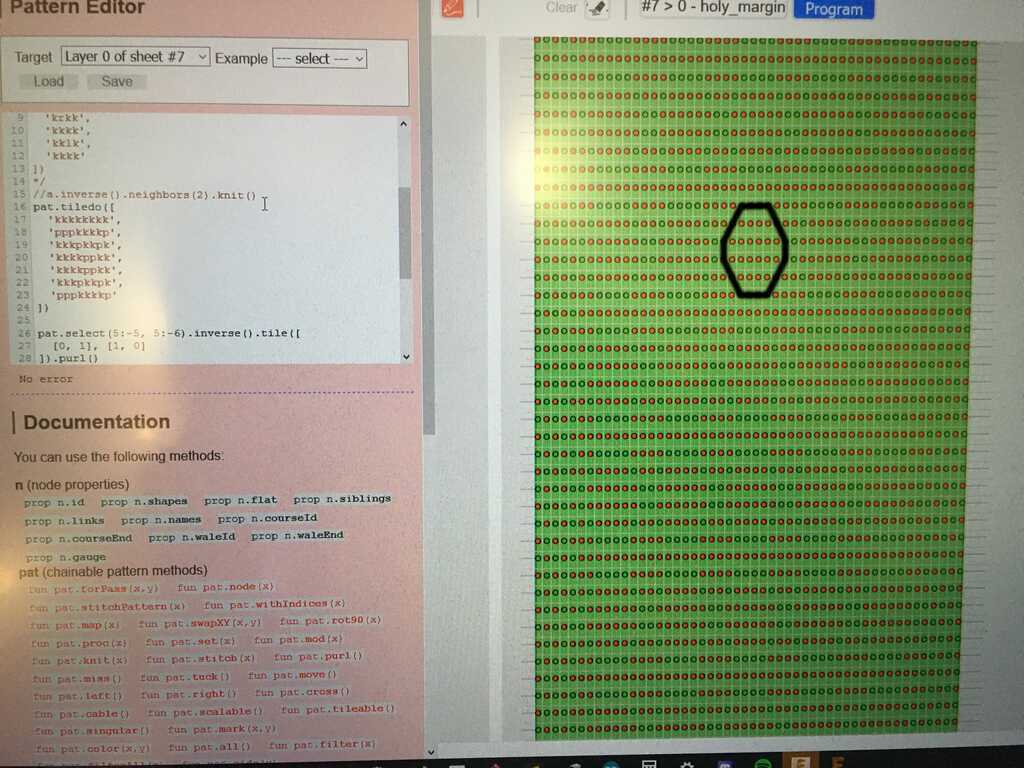
The kernel consists of knits and purls. The boundary of a knit and a purl is where ridges will form, so I used that to outline my pattern. (I outlined it for you in the image). The code you see in the image doesn't look like any shape because I had to offset it to make sure the hexagon pattern wasn't cut off by the edges of the wristband. Here's what it looks like without the offset:
				kkkkkkkk
				kkppppkk
				kpkkkkpk
				pkkkkkkp
				pkkkkkkp
				kpkkkkpk
				kkppppkk
One thing to take into consideration is that the pattern you design will shrink in the vertical direction. To combat this, I added an extra row in the middle of my pattern, but as you'll see later, it wasn't enough. I should have stretched it out in many more places. You can download the output from KnitSkel here.
Knitting
With the designing done, we can take the result and put it through the machine's software to get it made!
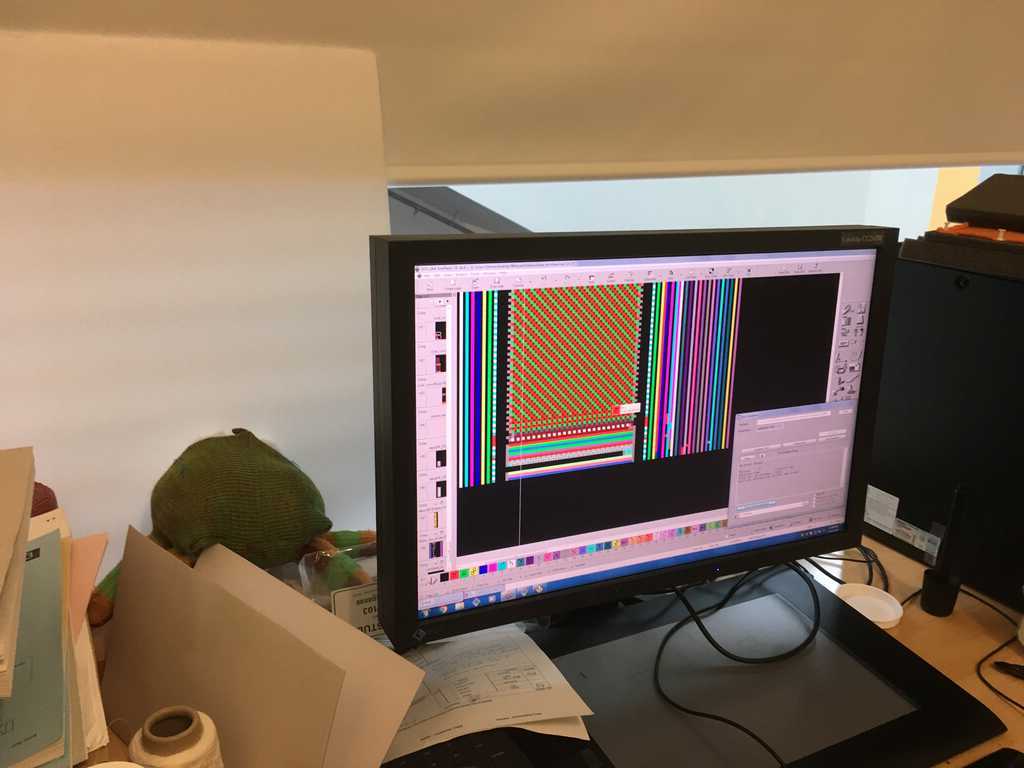
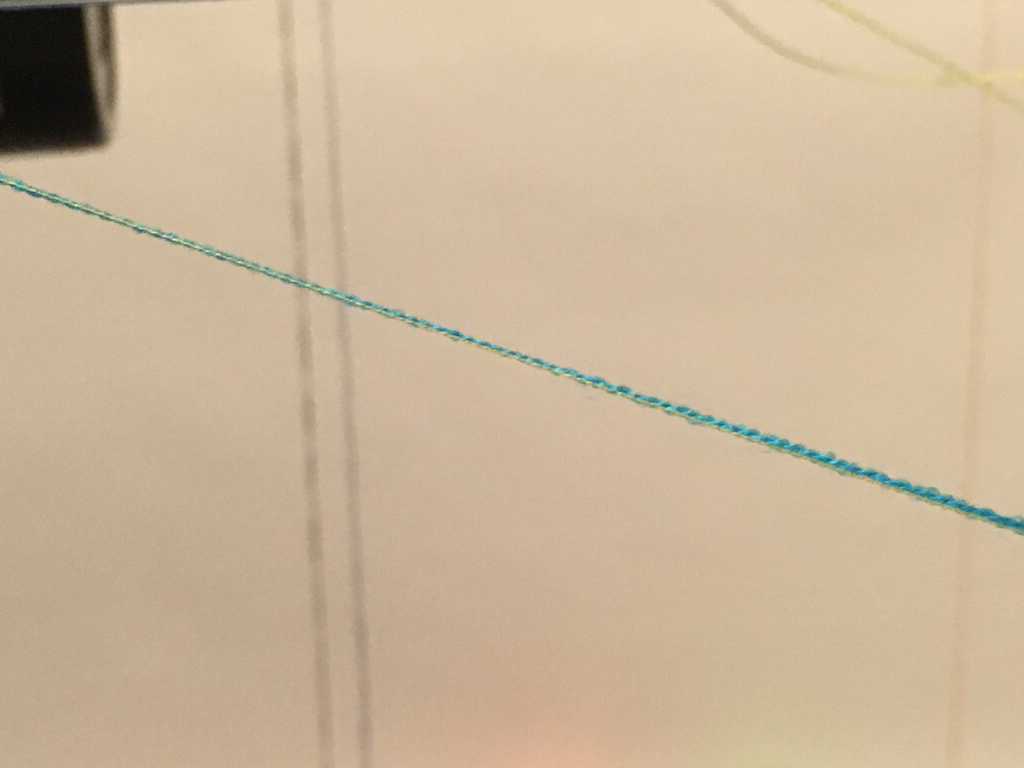
There are plenty of threads to choose from, and I decided to go with a cyan color.
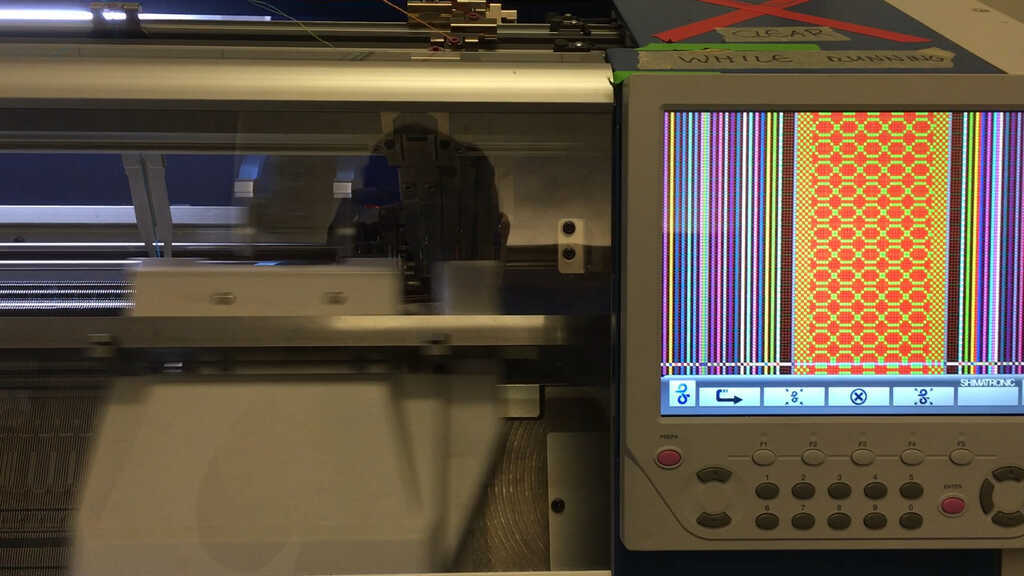
Once we load the data on to the machine, we let it do its thing! In the software here, we can see how the hexagons will actually turn out.
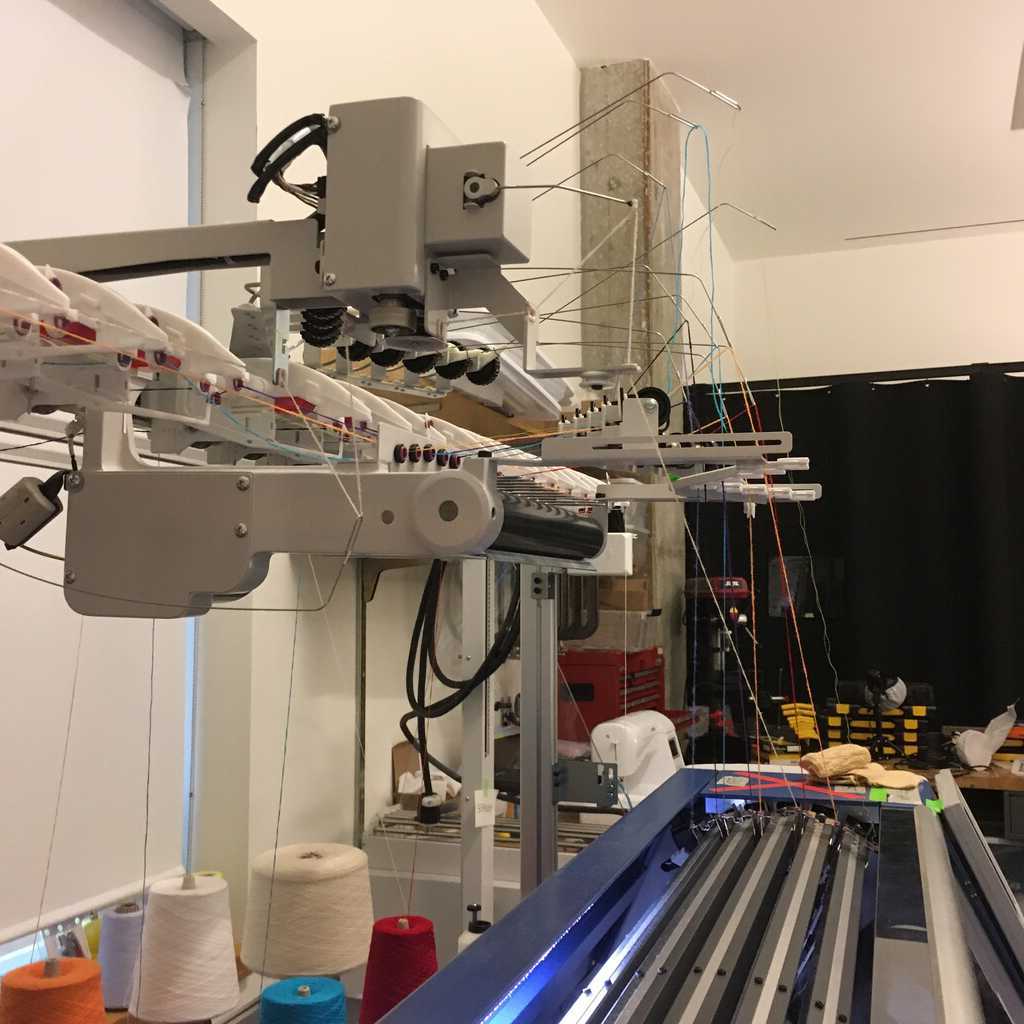
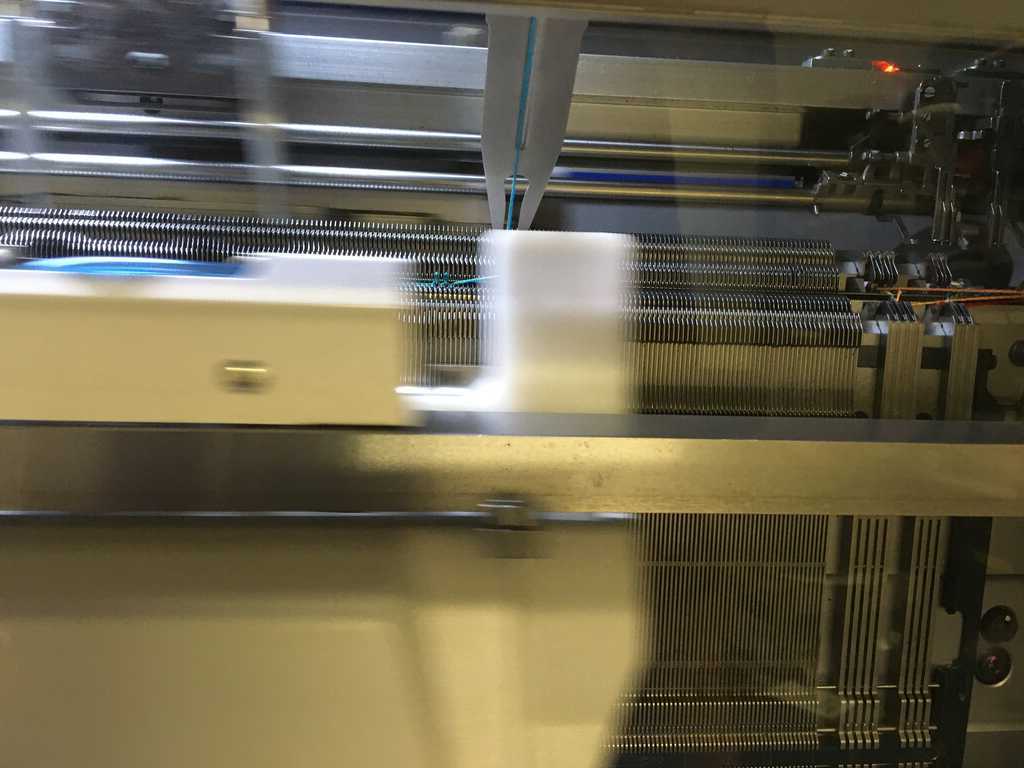
This thing moves really fast. But since we weren't on the ground floor and it wasn't perfectly stable, we ran it a bit slower (but still fast).
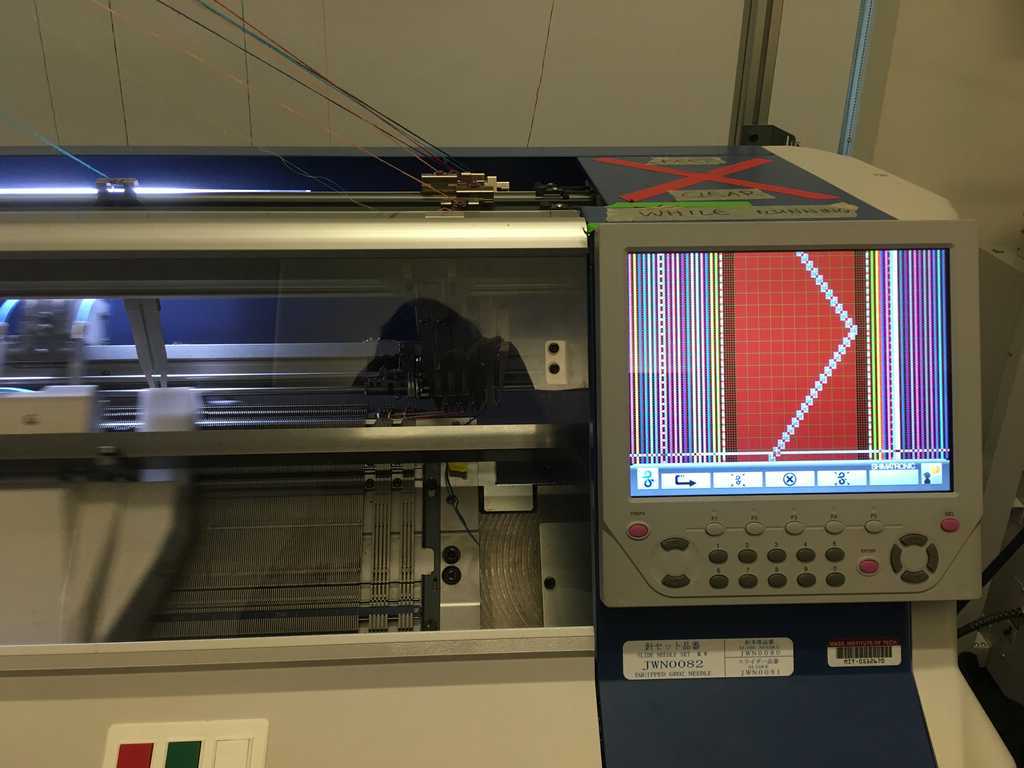
There's an opening and closing pattern that the machine runs, and looks like this:
And we can see it starting to come out!
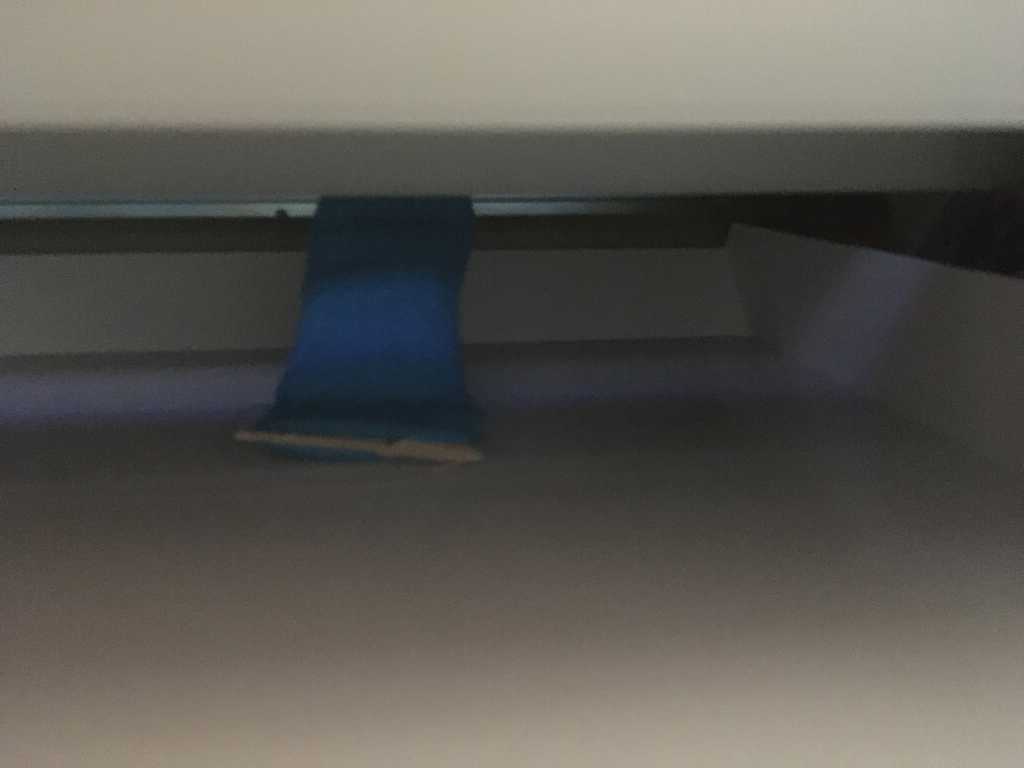
Phew, can't wait to see how it turned out!
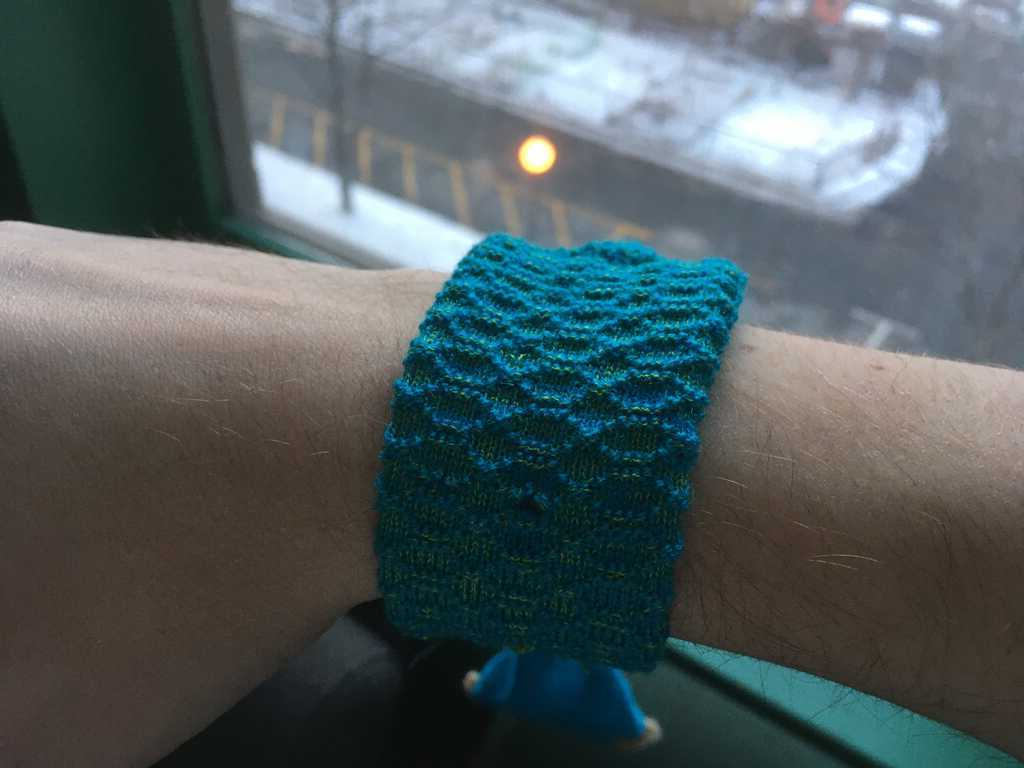
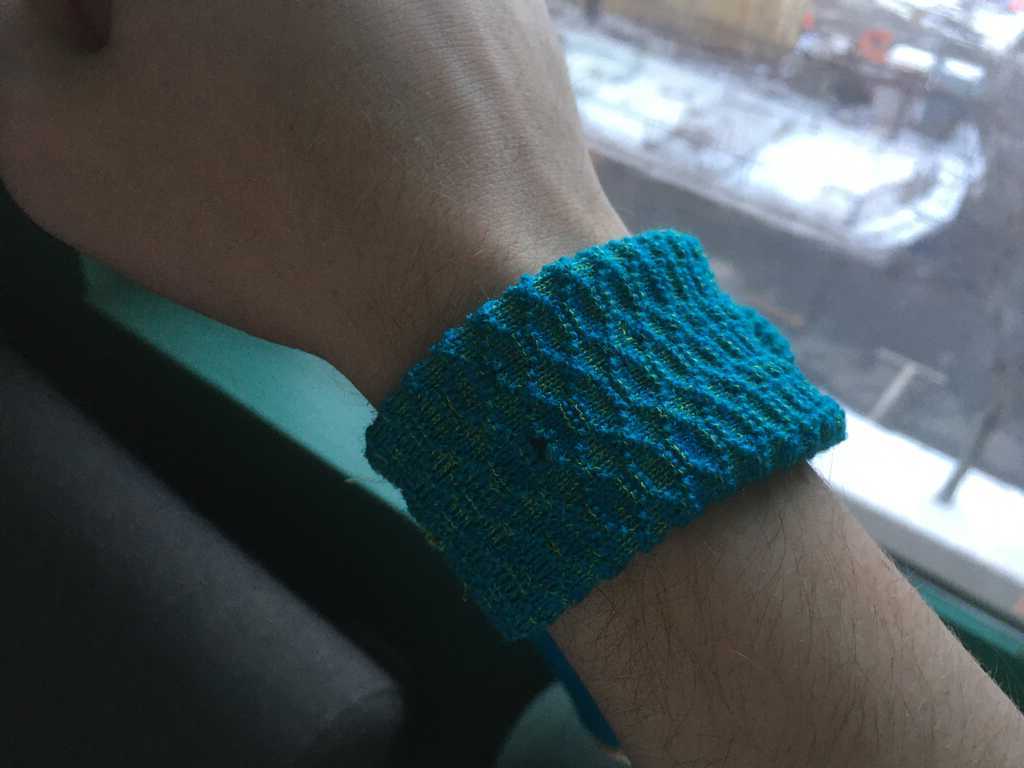
Results
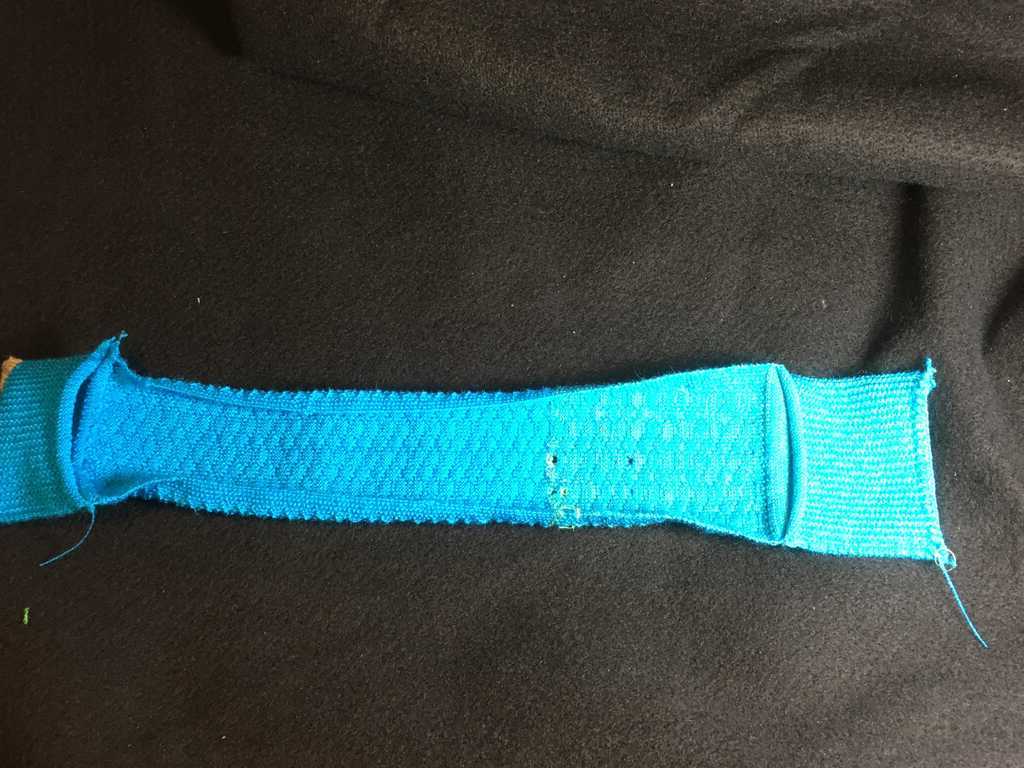
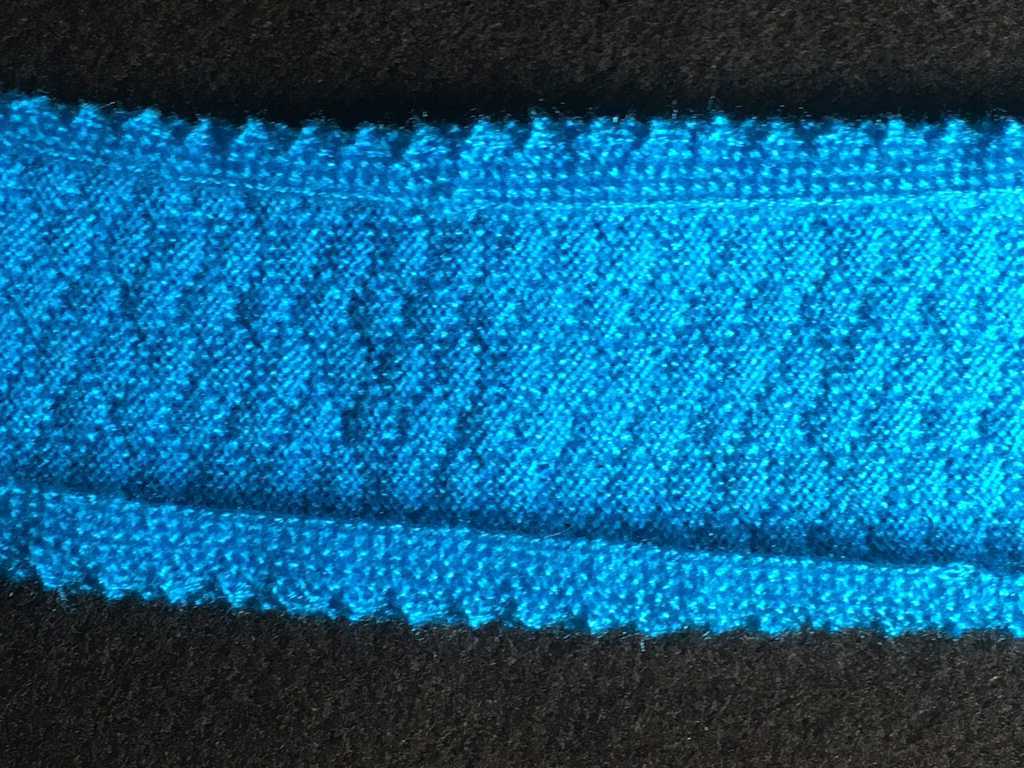
It looks pretty good! The first shows the top side, and the second shows the bottom side.
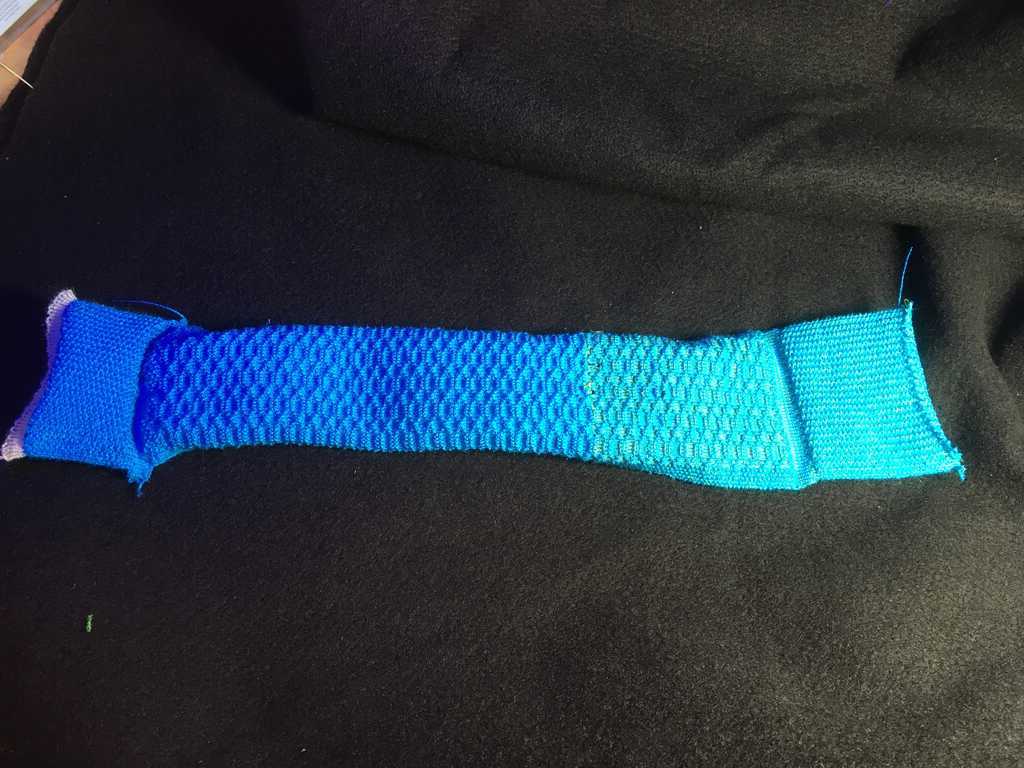
The left starts out white, which is because we tied the cyan thread to the white thread that was already into the machine.

The other end is slightly off-color, which we'll get to later.
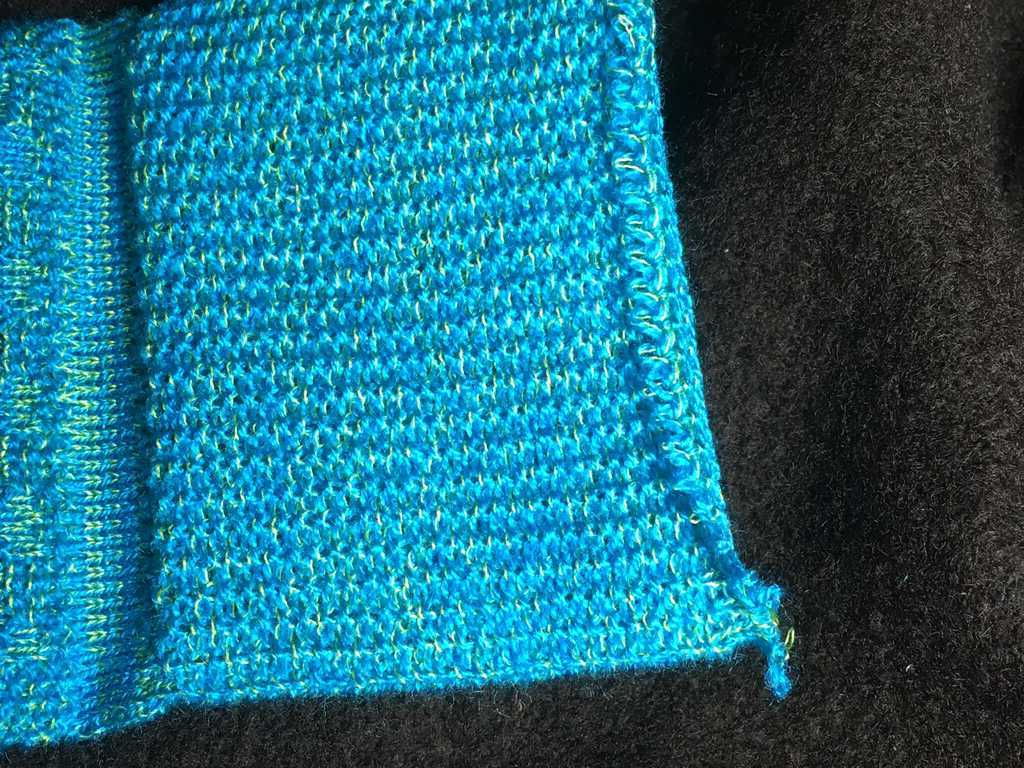
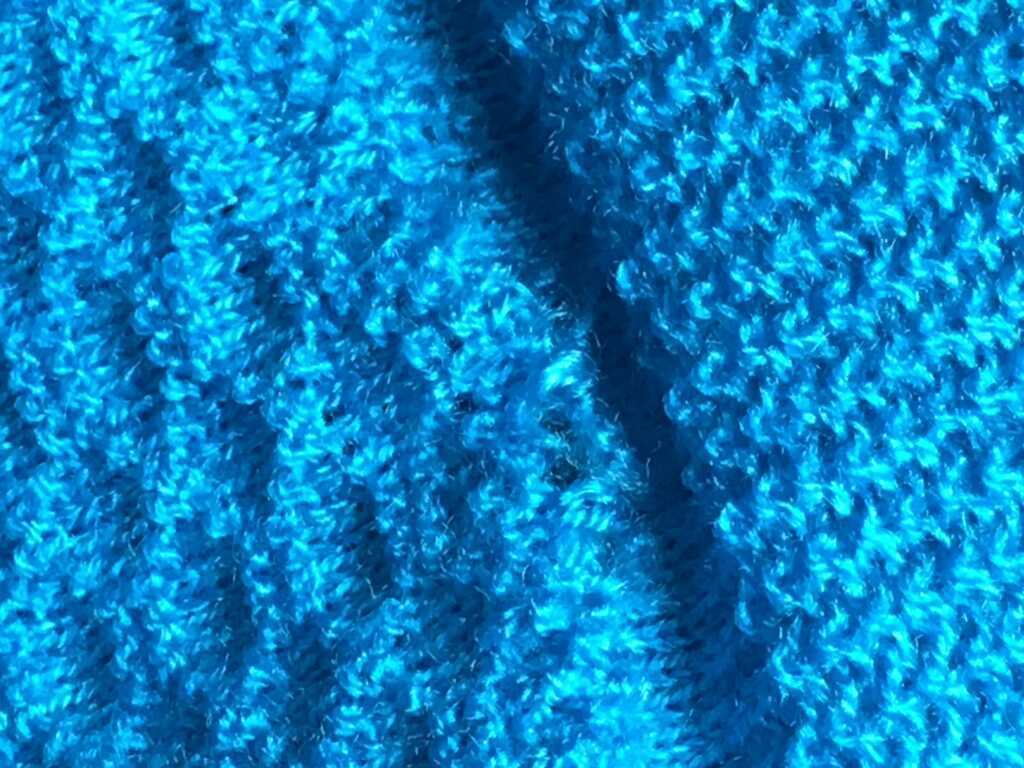
Here's closeups of the front and back
Now, what's going on in the middle? This whole thing was supposed to be cyan, so why is there yellow thread in there?
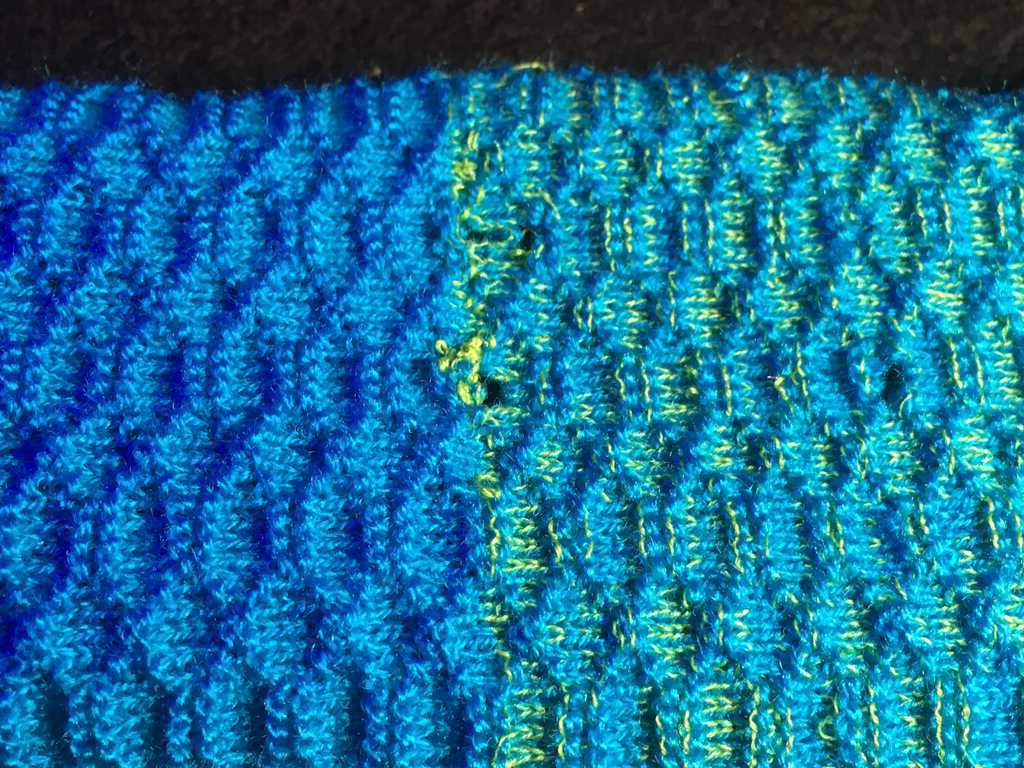
It turns out that another thread got tangled up in the cyan thread while the job was running
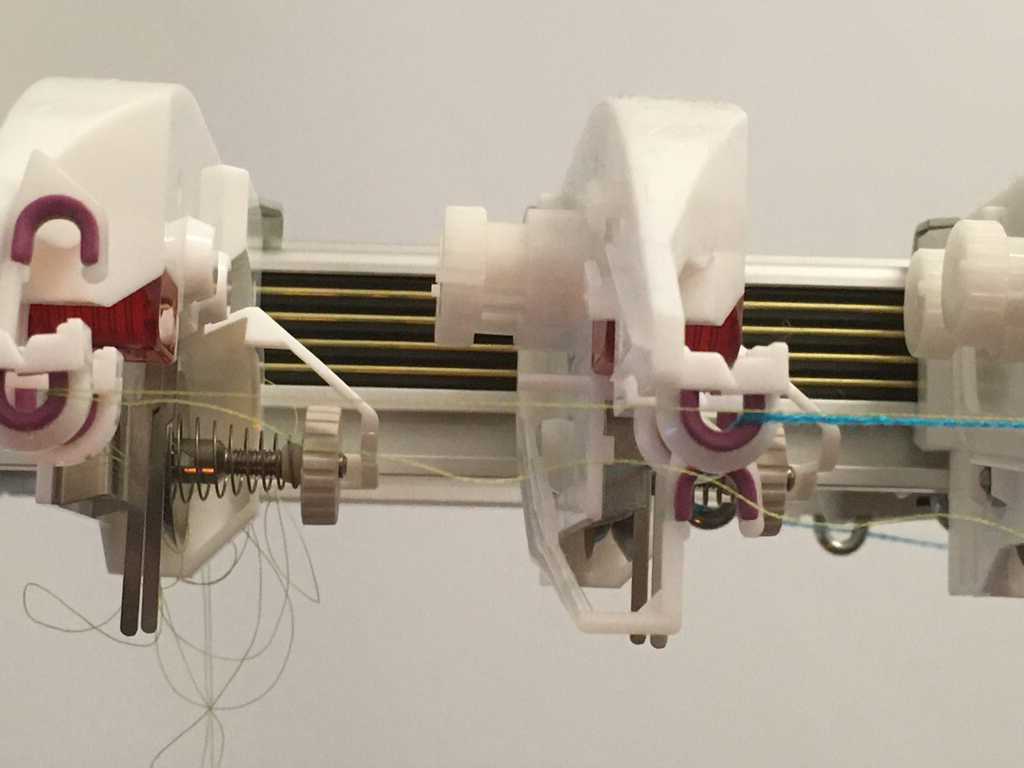
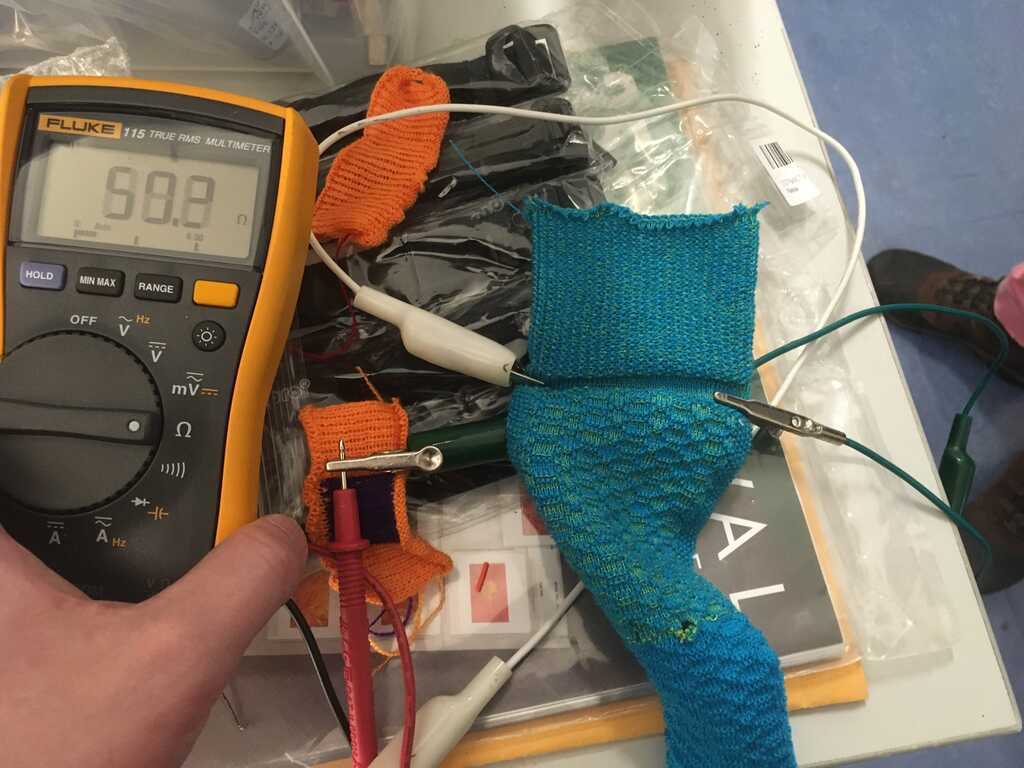
But the yellow thread that got caught isn't just any thread. It's actually a conductive thread! I had considered using it, but didn't have any real application for it. It has a surprisingly low resistance for what I would expect:
Well, this was a fun week. I'll leave you with a fashion showcase: