Week 4 - 3D Scanning and Printing

3D Scanning

This week was about 3D tech, and I started it off with 3D scanning. In the EDS, we used the Sense scanners.

Sense Hardware

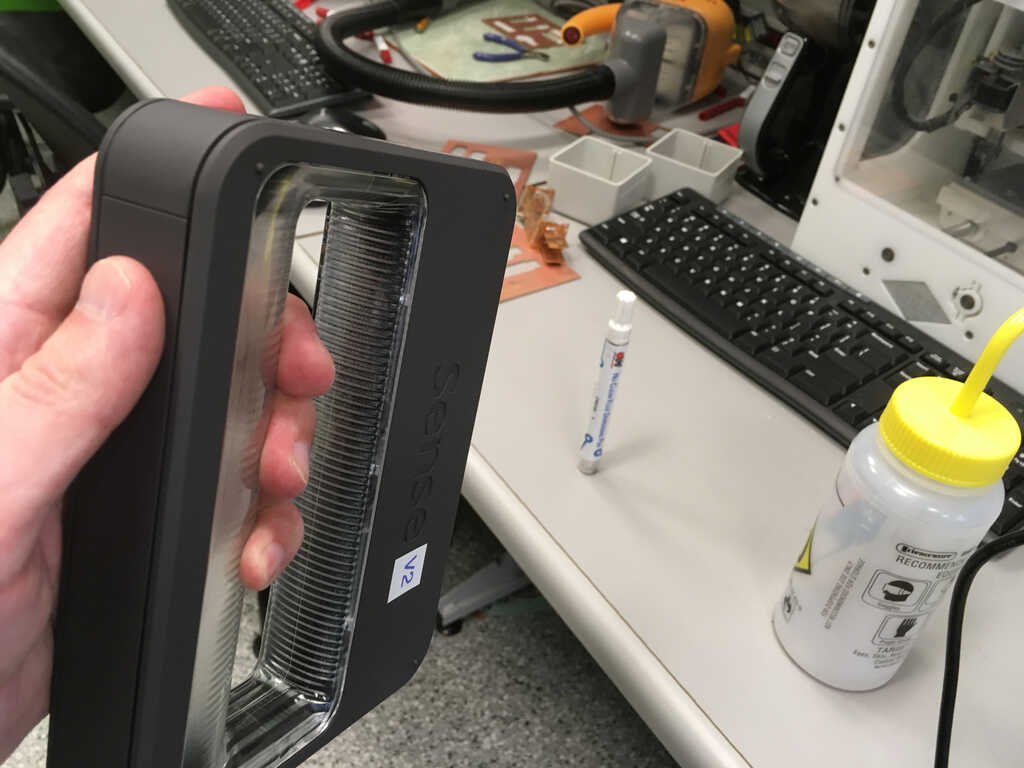
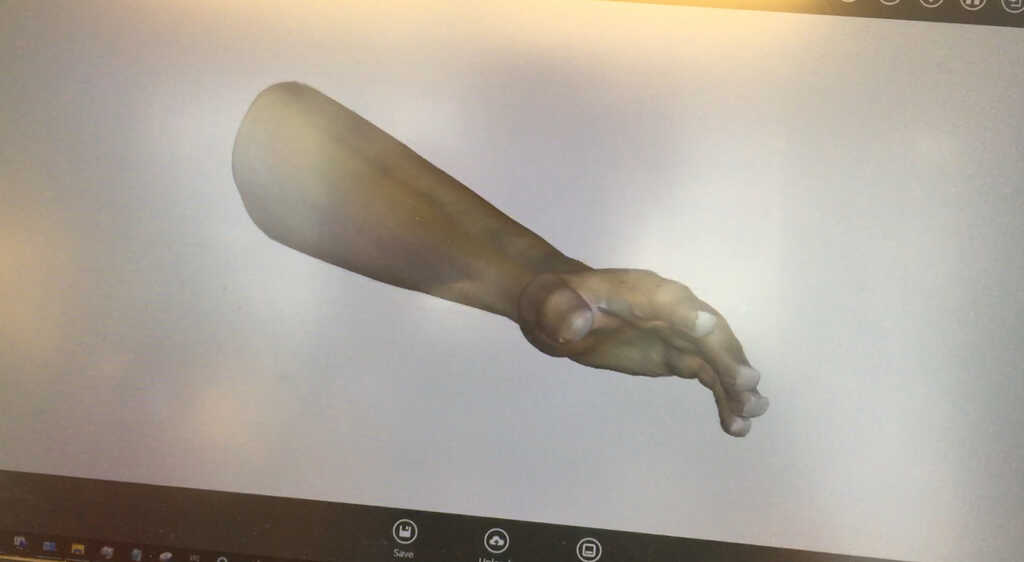
There were two options available: the V1 and the V2. To start off, I tried the V2 because newer obviously had to mean better, right? Well, unfortunately that wasn't the case. Right off the bat I couldn't get the V2 to work with the Sense software on my computer. I tried to use one of the computers in the lab, where it worked... sort of. This is what the V2 software looks like mid-scan:

Sense Software

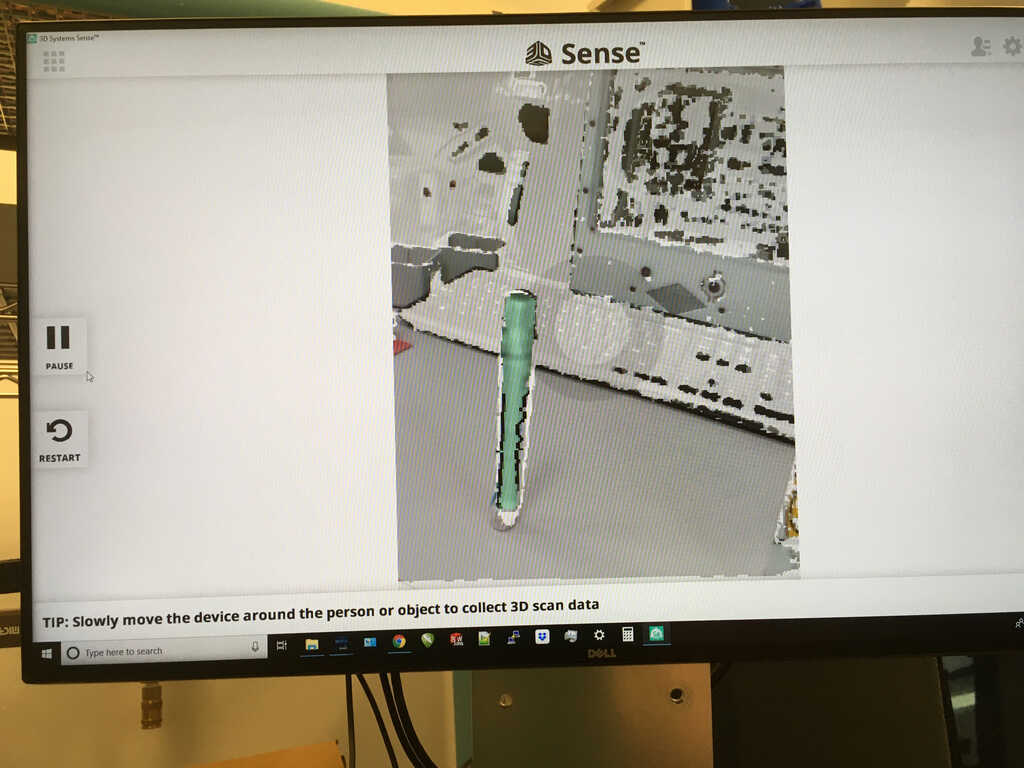
Here, you can see it's working. However, there were major issues with it losing tracking after maybe 15°, and while backtracking would temporarily get the tracking back, we could never get it to go beyond that point. So we decided to try out the V1 instead. It ended up working much smoother, and we were able to get full scans!

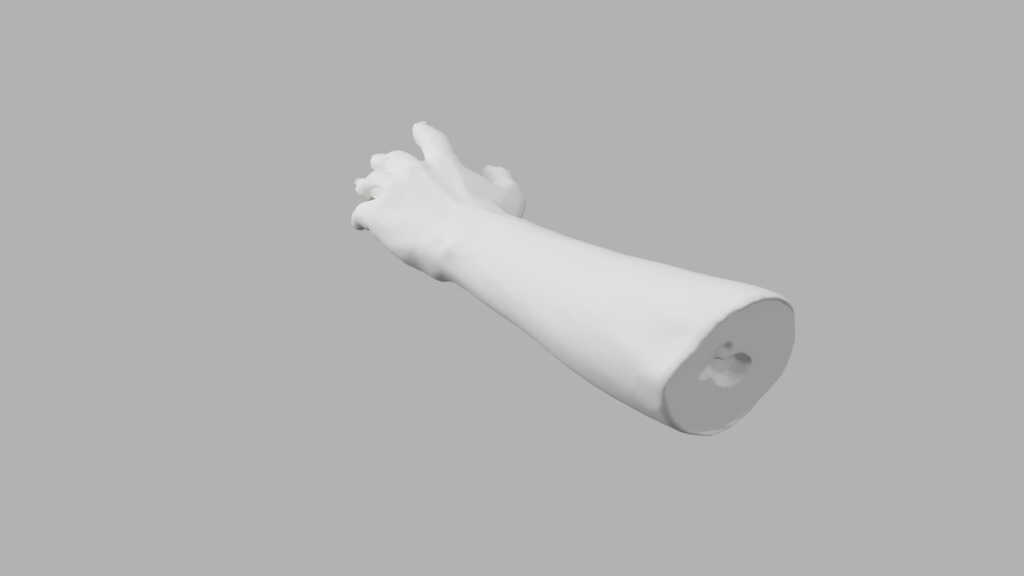
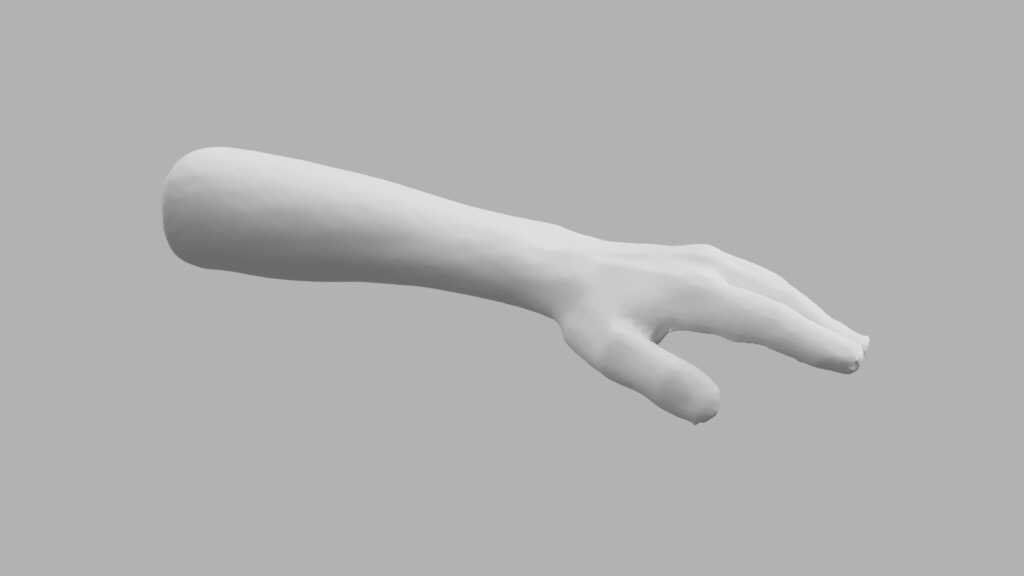
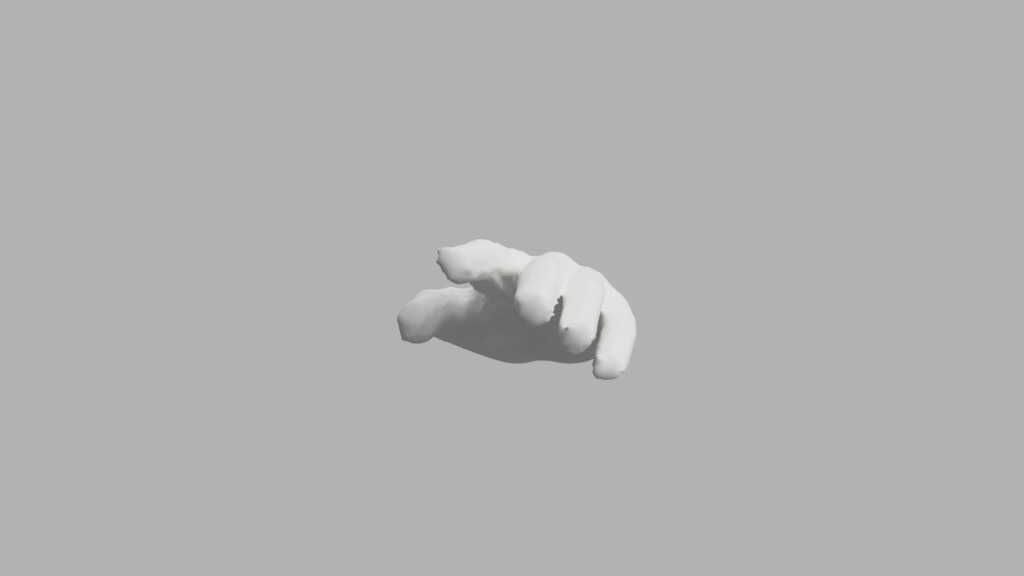
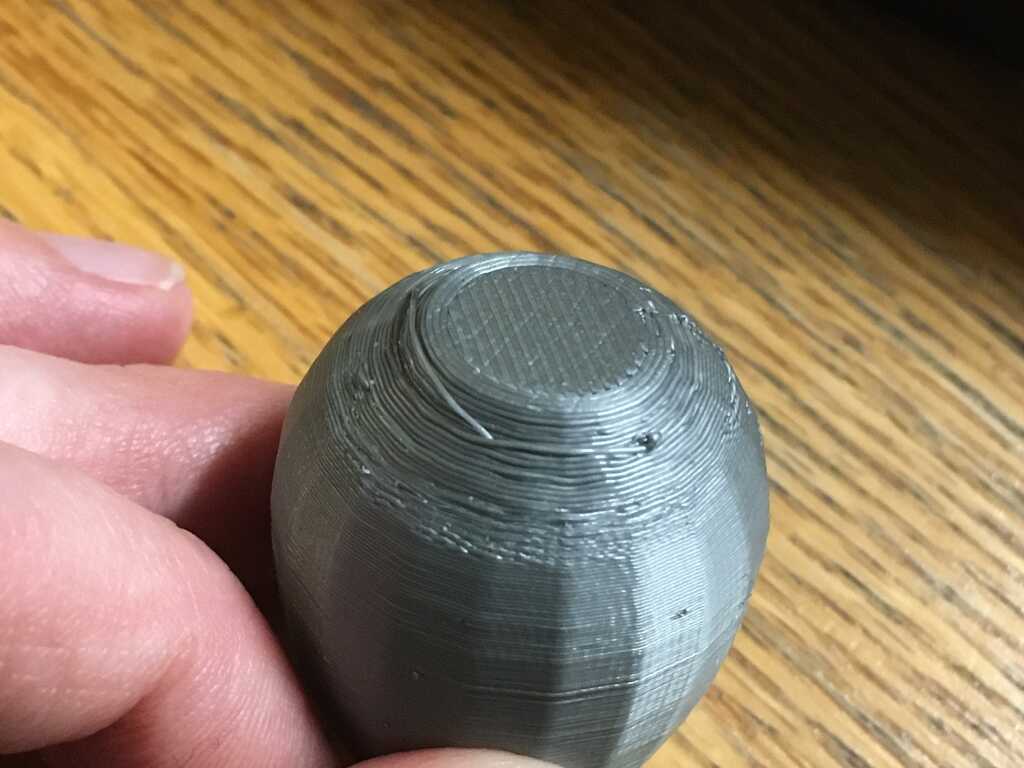
To tie in with my final project, a modular wearable device, I wanted a model of my arm. I tried to do this by myself, but got this cursed result:

Failed Arm

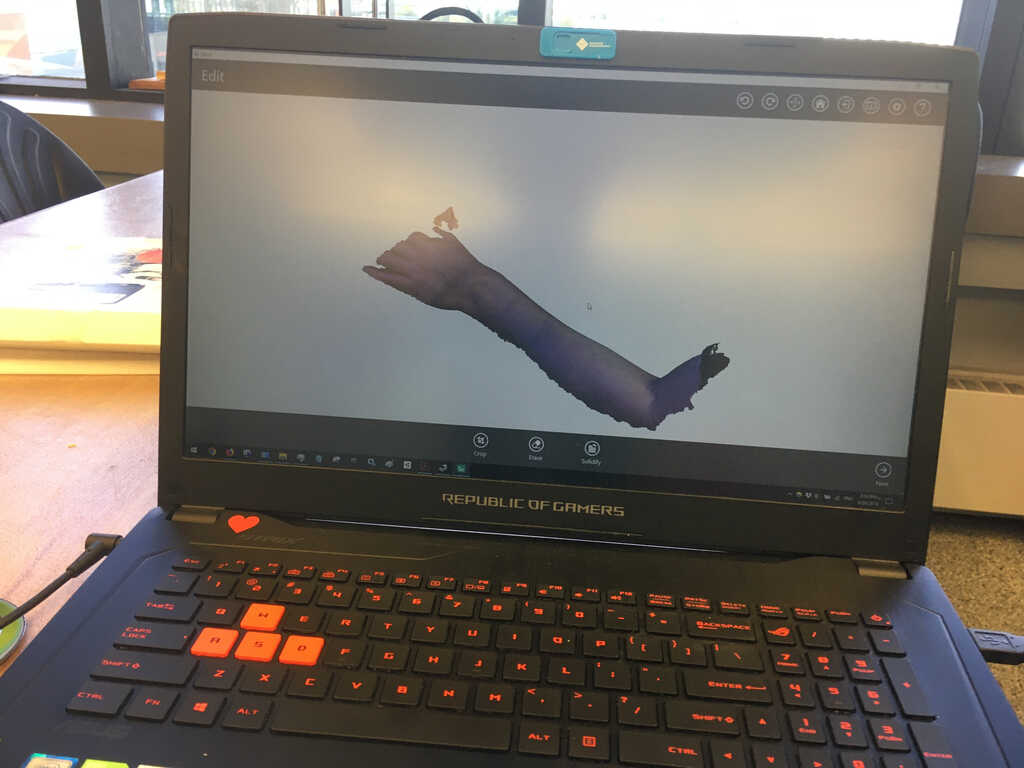
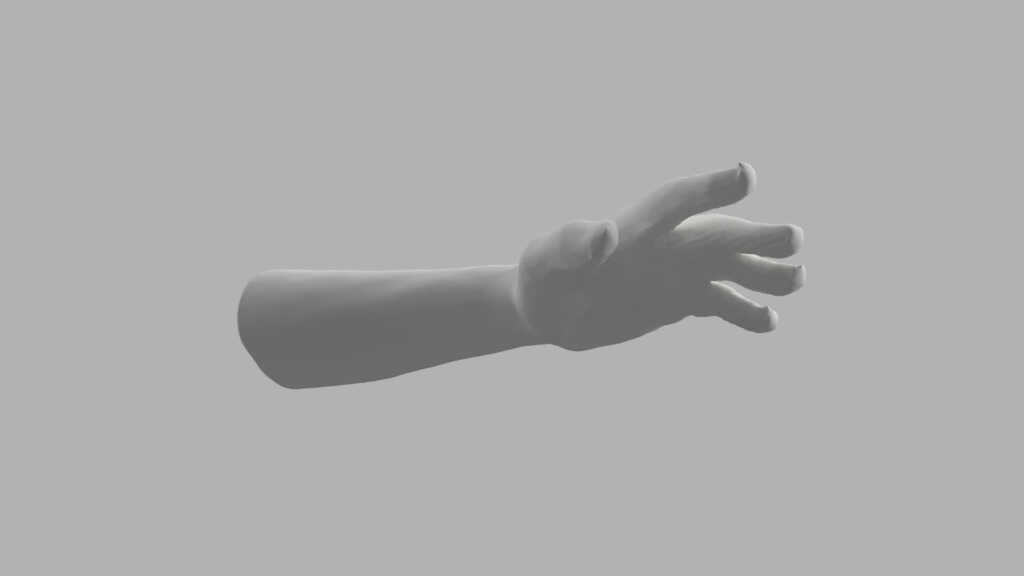
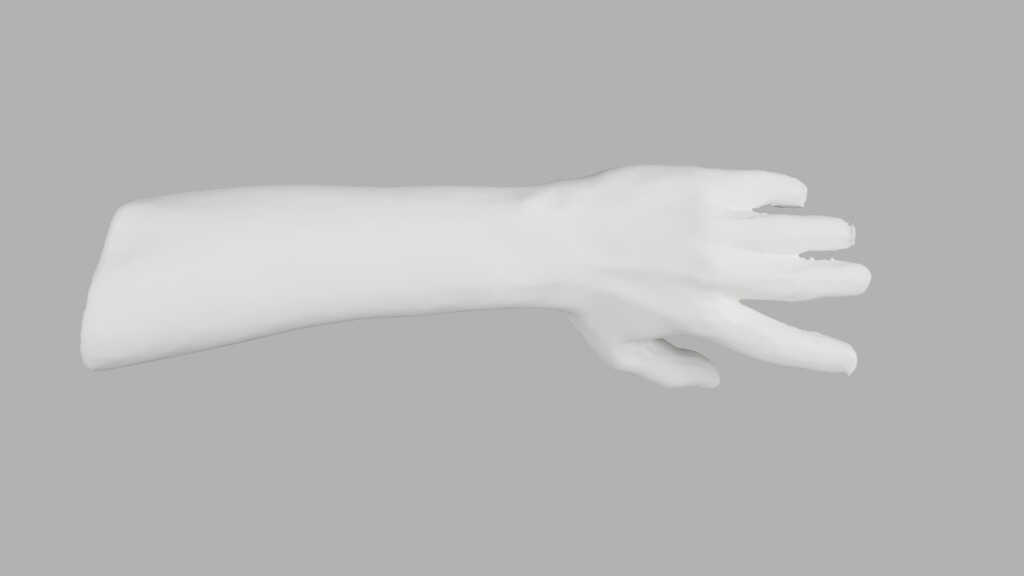
I asked for help from Prashanth, the TA on duty, and together we got a very decent scan of my arm. I stuck my hand in the air as though I was waiting to ask a question, and he walked around with the sense. The result turned out surprisingly good!

Arm Scan

3D Printing - Classification

As a group, we printed all of the test pieces at different times, then shared them with each other. I personally used the Prusa i3 MK3S, and followed this guide to get the right settings for Cura.

3D Printer

And here are the test pieces:


3D Printing - Subtractive Impossibilities

For my design, I drew inspiration from nature. From the outside, a chicken egg just looks like a solid obloid. But when you crack it open, there's a yolk inside!

So, using Autodesk Maya, I modelled an egg shell and placed a smaller egg inside of the cavity. With no openings, this is completely impossible to create using subtractive methods.

Solid Egg
Wireframe Egg

The nexxt step is to convert the obj file into G-code. Opening the egg in Cura yielded this:

Tiny Egg

See that tiny yellow dot? That's the egg. Way too small! Luckily, Cura allows you to transform the object you load in. (It also lets you put multiple objects on the bed at a time, but not relevant here.) After scaling and rotating, we get something in the right size ballpark, around 3cm wide by 4cm tall:

Normal Egg

Those red marks at the bottom are a warning that a geometry won't print as planned, but I chose to ignore it. Not a devastating choice for this project, but it would be important to add support to a larger or more valuable piece. After slicing up the egg, we're able to take a peek inside and see that the yolk is still there.

Hidden Yolk

Now we put the gcode onto the printer, and watch it go!

Check out this beauty!

Final Egg

Now, you may be asking the same question that I asked myself: "How do we know there's actually a yolk inside the egg?" Well, just like a regular egg, we'd have to crack it open to see what's inside. But for now I'll let it stay solid and mysterious.

It didn't come out entirely perfectly, though. Remember that red warning in Cura? Yeah, there was too much of an overhang, so the bottom looks pretty bad. But it all stuck together, and that's good enough for this exercise!

Bad Bottom

Website Upgrades

This week, I wrote a Python script to make my website design easier. For example, if I write &&&CODE&&&file|navbar.html at the start of a line, running the file through the compiler will replace that line with the contents of navbar.html. The navbar is a particularly useful example because I need to repeat it on every page of my website, and I update its content every week when I add that week's page.

This website was created by Harrison Allen for How to Make (Almost) Anything at MIT in 2019