Sketching and Modeling
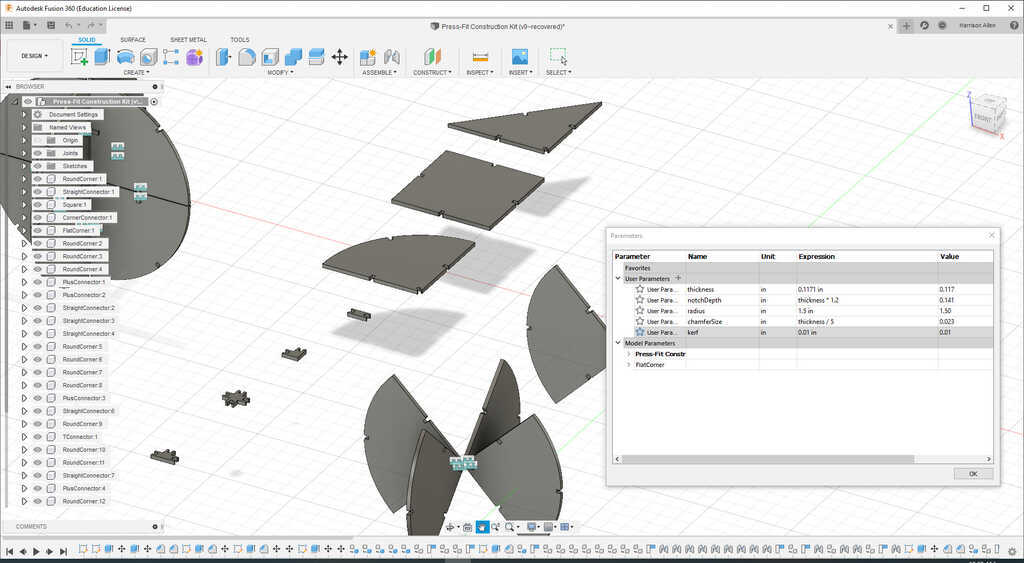
To create the press-fit pieces, I used Fusion 360. It allows for parametric modeling. The parameters I designated are:
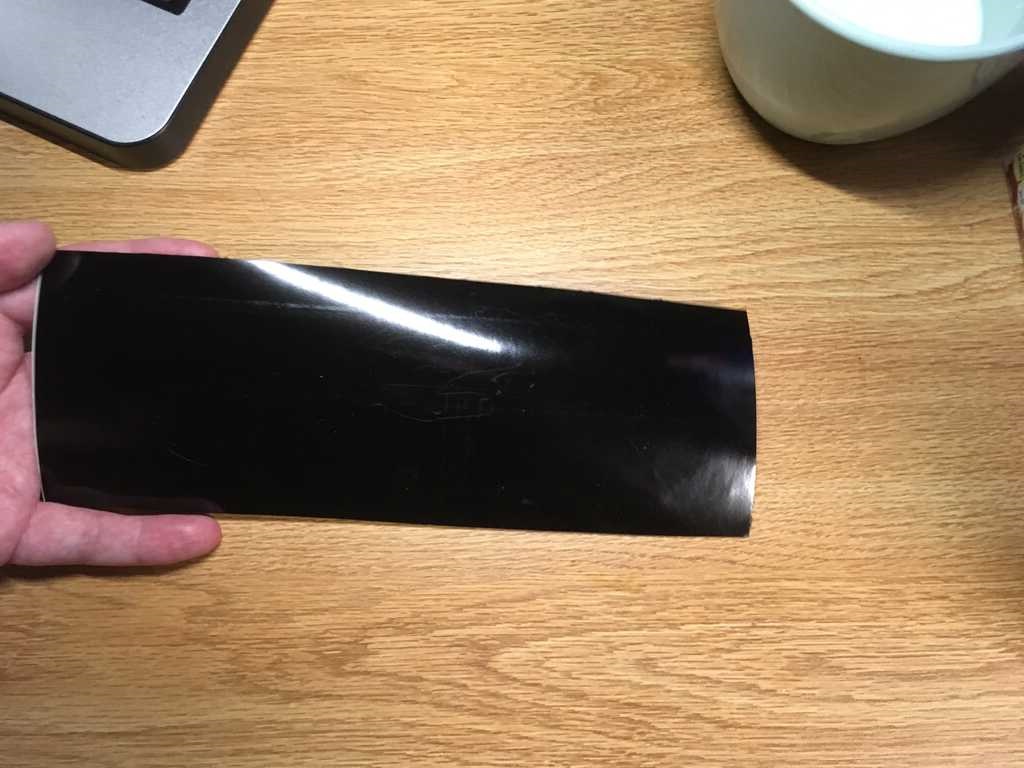
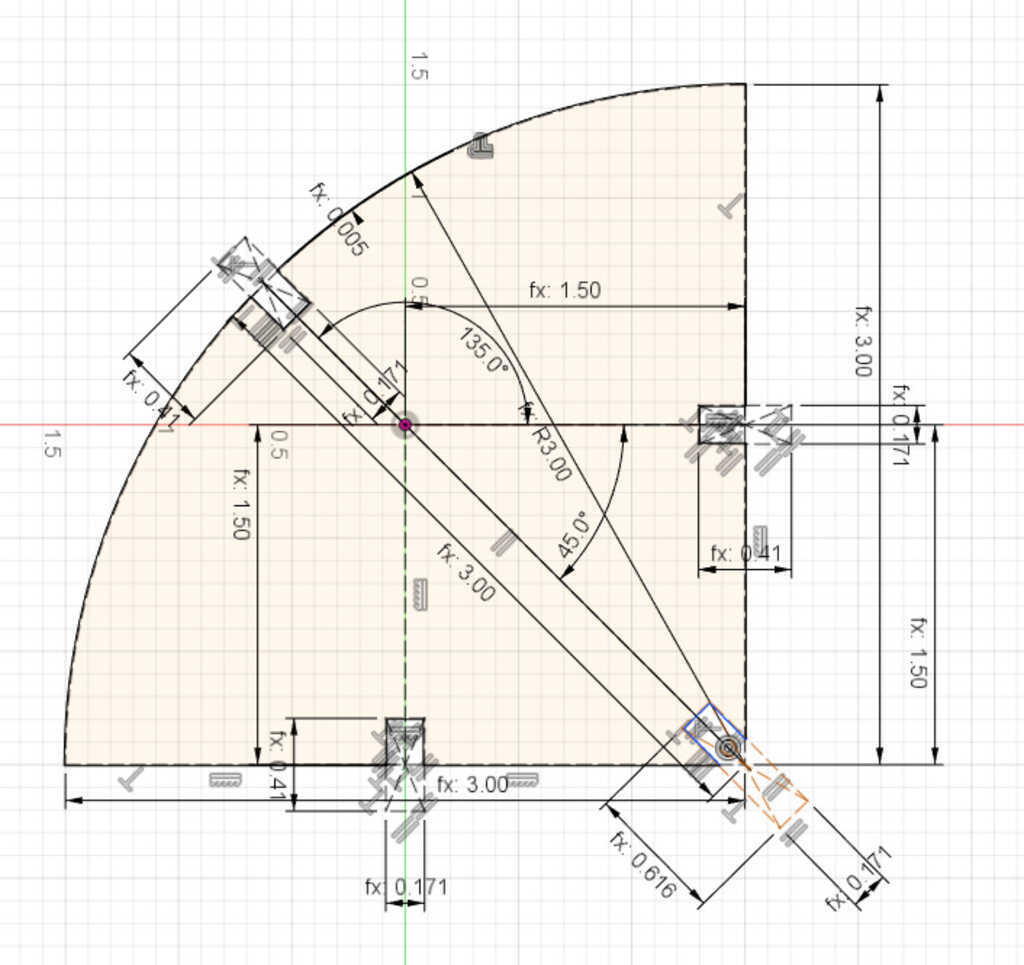
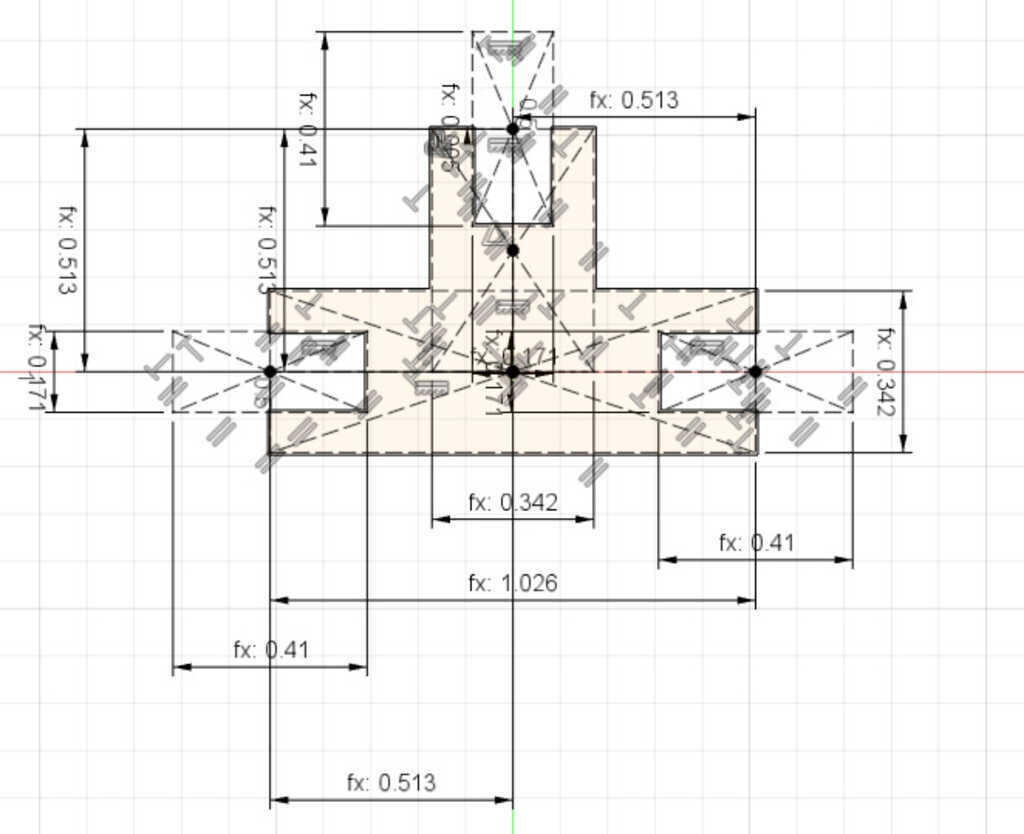
- Thickness: the thickness of the cardboard (measured: 0.171")
- Notch Depth: how deep the notch goes (calculated: thickness*1.2)
- Radius: a parameter to define the size of the shapes (arbitrary)
- Chamfer Size: the size of the chamfer on the notches (calculated: thickness/5)
- Kerf: the material that gets obliterated (researched: 0.005")
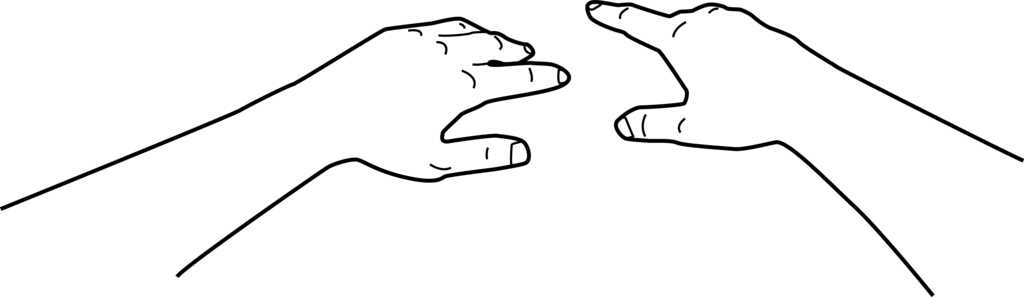
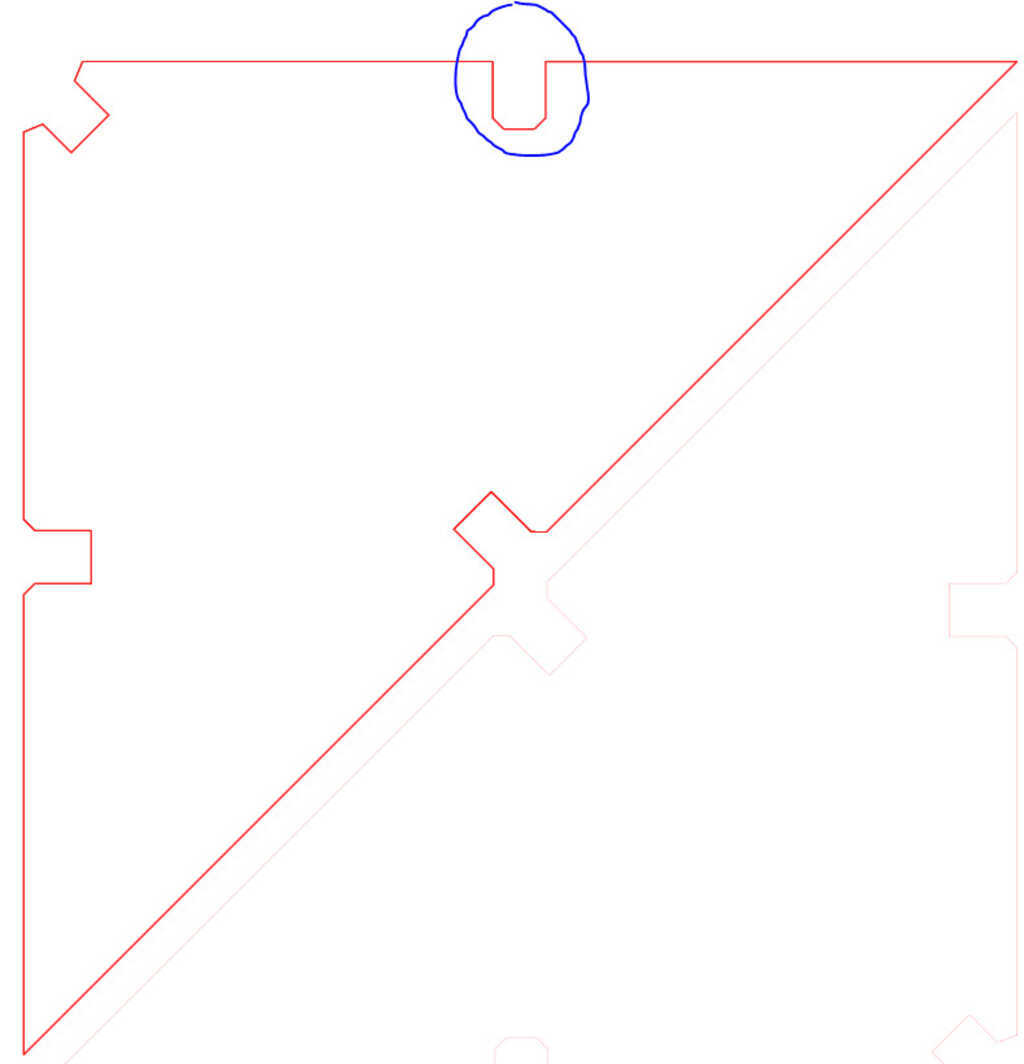
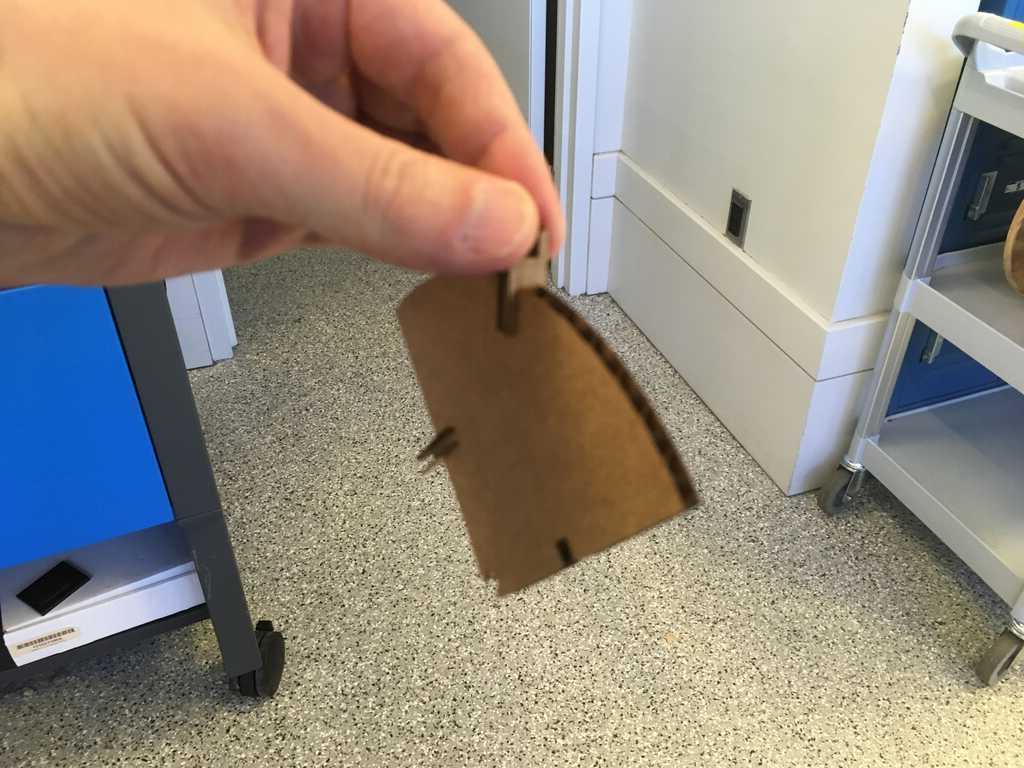
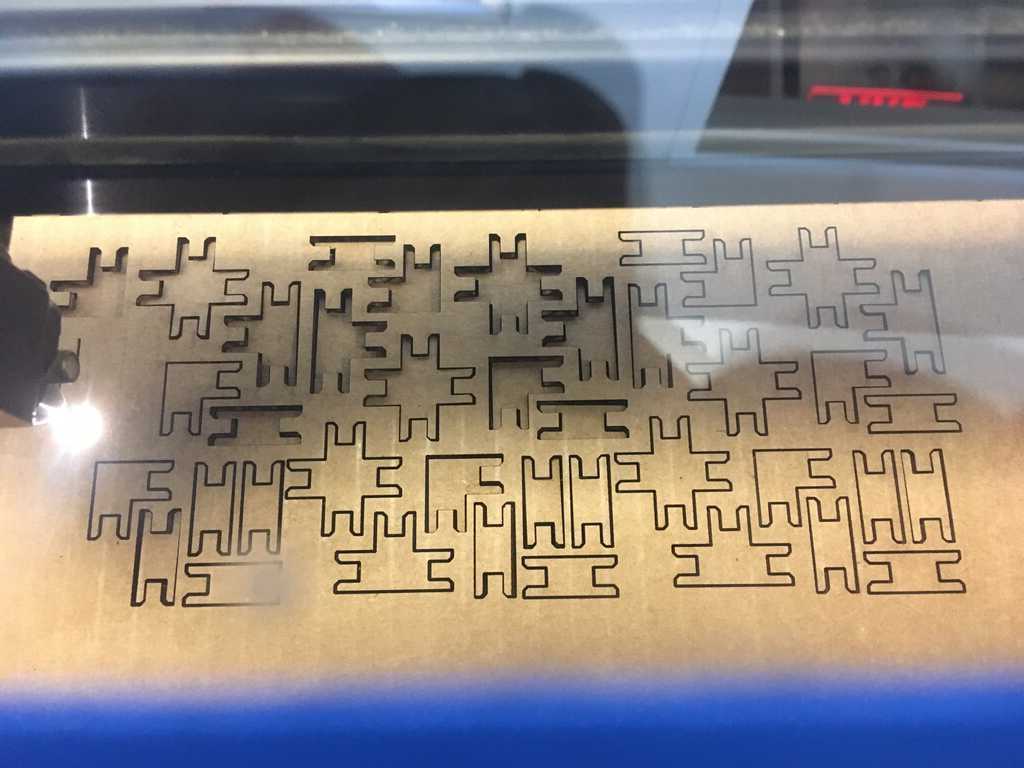
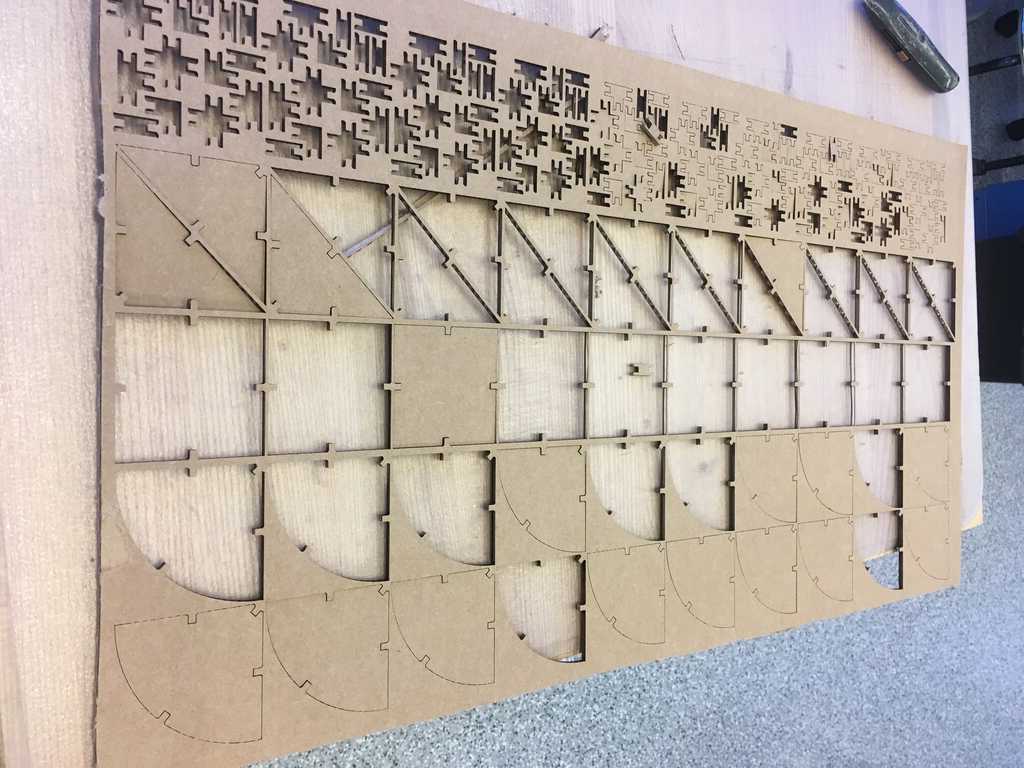
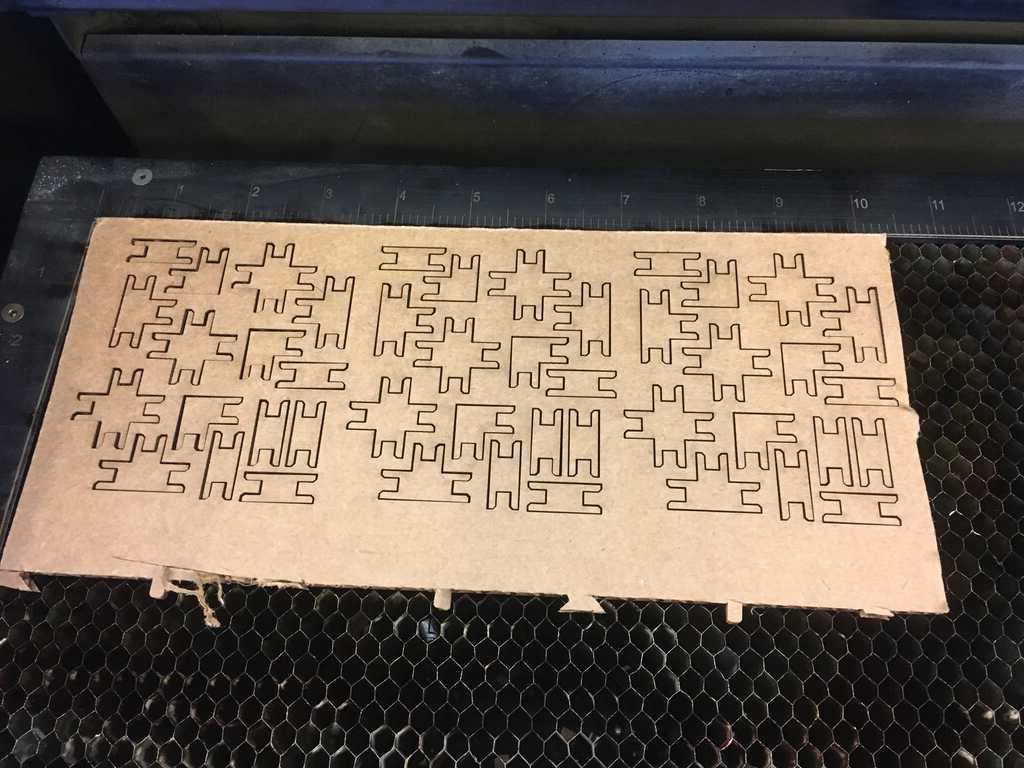
What I cut out:

More Kerf:
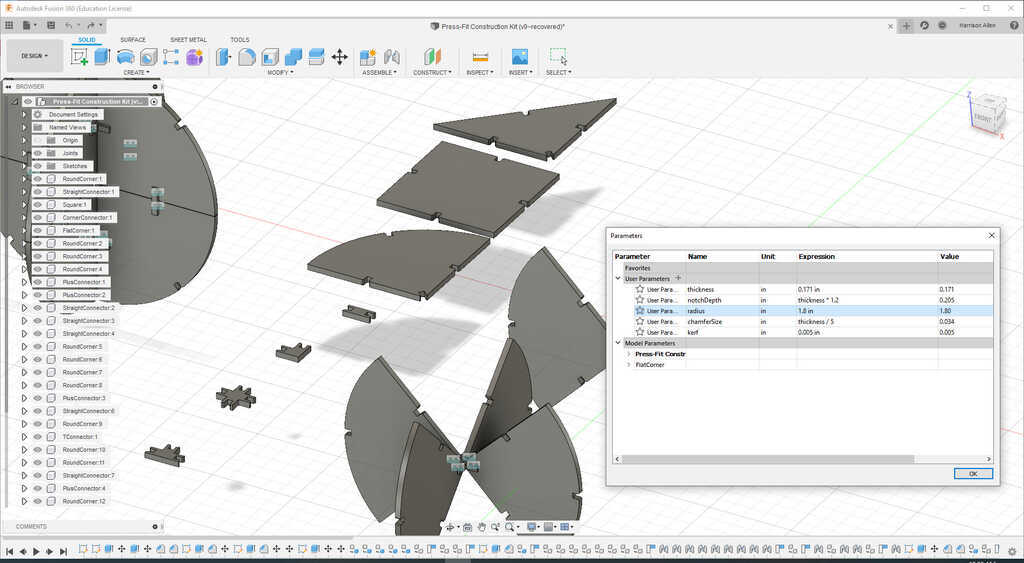
More Radius:
More Thickness:
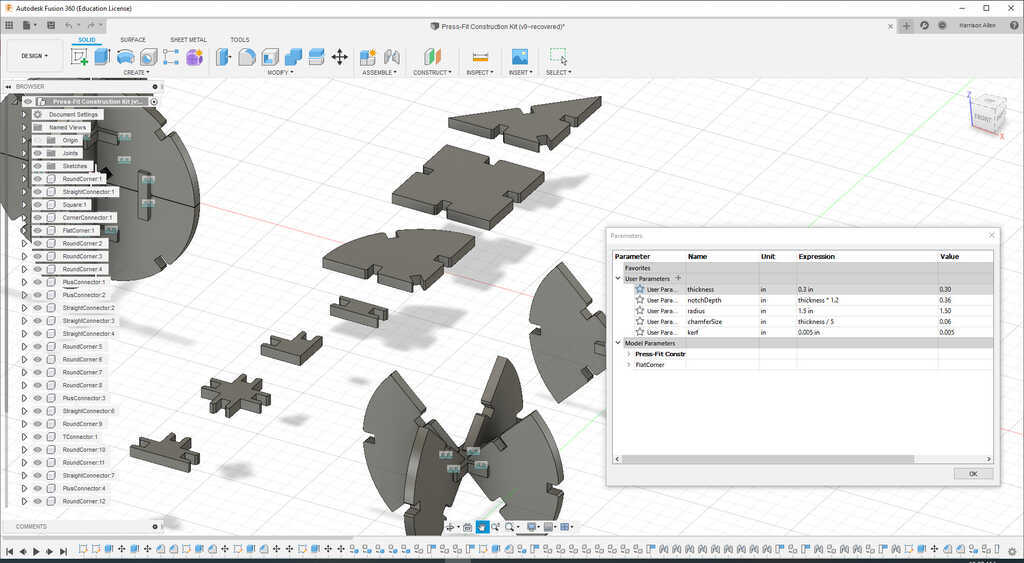
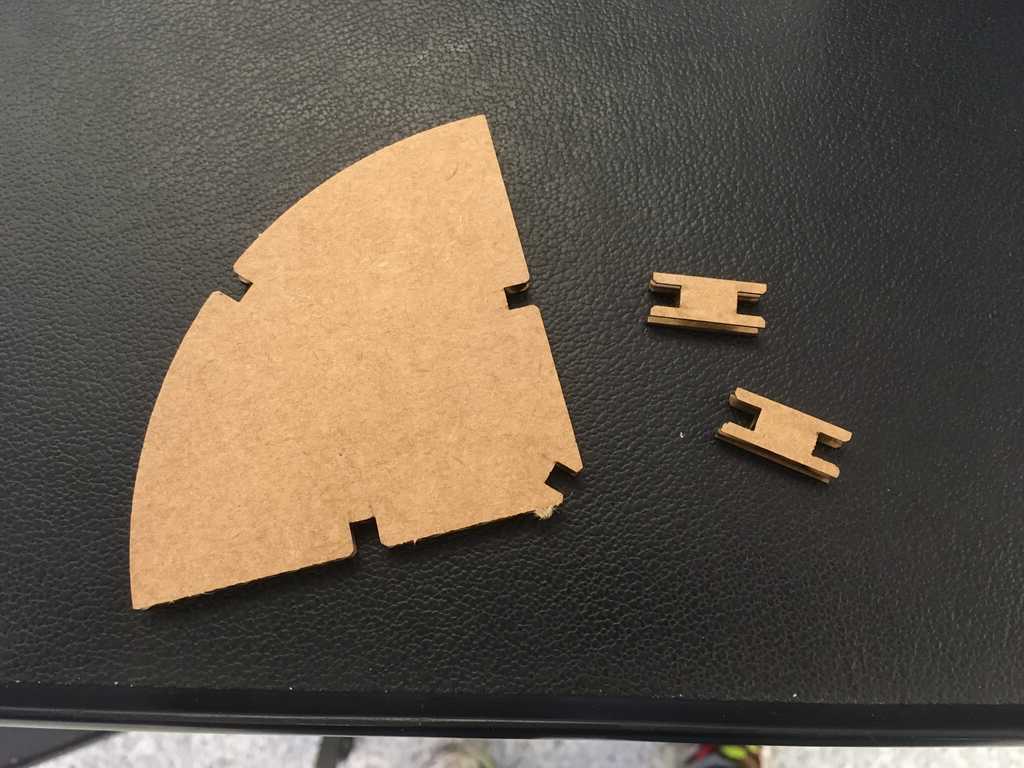
There are main pieces and connectors. Main pieces use all of the parameters. (Note: fx indicates a formula was used to calculate the value)
Connector pieces don't use the radius.
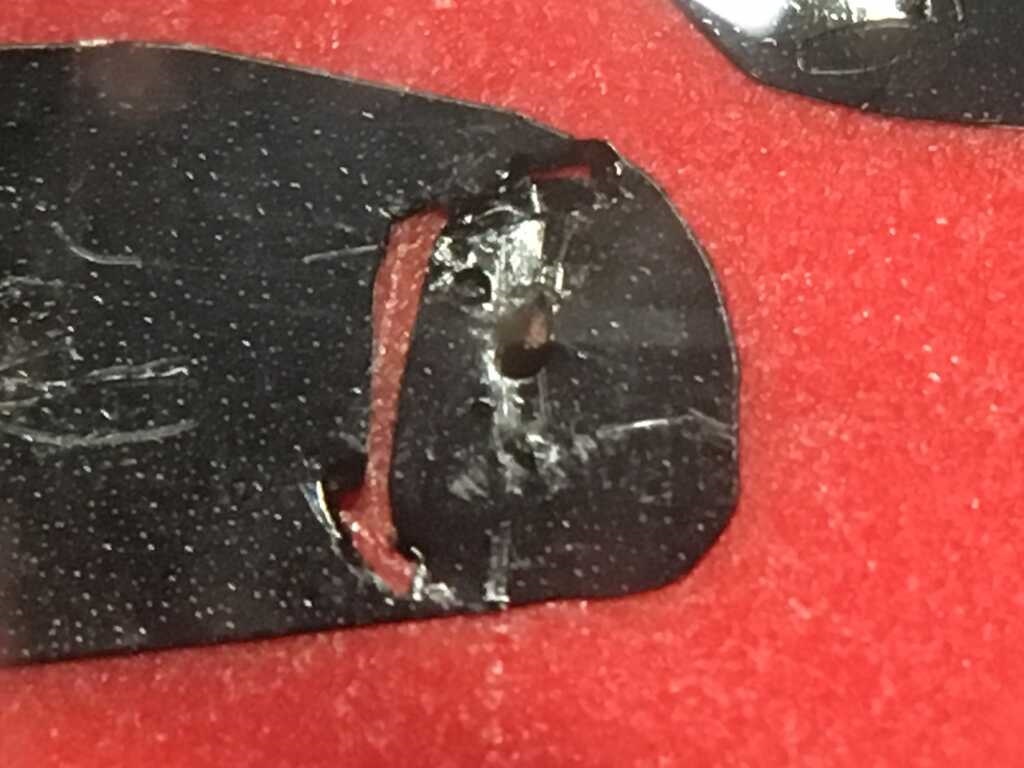
To print out the pieces, I needed to export a .dxf of each sketch, and send it to another program. In my case, I used Adobe Illustrator. Unfortunately, Fusion 360 only supports 3D chamfers, so I had to redo the chamfers in Illustrator. Will this be an issue later? We'll see!
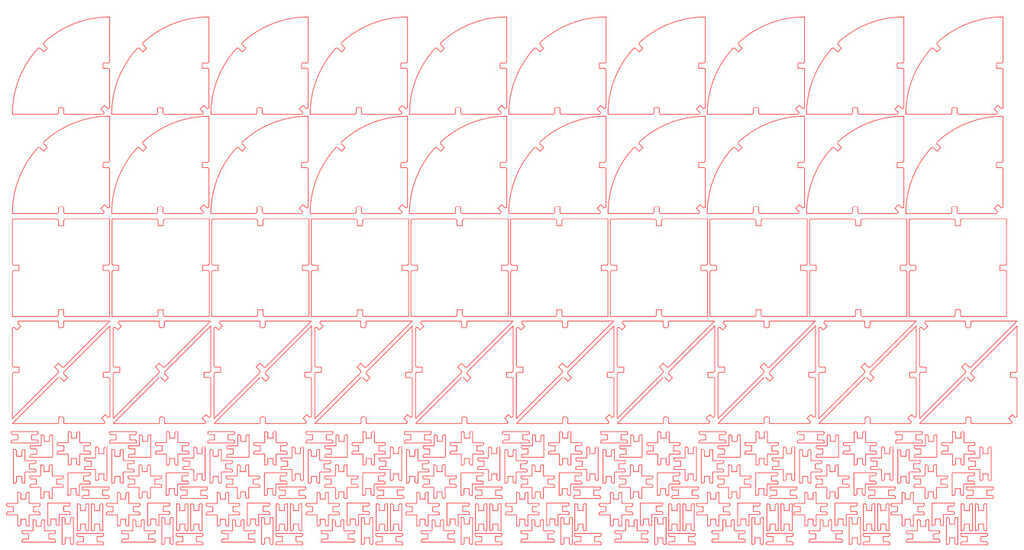
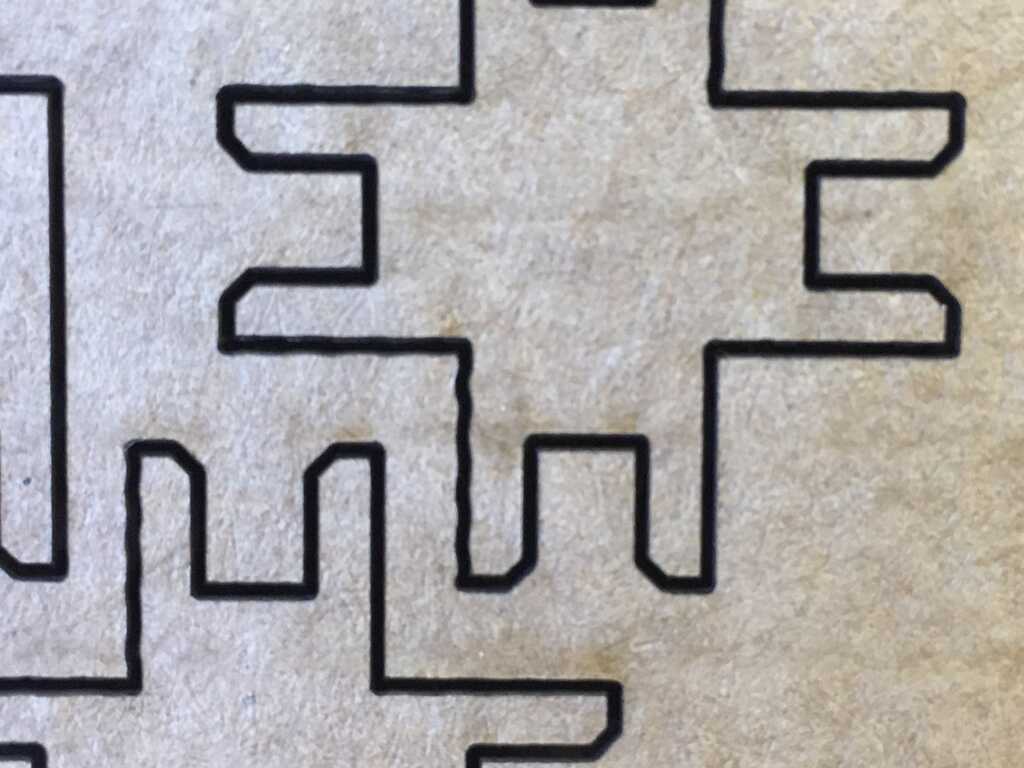
If you look closely, you can see that I put the chamfer on the inside of one of the notches, and it propagated to all of the other copies. I didn't notice until after I had cut everything out!
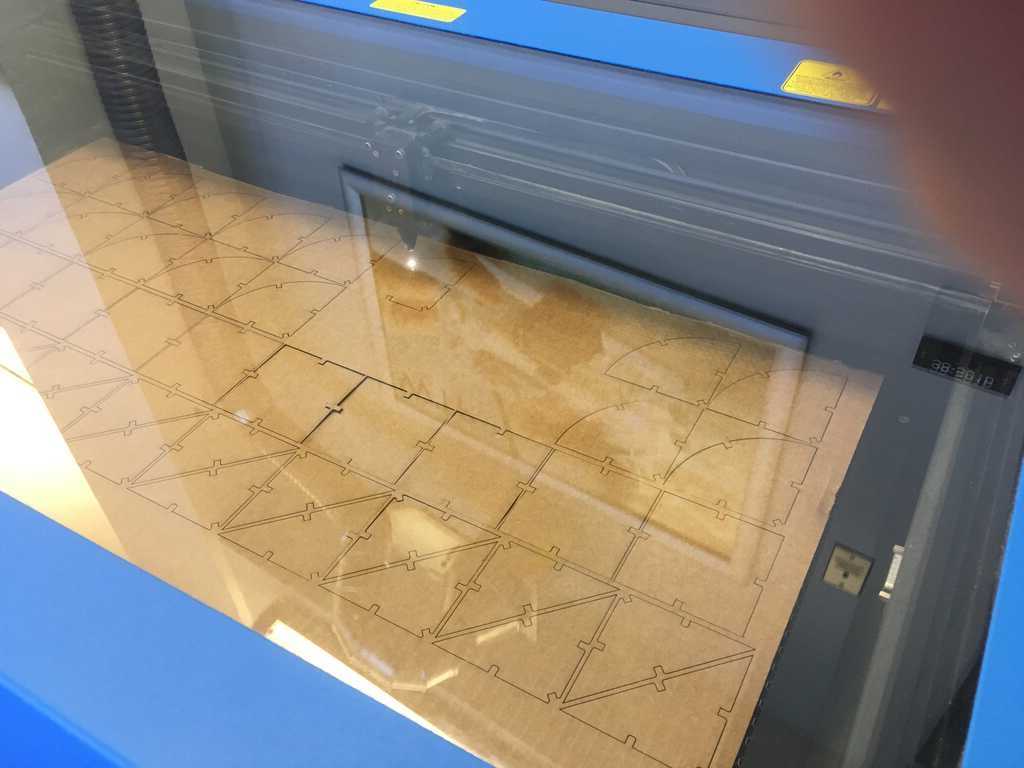
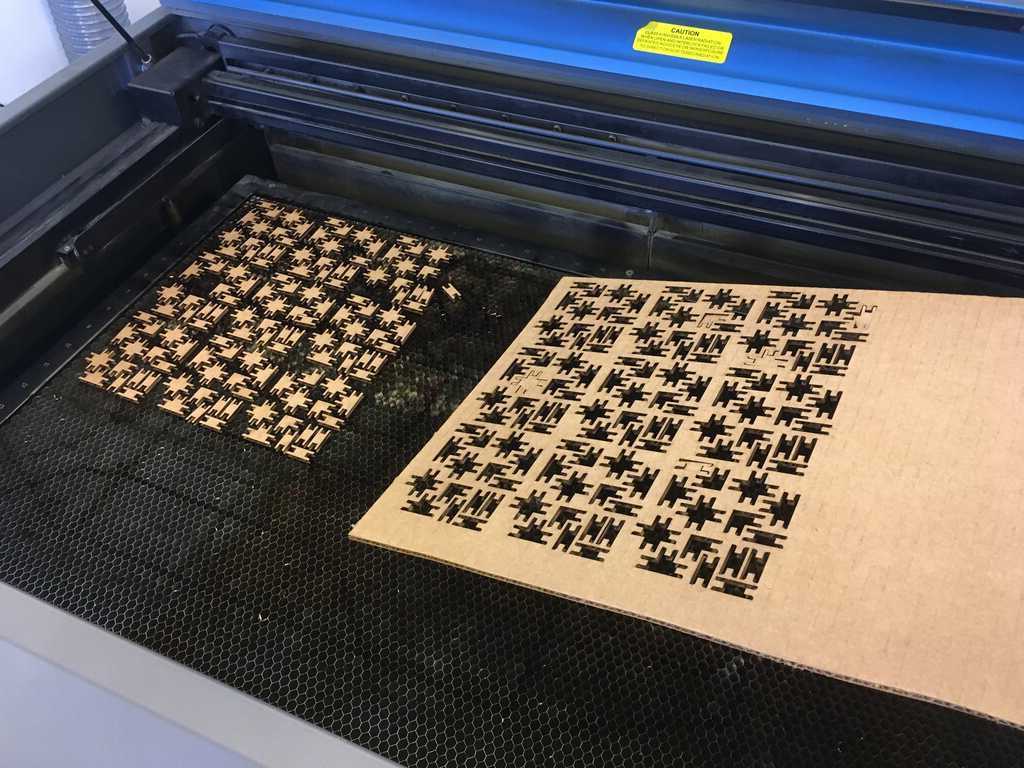
Cutting it all out
The first thing I ran into an issue with was getting the file from my computer to the laser cutter computer. I first started with an svg, but the scaling wasn't preserved properly. Fortunately, I discovered that you can save it as a pdf. Problem solved!
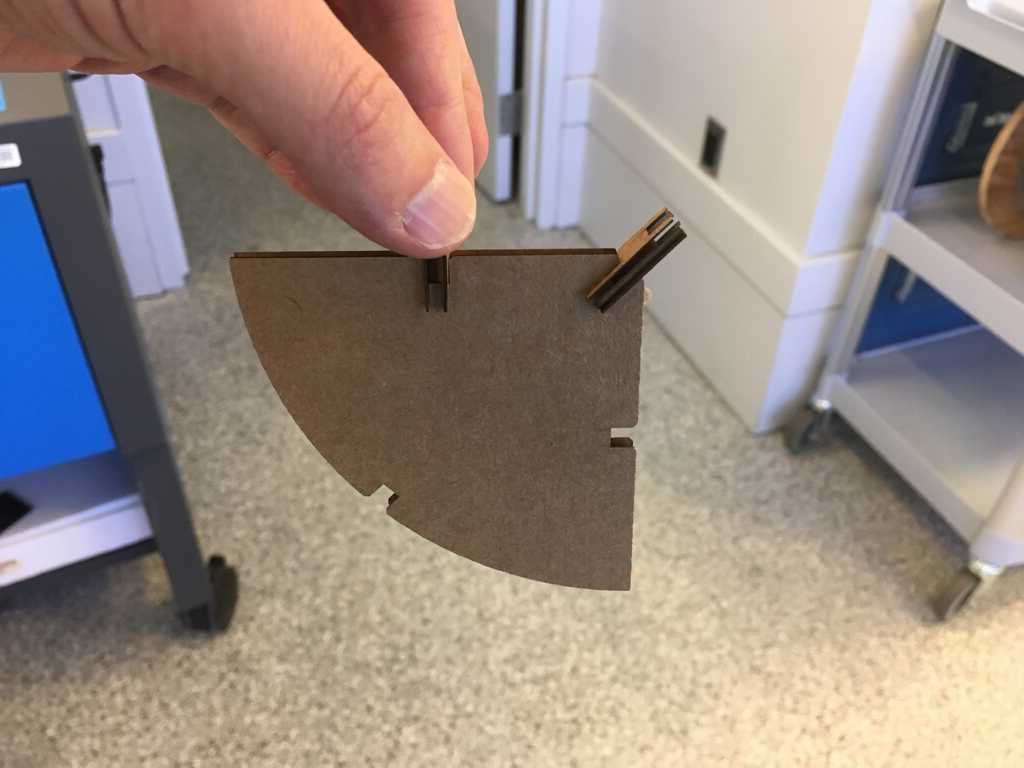
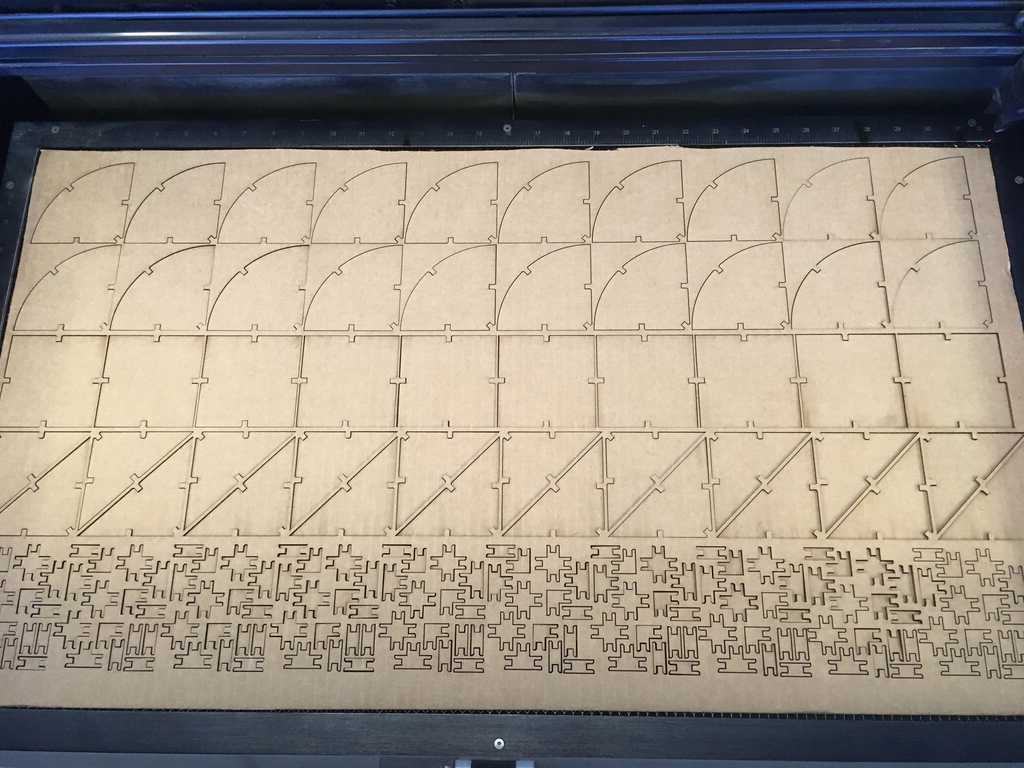
The test run I did was a success. The fit was perfect, and it cut out just fine.
With the test complete, I decided to go ahead and get to the real deal!
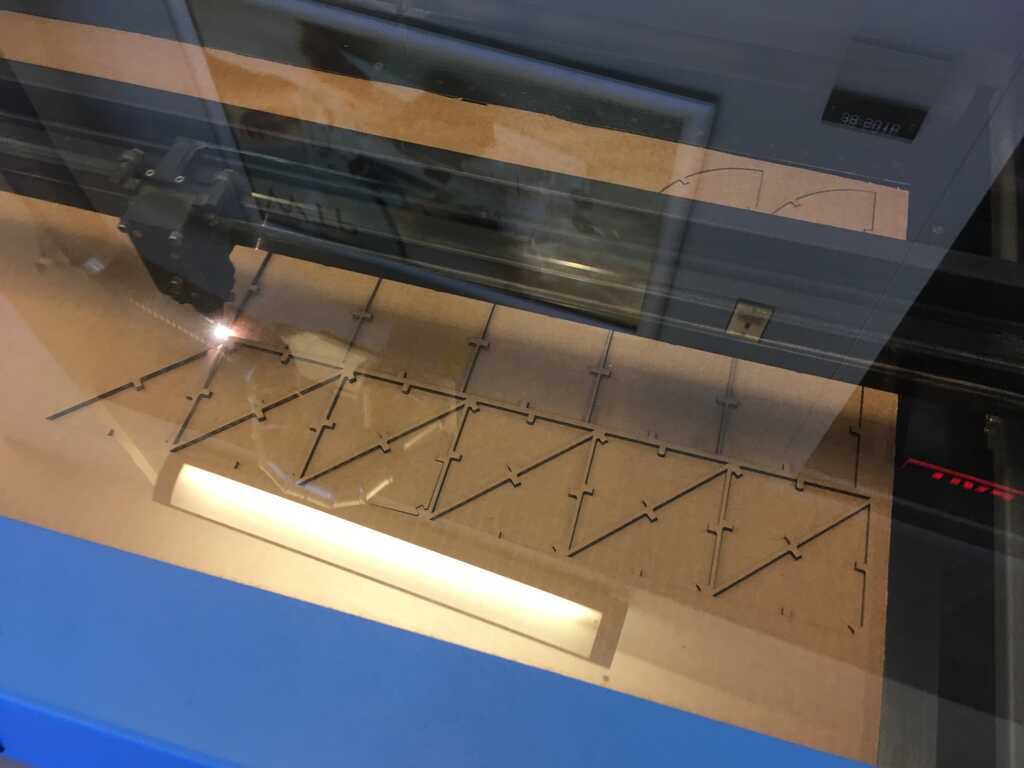
Oh no. The laser cutter stopped working partway through. It turns out the usb cable didn't have enough slack and kept coming slightly unplugged from the computer.
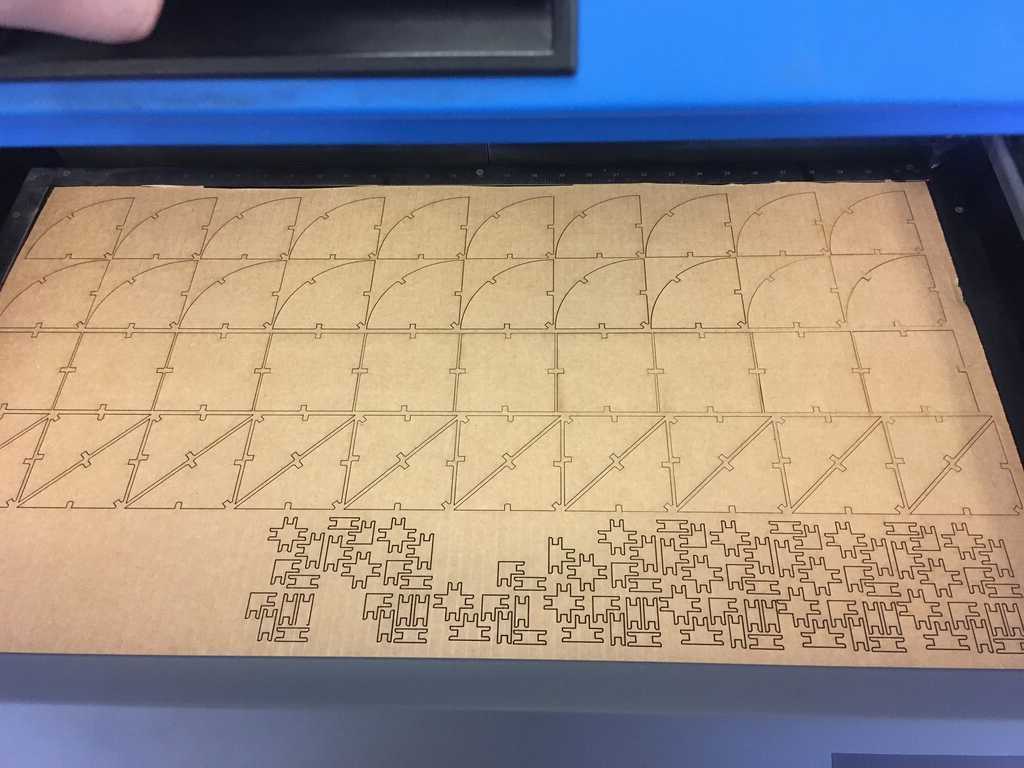
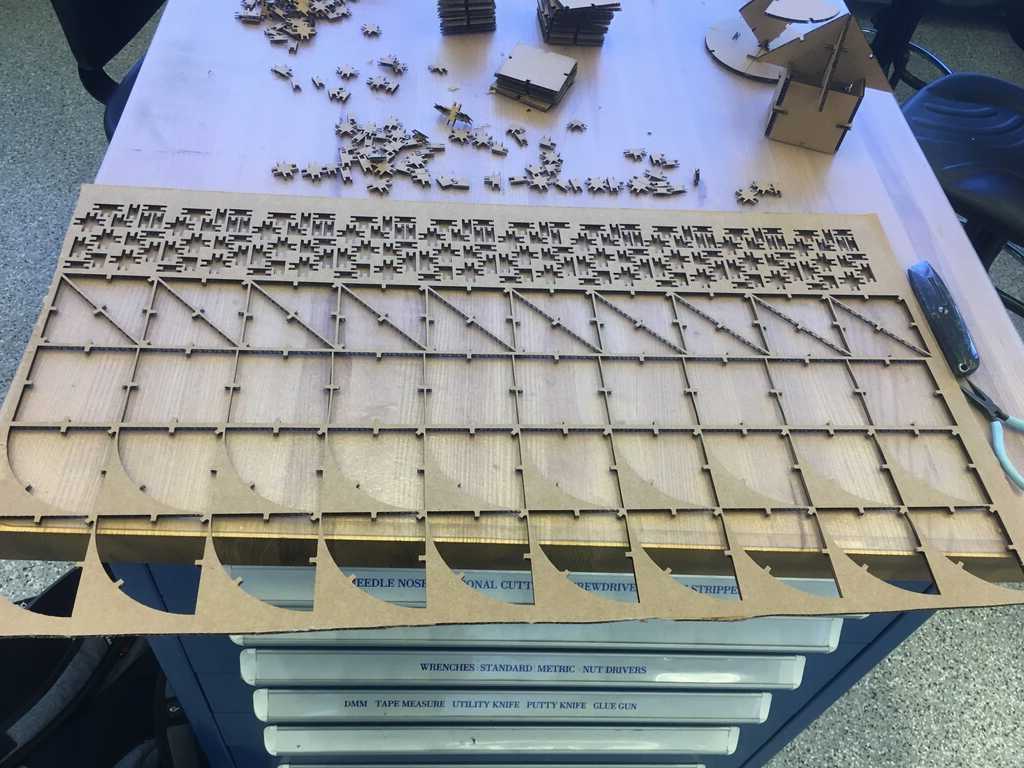
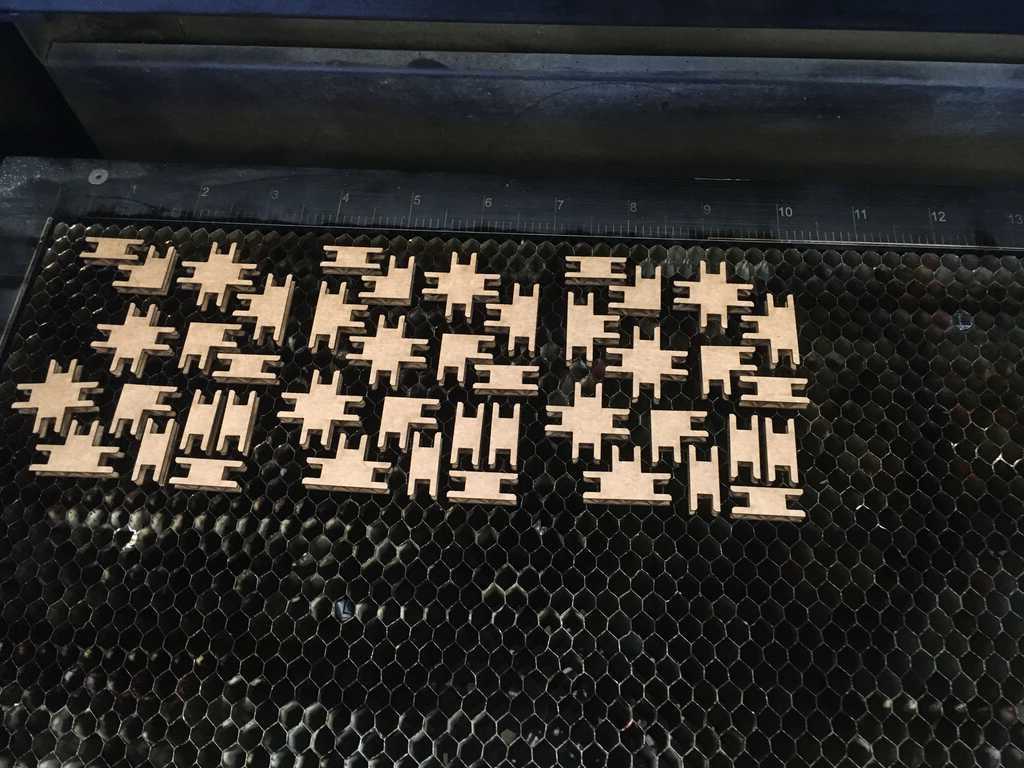
It didn't cut all the way through anyways, so I decided to just redo it. I dropped the speed from 13% to 10%. This was much more successful:
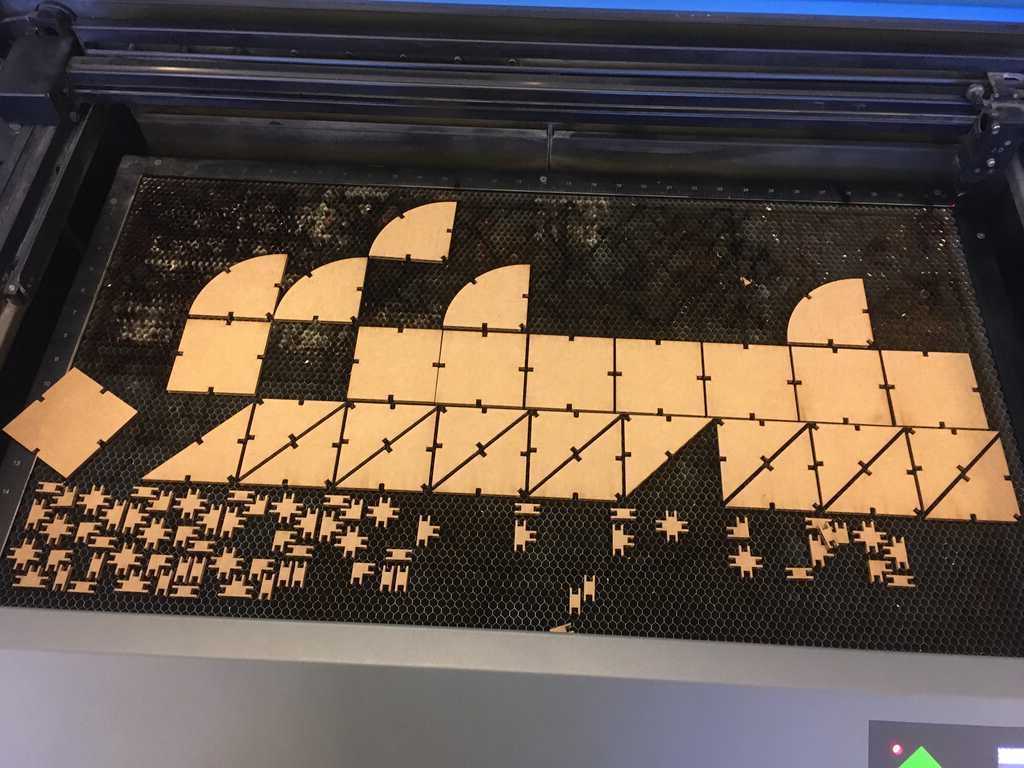
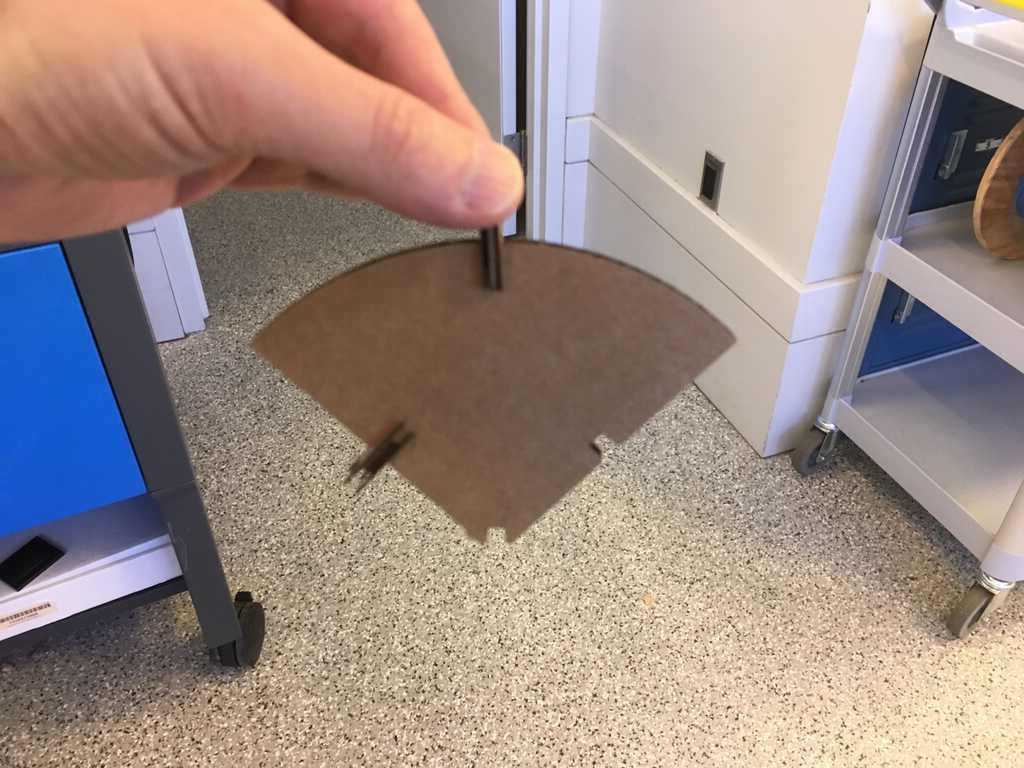
Oh yeah. That's what I'm talking about. The pieces came out pretty well, some needed a little nudging. Super satisfying.
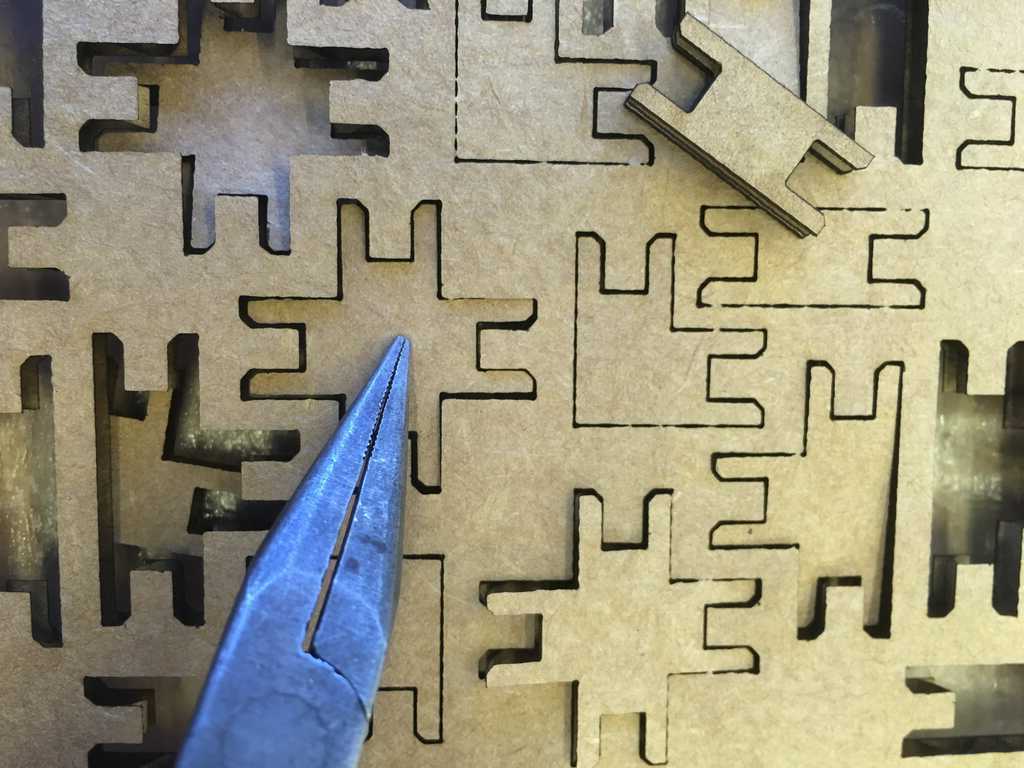
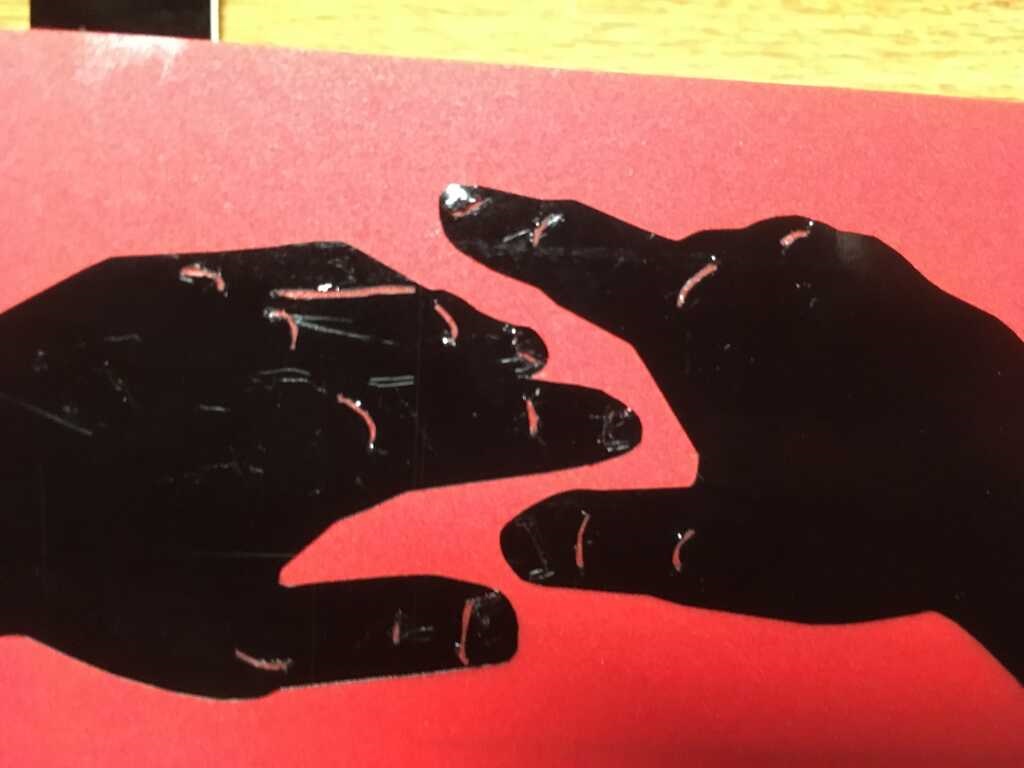
One weird artifact was some wavy lines. It turns out that the bowed cardboard combined with the vibrations of the laser cutter made it bounce up and down. It's really visible in slow motion, and once I figure out how to put a video here then it'll show it much better.
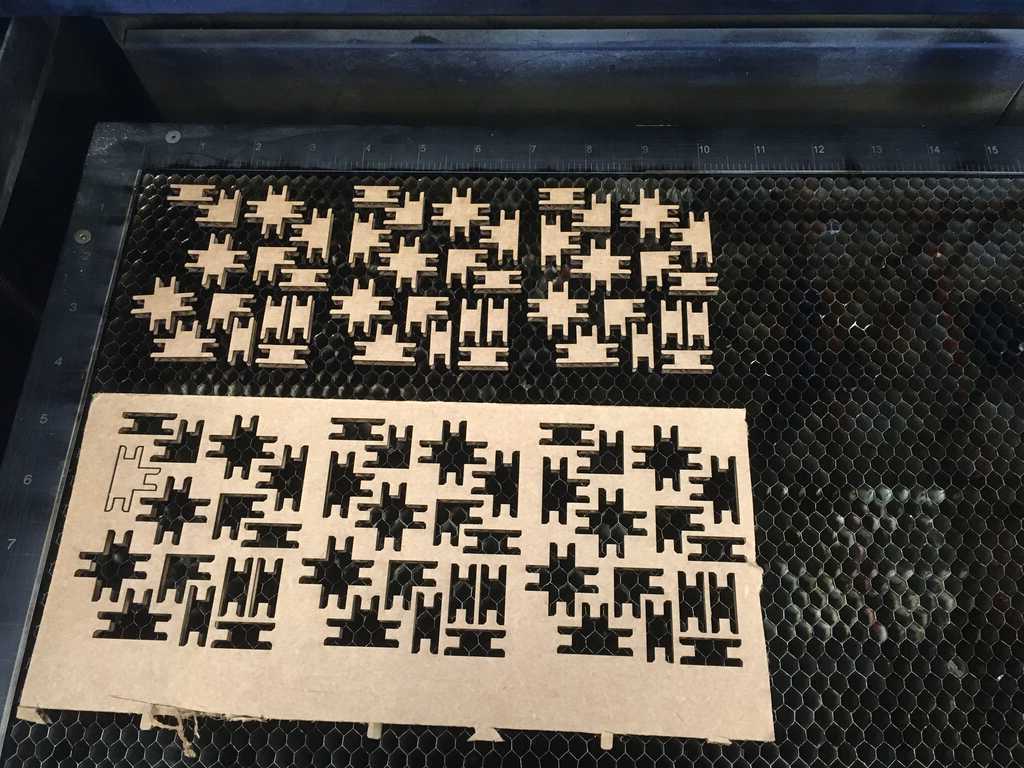
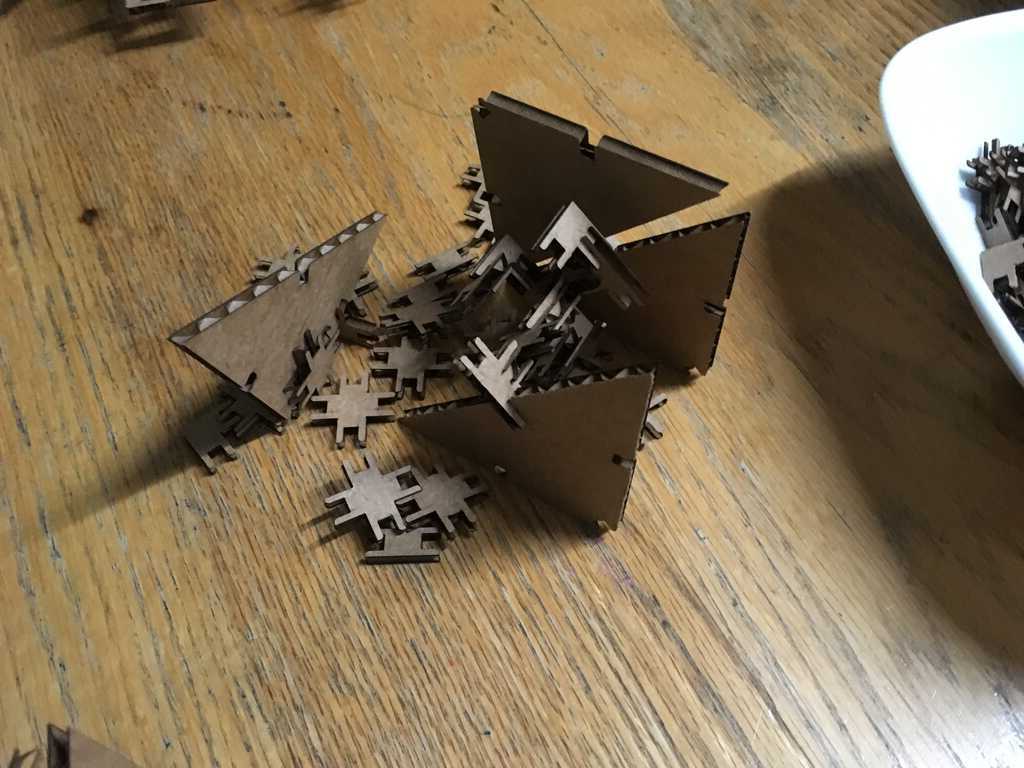
I didn't feel like I had enough joints, so using some extra scrap I had I cut out a ton more.
Playing
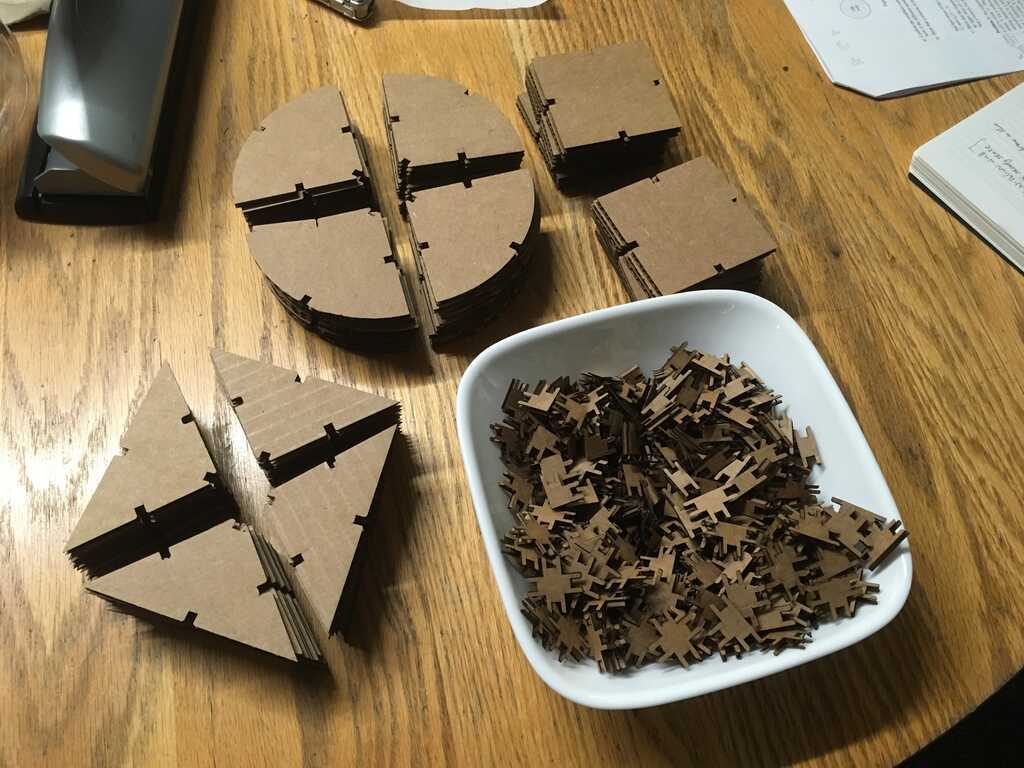
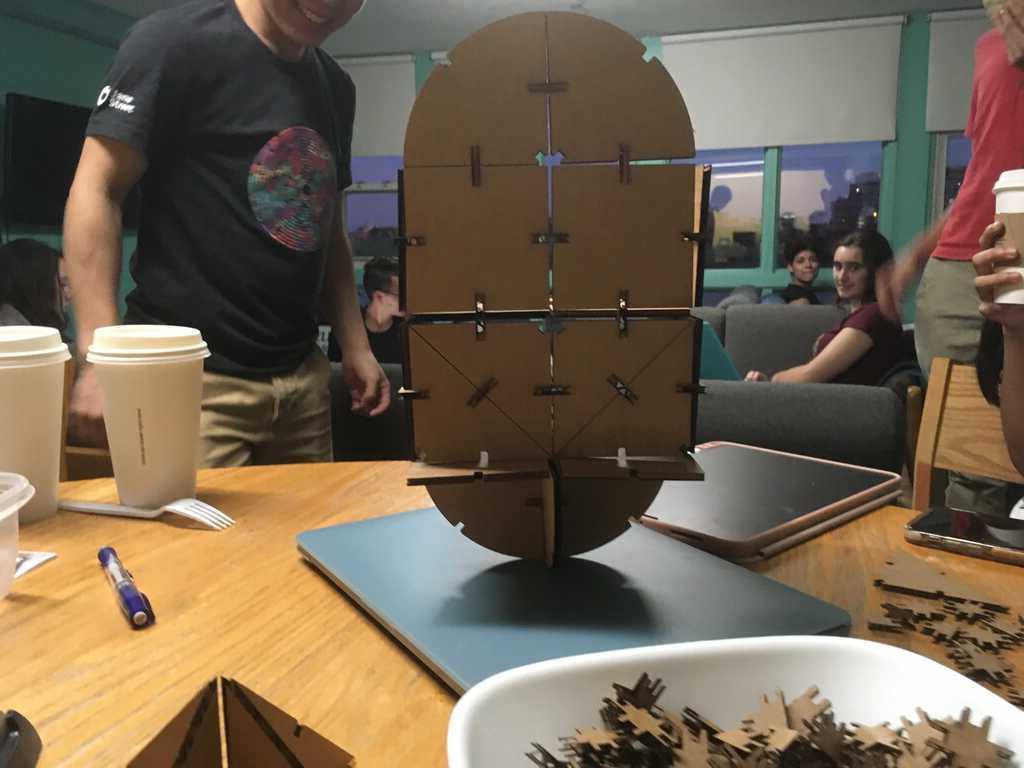
I decided that I didn't want to keep all the fun to myself, so I brought it out into my dorm's lounge and let people build whatever they liked!
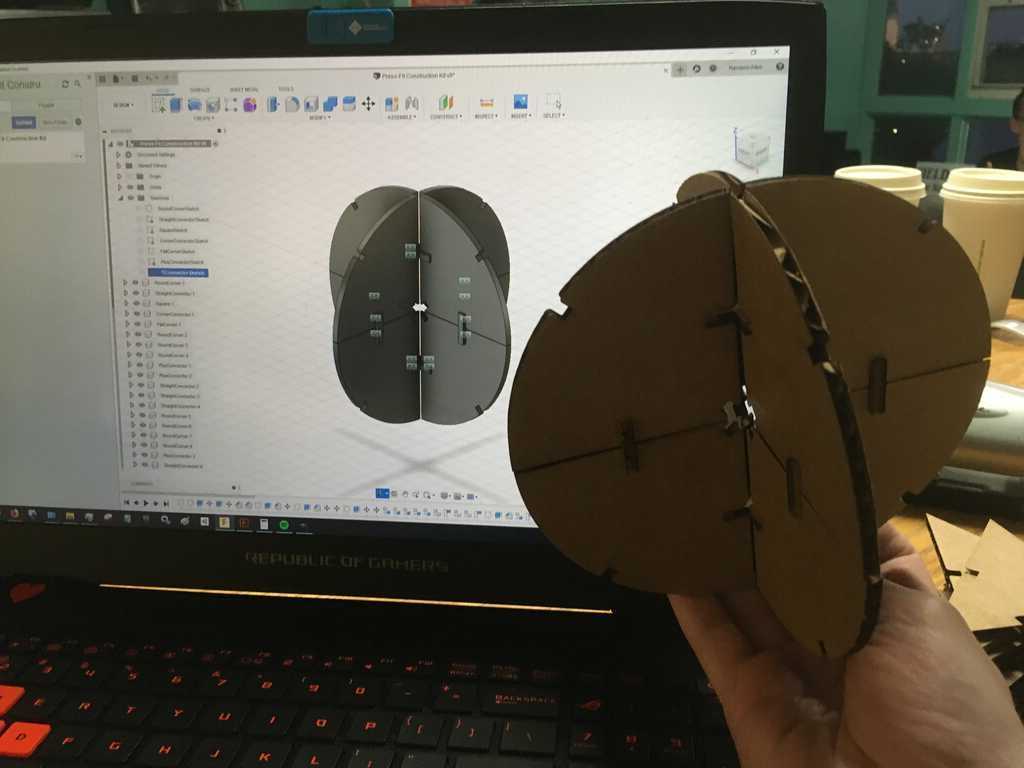
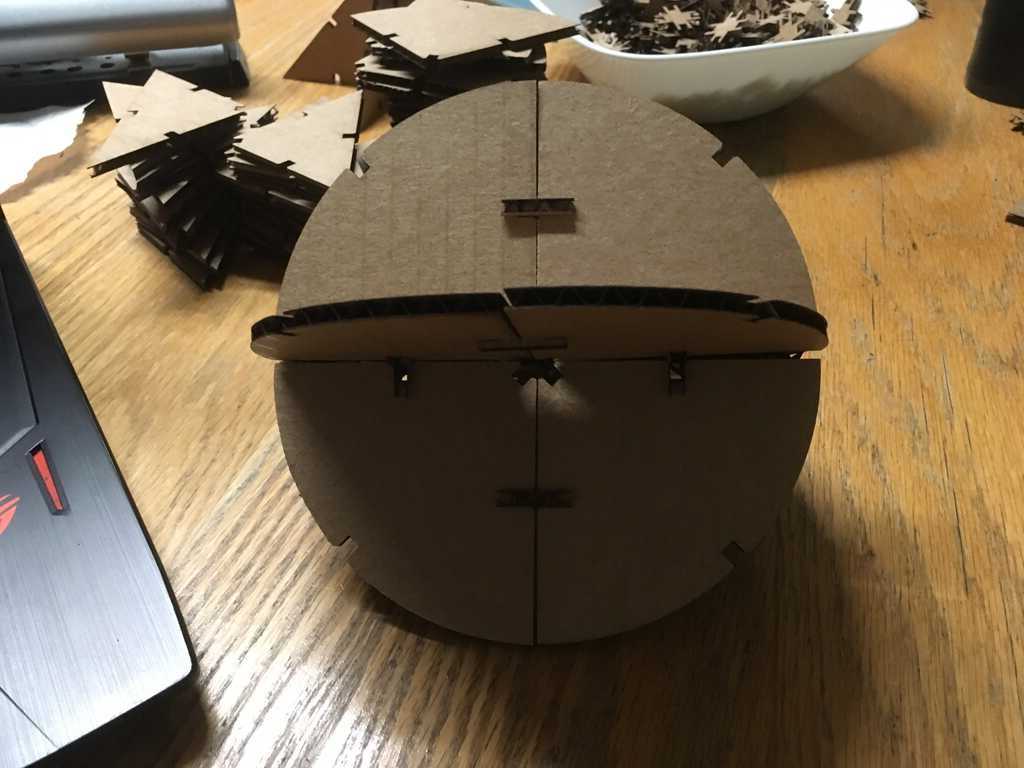
I recreated a sphere I had modelled:
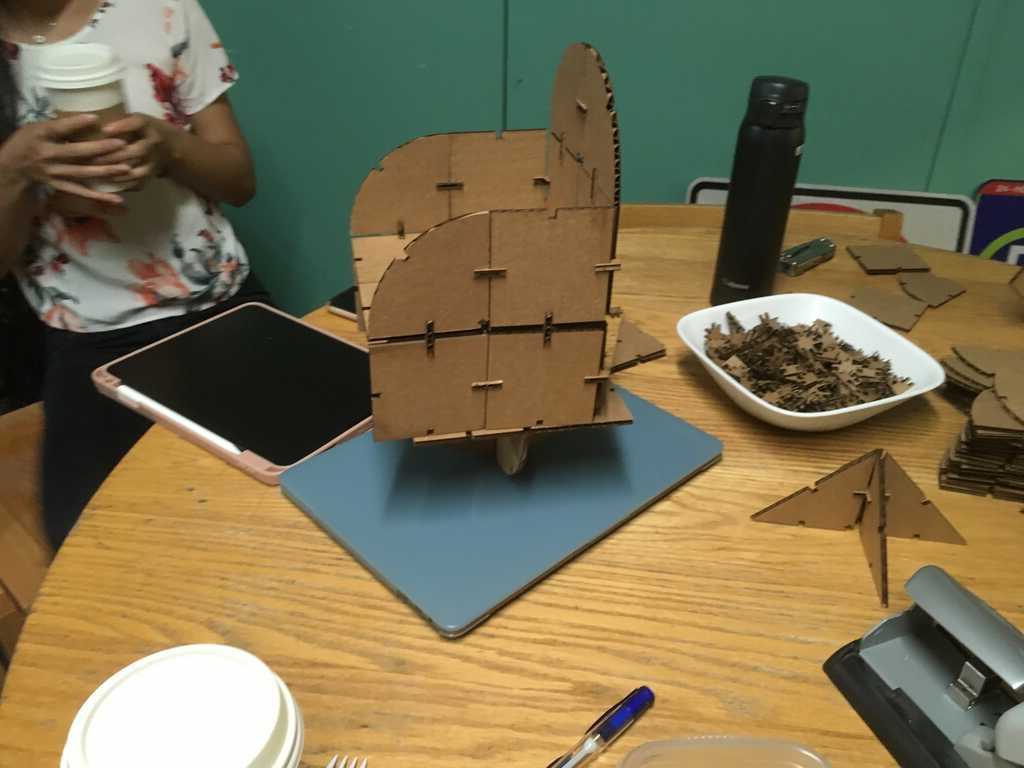
One of the first things that someone made was this couch balancing on someone else's hemisphere table:
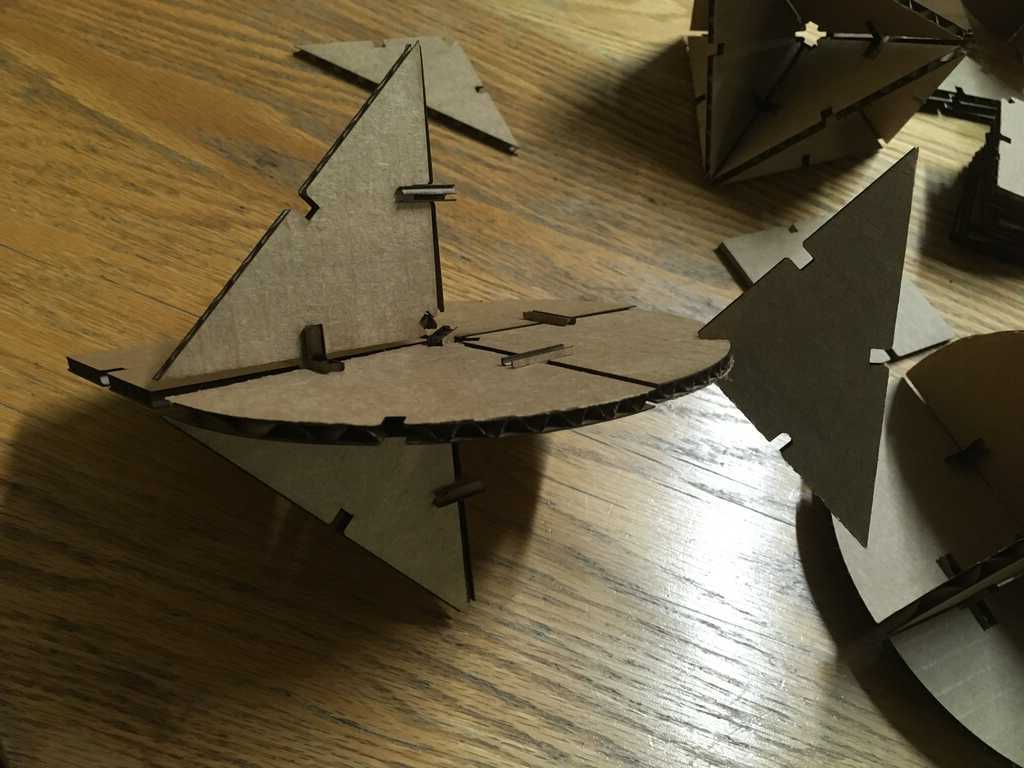
A fish:
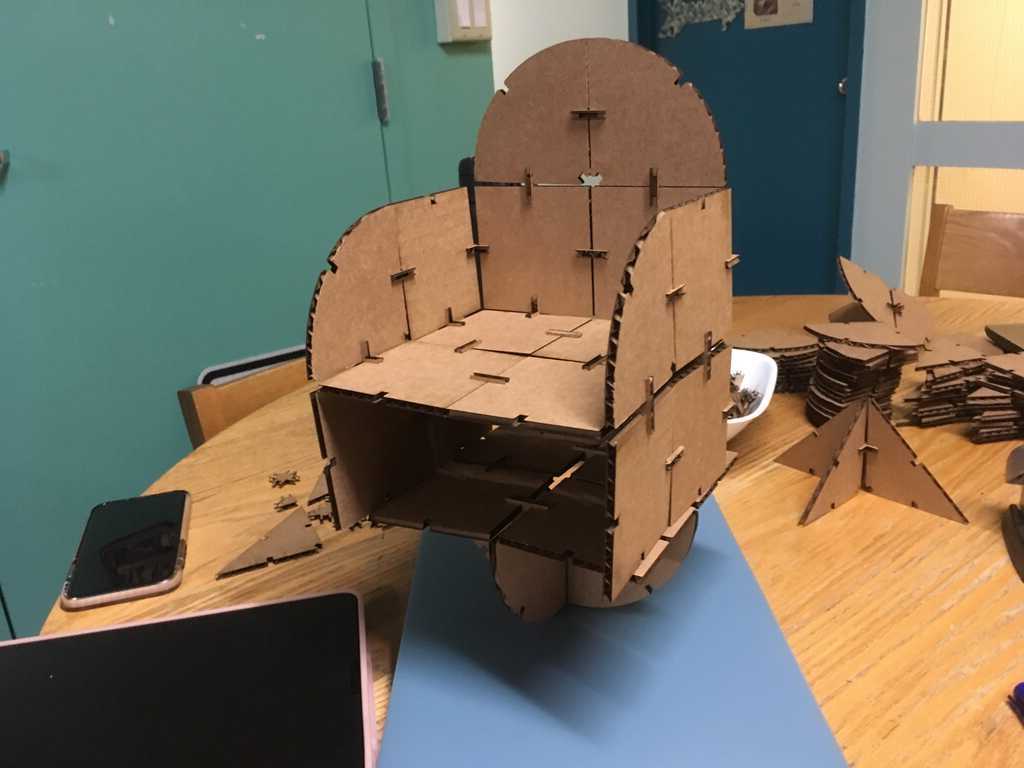
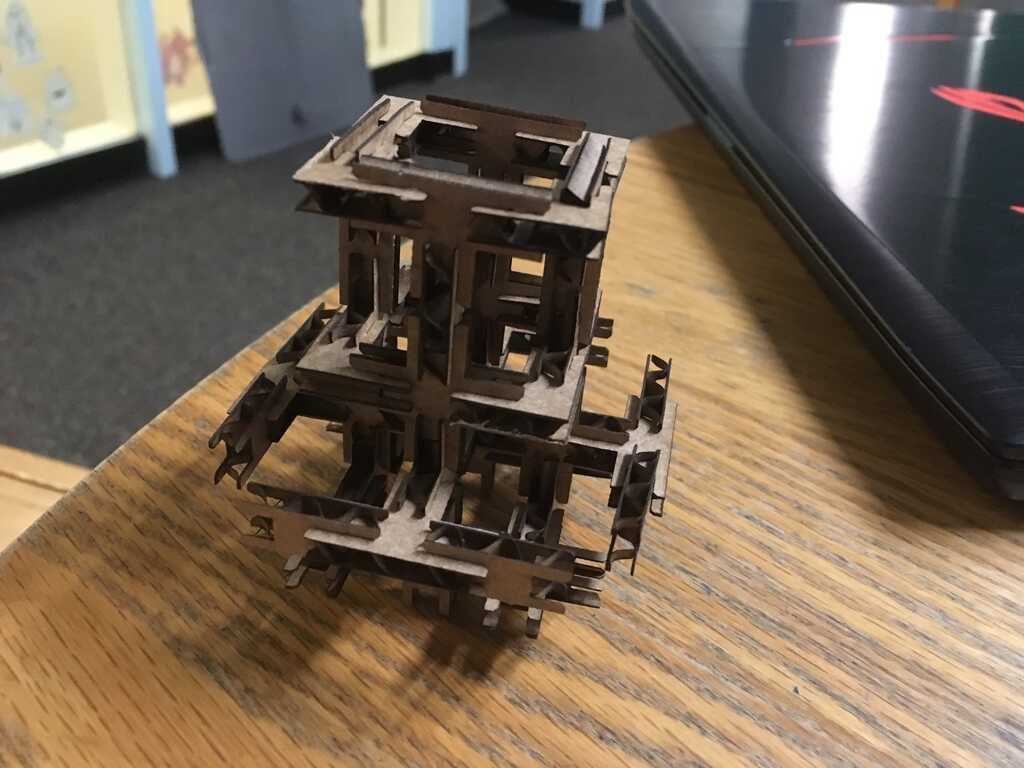
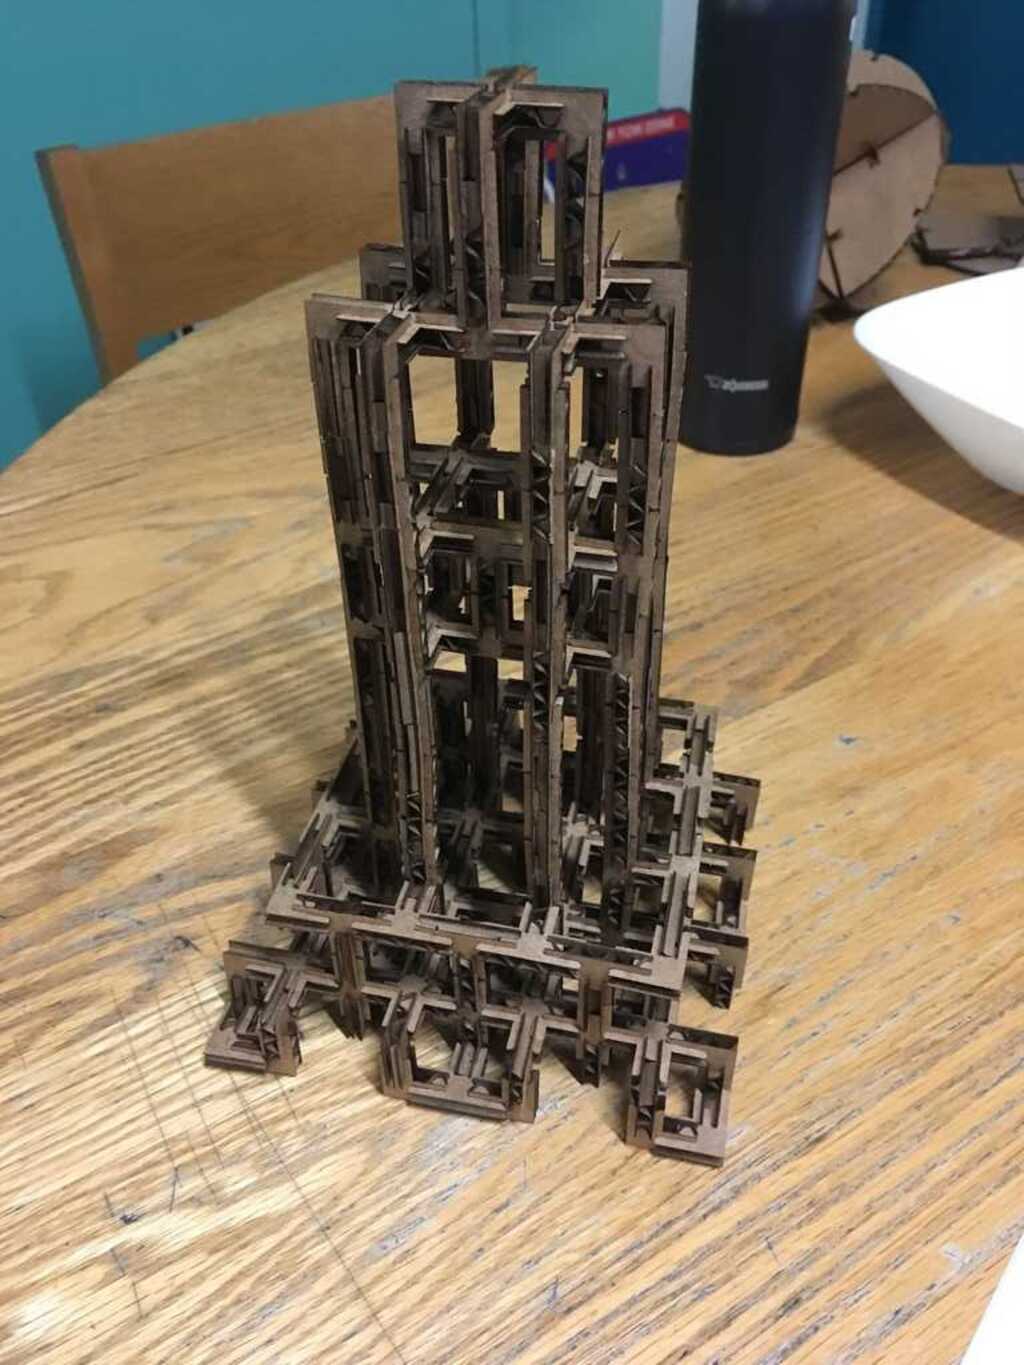
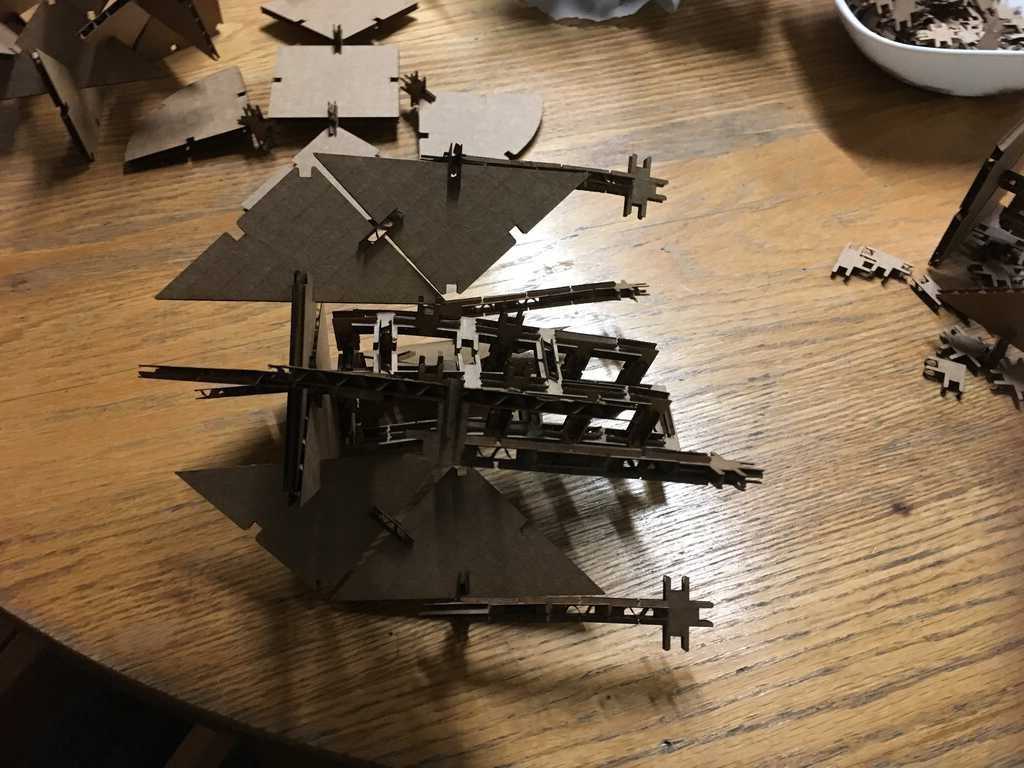
Someone built this interesting scaffolding, which is a technique I didn't know you could use:
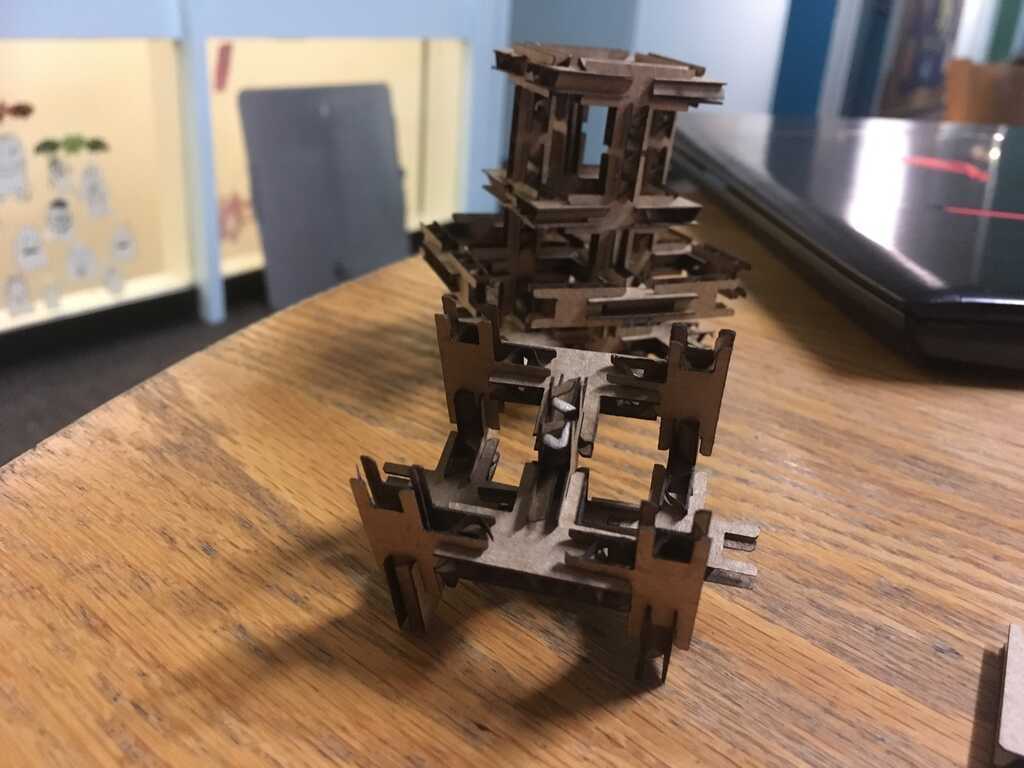
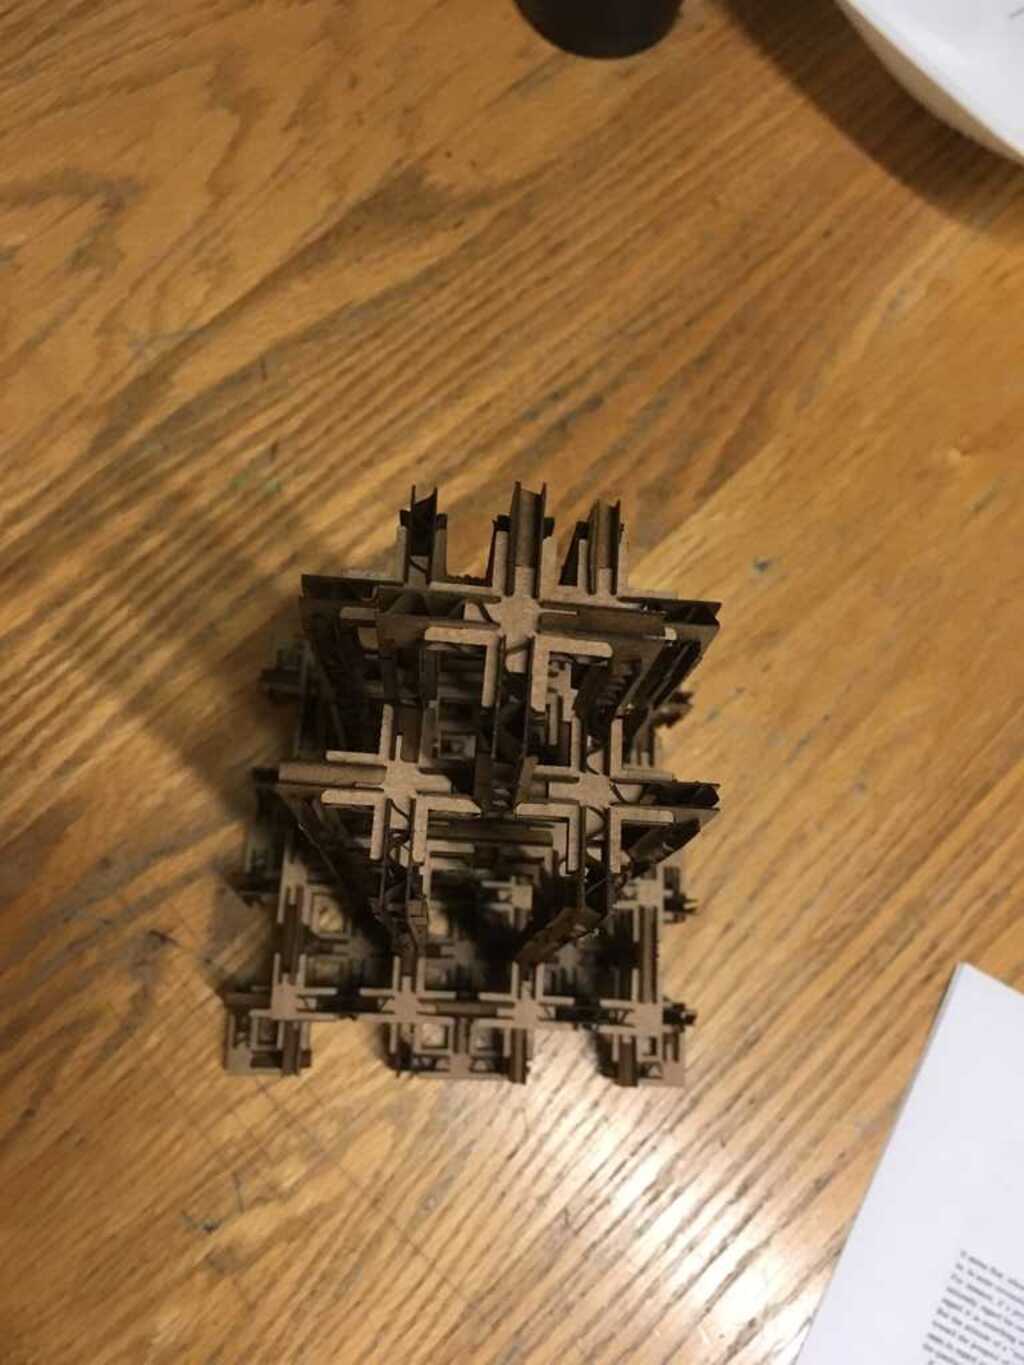
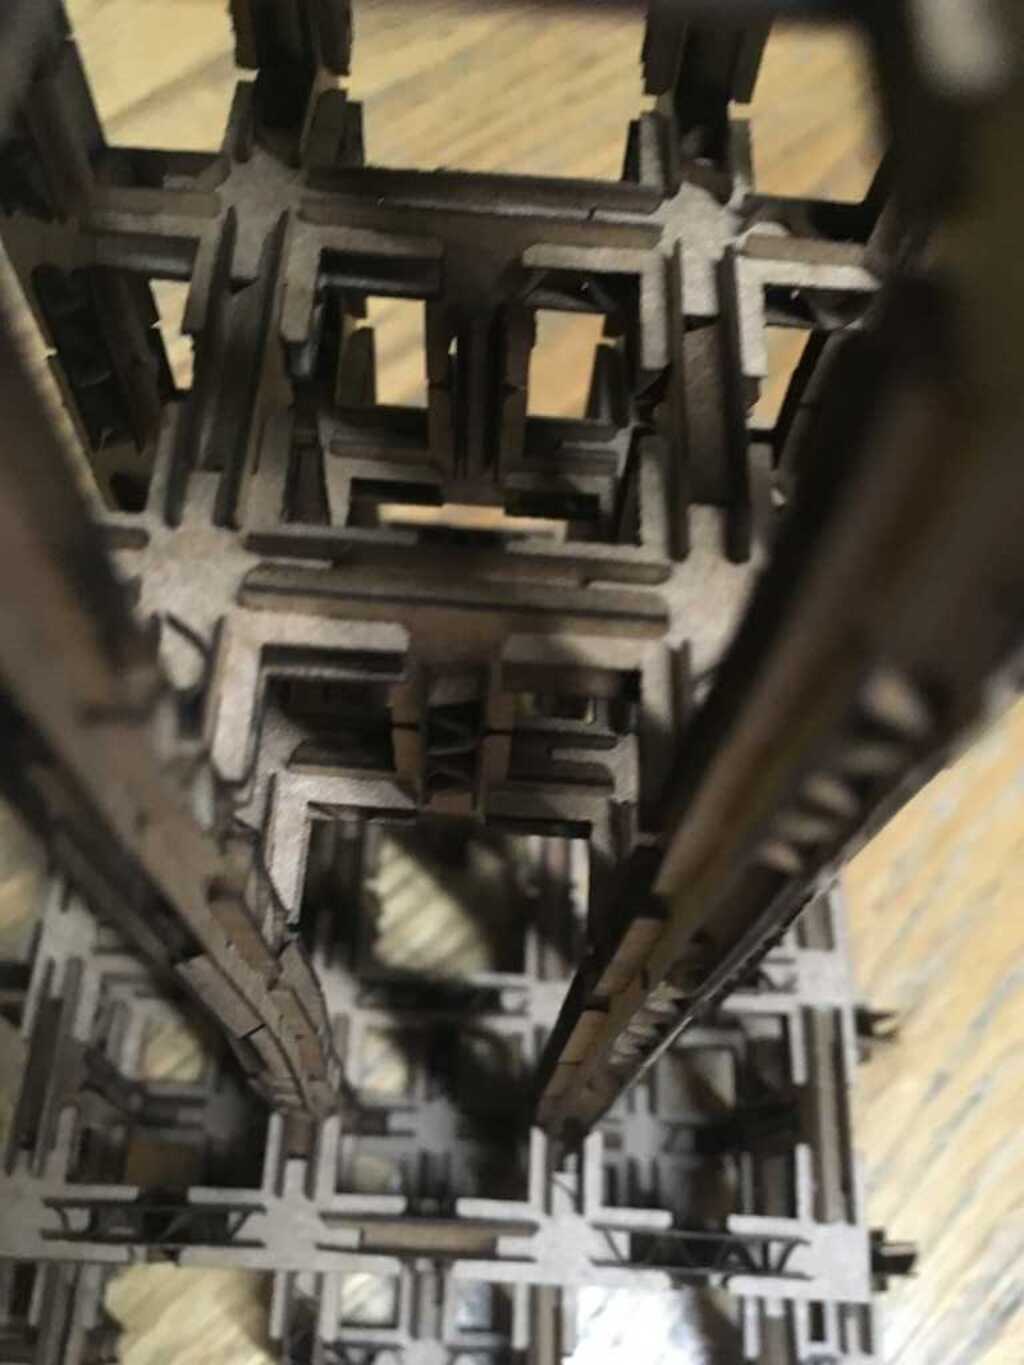
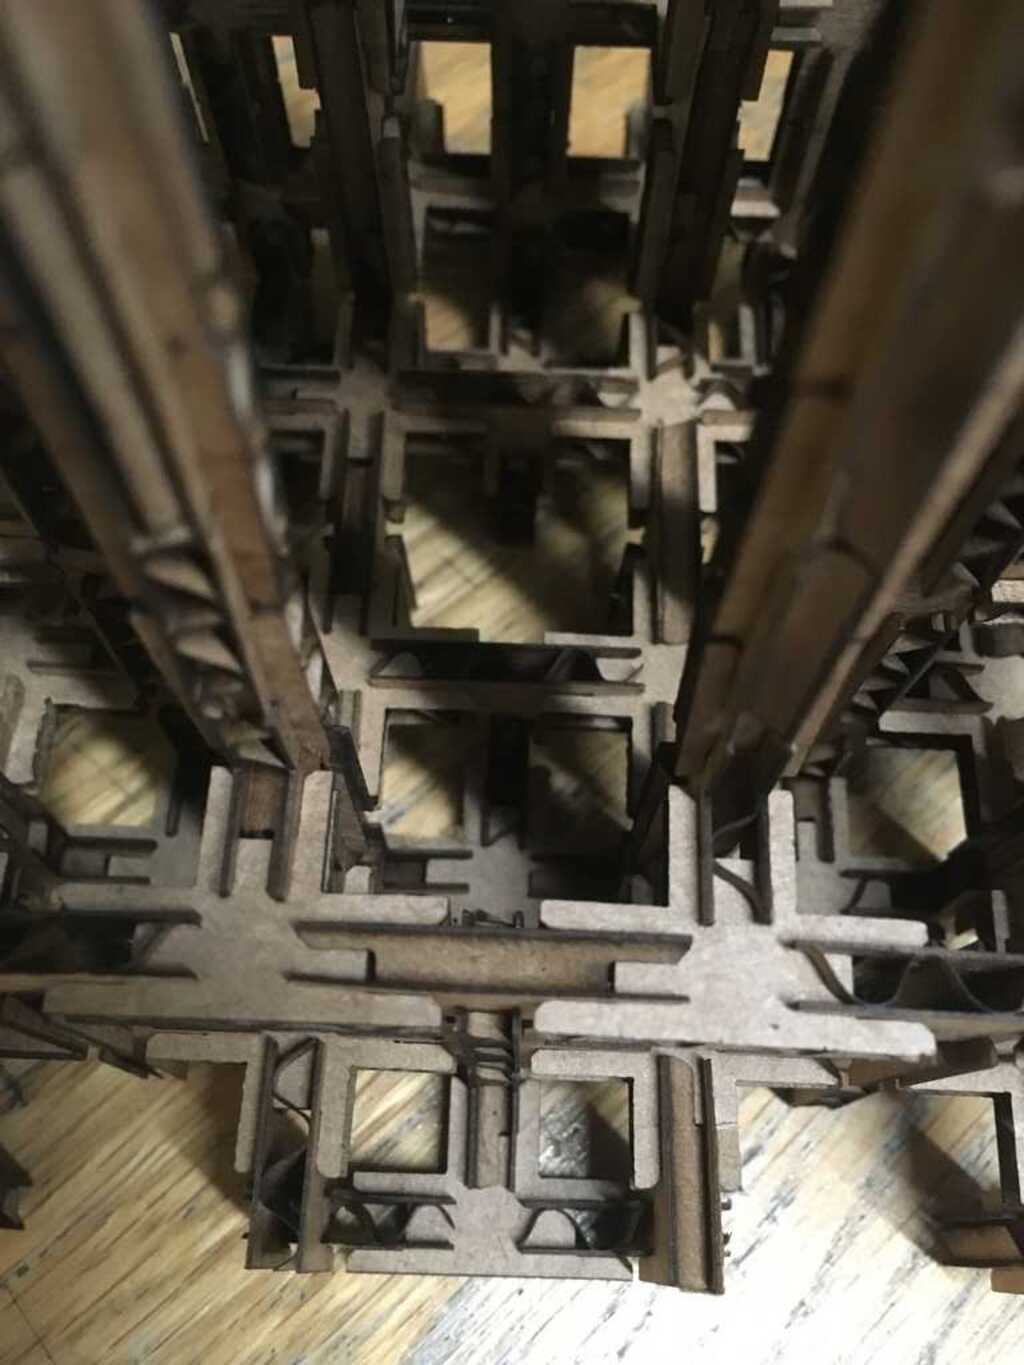
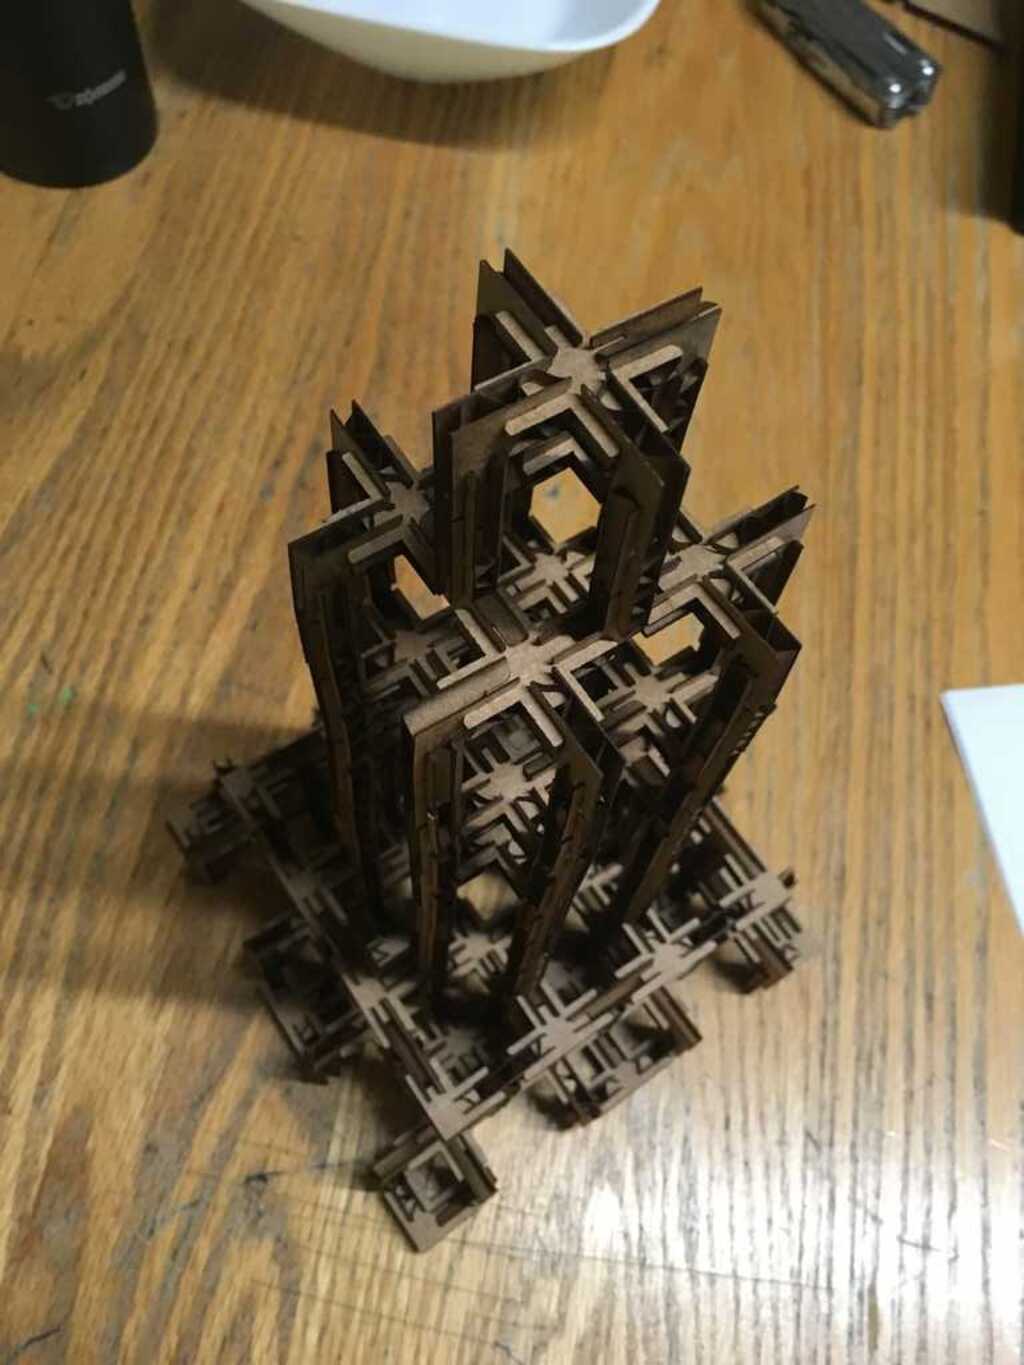
Which inspired me to create this building:
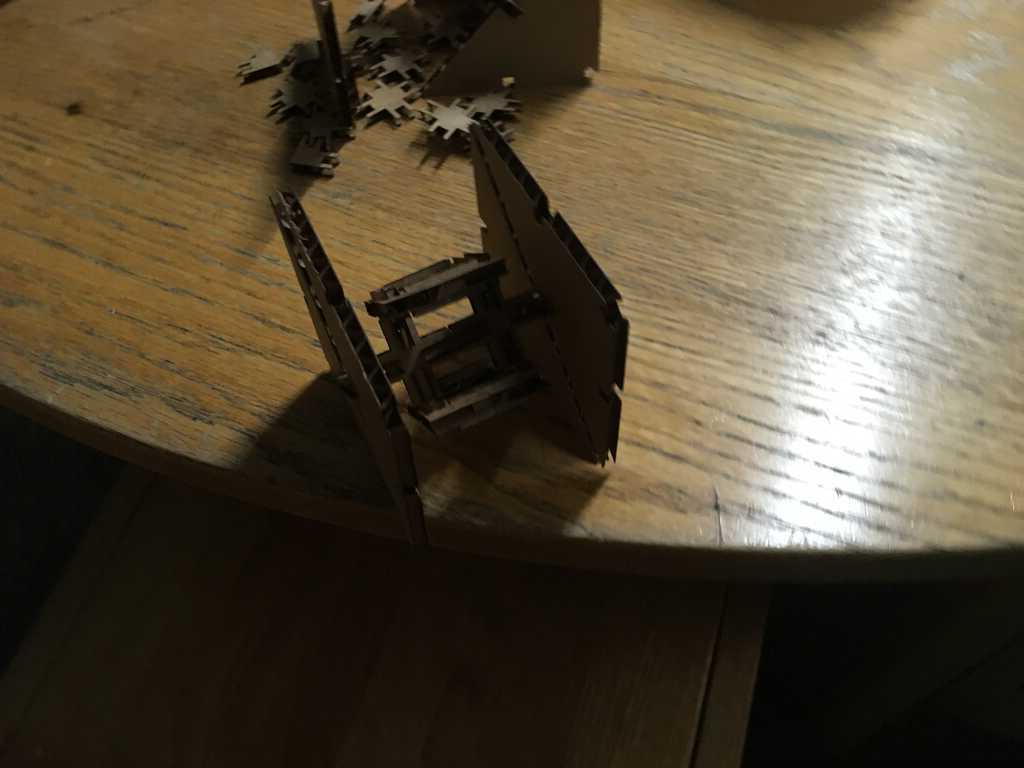
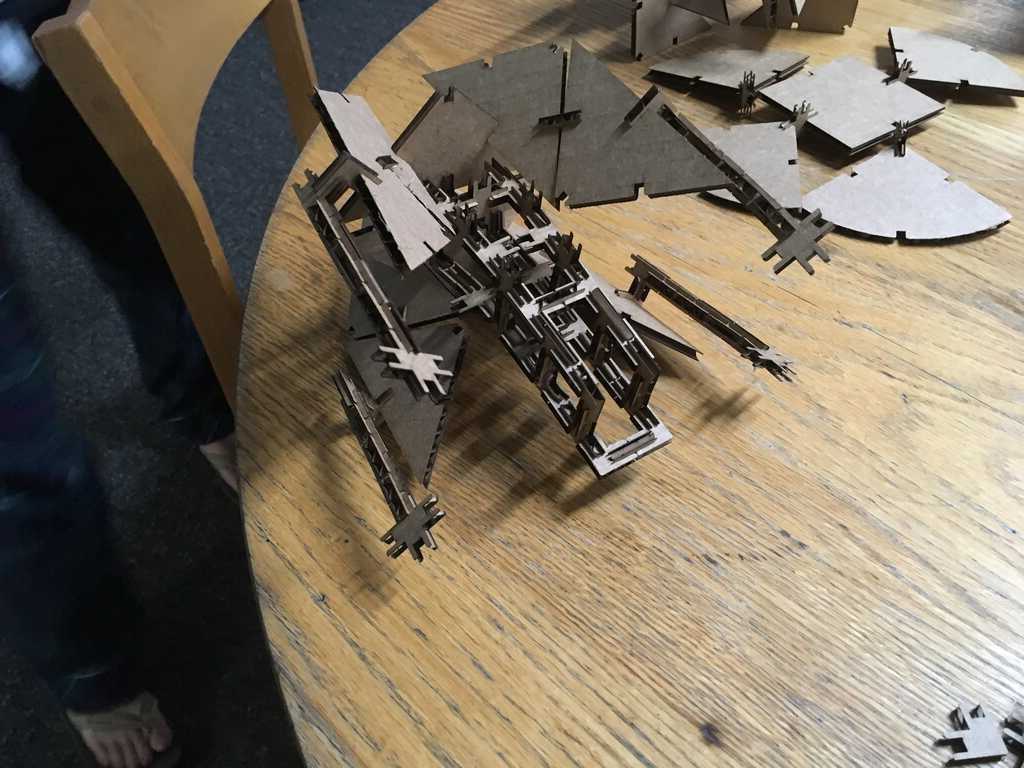
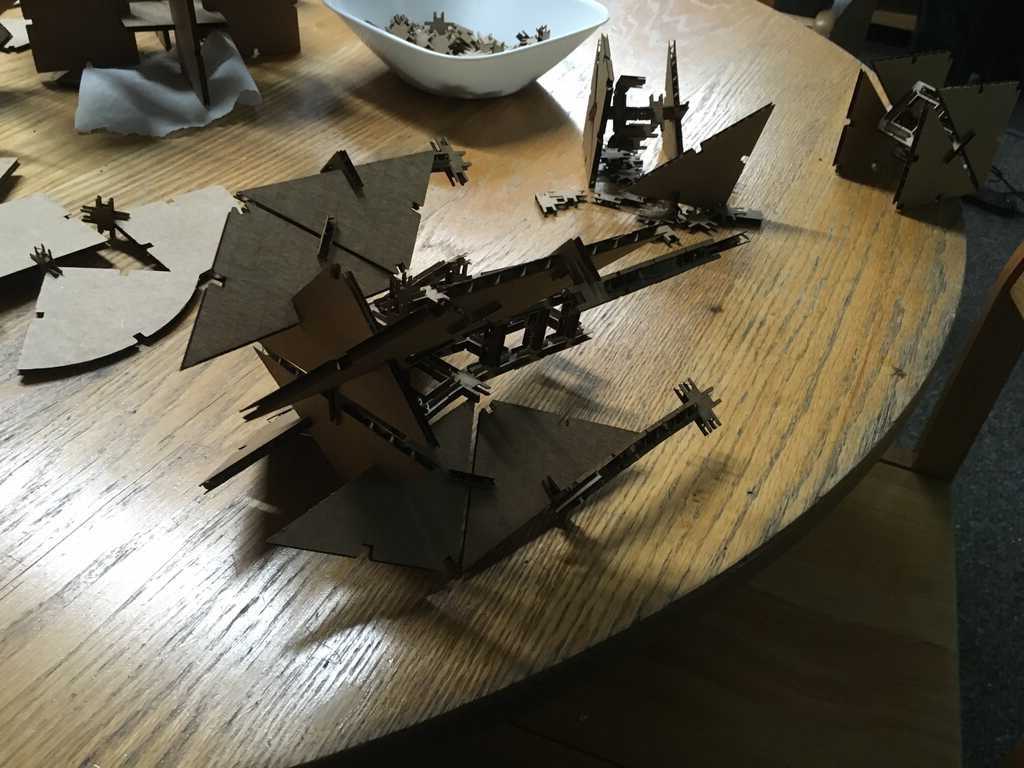
Someone is really into Star Wars, and took this construction technique and created TIE Fighters and an X-Wing!
There are many more cool examples. The kit is still sitting in my dorm lounge, and people continue to use it. I can't wait to see what else they put together!