Week 8 - Molding and Casting

The Motivation

This week, I wanted to make something that could help me model my final project. Because I was gone for UIST, I didn't understand the limitations of casting. So, naturally, I looked at something outside of the scope we were provided. I thought about casting a to-scale version of my arm from Week 4. Of course, we were given size constraints (3"x6"x1.5"), so that was out of the question. My next thought was to create to-scale models of the hexagons so I could mock-up designs for the wearables. You can see how that works near the end.

The Design

Eagle and Fusion are fairly well integrated. On the right side of Eagle, there's a button that lets you export that board model right into Fusion. Using this let me put a footprint of my board into Eagle.

00A
00B

With this board, I was able to "carve" out a to-scale mold for the mold for each mock hexagon, with a rectangular prism representing the microcontroller slapped on top. Each hexagon is arranged such that there's > 1/4" between every edge, so that I wouldn't have to switch to the 1/8" endmill.

01

The Mold's Mold

The first step was to take the model (as a .step file), and put it onto the one computer in the EDS that has SolidCAM. After that, we had to create the paths and follow certain rules to make sure we didn't destroy the router or the block of wax we were carving. I used 4 different operations, in two separate passes:

  1. 3D Adaptive - First pass - Used for cutting out the bulk of the model. The operation couldn't get between some hexagons and walls. It also didn't cut all the way down, but I didn't catch that until after cutting
  2. Contour - First pass - Used to get between the walls and hexagons. It cut lower than the 3D adaptive, which made me realize the 3D Adaptive wasn't going low enough
  3. Face - First and Second pass - Used to clear off excess material on the squares. The first pass was based on the stock top rather than the face I was trying to cut, so it just cut air. The second pass cleared it off correctly
  4. Pocket - Second pass - Used to clear out what the 3D Adaptive missed. Still missed one spot, but it was inconsequential.
Unfortunately, I was unable to get pictures of the different paths, but I'm not entirely sure why. When I opened my file back up in SolidCAM, the paths were just invisible.

The Shark:

02

Milling:

03A
03B

Here's where the Face operation cut air instead of clearing off the squares:

04

And here's the mold!

05

There were some strands of wax that were hanging around, and I wanted to get rid of them. I tried using compressed air as well as my hands, but what ultimately worked was using heat to melt off those rogue strands.

06A
06B
06C

Casting the Mold

For the mold, i used Oomoo 25, since it's flexible and I planned on doing rigid parts. There are two parts, A and B, which you mix in a 1 to 1 volume ratio. Because I was wearing gloves and had goo all over them, I wasn't able to take pictures of the process. After 2 hours of curing, here's how the mold came out:

07A
07B

Casting the Modules

I planned on using Smooth-Cast 305 for many components (cures fast, solid color, plasticky), but I wanted to try the 326 first.

08

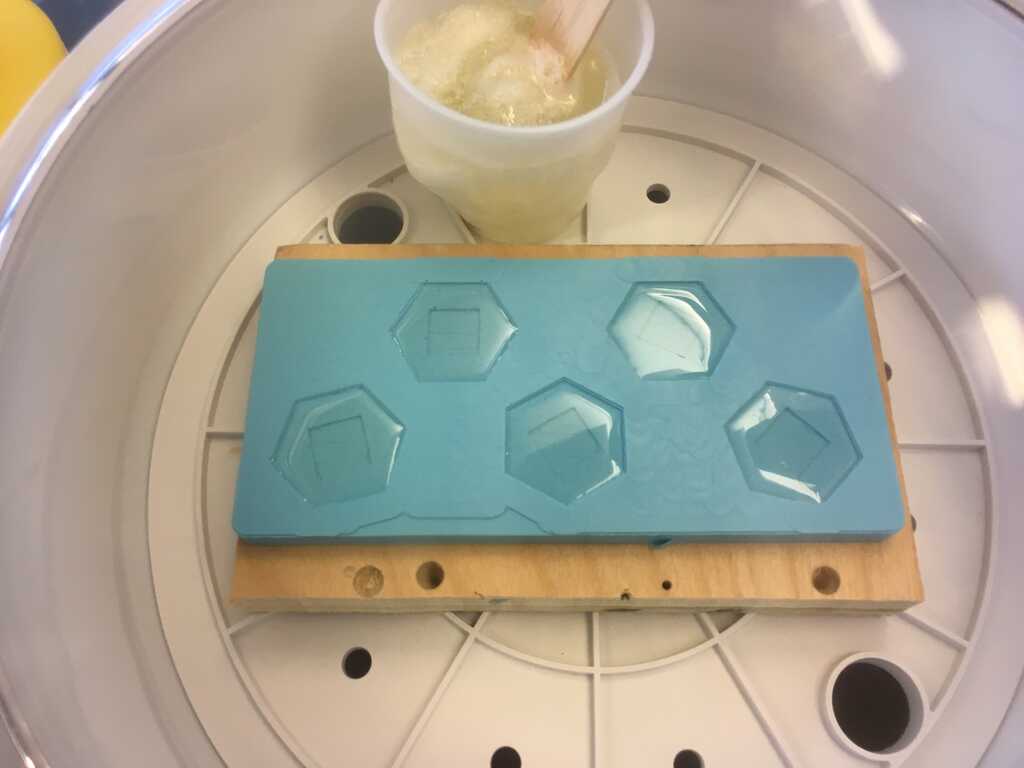
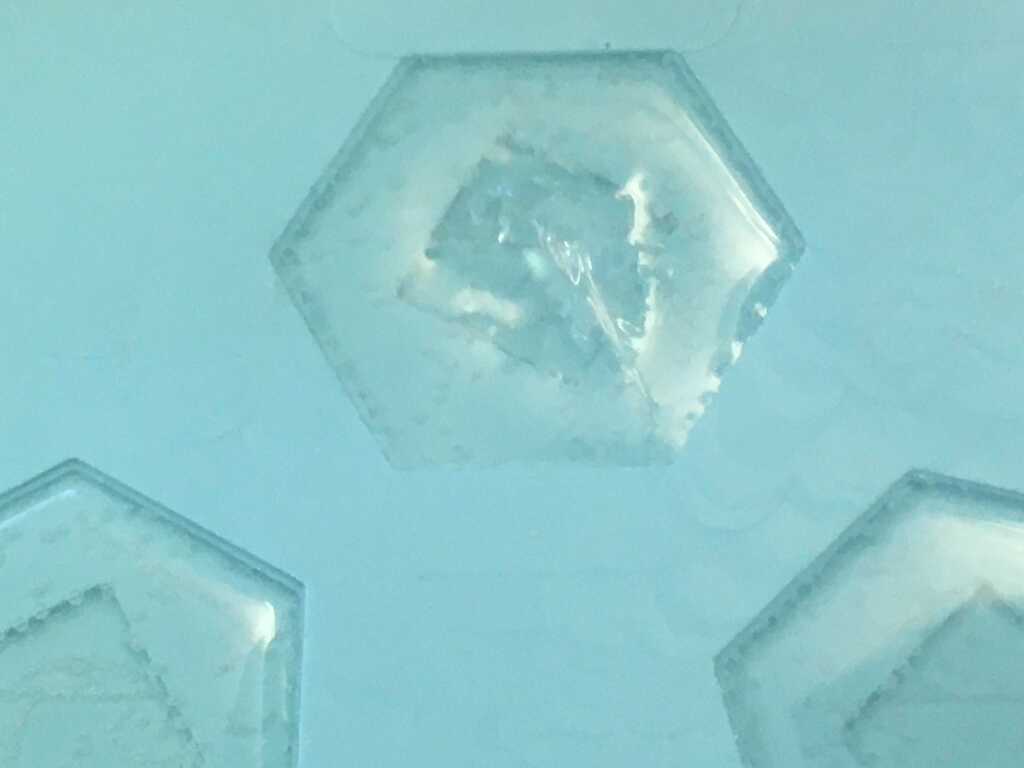
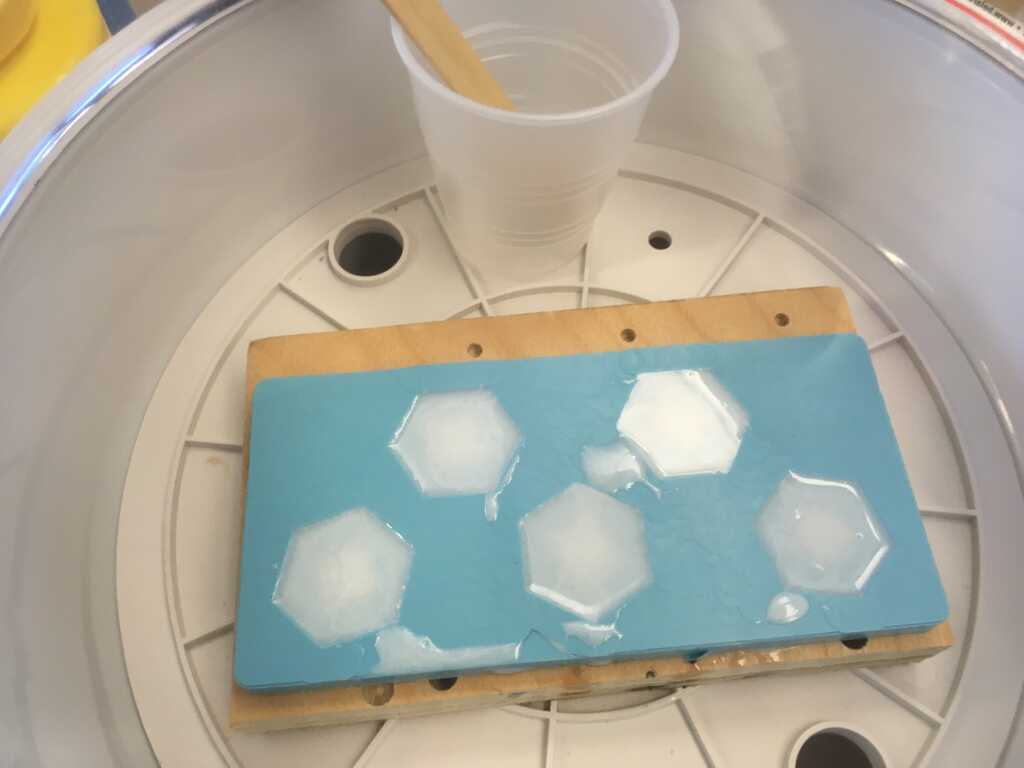
Even after using the vacuum, it still came out with a ton of bubbles. It also took a long time (> 1 hr) to cure, and my impatience yielded an imperfect cure on one of the hexagons.

09A
09B

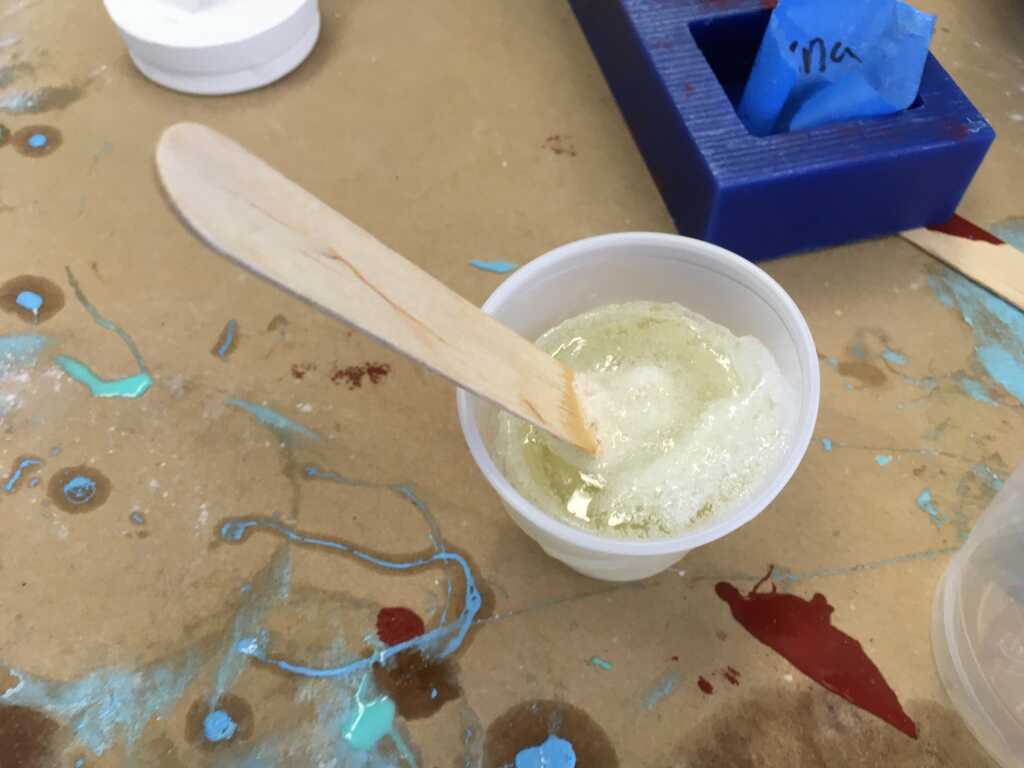
I also made a critical error with the 326. It poured much faster than the Oomoo, so I accidentally poured too much Part A into a cup. Once a liquid is poured, though, it's poured, and there's no going back. No one else needed the 326 at the time, so I poured enough Part B to get it to cure, filled in my mold, and let them sit. When I came back to it, the combined 326 in the cup had heated up so much it had melted part of the cup. I learned that the curing reaction is exothermic, and in large quantities, ramps up rapidly. Curing becomes much much faster. This can get much worse with materials such as Epoxy, which can smoke and even catch objects on fire.

10A
10B

Another takeaway from this is that thinner objects don't heat up as much, and will cure much slower (hence why my hexagons take longer than average to cure). To avoid this with the 305, I combined just barely enough of each, and poured them into the mold. 5 hours later, none of them had cured. They were still very bendy, so something had to be wrong. I'm pretty sure that because I mixed such a low quantity, the amount of substrate that stuck to the inside of one of the cups was significant enough to get an incorrect ratio.

11A
11B

From then on out I used a scale, and poured both parts directly into the same cup, following the required 10:9 weight ratio. E.g. 10g of Part A, and 9g of Part B, leading to a total mass of 19g.

12

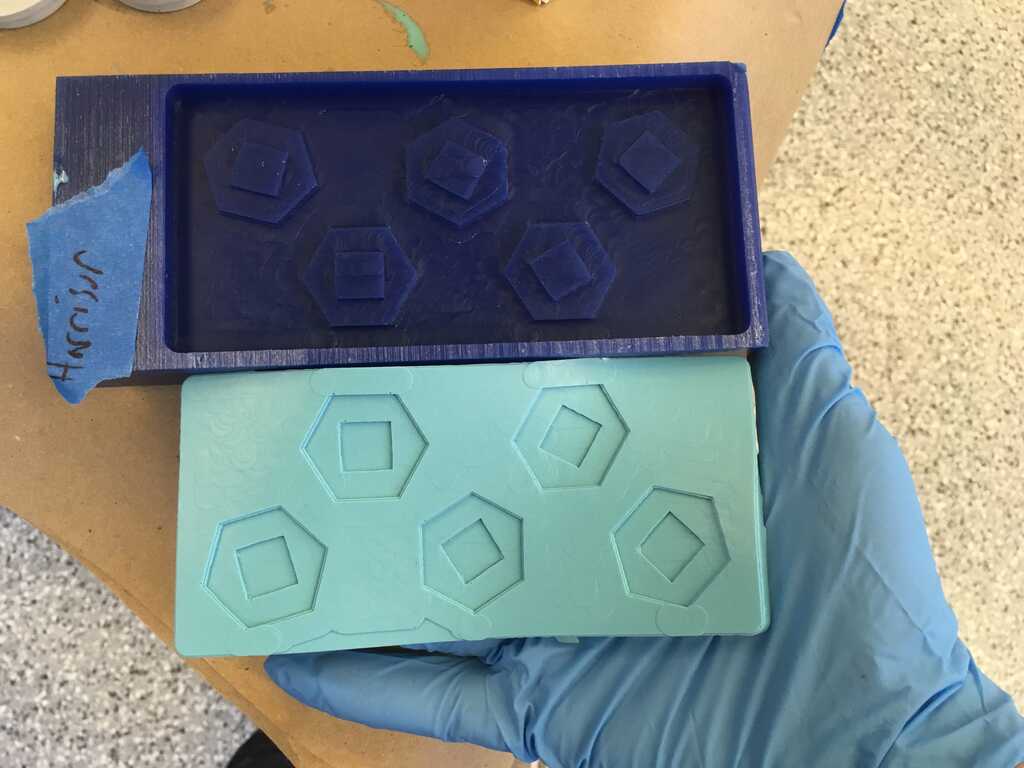
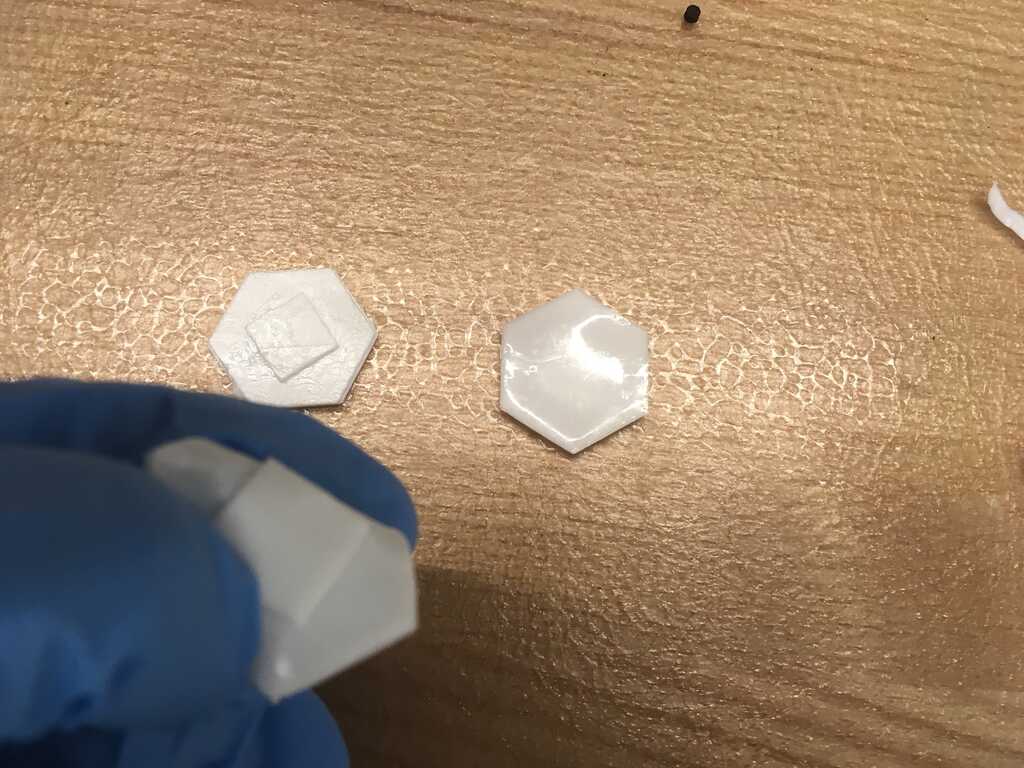
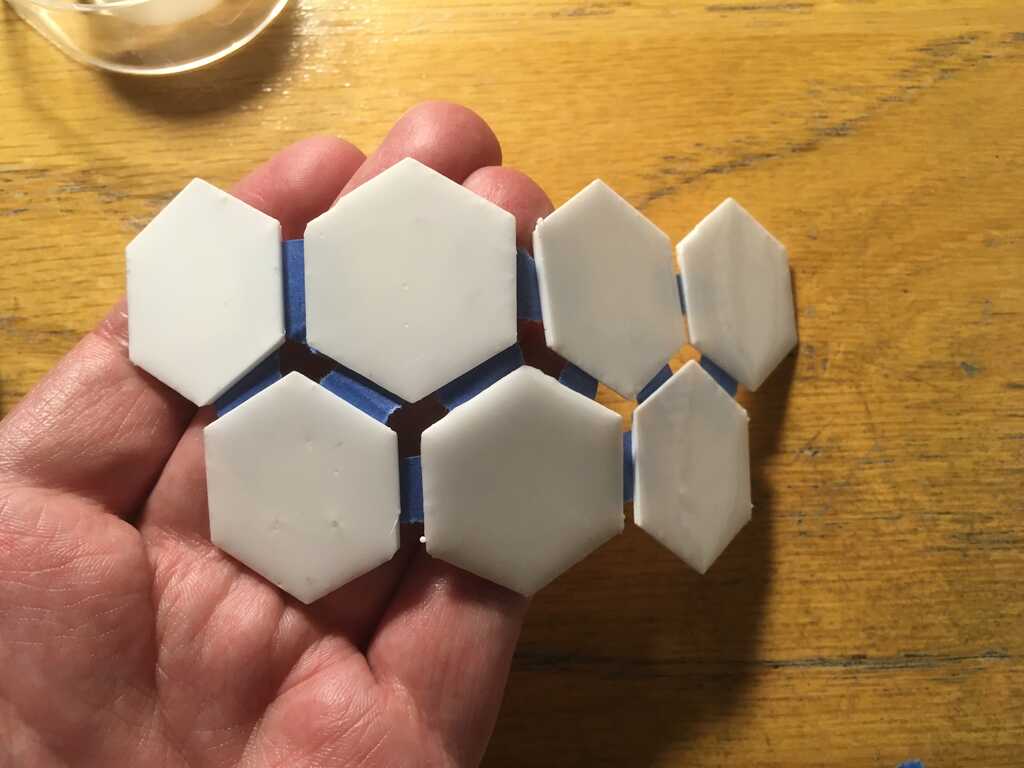
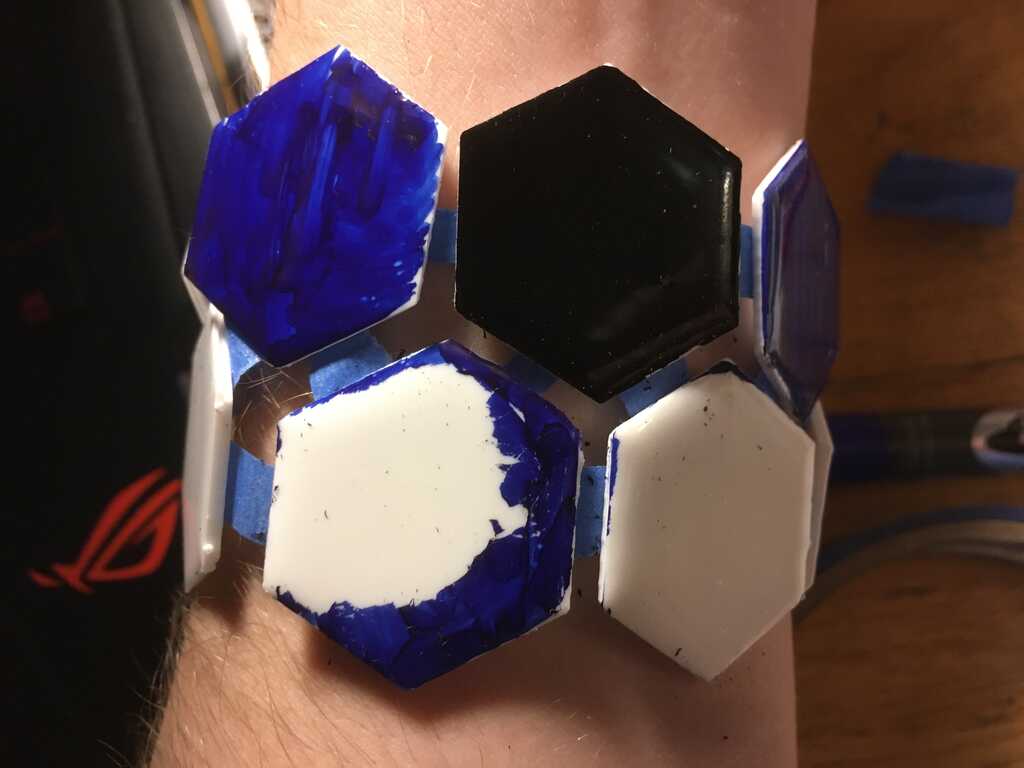
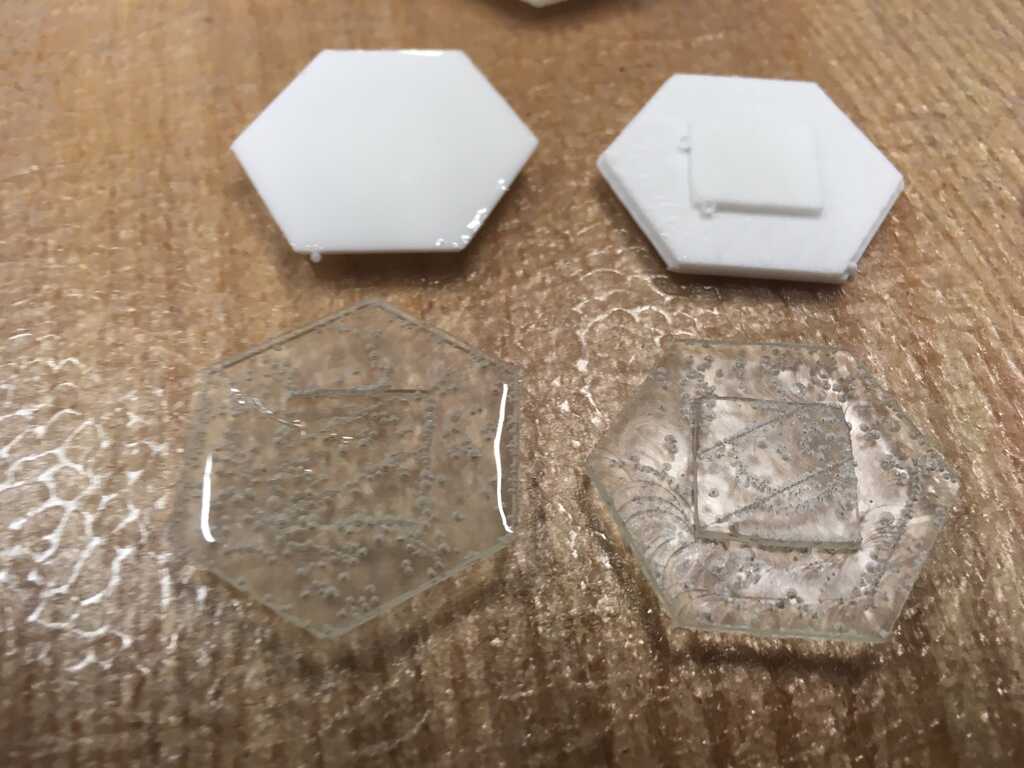
Here's the 326 and 305 side by side:

13

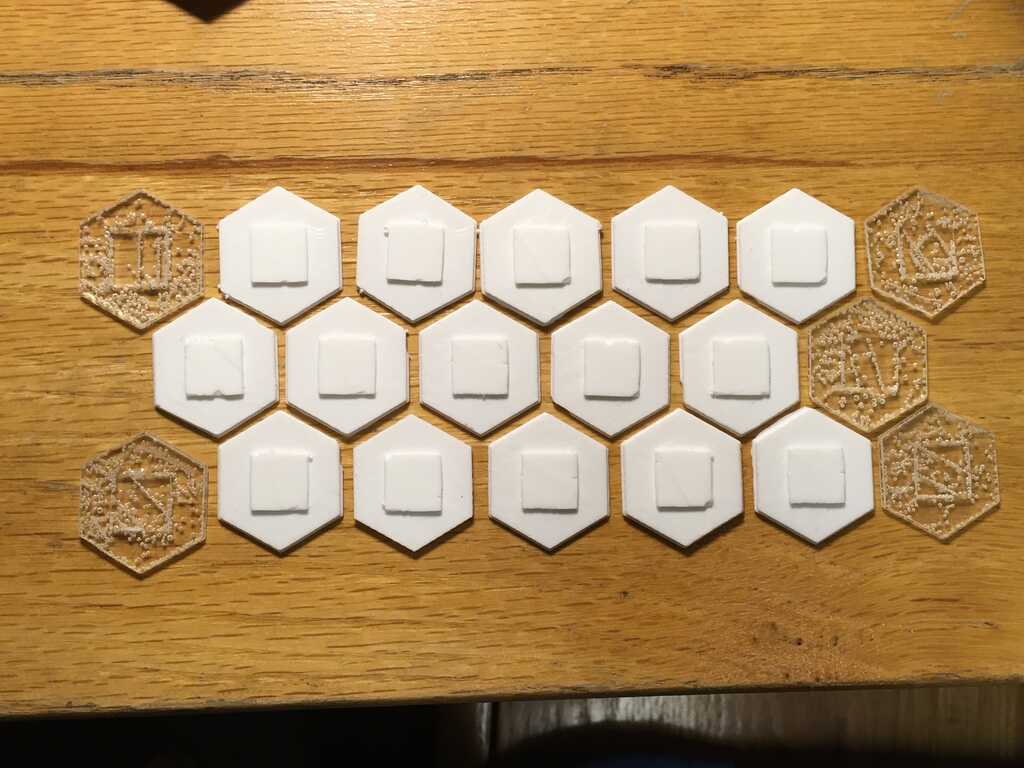
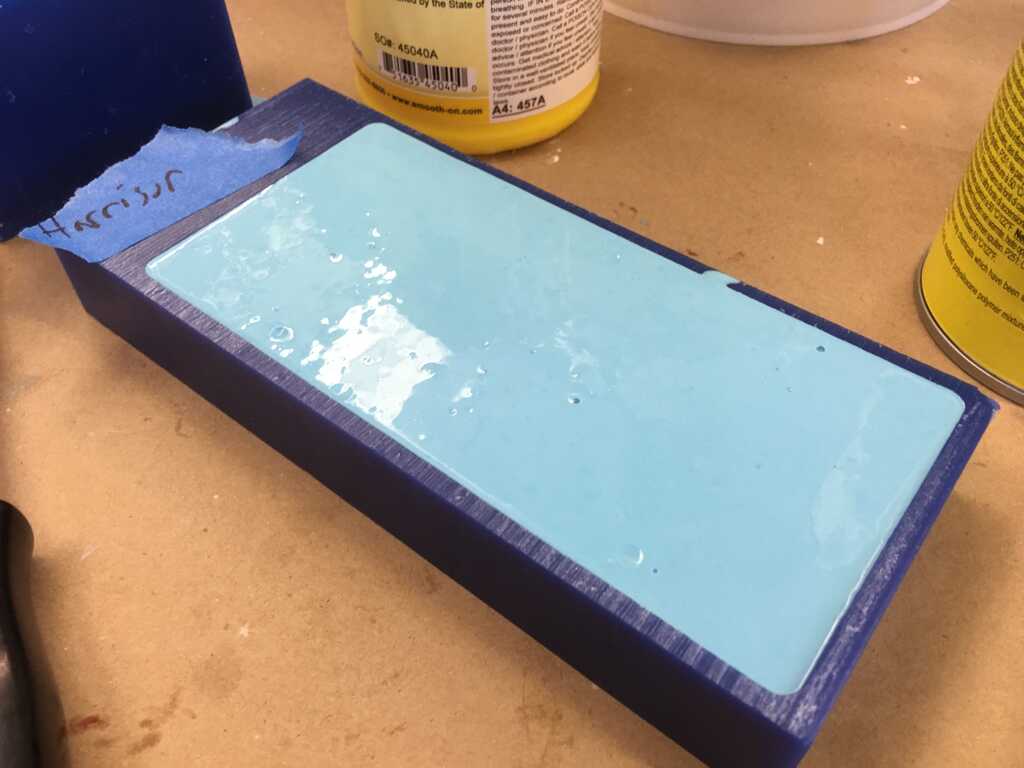
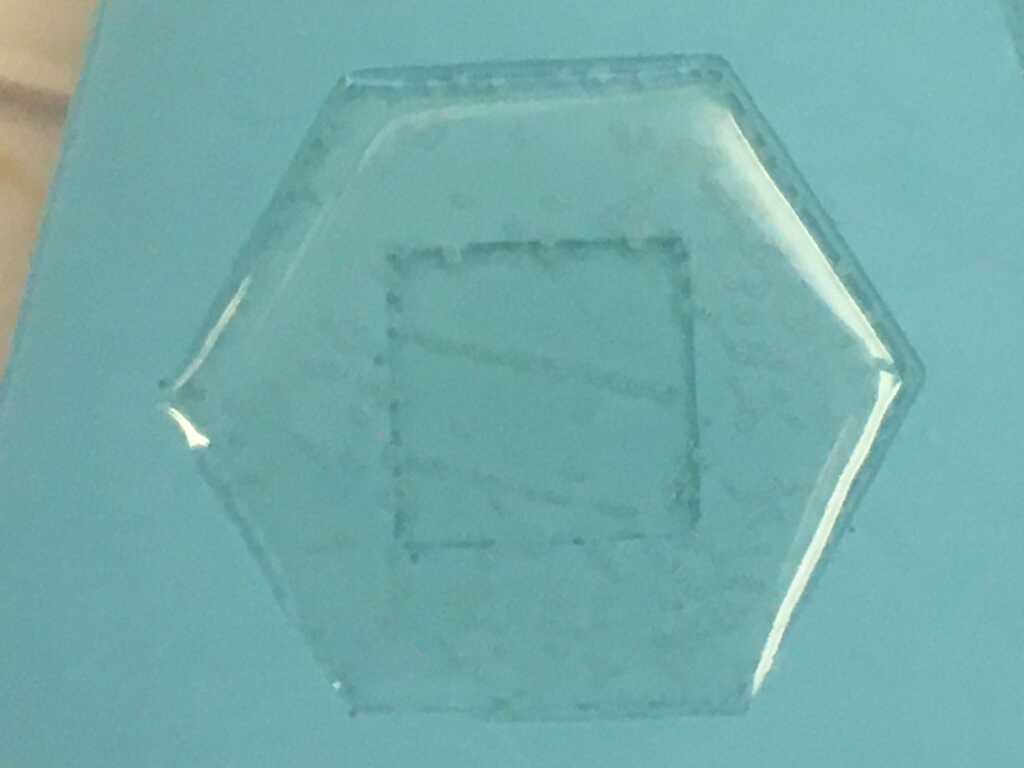
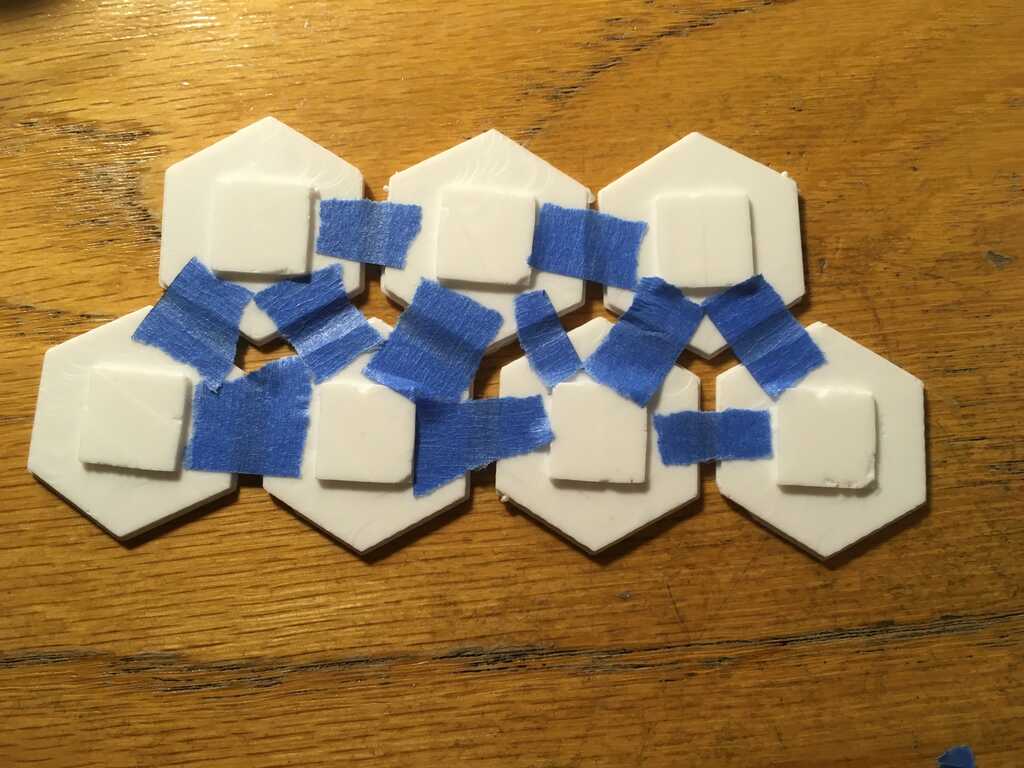
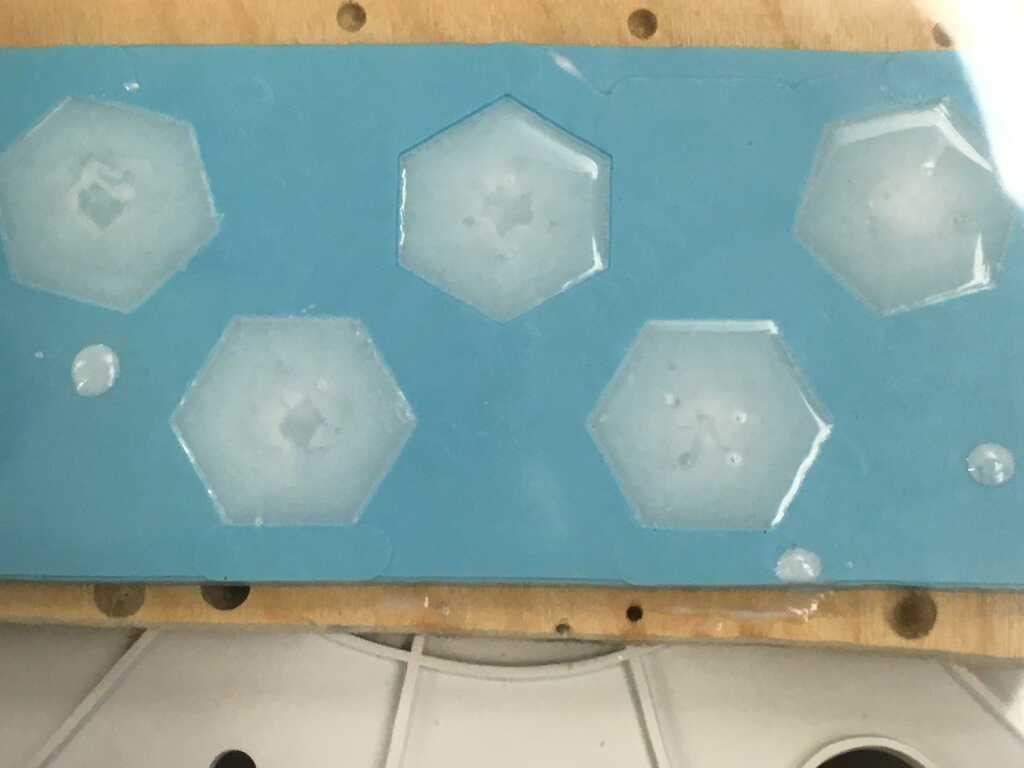
I also wanted to do a batch without the vacuum chamber, which looks like there may be a large bubble in one of the pieces, but I didn't notice it once it cured all the way.

14-V

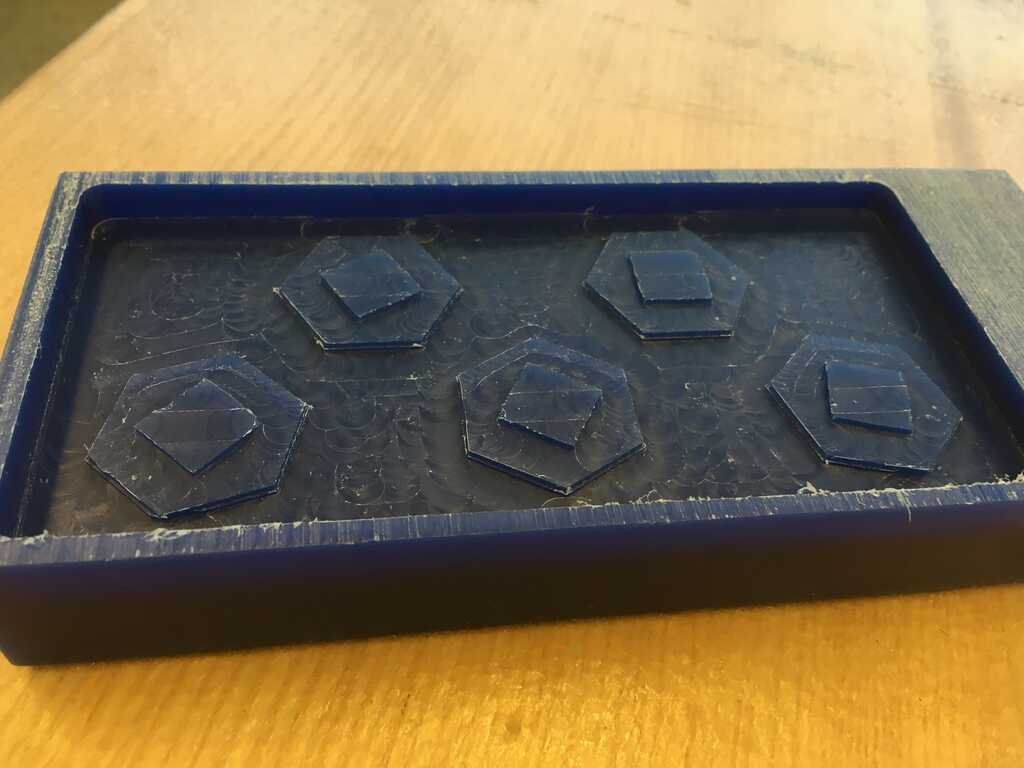
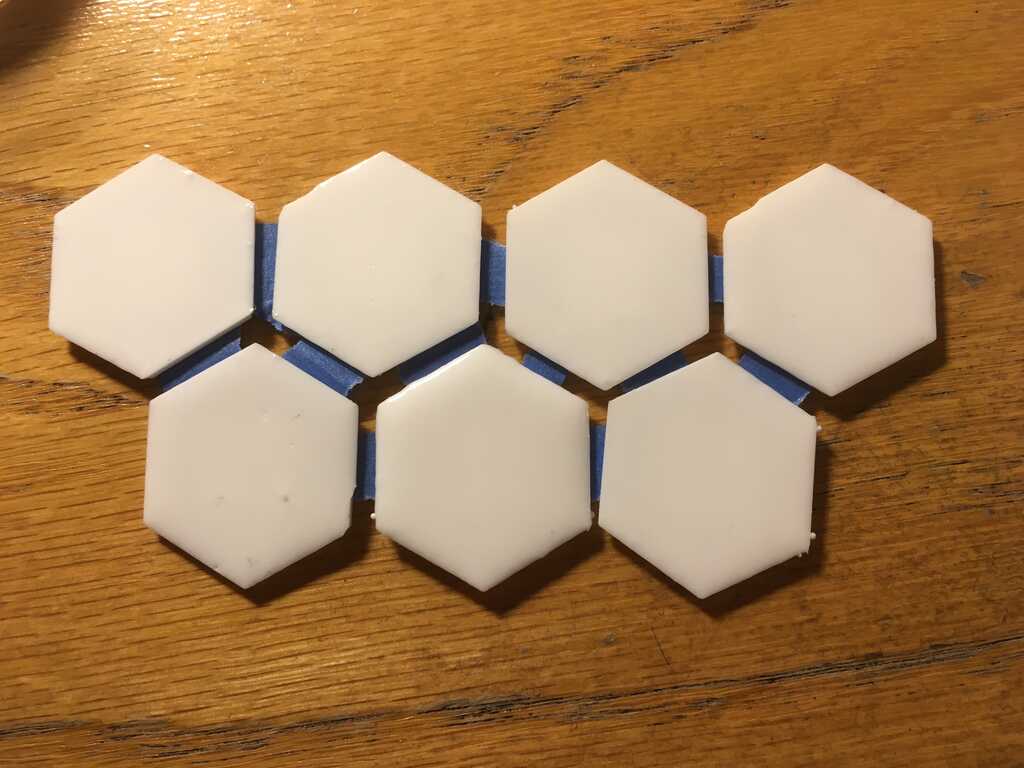
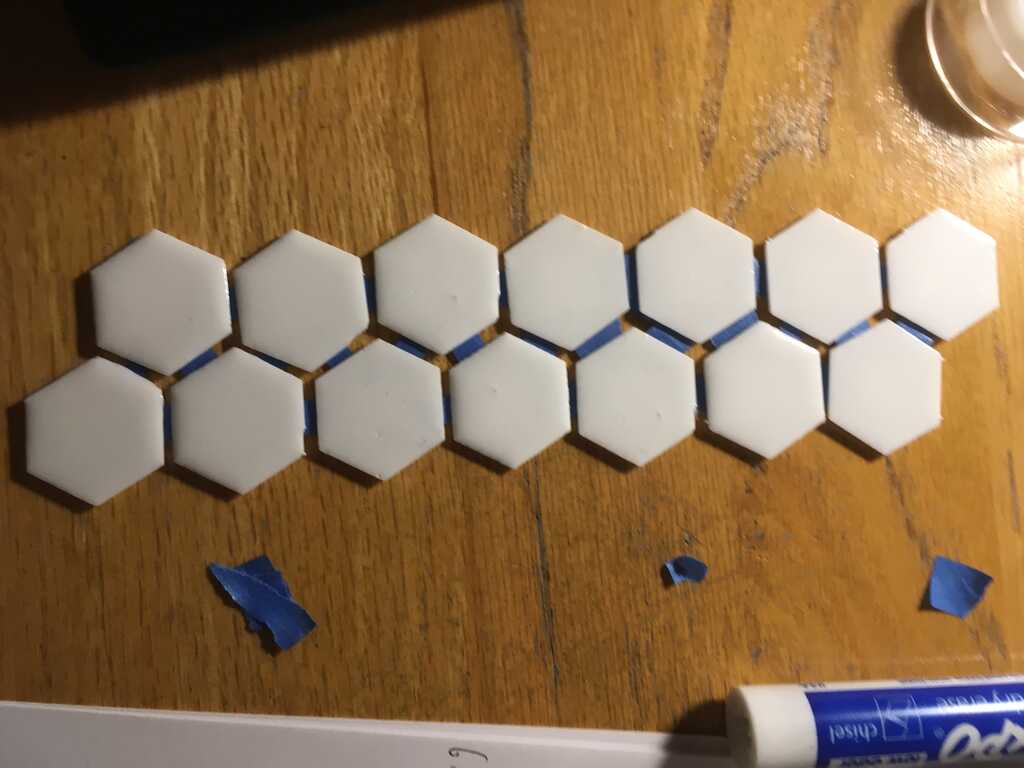
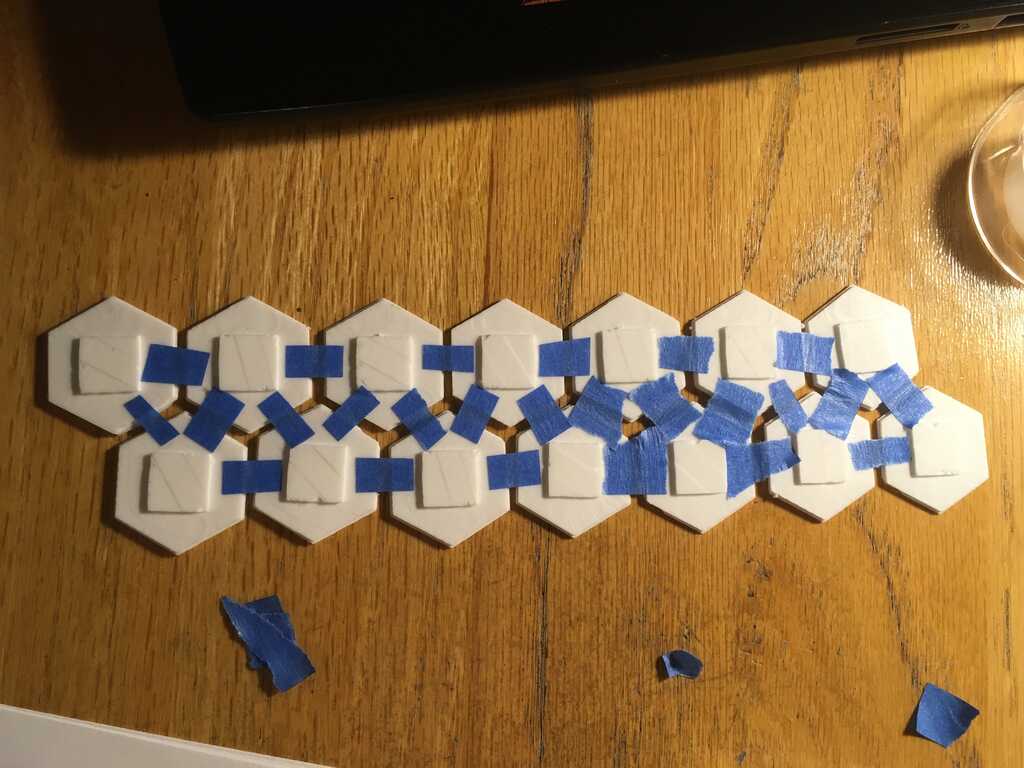
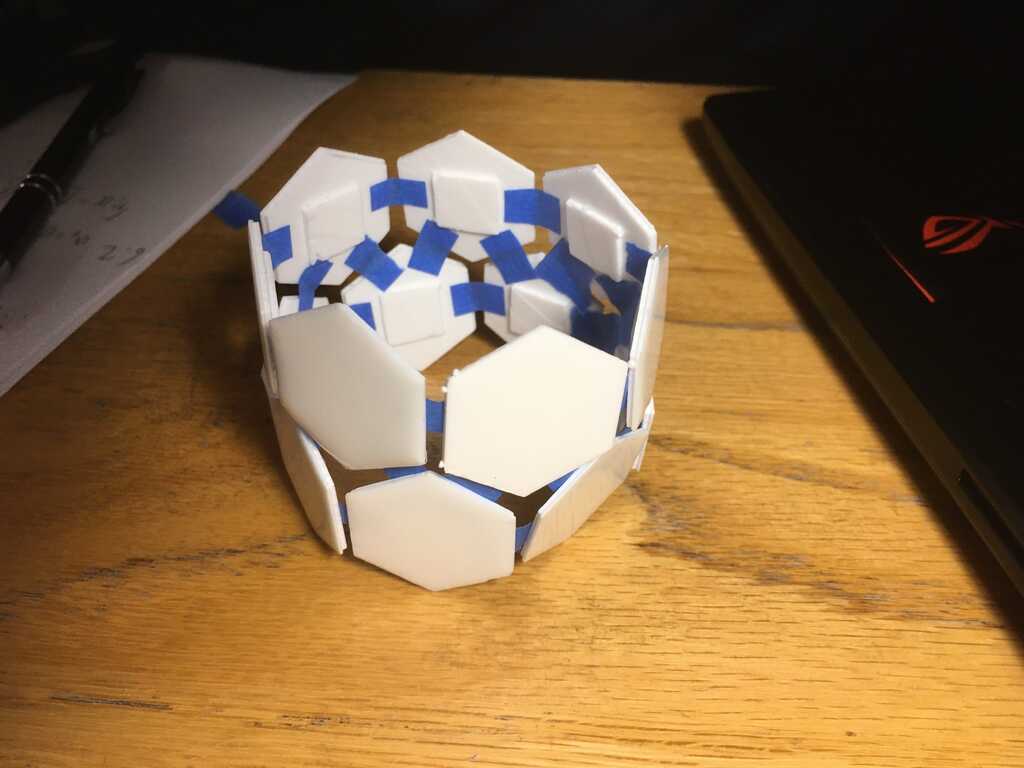
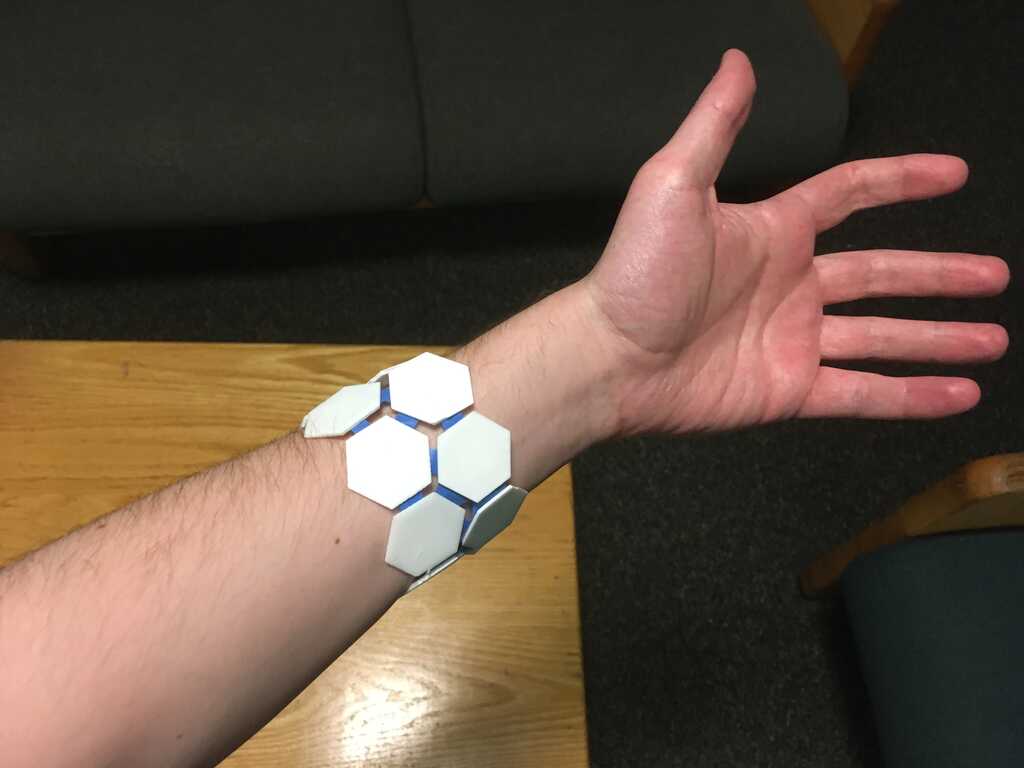
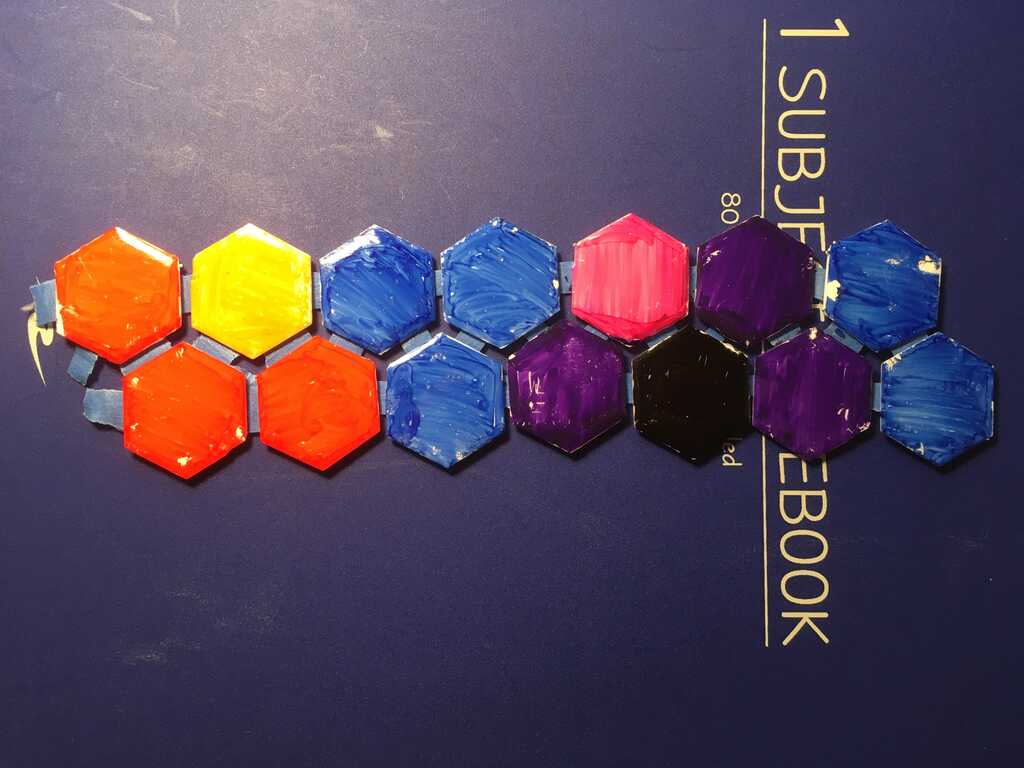
Here's all of the pieces laid out together:

14-P

Wearable Mockup

To make a mock wearable, I put tape on the bottom and connected them together to simulate a thread/wire connection.

15A
15B

I originally planed on making a mock arm-gauntlet (just on the top of the forearm), but I picked it up and it was much more flexible than I expected:

16

This gave me the idea to make a wristband (or "smart watch," whatever). I had to make it much longer, of course.

17A
17B

Oh yeah, this will work just fine:

18A
18B

Putting it on is difficult since I have to put on tape from the inside-out, but looks super cool:

19A
19B

Okay, so I can make a wearable mockup. That's cool, I guess, but let's take it further. I found out that I can draw on the plastic with dry-erase markers, and it comes off nicely.

20
21

By doing so, I can sketch out where I want certain modules on the wearable. For instance, in the above example, Black corresponds to the controller that talks with a PC via bluetooth, and Blue corresponds to haptic feedback modules (vibration motors).

We can expand this into a more complex wearable, by having more colors for more modules. Here, we really focus on the "smart watch" idea:

Top:
23A
Front:
23B
Bottom:
23C
Back:
23D
Stretched Out:
24

In this version, the colors are as follows:

There are an incredible number of possibilities, and with the modular design I plan on using for my final project, can be easily modified on the fly.

This website was created by Harrison Allen for How to Make (Almost) Anything at MIT in 2019