
A low-cost, open-source, and distributed ocean sensor node
If looking for Week 11 and Week 12 assignments, scroll to read a brief evaluation of how the project meets the weekly assignment objectives!
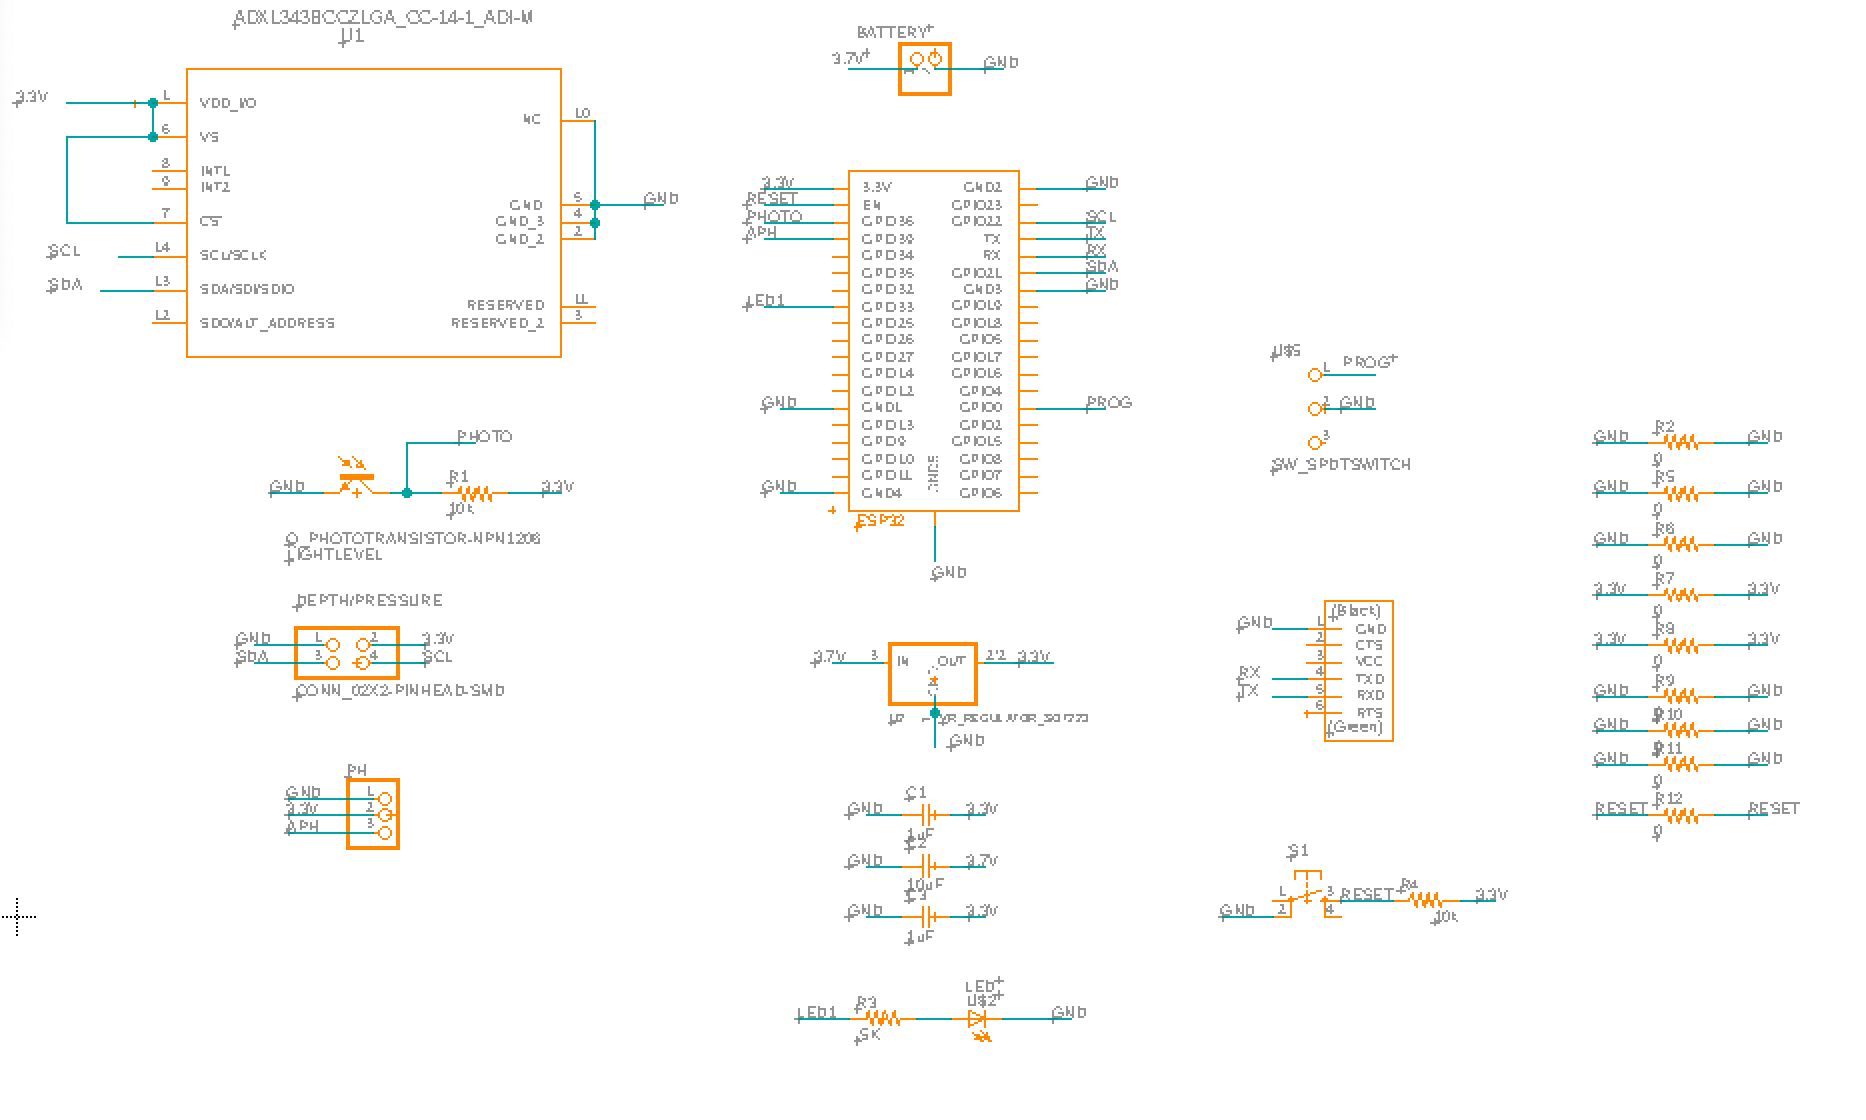
Inspired by the Moana Project, I wanted to aid on a projec to develop a low-cost, open source sensor capable of deployment through a fishing line. I'm currently tasked with developing a prototype of the node that's equipped with communications. The system consists of a sensor node, and will then relay data via WiFi when at the surface. The sensor node is equipped with a 3 axis IMU, sensors for measuring temperature, depth, pH levels, light, pressure, and altitude. The microcontroller used was the Esp-32 due to Wifi capabilities. The sensor would be fixed to fishing lines along with lead weights. These sensors were chosen because they communicate essential data about an ecosystem's health. The goal of this project is to give communities and small fisheries tools that can help them understand how climate change is impacting marine ecosystems. This data can range from inform small fisheries on how changing ocean conditions may affect fish populations, or help monitor conditions that could to a bleaching event in a coral reef. Hopefully, this tool would incentivise independent fisheries to collaborate in order to improve collective outcomes and environmental impacts. The Moana Project sensor has mainly been deployed in large vessels, but our target audience is smaller boats, which would fill an unexplored gap in fishery platforms used for marine science. The sensor will hopefully have undergone filed testing by the end of the term.
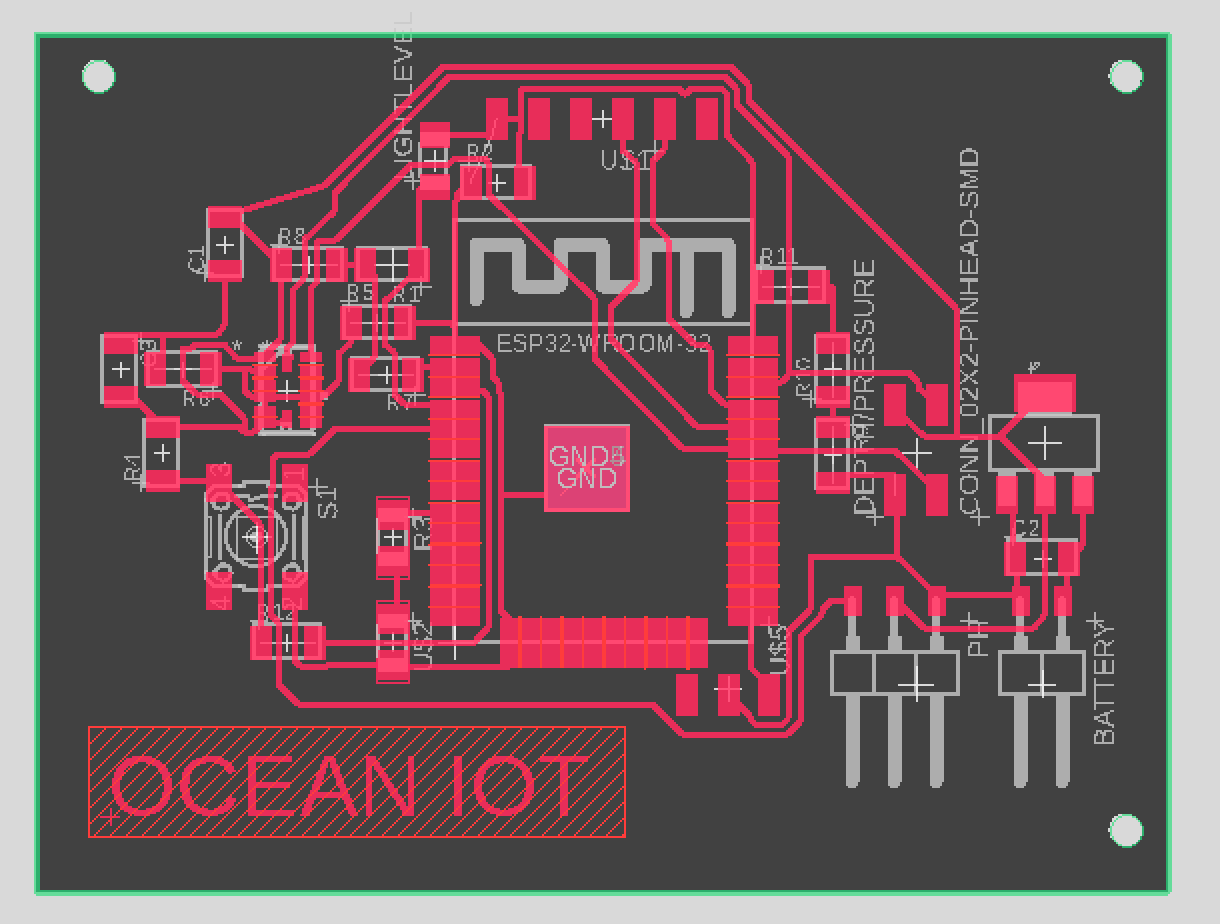
I had a fun time designing the board! This was the most complex board I've tried to make in this class to date, and I feel like I've learned how to use the Schematic + Board tools in Fusion much better. I had to trick mods into thinking I was using a smaller tool than I was to make sure the accelerometer was milled correctly, but it worked out!
Click images to expand!
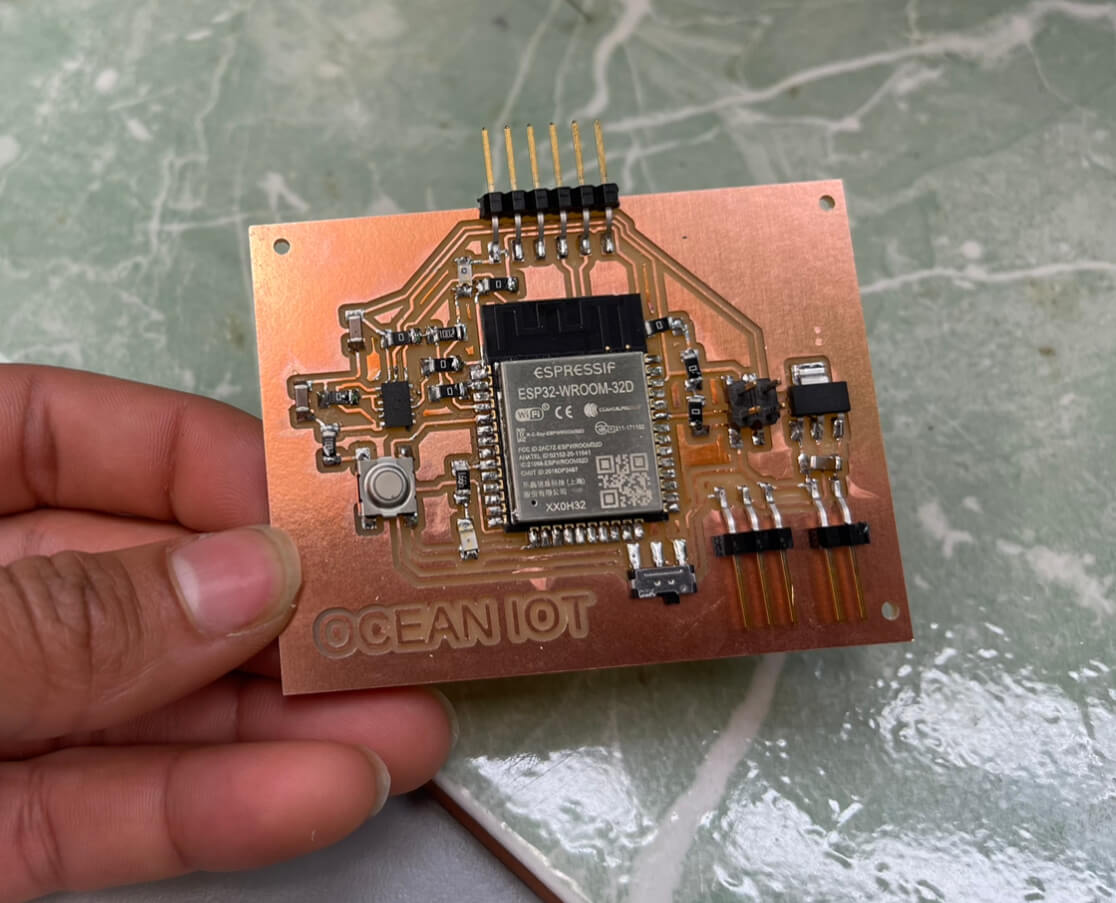
It was also the first time I used solder paste. It worked well for the accelerometer, but did not for the Esp-32, so I resorted to hand soldering. I also made a mistake with the Reset button, and needed to jump a wire around to fix that (not featured in the picture below).
I followed this tutorial and chose to use Arduino + SPIFFs Library + ESP32's Async Web server library for code and web development.
Essentially, upon button press (Reset) the data starts logging. I have a variable, bufferSize, that allows me to change how much data I want logged, as well as a parameter for how often the data should be logged. After the buffer is full, the node will start trying to connect to Wifi. In reality, ideally the node would only start logging once at depth, and would look for Wifi after it can register it's at the surface. However, it was hard for me to test that without actually submerging the module, so I chose a method that would allow me to see if it log + graph data easily (hence the filled buffer approach).
Once connected to WiFi, the microcontroller spins up a server. I use the SPIFFs library to store an html file on the ESP-32 that acts as the basis for the server. Based on the tutorial, I'm using the JavaScript Highcharts library to generate the graphs. The server then requests the data for each graph at a time interval that I can specify. Here, I made it very short so the data was instantly "uploaded" to the server after the buffer is full. I acknolwedge that the AsyncWebServer may not have been the best choice, in my initial attempt I tried logging the sensor data in real time, which is why I had chosen this library. Since the sensor data will not be logged in real time and would be uplaoded to a server after the fact, a different liibrary could be chosen.
Currently, the module can connect to my phone's hotspot, spin up a server, and graph the data. The variables are innacurate because the sensors are logging at the surface rather than at depth, which is what they're intended for.
For Week 11, the assignment was to design, build, and connect wired or wireless node(s) with network or bus addresses. I believe this project achieved that by having the ESP-32 successfully connect to WiFi, and send sensor readings to a server.
For Week 12, the assignment was to write an application that interfaces a user with an input &/or output device that you made. I believe this project achieves this objective because it graphs the sensor readinsg on a a server, where a user can not only peruse the graphs, but also select various data points to view in more detail.
Using the skills I learned in 3D printing week, I was able to have a waterproof housing printed from clear resin using a Formlabs printer. This module is part of a larger project, so the original CAD design for the body had already been created by Andres Rico. I created a new lid, and modifed the original body to accomodate it. While the old lid + body design was able to be waterproof after silicone sealant was applied, this design is more "plug" like, and better suited for performing as a watertight housing.
Here's what the system the mounted electronics + the housing looks like:
.png)
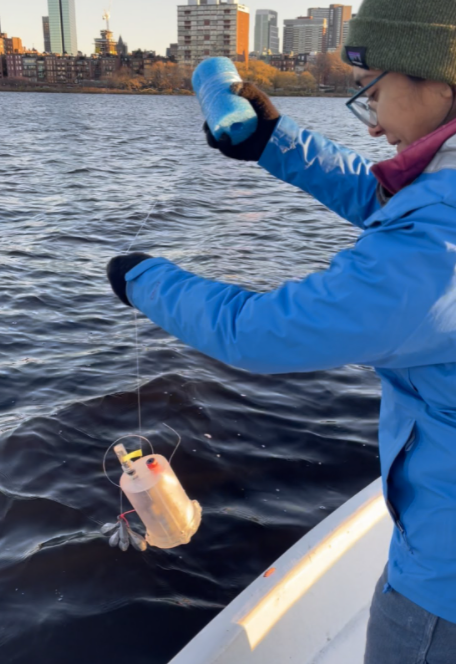
Here's a bonus picture of me deploying an earlier prototype in the Charles River!
Overall, I had a lot of fun with this project. Quite frankly, I wouldn't have been able to create the electronics or modify the housing without the skills I've learned in HTMaA. This was a great opportunity to apply what I've learned so far in a miniproject of sorts!