Molding and Casting
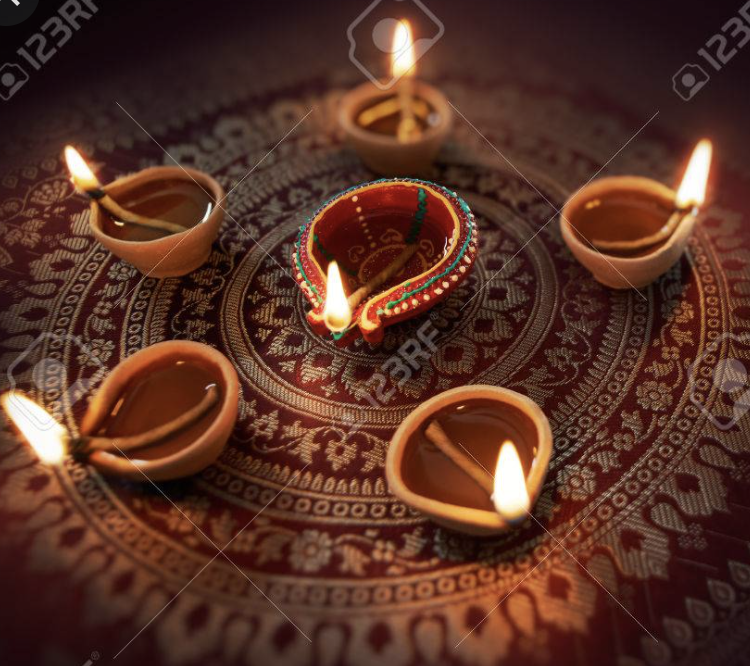
This week, our individual assignment was to design a mold around the stock and tooling that we'll be using, mill it (rough cut + (at least) three-axis finish cut), and use it to cast parts. Because Diwali (the Hindu Festival of Lights) is approaching, I decided to try making a diya lamp.
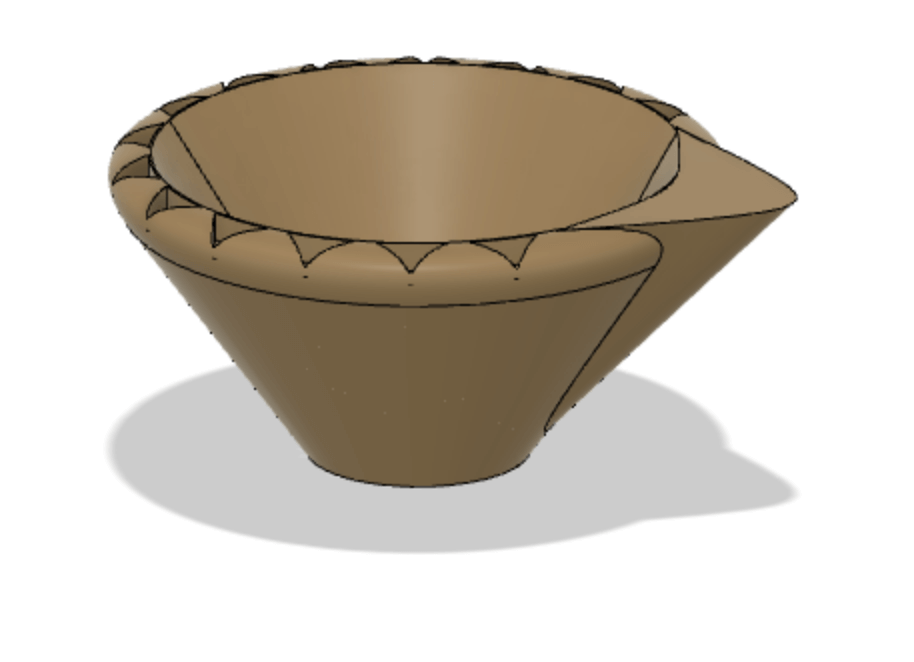
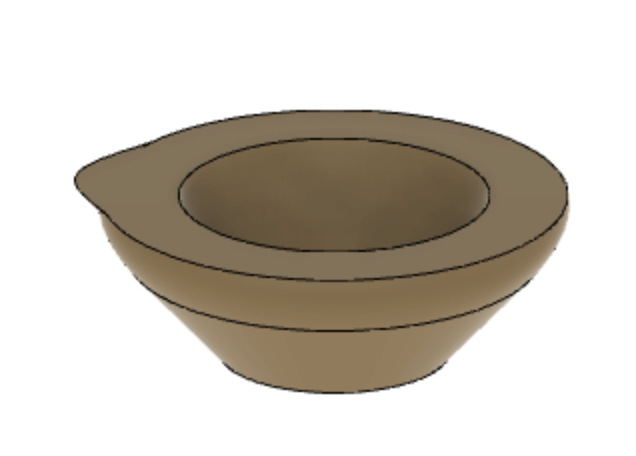
Here was the first version of the design! However, I quickly realized that this was slightly too large for the wax blocks (it was ~4"x4"x2") and I needed to resize it. At this point, I also realized that this object breaks plenty of the design rules (no undercuts). Since I was almost finished with the design, I decided to keep going and figure out if there was a way I could still cast it.
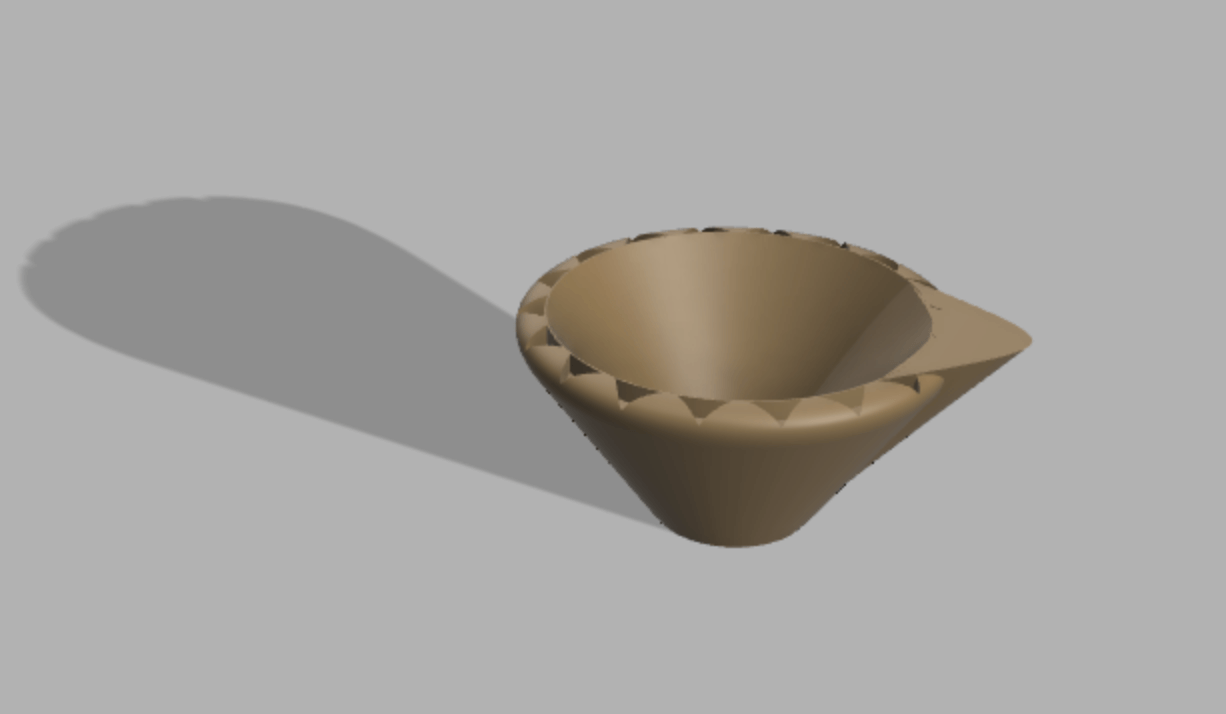
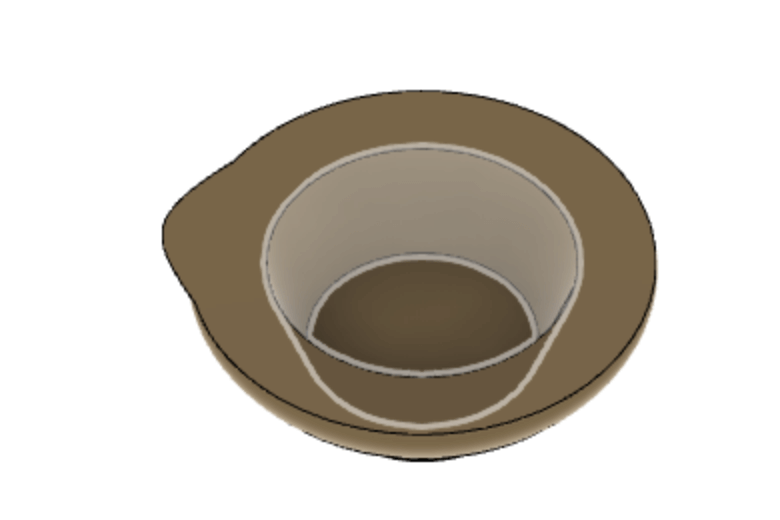
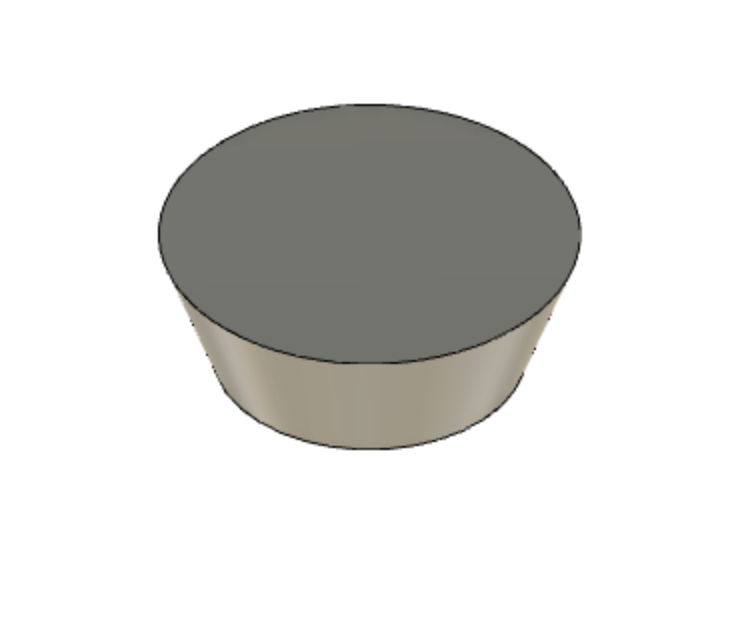
I resized it, and after getting frustrated with figuring out how best to create a mold around it, I ditched the design along the edges for simplicity. However, I was still stuck on how I could create the hollow for the lamp oil. While I could maybe kinda picture a mold I could create, I'm definitely a CAD amateur so it was tough figuring out how I could create it. I discussed the mold design issue with Anthony, and one of his suggestions was to create a solid lamp, and CAD a 3D part to place inside of the mold while casting. I figured this was probably the simplest path I could take while minimizing the CAD headache. Here is the design after resizing, it's definitely not as pretty but I didn't quite care. The highlighted section is the inner "hollow" that I converted to an stl file and printed using the Prusa slicer.

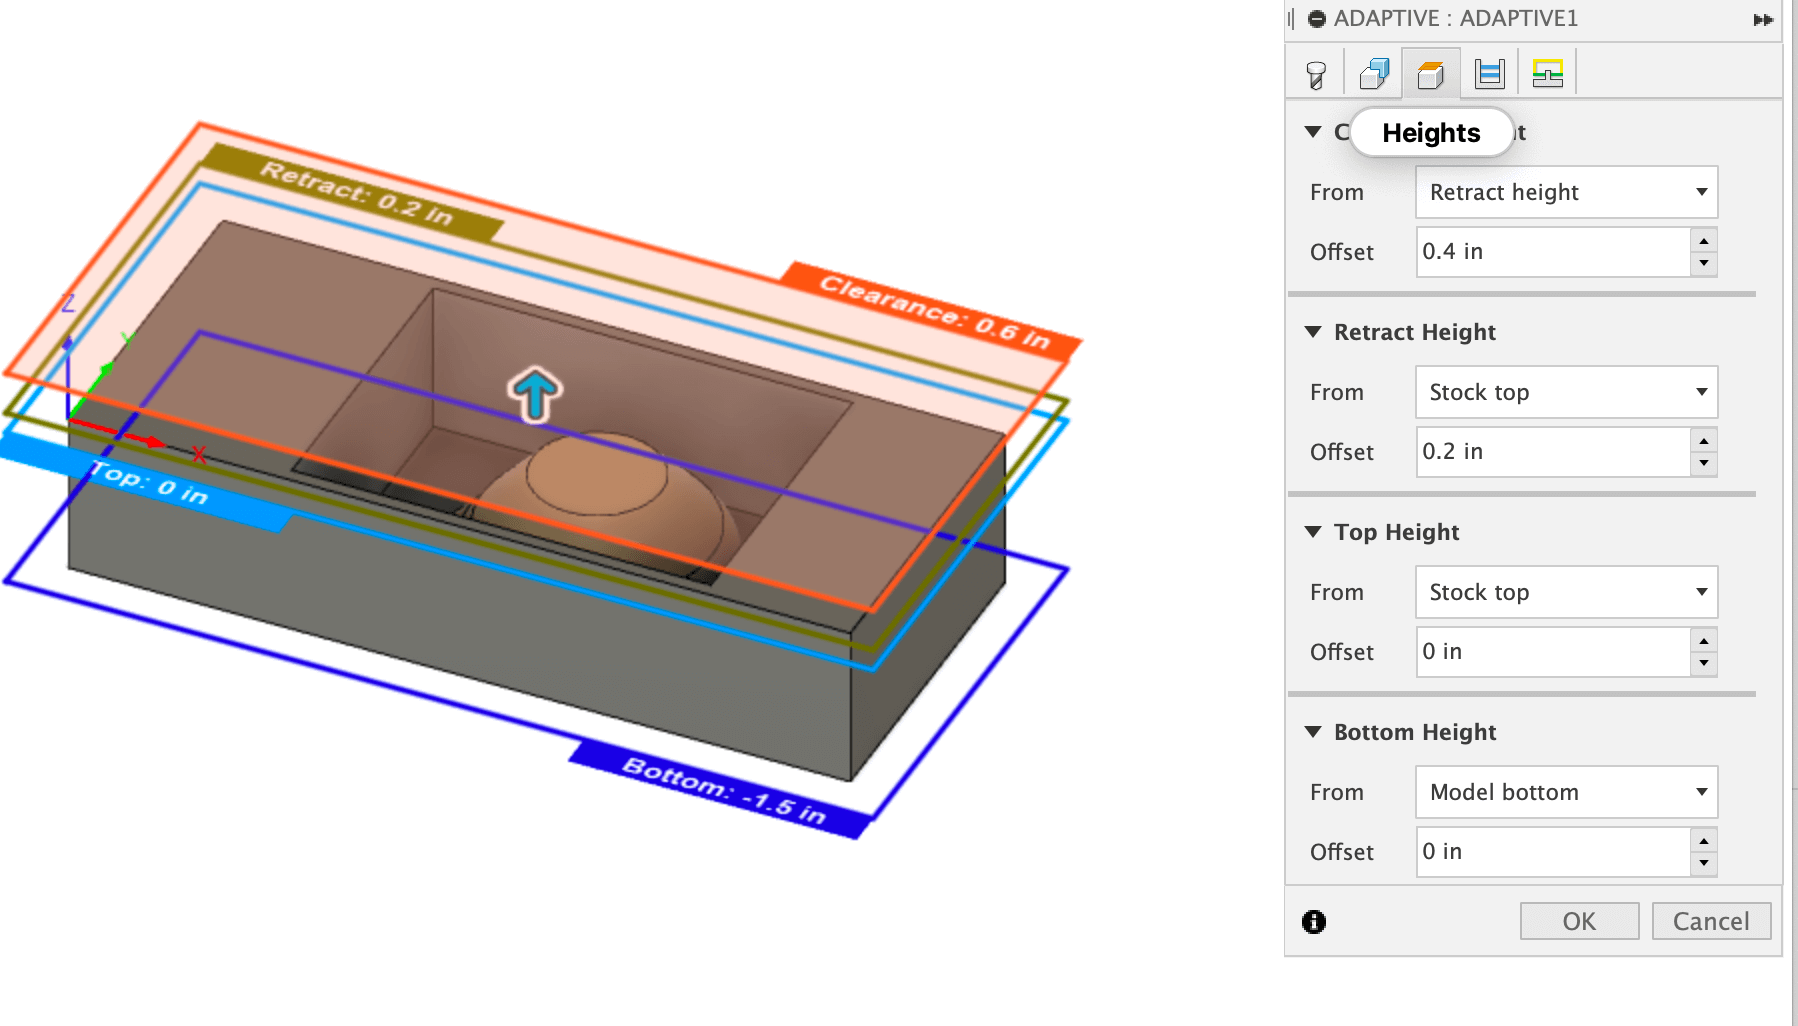
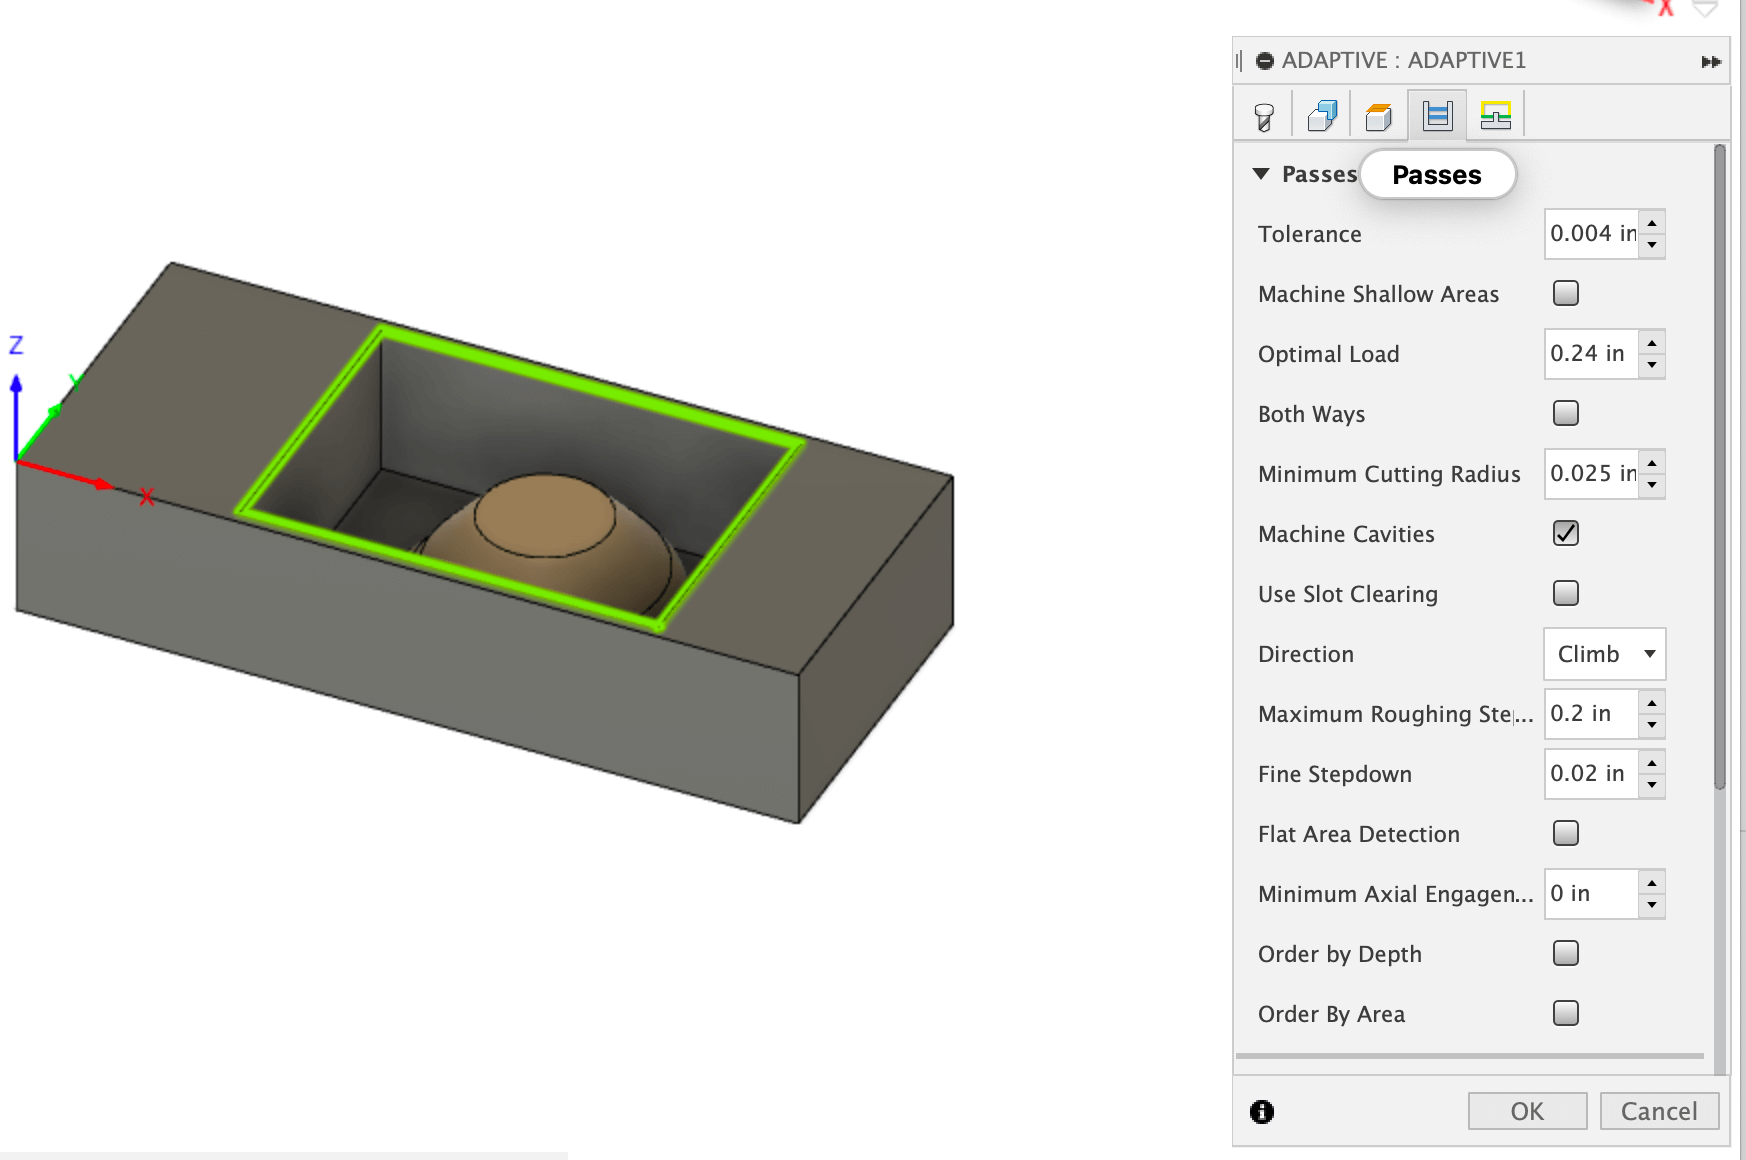
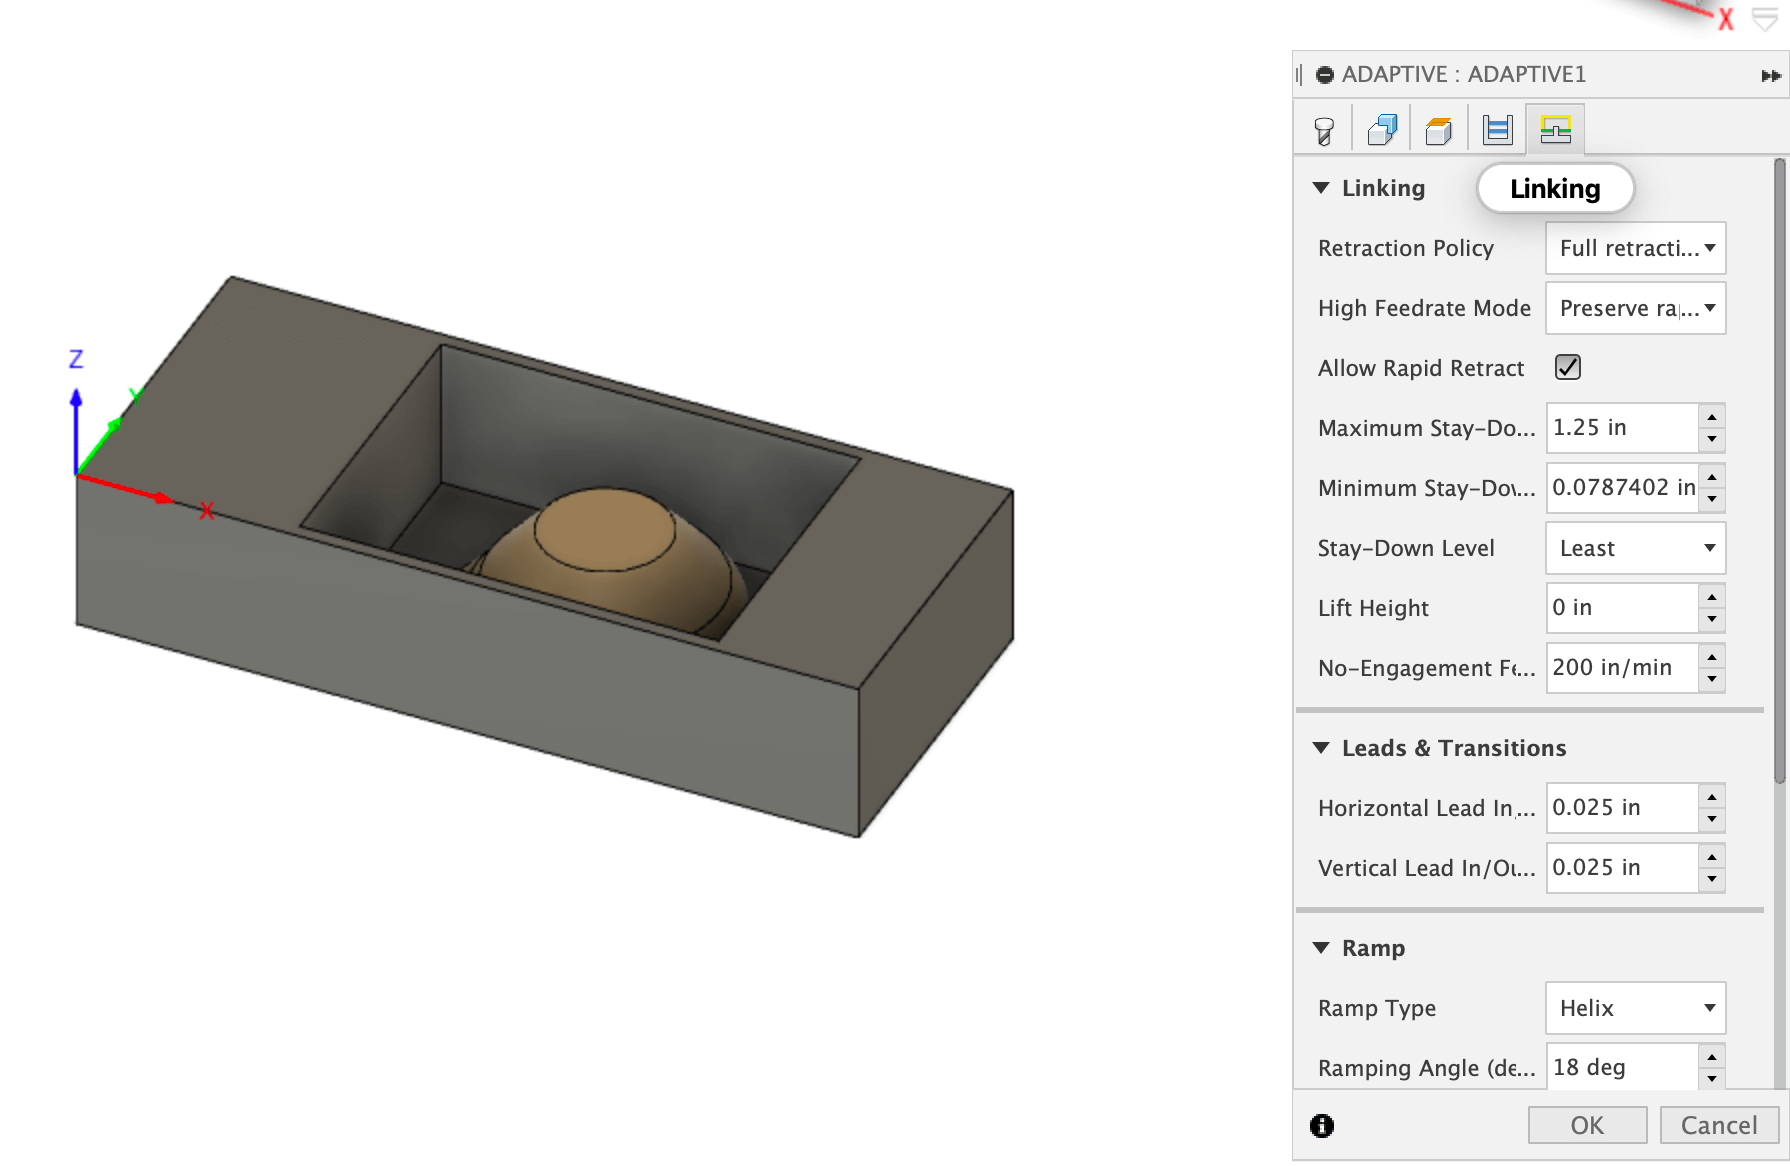
After the CAD was finally done, I moved on to the CAM settings. I followed the recitation pretty closely, and generally chose the settings recommended for the 1/4th tool and 1/8th tool.
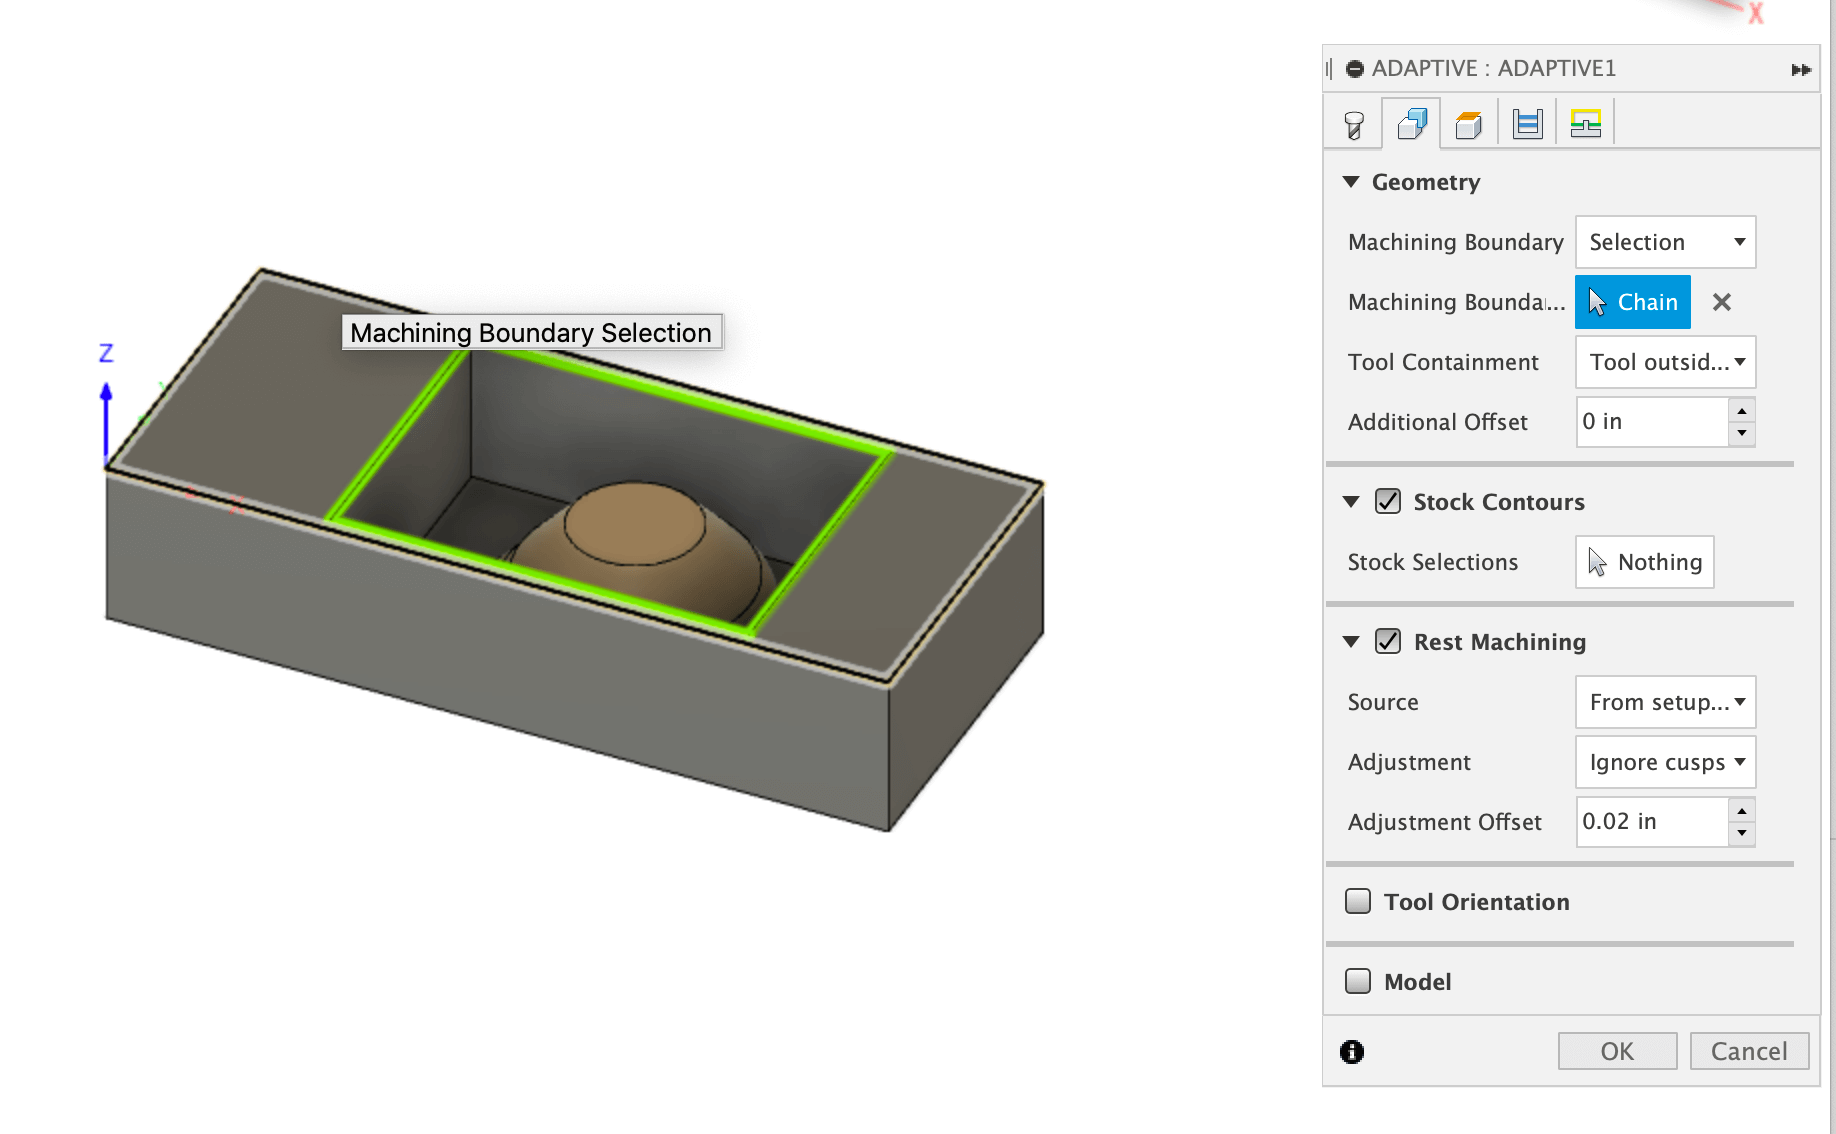

I ran into an issue where I had placed the object too close to the sides of the mold for the tool to get through, so after fixing that and redoing the settings, I was generally good to go! To prep for milling, we hot glued a 3"x7"x1.5" wax block to the bed. The milling itself was fairly straightforward and soon I had my wax mold.
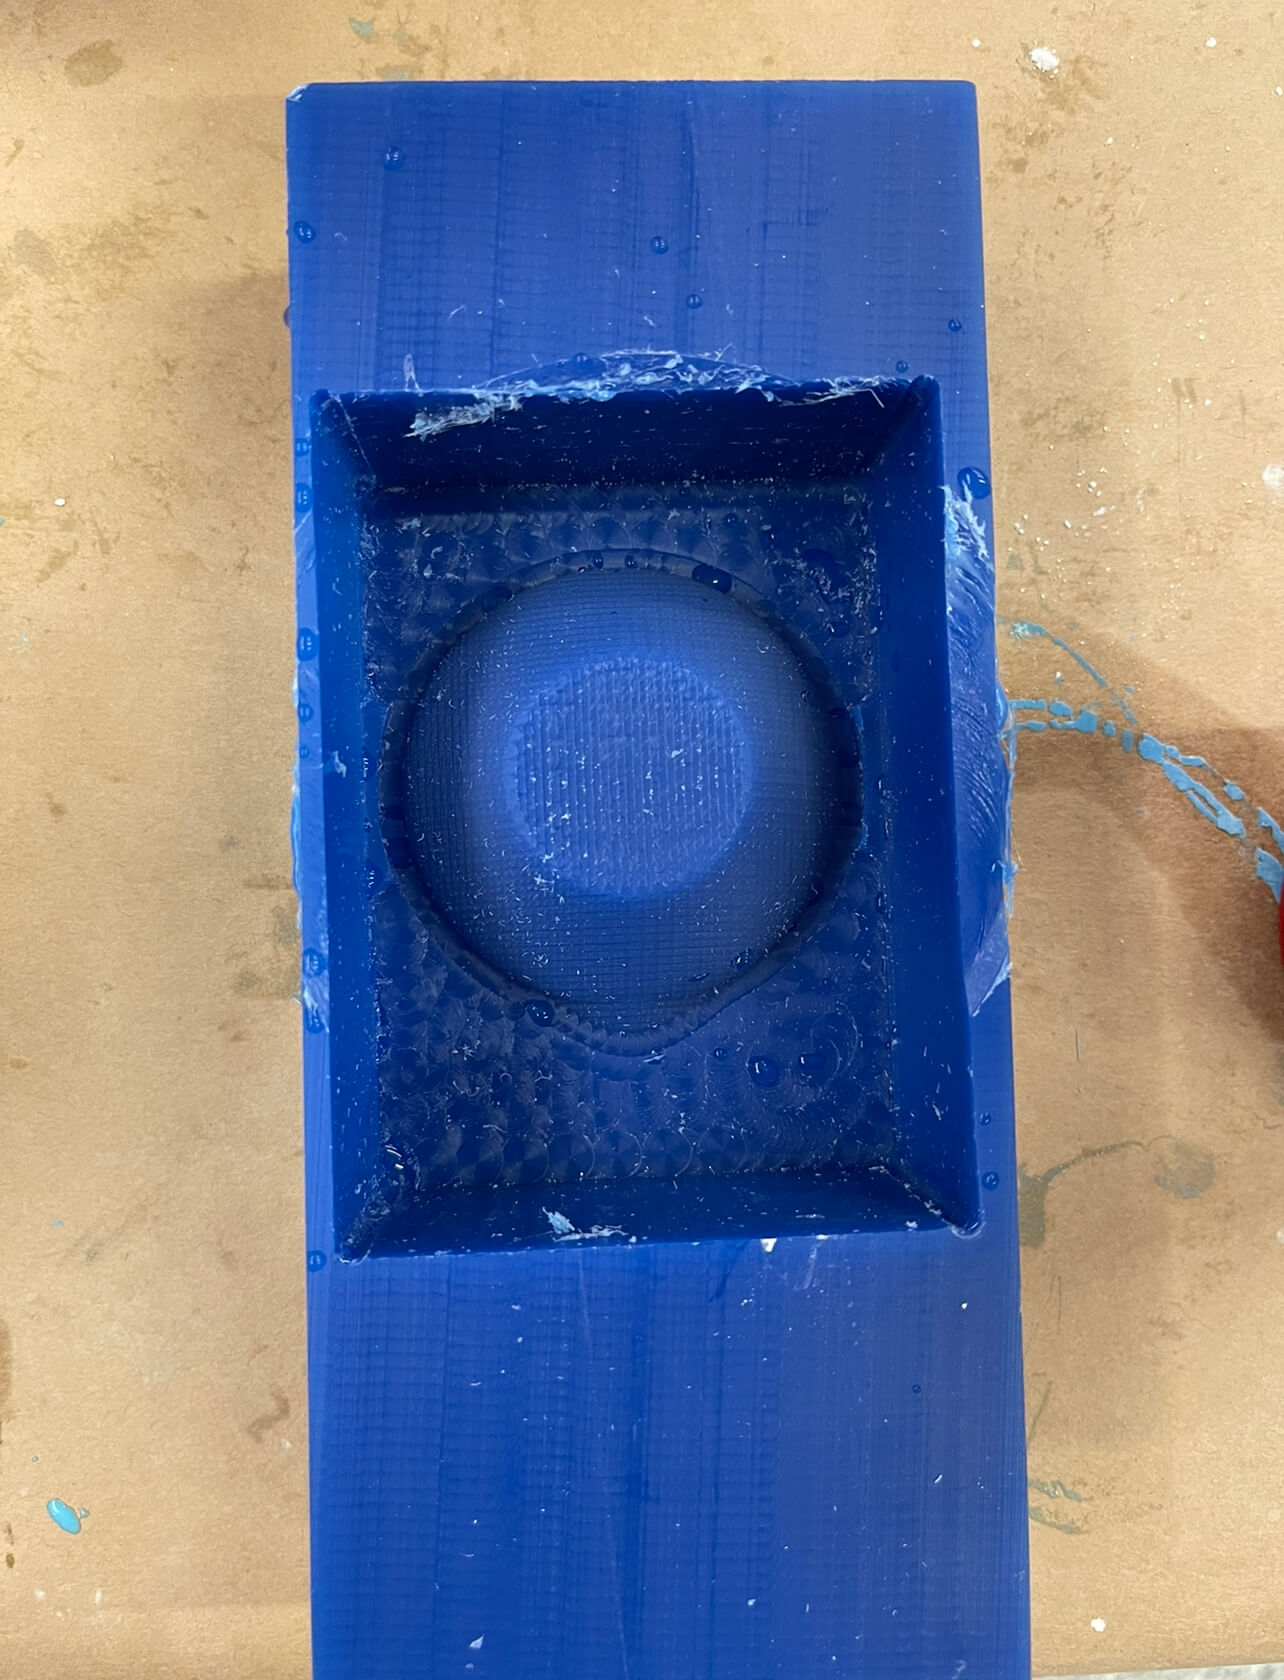
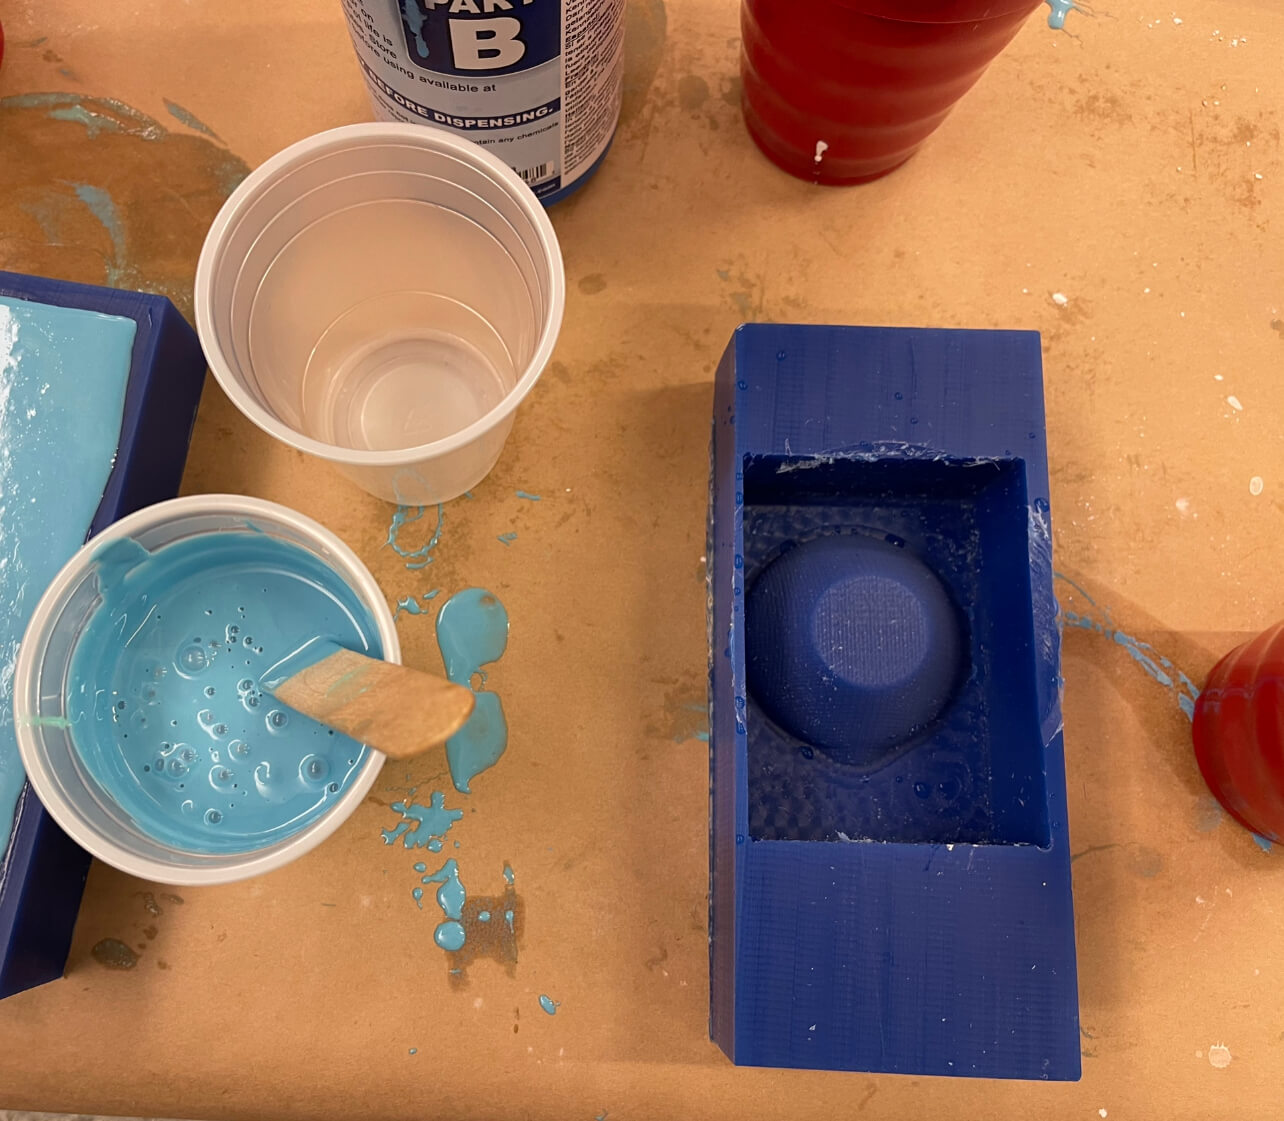
I then started the process of creating the flexible mold. For this part, we used a silicone rubber compound called Ooomoo. The mixture could be made by mixing Part A and B together in a 1:1 ratio. After this was mixed, I poured it into the wax mold and let it sit for a while (basically until whenever I could next come to lab).
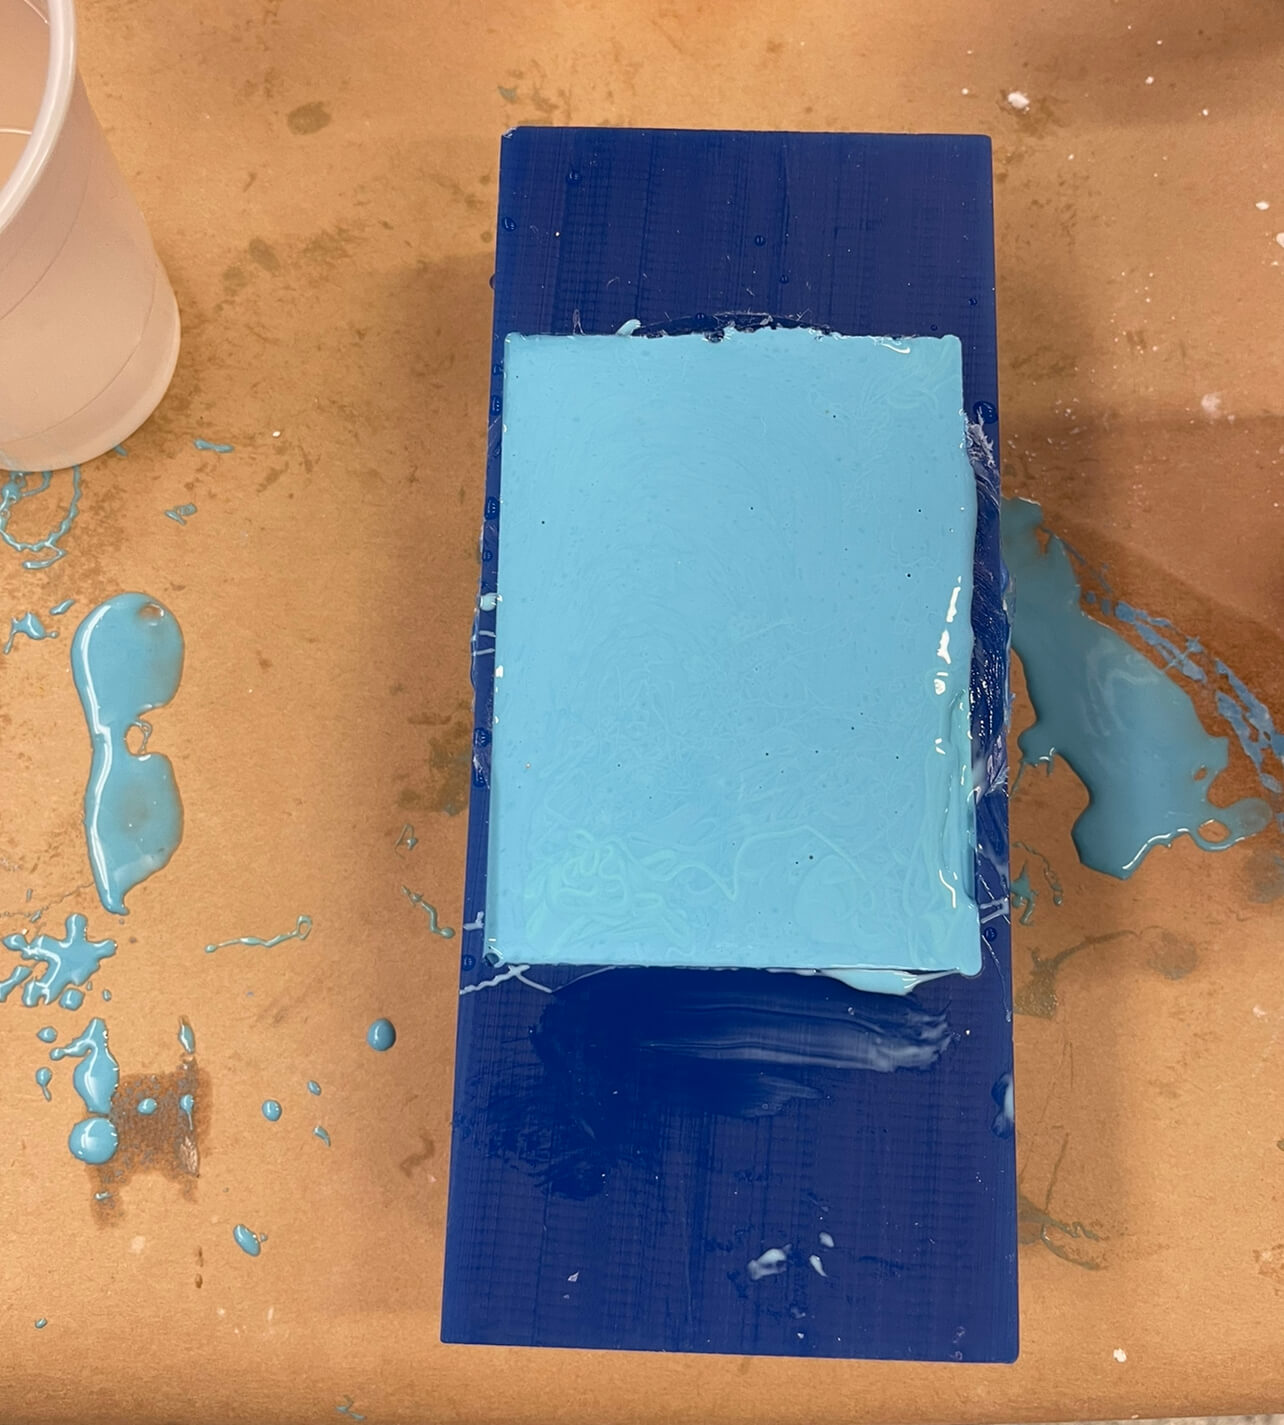
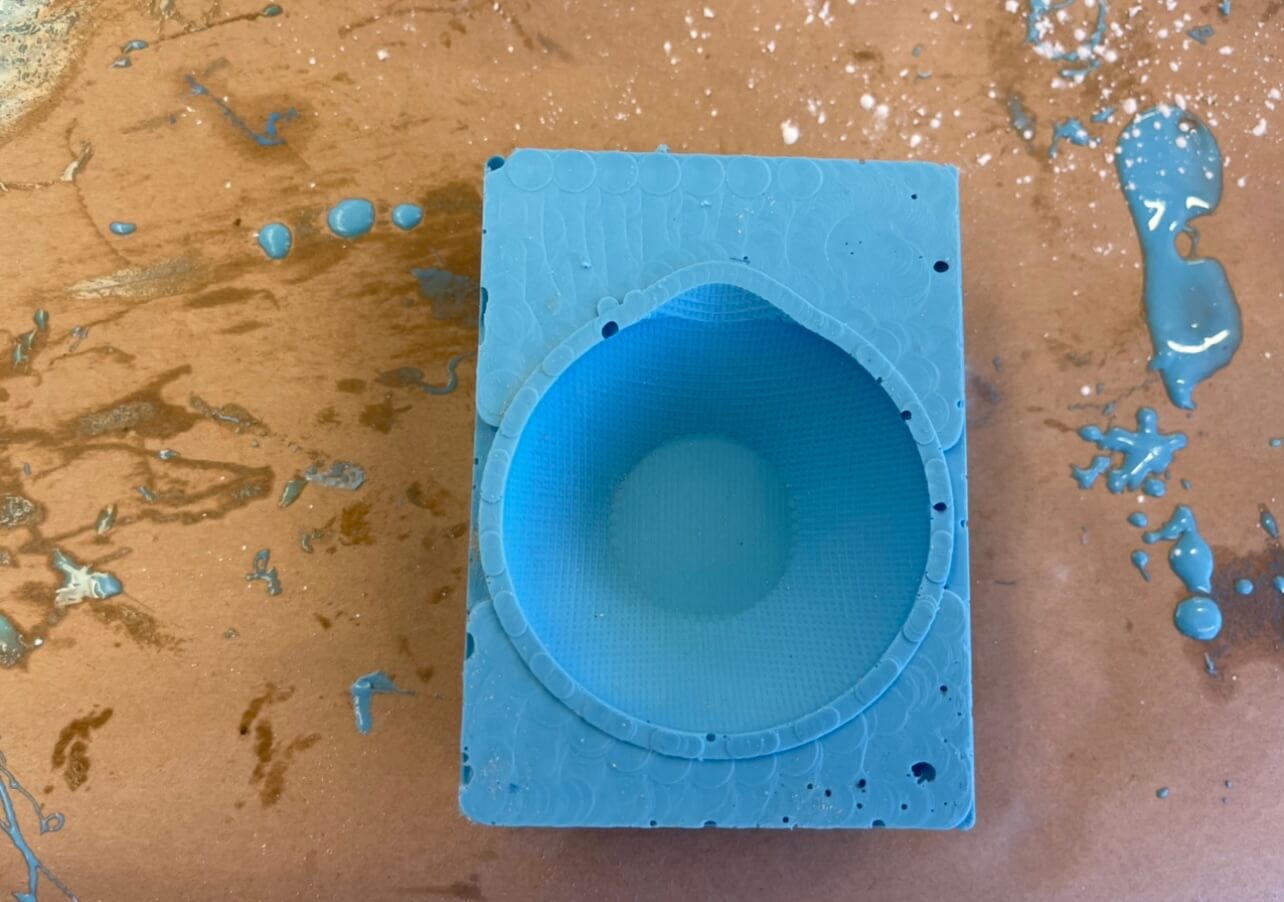
After it had cured, I removed it from the wax mold and voila! I then started prepping the drystone compound, which had to be mixed 32 parts water to 100 parts drystone. I used the scale to weigh the components, and slowly added the drystone to the water while continuously mixing. (Also, shoutout to Dave for letting me use his phone stand and apron!)
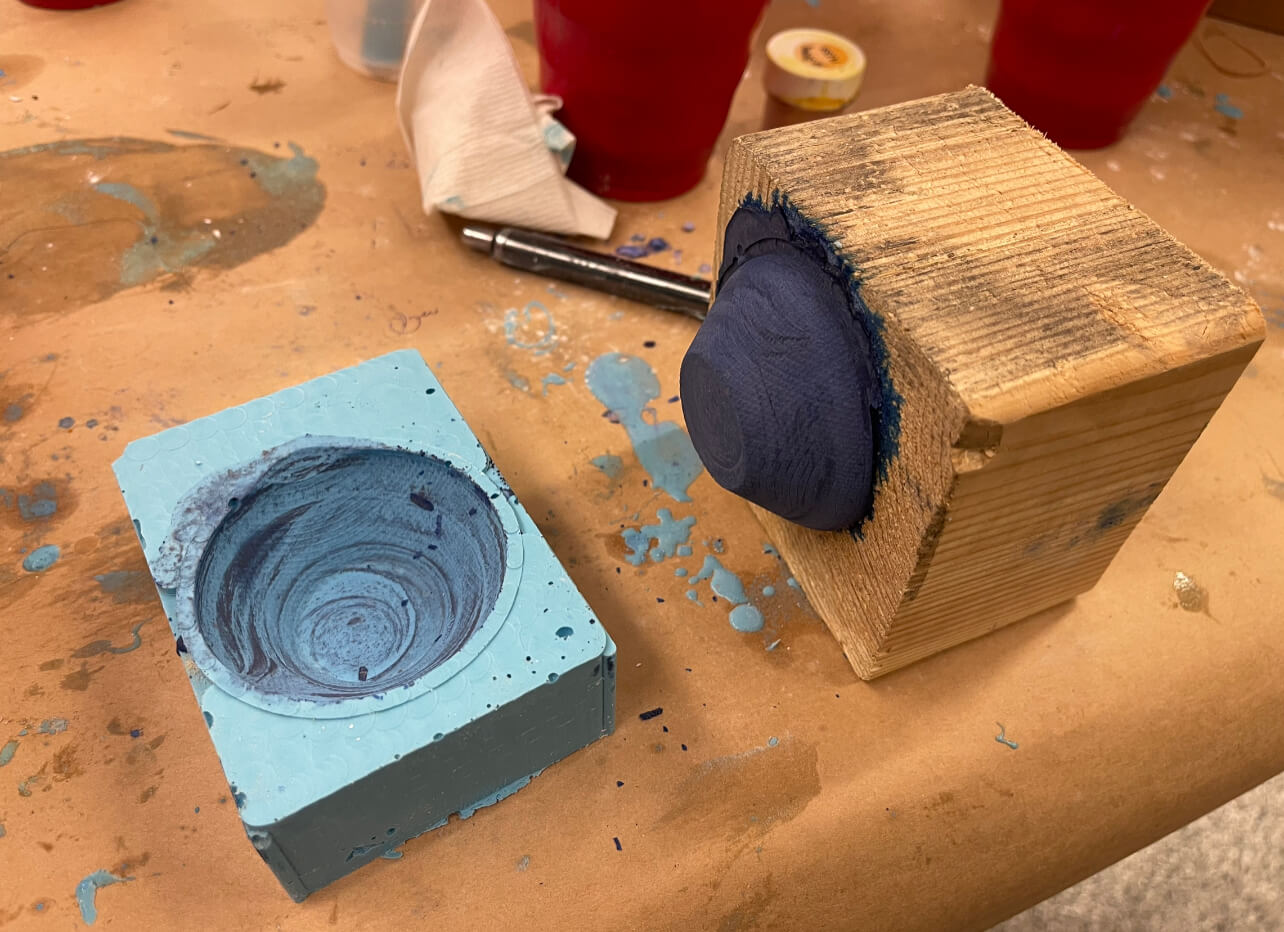
I chose to dye the compound with a mixture of indigo and purple. To create the lamp hollow, I first poured a layer of the compound inside the flexible mold, before placing the 3D printed part inside. I then continued pouring the rest of the compound while holding the part in place and placed a wooden block over the entire thing to make sure the printed part didn't float up.
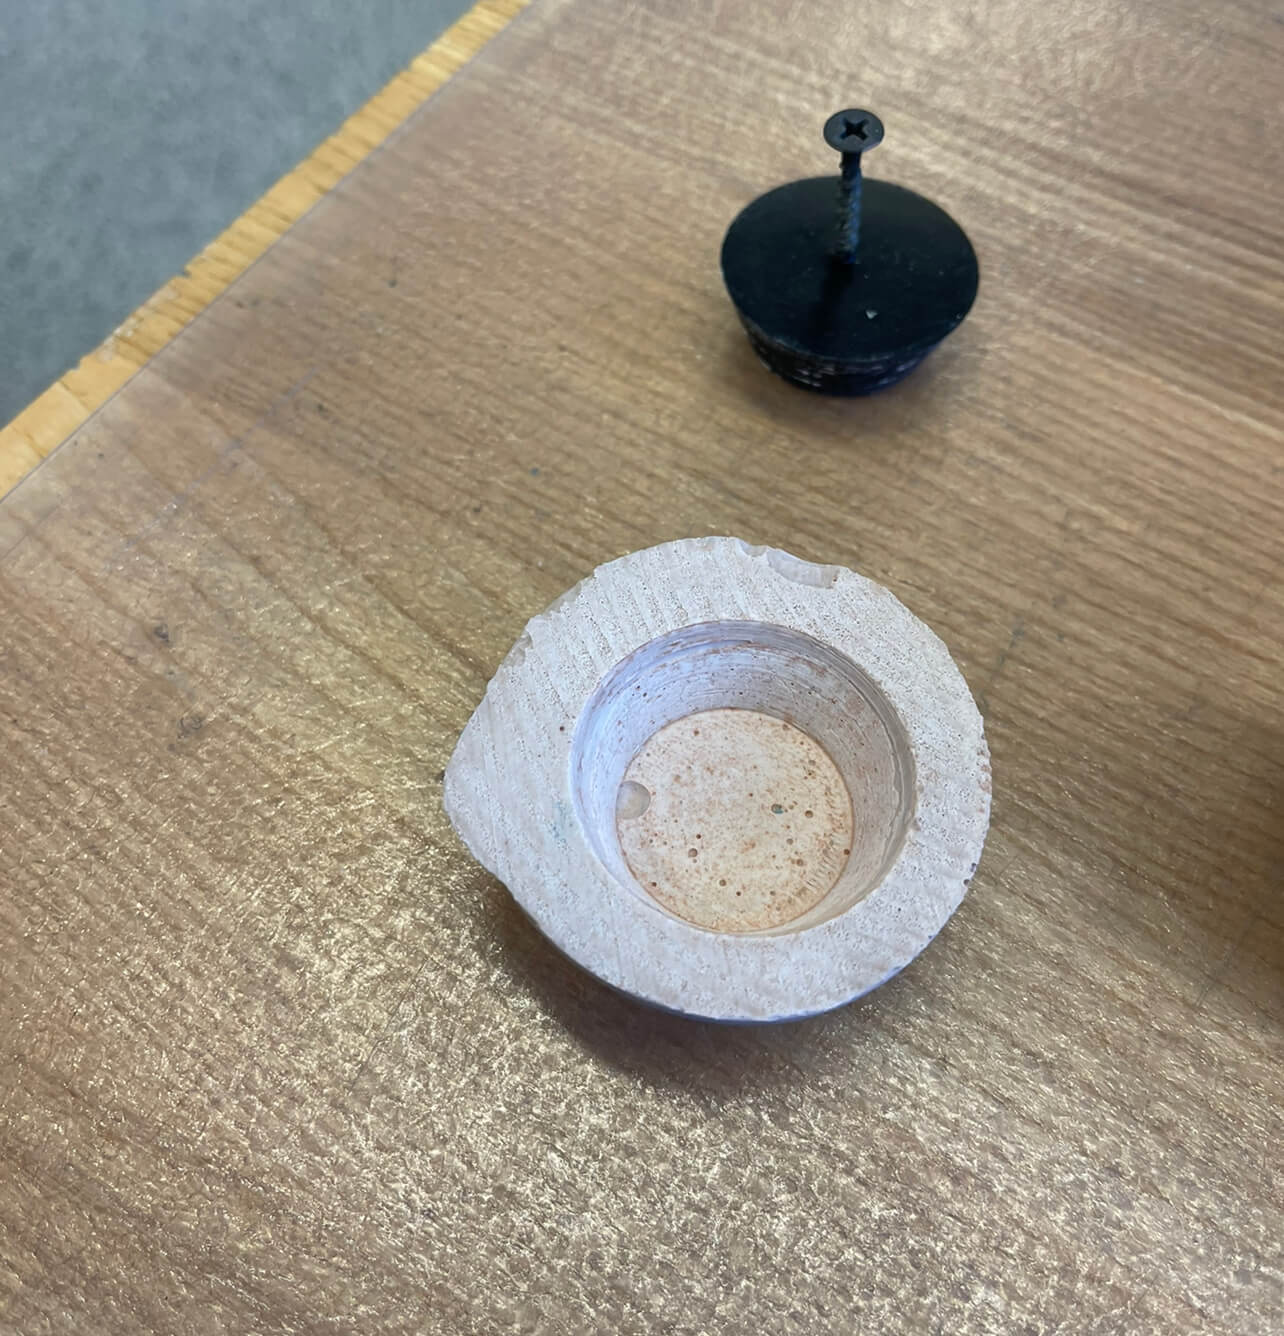
Unfortunately, I did not remember to put mold release on the block or the 3D print, so when I removed it, the lamp was fairly stuck, and it was almost impossible to get the print out without cracking the lamp (Anthony tried drilling a screw in it and yanking but no luck).
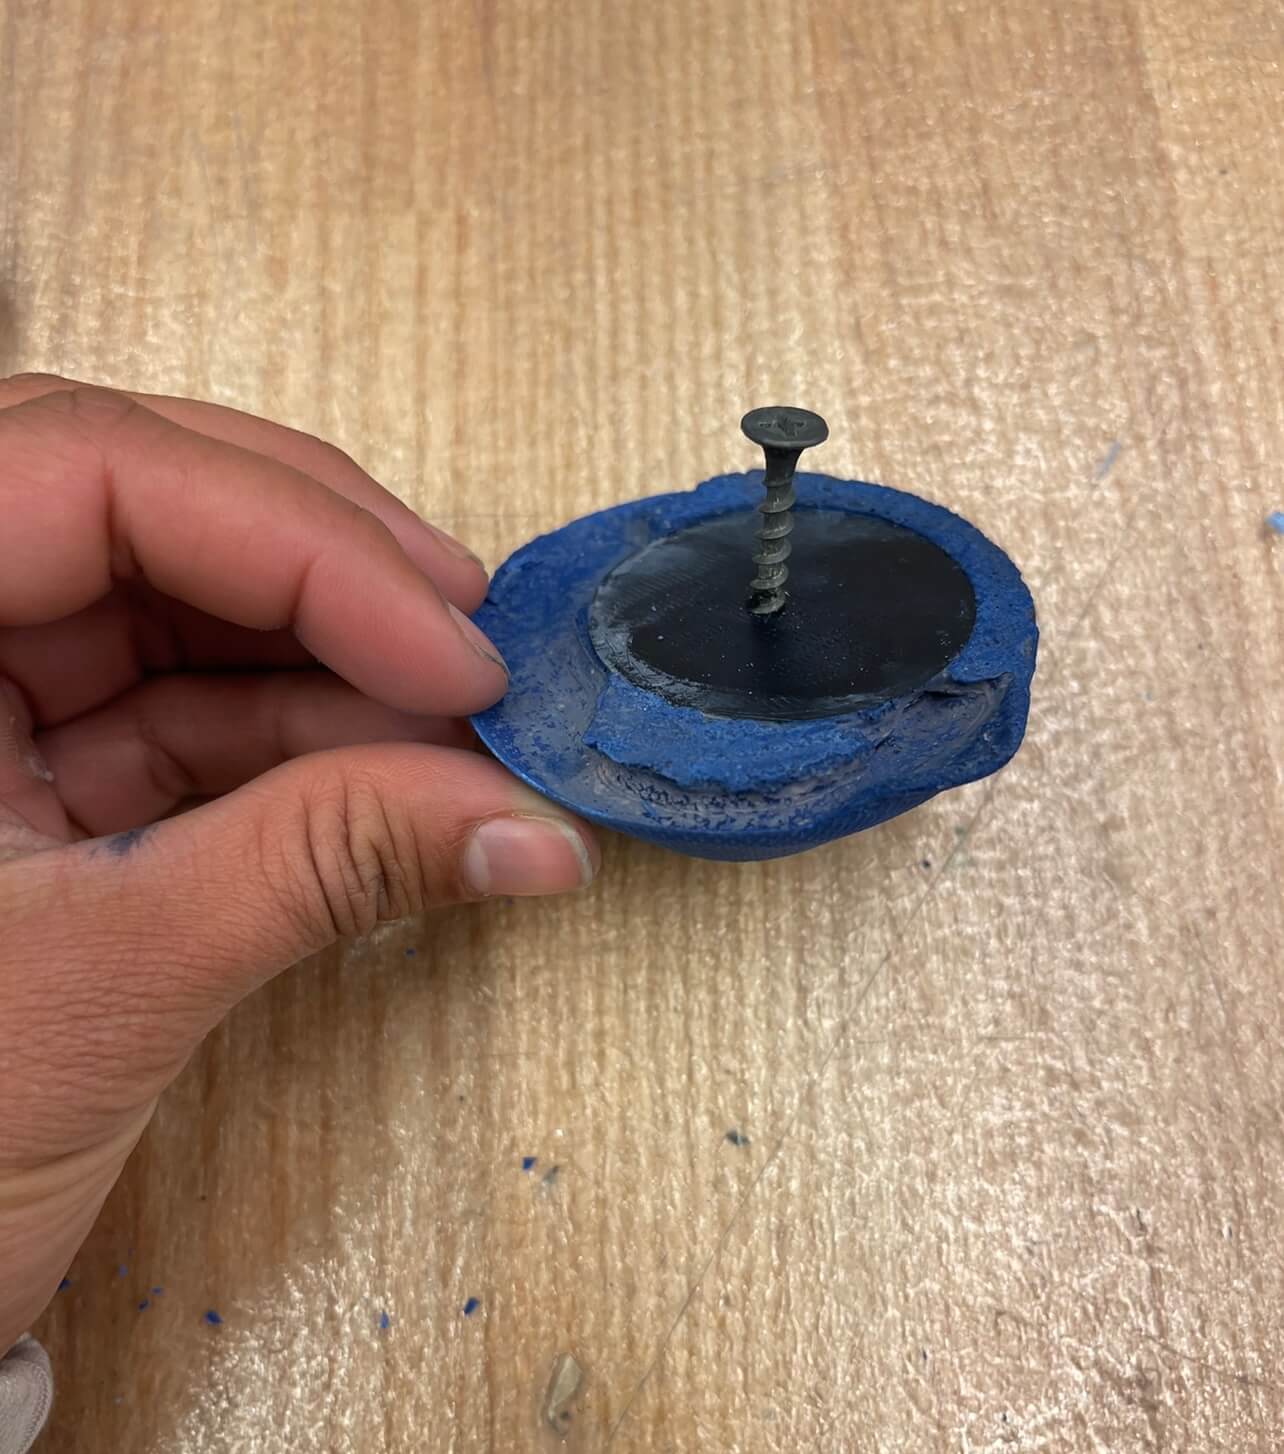
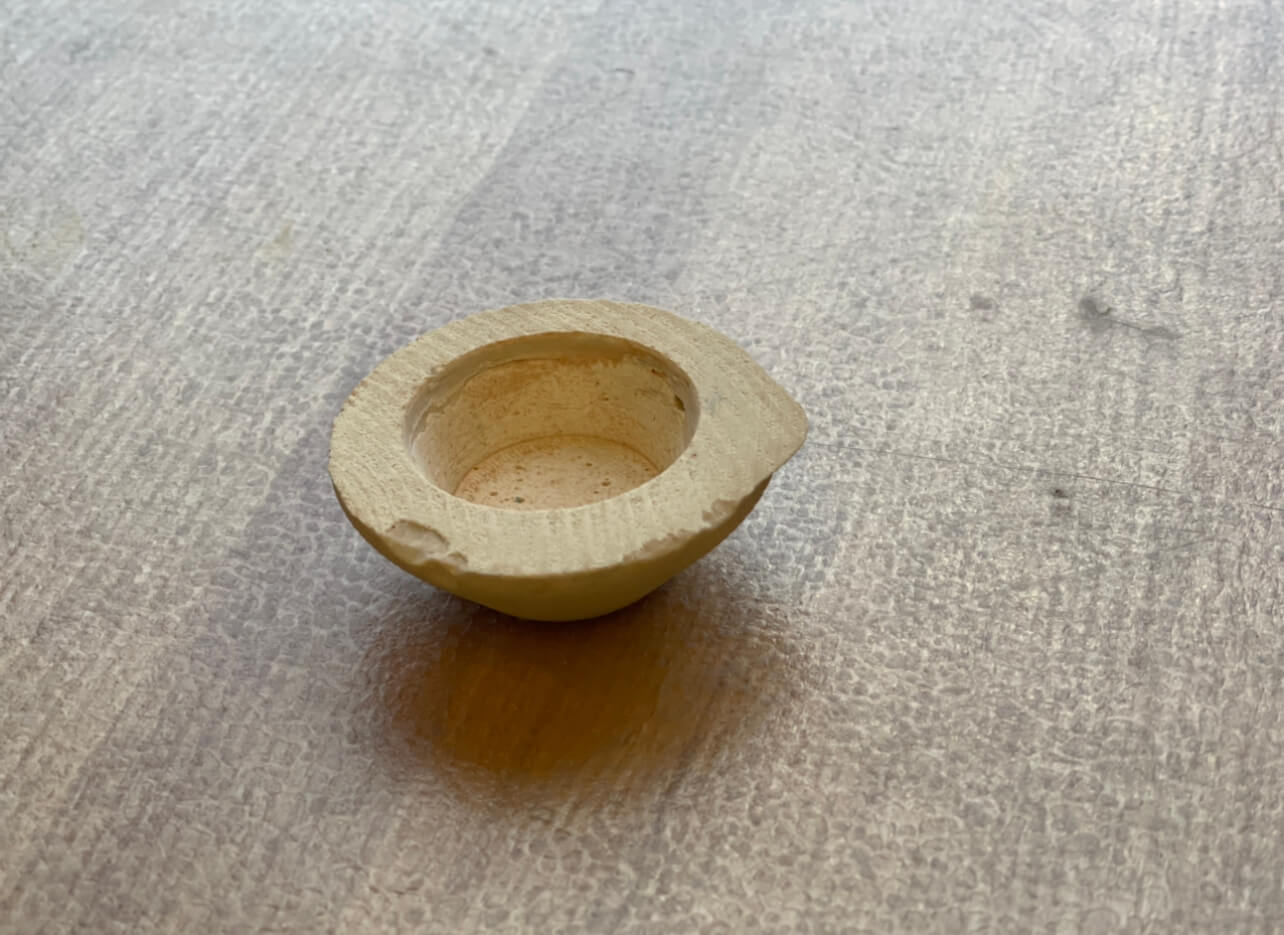
RIP me so I tried casting another one. This time, I definitely put mold release on everything I was supposed to and chose a different dye for the stone. The second time around, everything came out much easier (although I also accidentally dropped it and chipped the rim). We still needed to use the screw method for removing the center, but it popped out easily.
And here's the finished product! It's quite an ugly diya lamp for so much effort (and the rim came out uneven because the inner print drifted a little aha), but I'm glad the process did eventually work.