
3D Scanning and Printing
This week, our individual assignment was to design and 3D print a small object that could not be made subtractively, and then 3D scan an object. In terms of design, I chose to use Fusion 360. I'm not extremely experienced in CAD, but Fusion's interface is the easiest for me to interact with given my Macbook. Initially, I thought about creating a knot-type structure by sweeping a spline, and having a ball inside. I first used random bodies to create the spline, swept it, and then removed the objects.
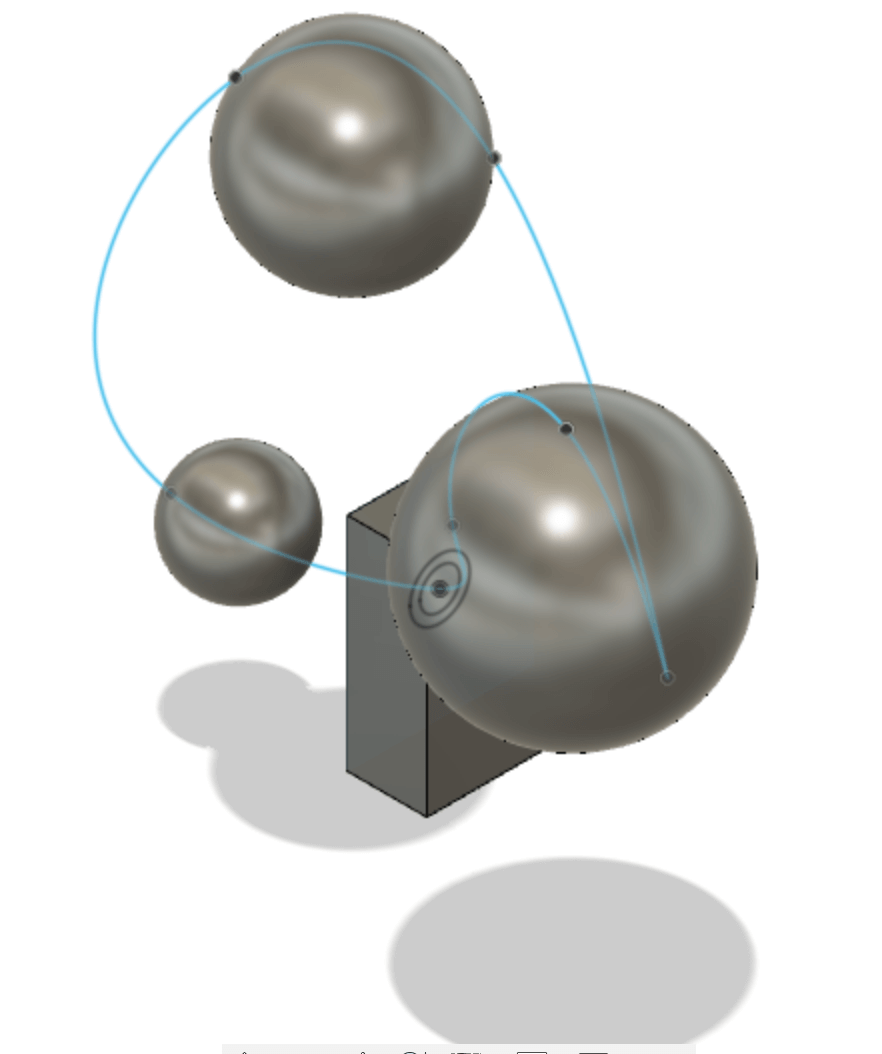
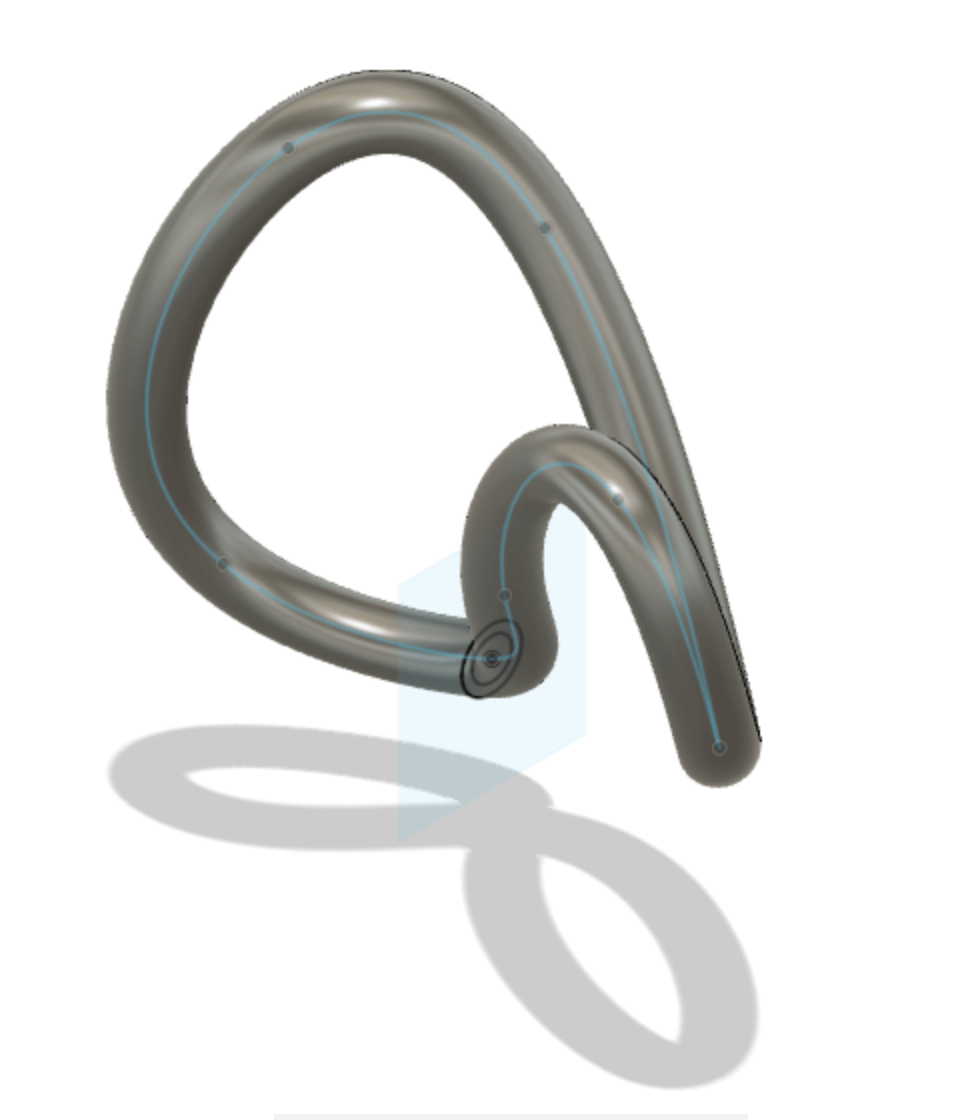
The biggest problems I ran into with this idea was positioning the ball inside the knot such that I could easily remove the support structures after the print. I tried putting a holed pattern on the surface of the knot for easier interior access, but it wasn't working as easily as I had hoped.

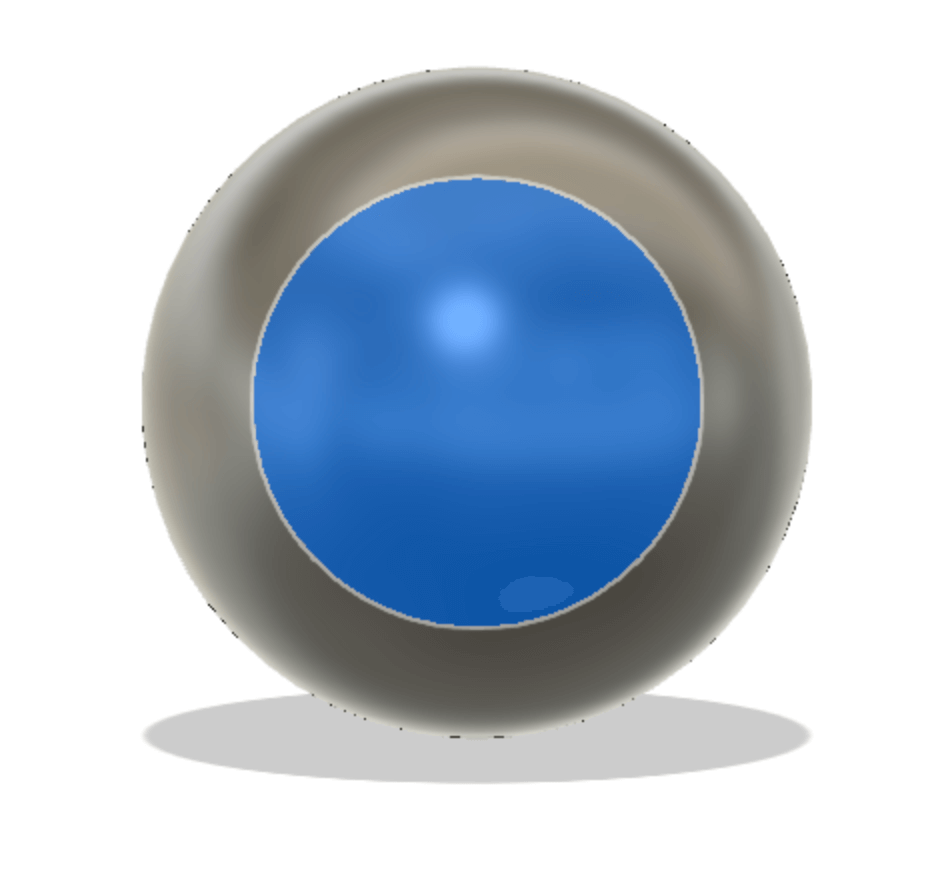
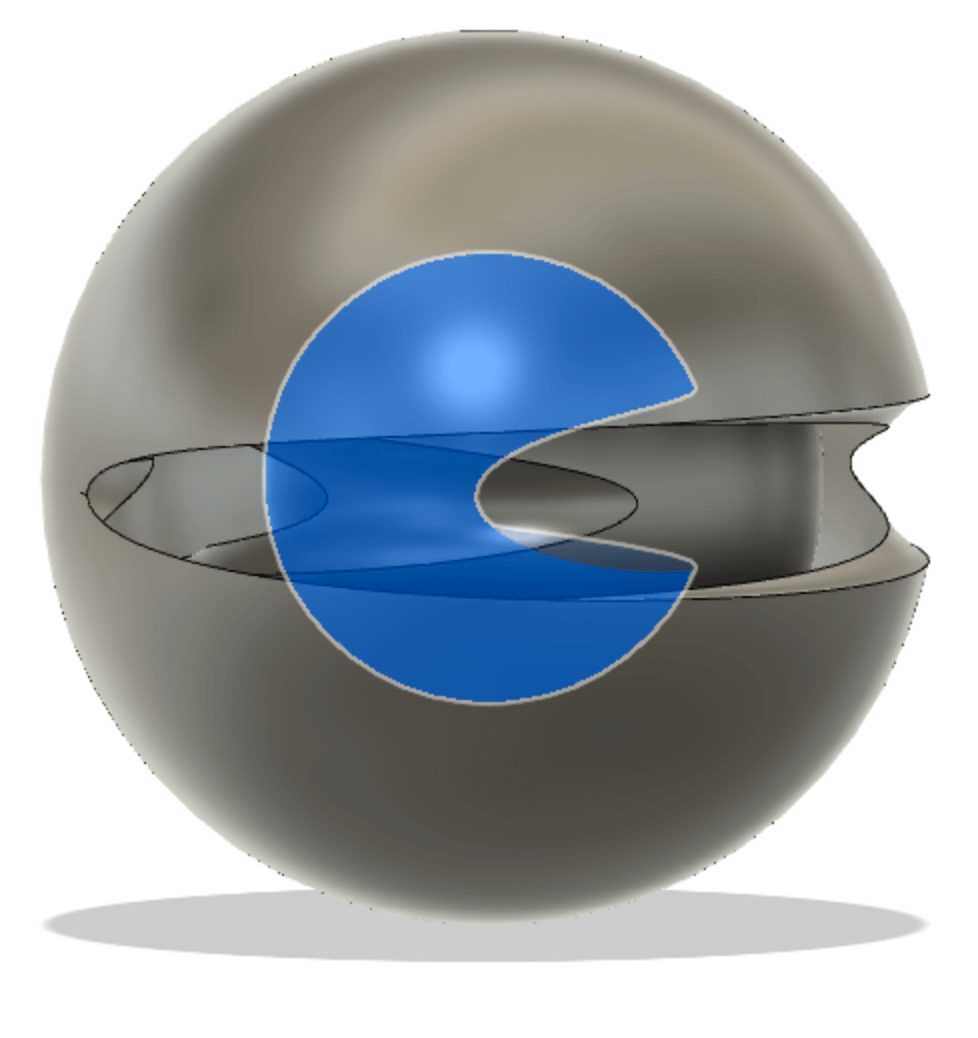
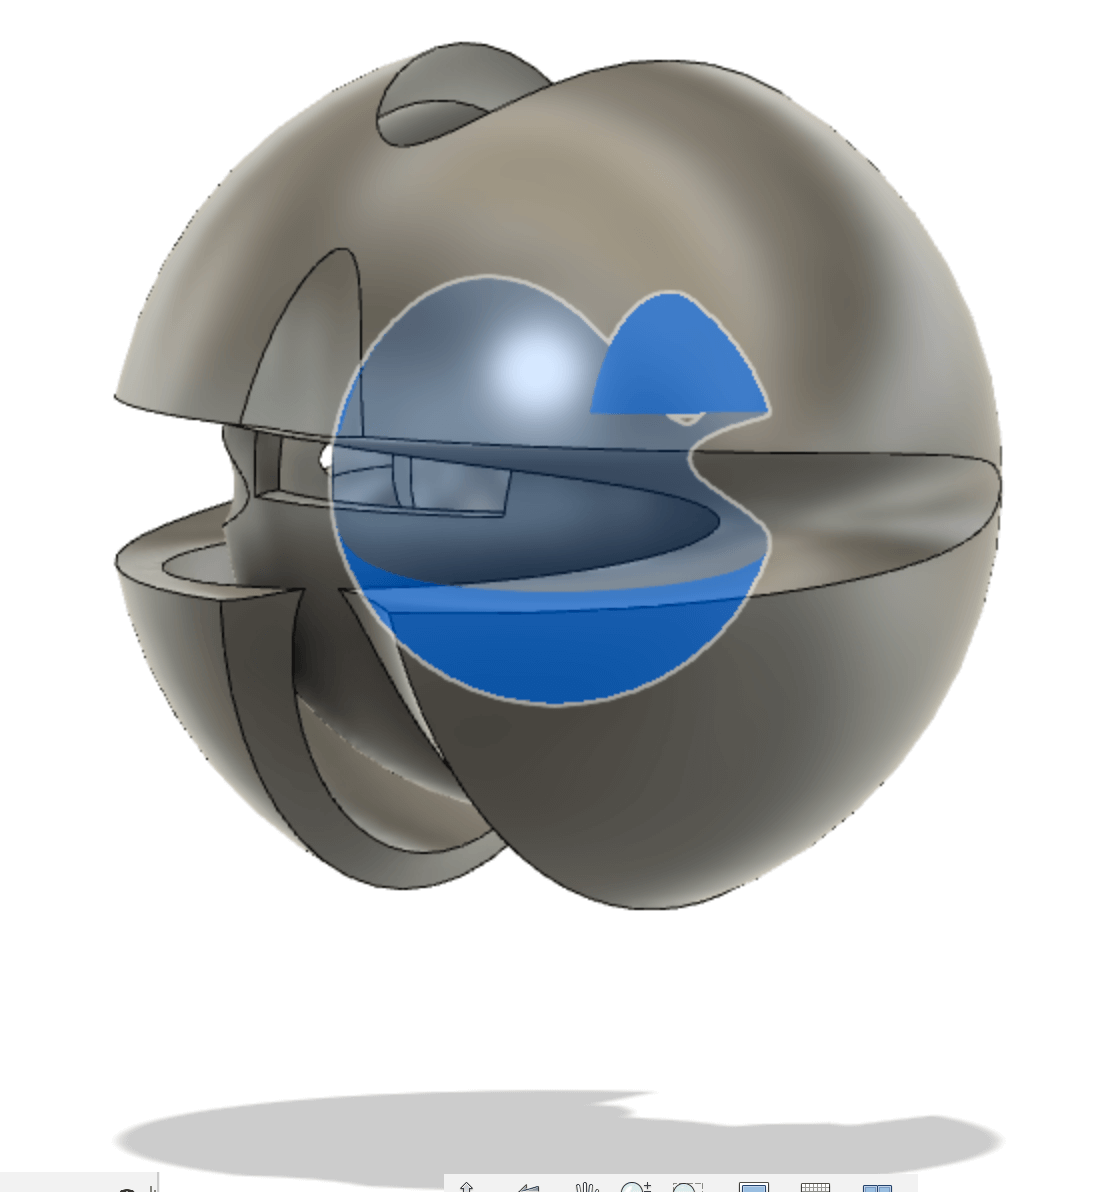
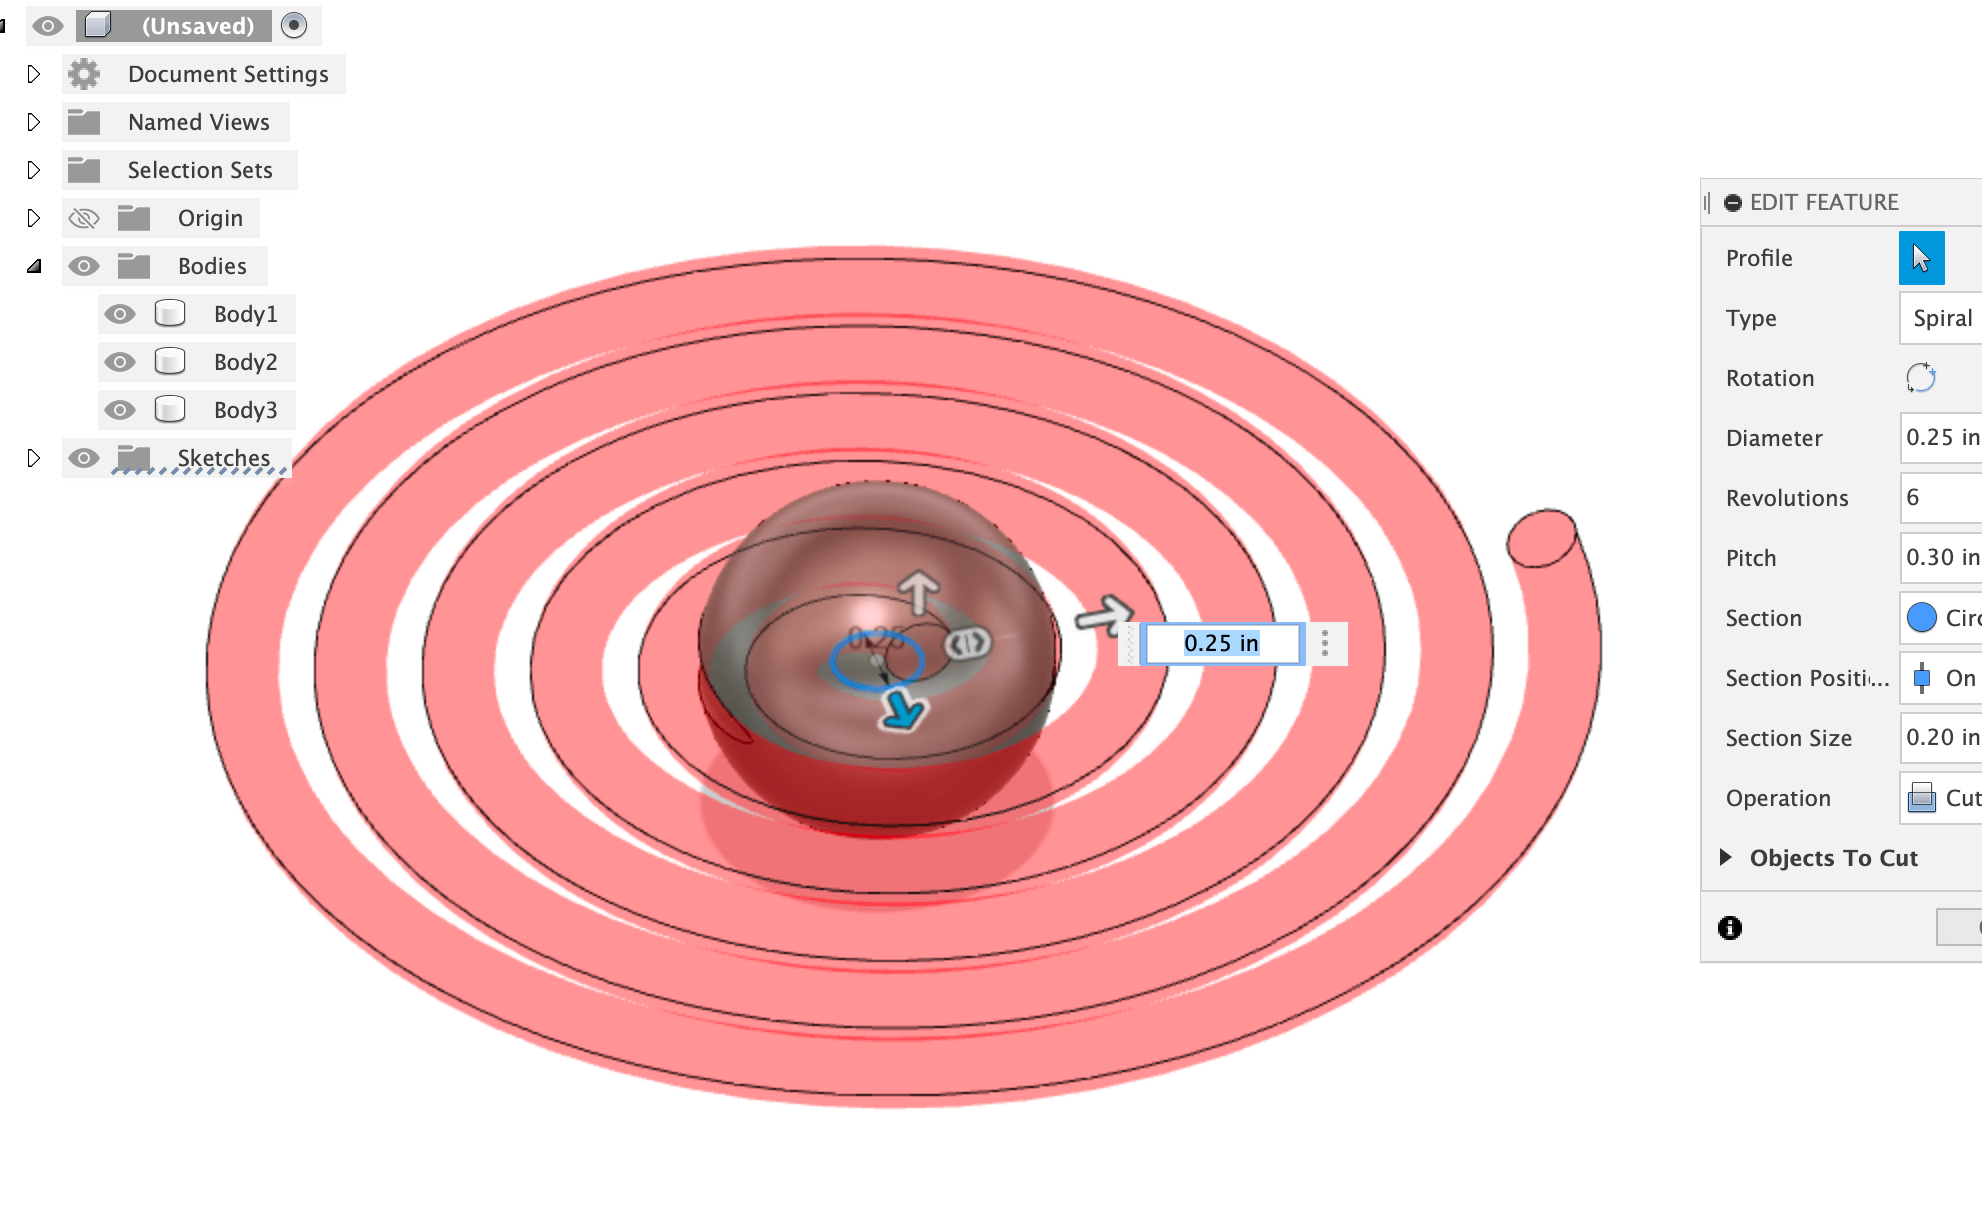
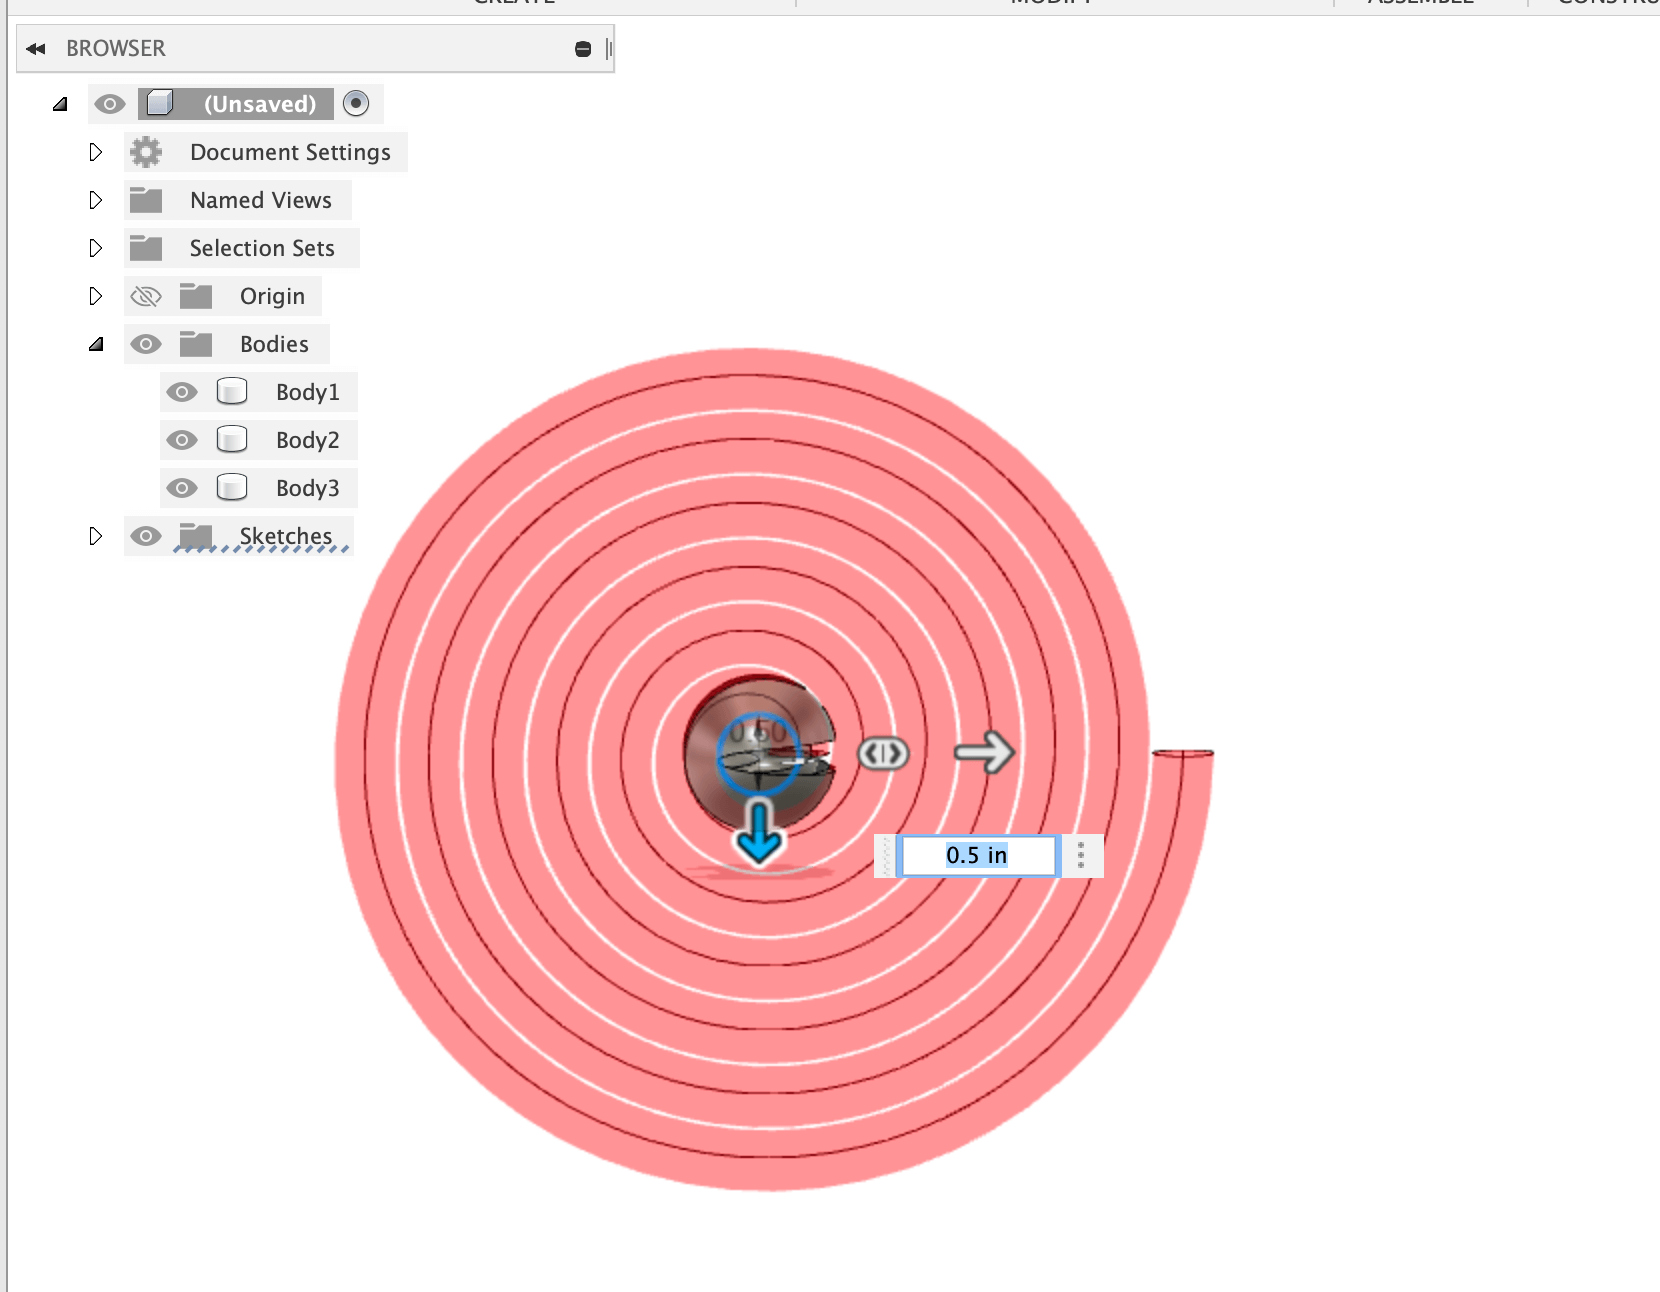
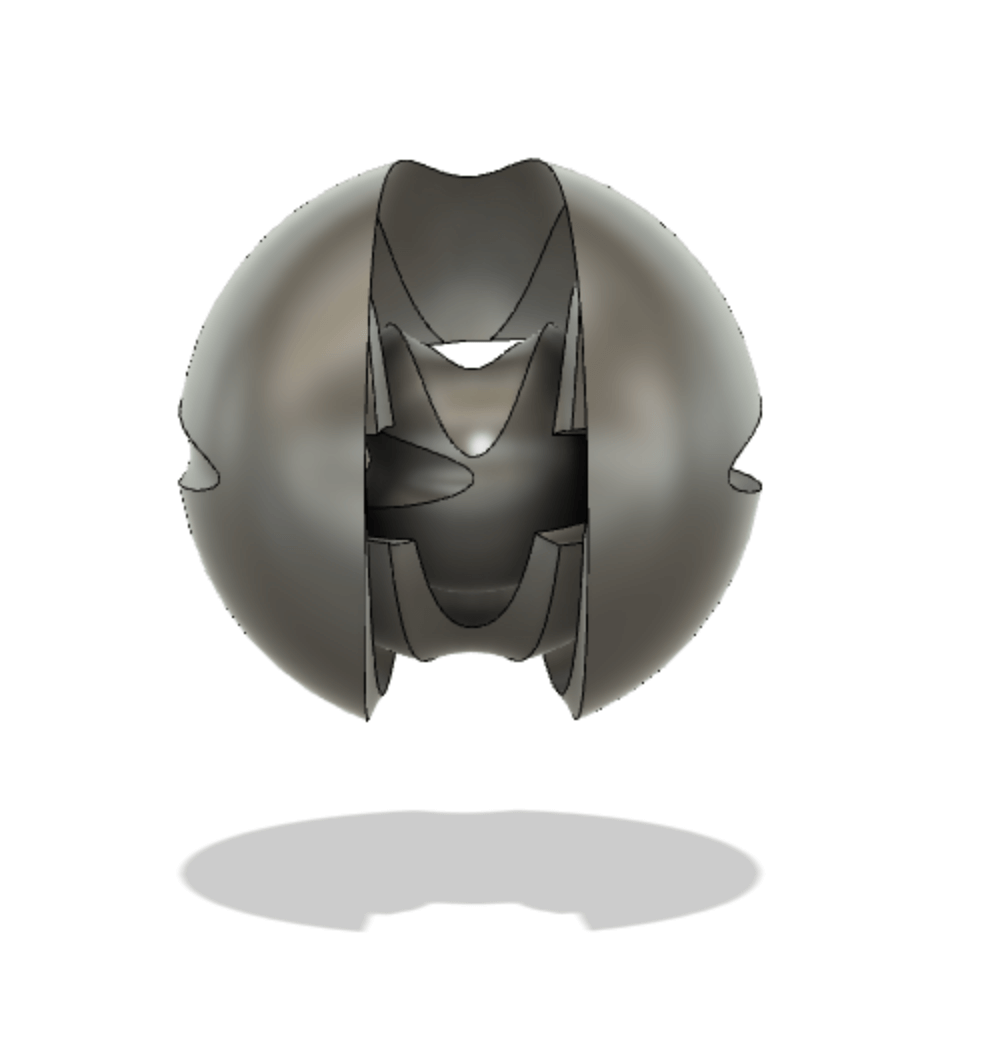
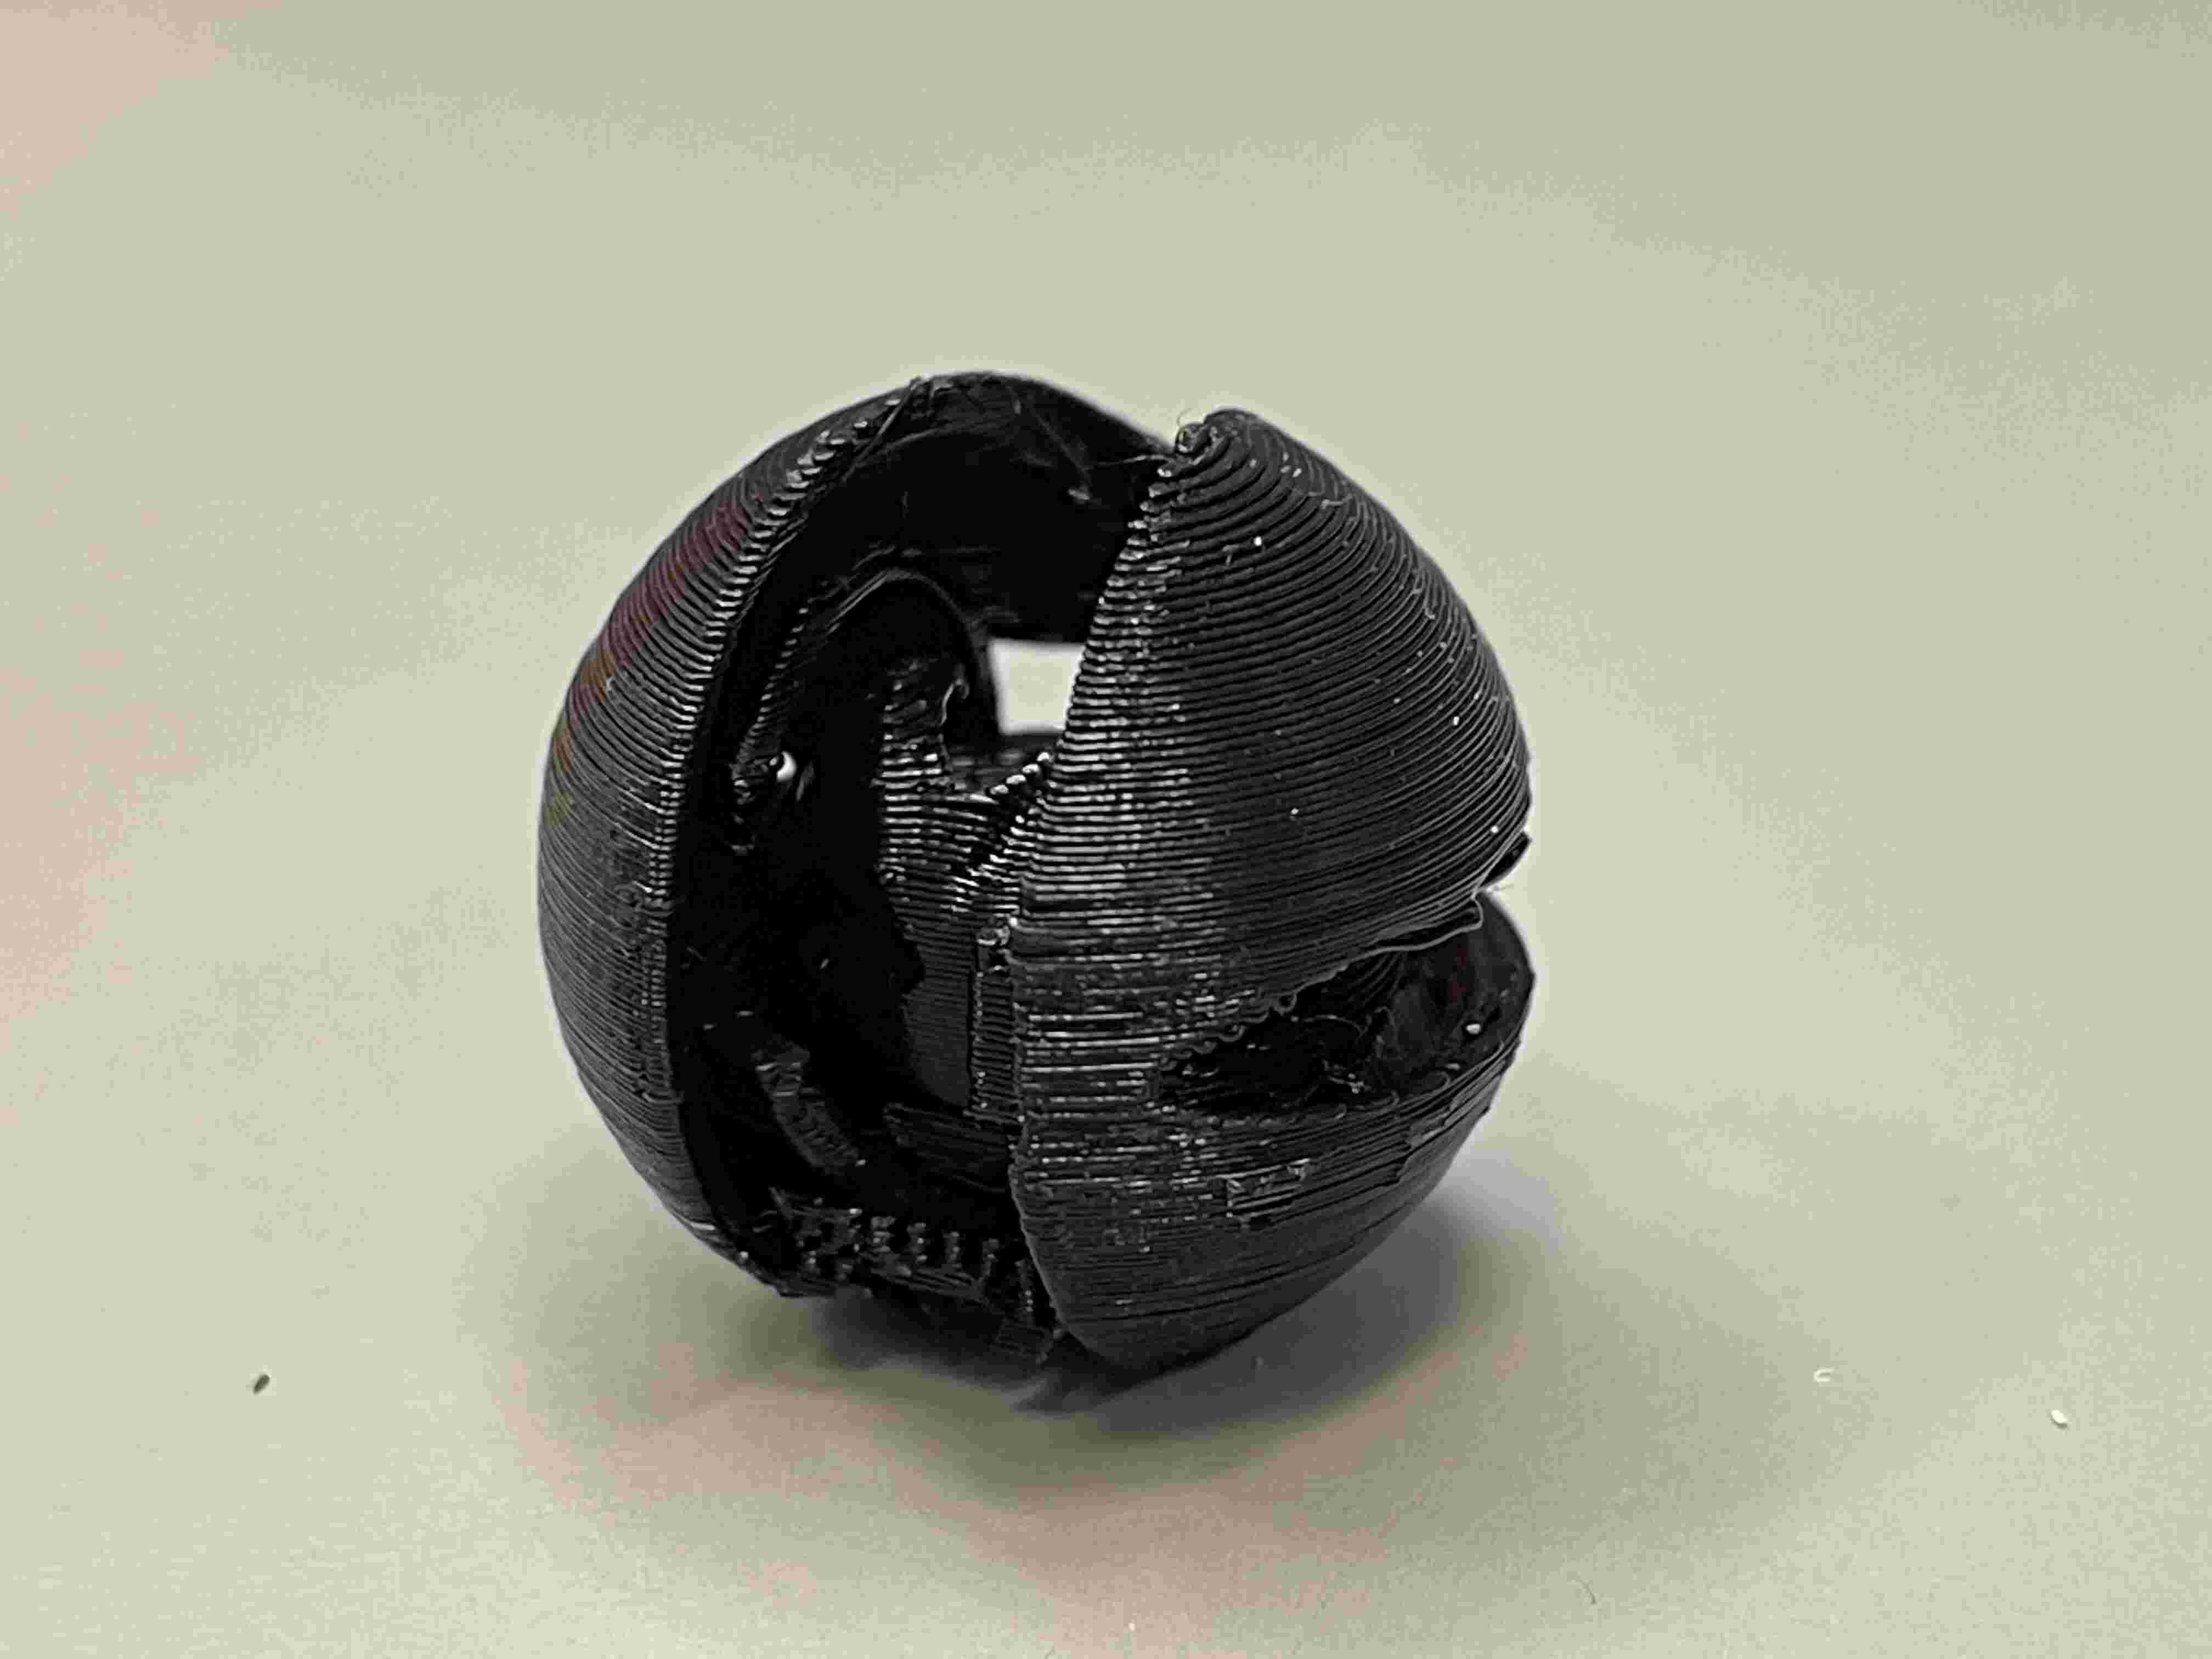
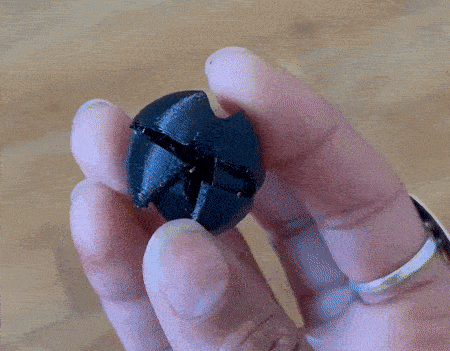
After a few hours, I decided to try pivoting to a different design. This time, I nested 3 spheres of increasing diameter (.5 in, .75 in, 1 in), and made each of them roughly .05 in thick. Then, I positioned two spiral coils around the nested spheres (one running top to bottom and the other running side to side) and performed a cut operation. This sliced the spheres in such a way that you could see inside each sphere to the next one. Additionally, the interior spheres were free to move within the exterior spheres.
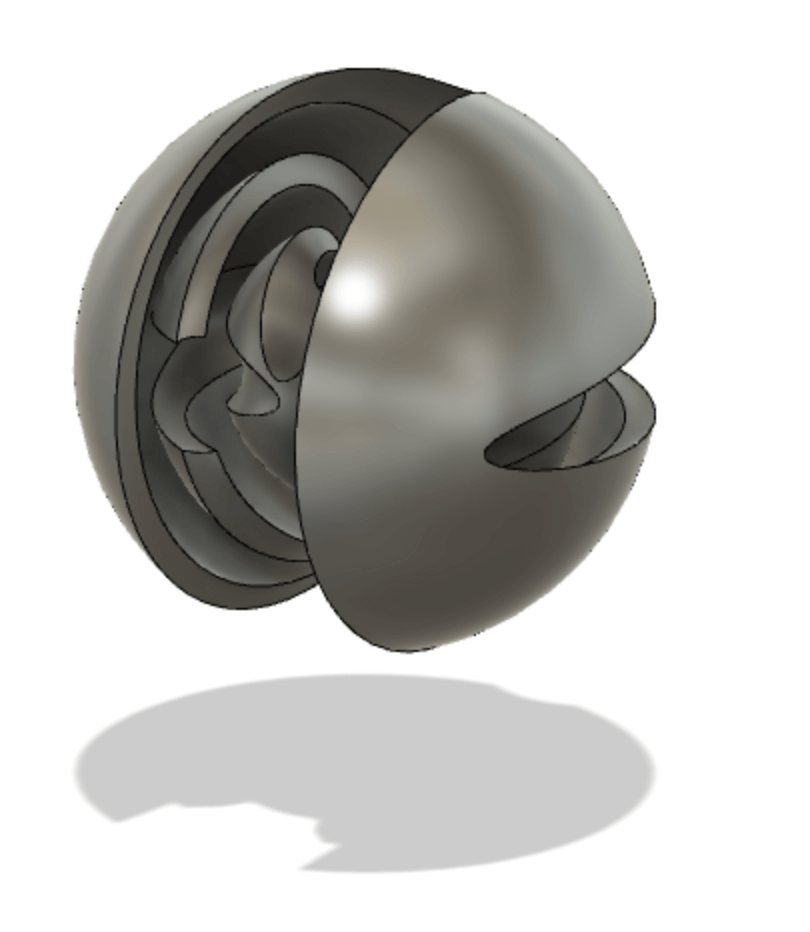
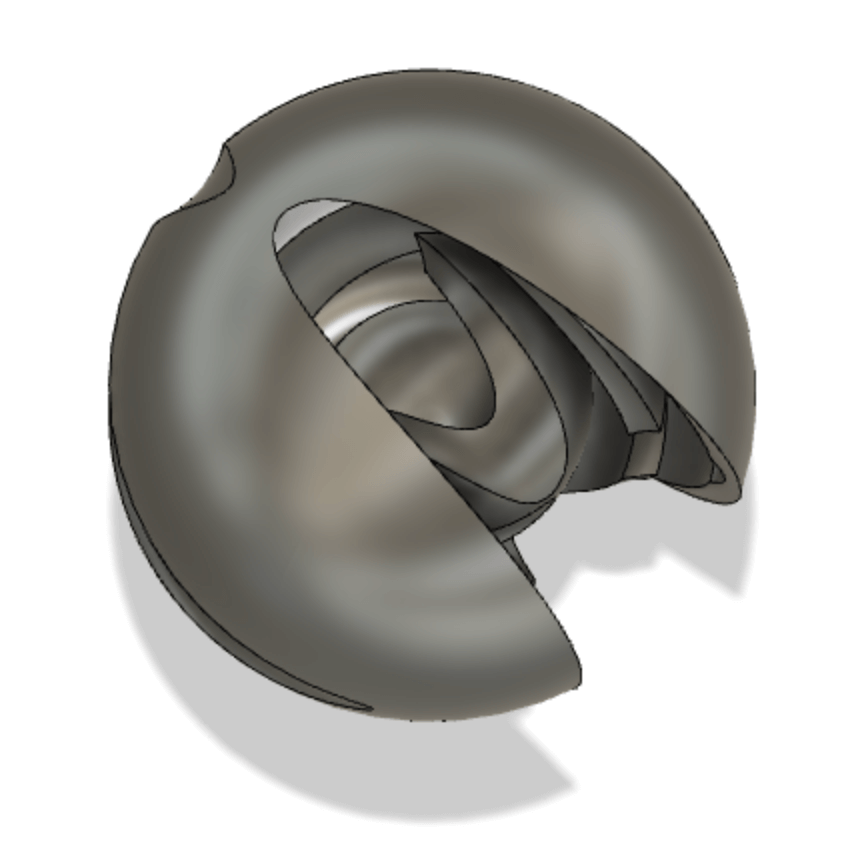
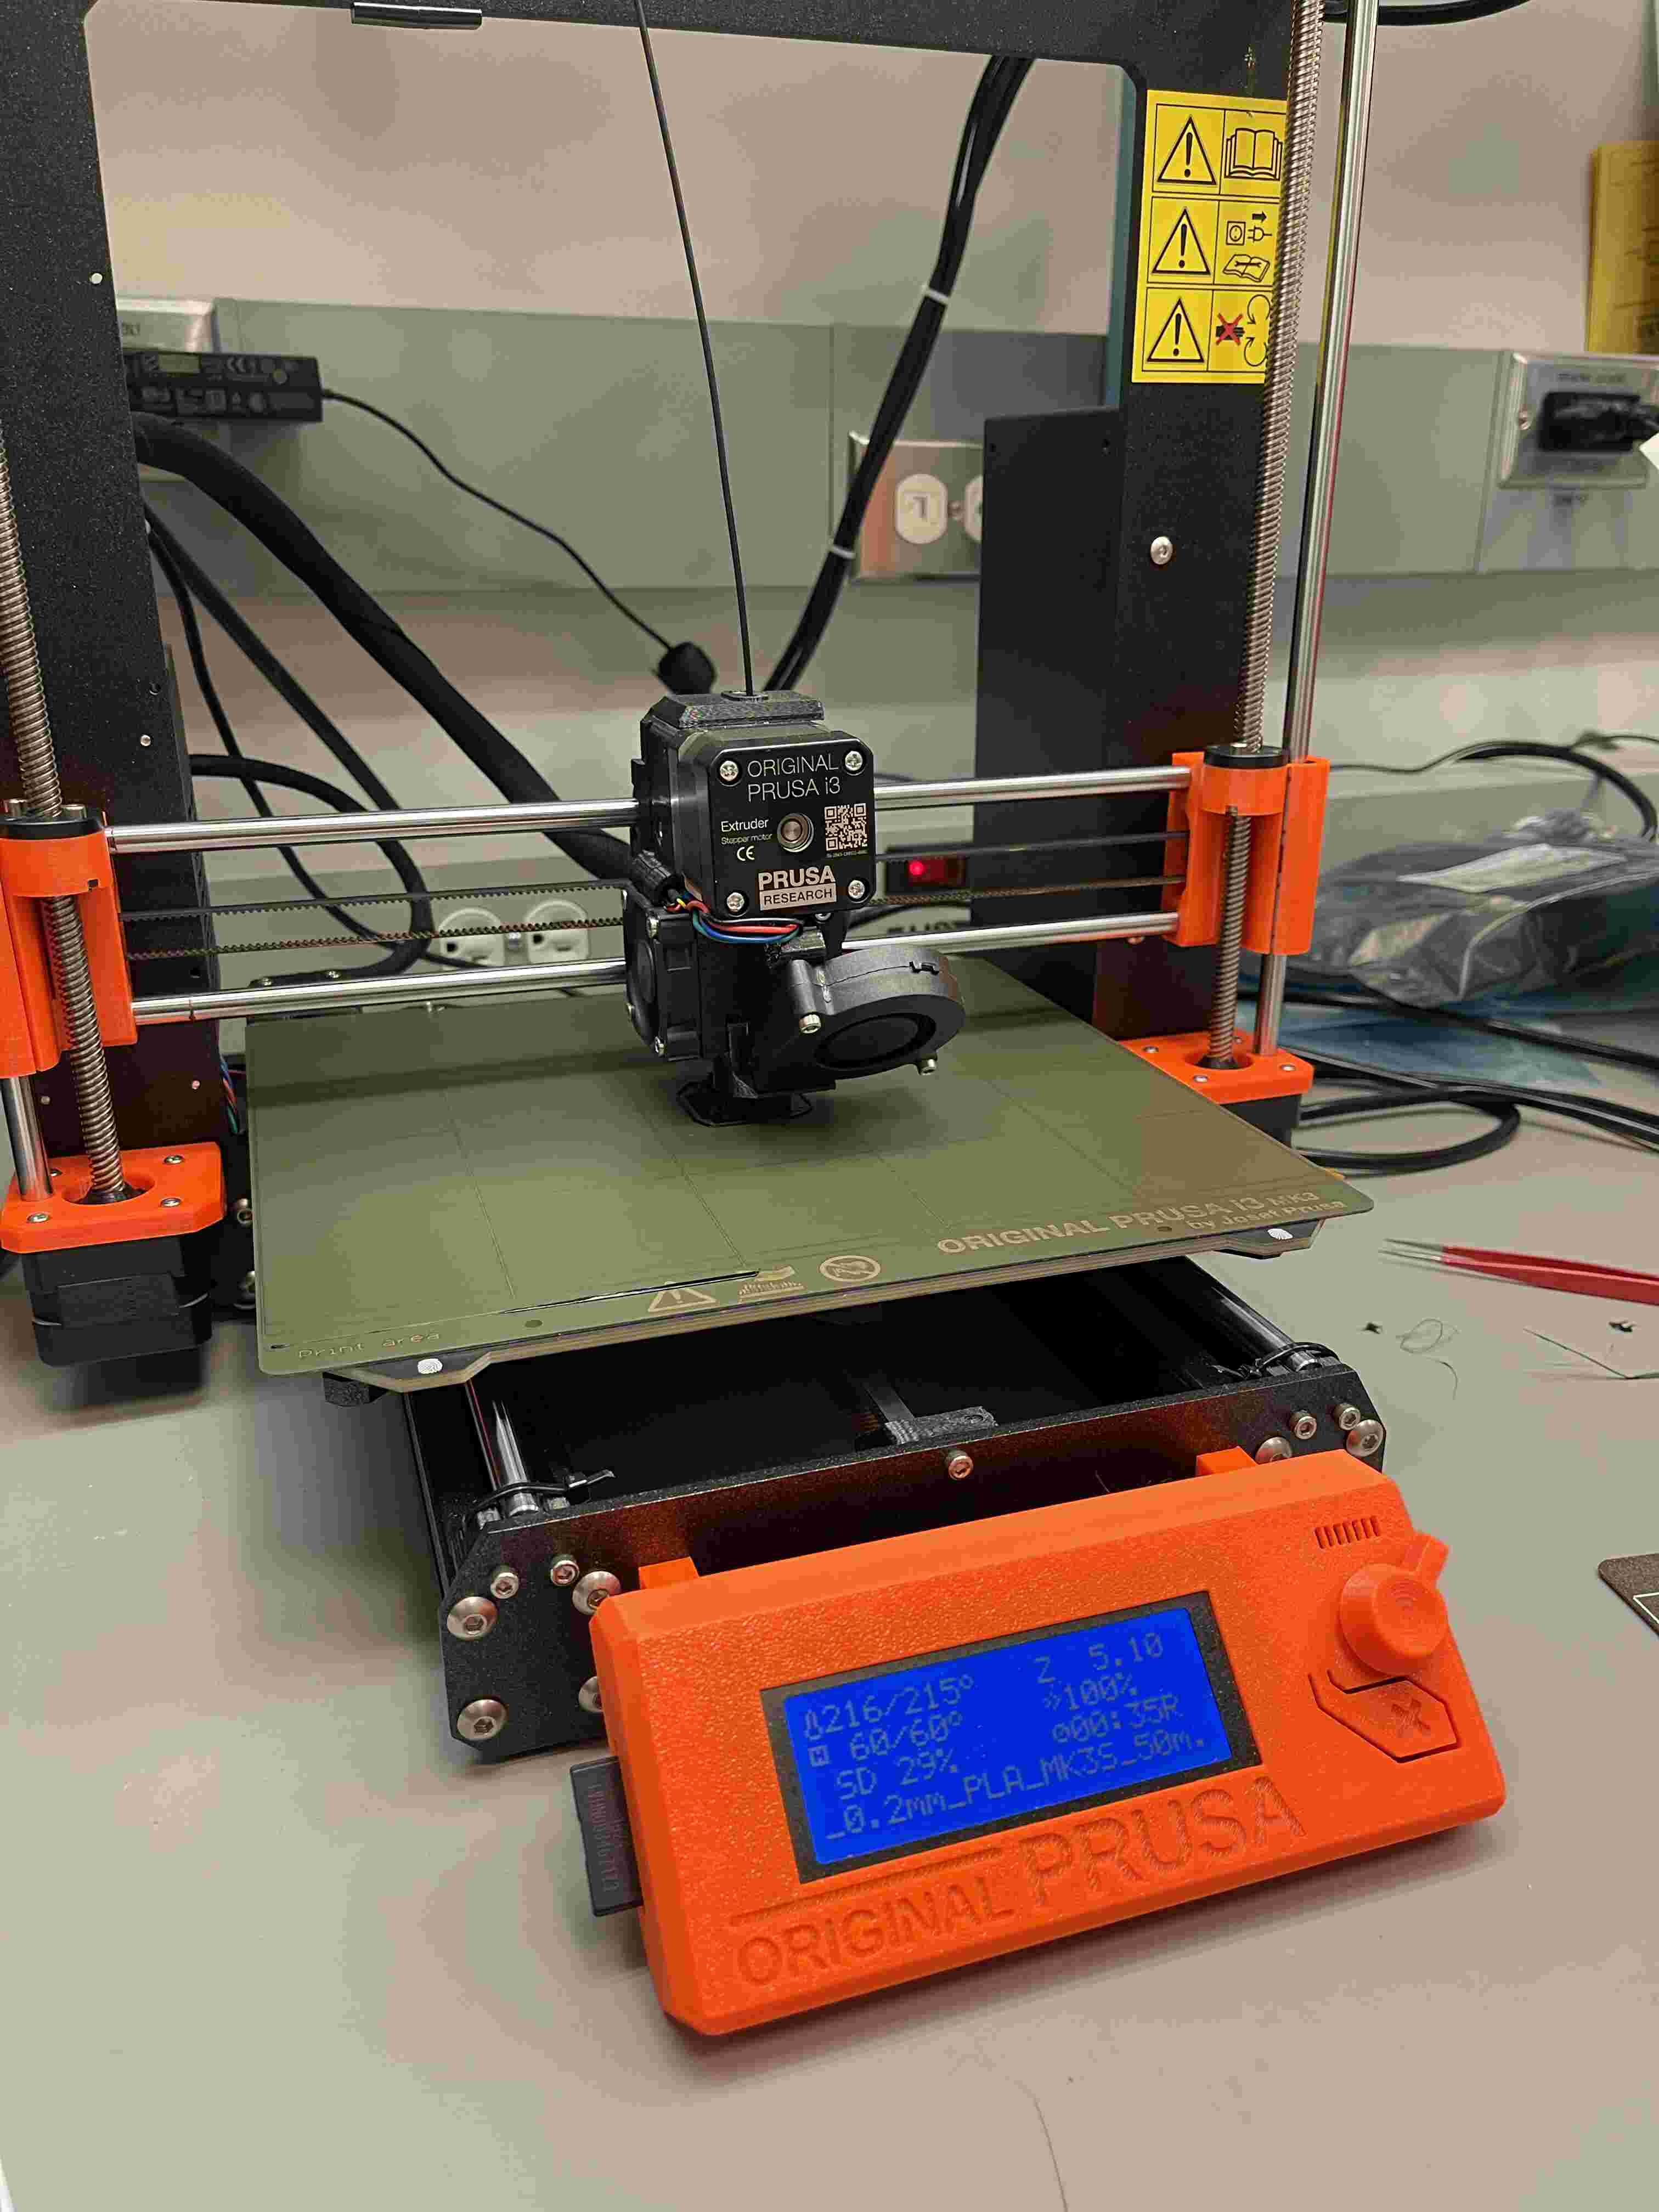
I printed the design on the Prusa with an infill of 15% and print settings of .20mm. I chose these because I thought it would strike a happy medium between sturdiness and print speed. Additionally, since the spheres were hollow I went with a lower infill value. Because of the curved surfaces, I needed to generate build support for the object.

The print time took roughly 50 minutes. However, after it was finished printing I failed to consider how difficult it would be to remove the build support. The cuts created by the coils formed a narrow corners in the exterior sphere, and while removing the support I sadly snapped part of the sphere off.
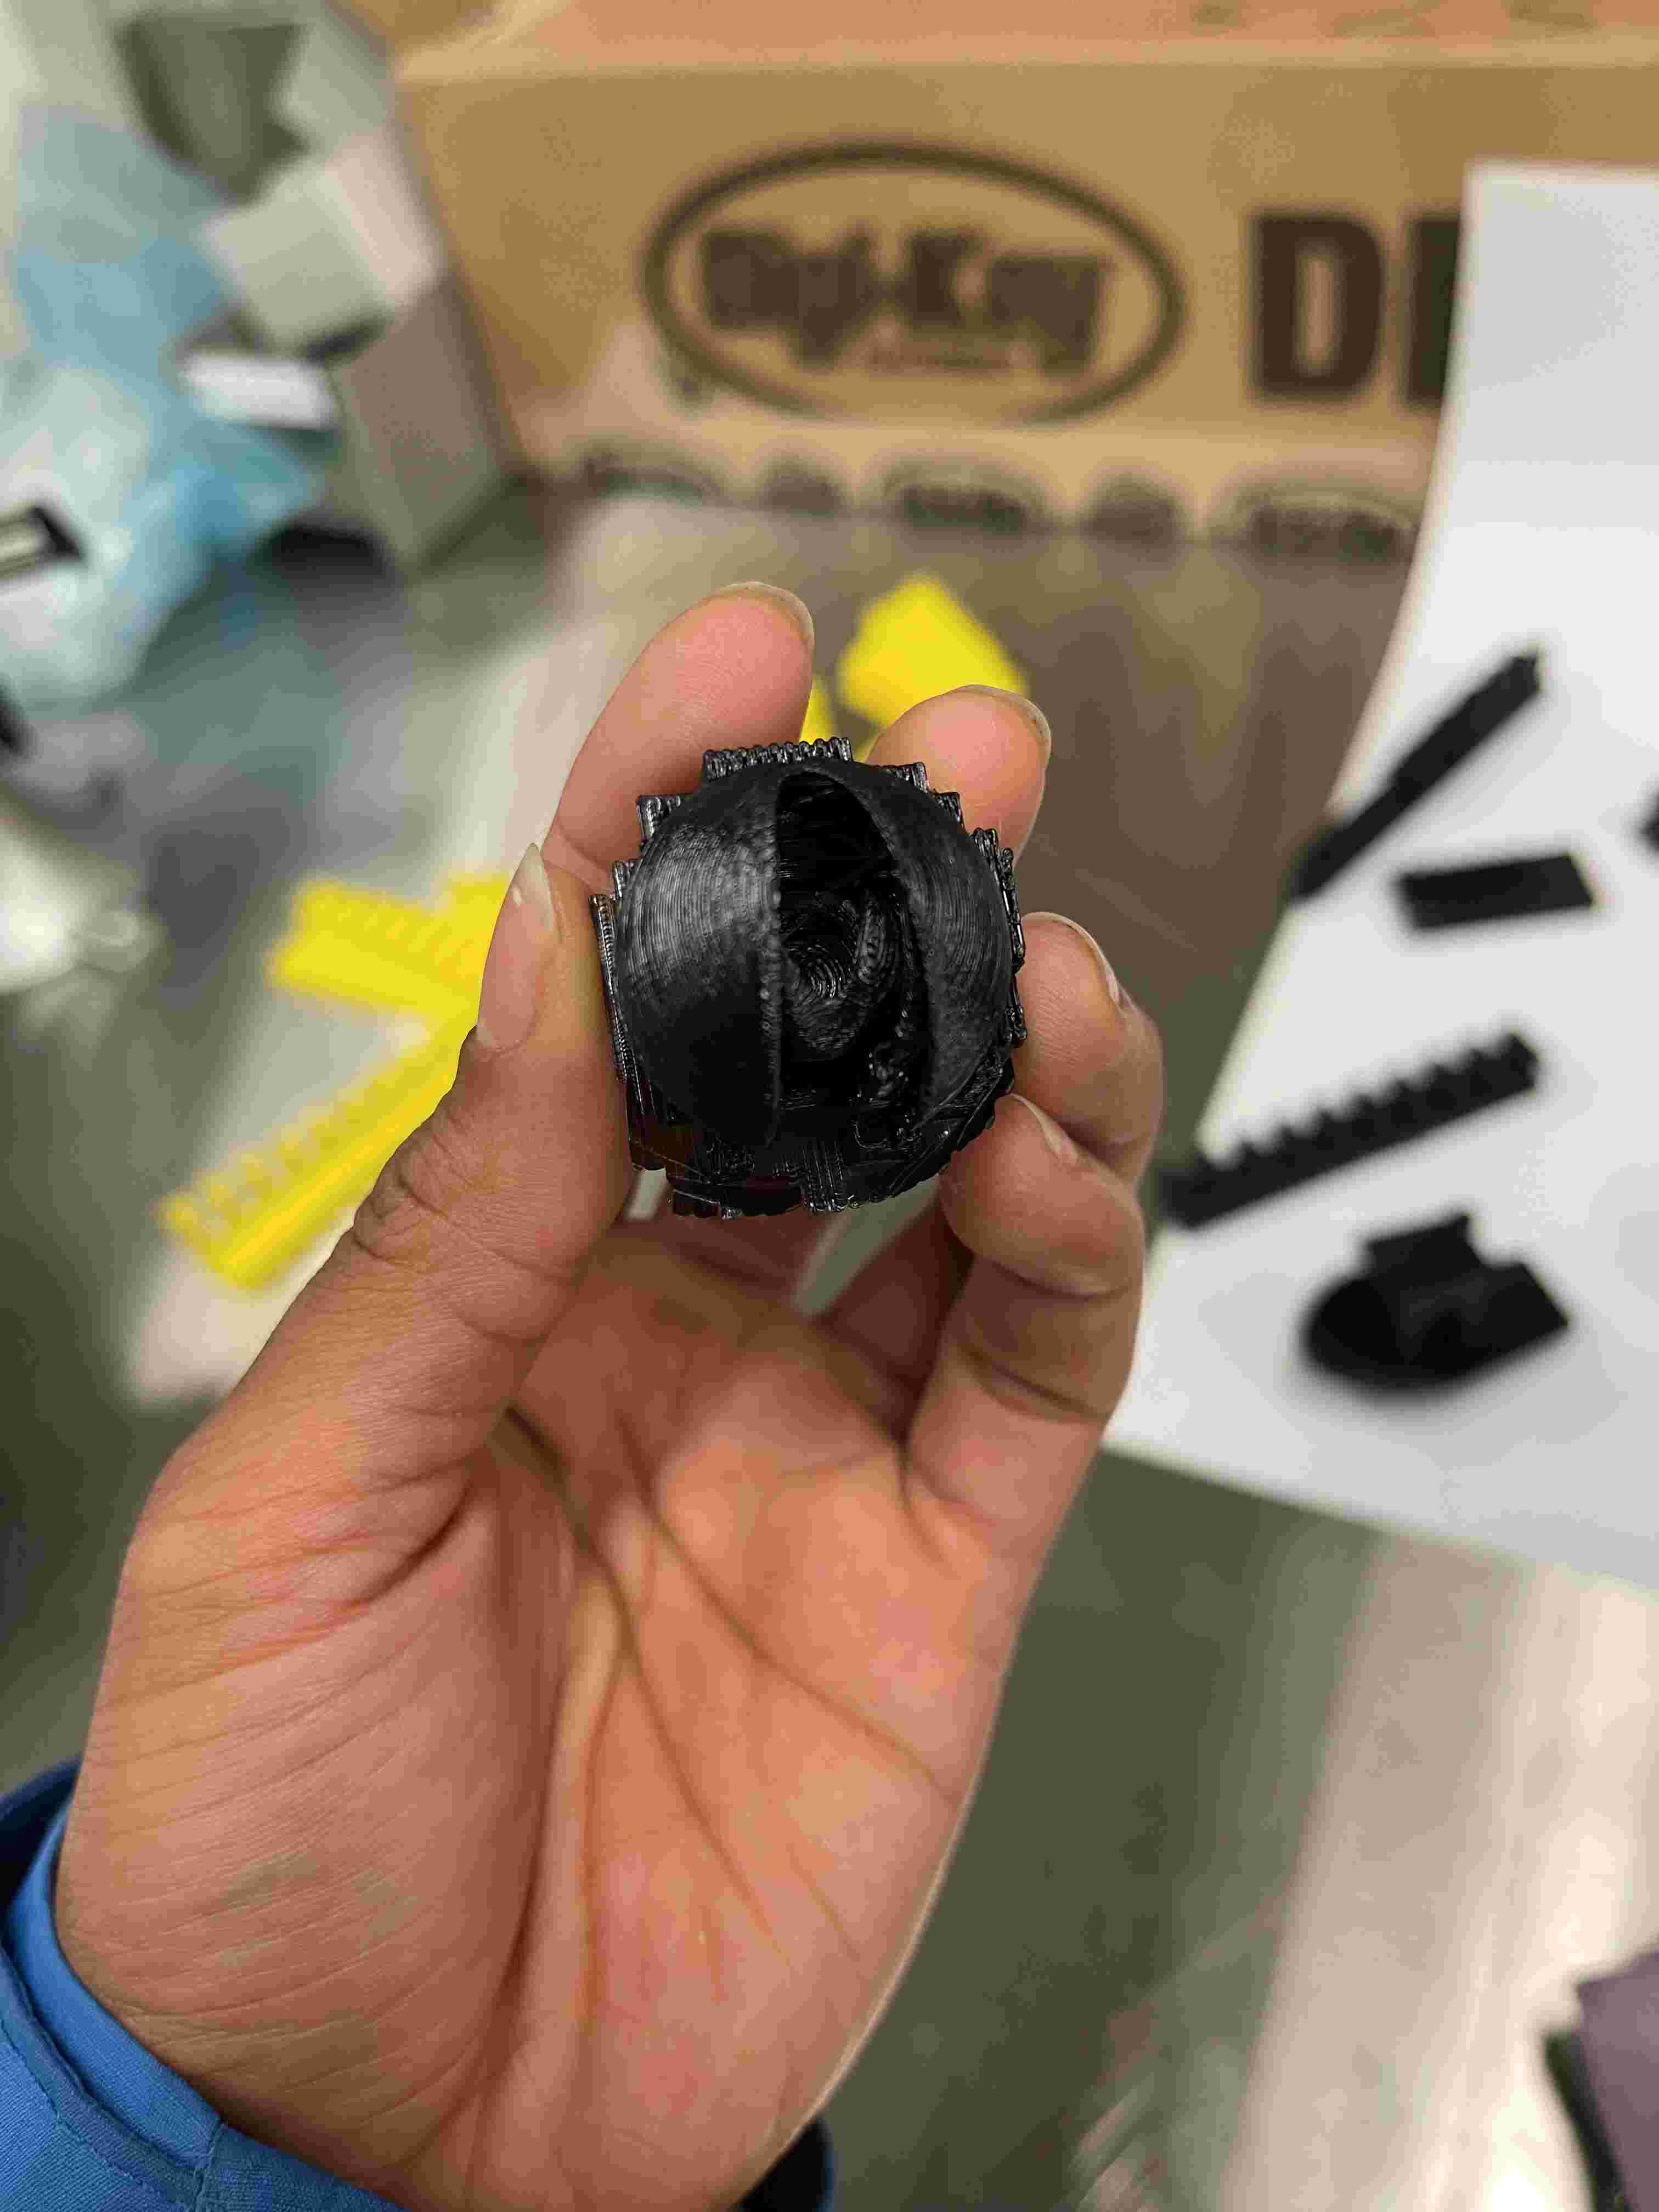
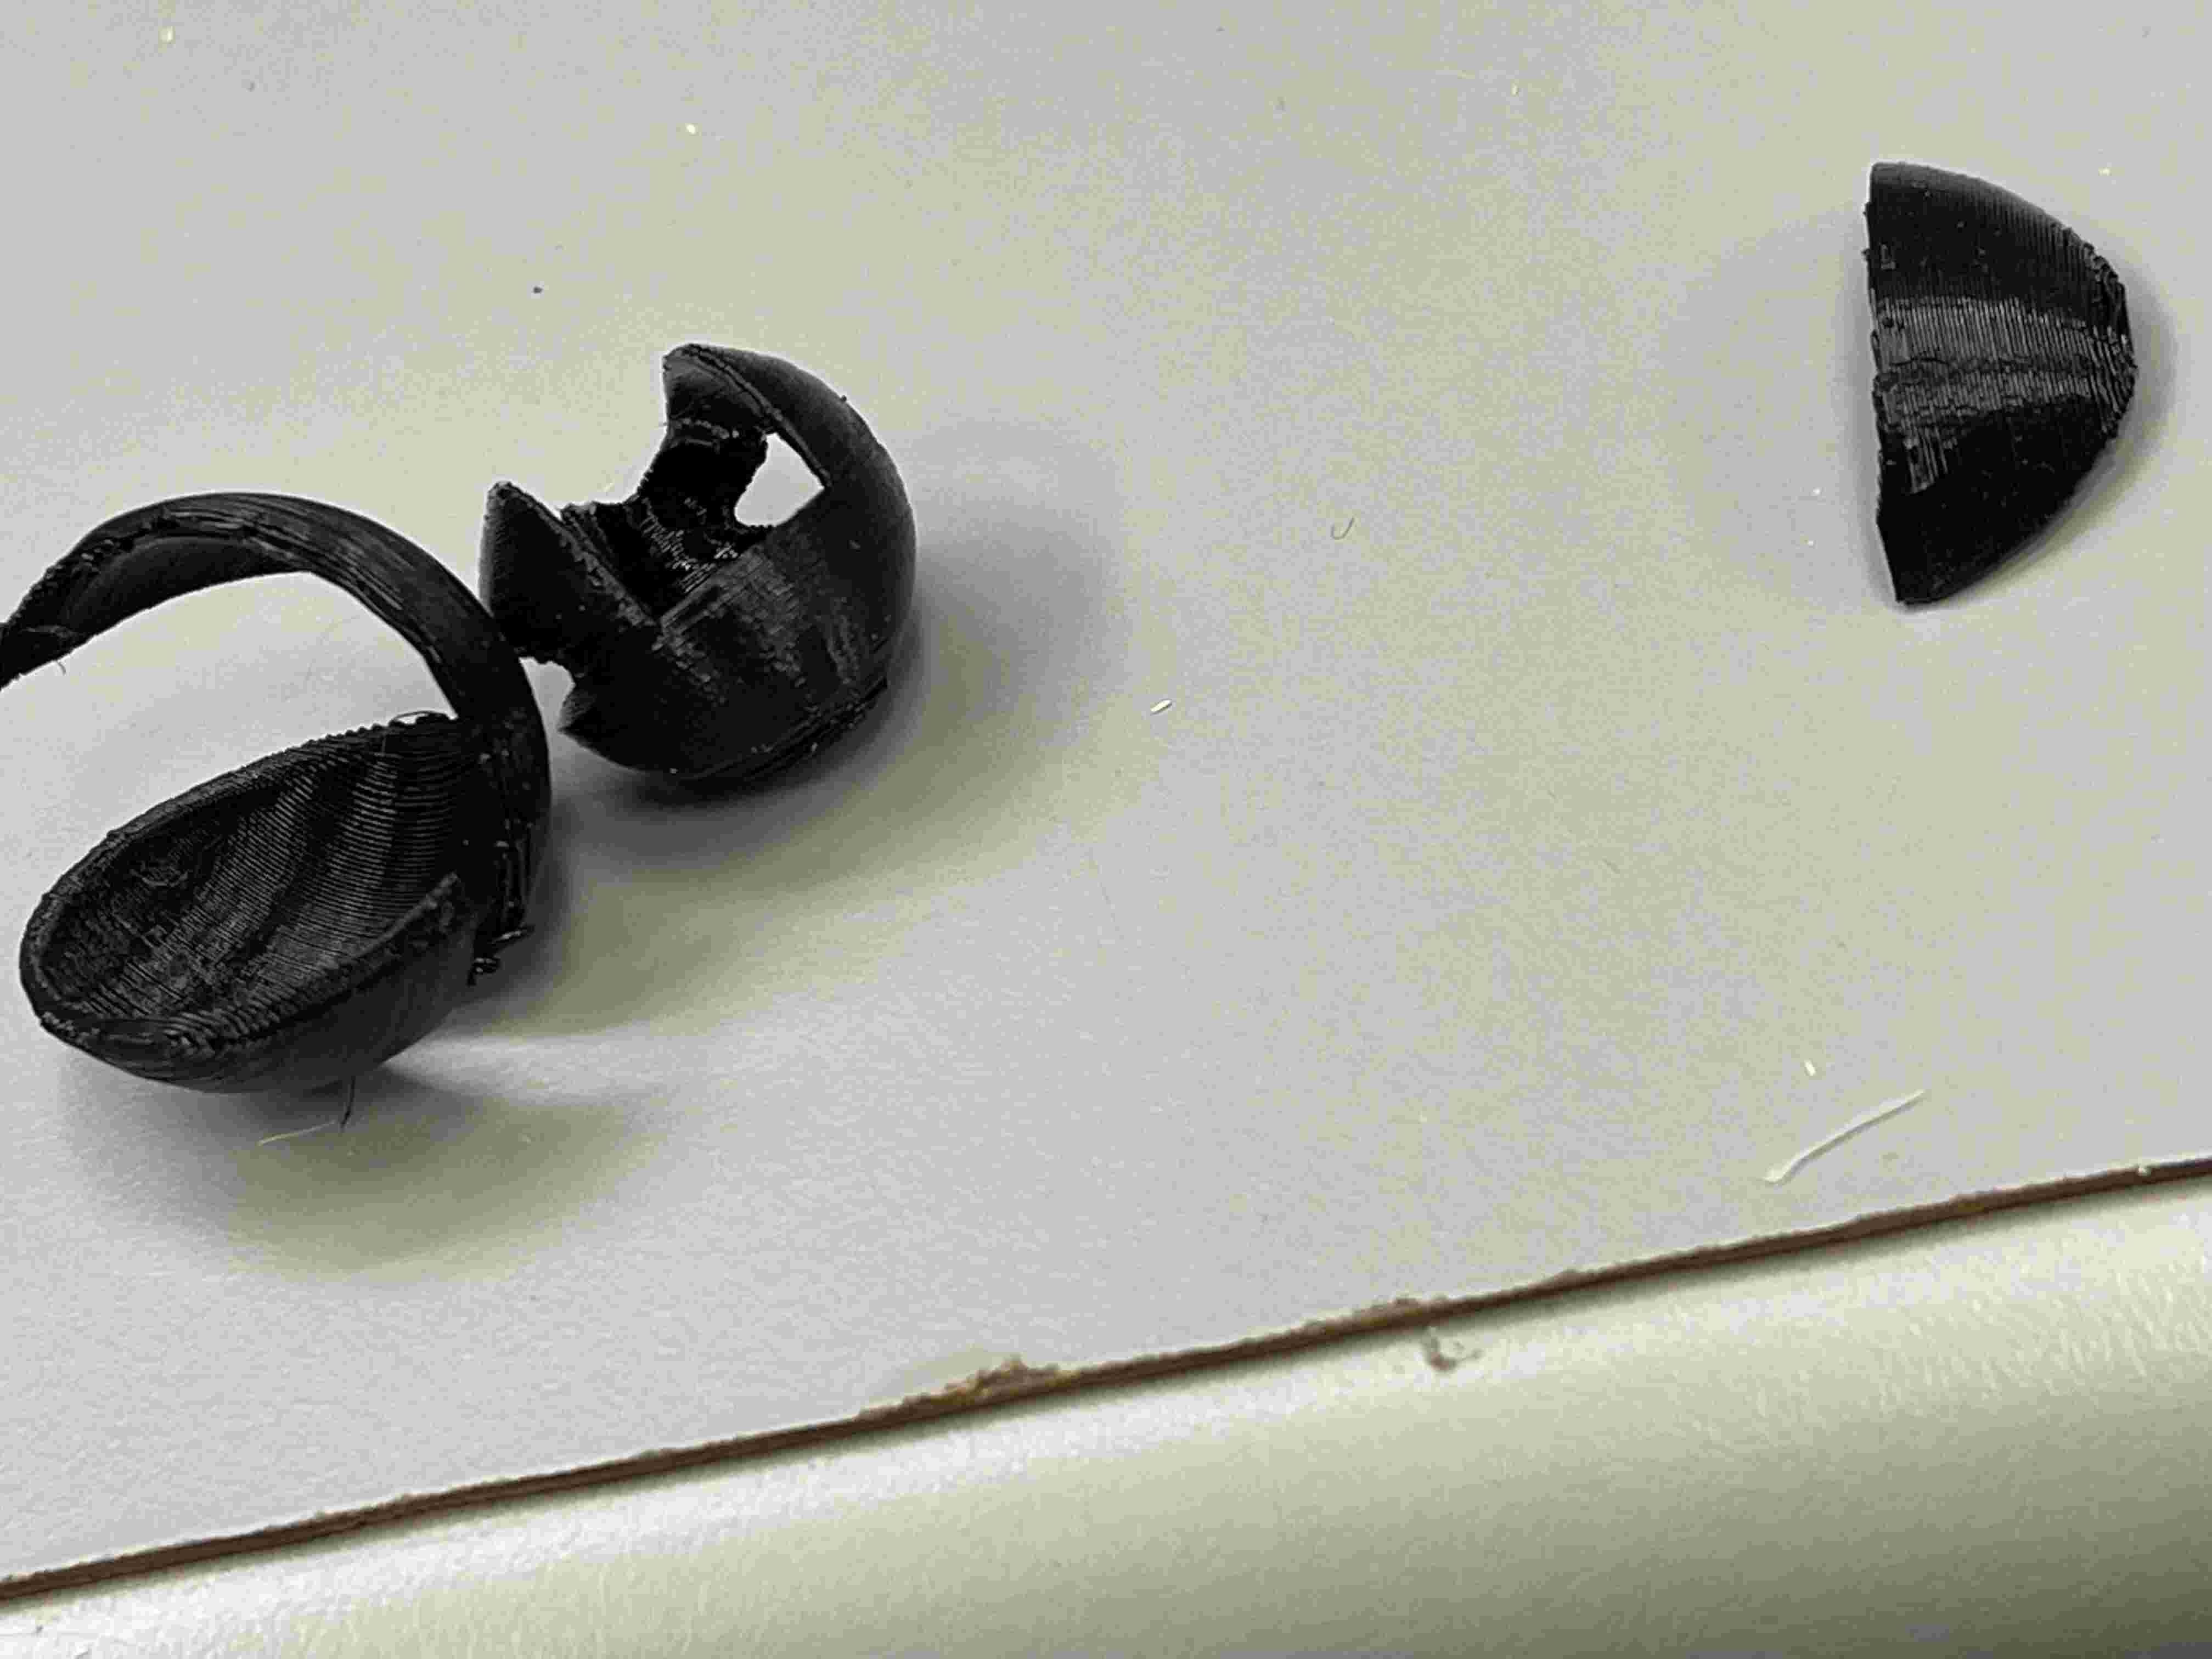
With a little bit of hot glue and e-tape, I managed to reattach the piece, and the two nested spheres are free to move on their own! In retrospect, I would chamfer the corners and probably increase the infill to prevent parts from snapping while removing the build support. I would also increase the thickness of the spheres.
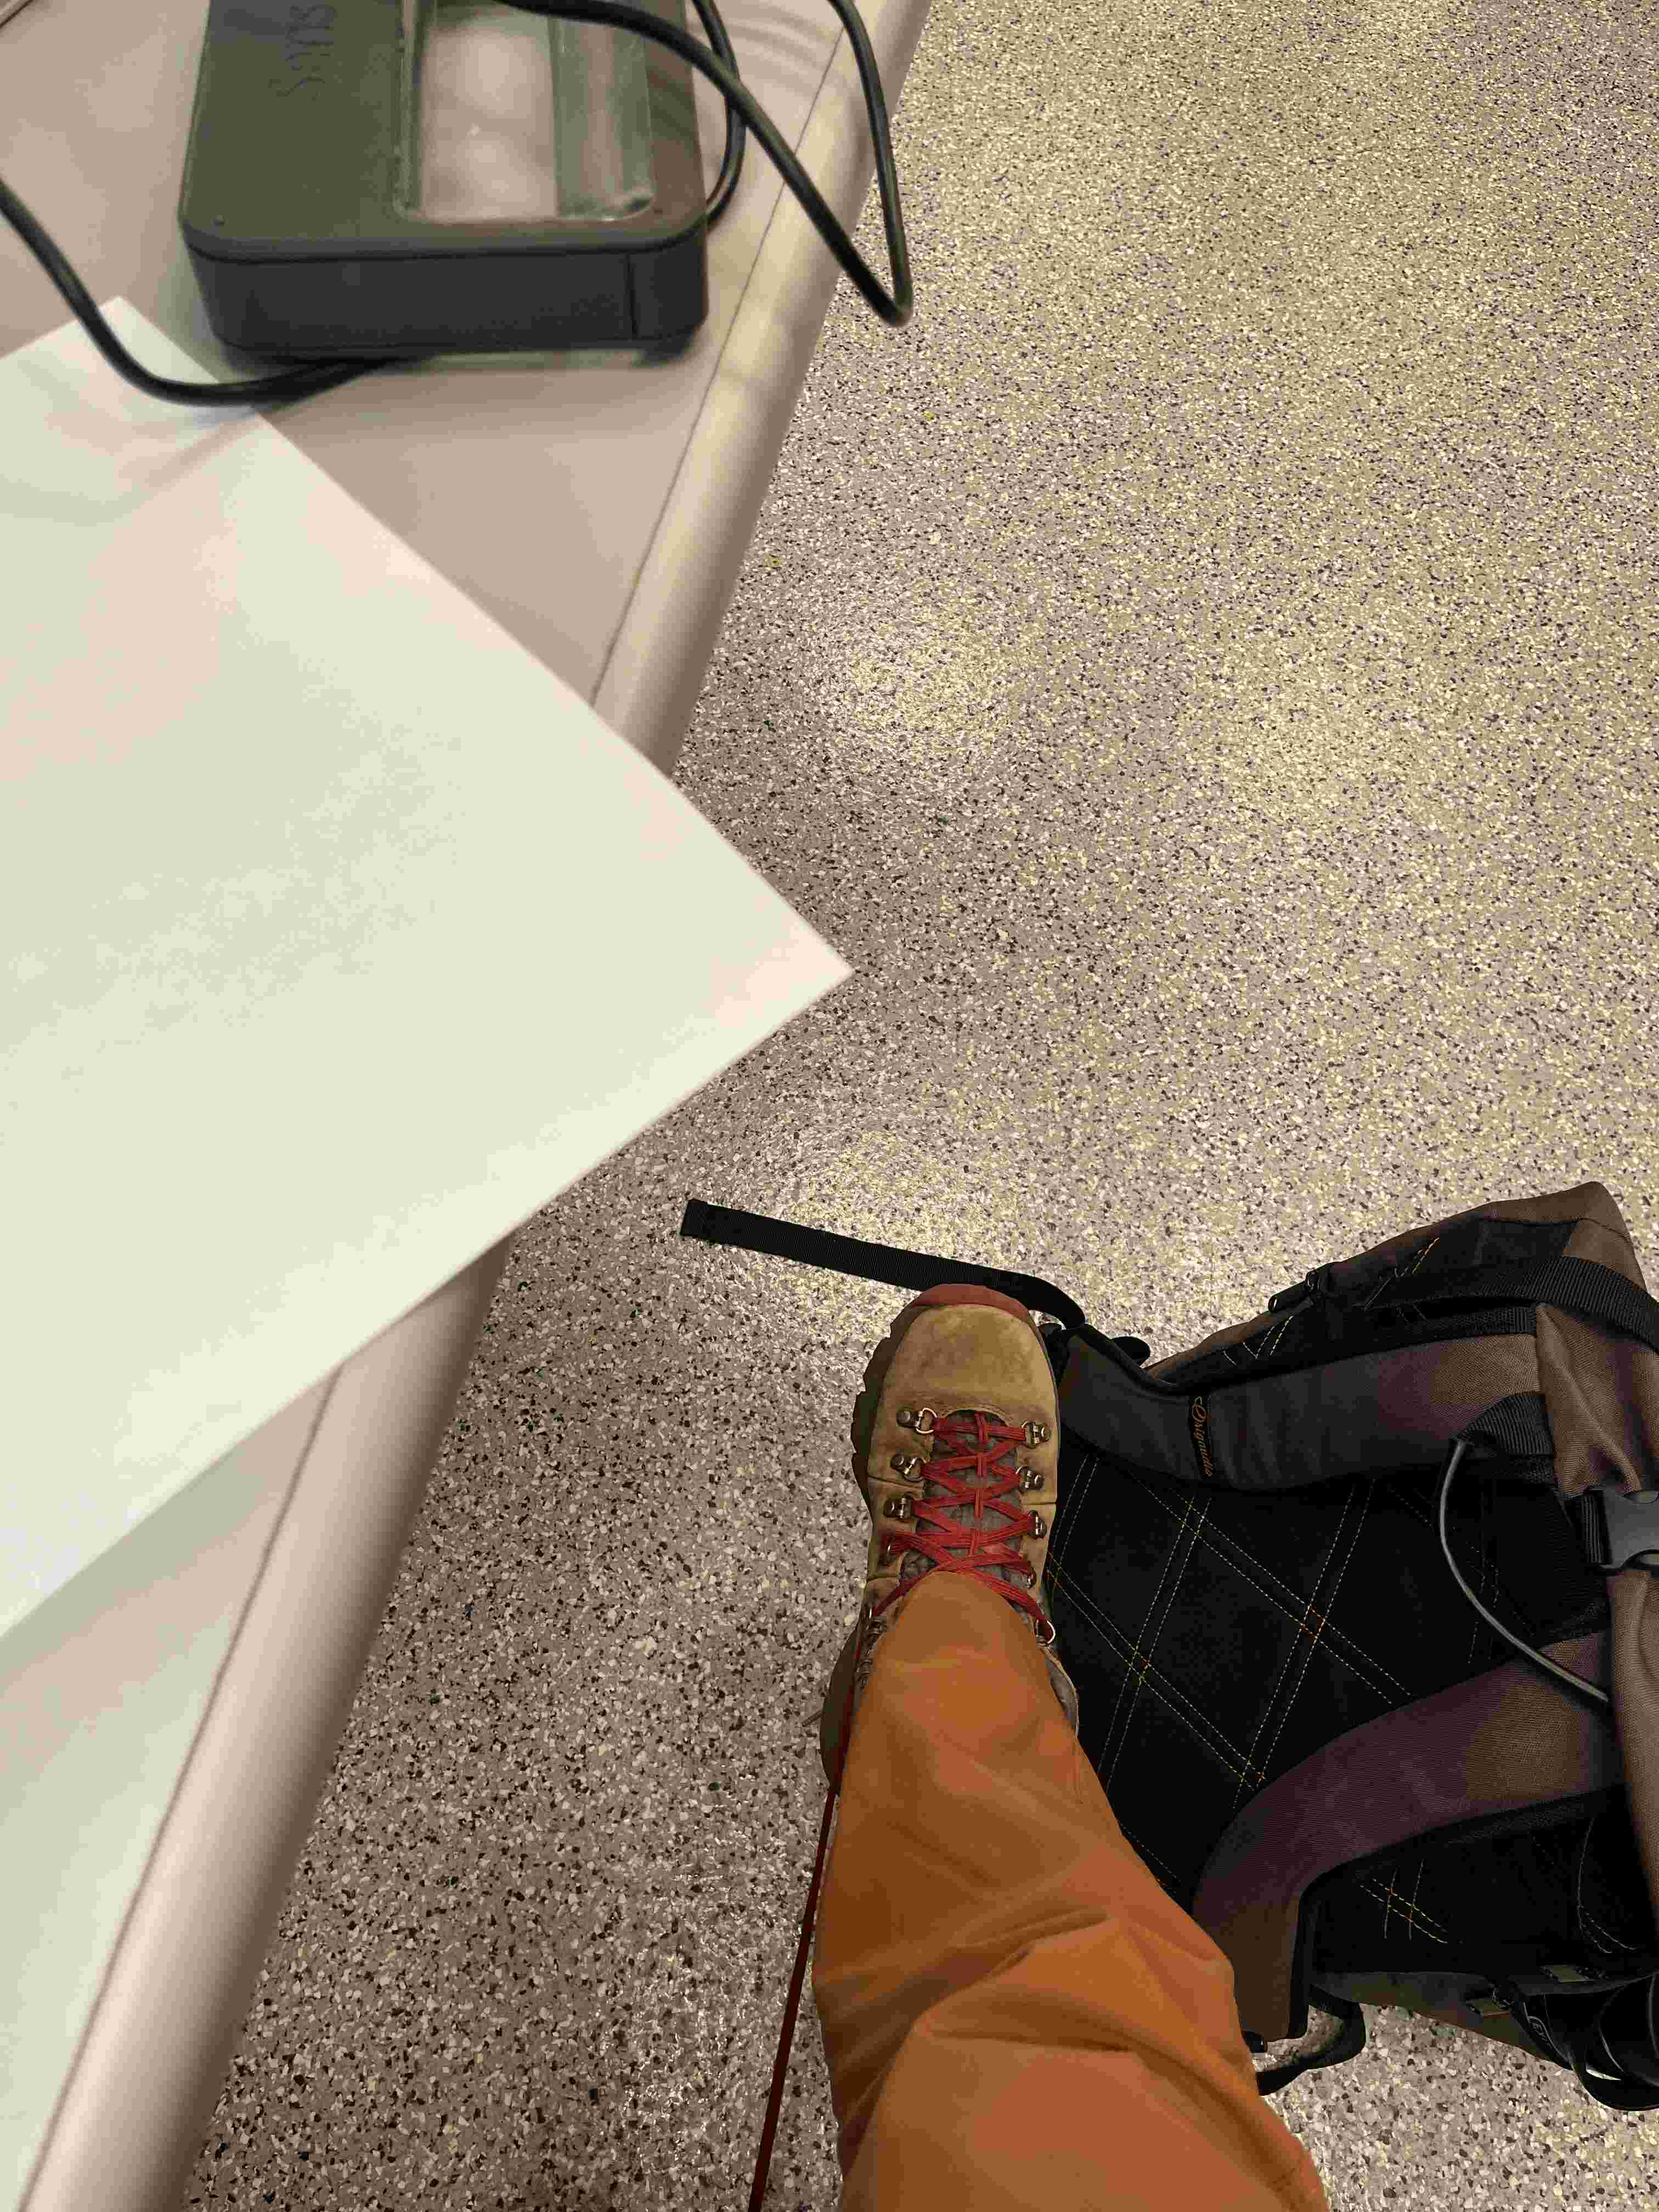
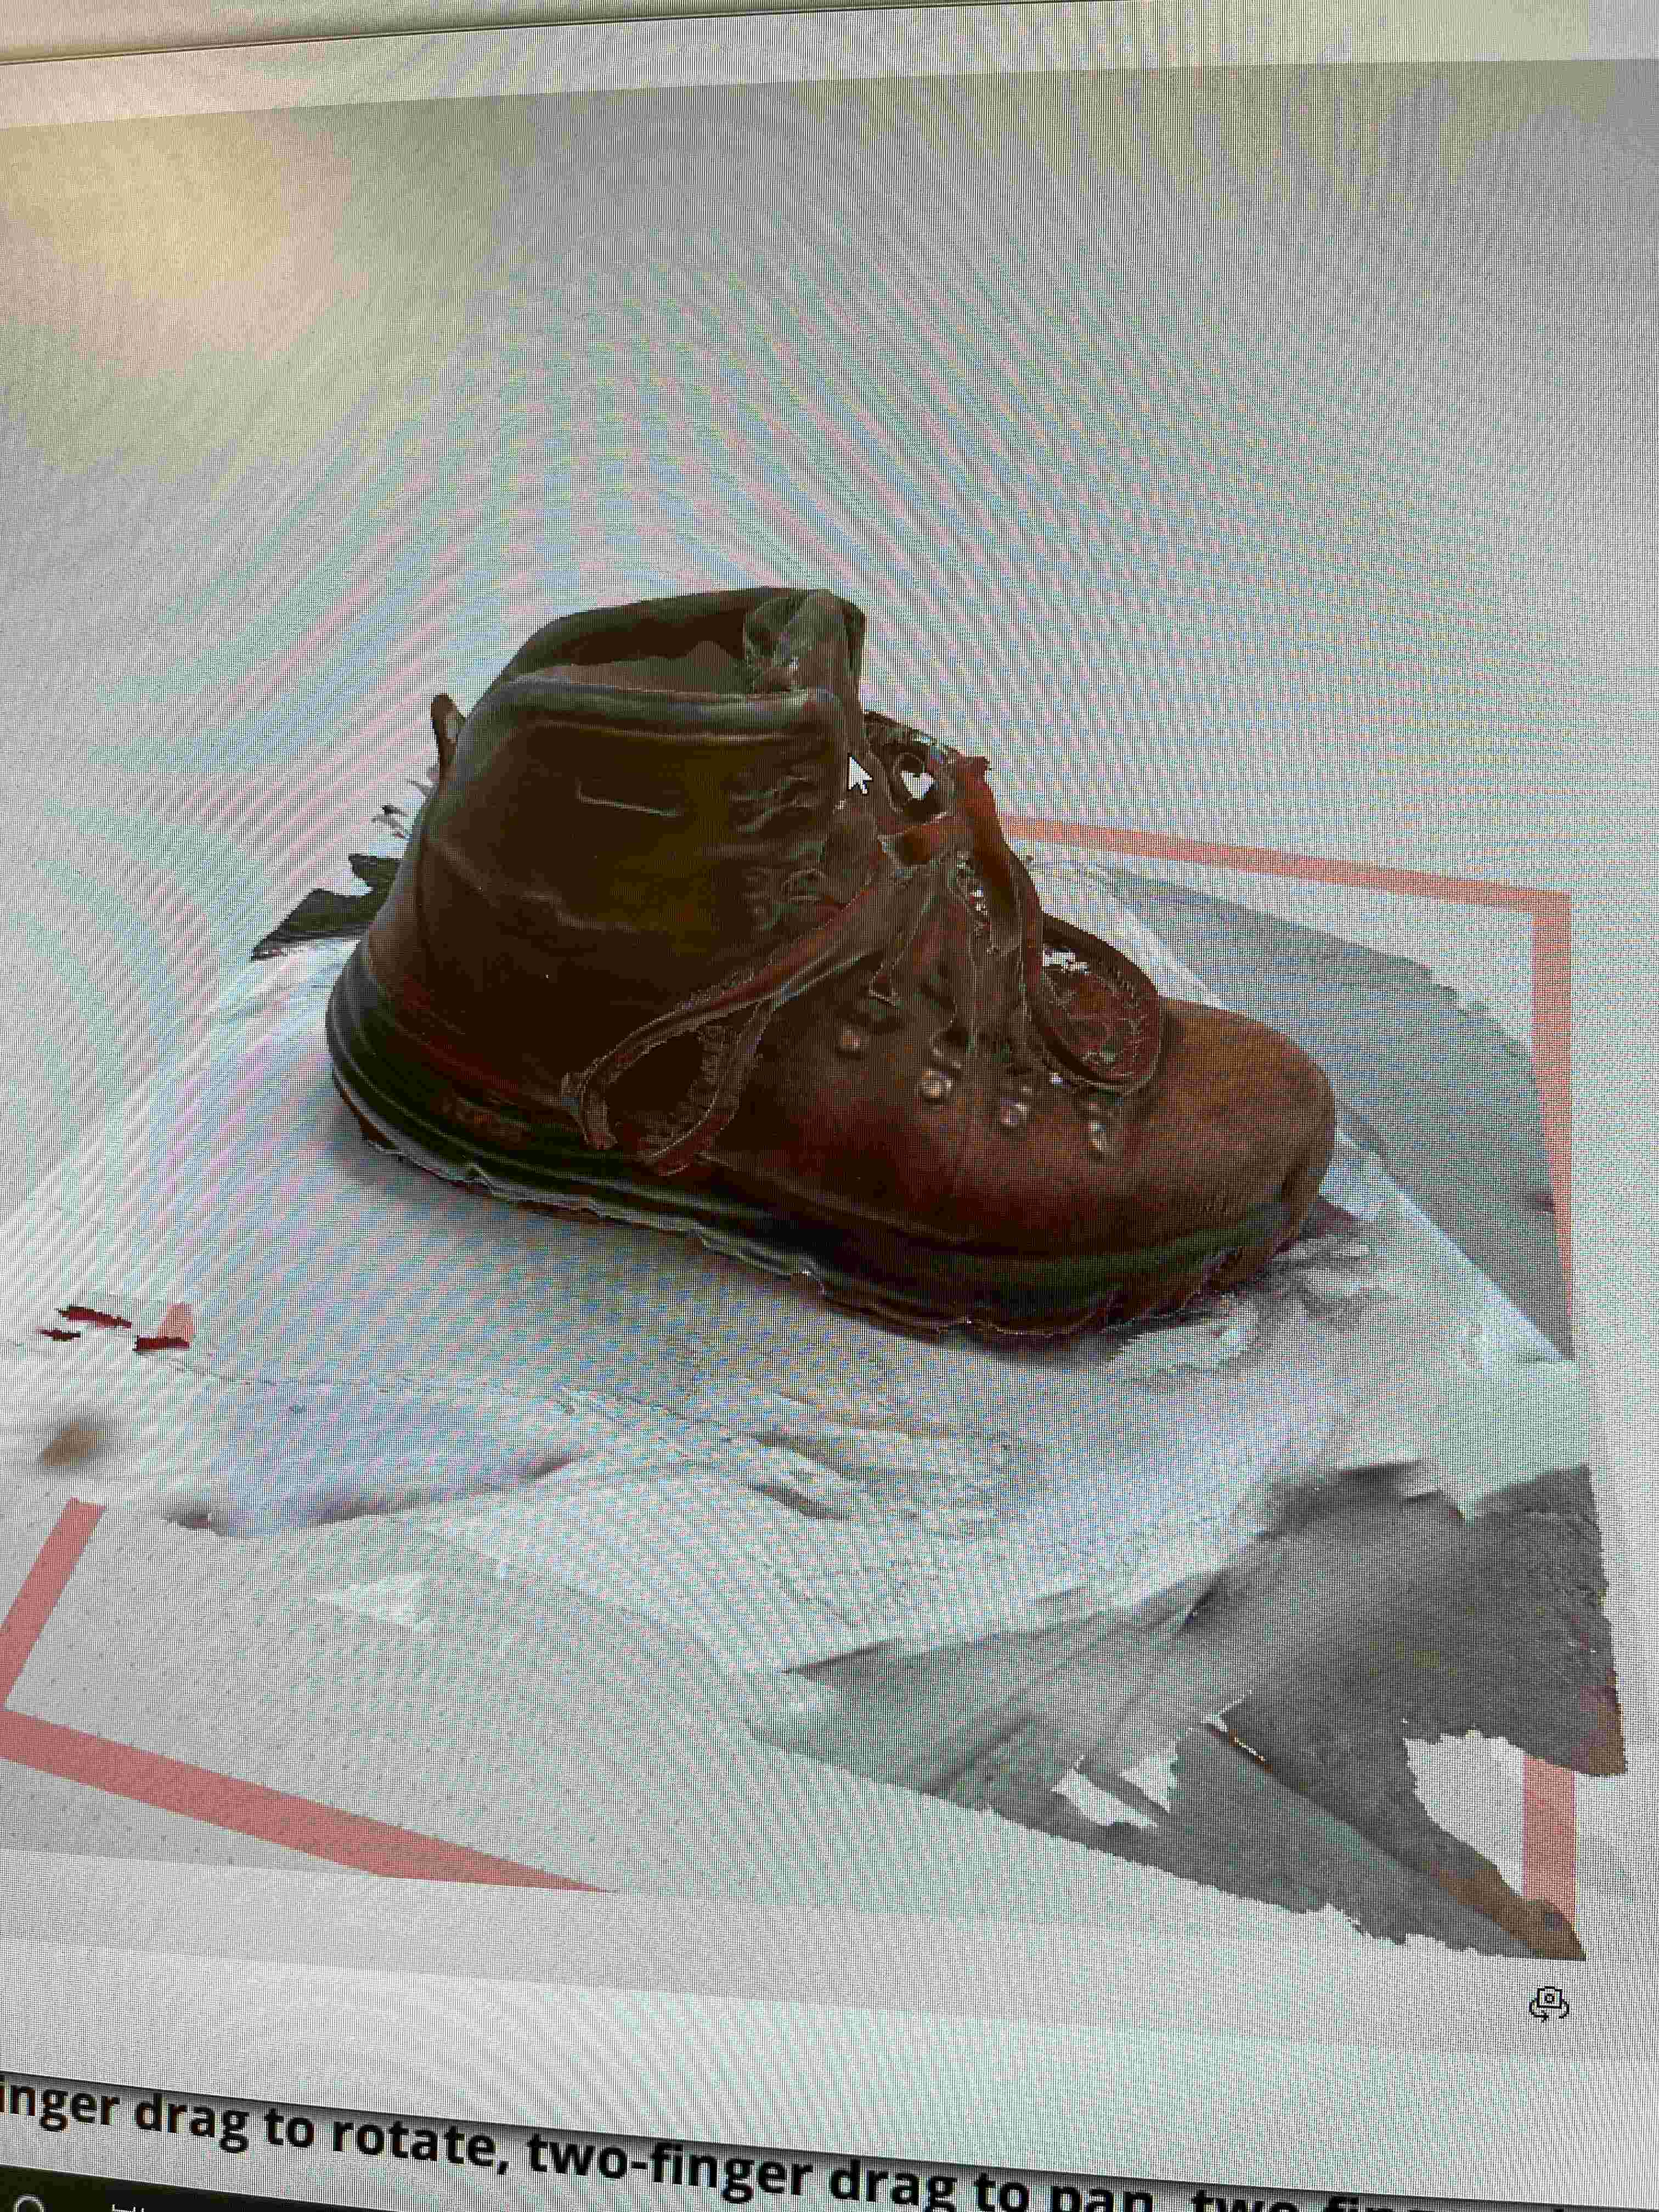
For the scanning part of my assignment, I scanned my hiking shoe. I played around a little bit to see how the scanner interpolated the images, and it was fun seeing how it would interpret the object if it wasn't given that perspective (for example, not scanning the back of an object). Although I didn't have time to print the object, I thought the scan came out well!
This week, our group assignment was to test the design rules for the 3D printers. The EECS lab has (at the moment) 2 Sindoh printers and 1 Prusa printer. We printed all the test files from the site. This included overhang and clearance supports, angle, overhang, bridging, wall thickness, dimensions, anisotropy, surface finish, and infill (0%, 15%, 50%, and 100%). Here is what I learned from each test:
Overhang Supports: We discovered that 0.1mm was on the boundary of when the print would start having issues. Going past this generally led to prints that fell apart.
Clearance: 0.6 on the Prusa and Sindoh was ideal.
Angles: For the Prusa, 10-30 degrees was generally passable, with 40+ degrees being ideal. On the Sindoh, 30+ was ideal.
Bridging: Prusa and Sindo bridged fine up until 20mm.
Wall Thickness: Wall thickness was fine on Prusa up until .5mm (the minimum print resolution)
Anisotropy: The layer lines were definitely visible...this could probably be solved with a slower print speed
Surface Finish: Here, I learned that the layer resolution/thickness really mattered, especially for the convex half-sphere
Infill: As part of this test, we learned how to turn off the top layer of printing within the slicer software. We forgot to do this for one of the tests and had to bandsaw off the top, which ended up melting the plastic and making it more challenging to see the infill pattern.
Overall, these tests help me understand the print settings much better, and also helped me think about festures I should pay xtra attention to when 3D printing (such as overhangs). Super useful group assignment!