During the first week we were tasked to generate a modular system of geometry which could be assembled and reassembled using laser cut pieces of cardboard. During our group assignment we were tasked with understanding several terms with regards to using the laser cutter. Kerf, speed, cardboard thickness, cardboard curvature, power, and tempo were all deliverables which we had to consider when planning our design.
I found that the cardboard thickness was approximately 5.7mm and therefore planned my joints accordingly. I have had previous experience with laser cutting but not in operating the machine and doing so safely. We had to have training with regards to fire safety before starting our laser cutting projects, as the laser cutter is essentially a high-intensity beam which burns the cardboard in precise ways.
When I measured my cardboard and did a practice run to see what the optimal laser cutting strength would be, I found that the machines were quite fickle and did not load my project, but instead loaded someone else’s settings who had set the machine too fast and too powerful. This was a good example of what not to do; the kerf size was quite substantial which caused their project to burn very thick lines in the cardboard. This is both compromising in terms of aesthetics and functionality, as the joints would not fit together in an optimal way.
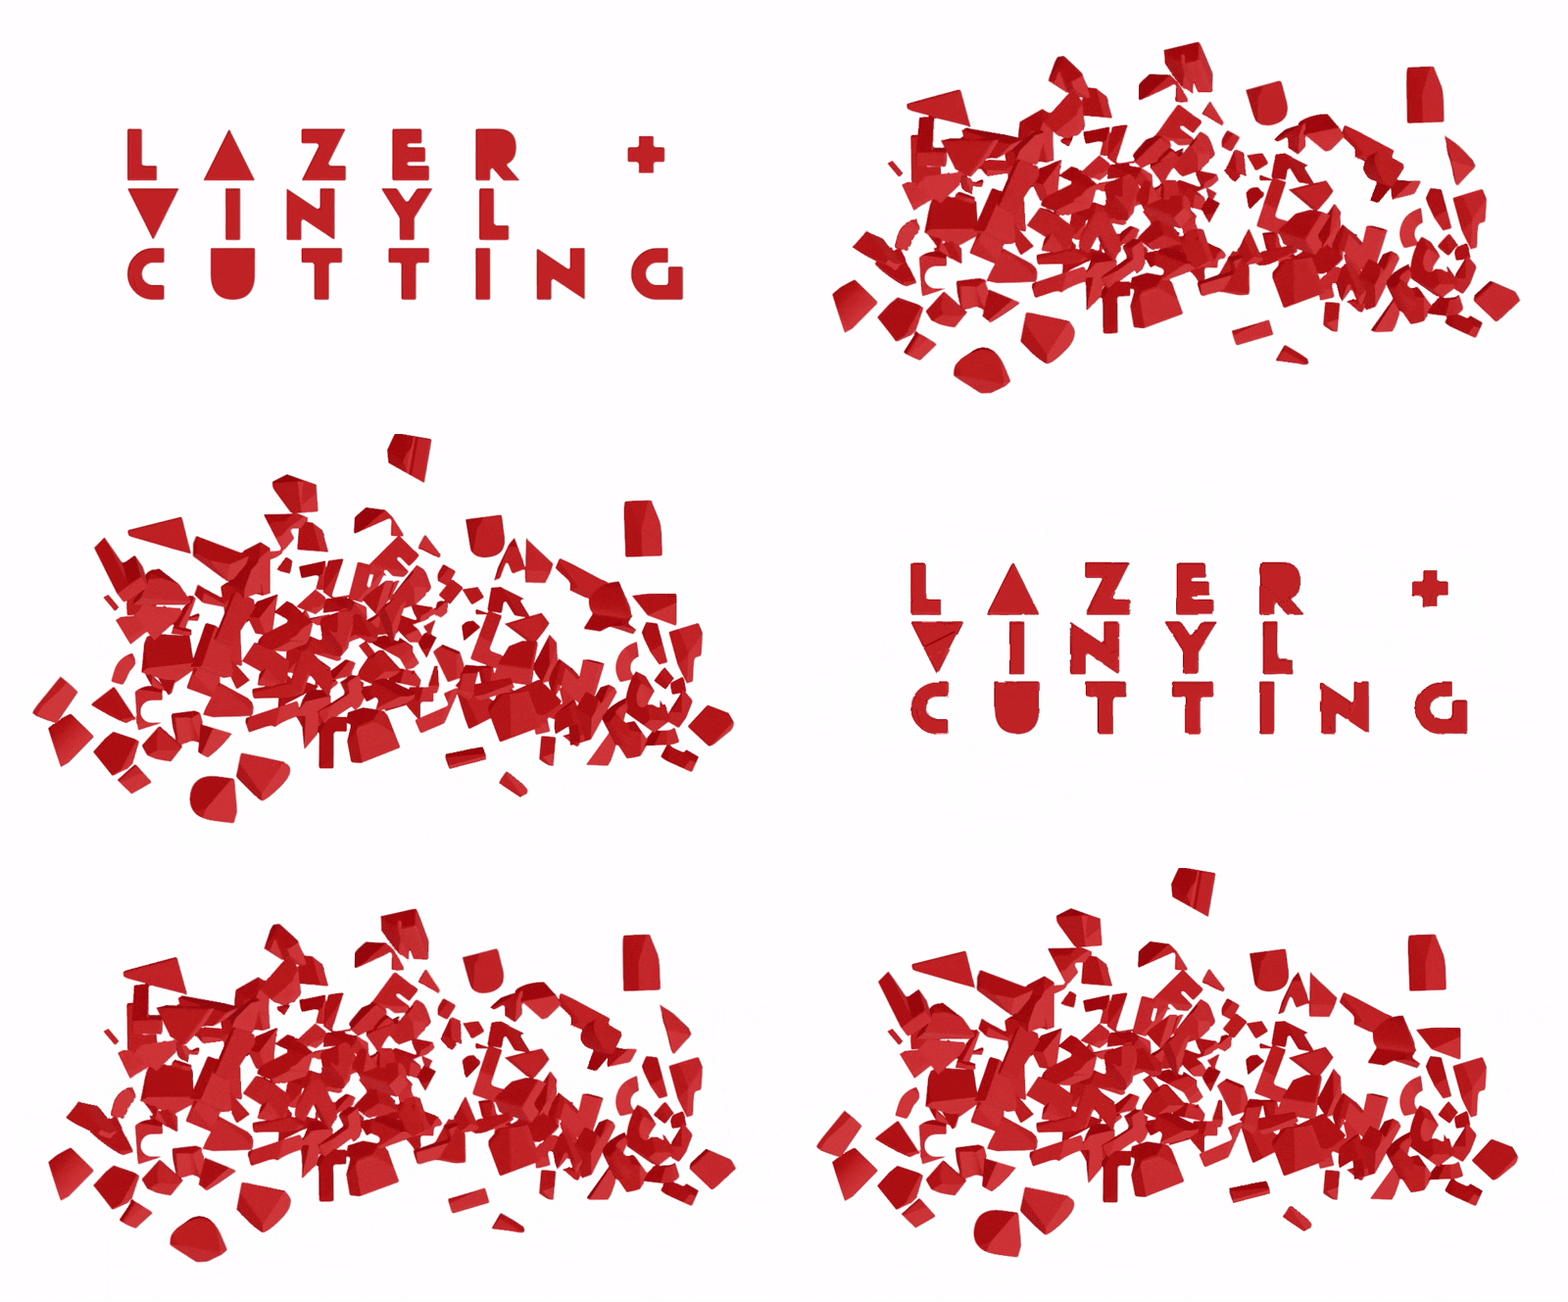
The vinyl cutting was another challenge to master. I had generated the PNG file and correctly set the machine up. It seems, though, that the vinyl cutter’s wheels malfunctioned and therefore did not move perpendicularly to the sheet of vinyl. I am aware of the reputation of this machine so would have to relook the settings through several trial runs before I manage to master the operation.
Reflection
Now that I know what I know, I would change my approach in specific ways. I had to manage with Rhino and knew that importing directly from 3D objects, the machine tends to detect the 3D object as a double line. Therefore, I exported into AutoCAD and traced the outline of the shapes. Initially, I struggled to get along with Fusion 360 and switched over to Revit – which I was more comfortable with.
I managed to learn a bit about the conversion from millimeters into inches and how that affects the import and export quality of the linework. I also noticed that the correct power is less consequential for optimal laser cutting function as opposed to less speed.
Workflow

MITropolis Project Images
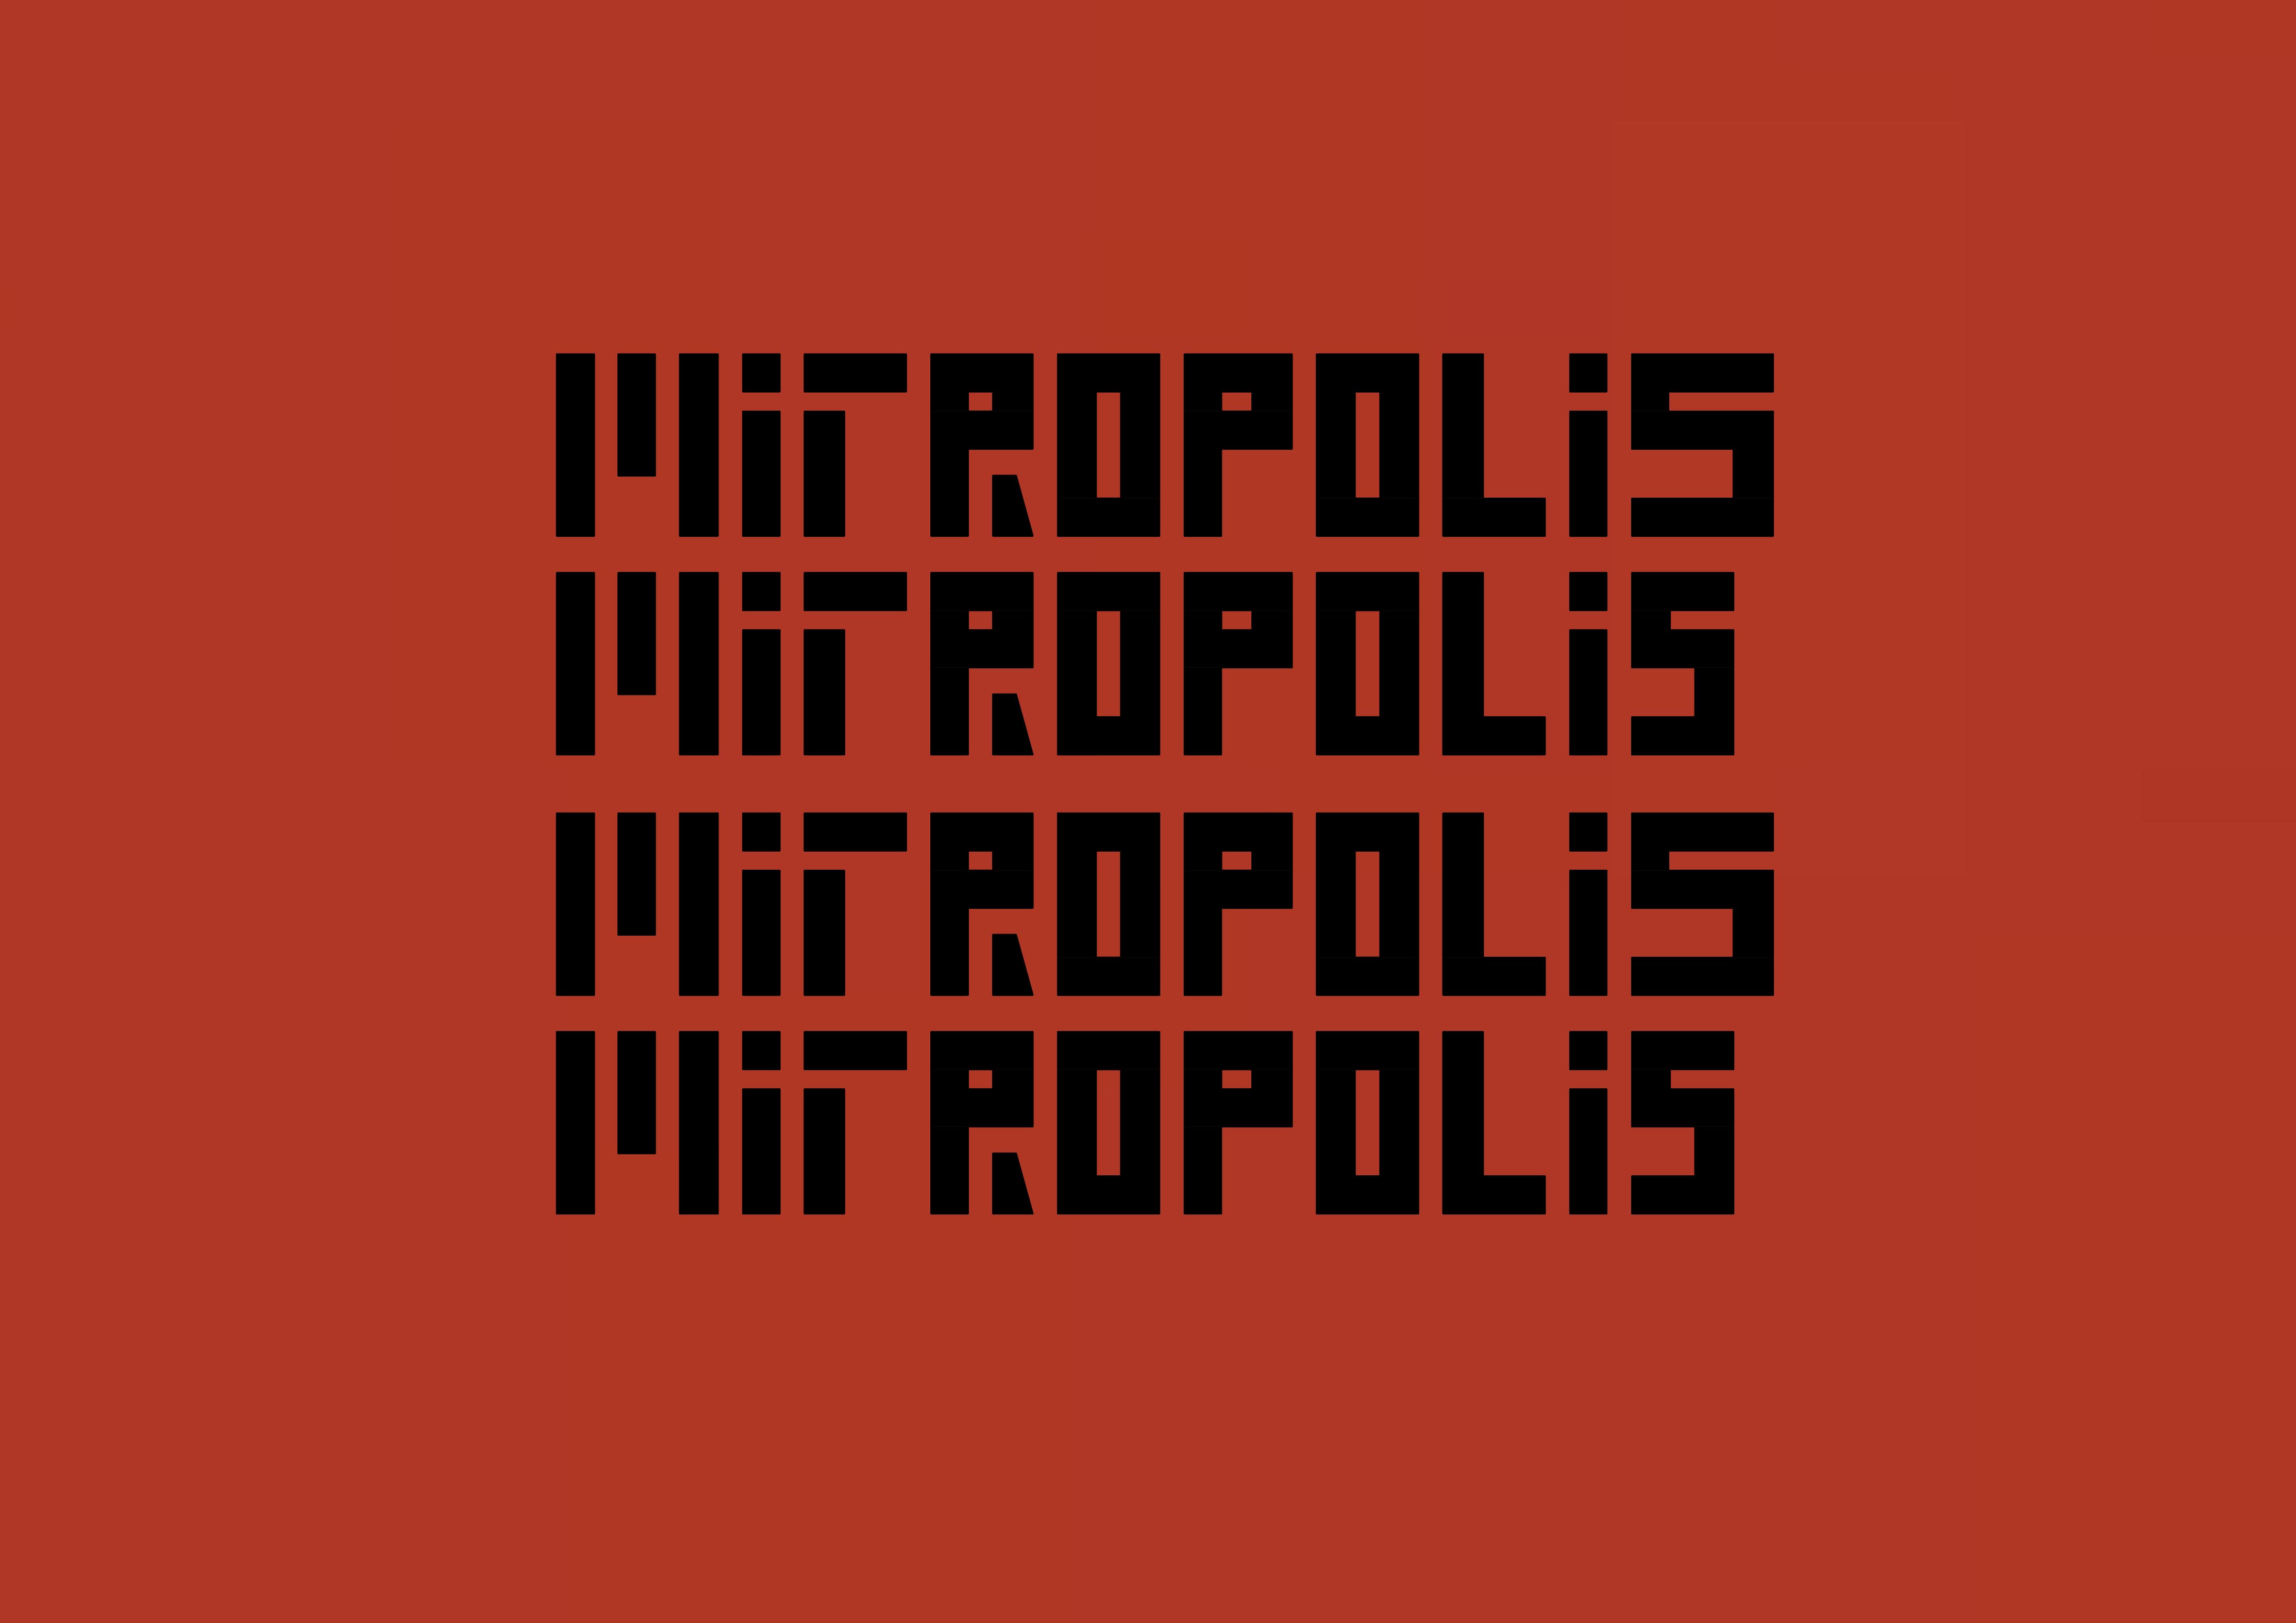
MITropolis: (Or the design of the vinal logo of this project – a play on the words of MIT rat race and Metropolis)
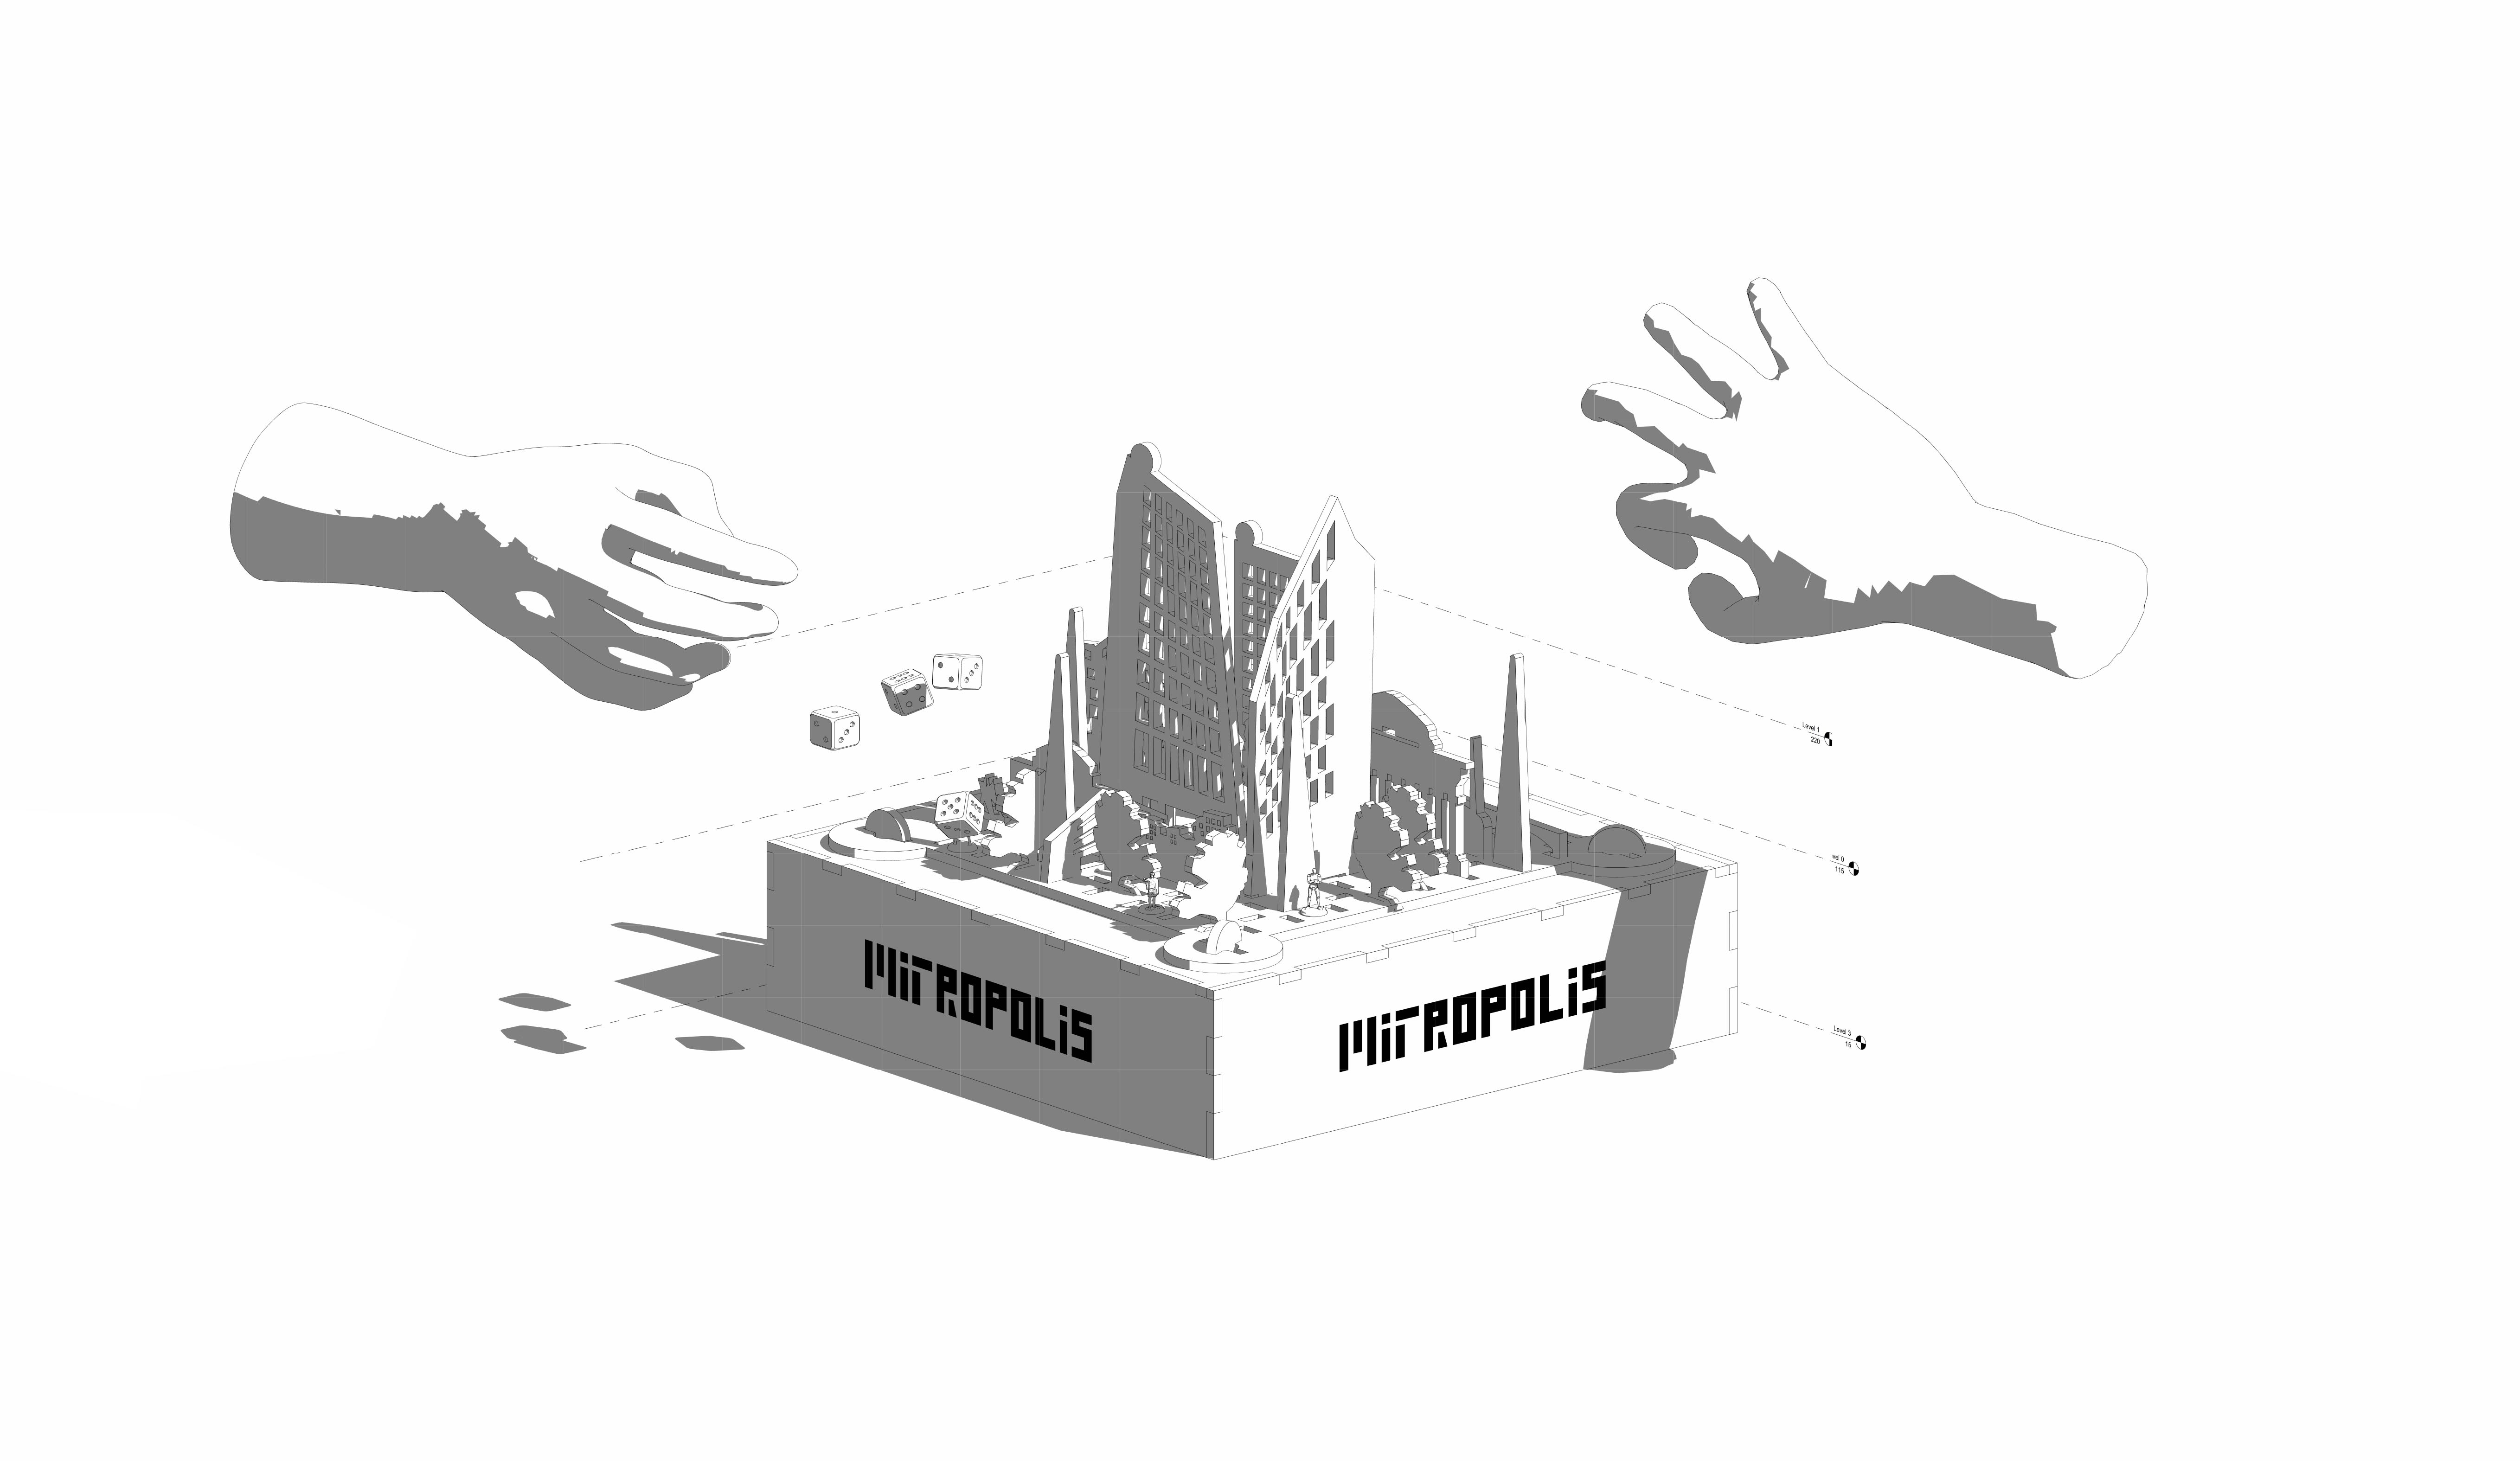
The boardgame in action. The aim of the boardgame is to either entrap your opponent by walling them off, or to move to the opponent’s side of the board.
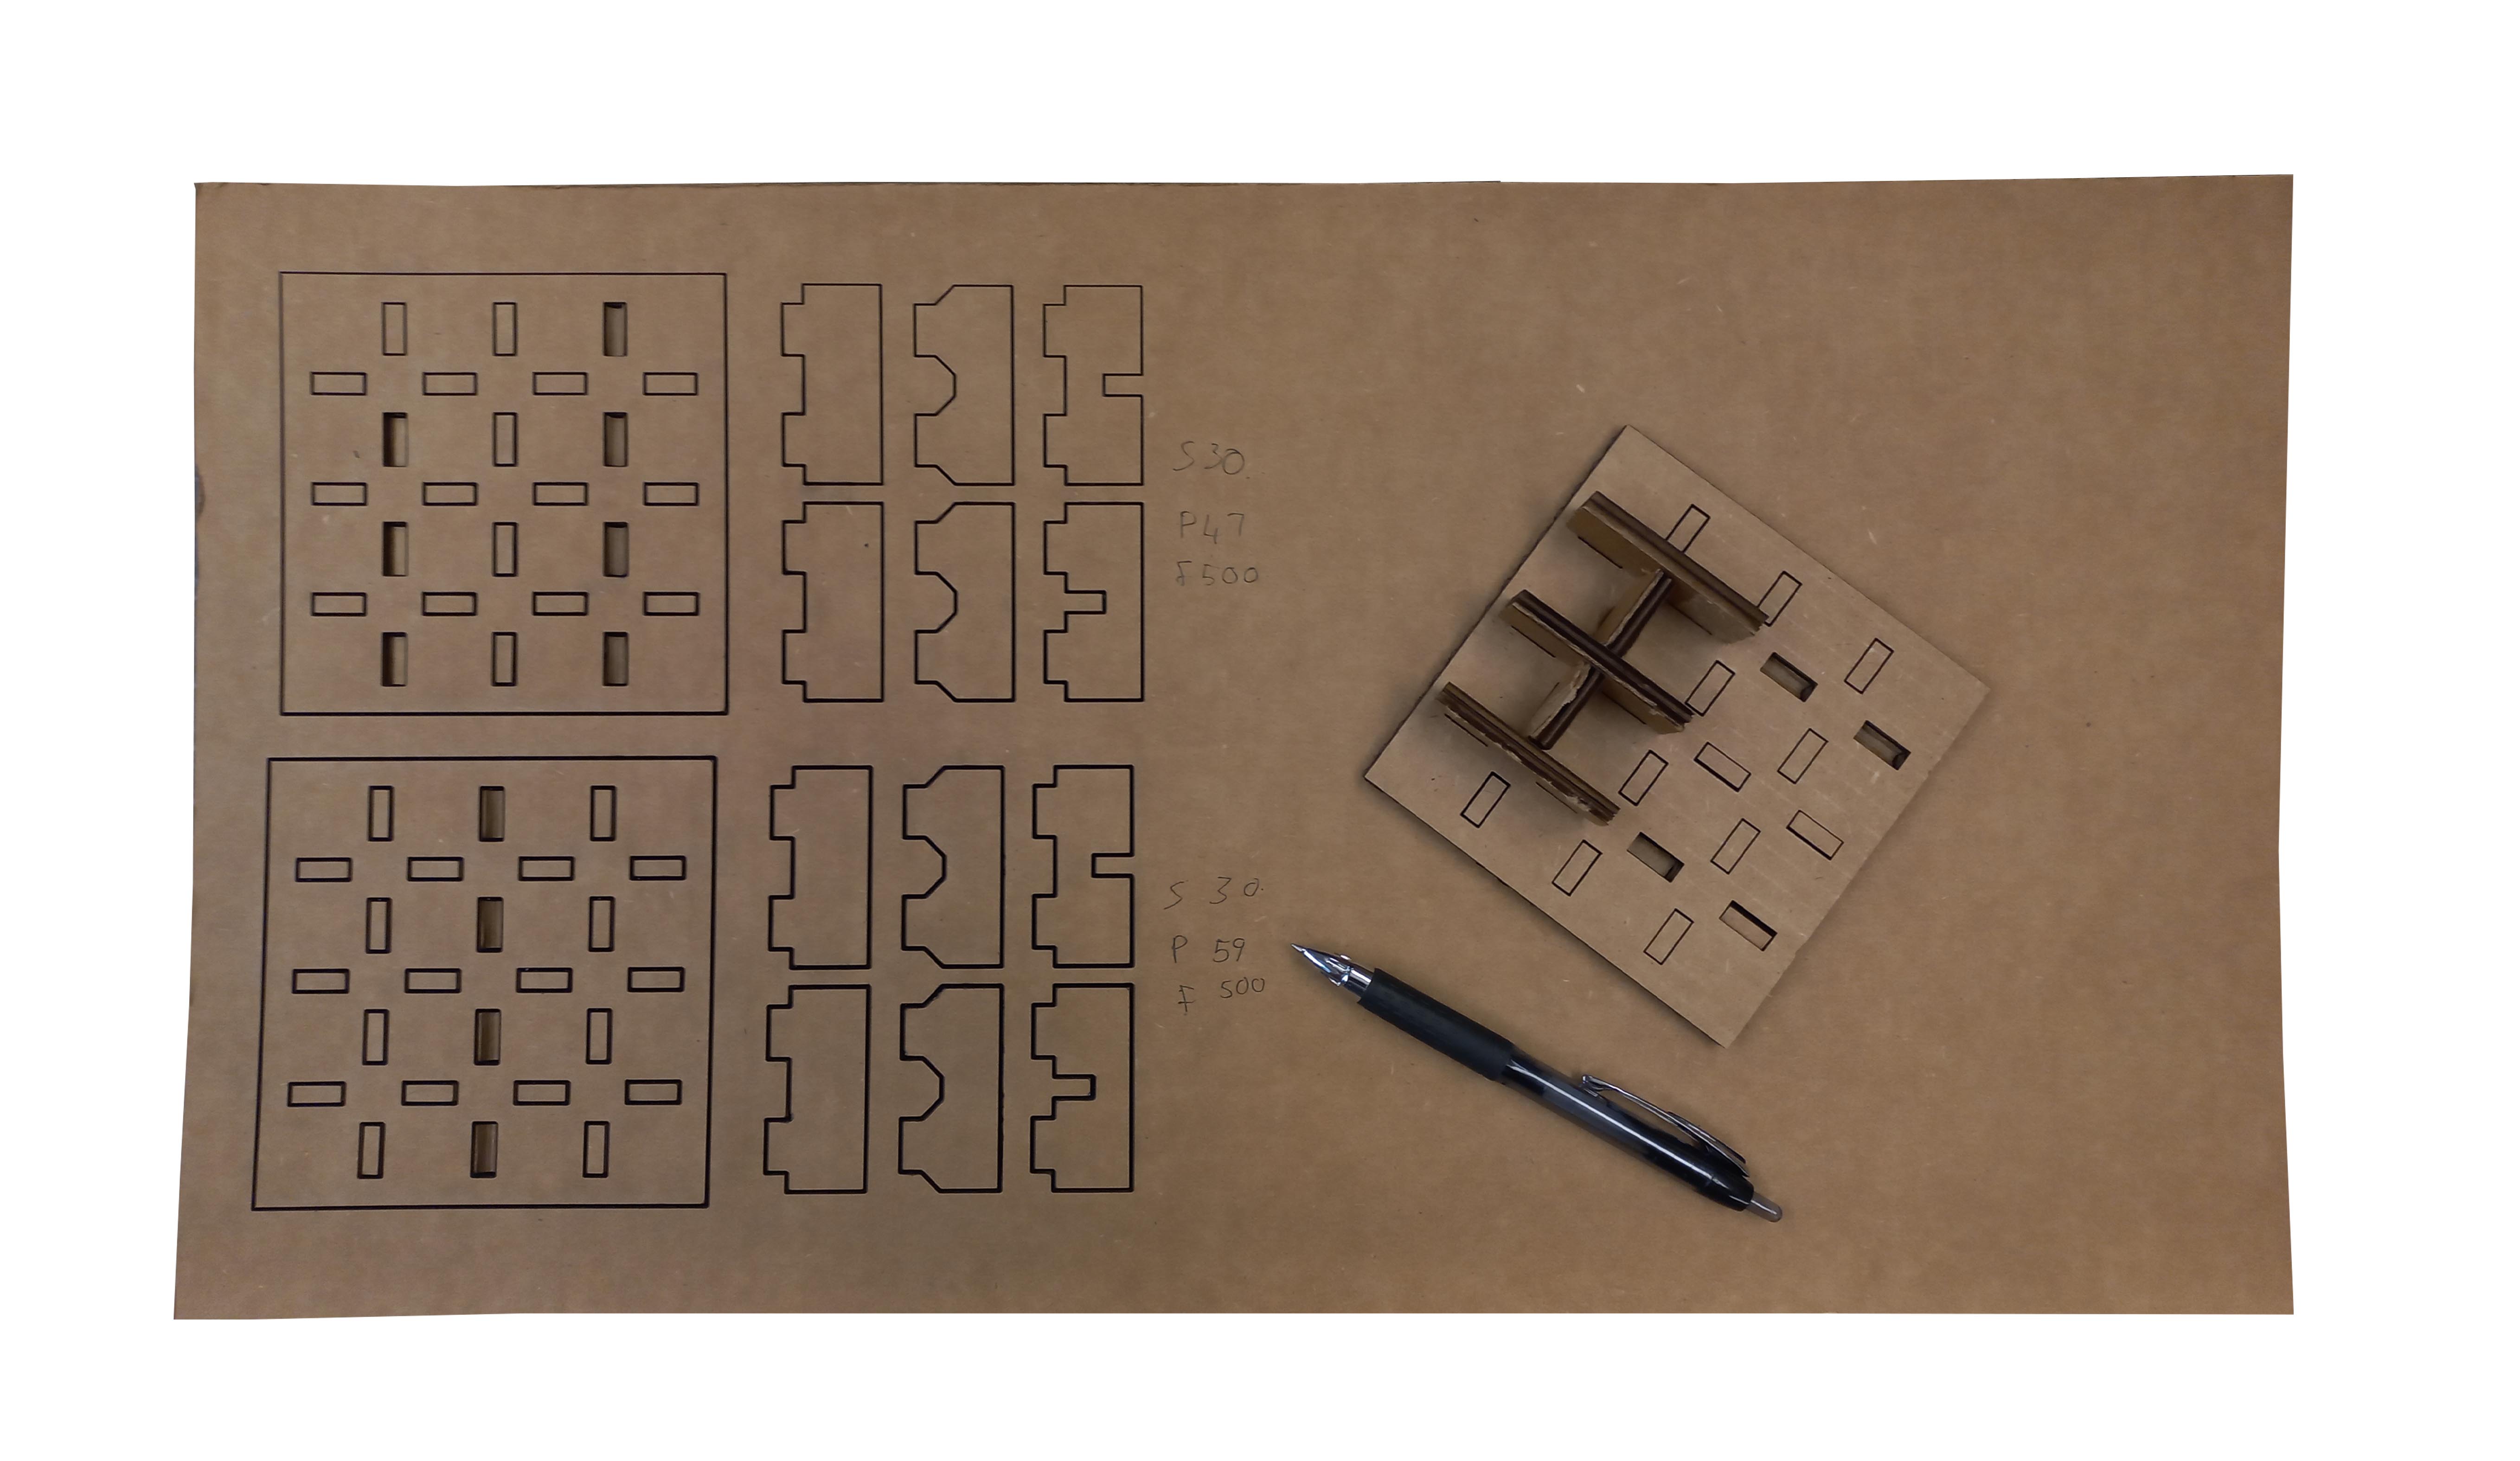
Lazer Cutting Slot tests, by measuring the thickness of the cardboard – which was 5.7mm, the slot size could be deduced which took the kerf size into account.
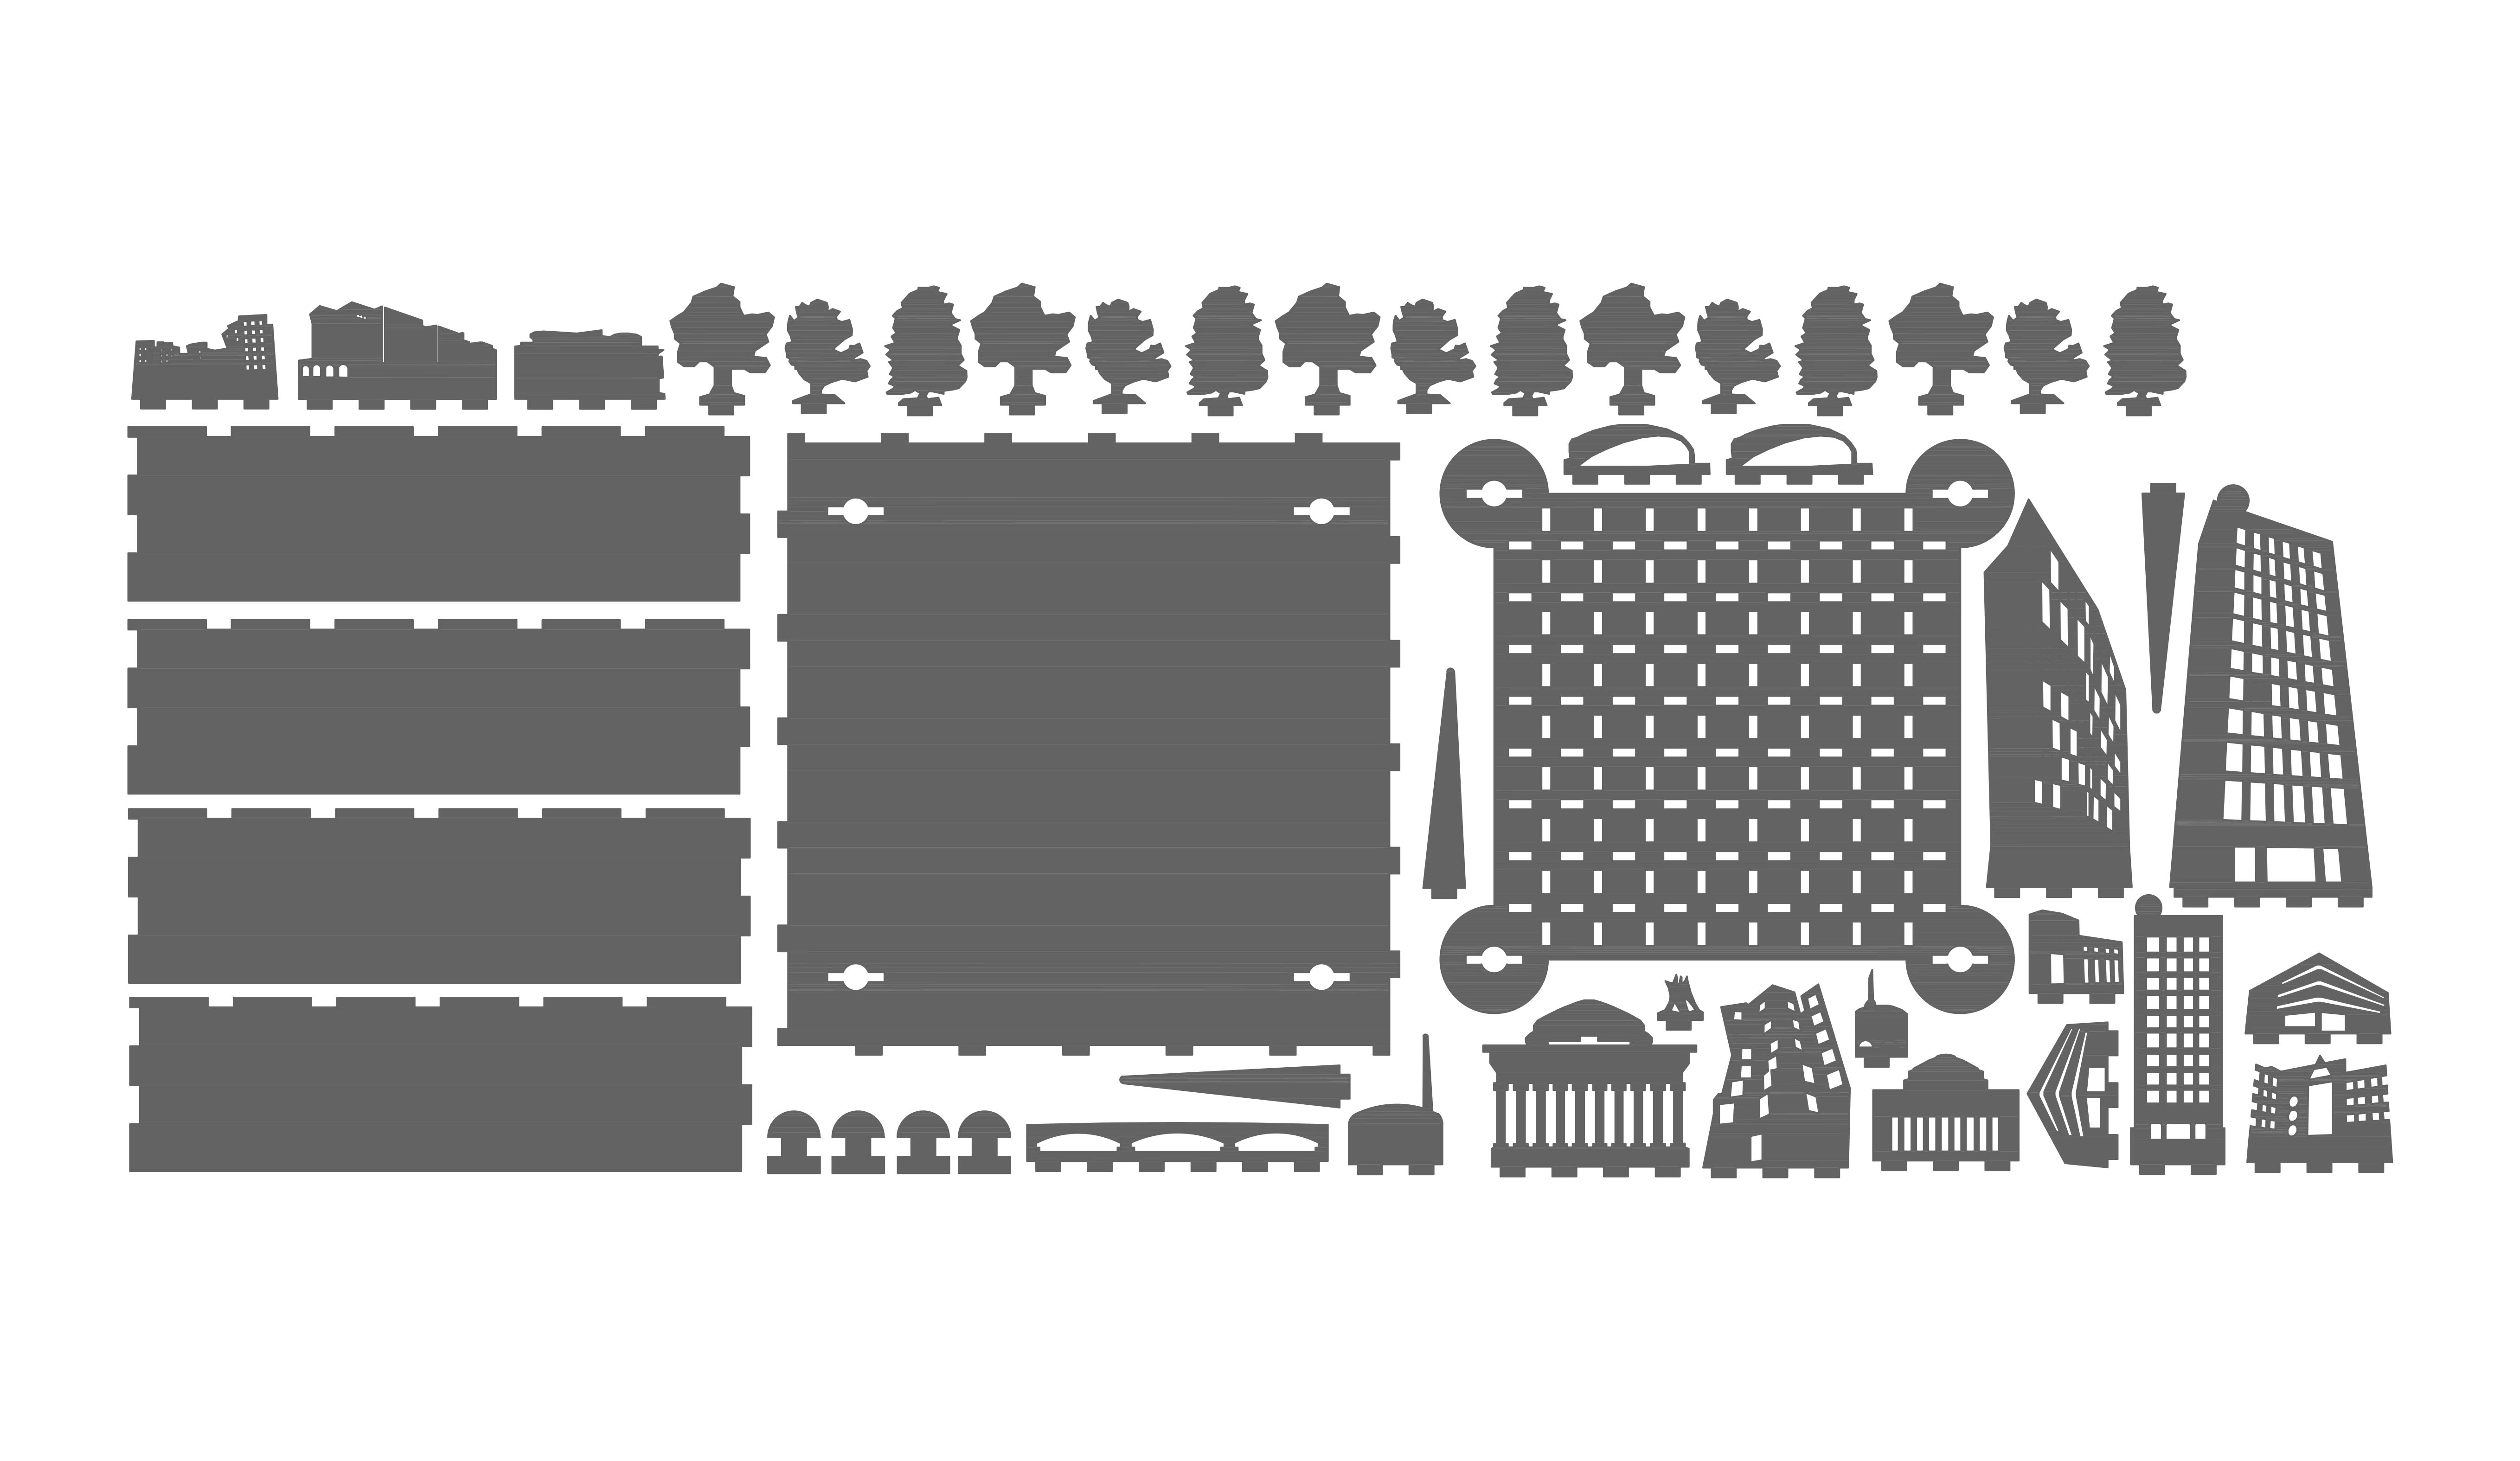
A silhouette of the final cut out pieces. The total area was greater than the size of the average laser cutting bed or cardboard size, this meant that the machine preferences had to be carried over to the second sheet.
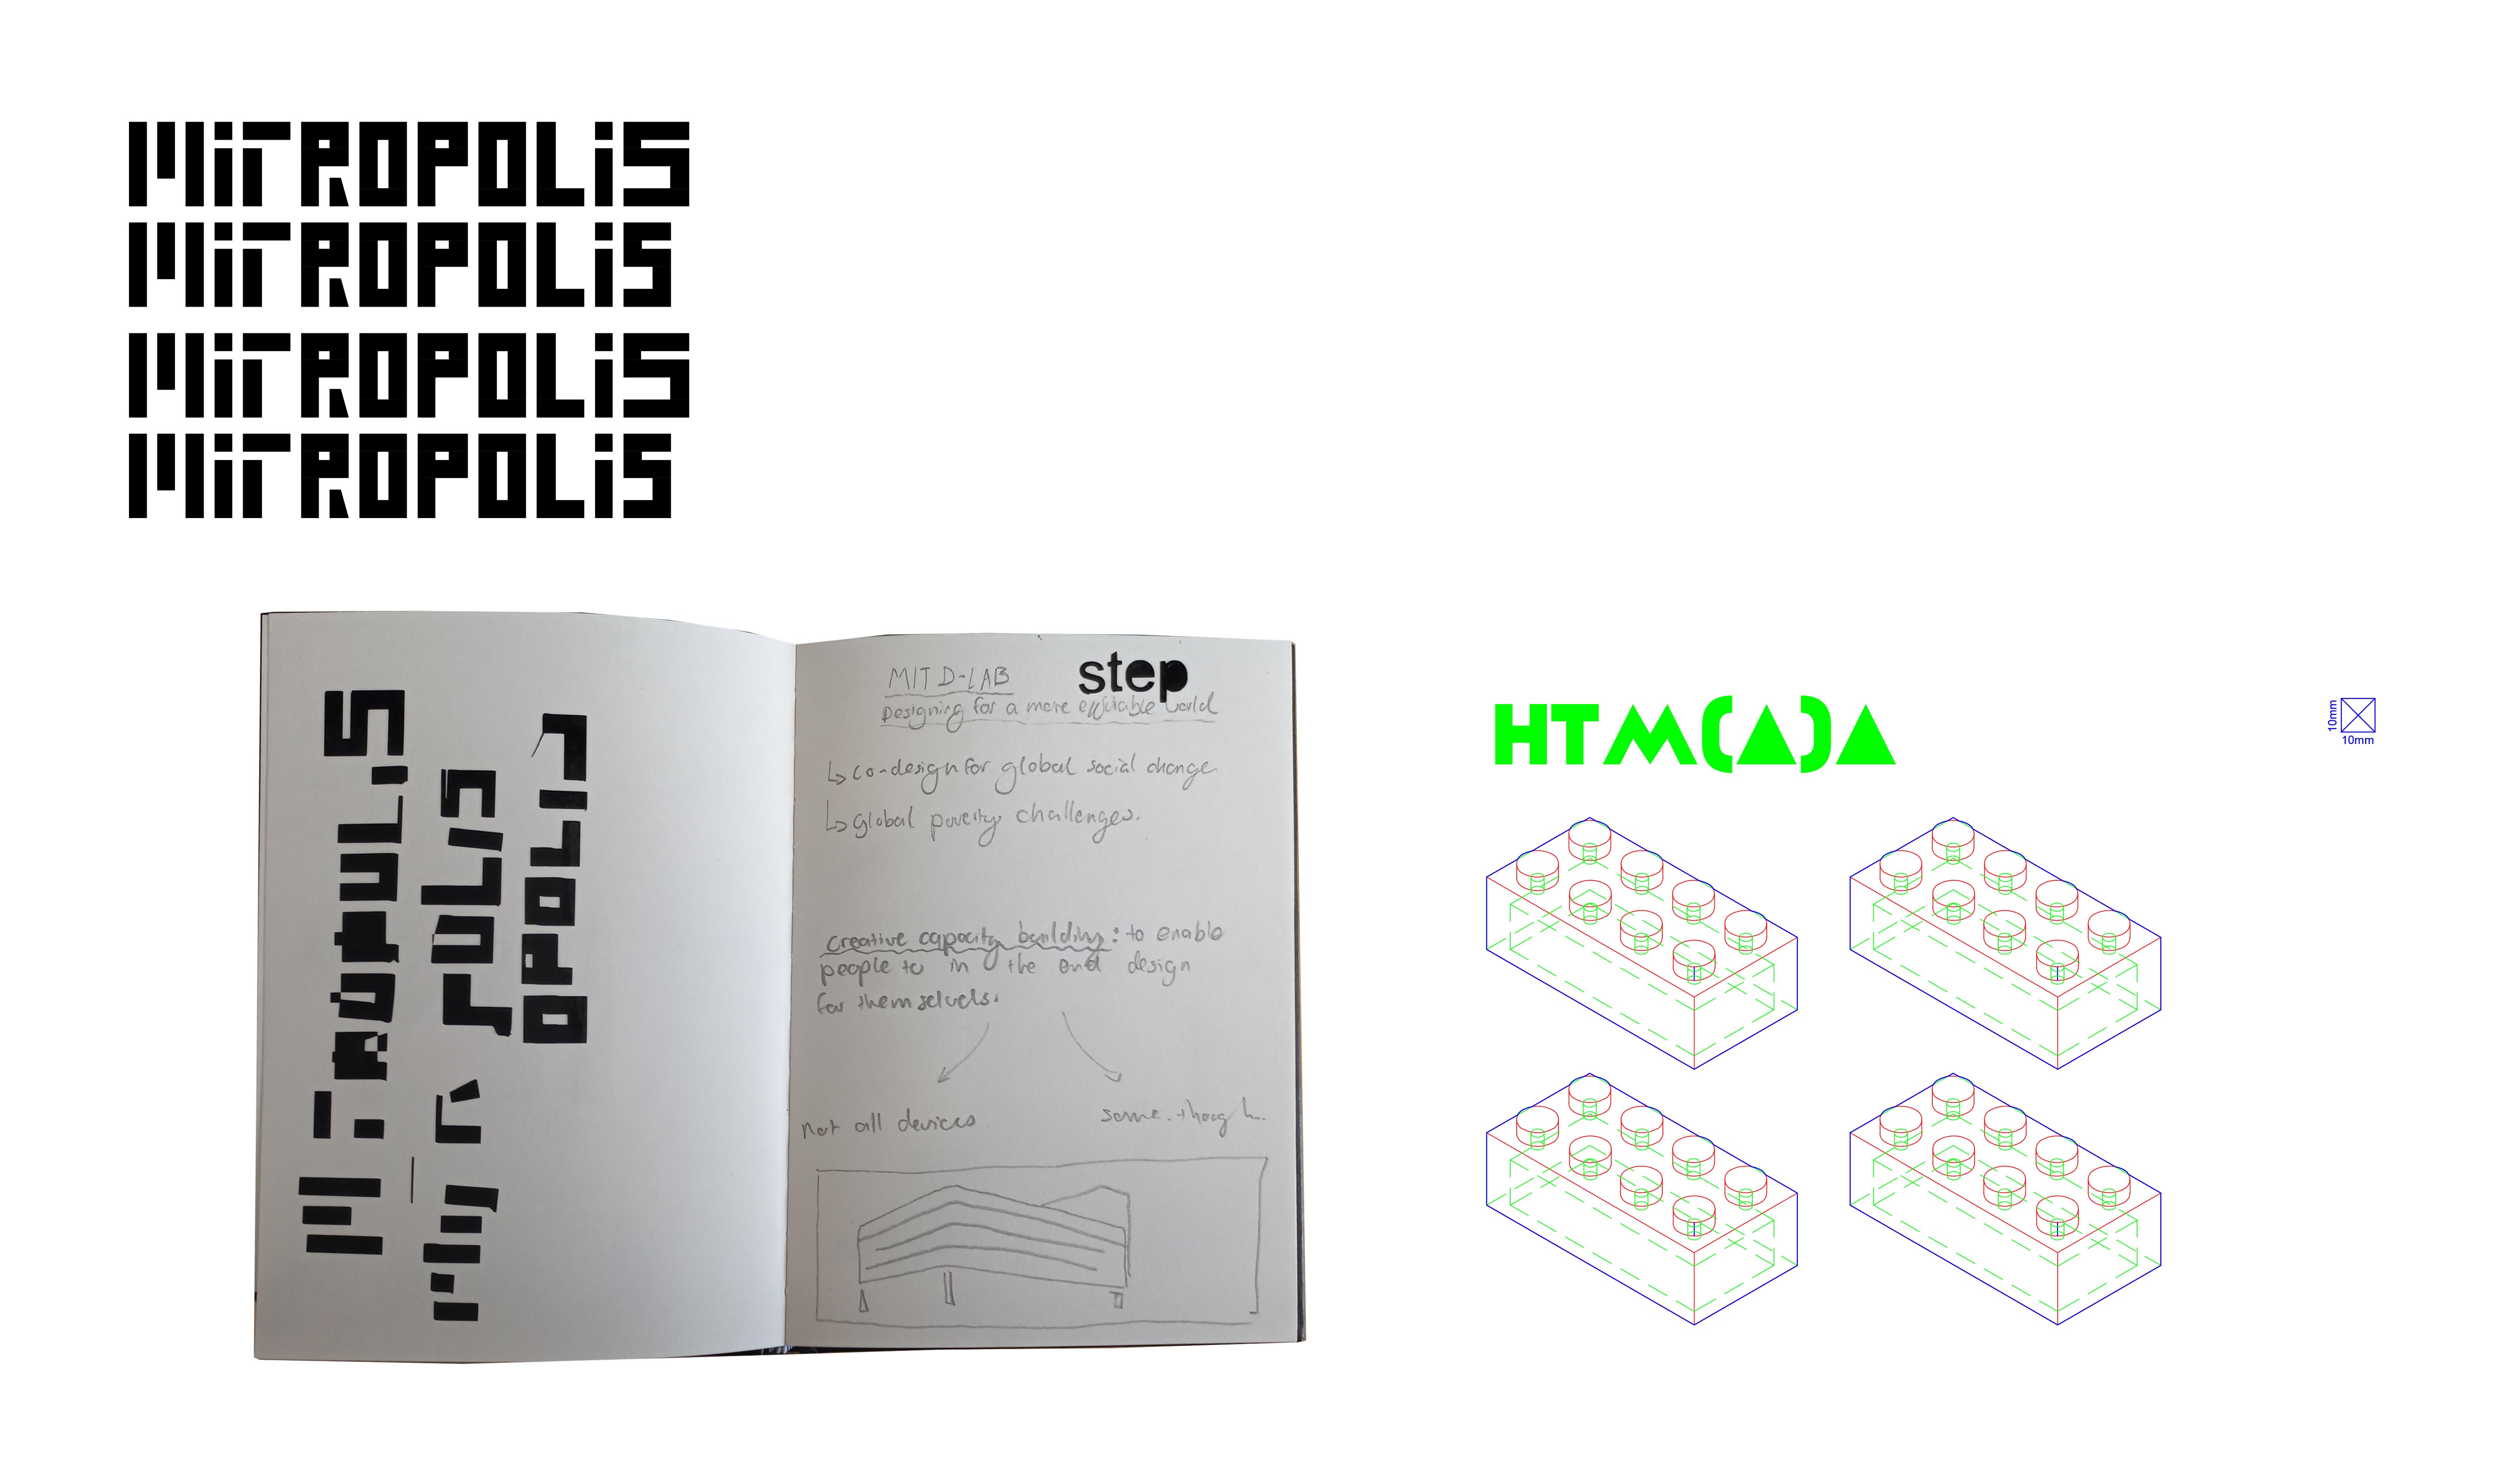
Explorations into laser cutting definitions and dealing with vinal cutting mishaps. The vinal cutting machine operates by using a small blade (which can move on the x-axis) and a roll of vinal (which moves on the y-axis) and is moved using 2 small wheels. When I was trying to cut the sheet, one of the wheels clearly didn’t move in unison with the other, and it caused problems with the final vinal machine. Skew and offset cuts were the result. I managed to salvage one which was usable.
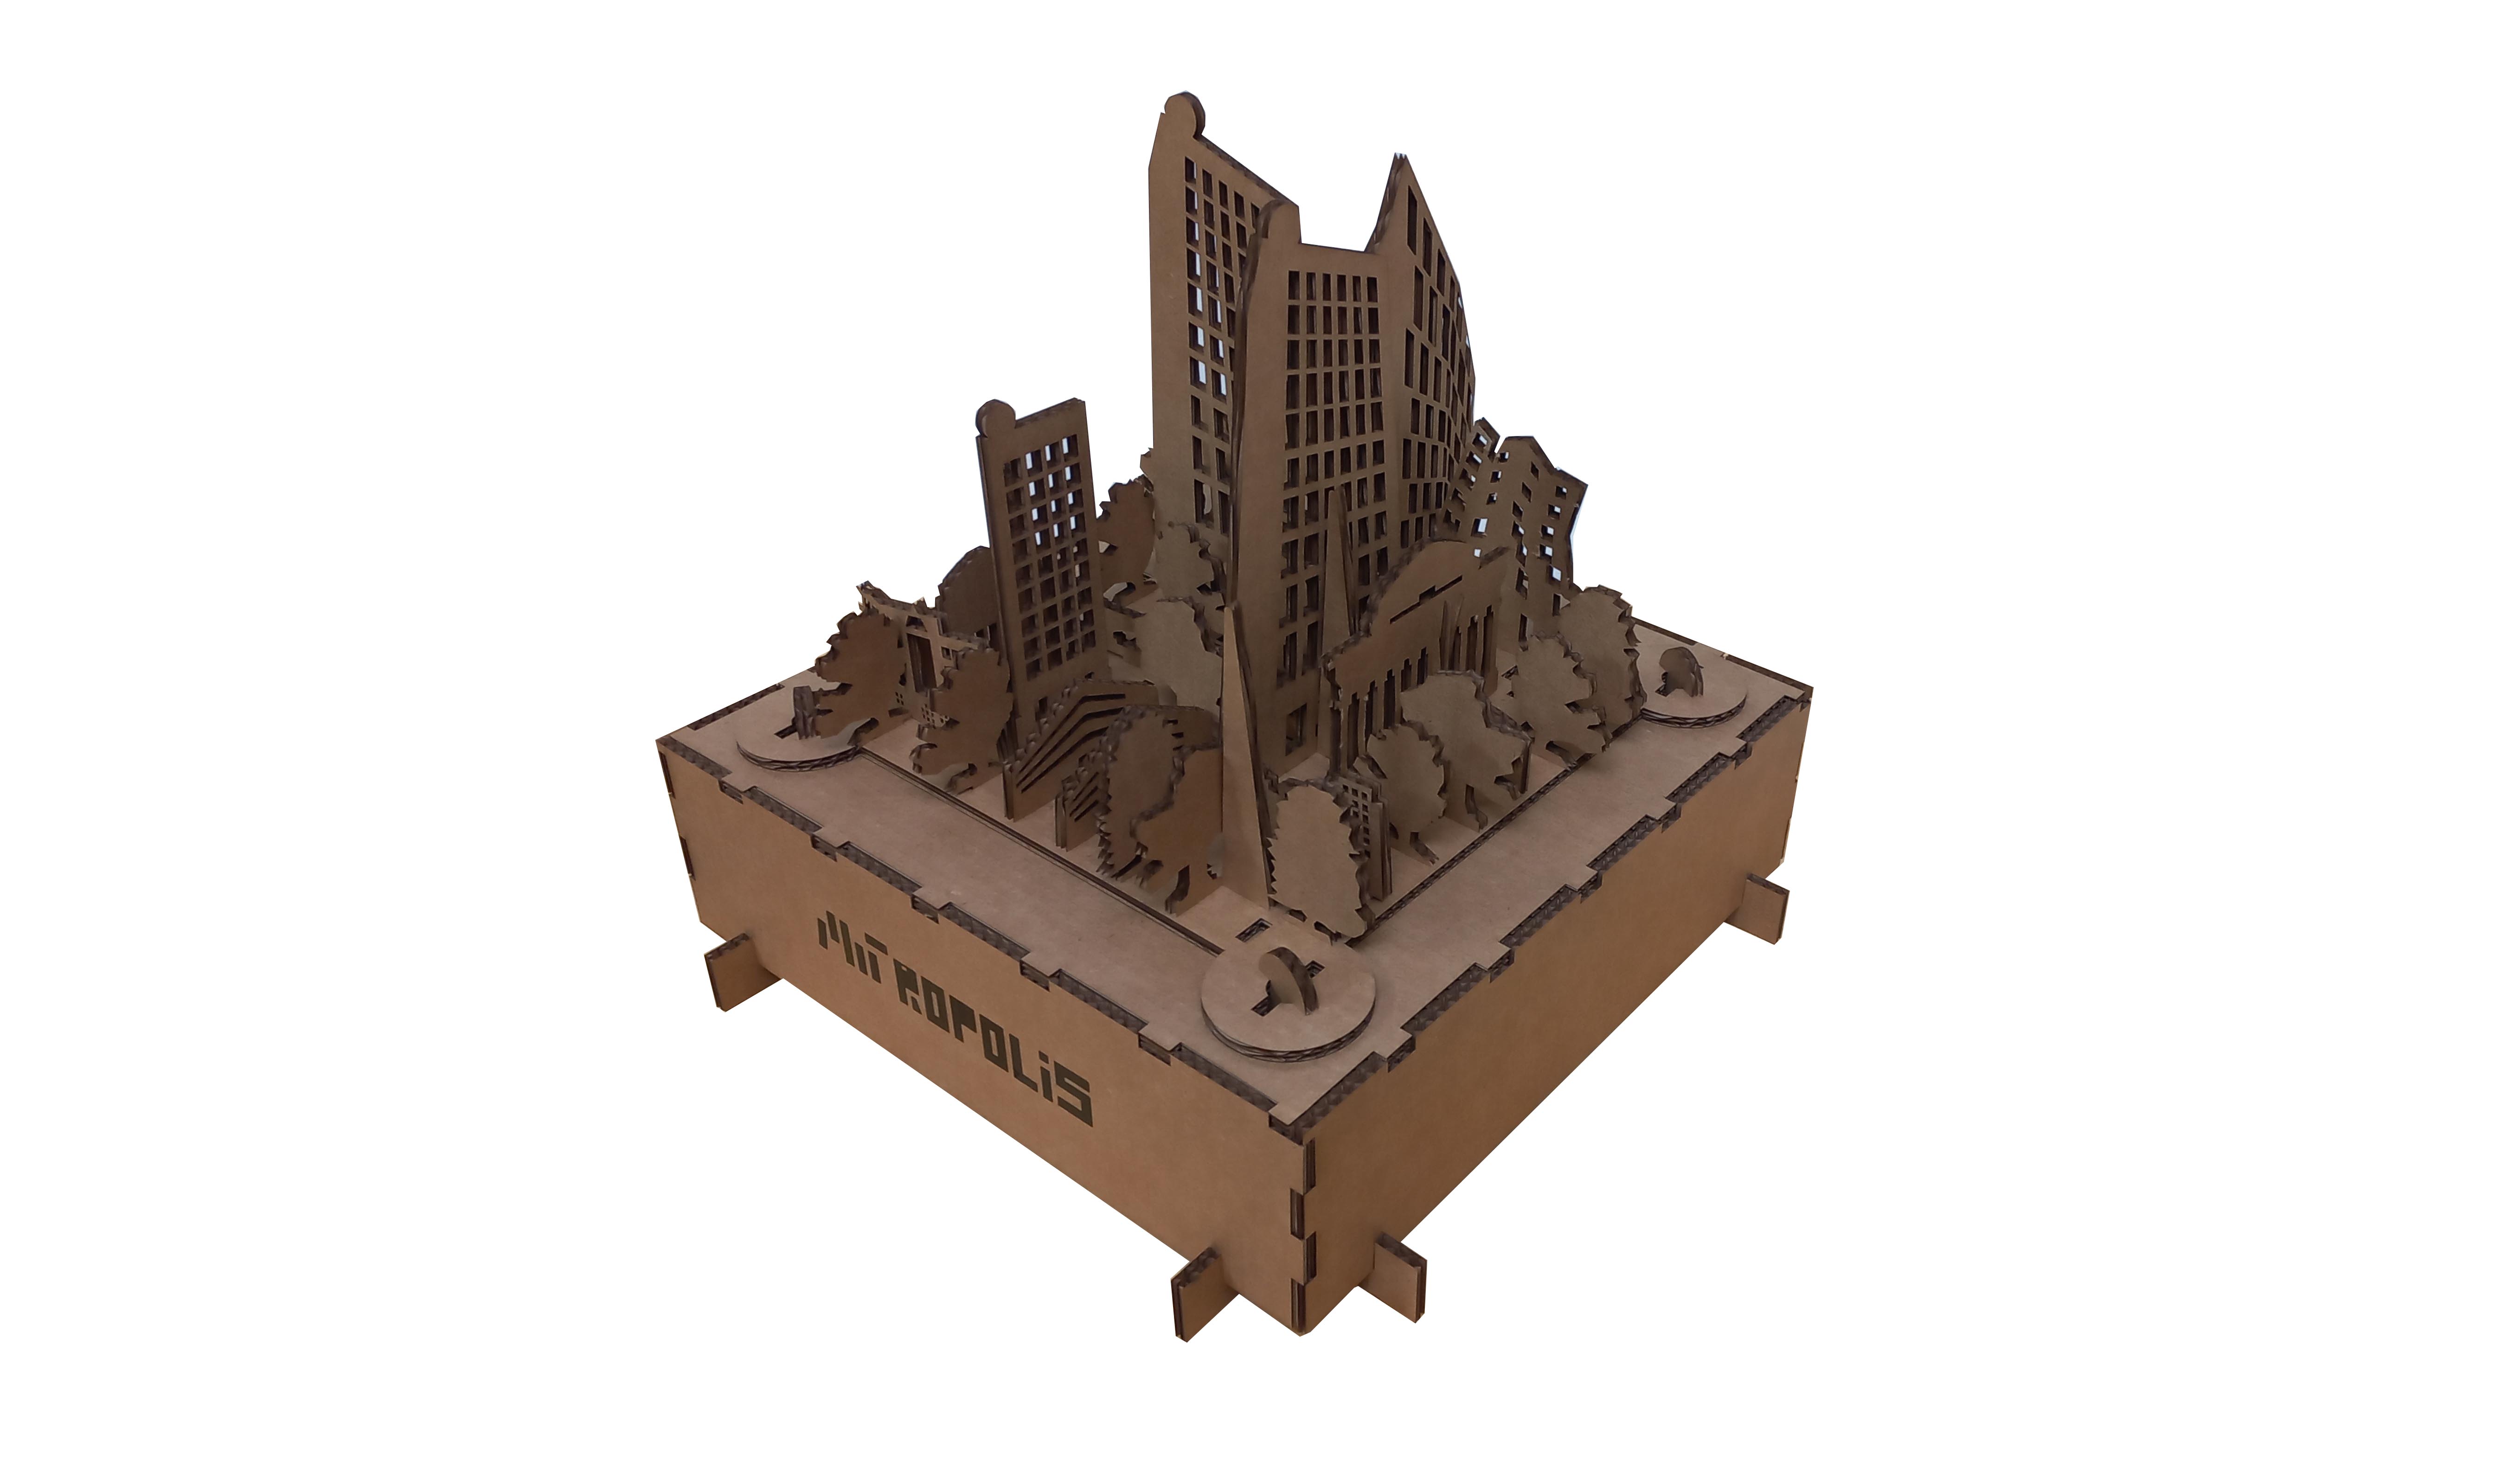
The final Model. The base of the model was initially too weak and had too little friction to sustain a sufficient structural base. So I added 4 interlocking sheets of cardboard which act as plinths and structure.
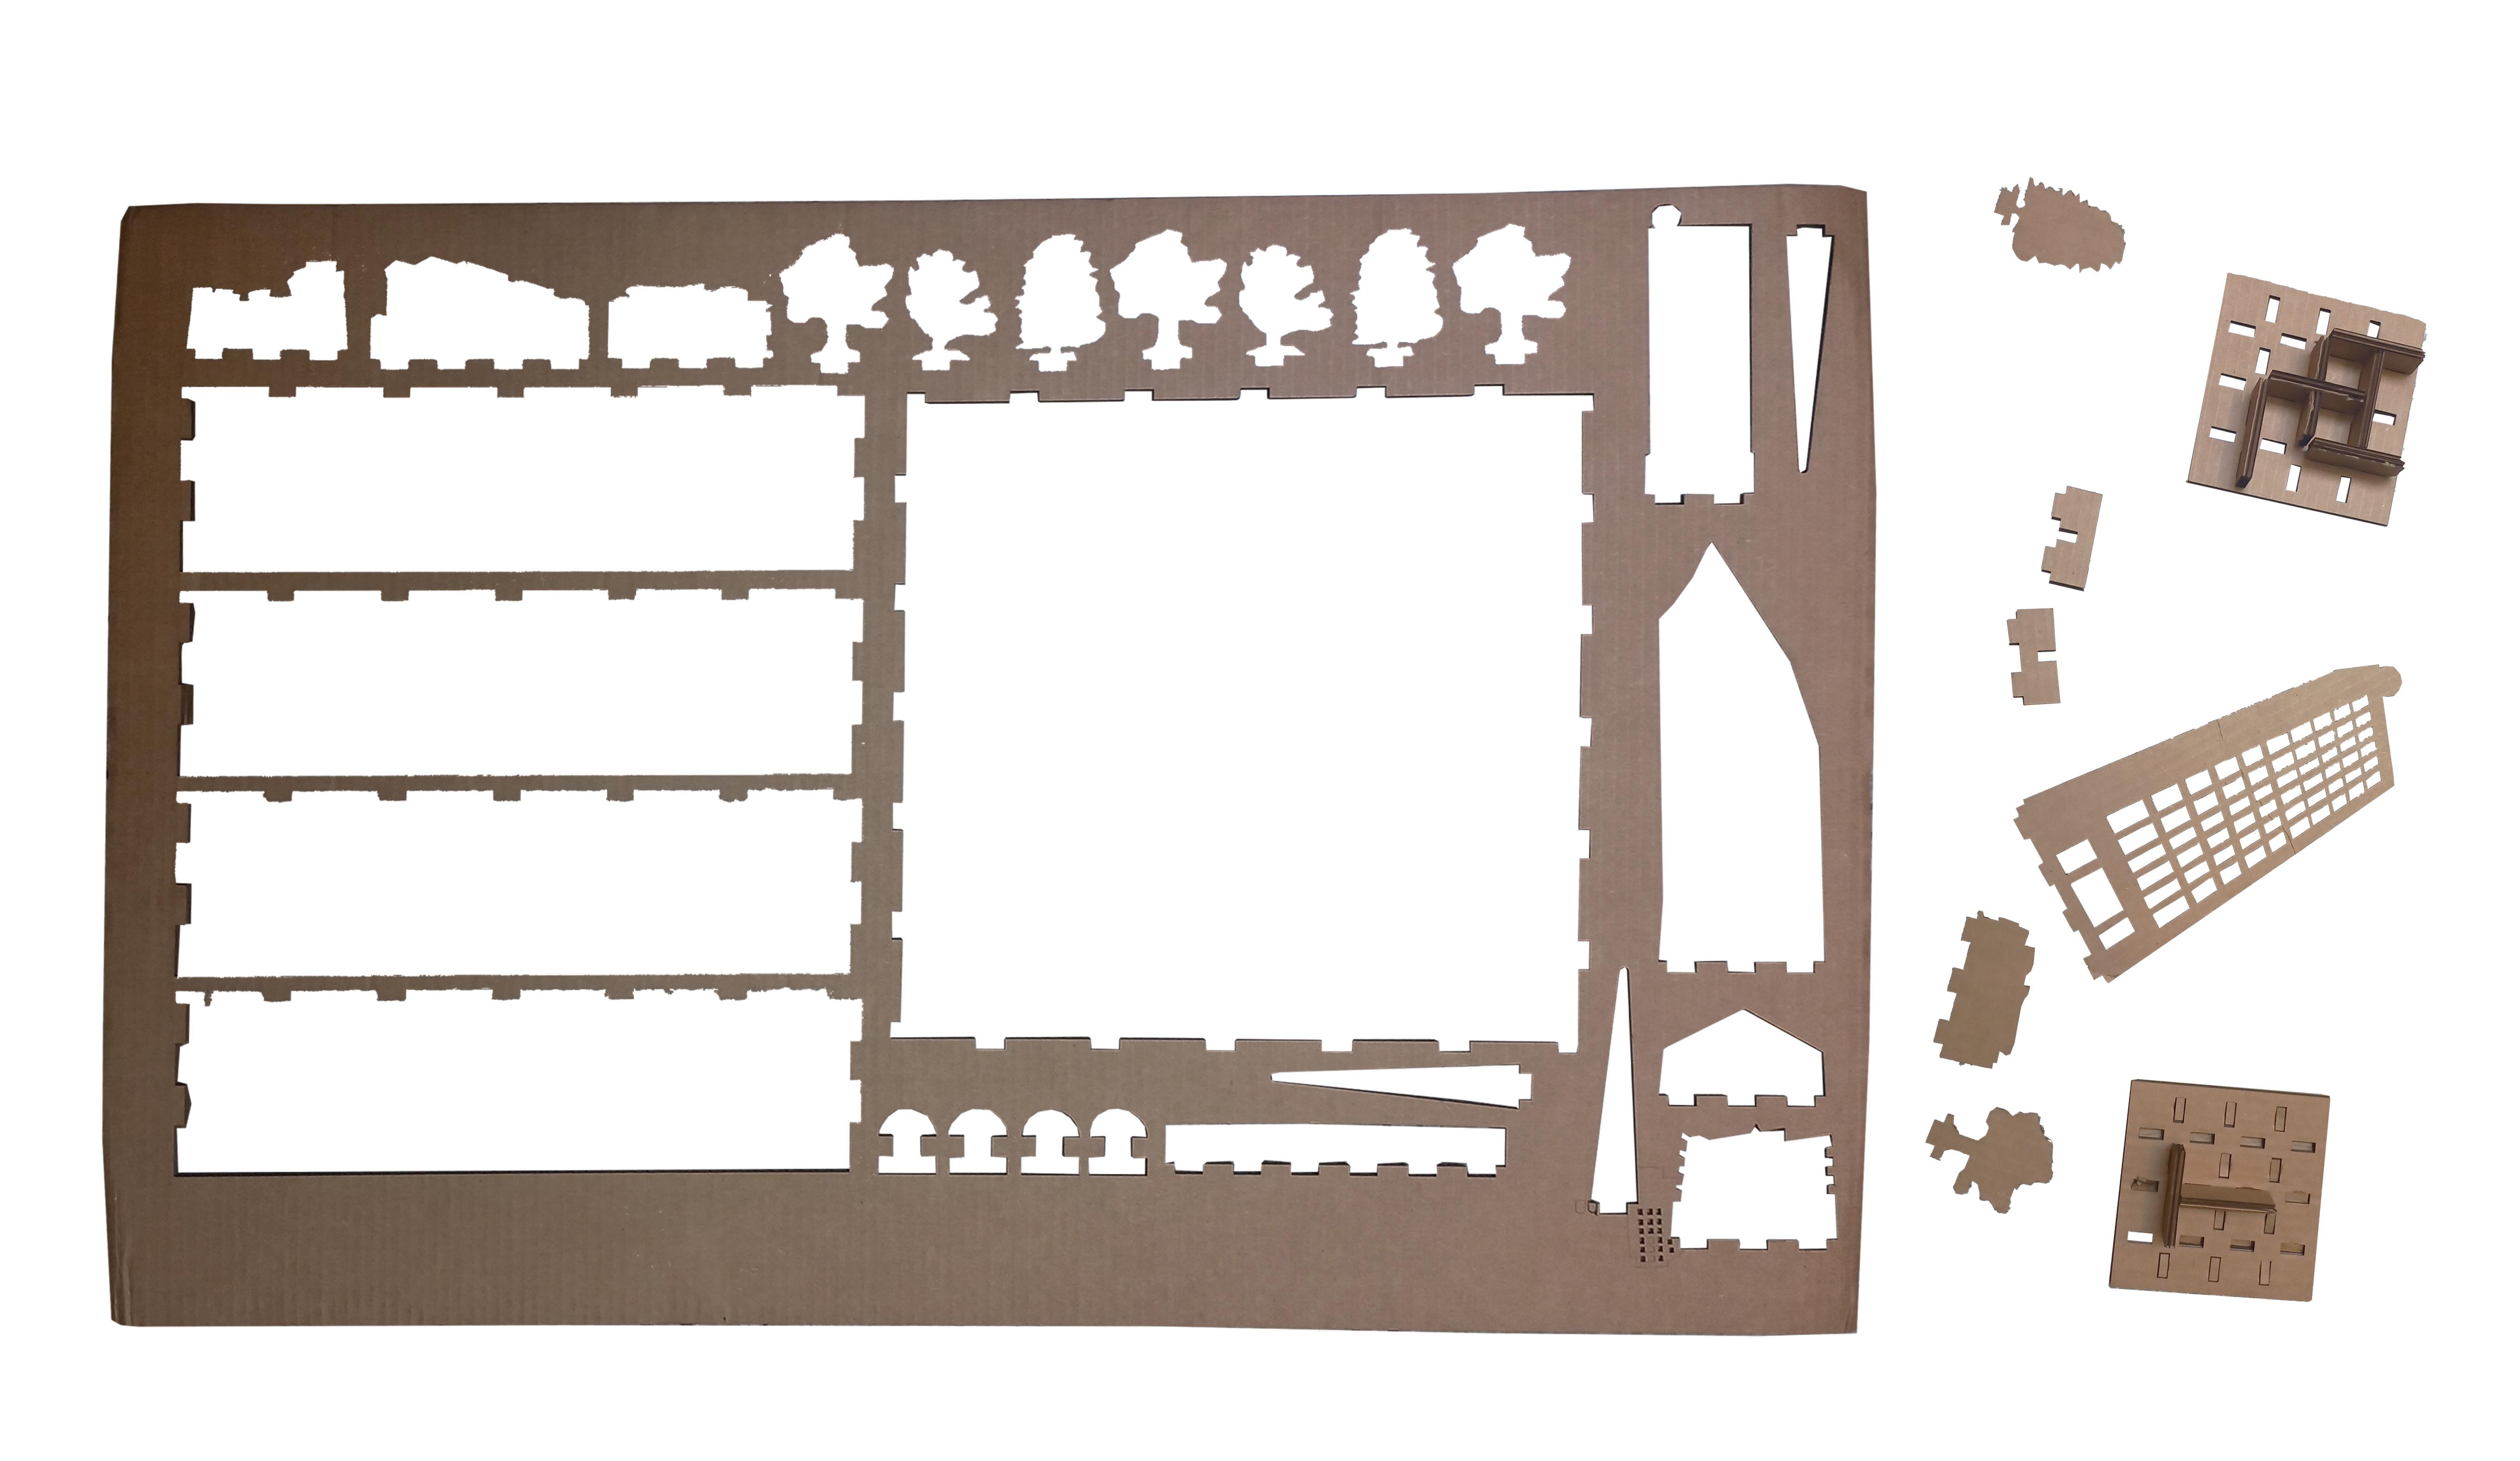
The cut-out residue of one of the sheets.
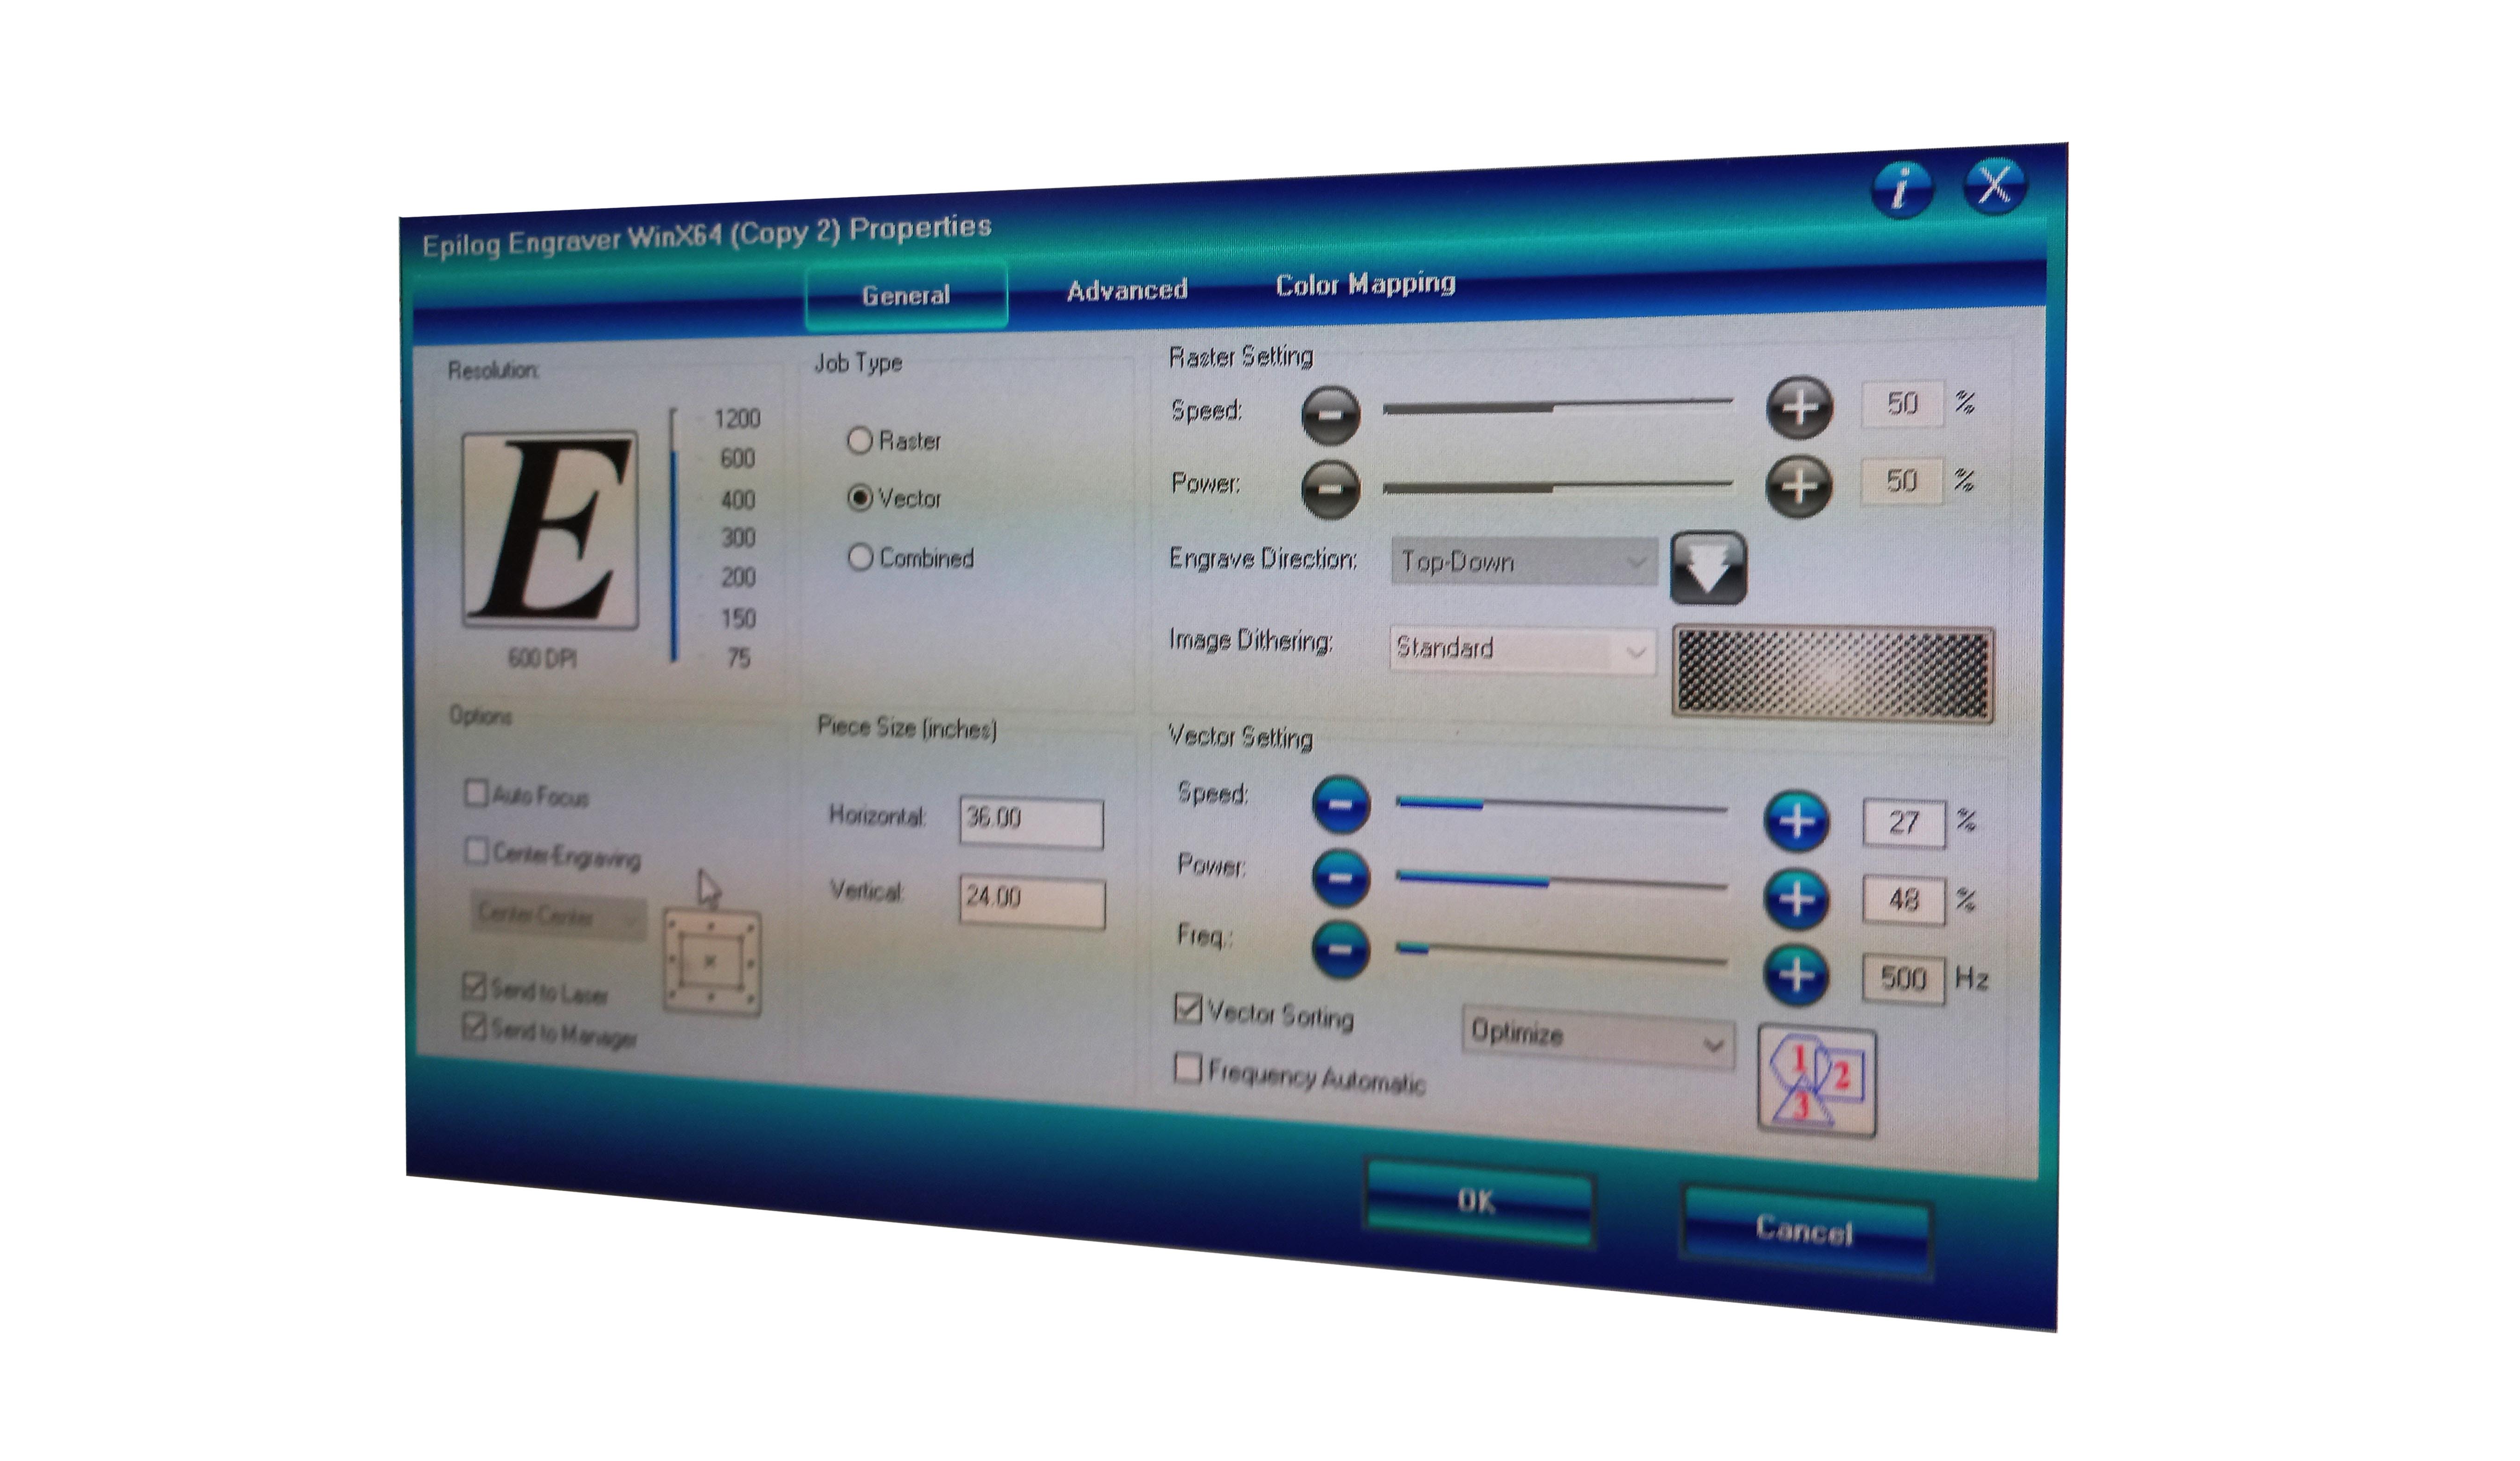
The system settings of the laser cutter. Speed > Power.
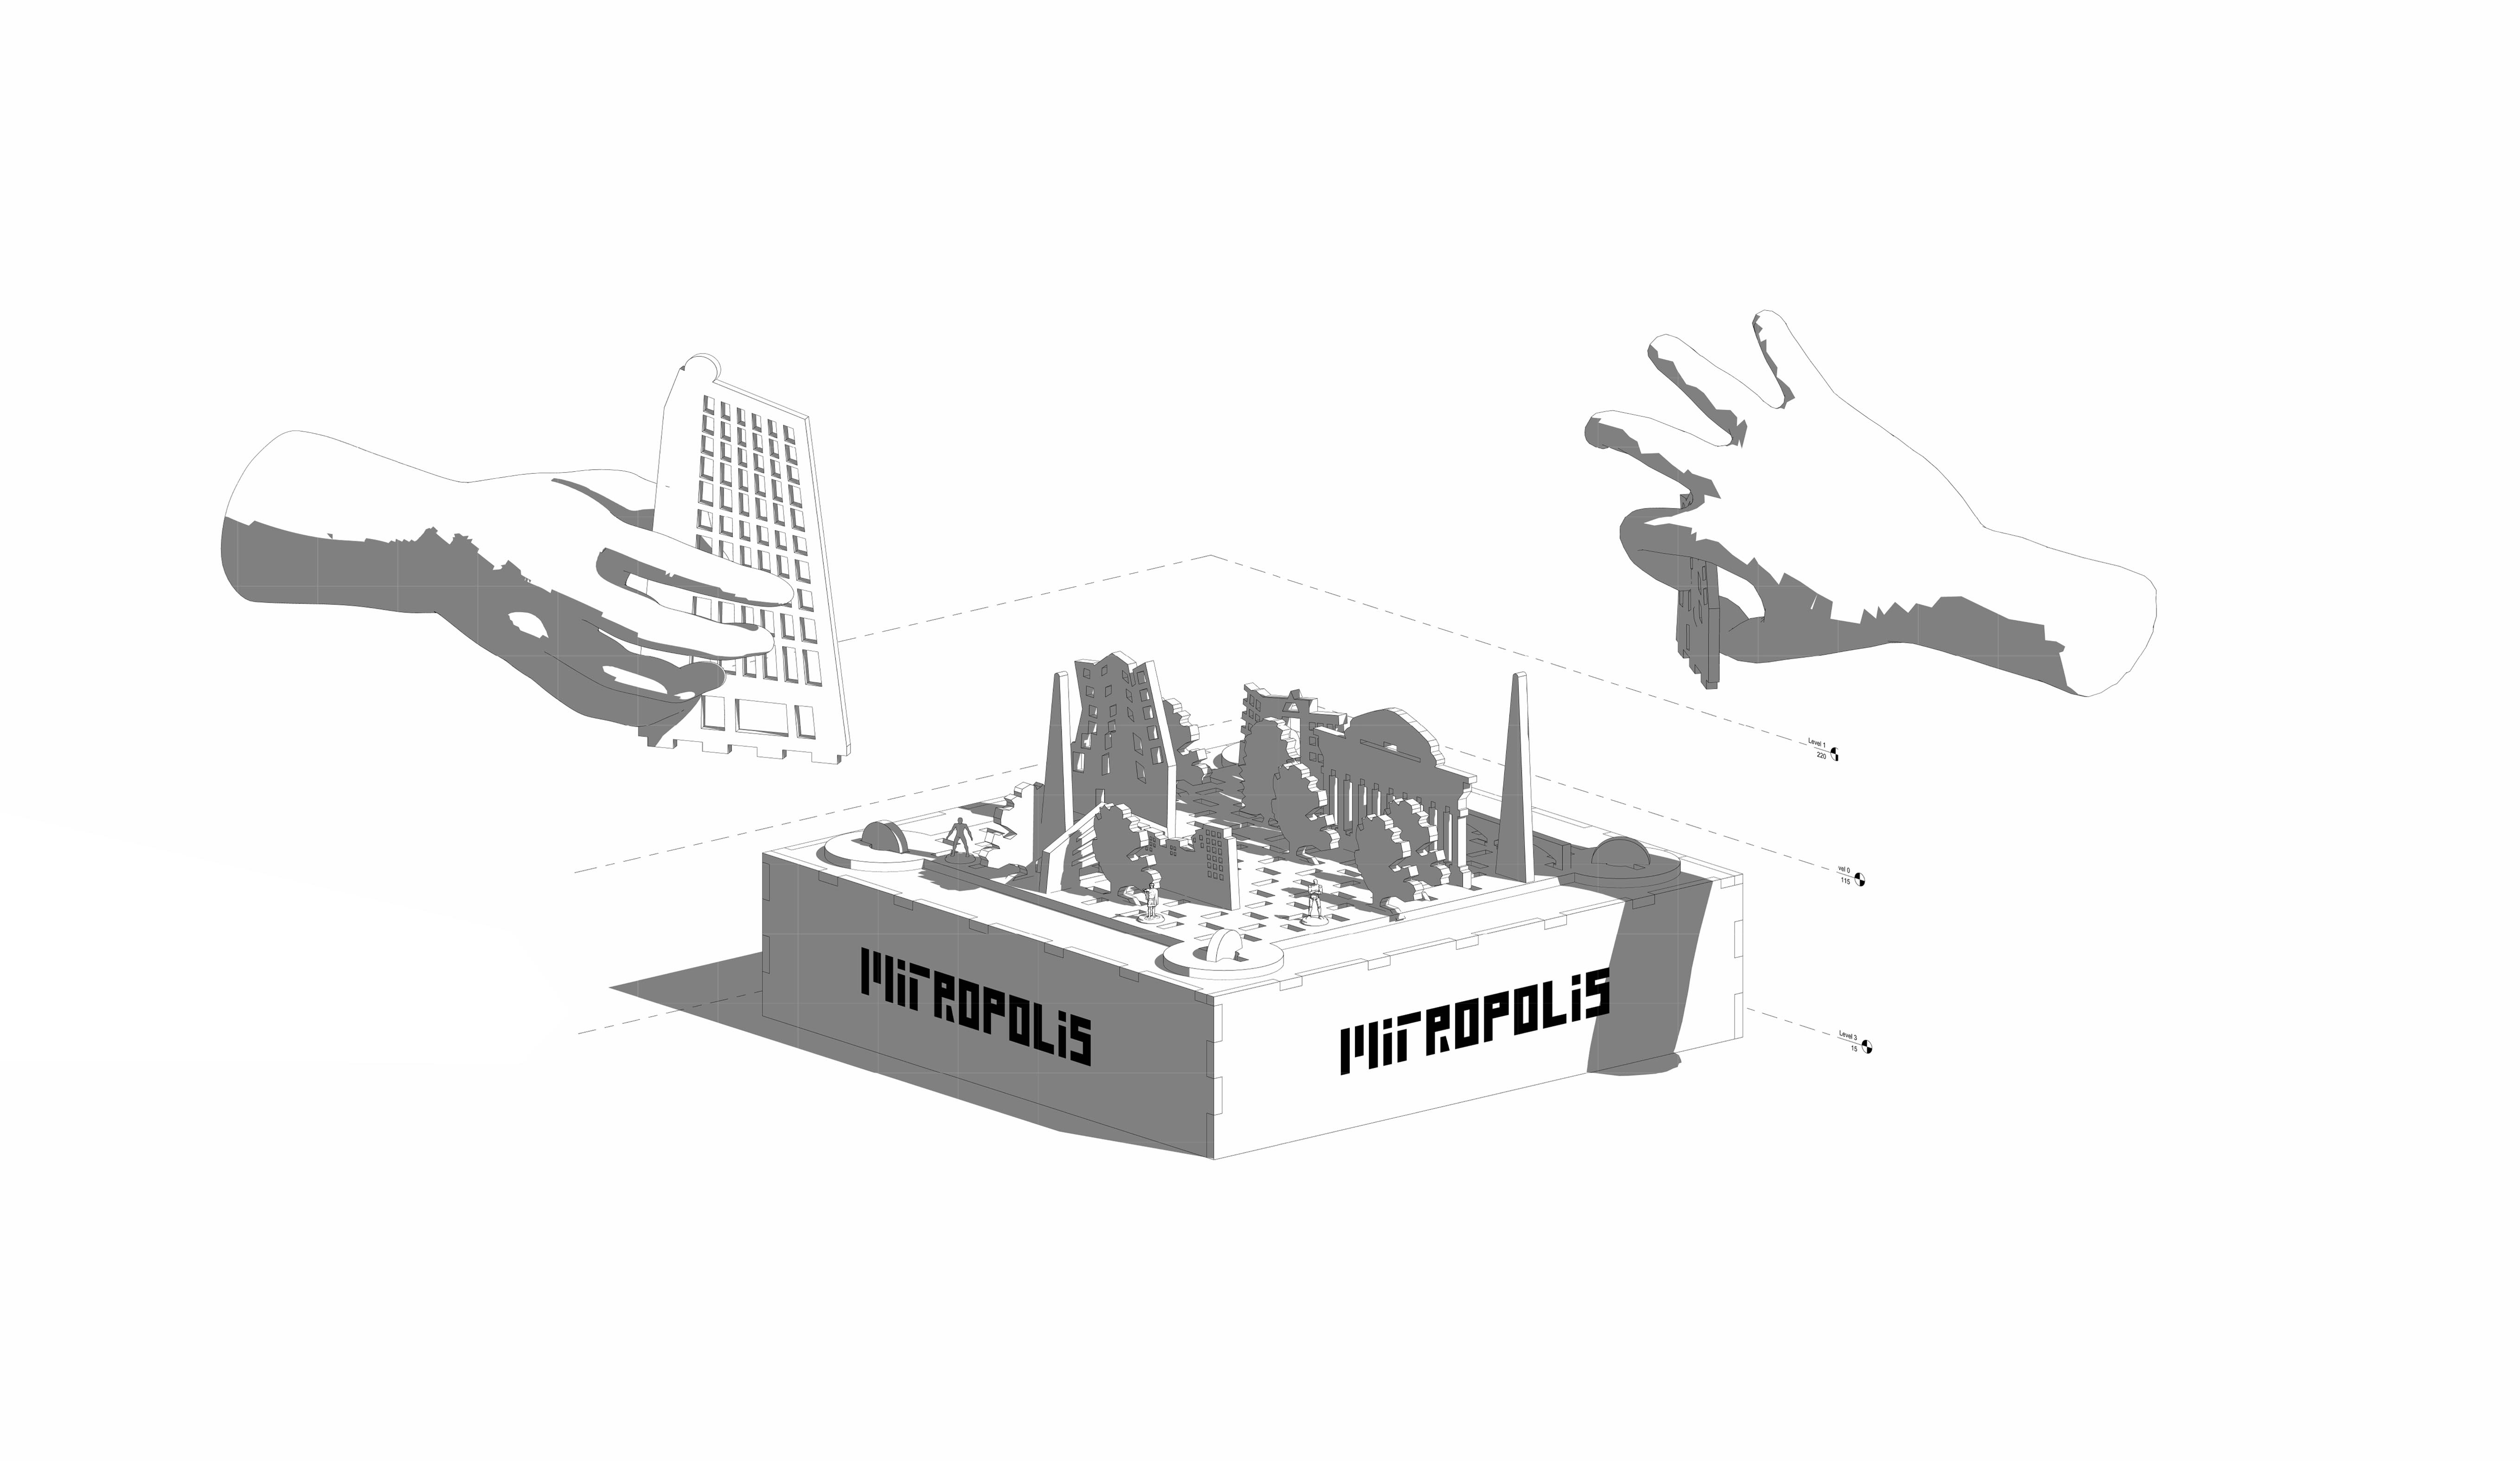
The game in play.
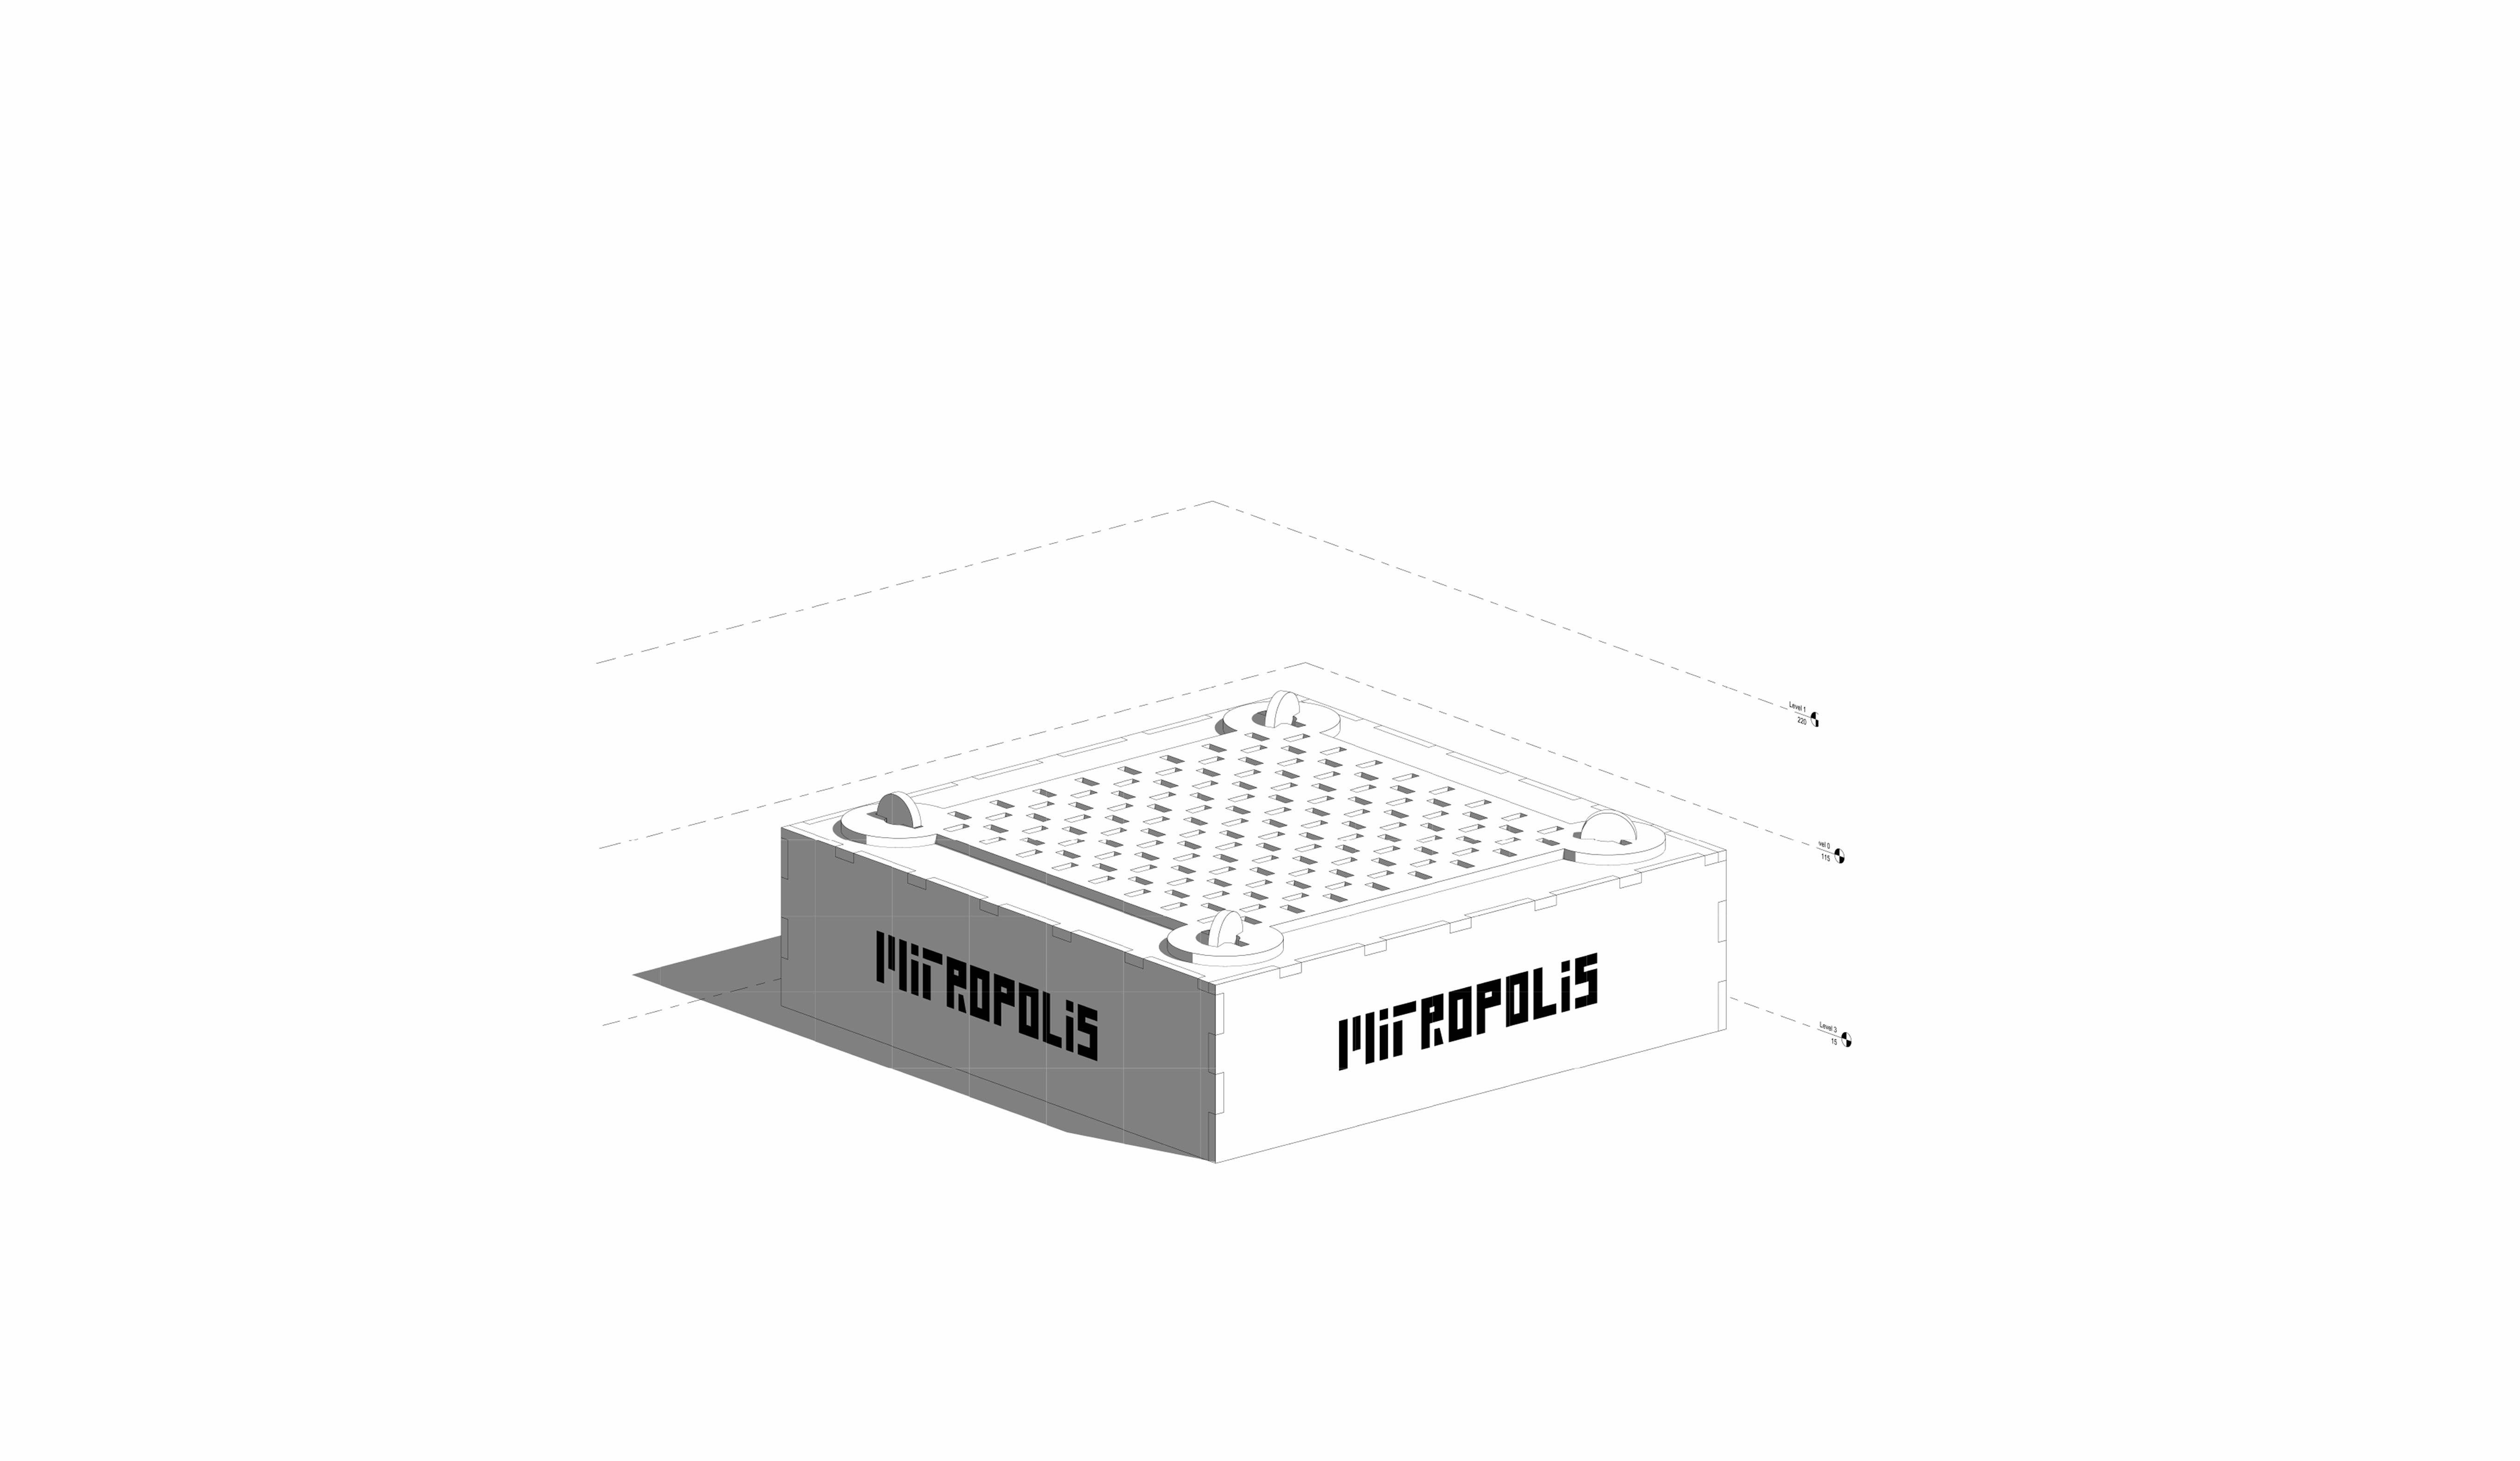
The base of the model. The adhesion of two flat sheets onto one another offered an interesting challenge due to the limitation of using an adhesive. The final solution was to use a screw system. The fragility of the cardboard had to be taken into account and also the depth of two cardboard sheets on top of one another.
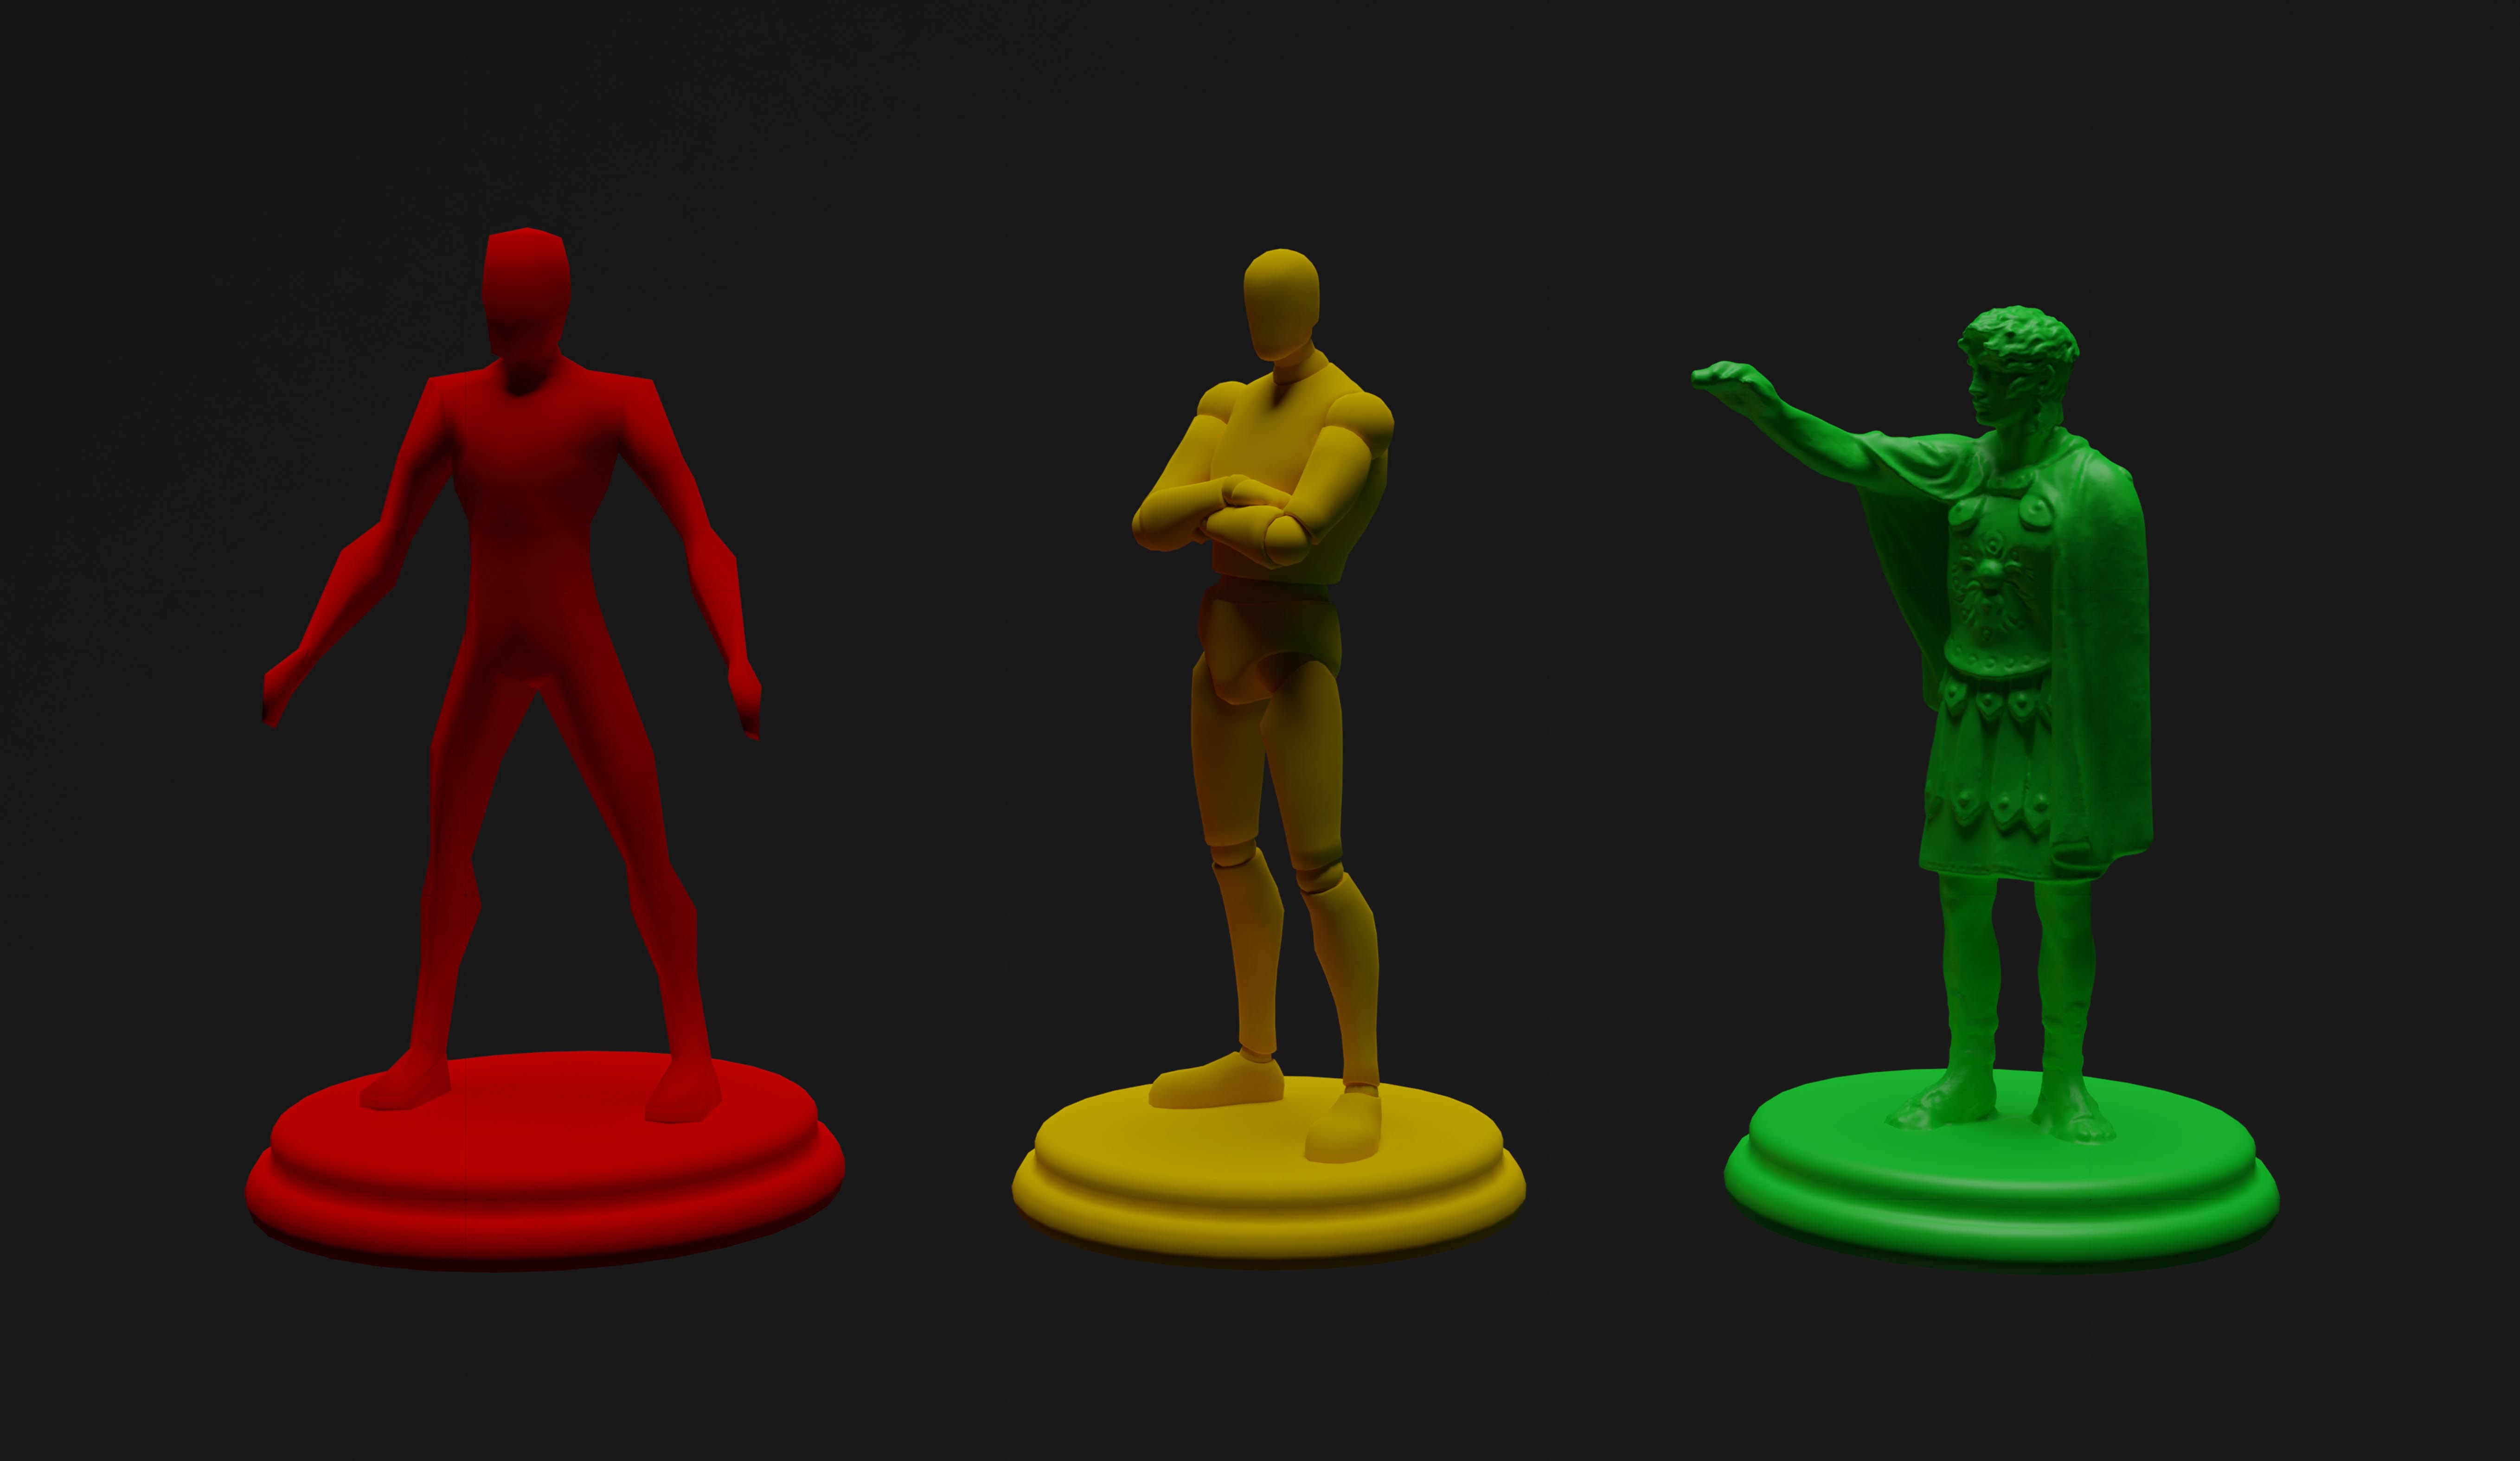
Meeple: Or the small reflections of ourselves.
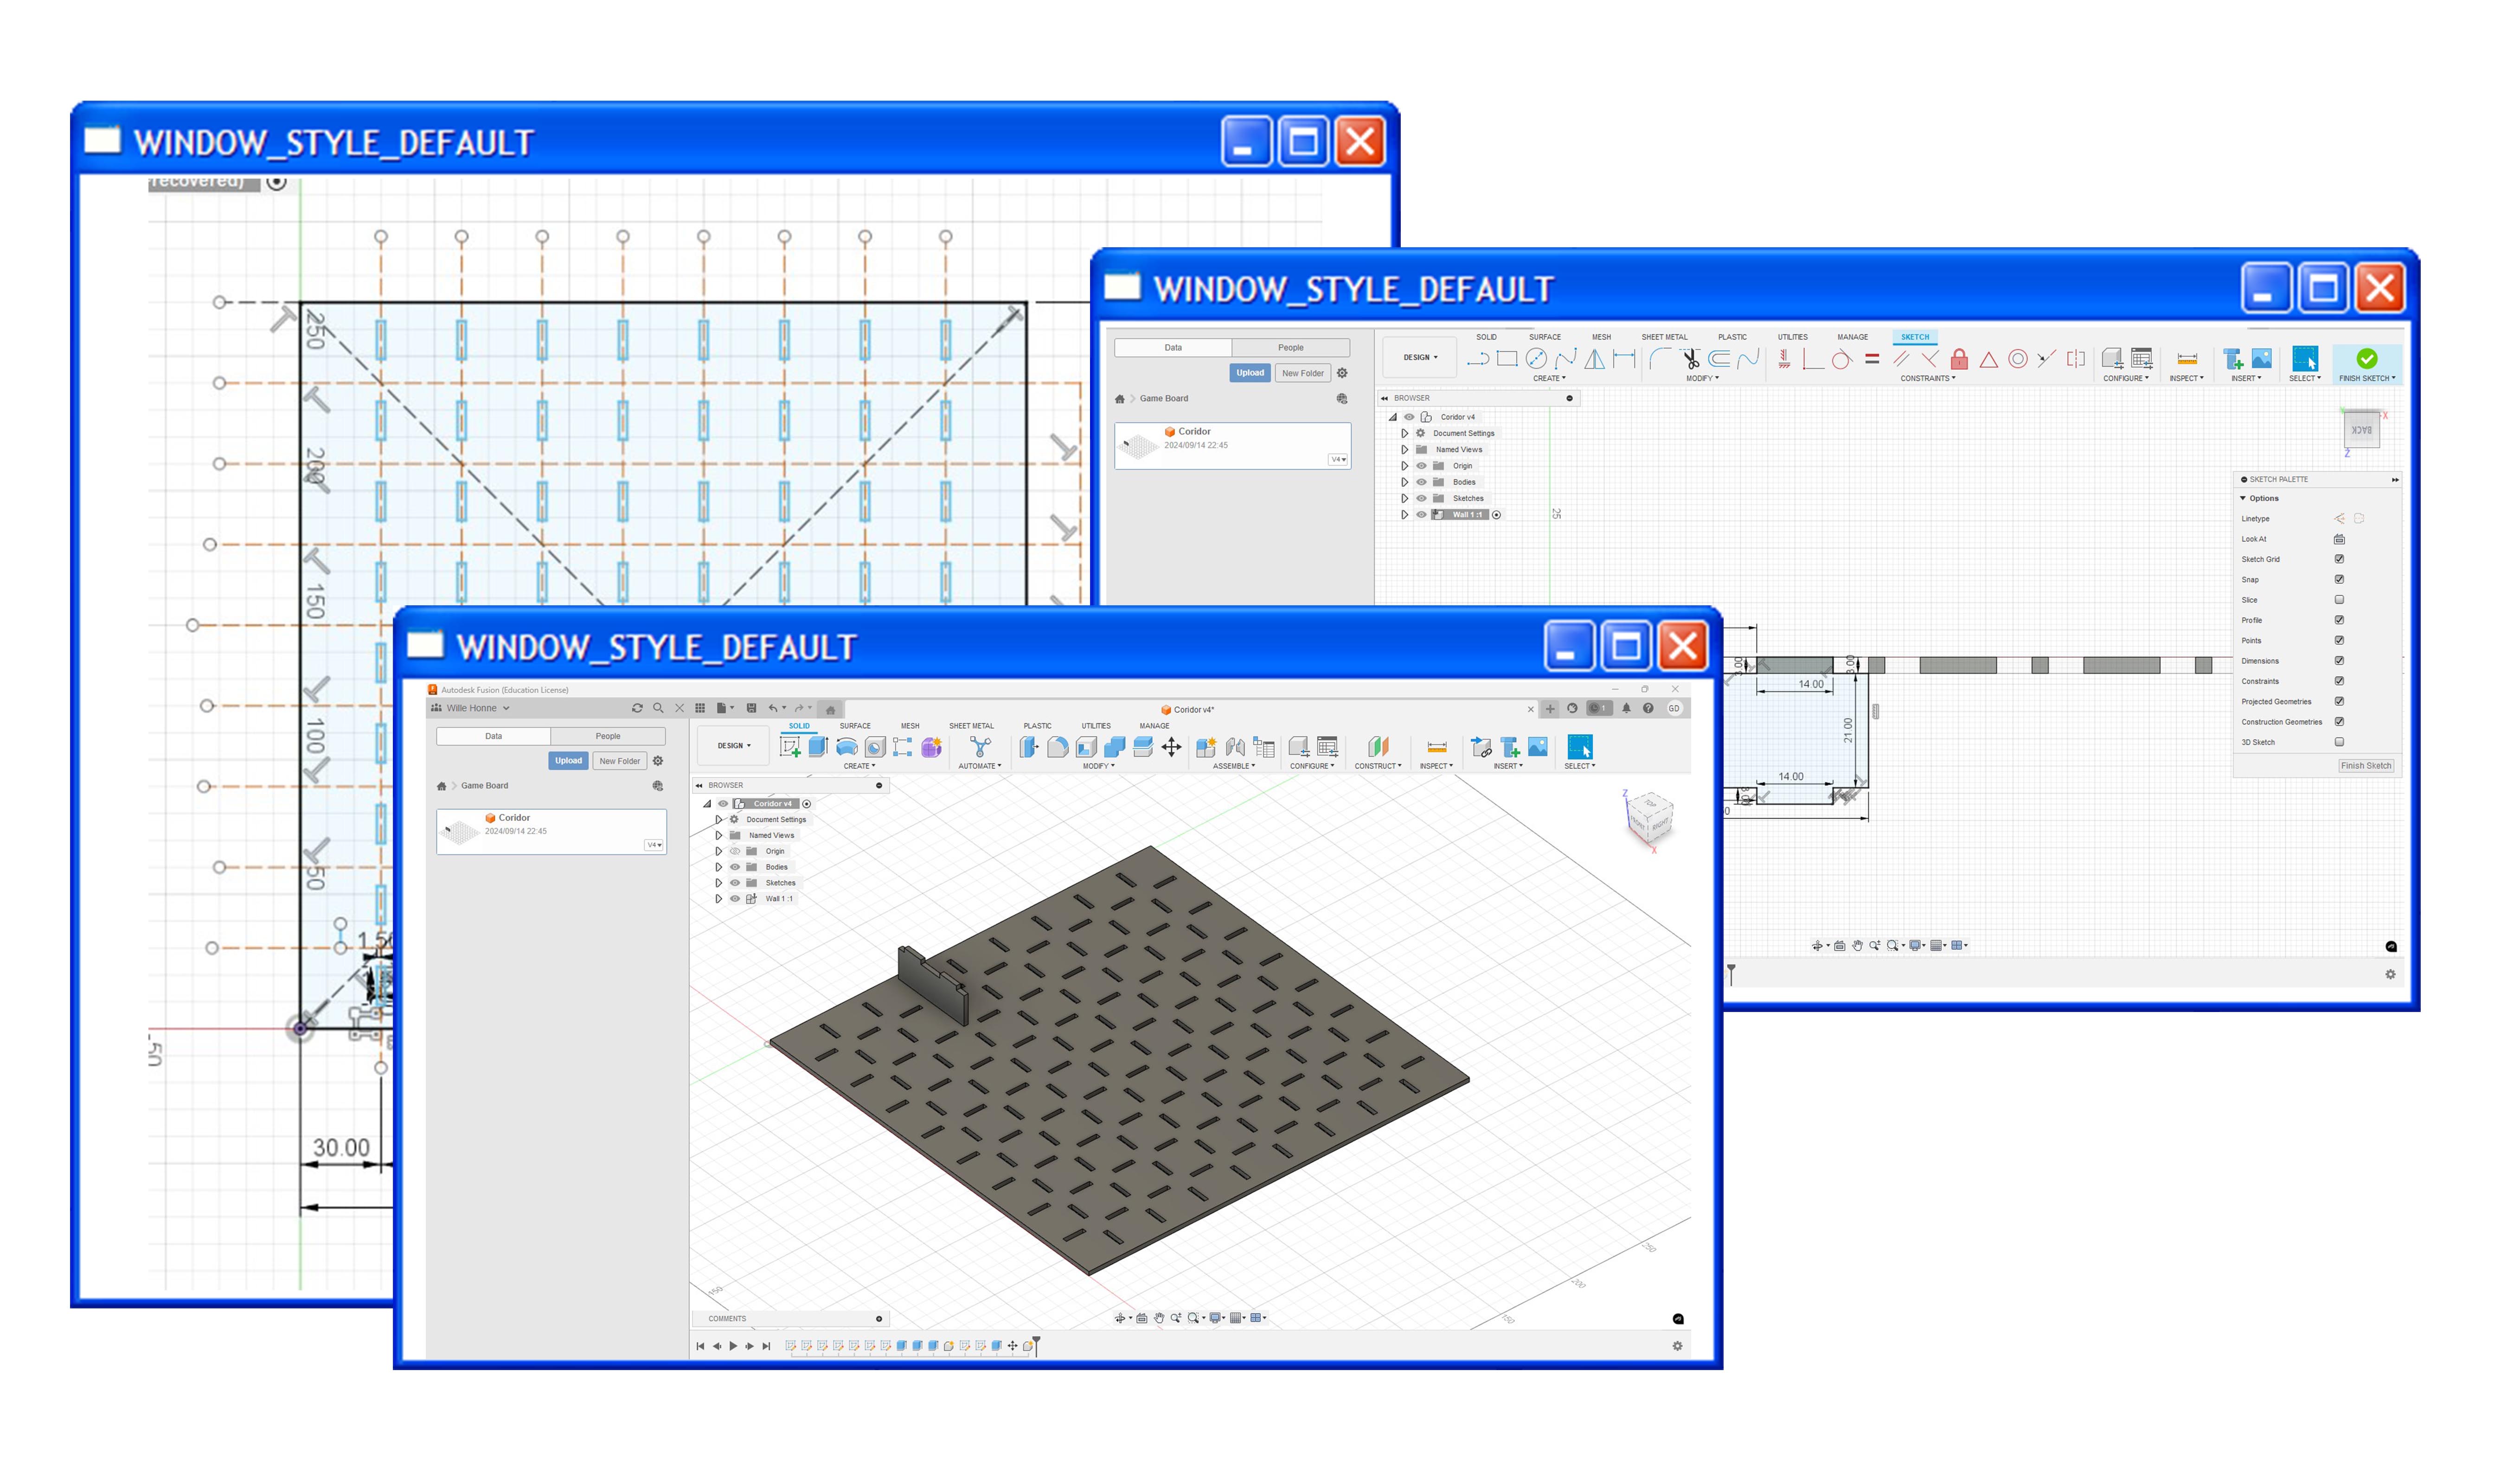
The initial design of this project on Fusion 360, which then migrated to Revit - AutoCAD.
