Casting and Moulding
Workflow

This week we were tasked to cast and mold something. Initially I started off wanting to model a toy army soldier, the green ones which we played with when we were younger. I started off by acquiring 3D models from online software’s such as Sketchfab and Yeggi. The geometry of the army man was going to be tricky because it is not symmetrical, not very planar and had many overhangs.
I wanted my models to be CNC machined out of wax as I had limited experience with CNC and wanted to explore the machining capabilities. I iterated several designs and decided to switch to an alternate design which I could perhaps use to explore different materials instead of just using one at a time.
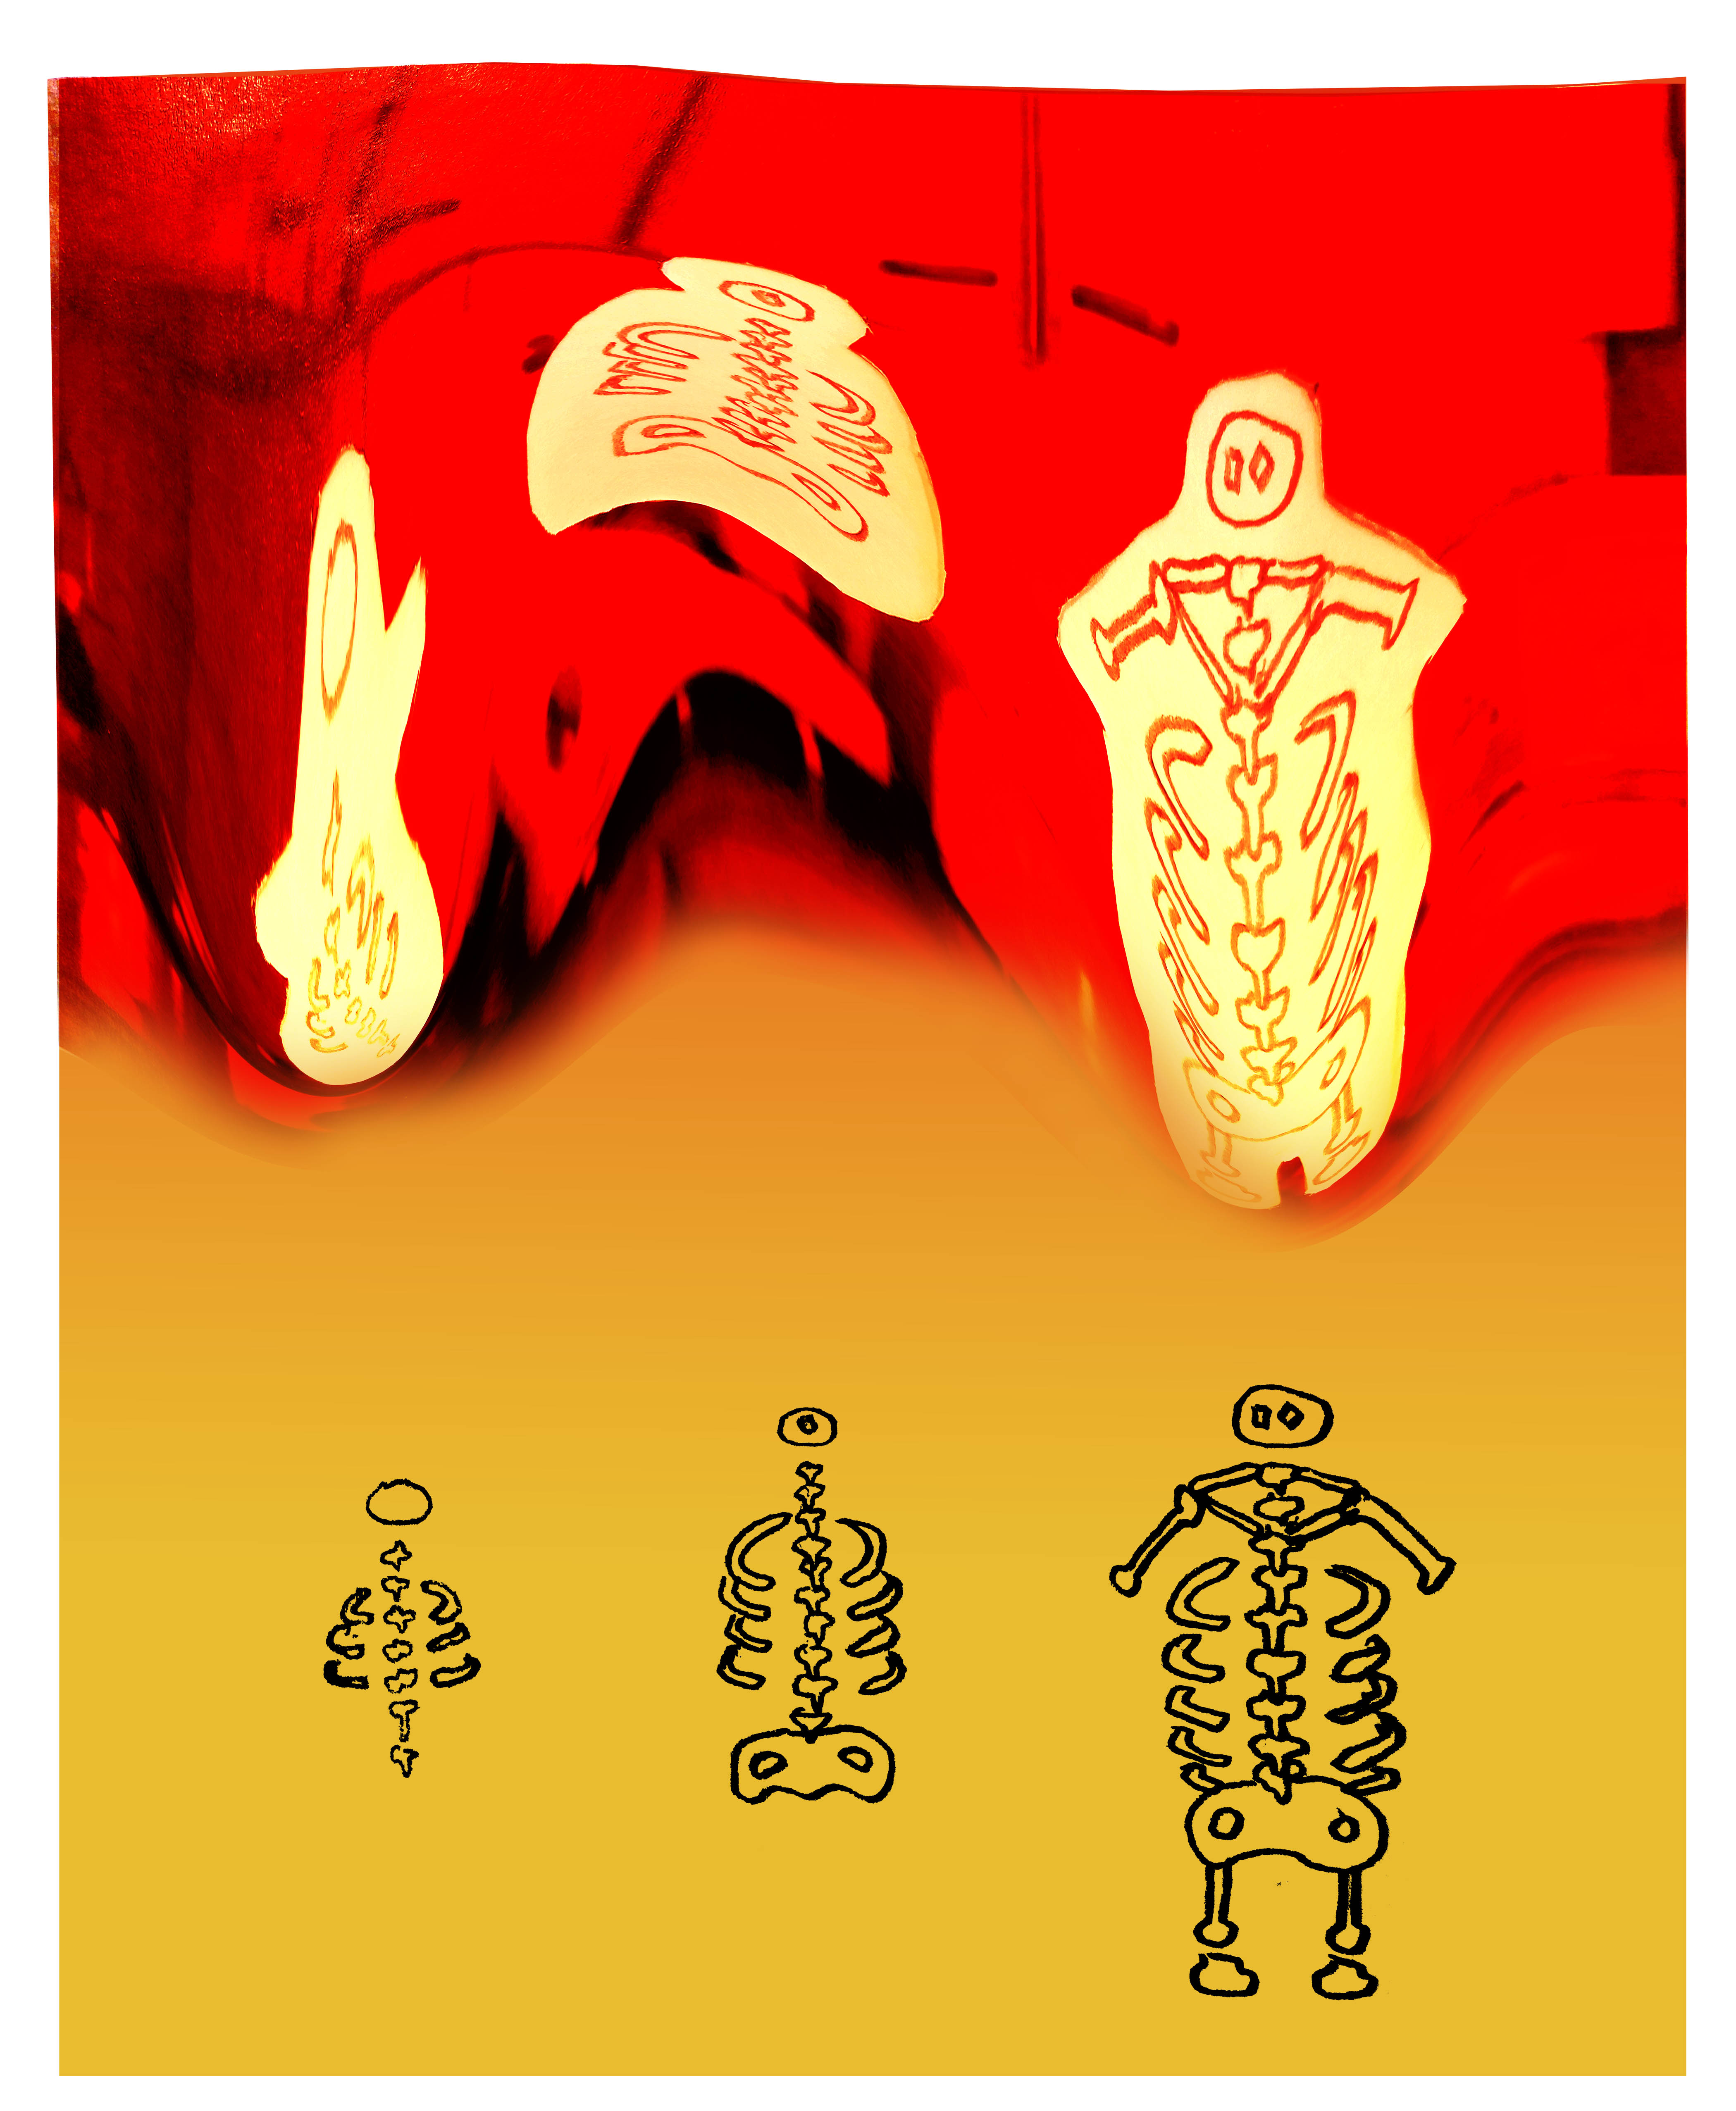
I was inspired by several things including film, precedents and some of my classmates and wanted to model something which had 3 interchangeable parts like characters in the sims.

I started by modeling a blob-esque torso / body in blender using the edit function. This allows you to move individual vertexes to create a low-poly efficient shapes, suitable for easy manufacturing. The body was symmetrical in at least one axis and therefore the molds could be easier to mill.
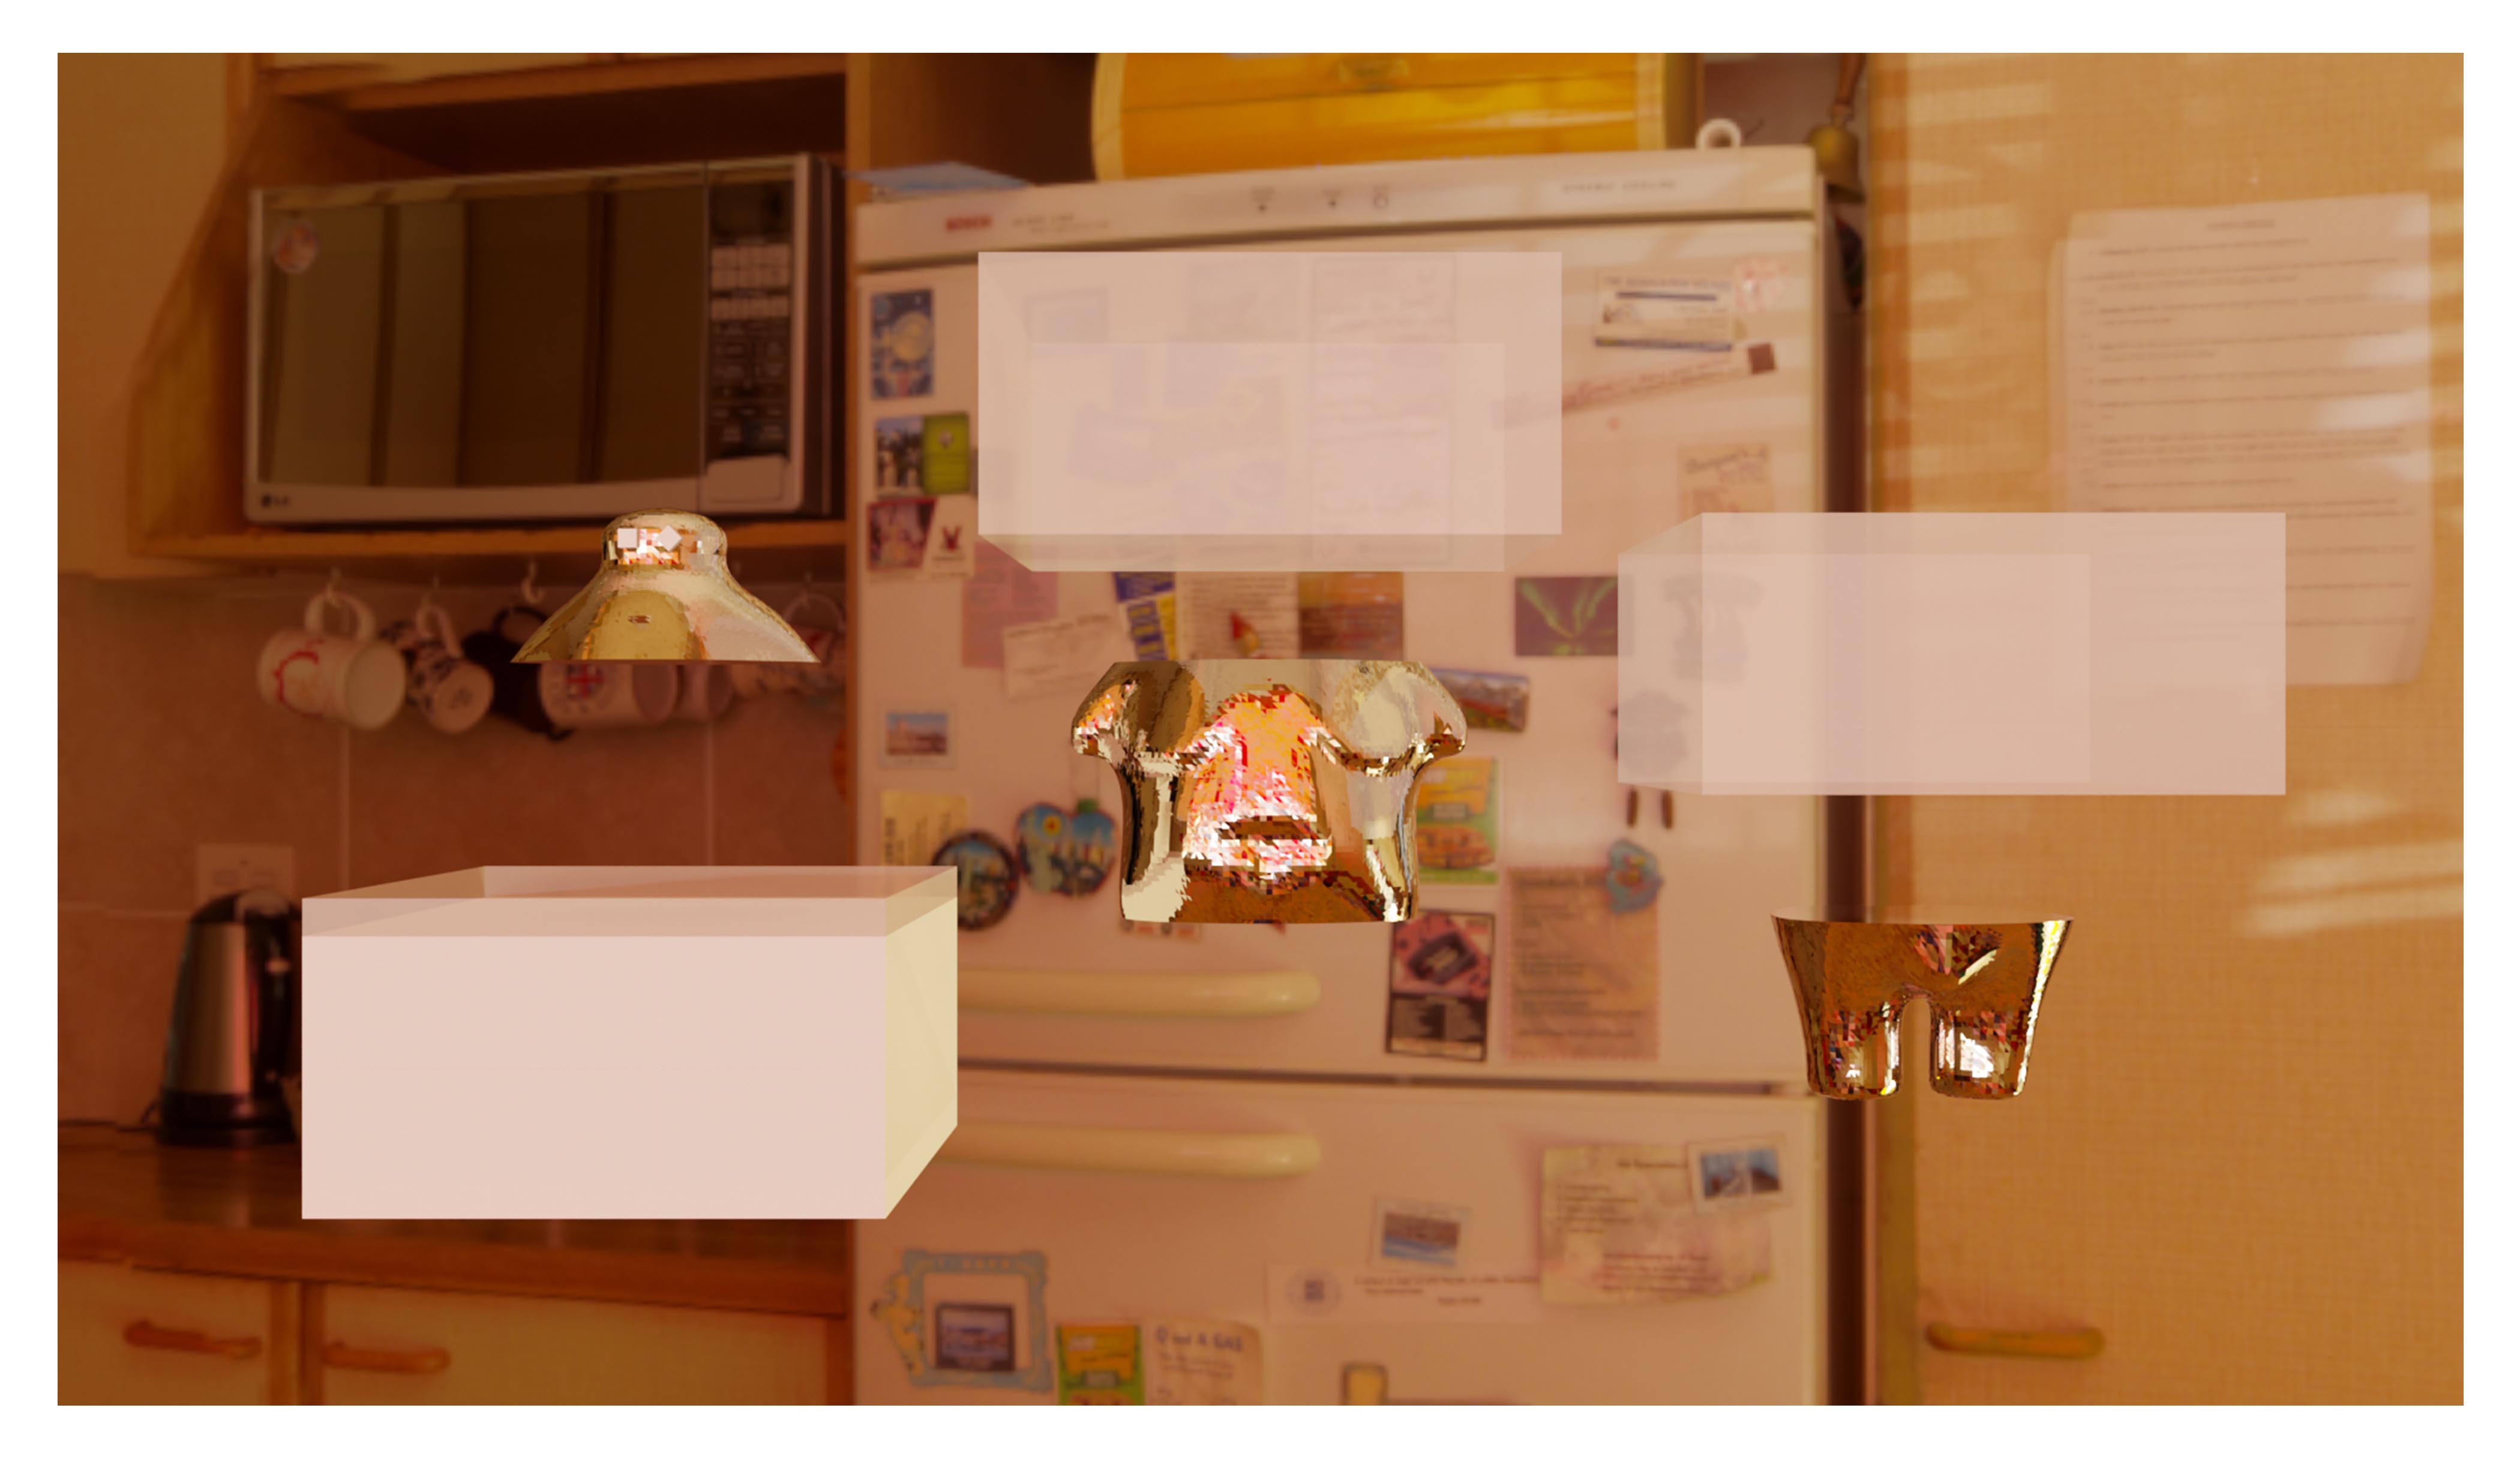
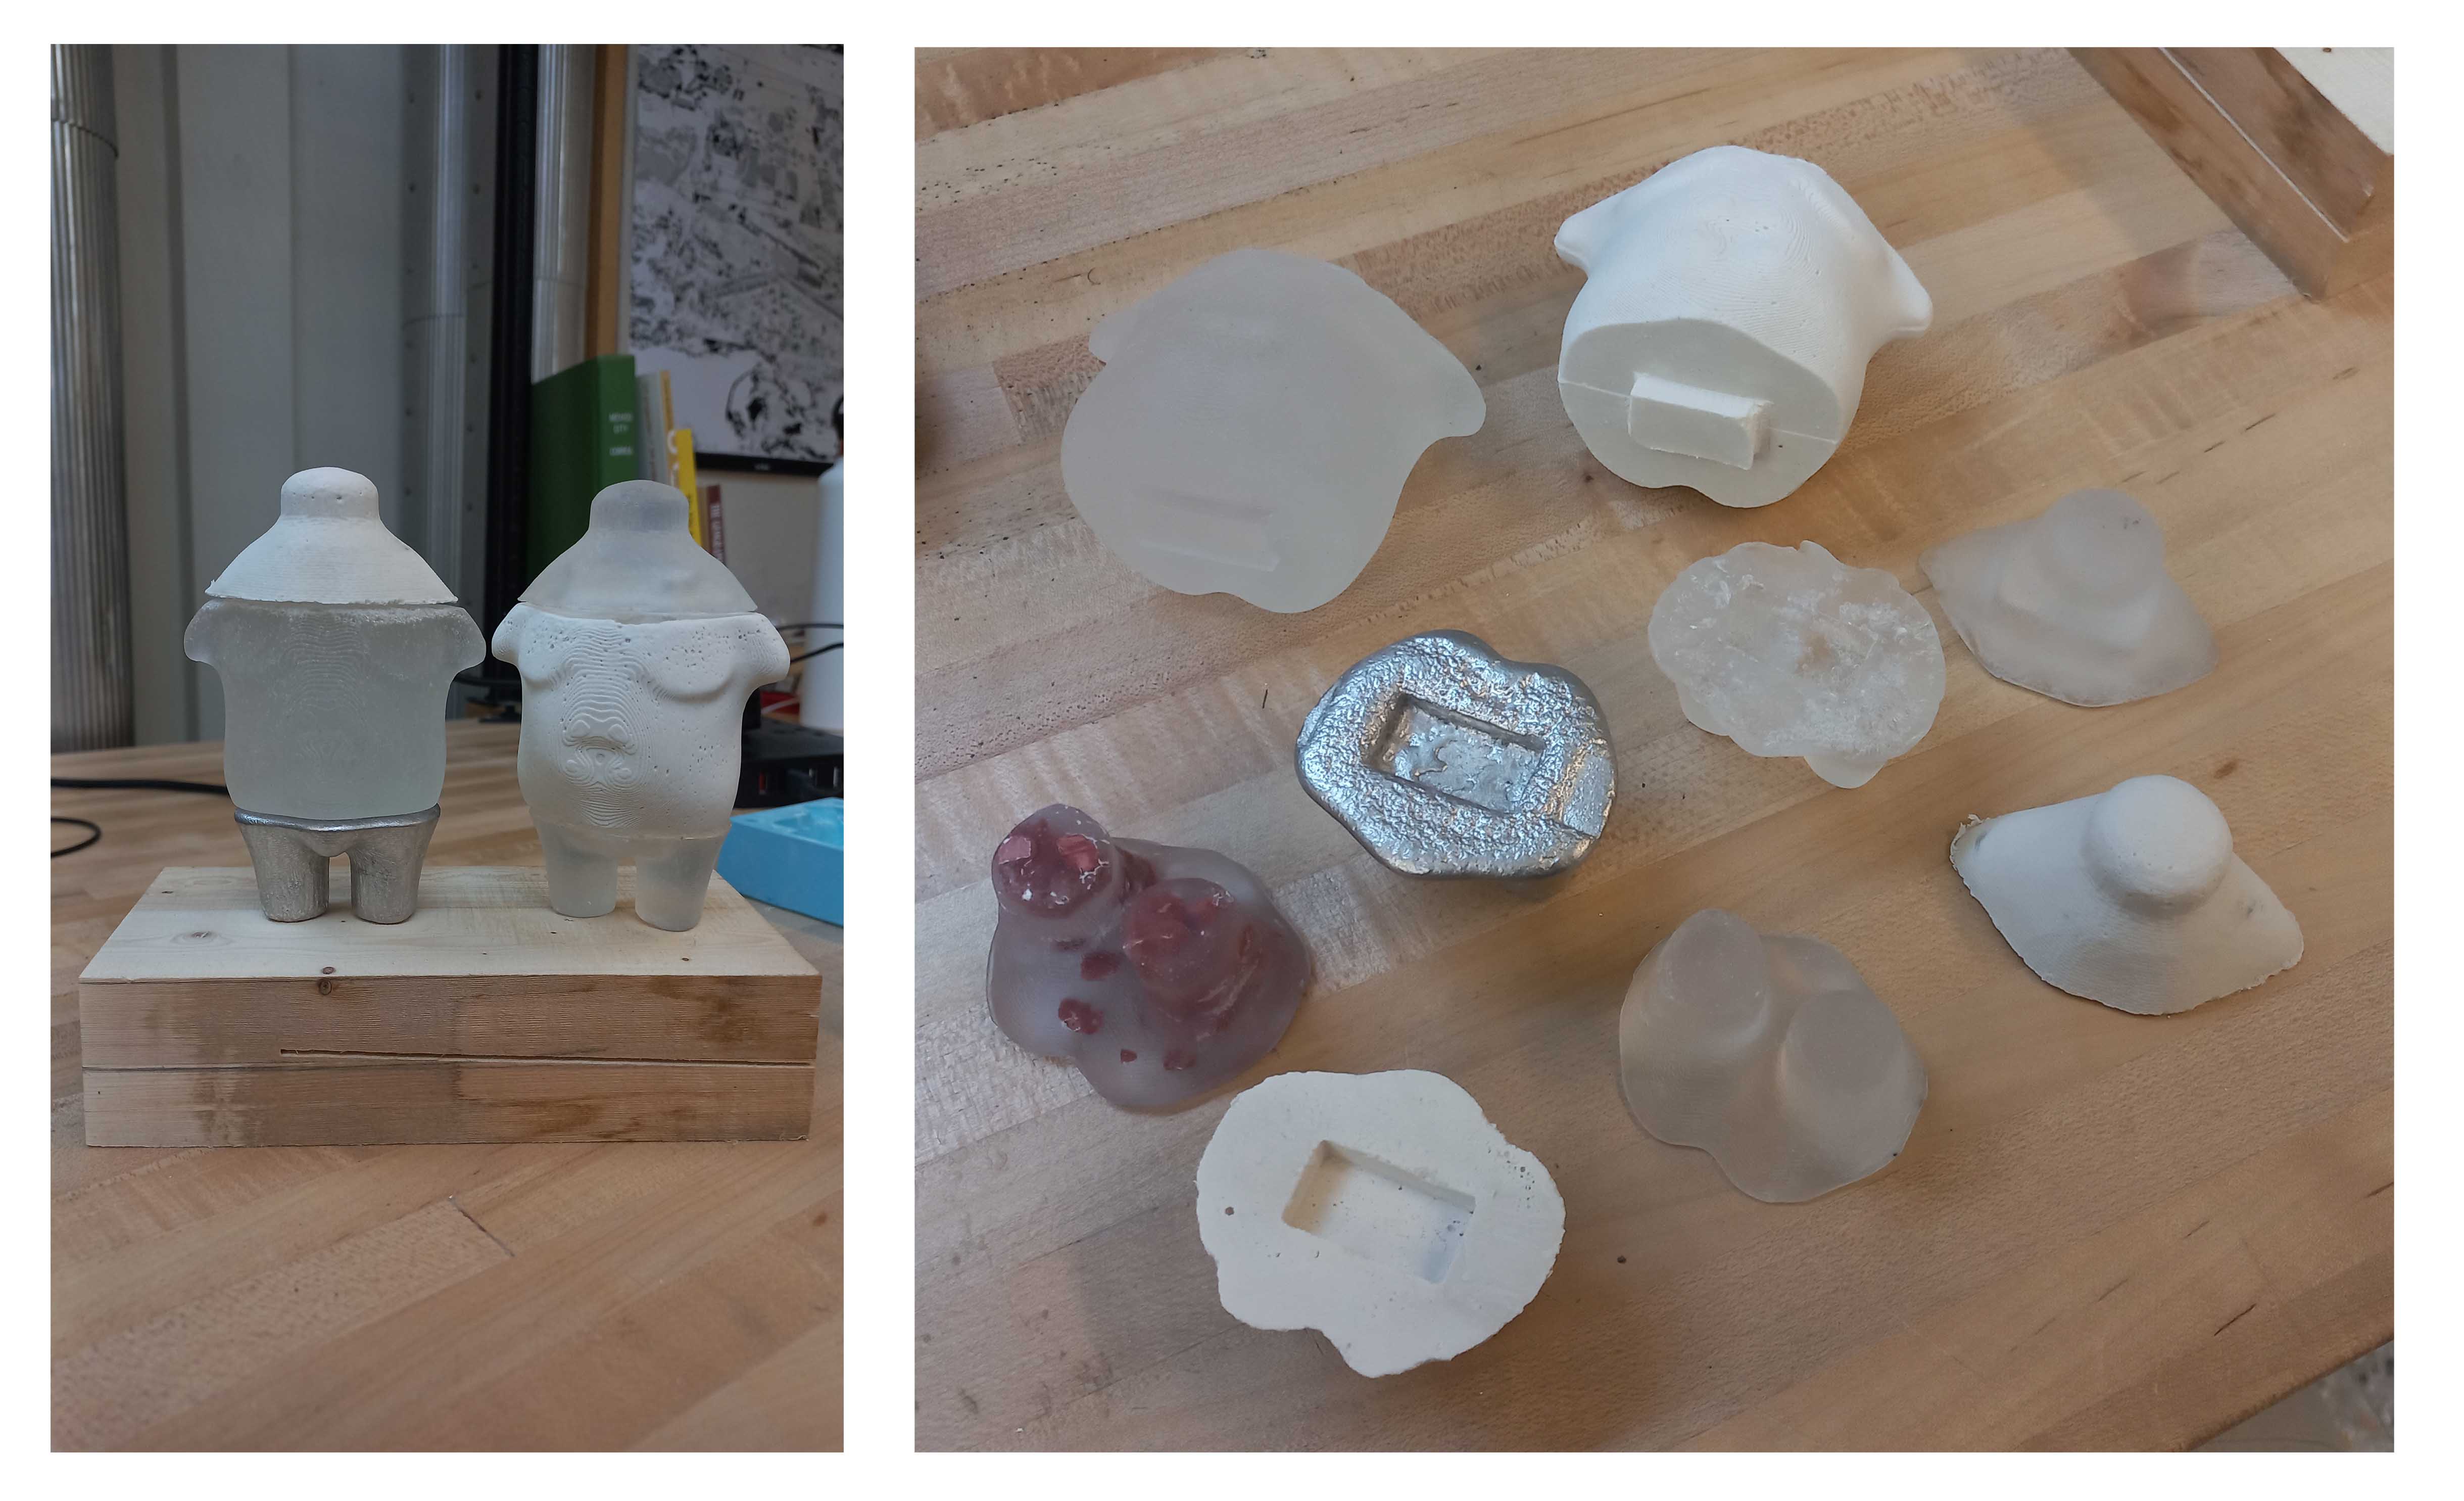
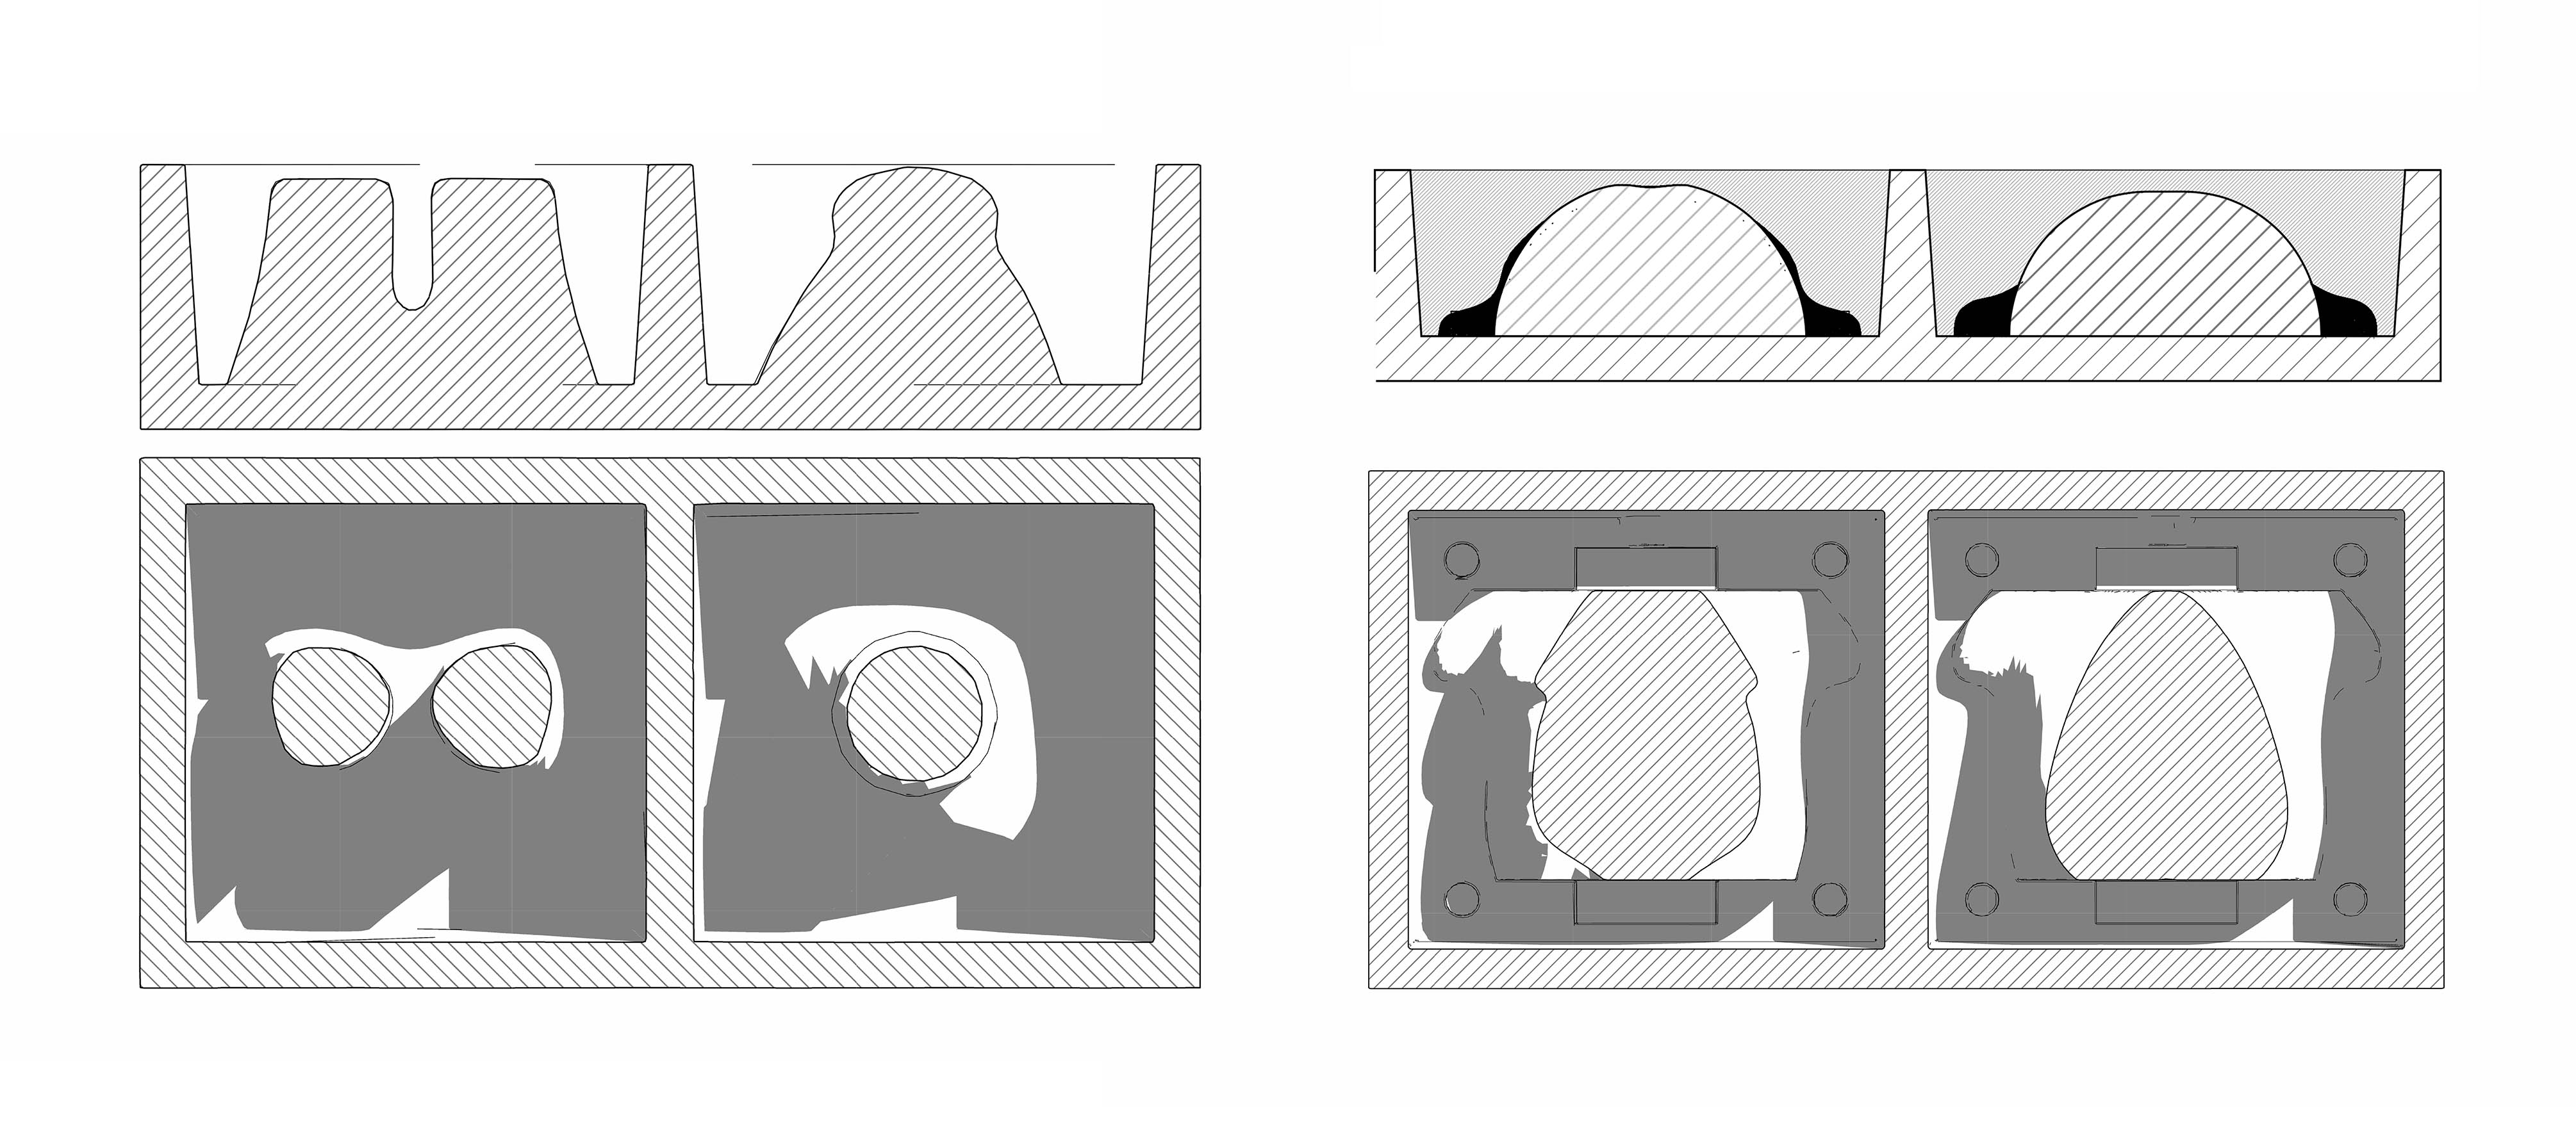
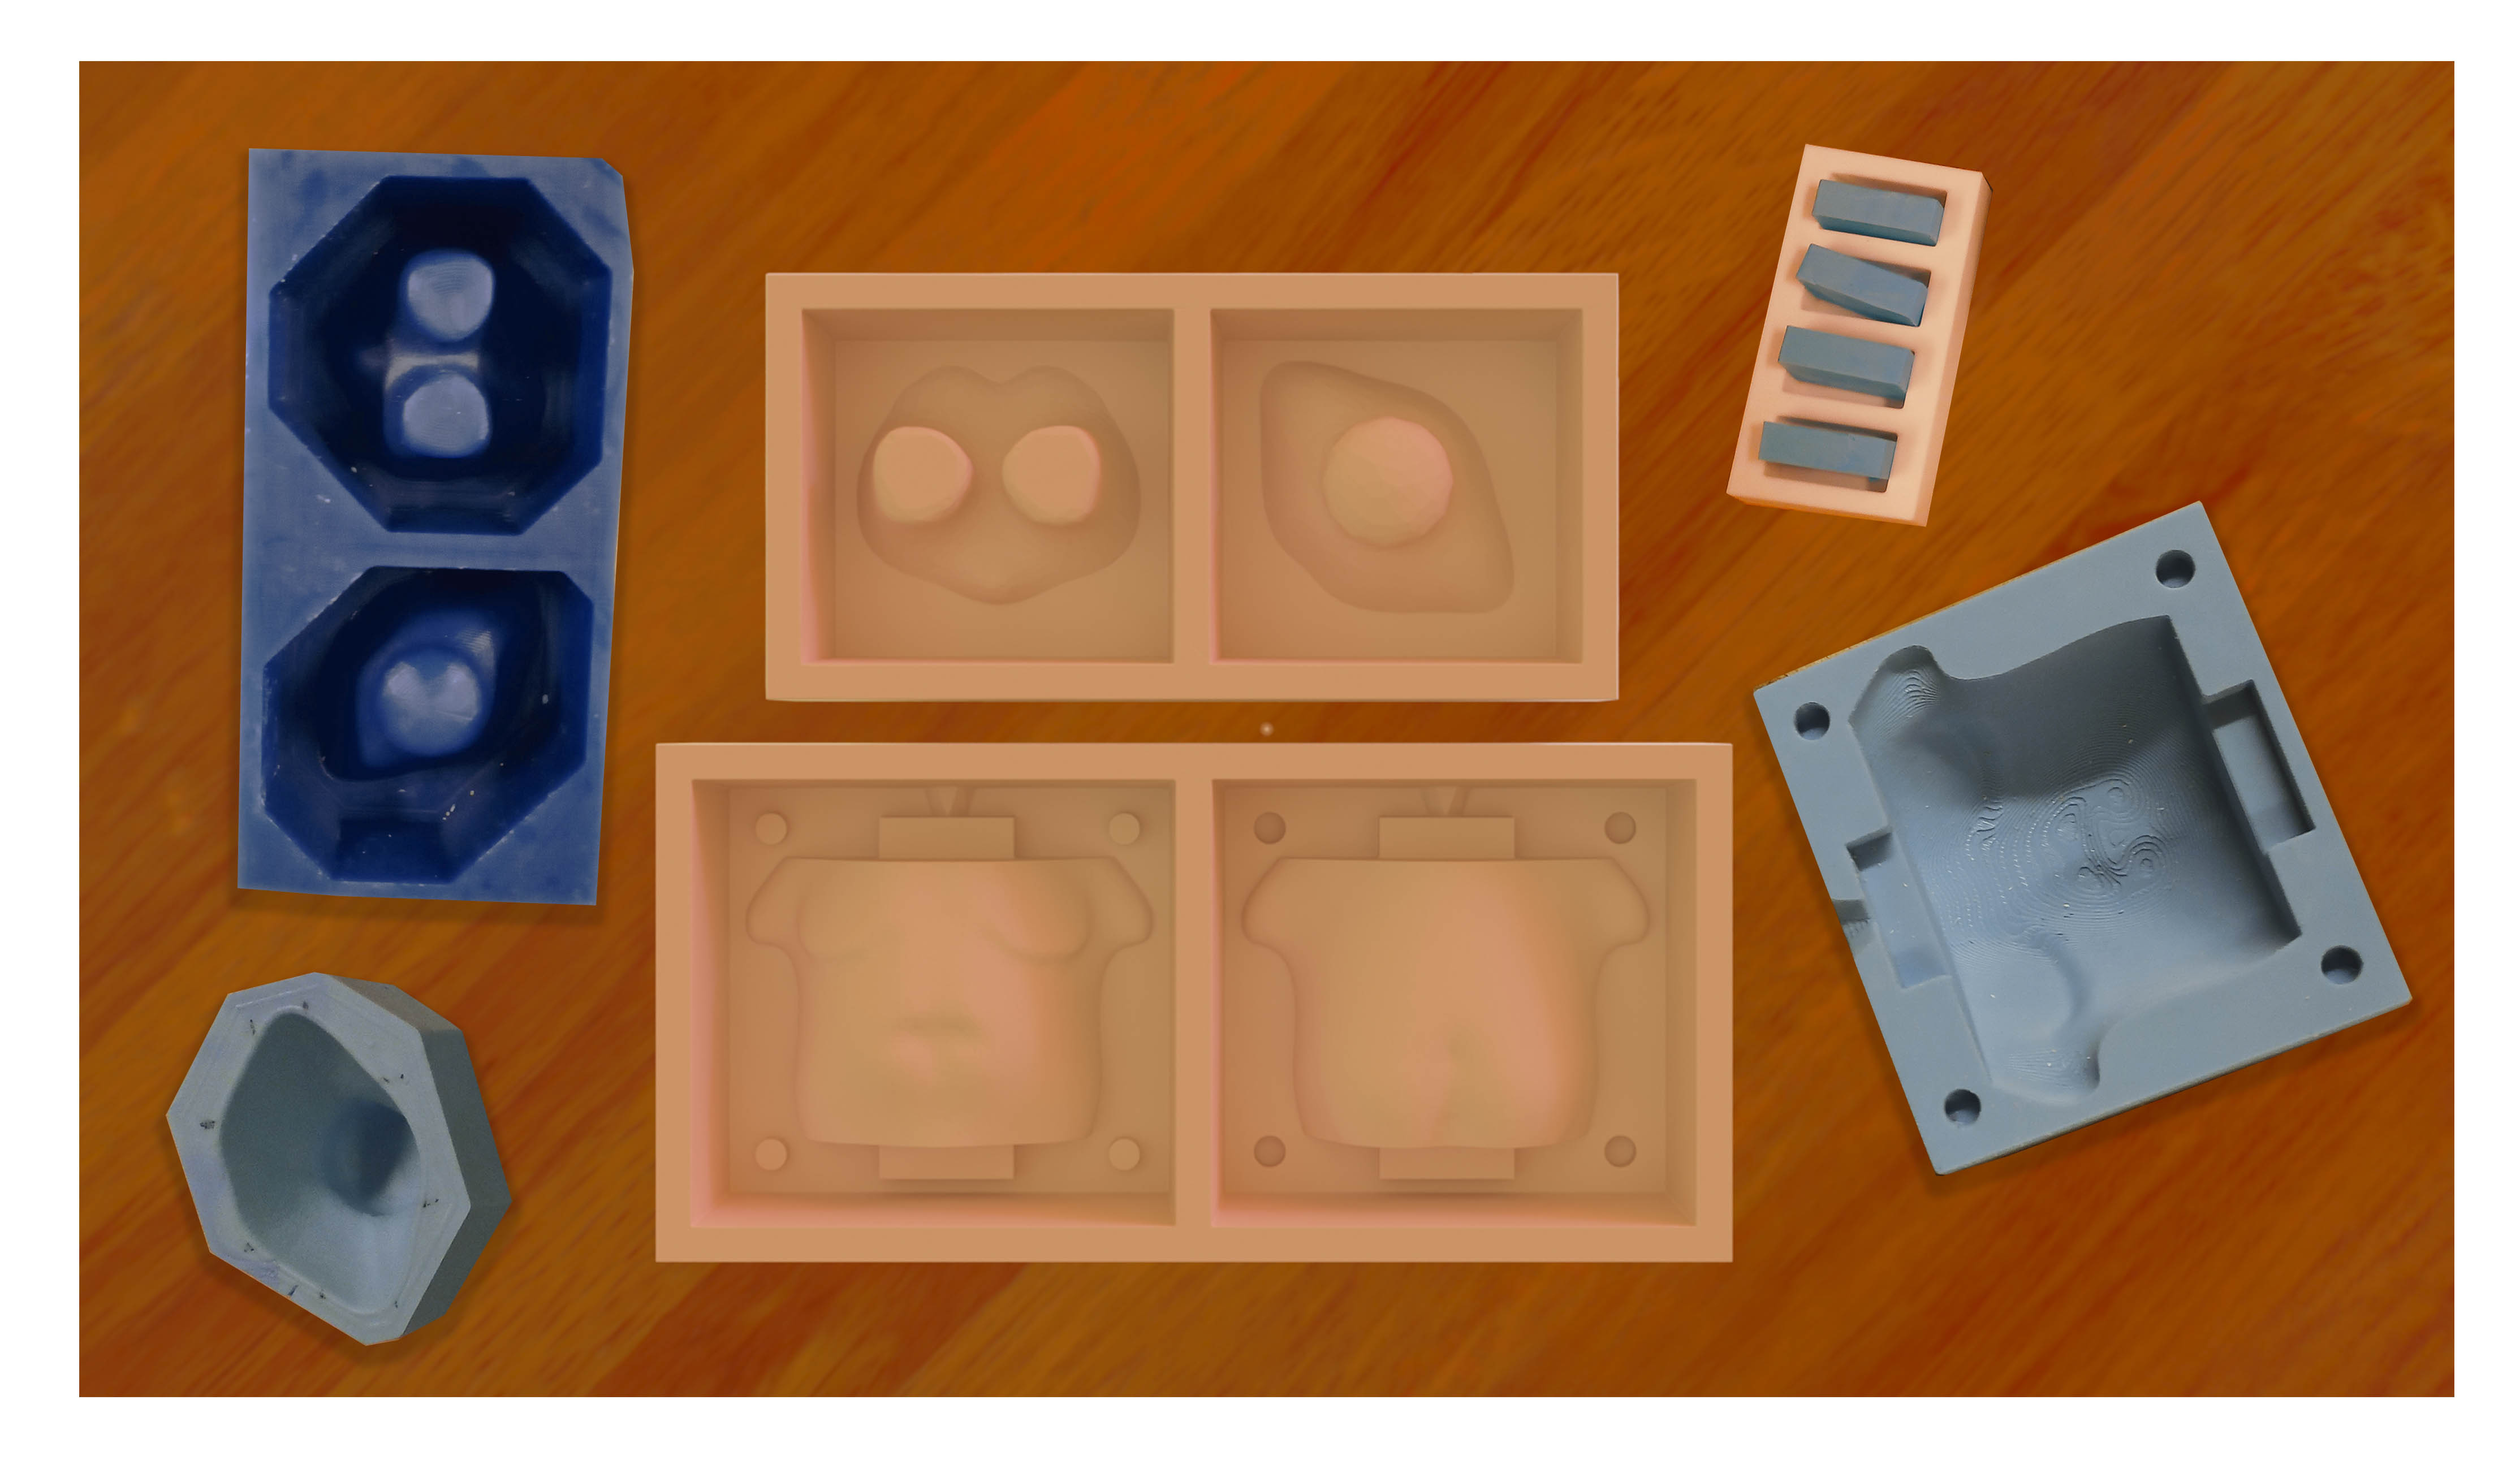
I sent my initial designs to Jen at the workshop, and she gave me some crucial advice regarding the limitations of 3 axis machining. I wanted the 3 parts of my modeled body to be milled out of a single block of wax, but it ended up that this might not be as feasible due to the limitations of the size of the wax blocks and the overhangs in my mesh. I compromised by sending the legs and head parts to Jen for wax milling and setting up the torso for 3d printing and later silicone molding. Taking into consideration the geometry of the torso and the legs I decided on single mold casting for the head and legs and twin mold casting for the torso. The design of the molds itself incorporated tapered sides and pegs for stability during the casting process and I printed small bricks for additional slots which will be placed into the top side of the single cast molds to facilitate stability between the components.
During the group project this week we learnt about techniques in how to mold and cast and what Is required of us to successfully cast silicone molds. I am not a newcomer to molding and casting as a practice but have not experimented with most of the materials which we used this week including wax, soap, terrazzo, silicone and low melting metal alloys.
Manufacturing
The silicone molds came out better than expected but I realized that the amount of silicone mixture needed is much larger than normally anticipated.
Metal Casting
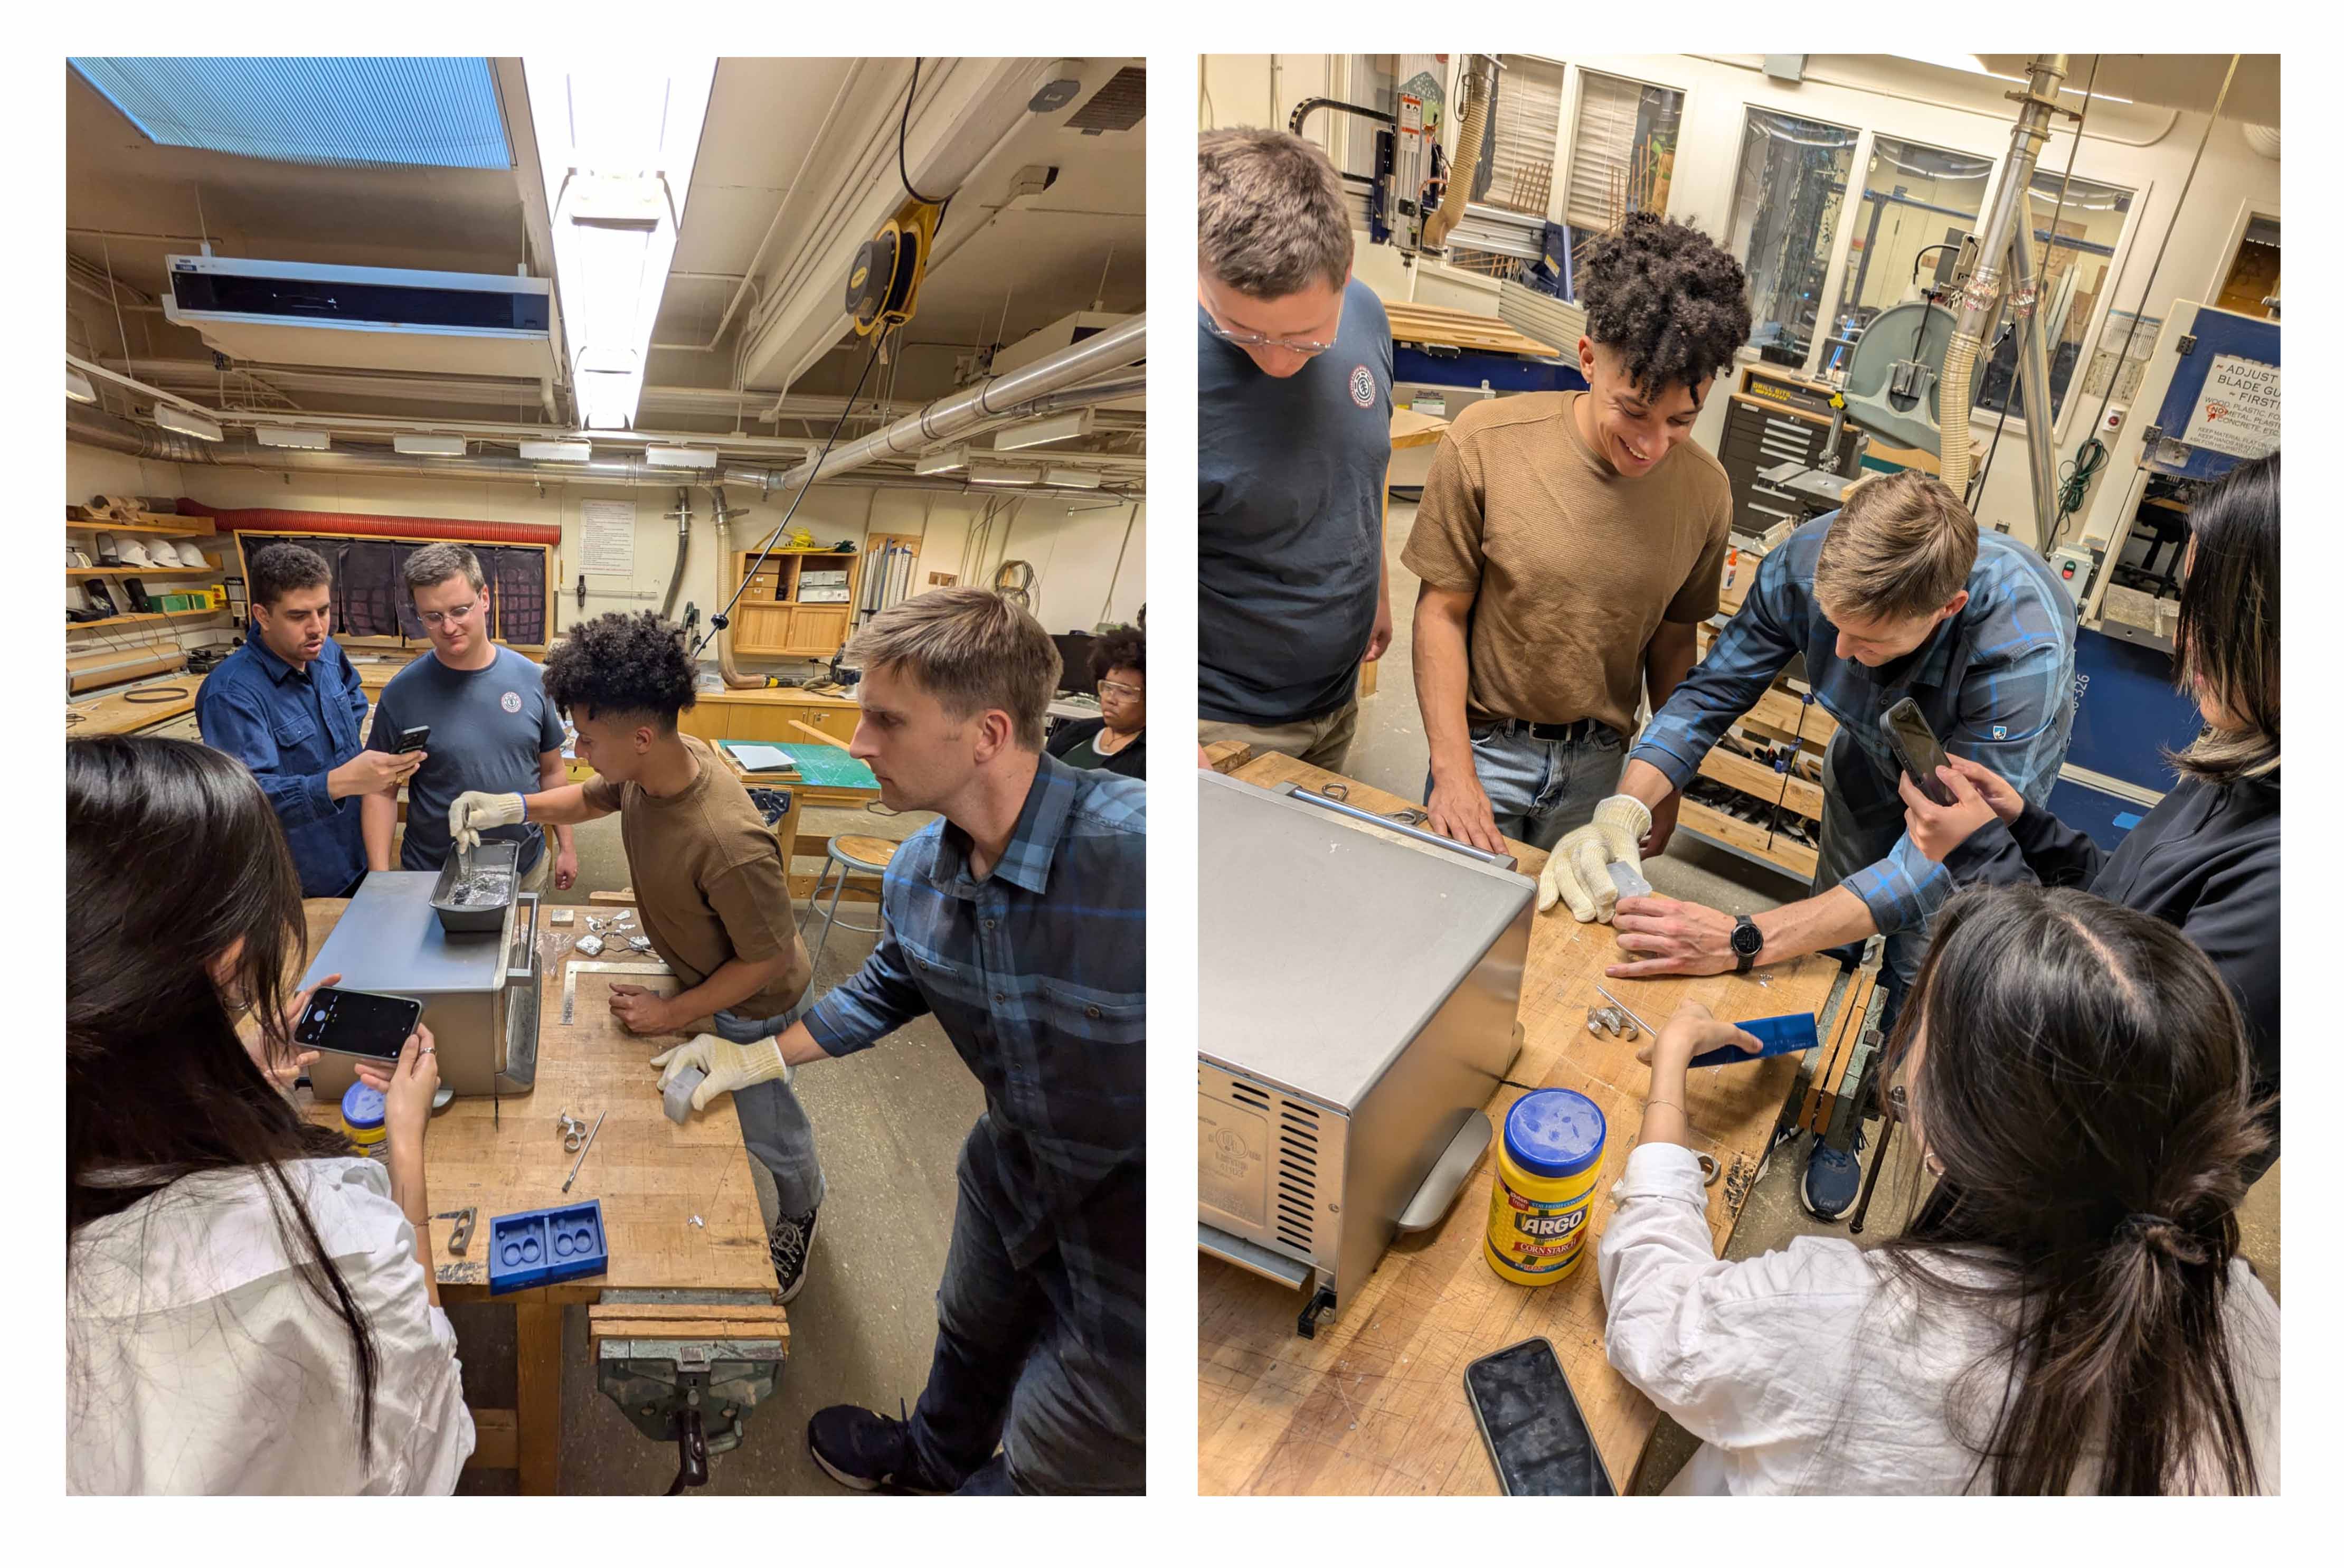
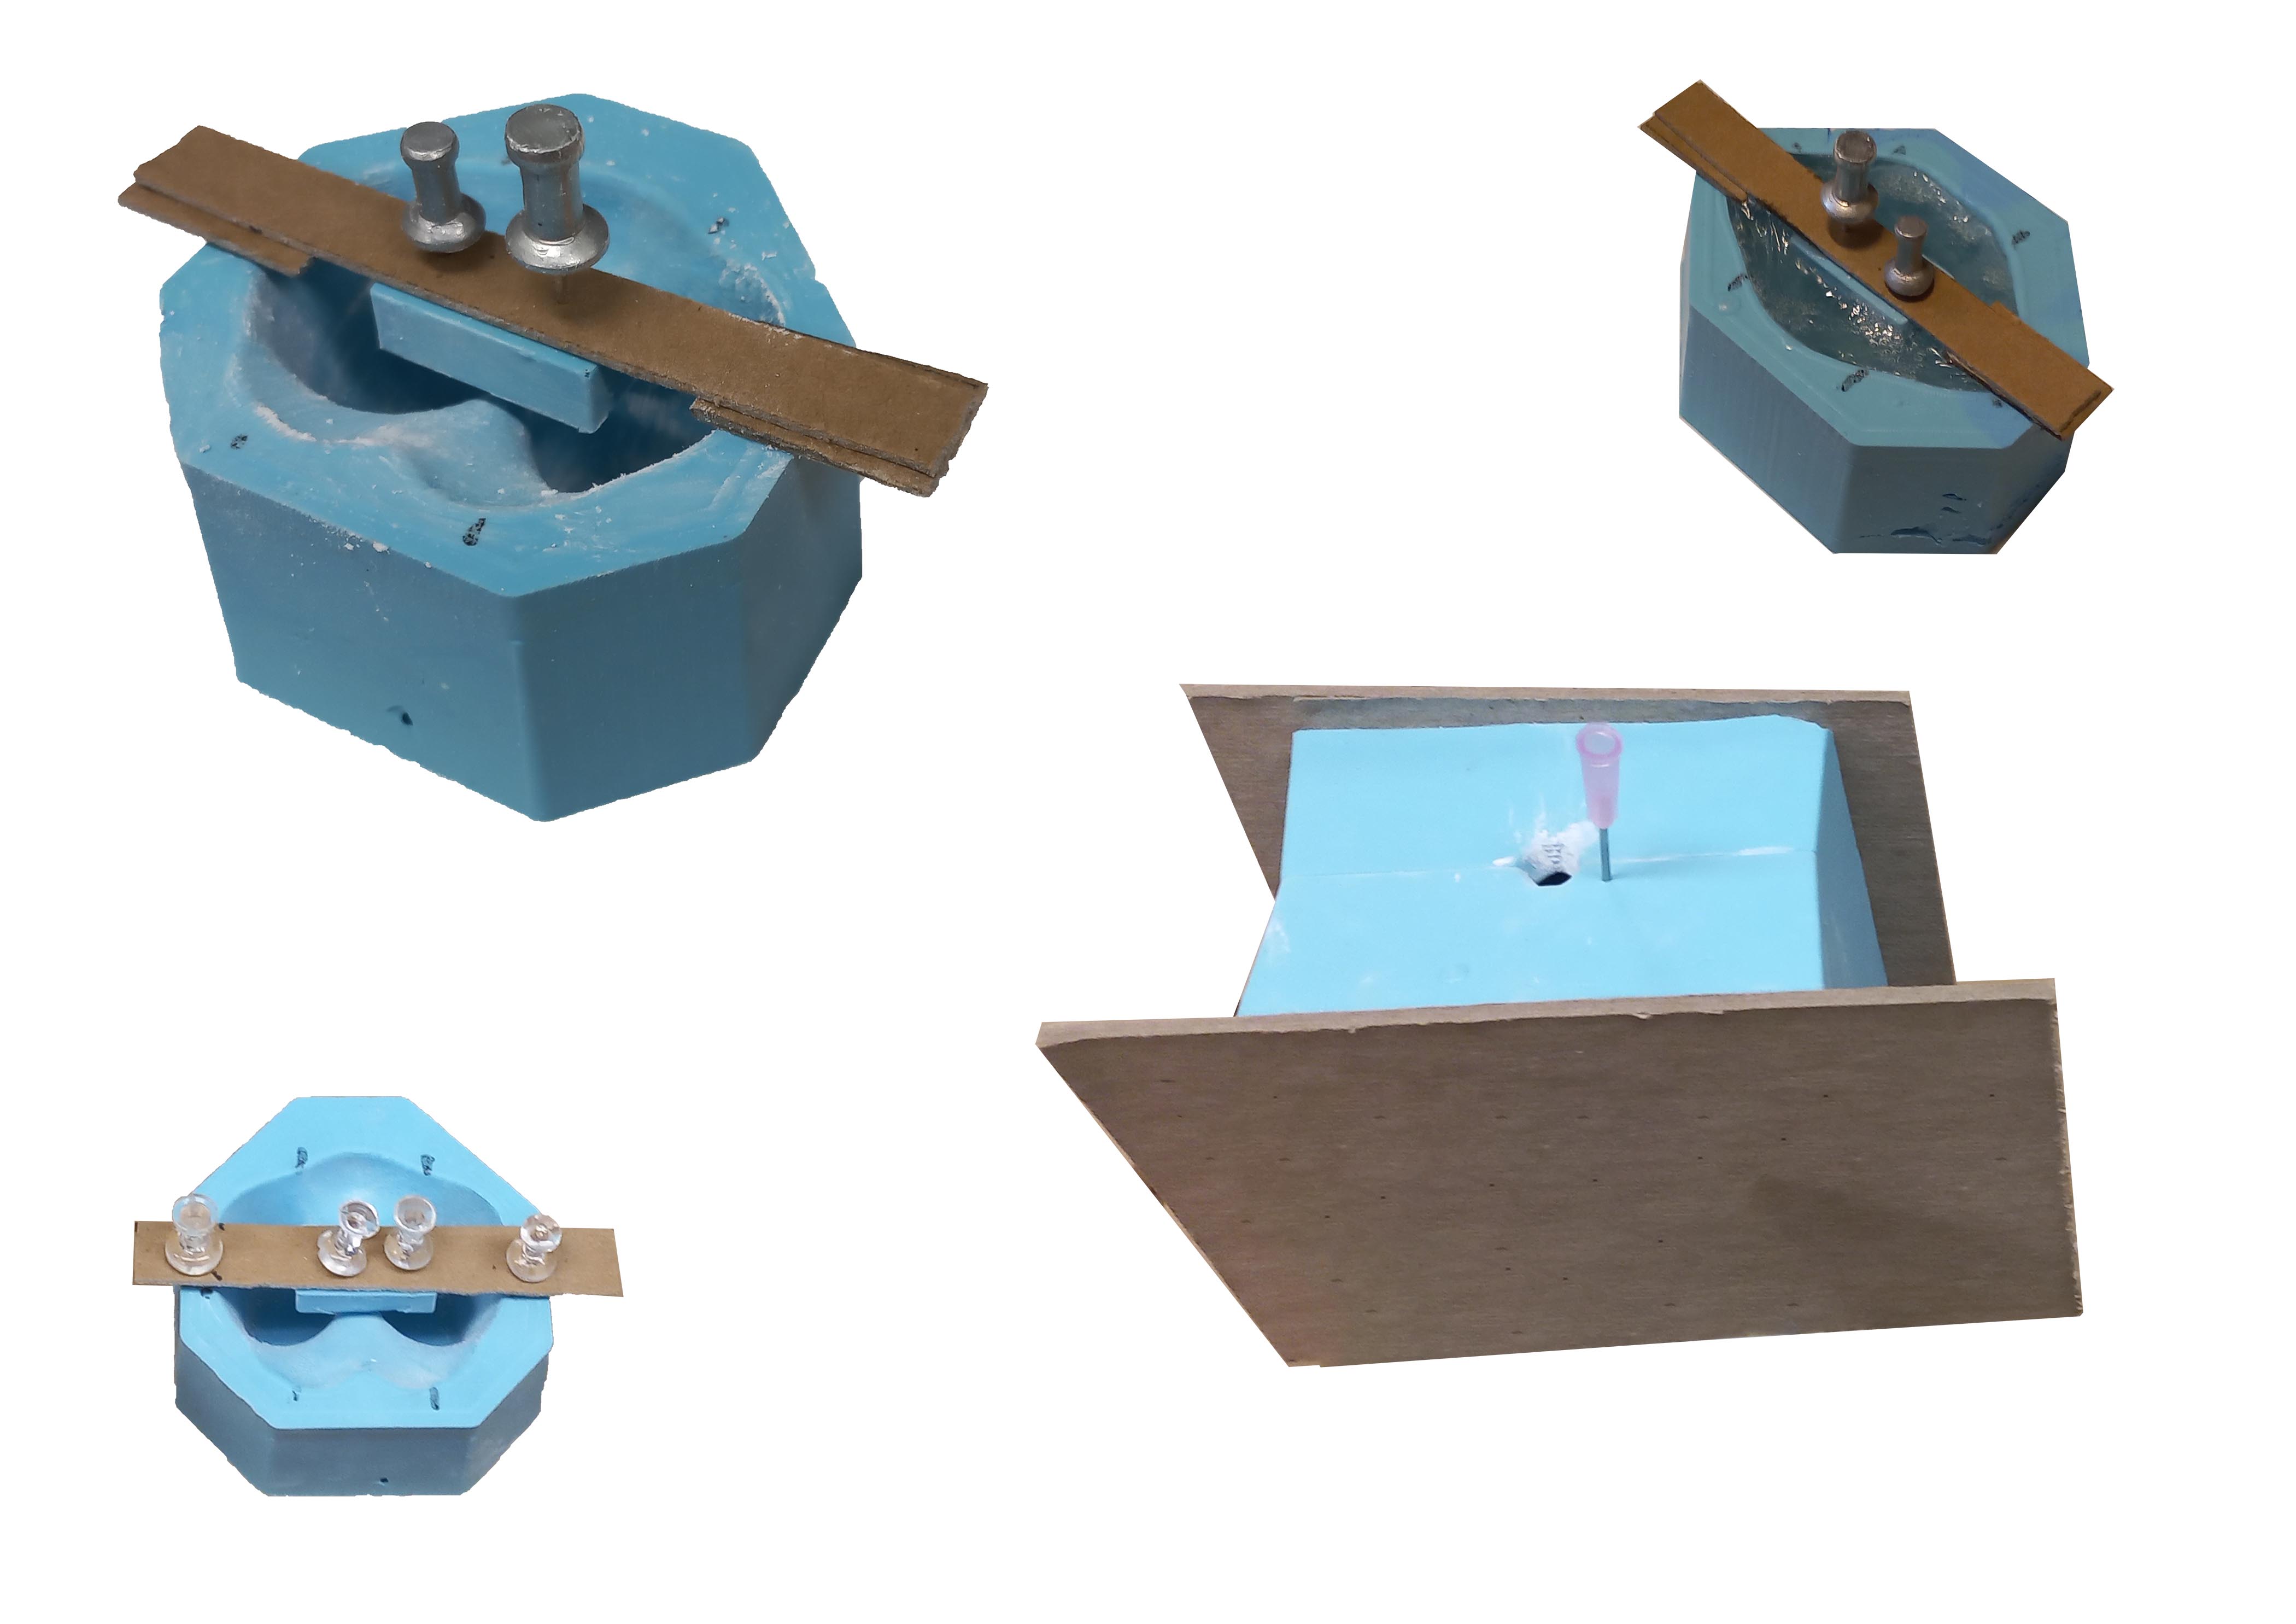
The process for metal casting follows a few steps. Firstly, what is required is a Tin bismuth alloy with a relatively low melting point. This is then placed into an oven at 400 degrees Fahrenheit or approximately 200 degrees Celsius to melt the metal into a liquid capable of setting into the mold. The silicone molds are then dusted with cornstarch to allow for a non-stick surface for the metal to be easy to remove. When enough metal liquid is generated then it can be carefully poured into the mold. The idea was to pour the metal into the mold and then place the smaller silicone blocks to be able to slot together the pieces. Because of the density of the metal the silicone block struggled to stay “submerged” in the liquid and was left partially exposed. I was surprised at how quick the metal set and also how hot the silicone gets. I also discovered that there is a direct relationship between the volume of your design and the time which it takes to harden.
Soap Casting
Soap casting was quite new to me, and I wanted to experiment with the material due to its translucent properties and texture. The casting process is quite similar to metal only the material requires a lower heat to melt and takes longer to set. The setting properties are also similar to metal in that the time which it takes to settle is directly equivalent to the volume of the object. The biggest challenge with soap casting is the amount of air in the molds and how to get rid of it so as to produce a linear or texture throughout the piece (or not as much air bubbles).
Plaster Casting
I had worked with plaster before but have found that plaster has a different consistency depending on the brand which you buy and where in the world you are. Plaster in South Africa is more dense and less aerated than plaster in the US. Plaster in Italy is stronger and less brittle than plaster in South Africa. Furthermore, plaster in the US is finer to work with than other places. Sometimes to offset cracking a mixture of wood glue and water can be mixed with the plaster powder to ensure a stronger bond. Earlier in the week I had tested out some plaster casting using a small test mold which I found as I wanted to do a terrazzo cast. The biggest challenge was to pour the mixture into the mold due to the small sprue (or the opening of the mold). I had worked around this by buying some needles from the pharmacy and stuck them into the mold next to the top of the sprue. This worked quite well due to the needle not leading to silicone core samples and the fact that the silicone reforms around the injection after it is taken out (due to the shape of the needle).
