Week 07 — Molding & Casting
Group Assignment
For this week's assignment, we must design a mold around the process we'll be using,
produce it with a smooth surface finish that does not show the production process toolpath, and use it to cast parts.
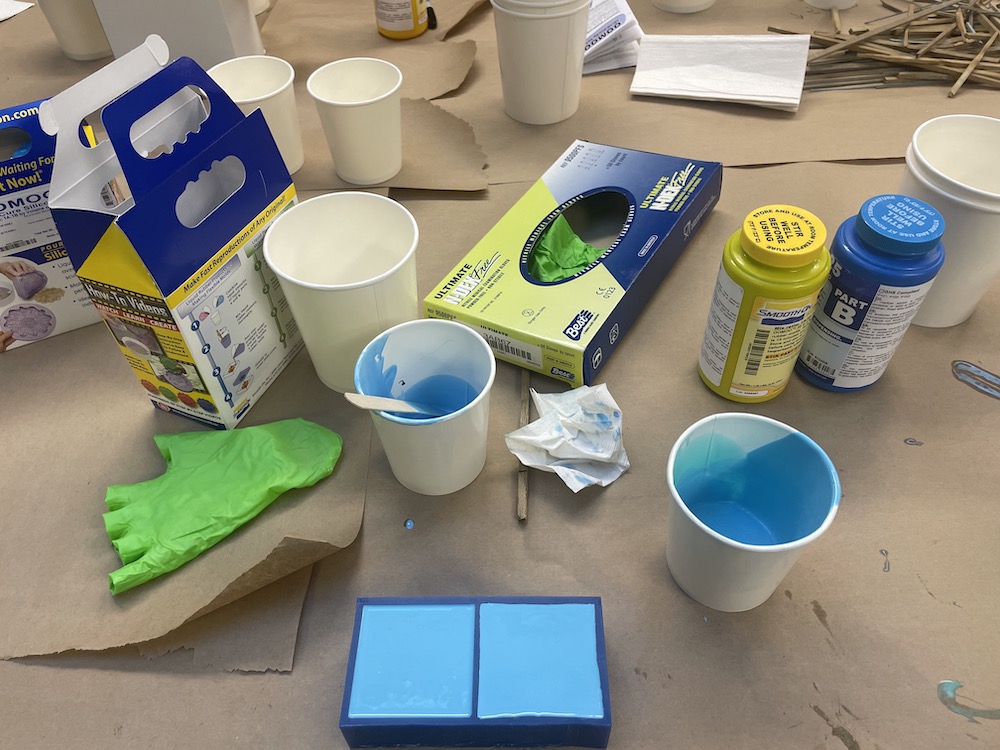
For the group assignment, Diana and the group reviewed the safety data sheets for both of the molding and casting materials: oomoo and the clear food safe version.
We made and compared the mold making processes; due to time we weren't able to go over different casting materials but we went over the different options.
My key take away: tap the bubbles out at every step, until your arms are sore.
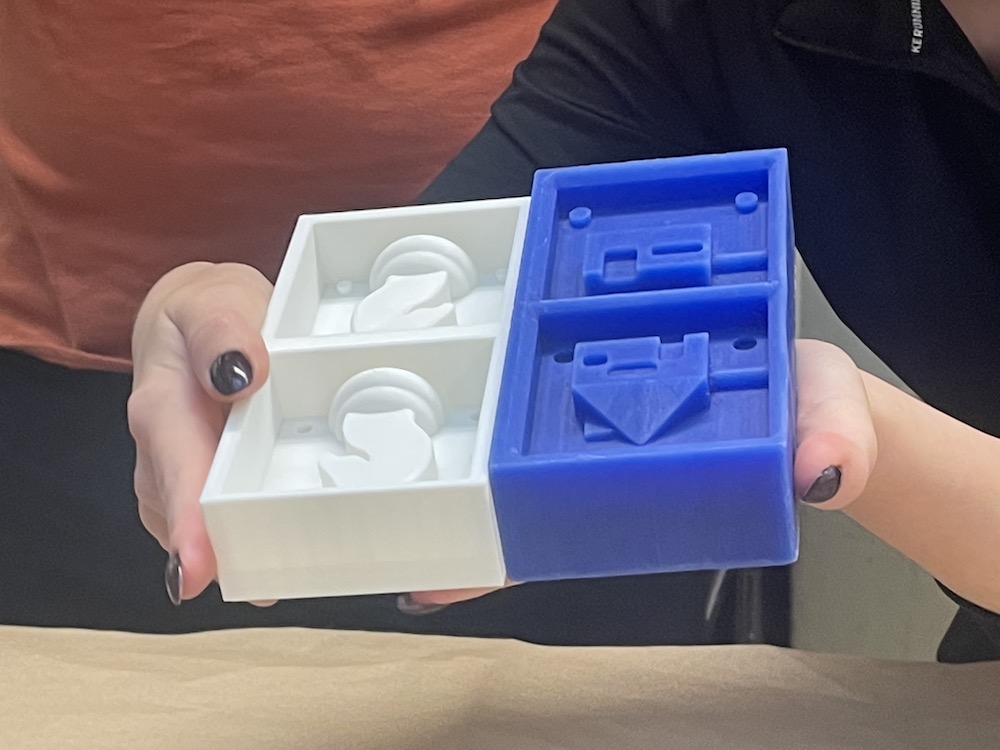
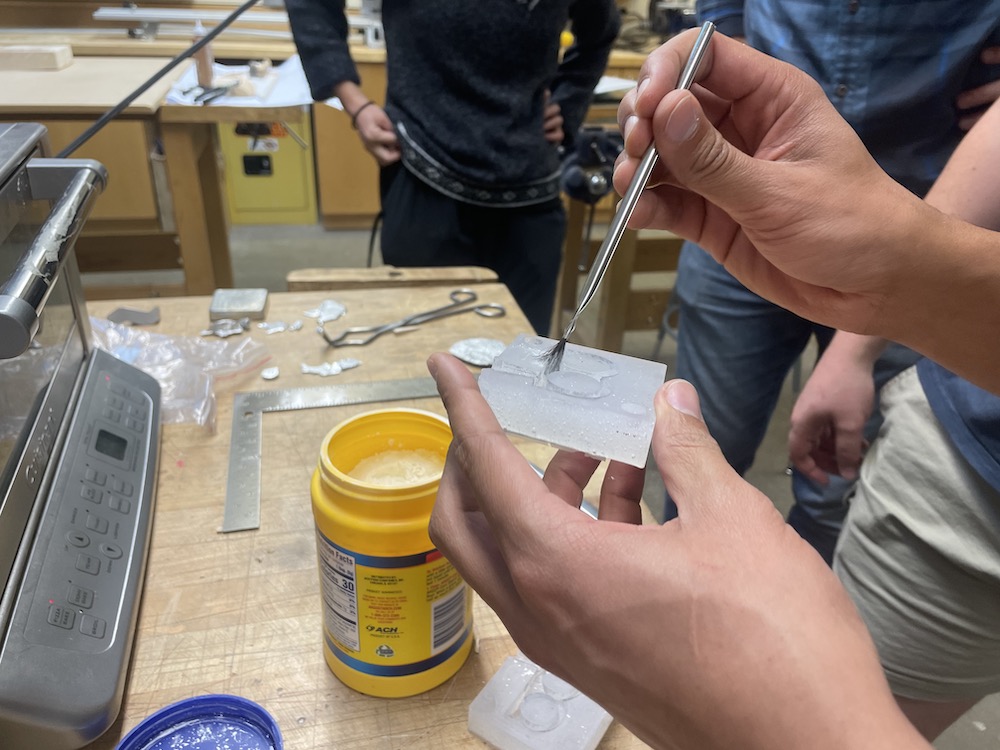
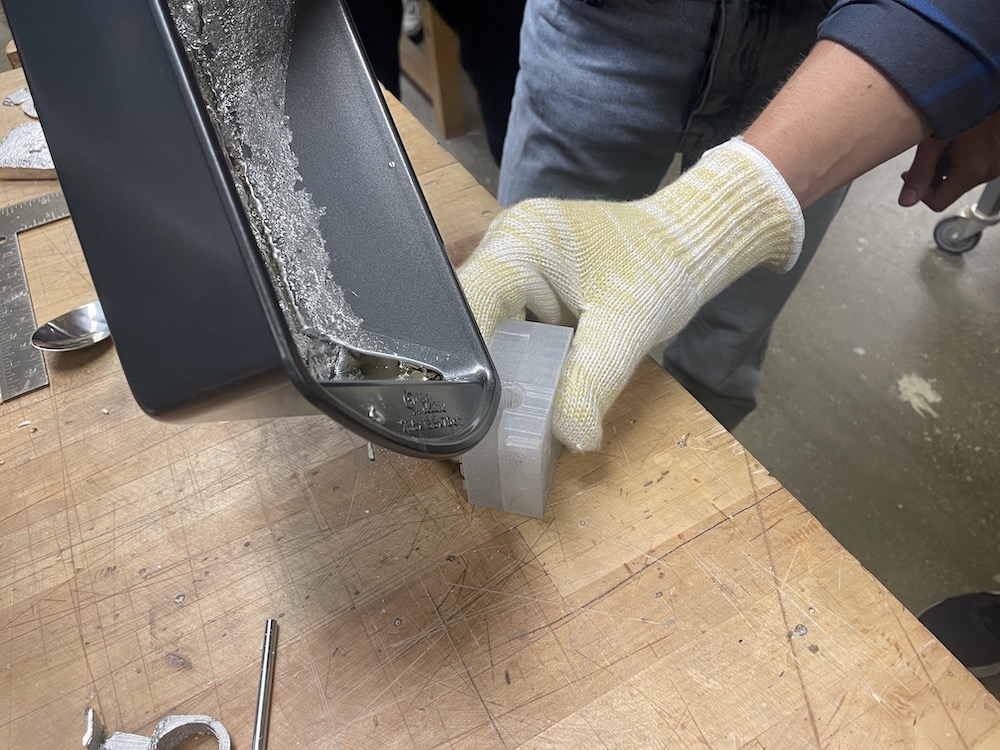
Later in the week, our classmate Jacob went over the metal casting with a few of us.
Designing the Mold
For this week, I wanted to create a keychain. Standard keychains from souvenior shops are always very cute and pretty typical, but I wanted to explore other options that you wouldn't usually find in a store.
I thought about lucky rabbit's foot chains (and didn't want to cast an actual foot), I settled on a hand.

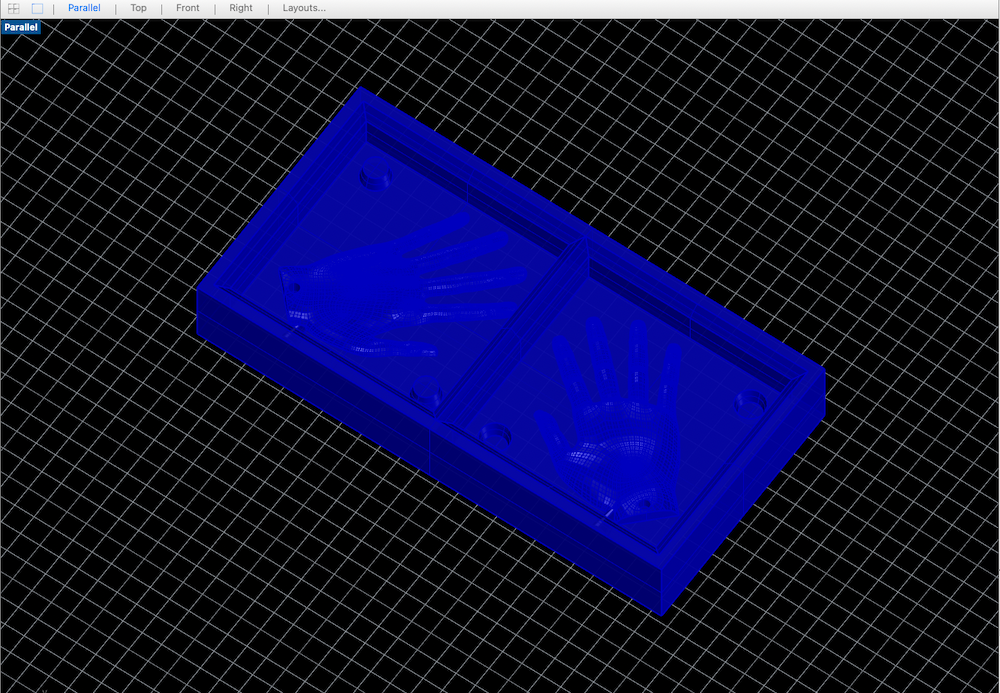
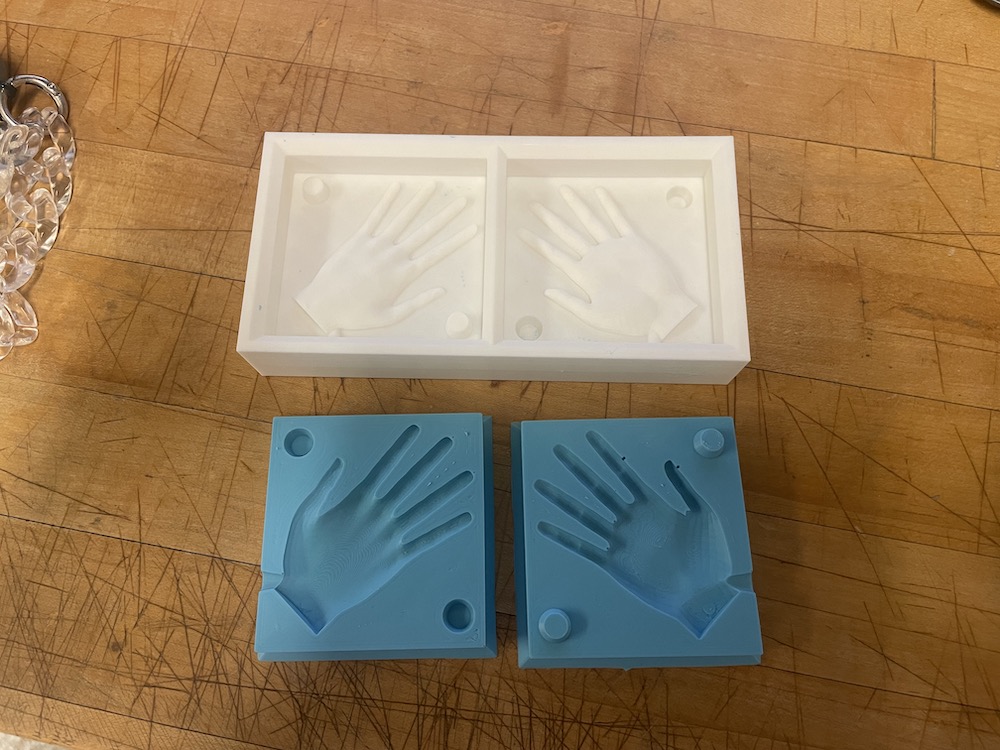
After interating on a few different hand poses, I went with a simple flat hand to prevent the least amount of overhangs and under cuts.
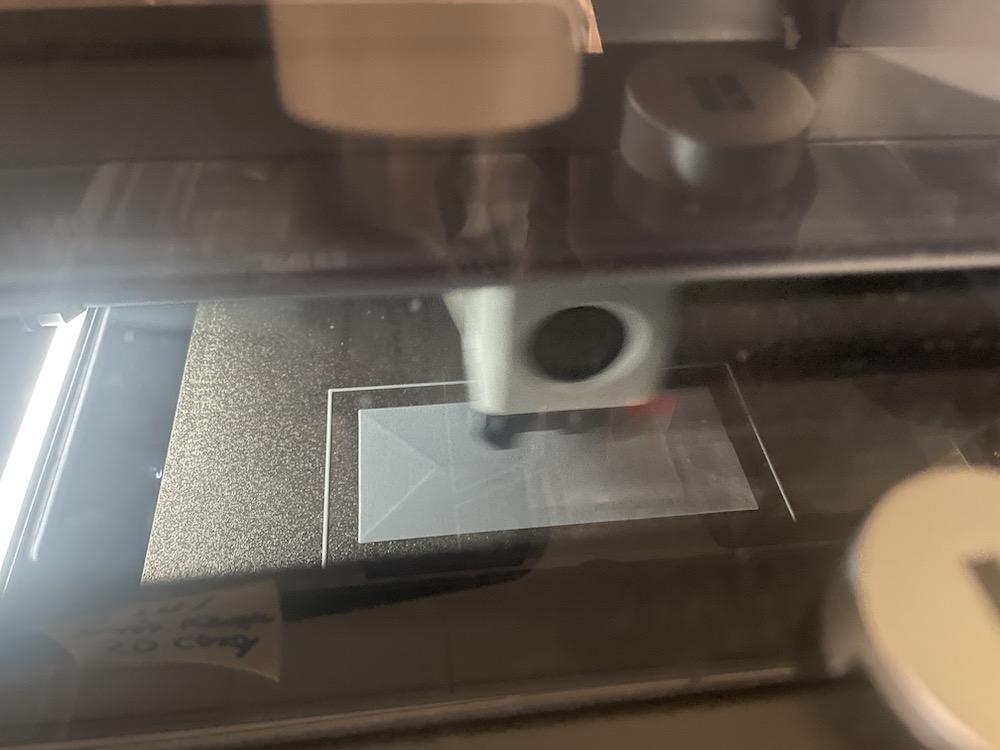
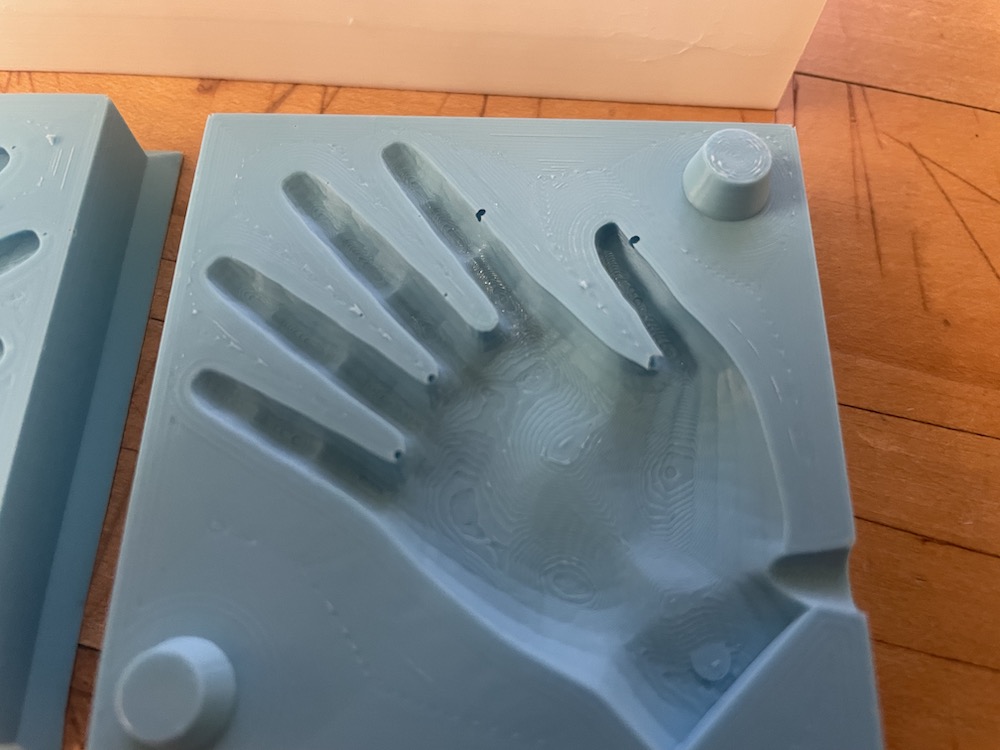
I was aiming to do a cnc wax mold but ran out of time and moved forward with 3D printing the mold. For the print, I set the surface pattern as concentric to help with the valleys and curves of the shape.
I didn't notice it until I had already set it to print, but the Bambu software removed the holes I made for the keychain part. By this point the print was done so I just left it as is.
With the materials I wanted to work with, it would be too brittle to handle the wear and tear of a standard keychain.
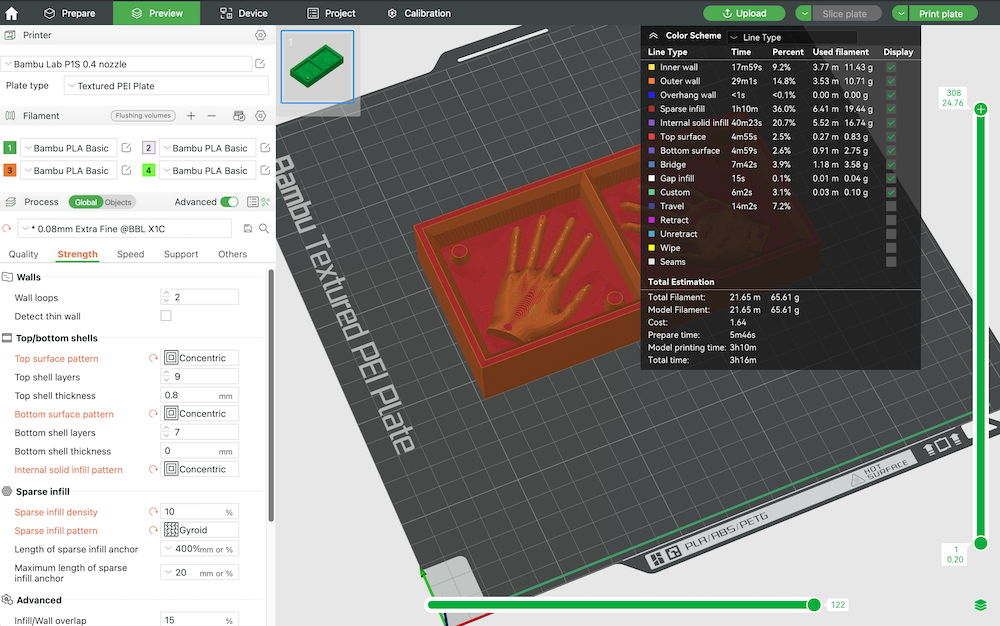
click here for the Bambu print file!
Making the Mold
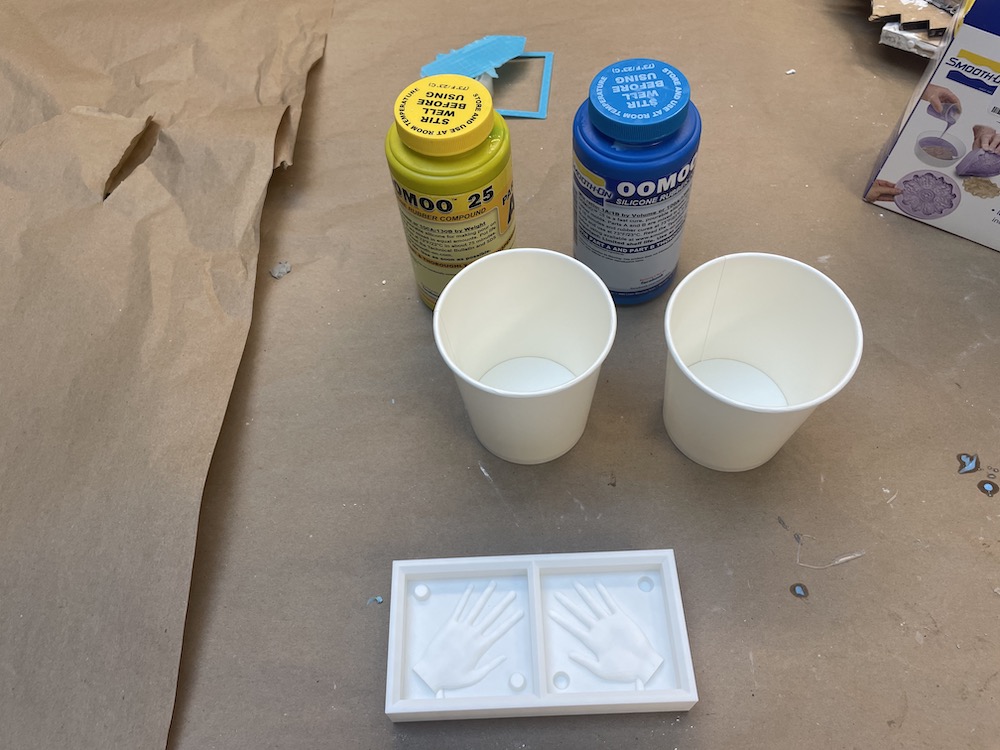
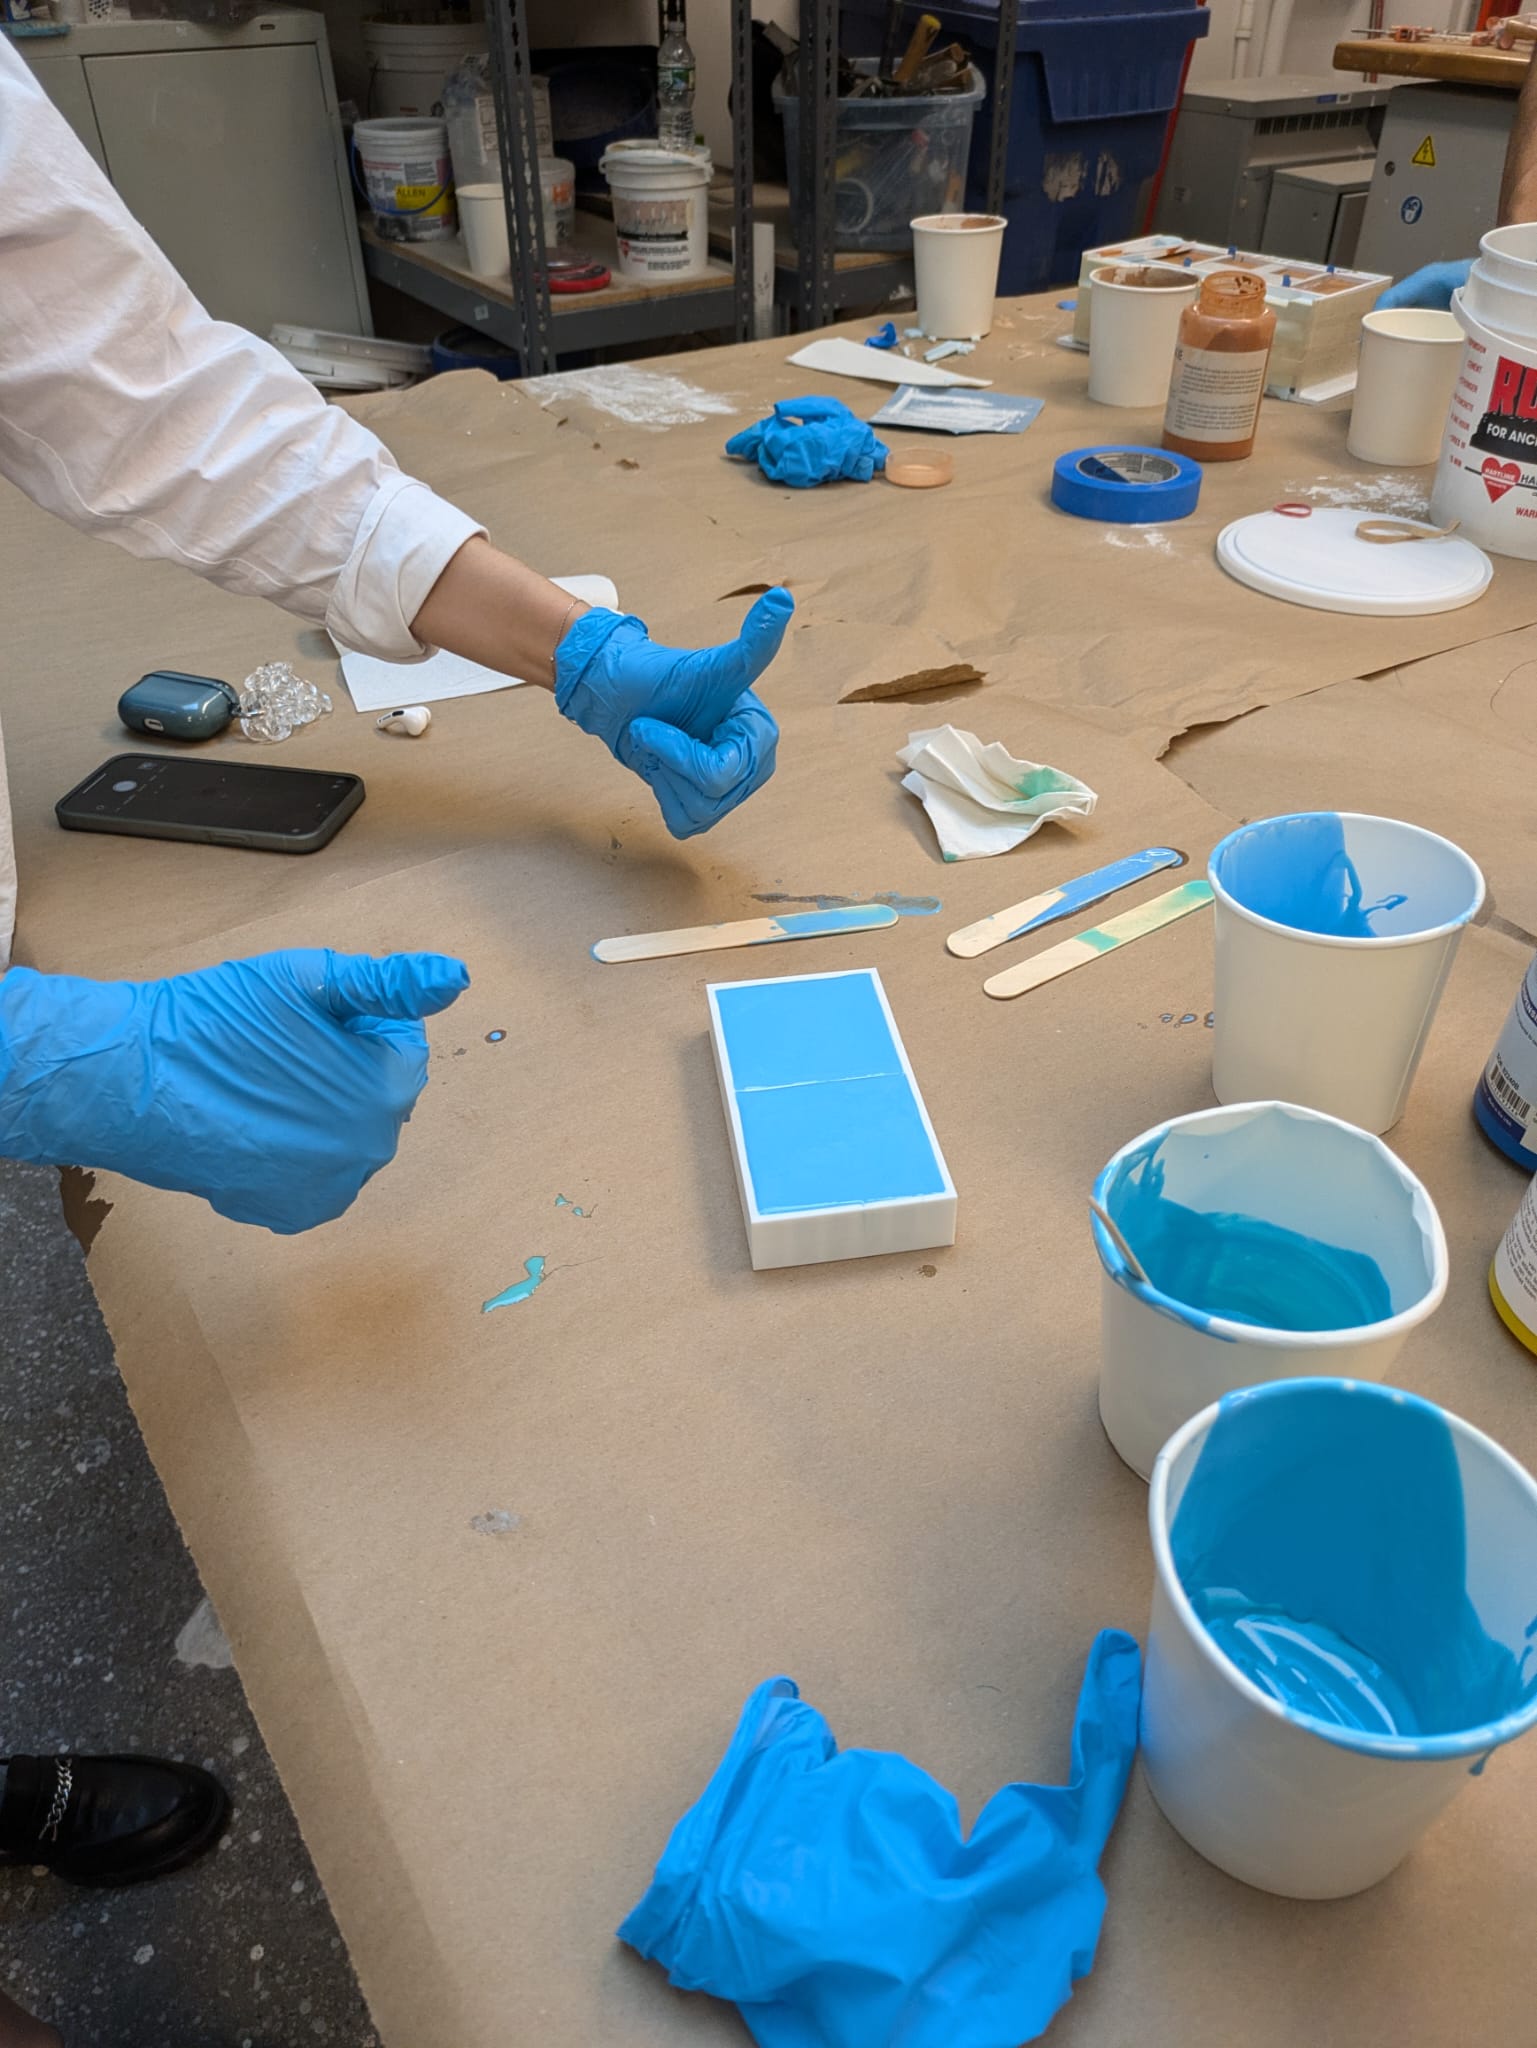
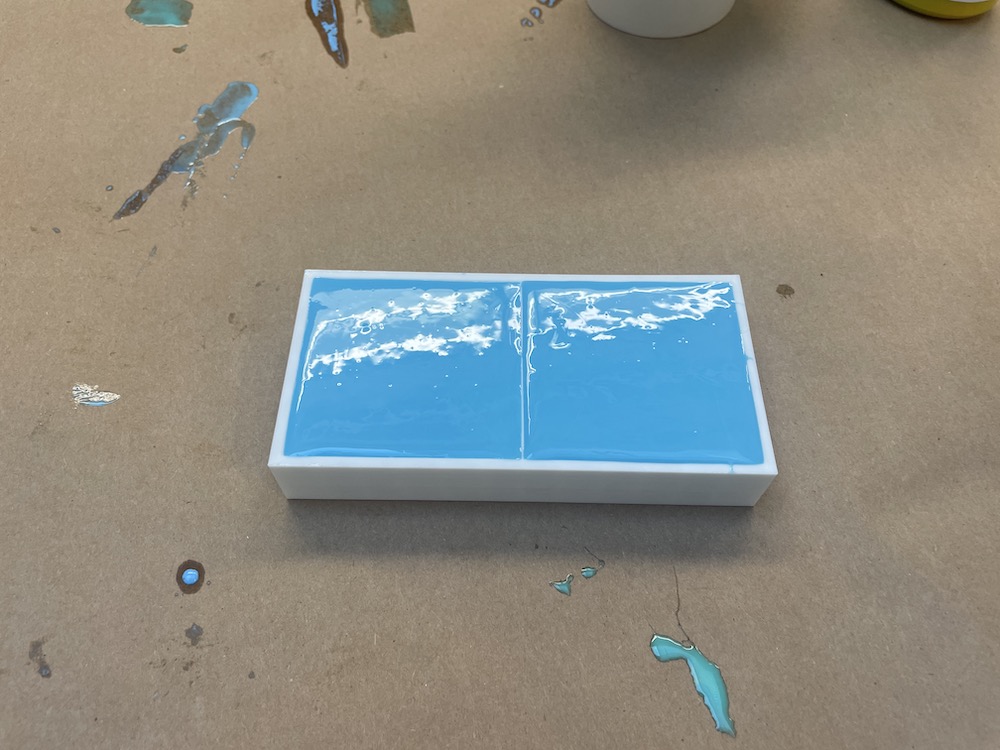
Making the mold with Oomoo was a rather easy process after the group assignment. Making sure my workplace was clean, I went through the step by step process.
I waited about 3 hours for it to dry even though it said it would take 90 minutes. I found leaving it overnight helped the rest of the moisture evaporate.

Casting Materials!
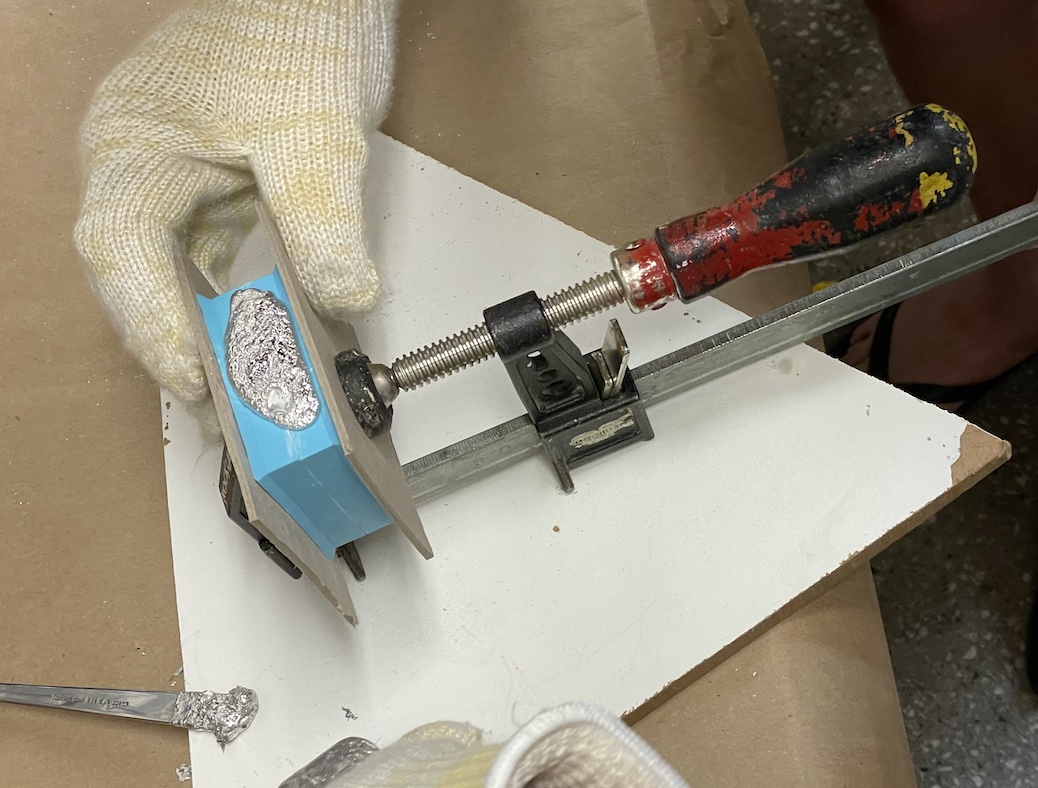
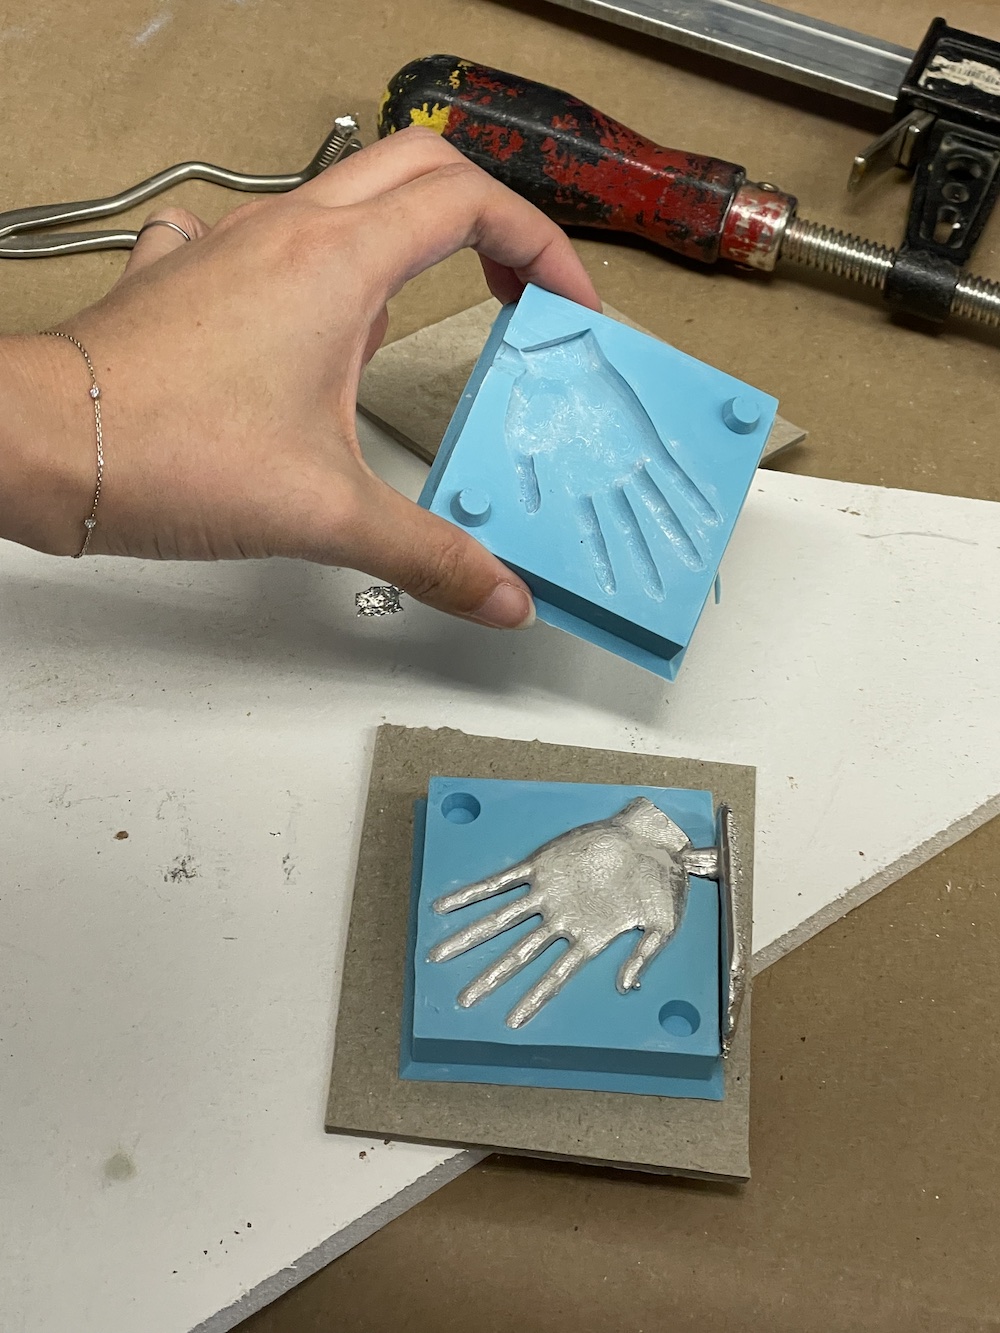
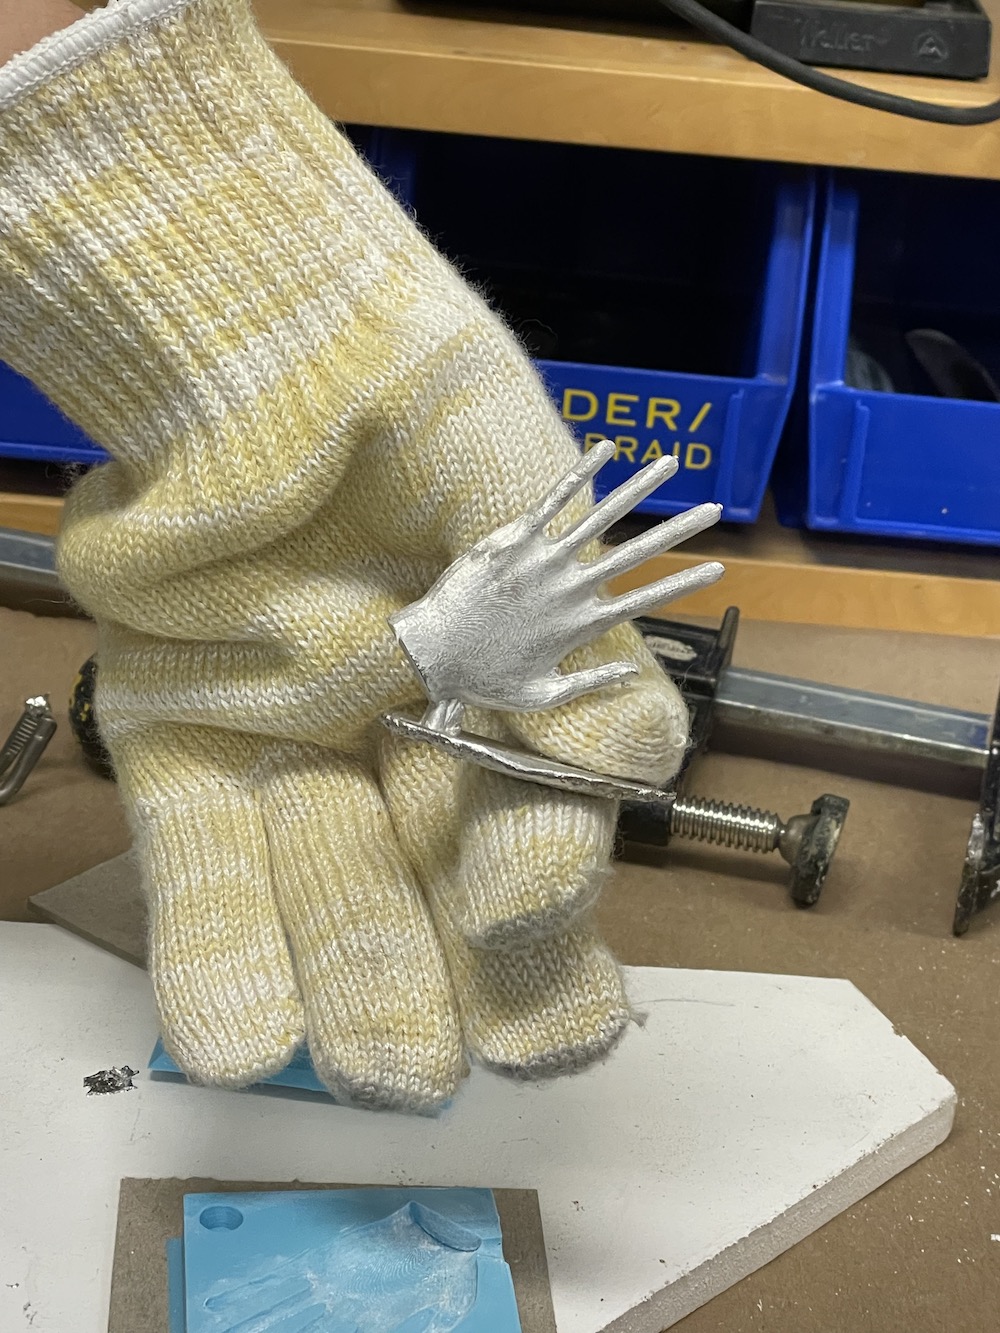
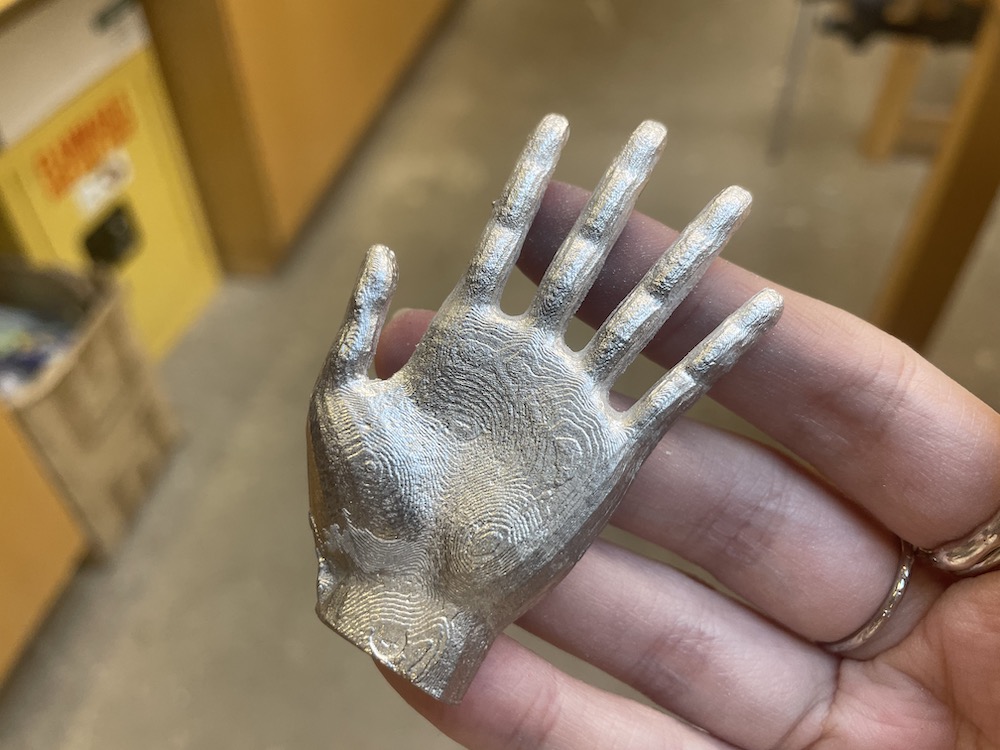
The first material I cast with was the metal in the shop (tin-bismuth alloy). With a group of us, it was rather easy to get everything set up and ready to pour. I was afraid that the mold would be hard to cast due to the small fingers.
My worry was that the material would dry before I got out all the airbubbles, but surprisingly it worked out the first pour.
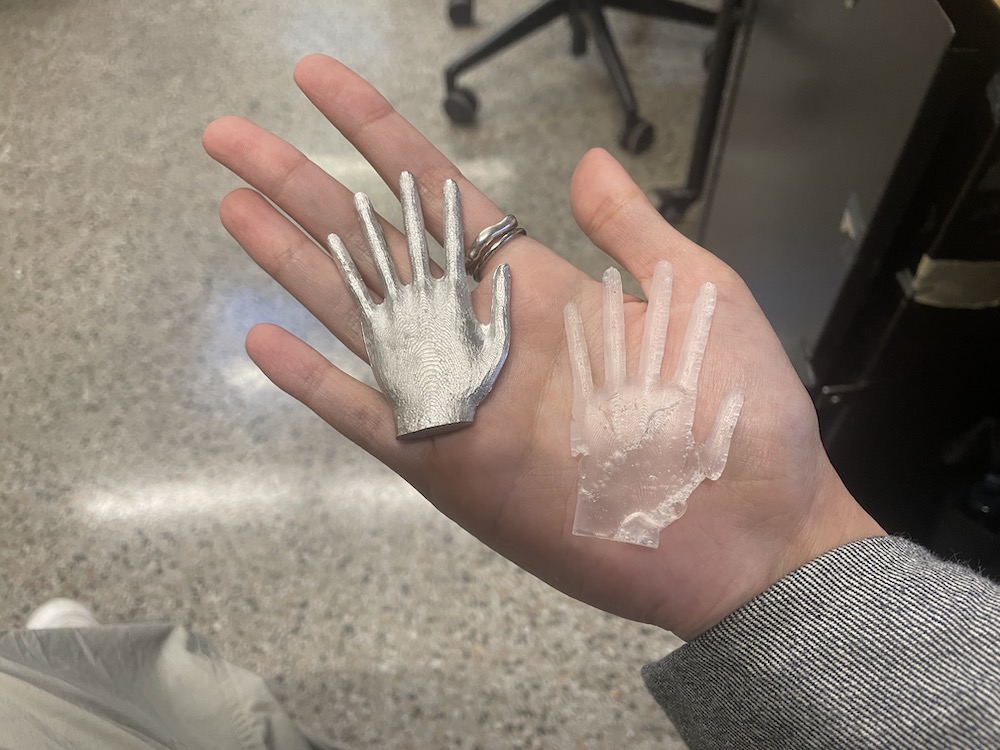
I know the assignment was meant to remove the machine marks, but due to having the surface as concentric circles, the marks looked like finger prints/skin texture and I decided to leave them on.
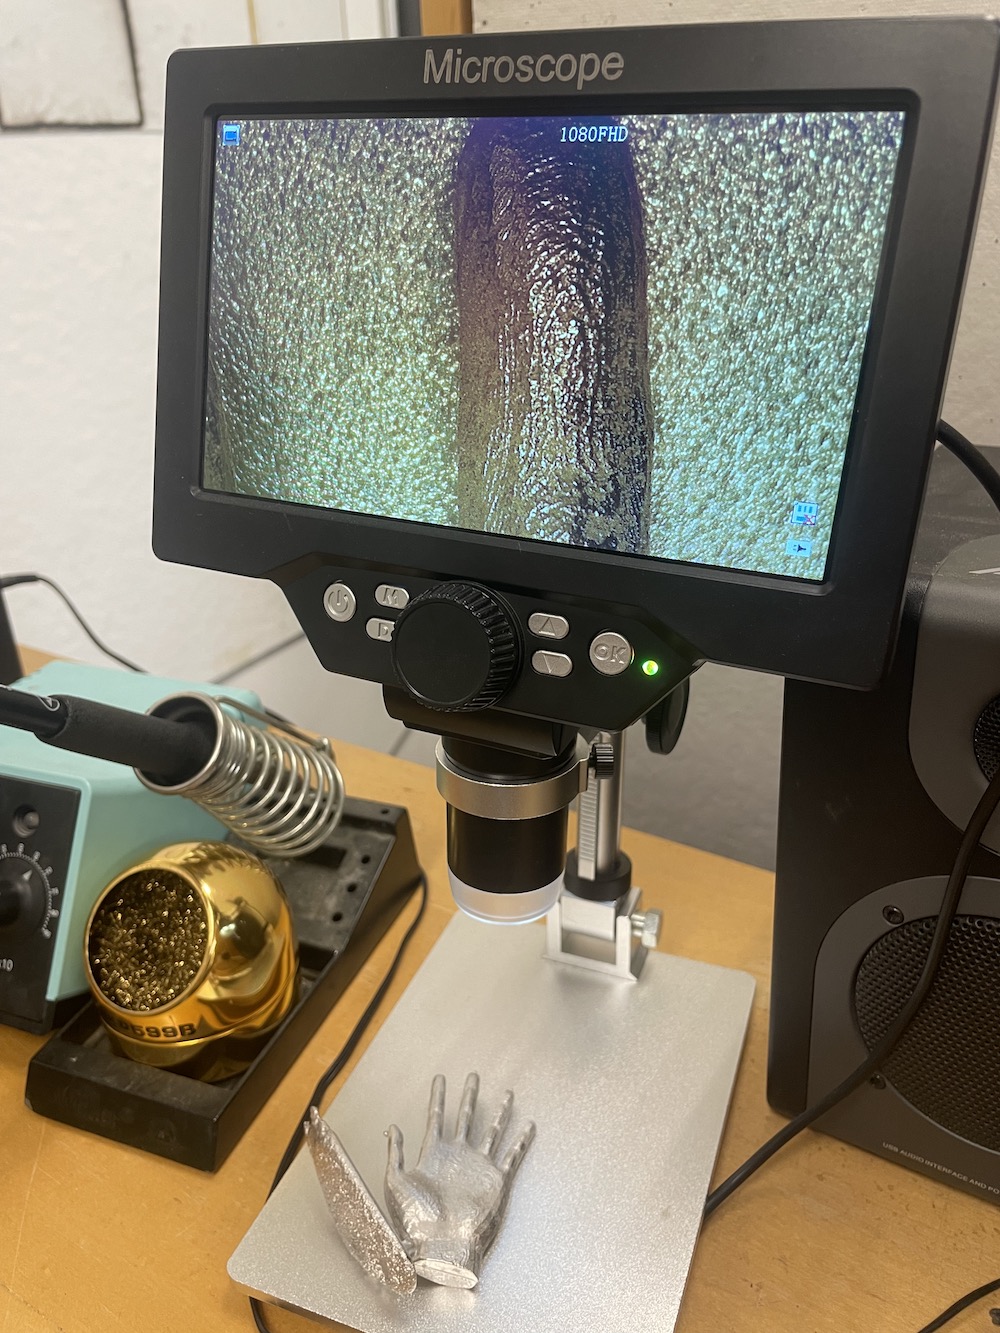
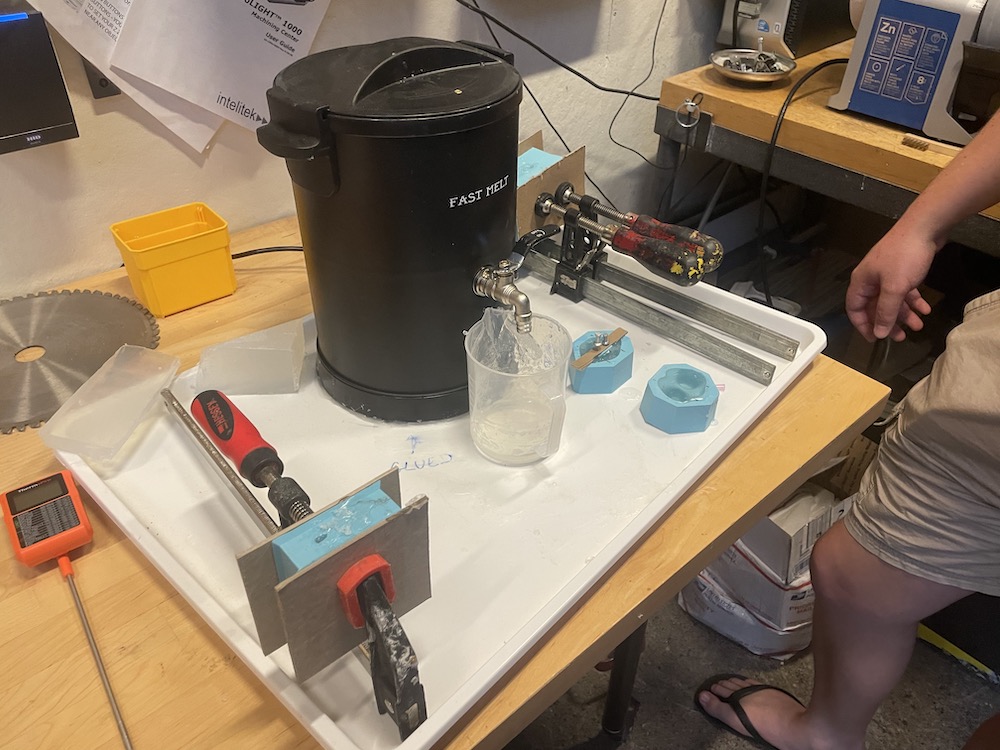
My second material was the soap in the shop (suggested by Jen). The soap is a glcerin material so it had an odd smell.. but we went with it. I had more difficulty with the soap casting.
There was a lot of bubbles and my hole opening was too small. I found that the soap dried really quickly at the opening and wouldn't let me pour anything it.
After two tries and cutting the opening a little bigger, I learned to pour slow and steady, avoiding the edges.
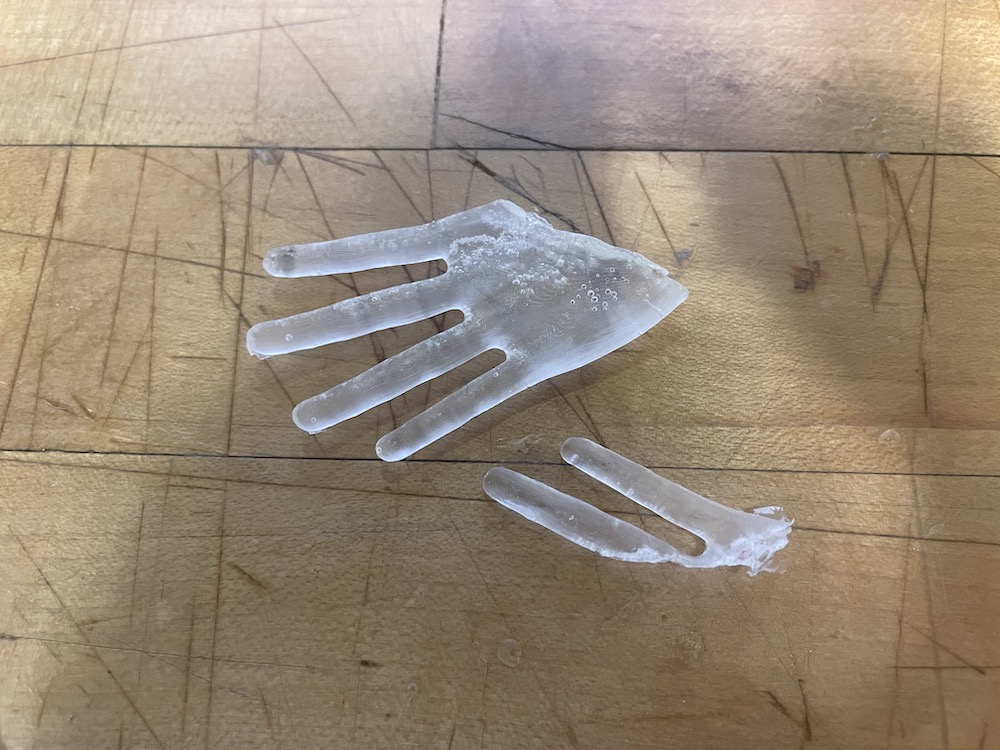
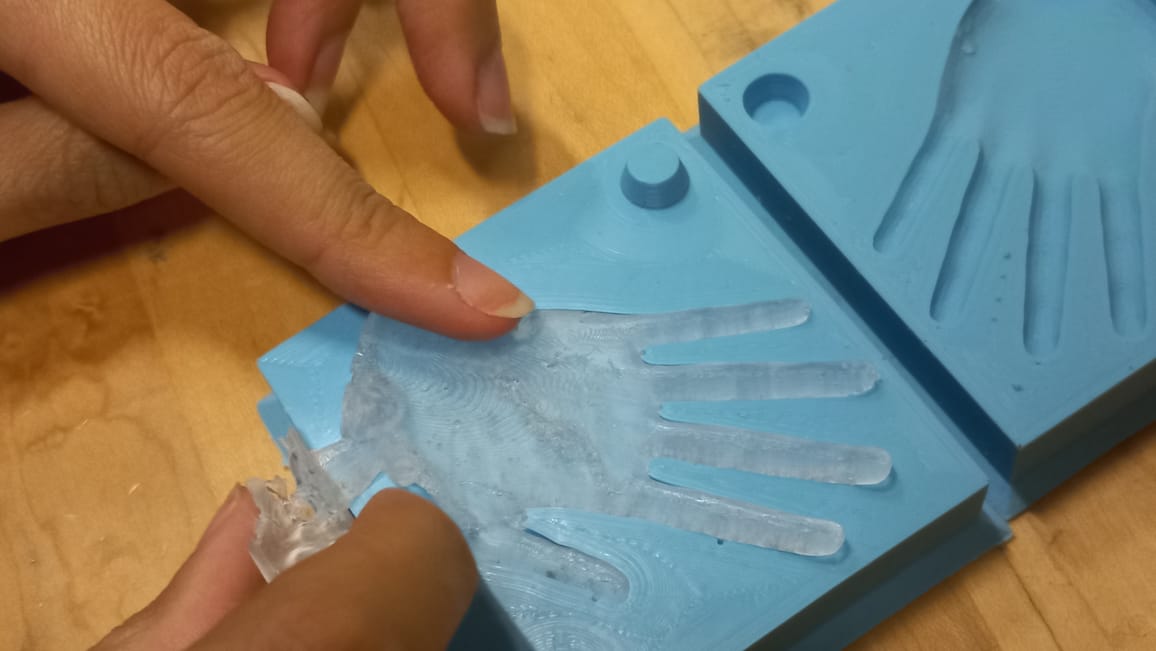
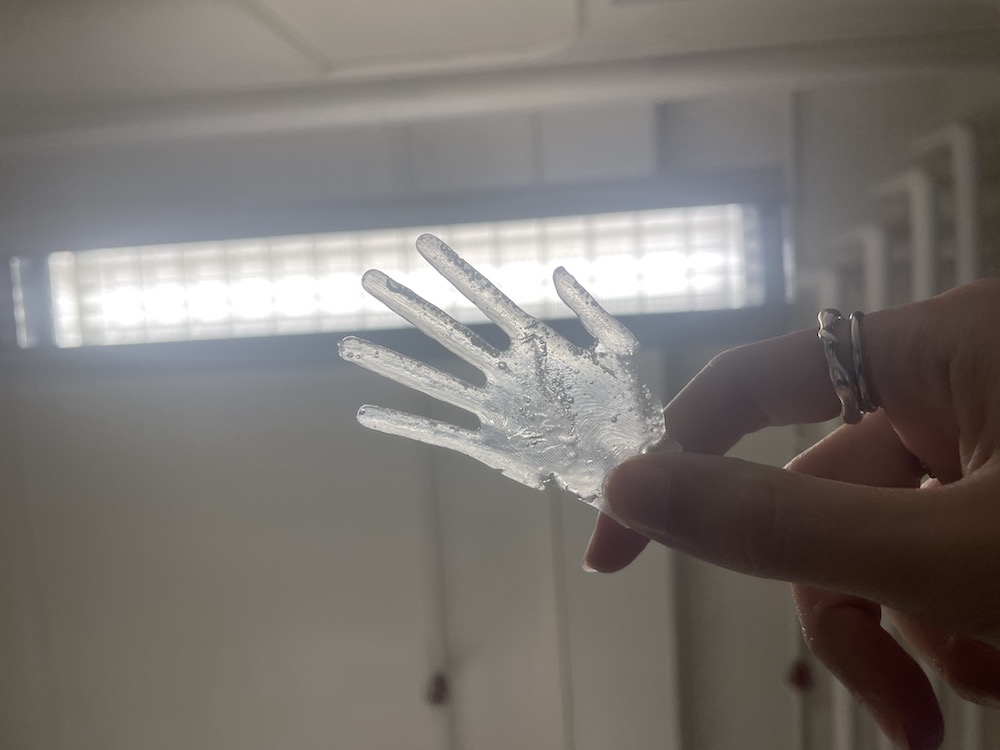
Third time was a success! There were some bubbles still within the cast but overall the hand came out whole. Now I have hand soap.
