Week 14 — Wildcard
Design
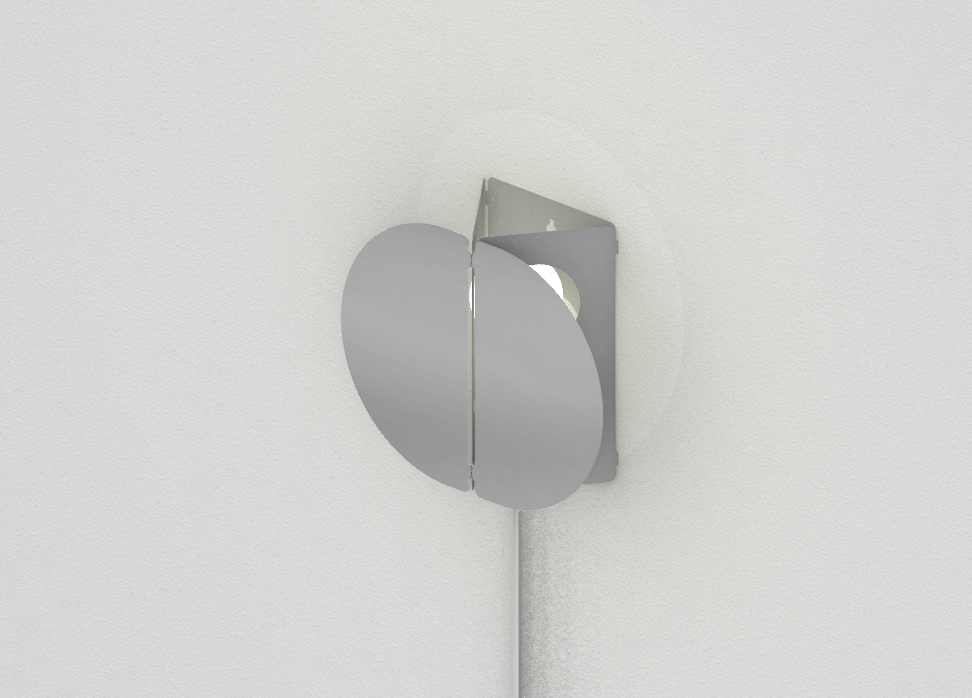
As a precursor to my final, I did a lot of research on different wall sconces.
I stumbled accross this design and wanted to see if I could make something similiar.
The mechanisms are all similar, and I added the curved face in the front for personal preference.
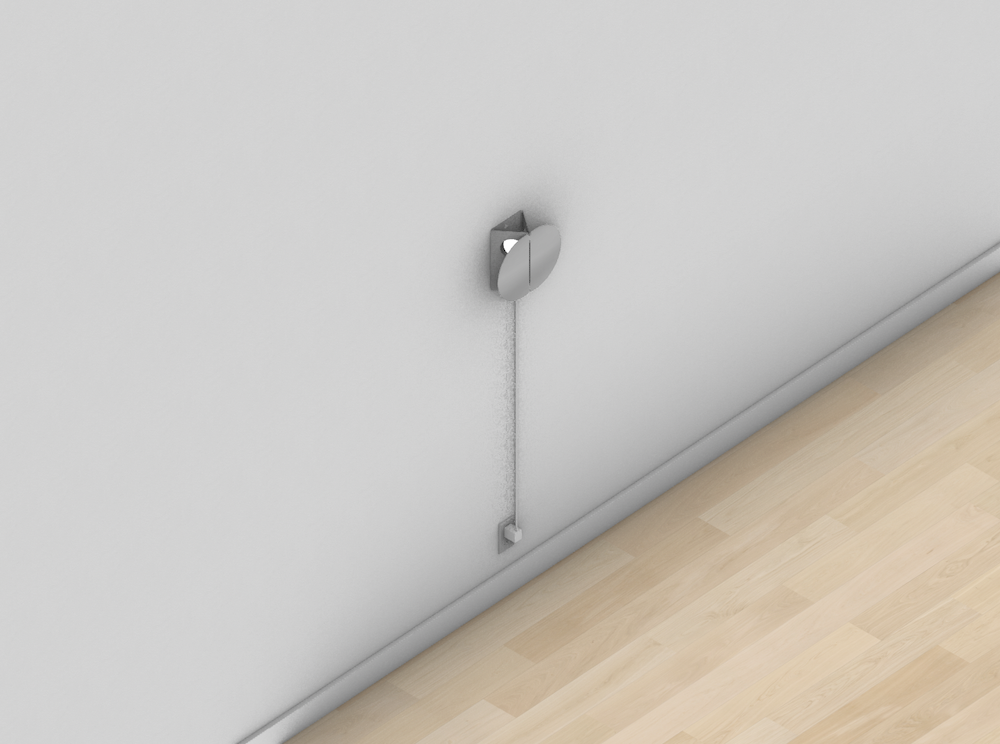
The idea is that any stand alone light bulb can sit inside and you can just plug and go! Think of it as a lo-fi version of my final lamp.
Tutorial
I had a great tutorial session with Miana, who walked through the Fablight and the finger brake.
The stock the CBA had was .77mm/.03" steel (untreated) so we used that to do the test cut.
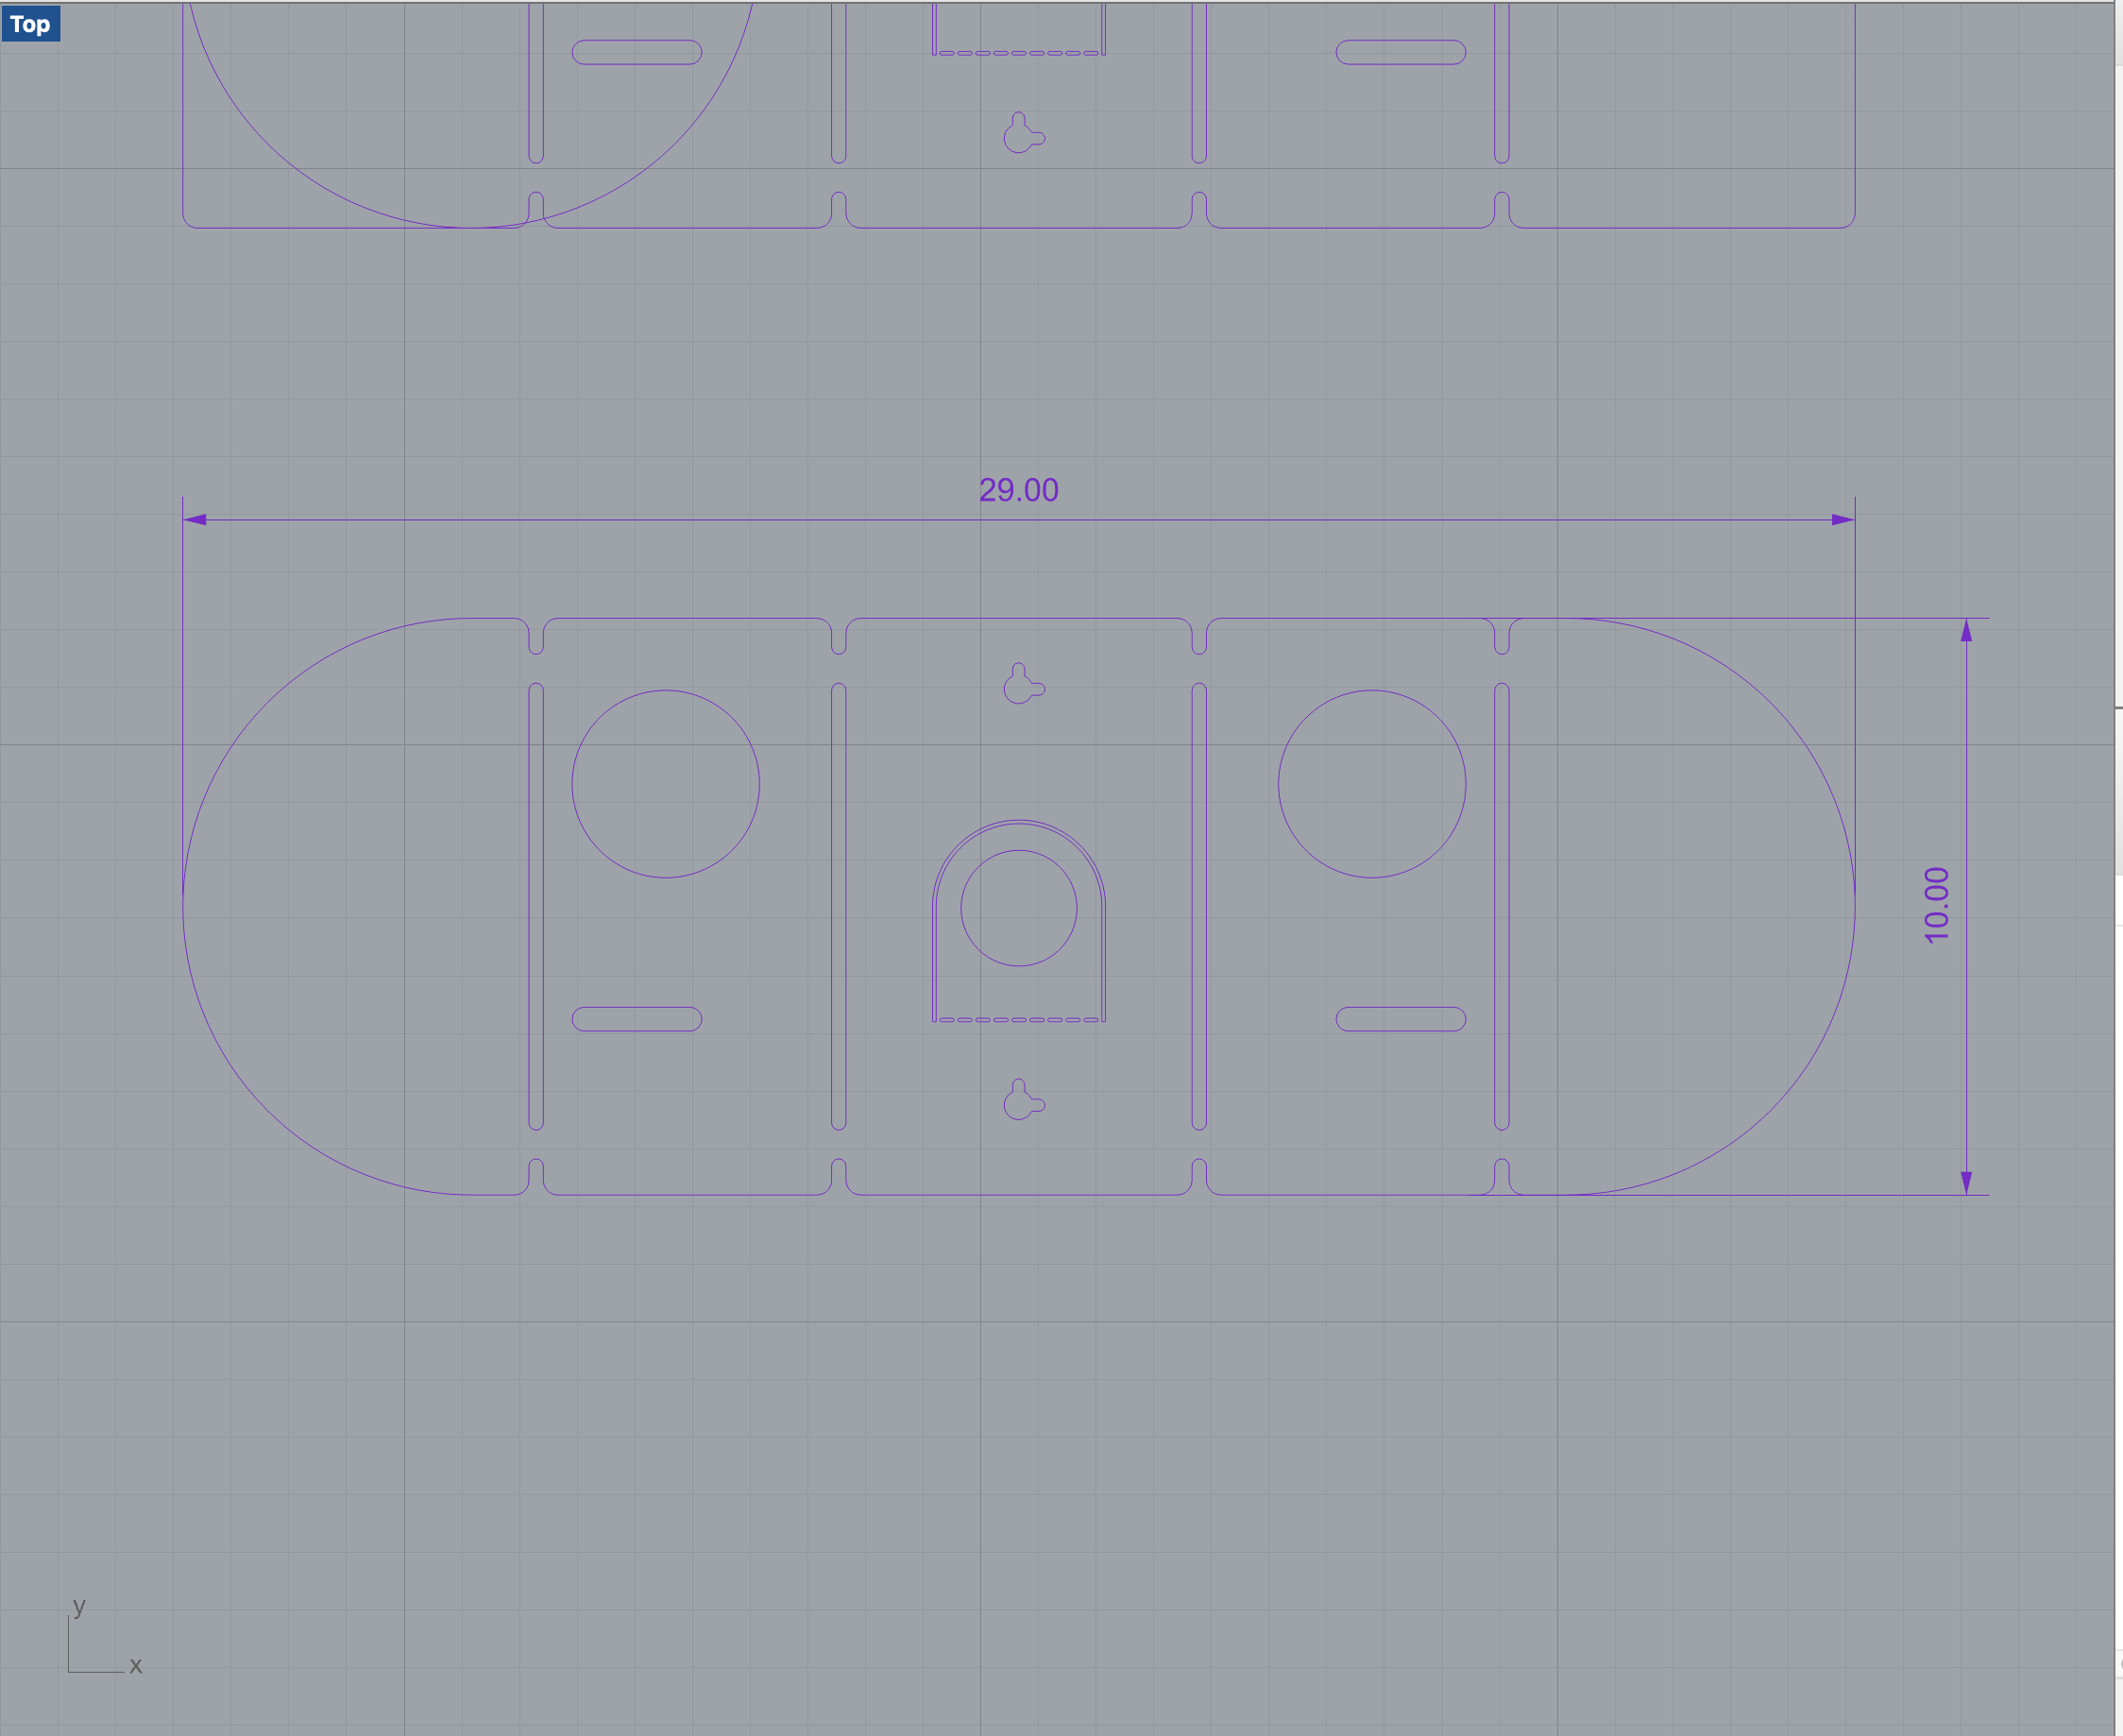
Since I am a Rhino user. Miana told me to export the file to .dxf (2011/2012 version). On the shop computer,
open the file using Fab Creator and import the file. Units are in both mm or inches. There are folders,
Cut (green), Engrave (red), Etch (blue). The cutting happens by order and you can drag things arounde easily.
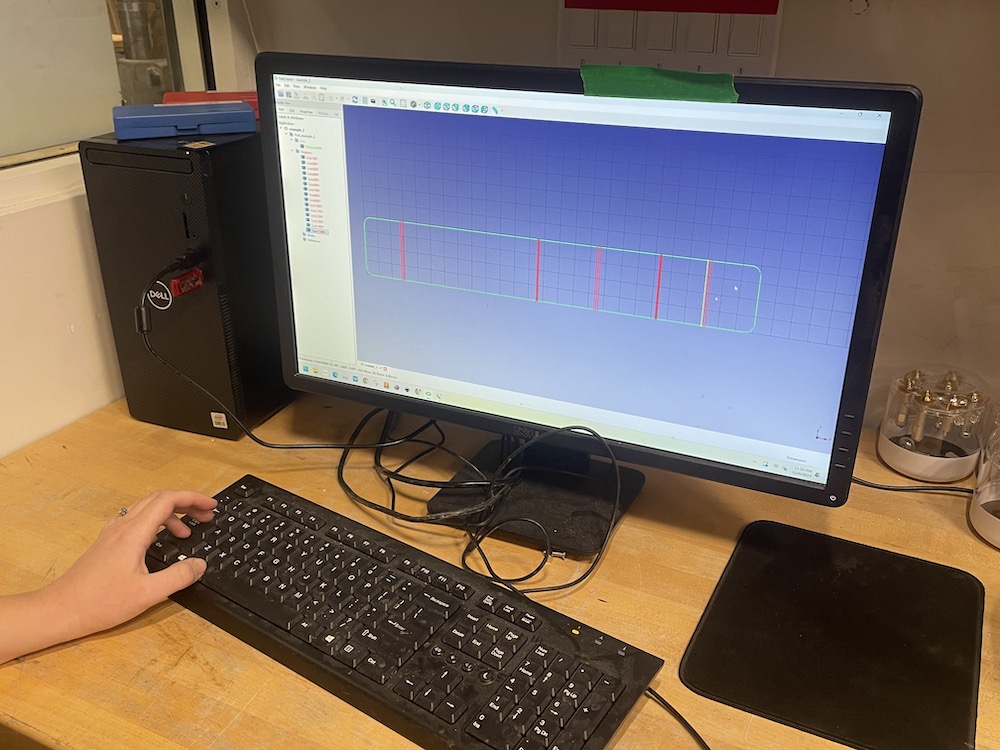
In the properties tab, you can set the Material type, and use the Steel CRS choice (this also works for aluminum materials.)
Select your metal's thickness and if you want the kerf on or off. You can also tabs for smaller pieces you don't want falling through.
Export as a .fab file to a USB, and you are good to go!
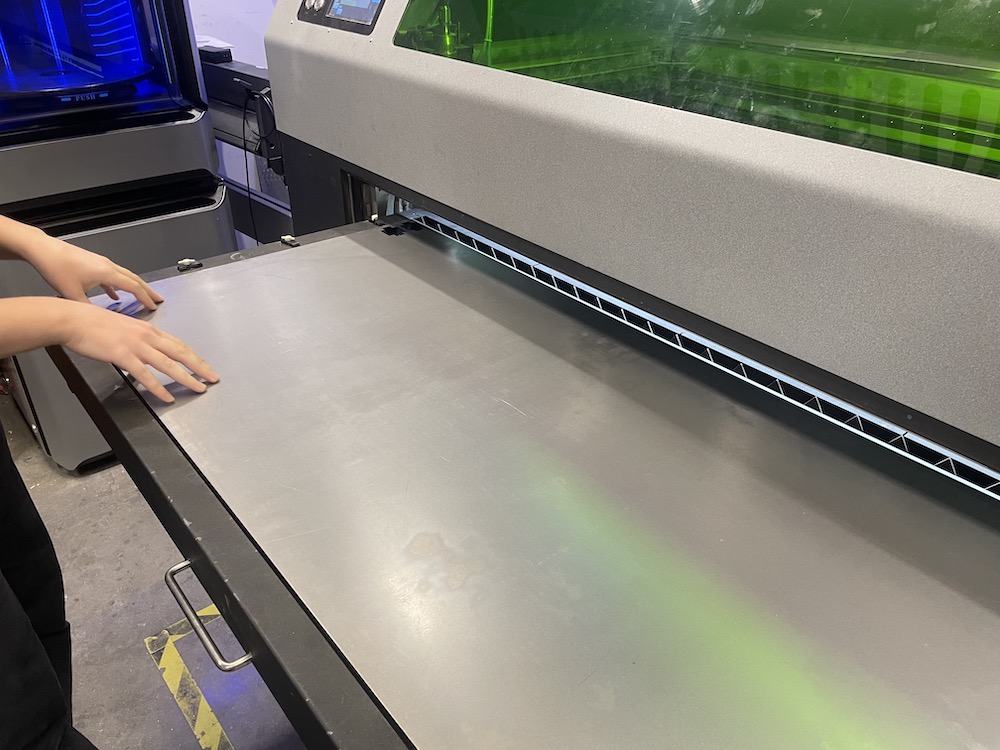
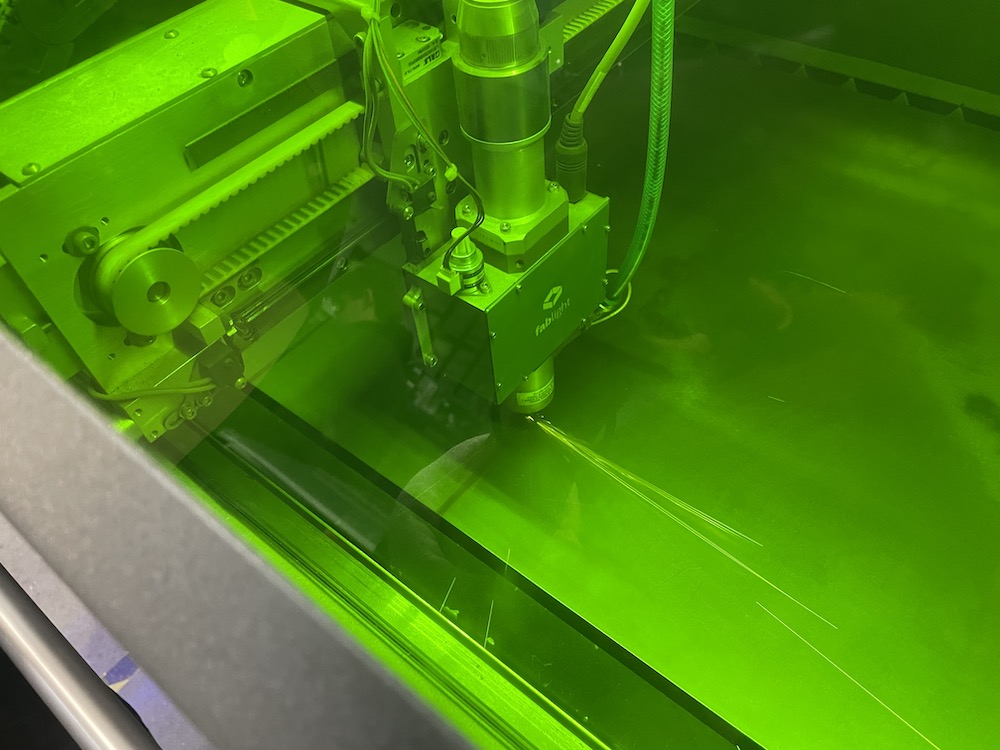
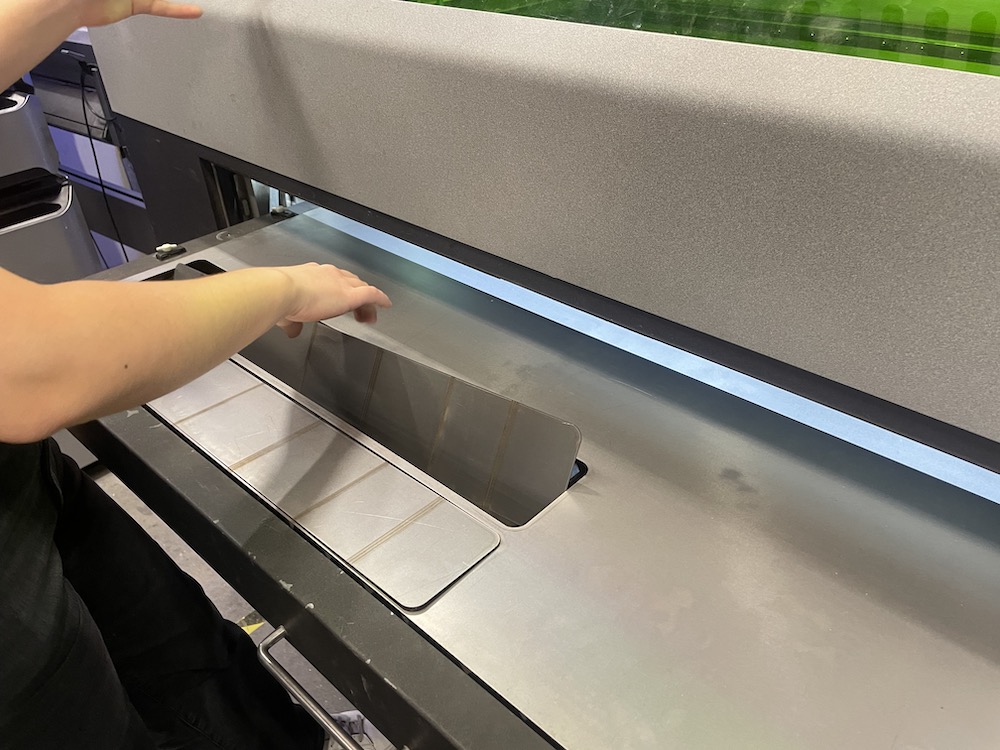
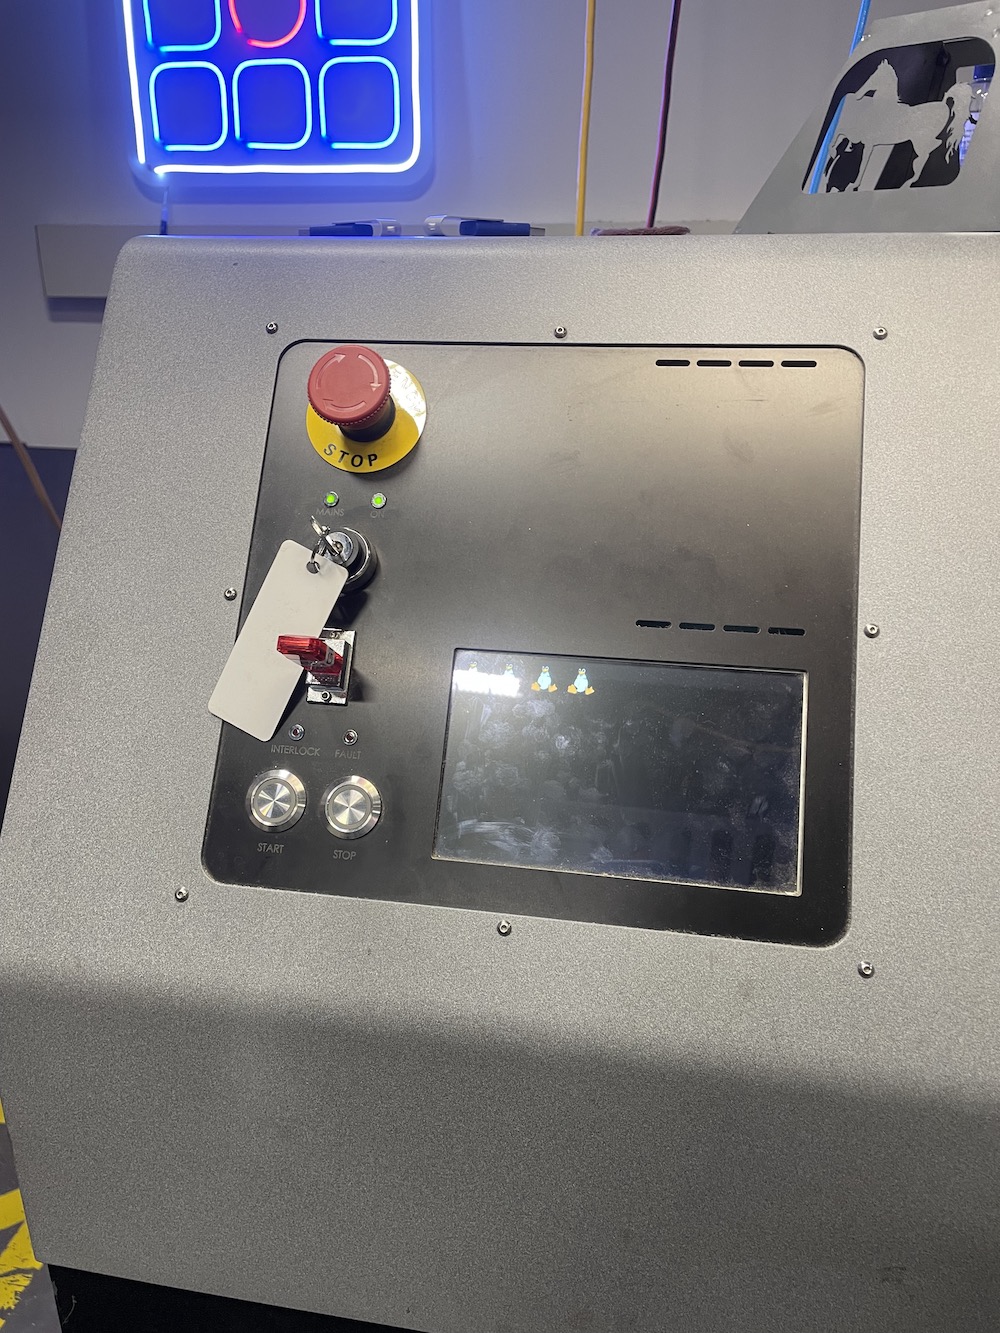
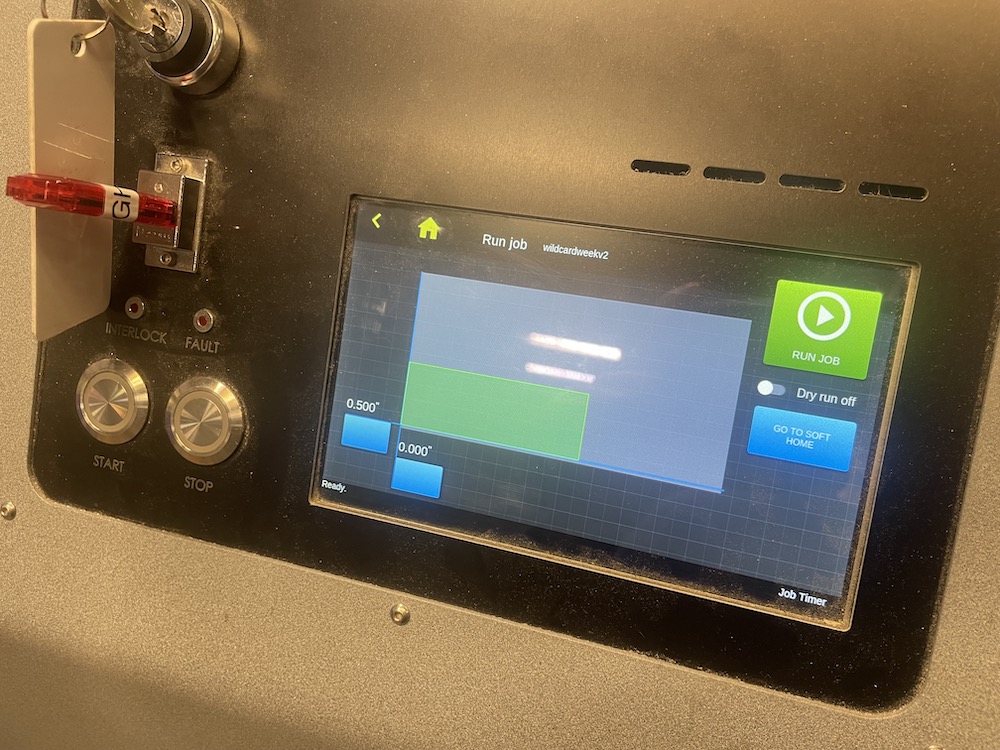
Switch on the machine on bottom left, then turn the key to the right. Home the machine once it's on
and it'll move the axis to zero. You can add your USB and load new job, and temporarily edit the laser power settings if needed (this is mostly for engrave).
Then you can run your job!
Cutting and Bending
Dan kindly brought up some additional material from the basement, and I decided to swap over to using aluminum material,
as the light reflection would look nice. I followed the above steps and ran into a weird error with my .dxf file.
All the curves were mirrored. I tried trouble shooting in Rhino and it was still the case, so I open the file in Illustrator,
joined all the curves, reexported to .dxf, and the file was correct.
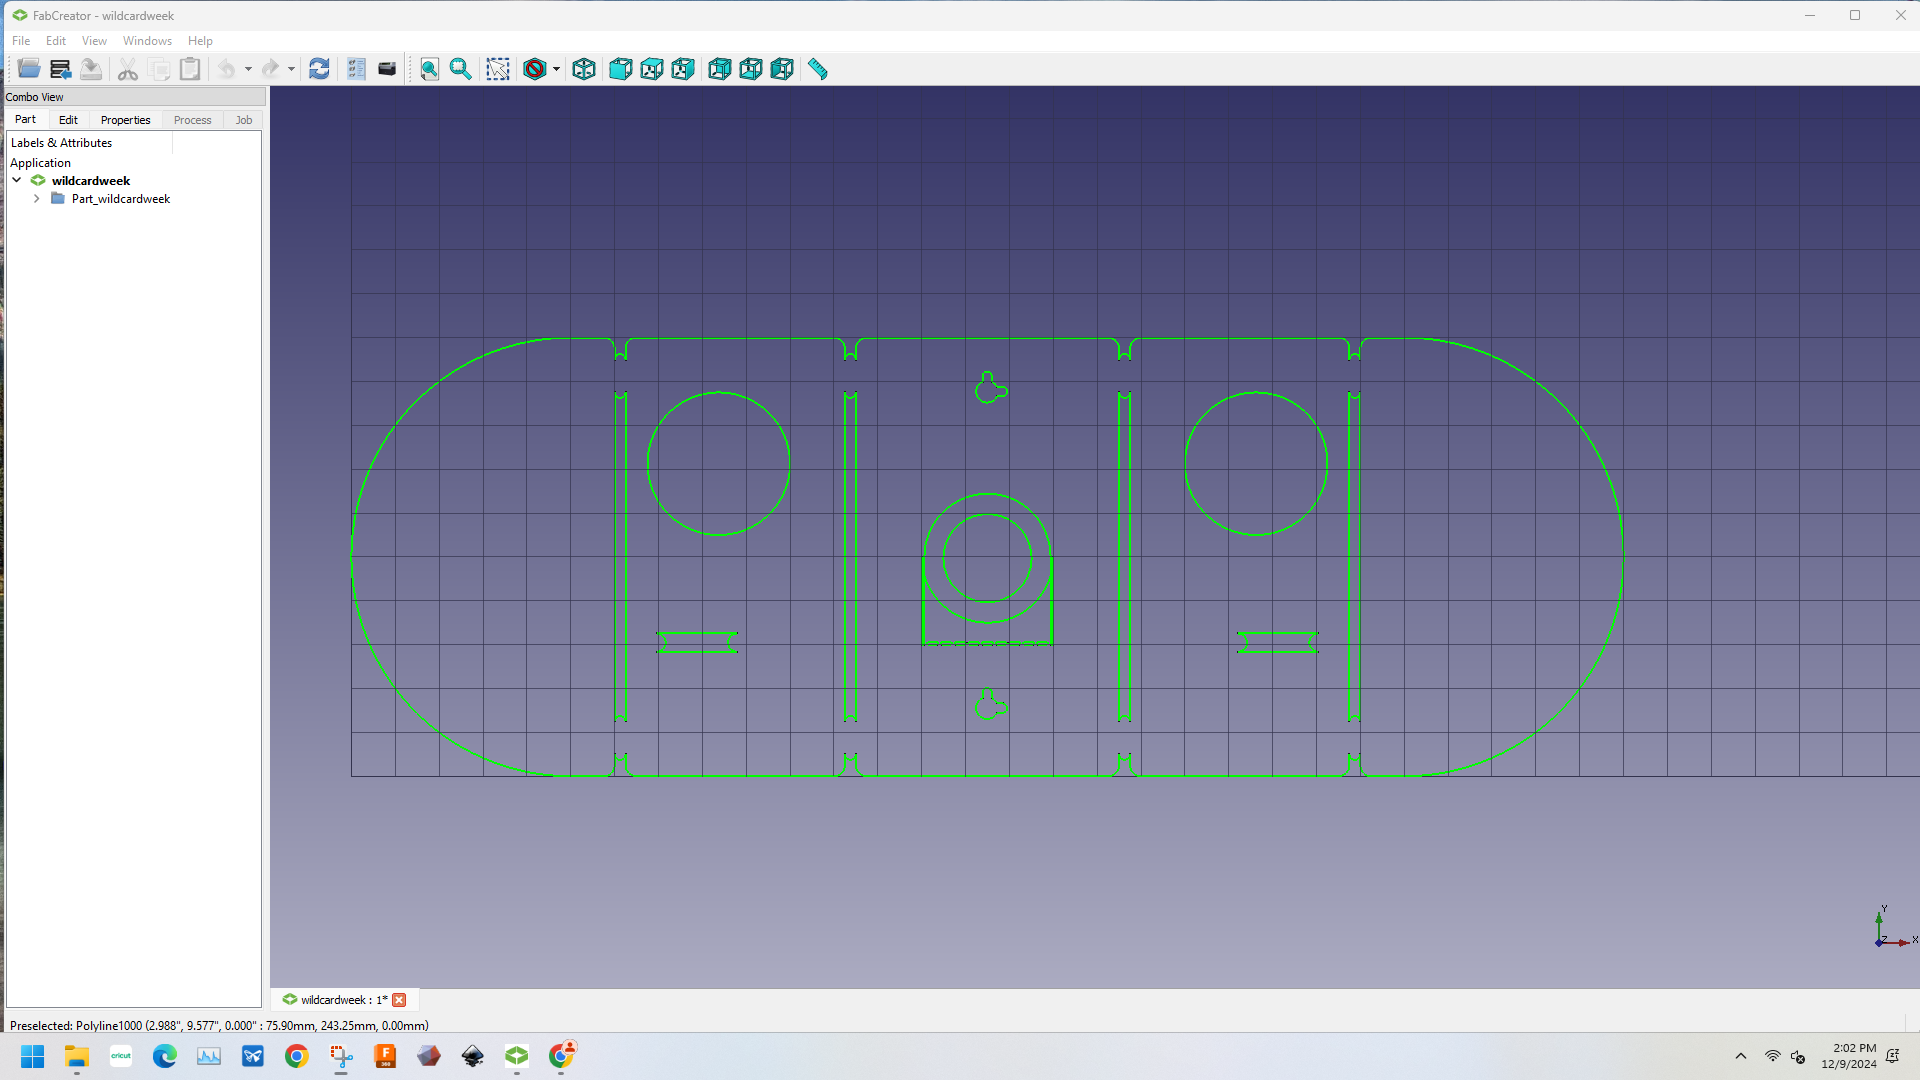
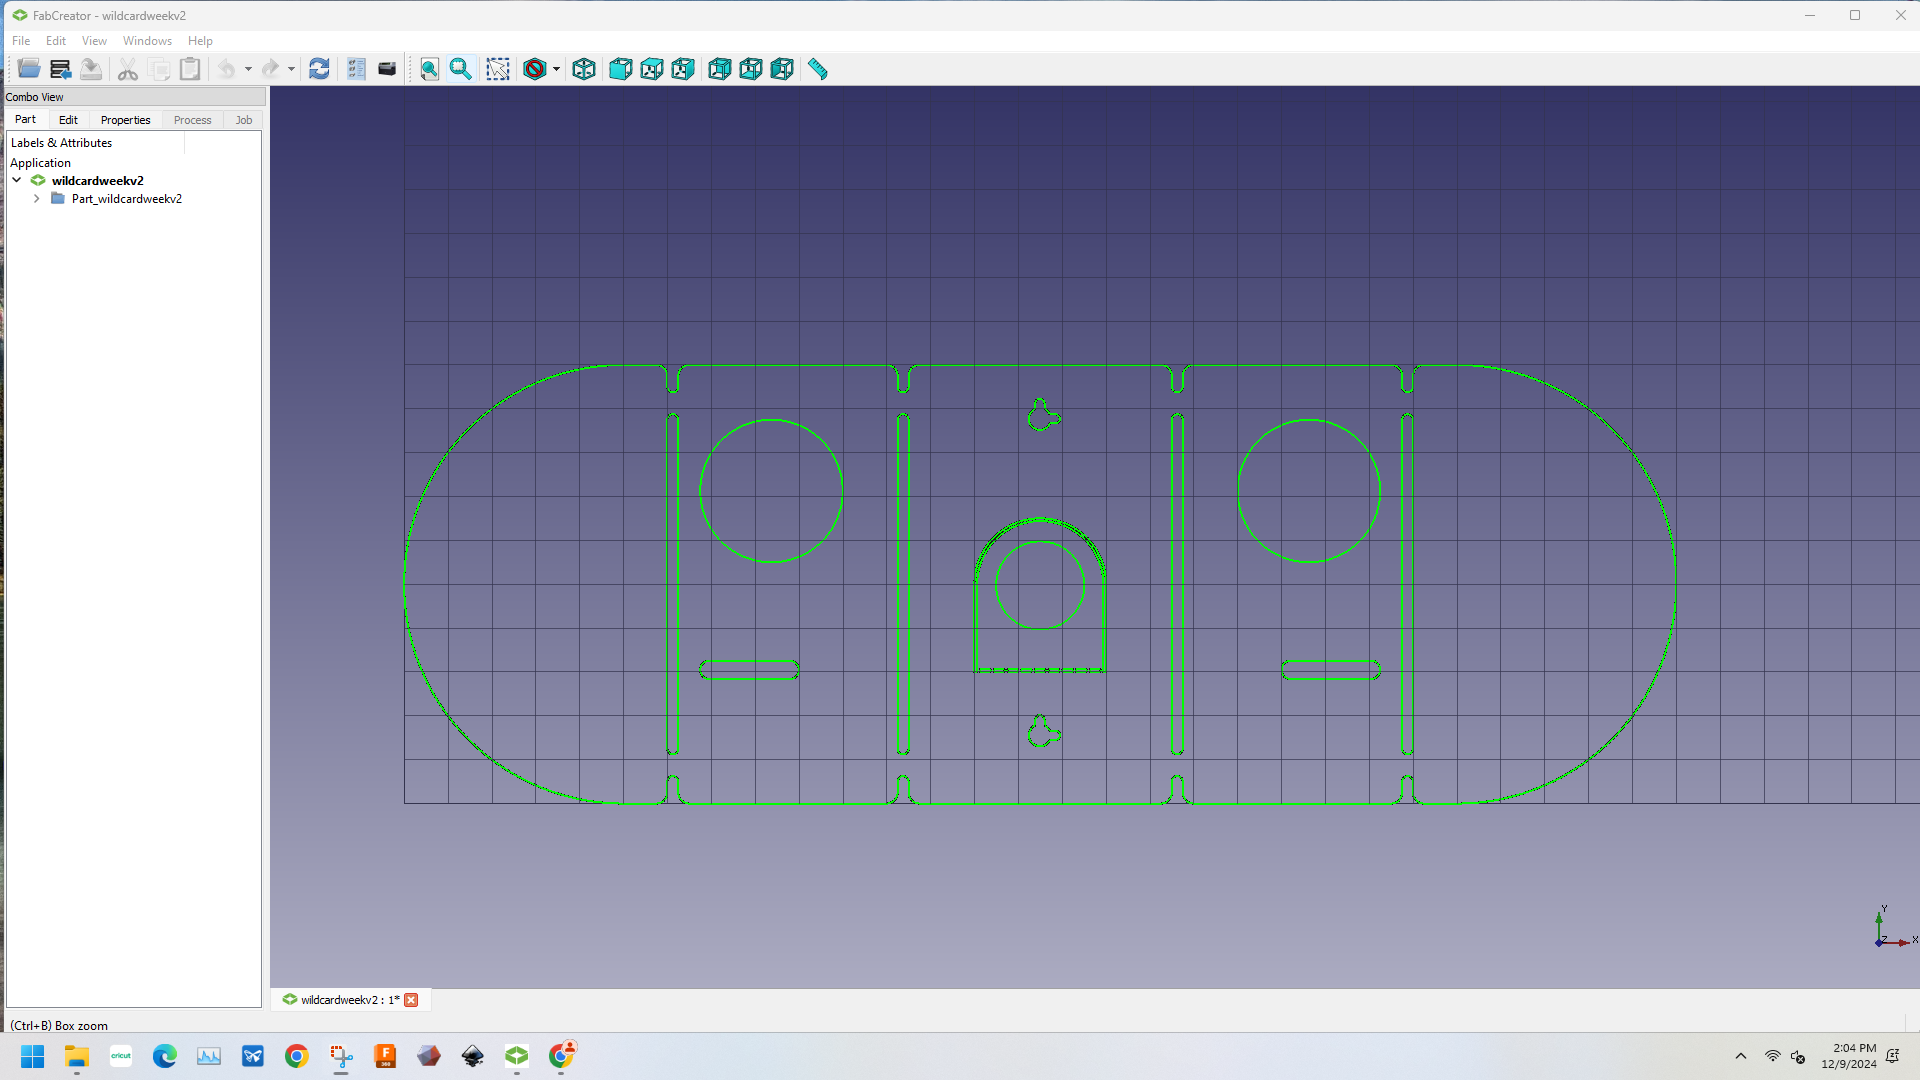
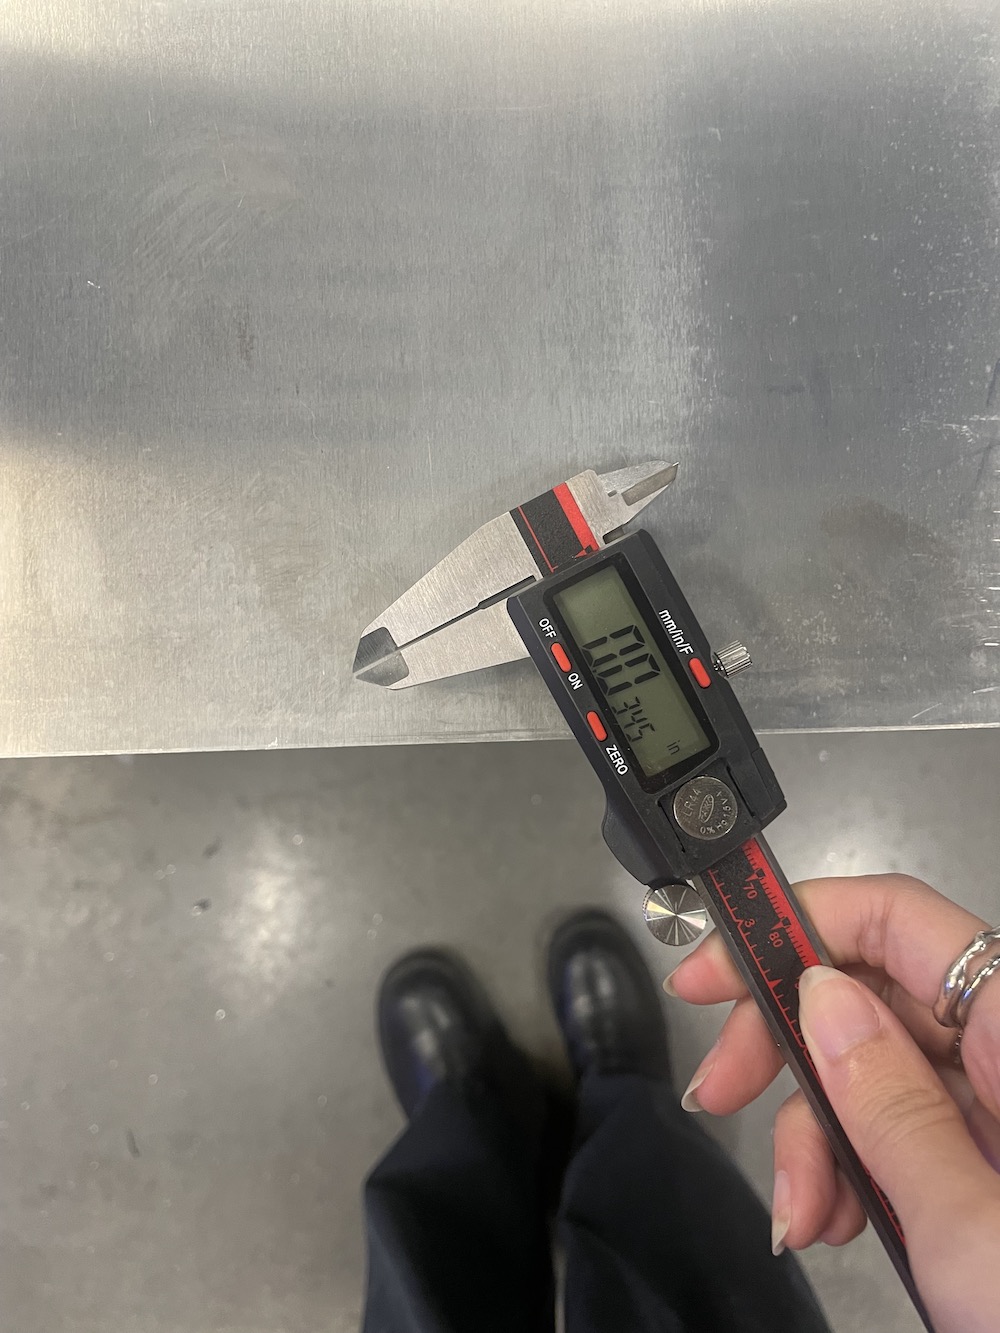
Cutting was really easy (easier then a normal laser cutter!)

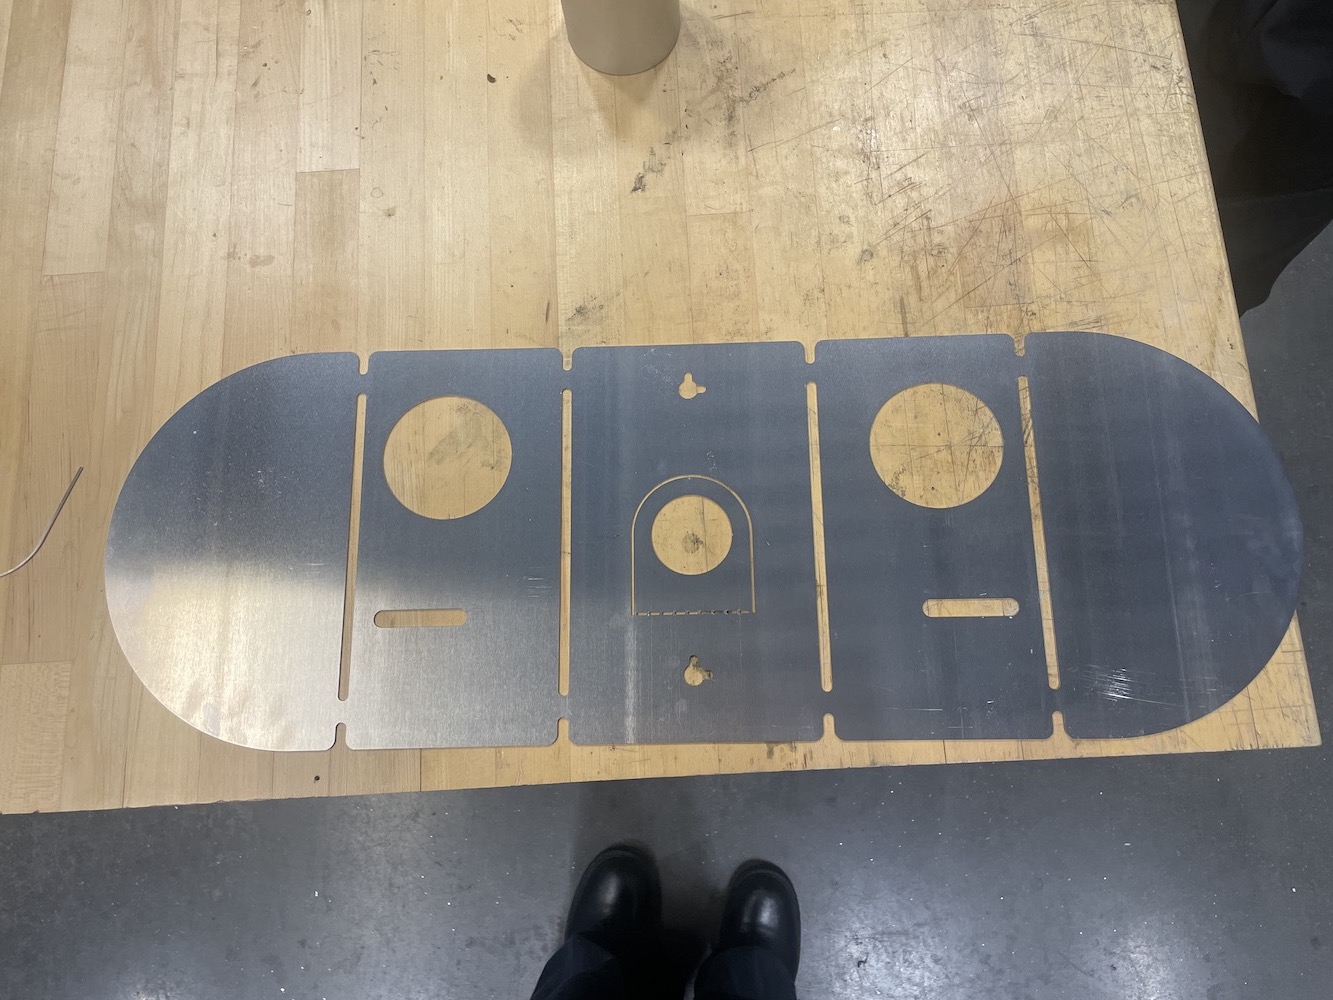
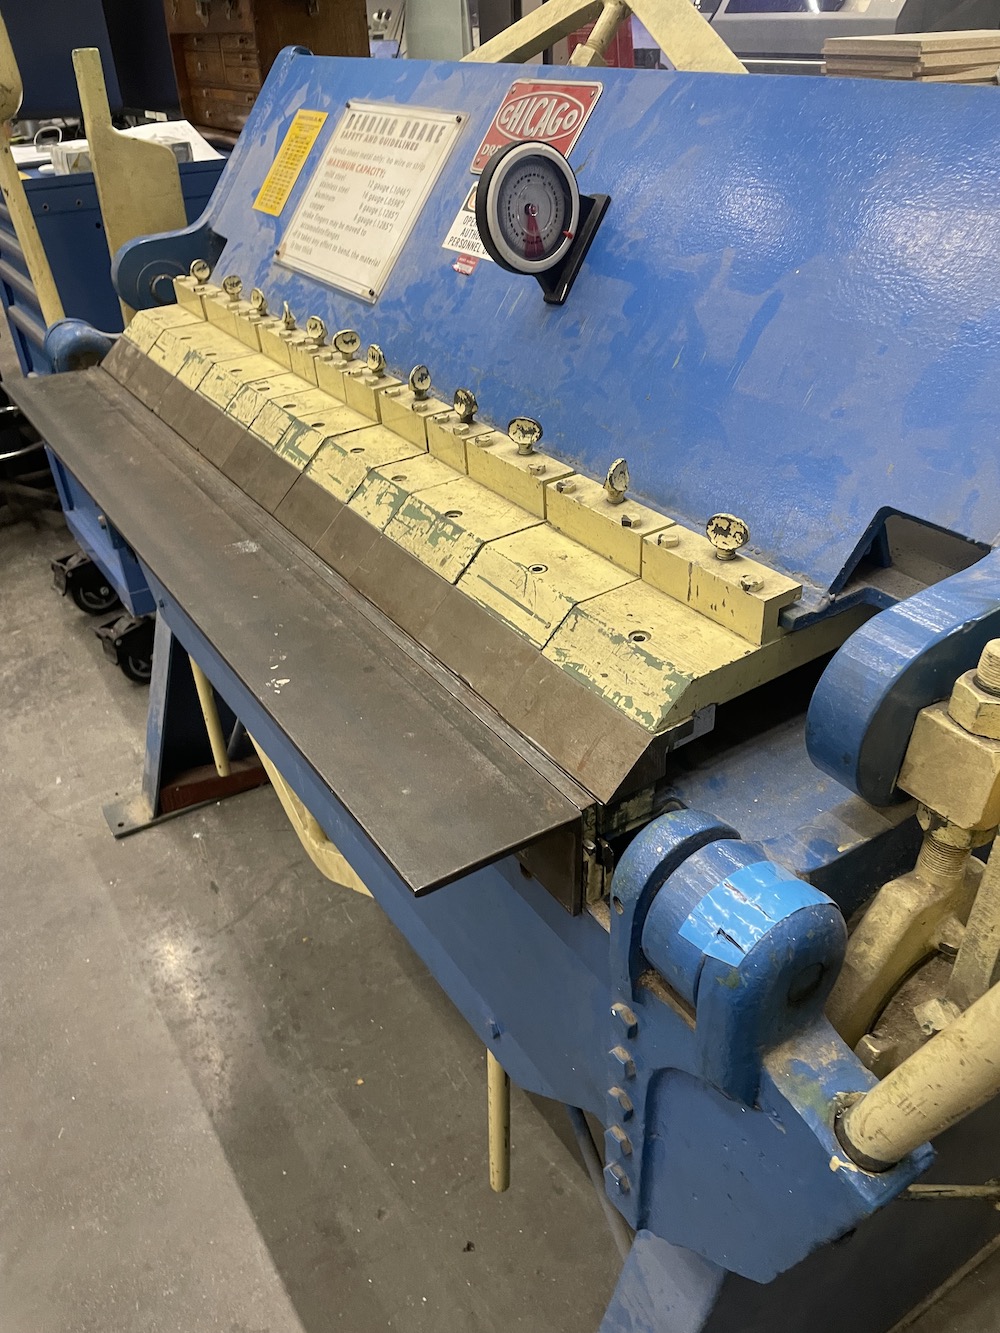
I moved onto the finger brake, which Miana also walked me through. You can remove parts of the brake if you have more intricate bends,
and you need to wing your angles. You also should account for metal bounce back.
Since I left a large part of the bend cut out, it was rather easy to fold. I would recommend noting the length of the edge, as mine was
about .5" shorter and it made it a little harder to bend.
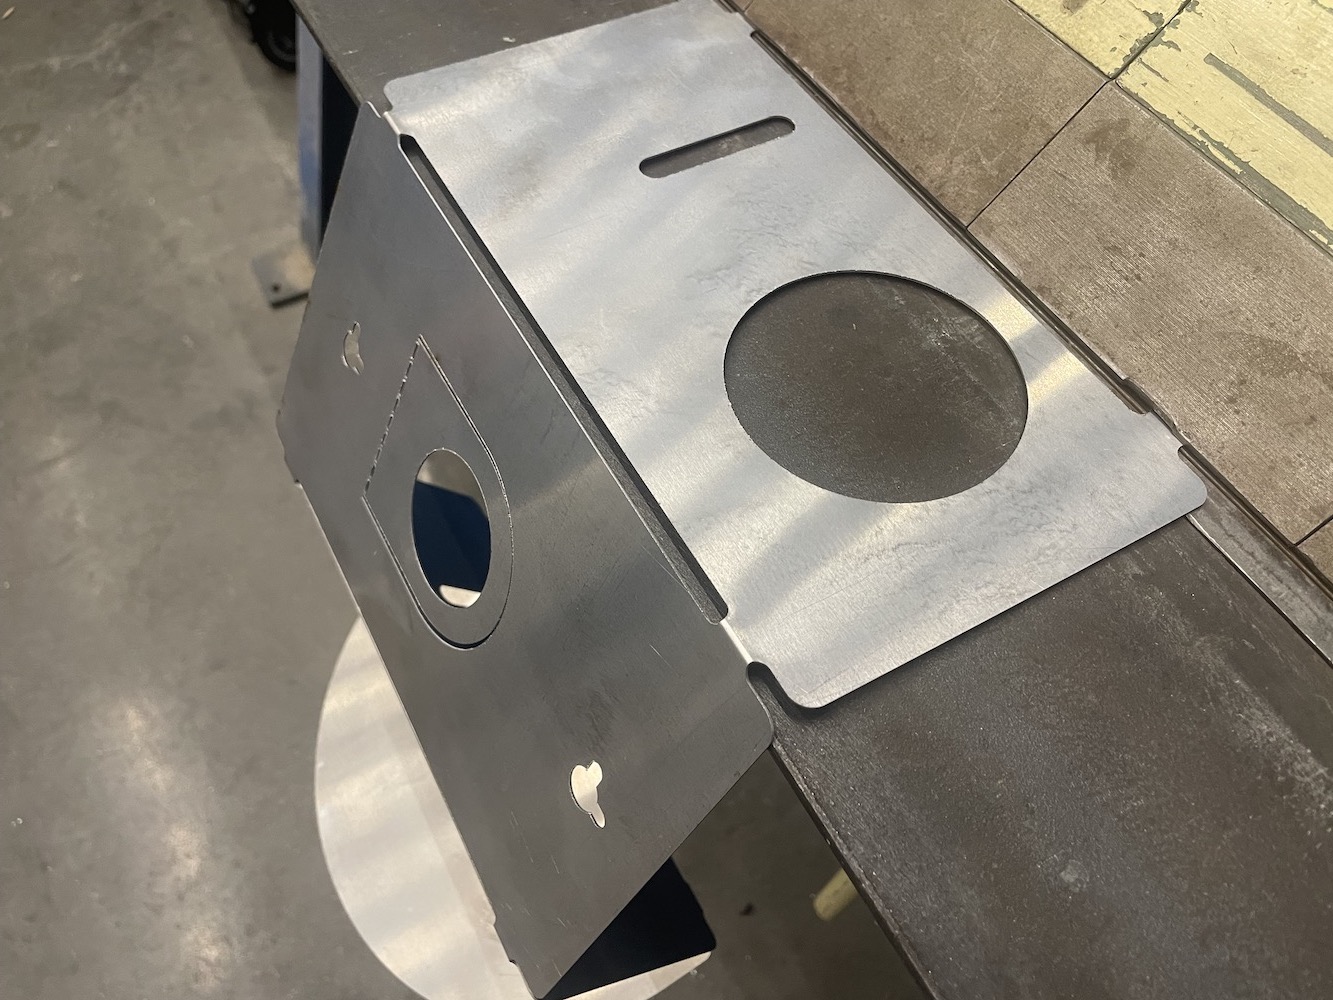
Tadah! It's all folded. I folded by hand to adjust everything to what I wanted it to look like.
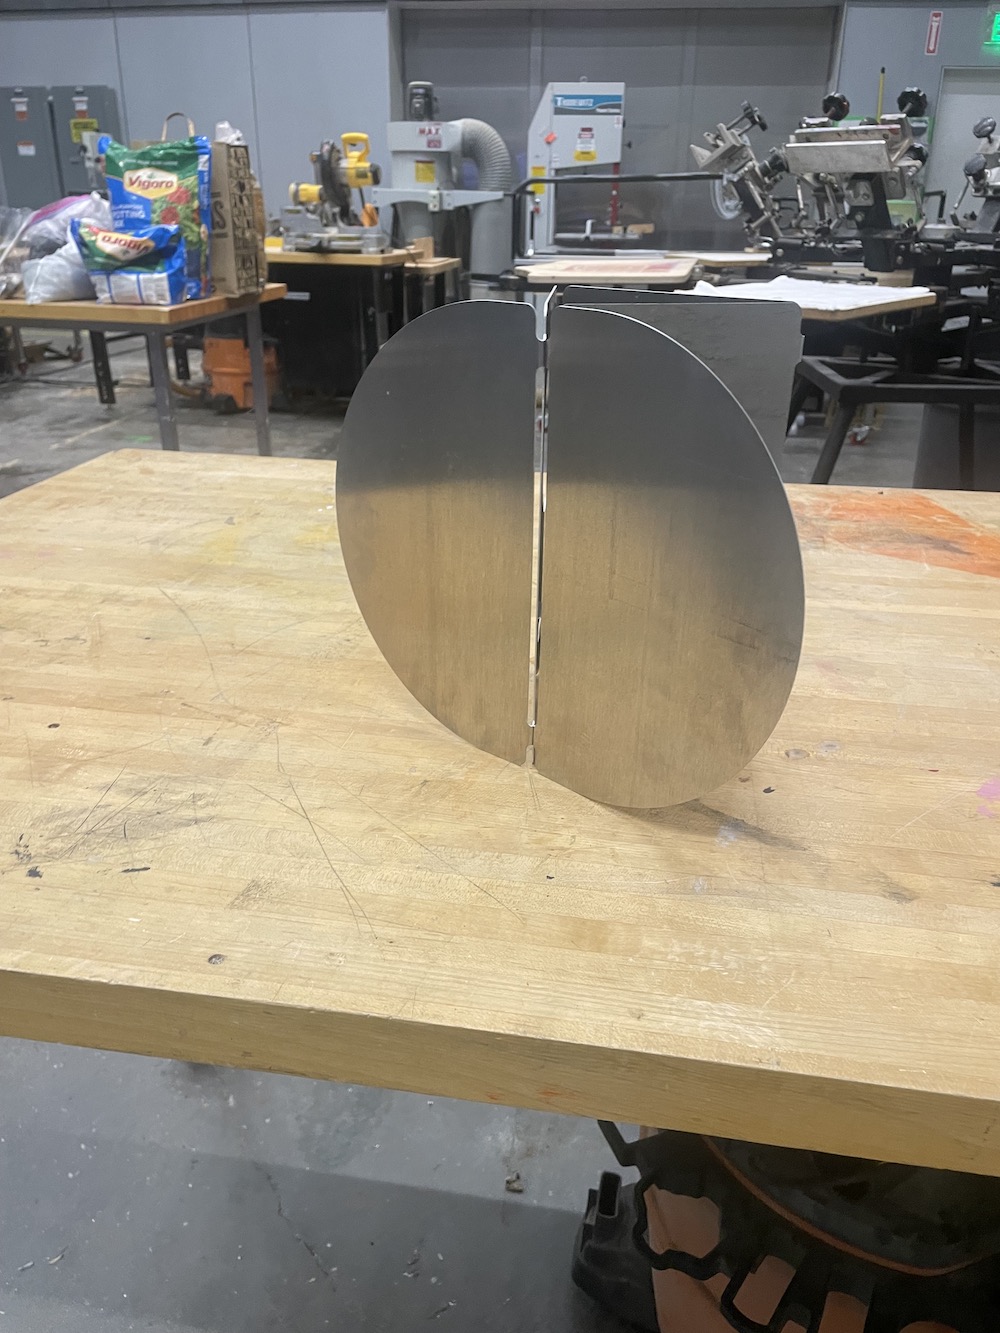
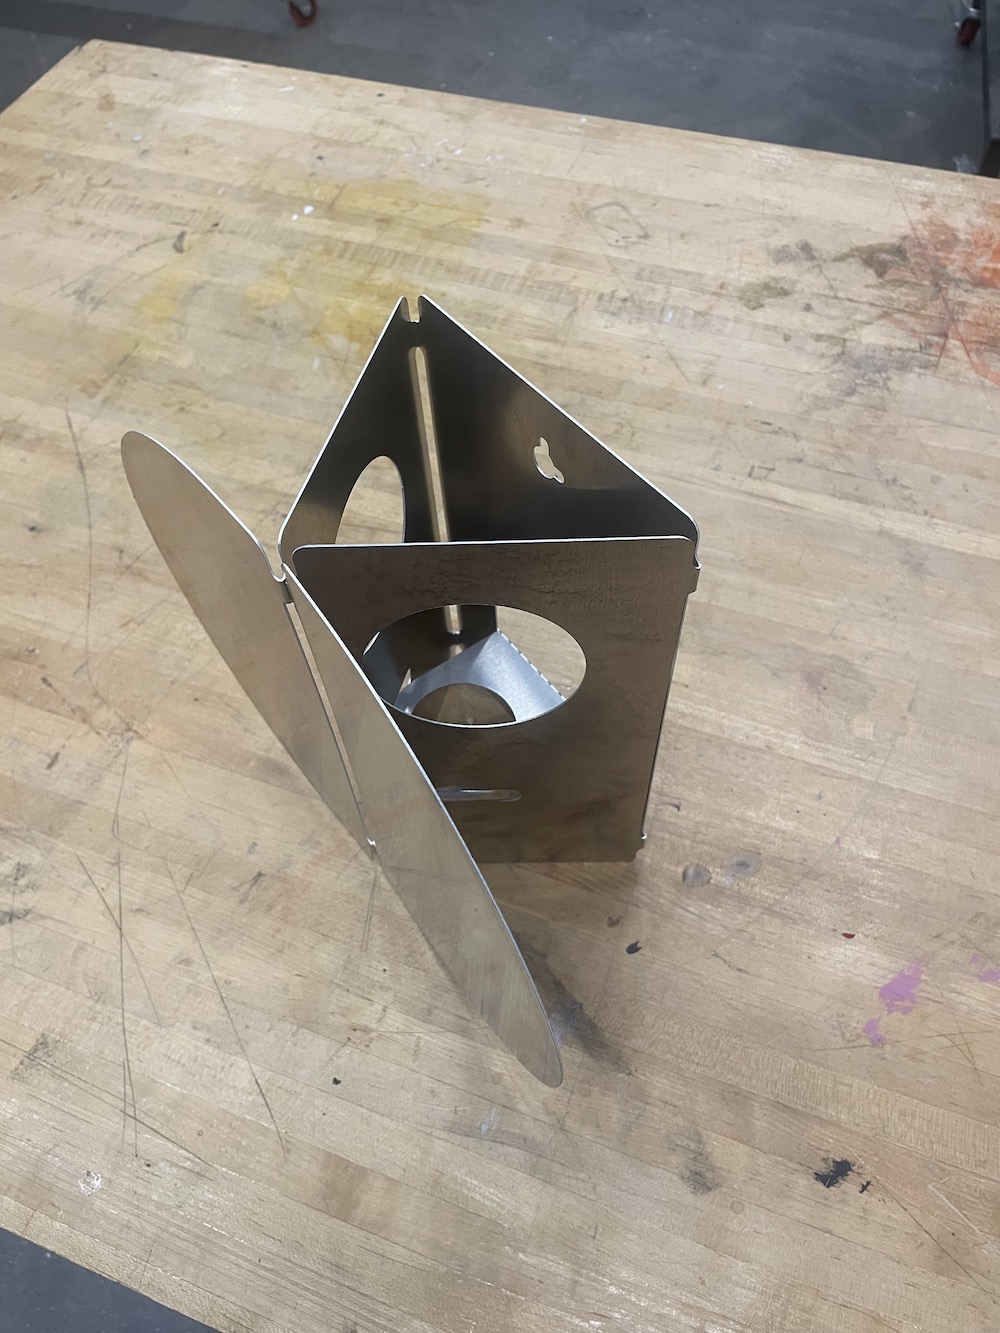
Final setup (not wall mounted) below!
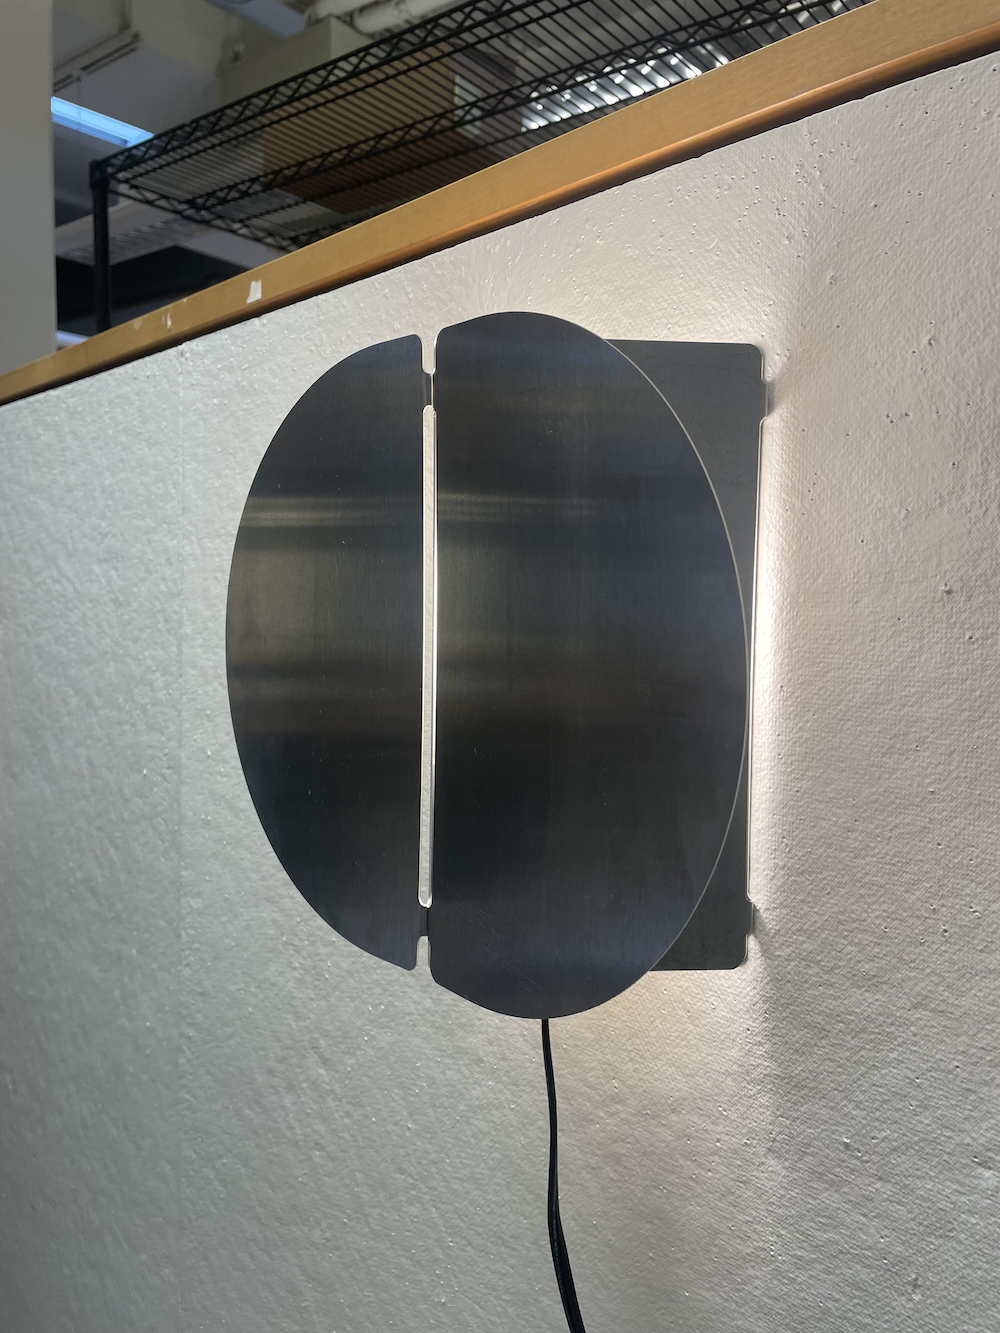
If you like the piece, please support the orginial designer and get one of his lamps!