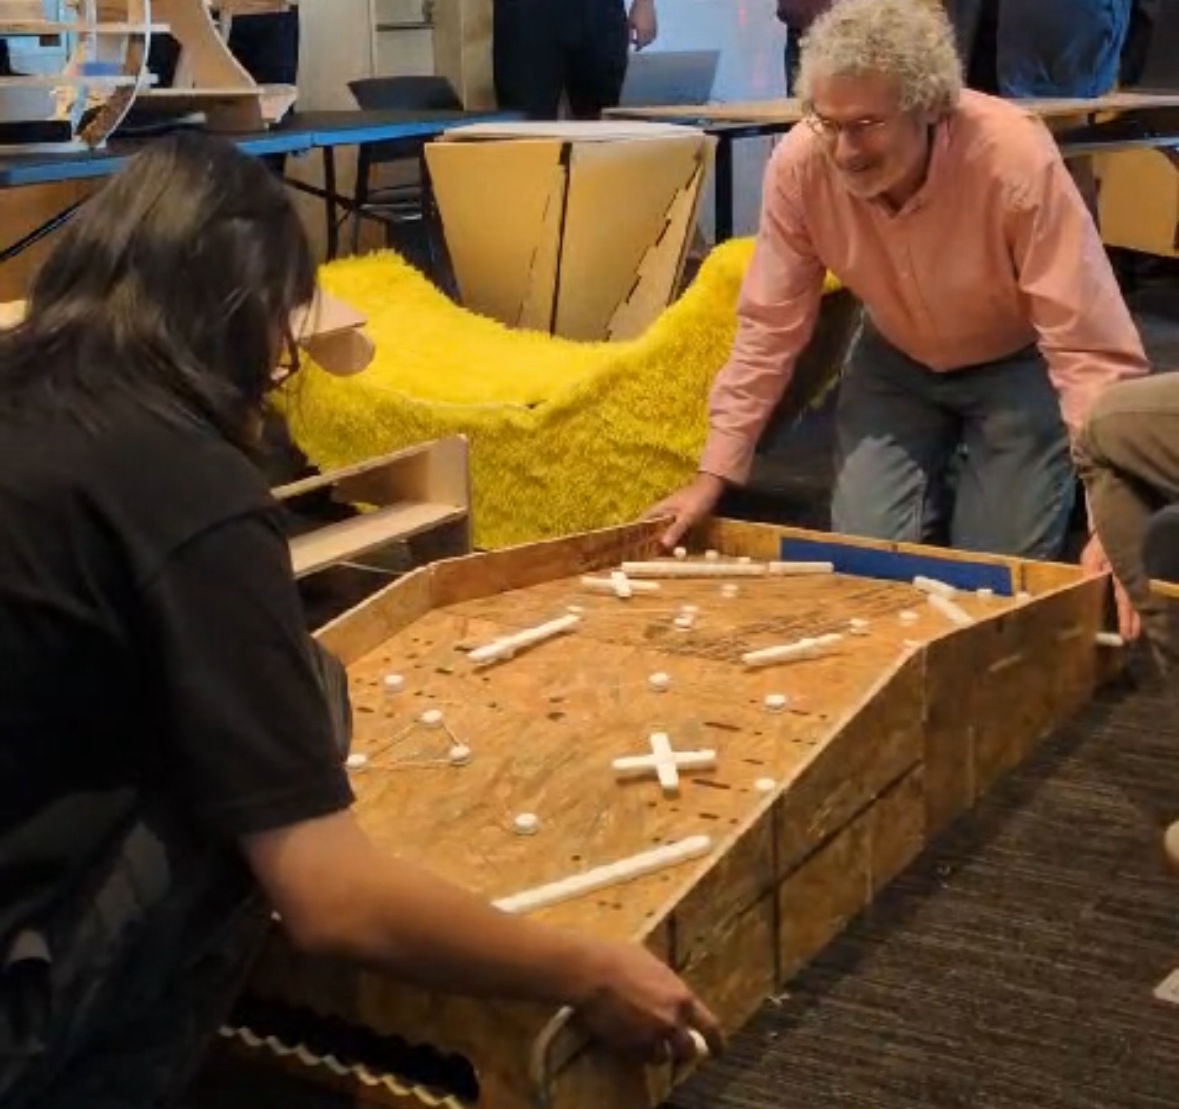

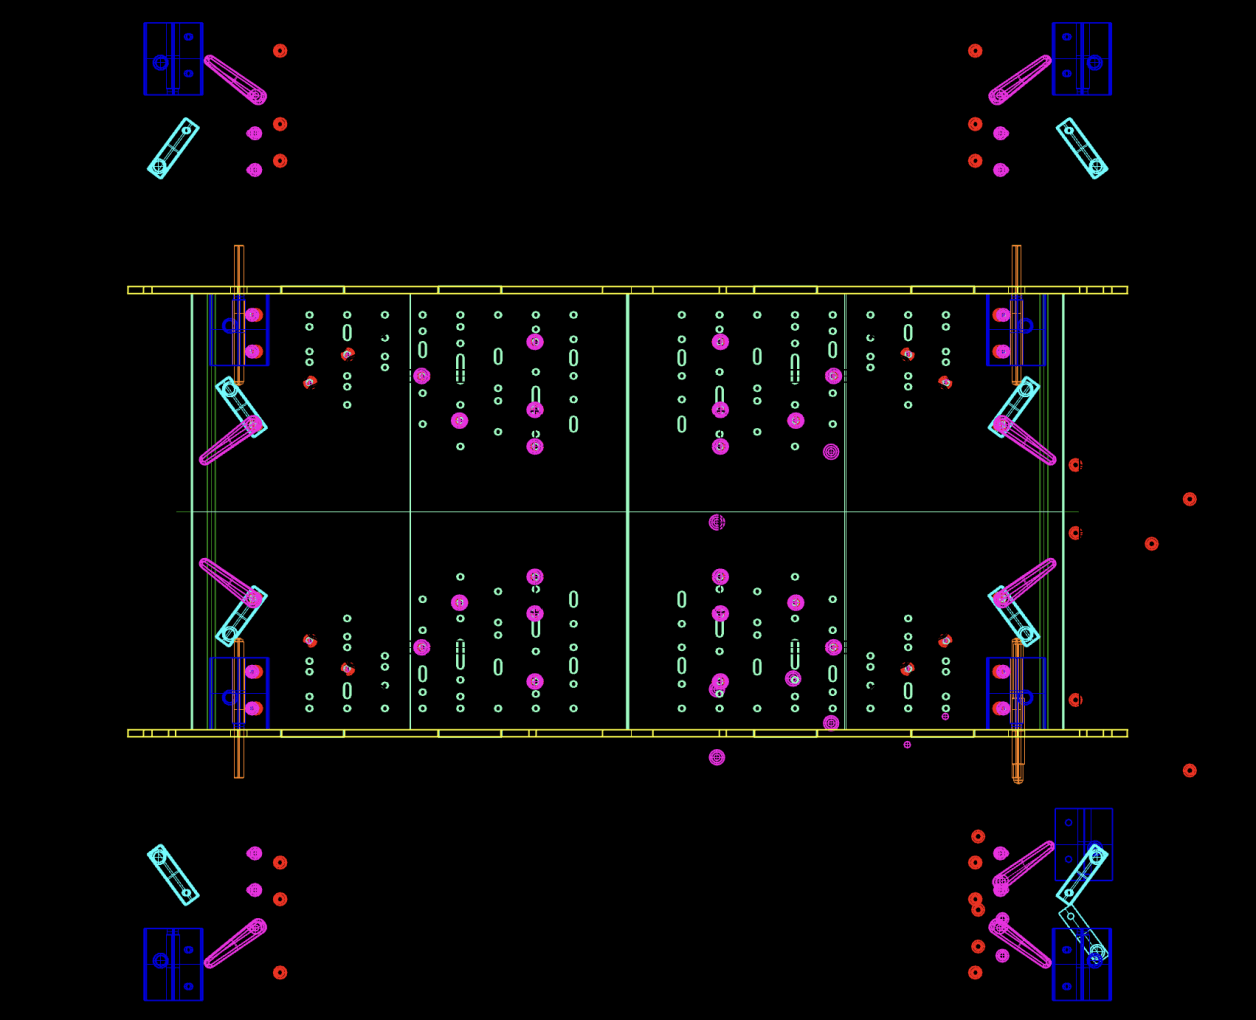
This week's goal is to make something big. Apart from making a meter scale object, I am more interested in making a game machine. Inspired by the dual pinball machine, I drafted the first version of the design in Rhino.
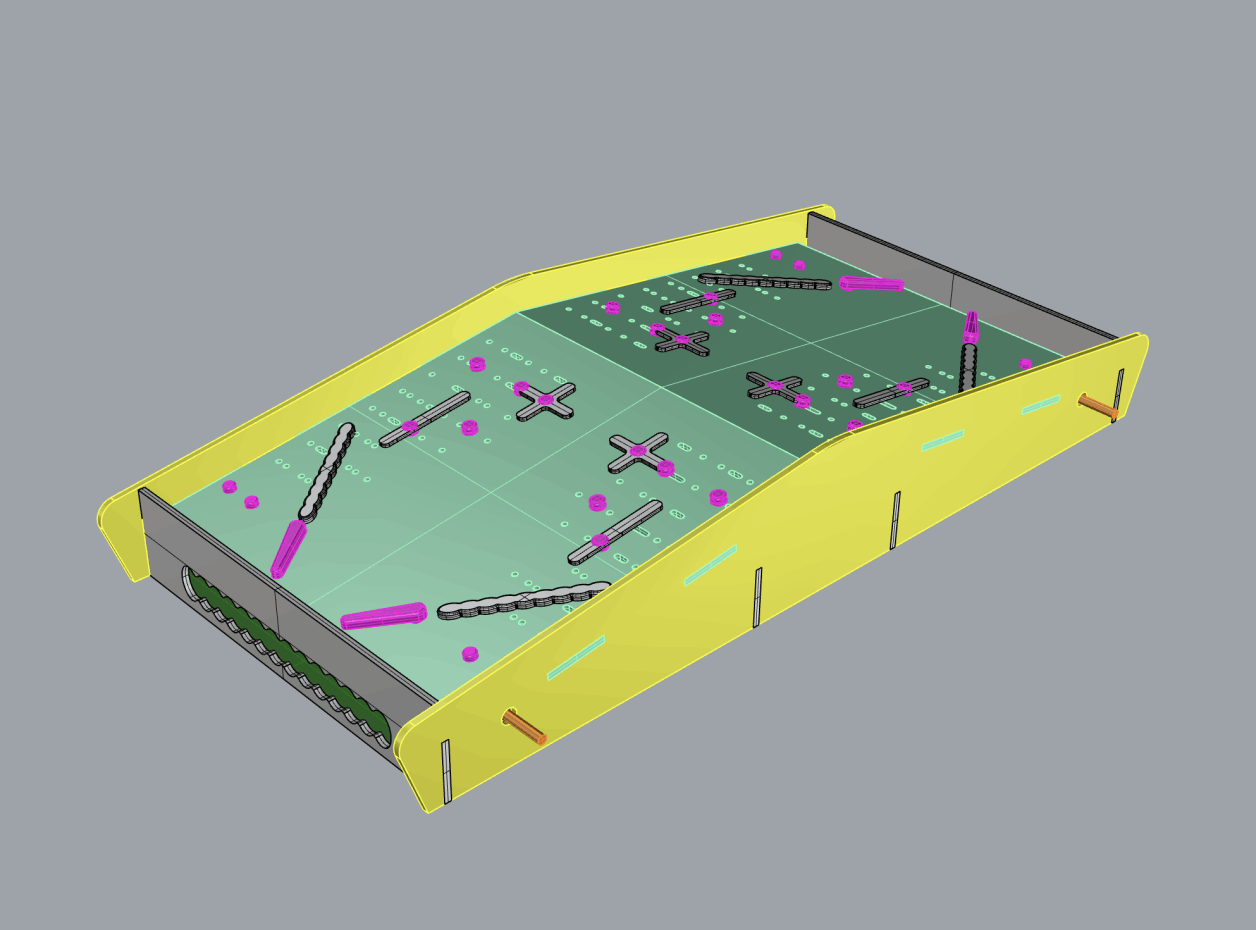
The main body of the machine is OCB, and aim to put things together without any glue. For the machine's surface, I designed a grid system that could enable flexible changes of game design in the future.
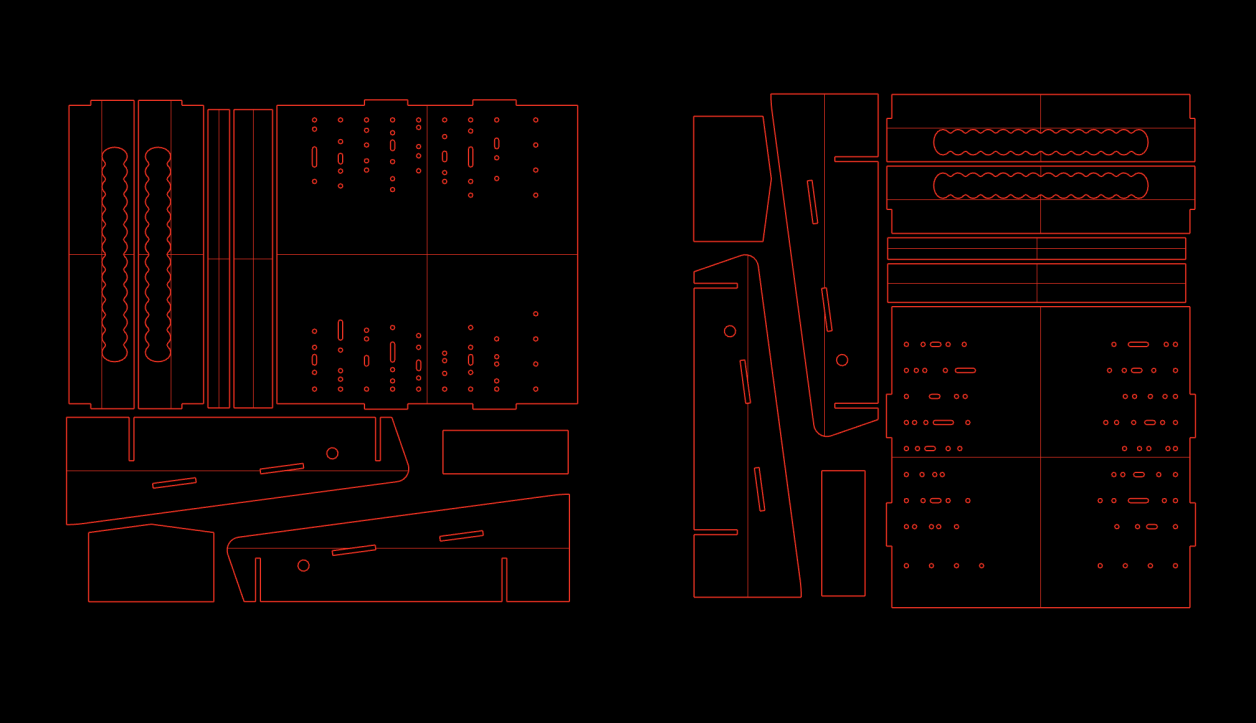
To fit in the CNC machine in the EECS lab, the main body was split in two CNC vector kits.
special thanks to Anthony's help during late night!
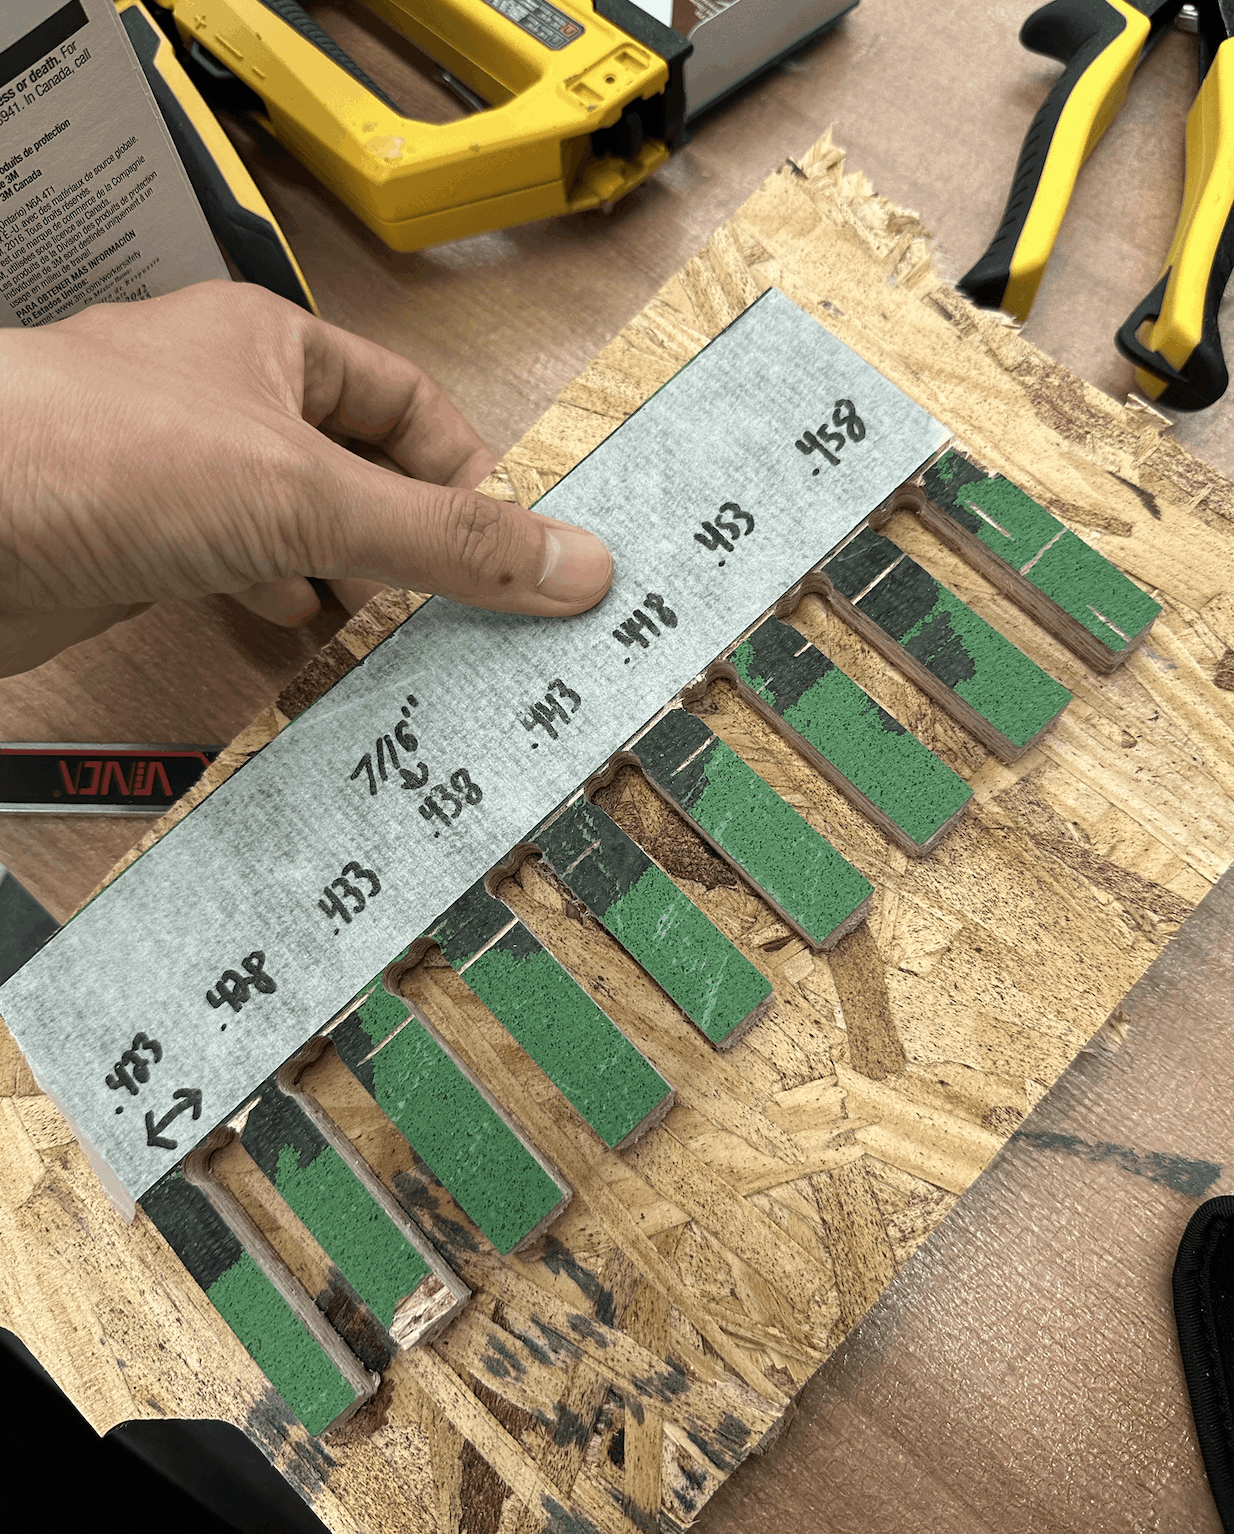
Thanks to Anthony's kerf dimension ruler, we could test out the tightness of the connection when finalizing the construction drawings.
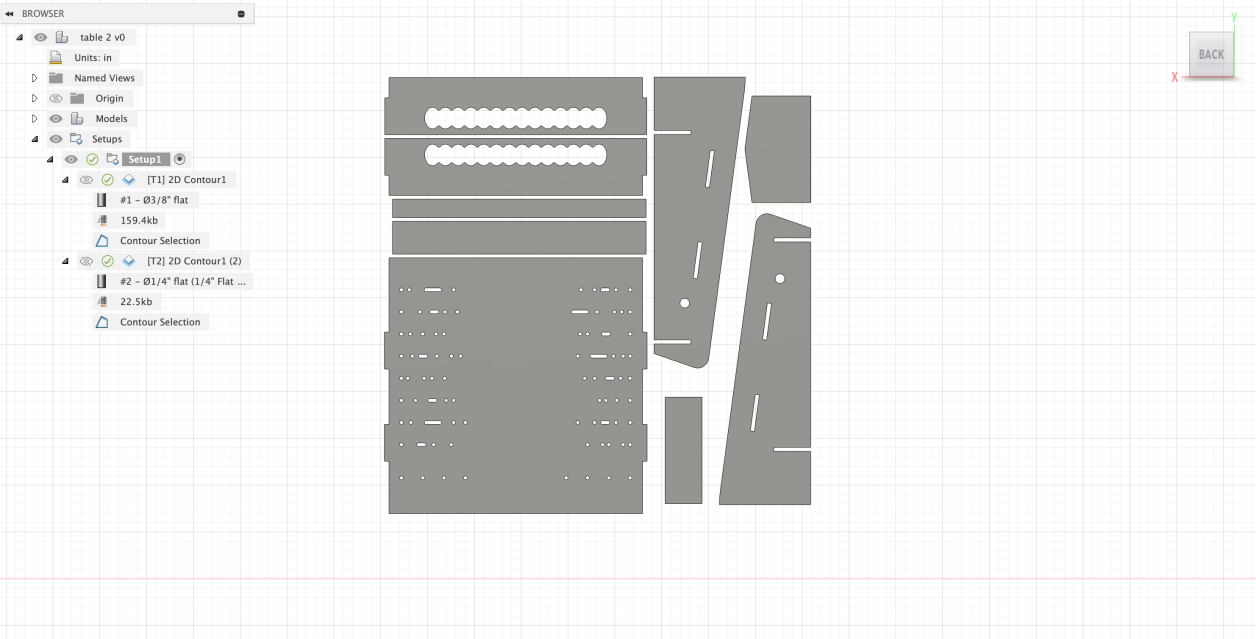
Importing my Step file from Rhino to Fusion and generating the G-code file based on the machine's nozzle. We're using two different nozzle sizes in order to make the fabrication faster.
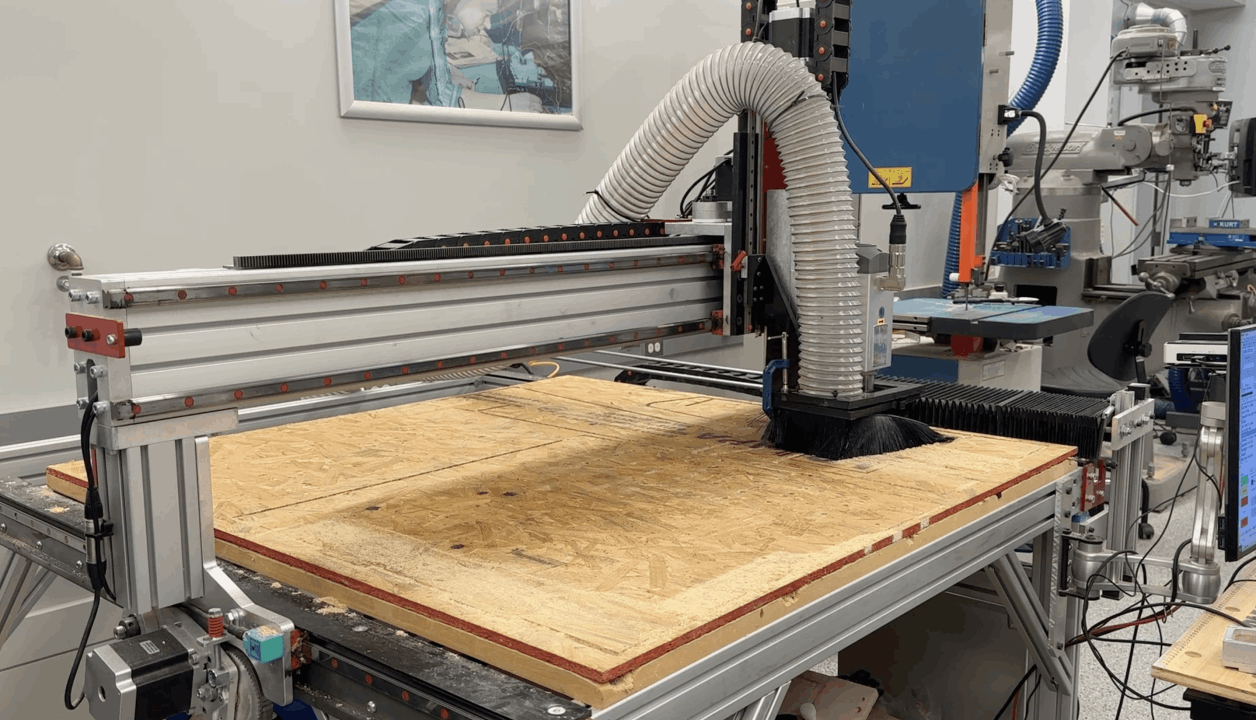
We started the CNC process after nailing the OCB on the machine's table. It only took less than 15 min for each job.
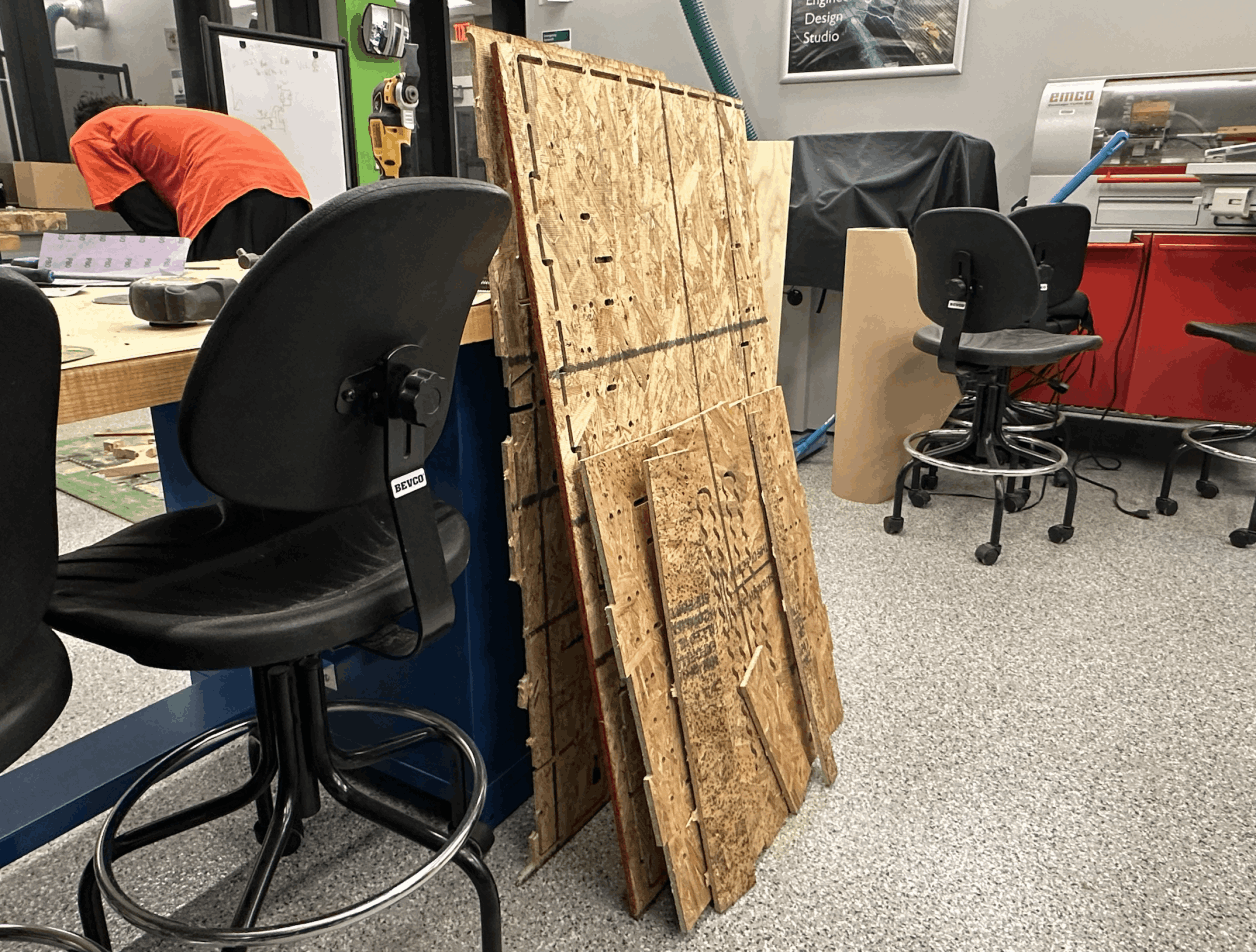
These are the OCB components cut out from the CNC job. After getting all the components, I saw and sanded the components to detach them from the main board since it was attaching the table to prevent it from falling.
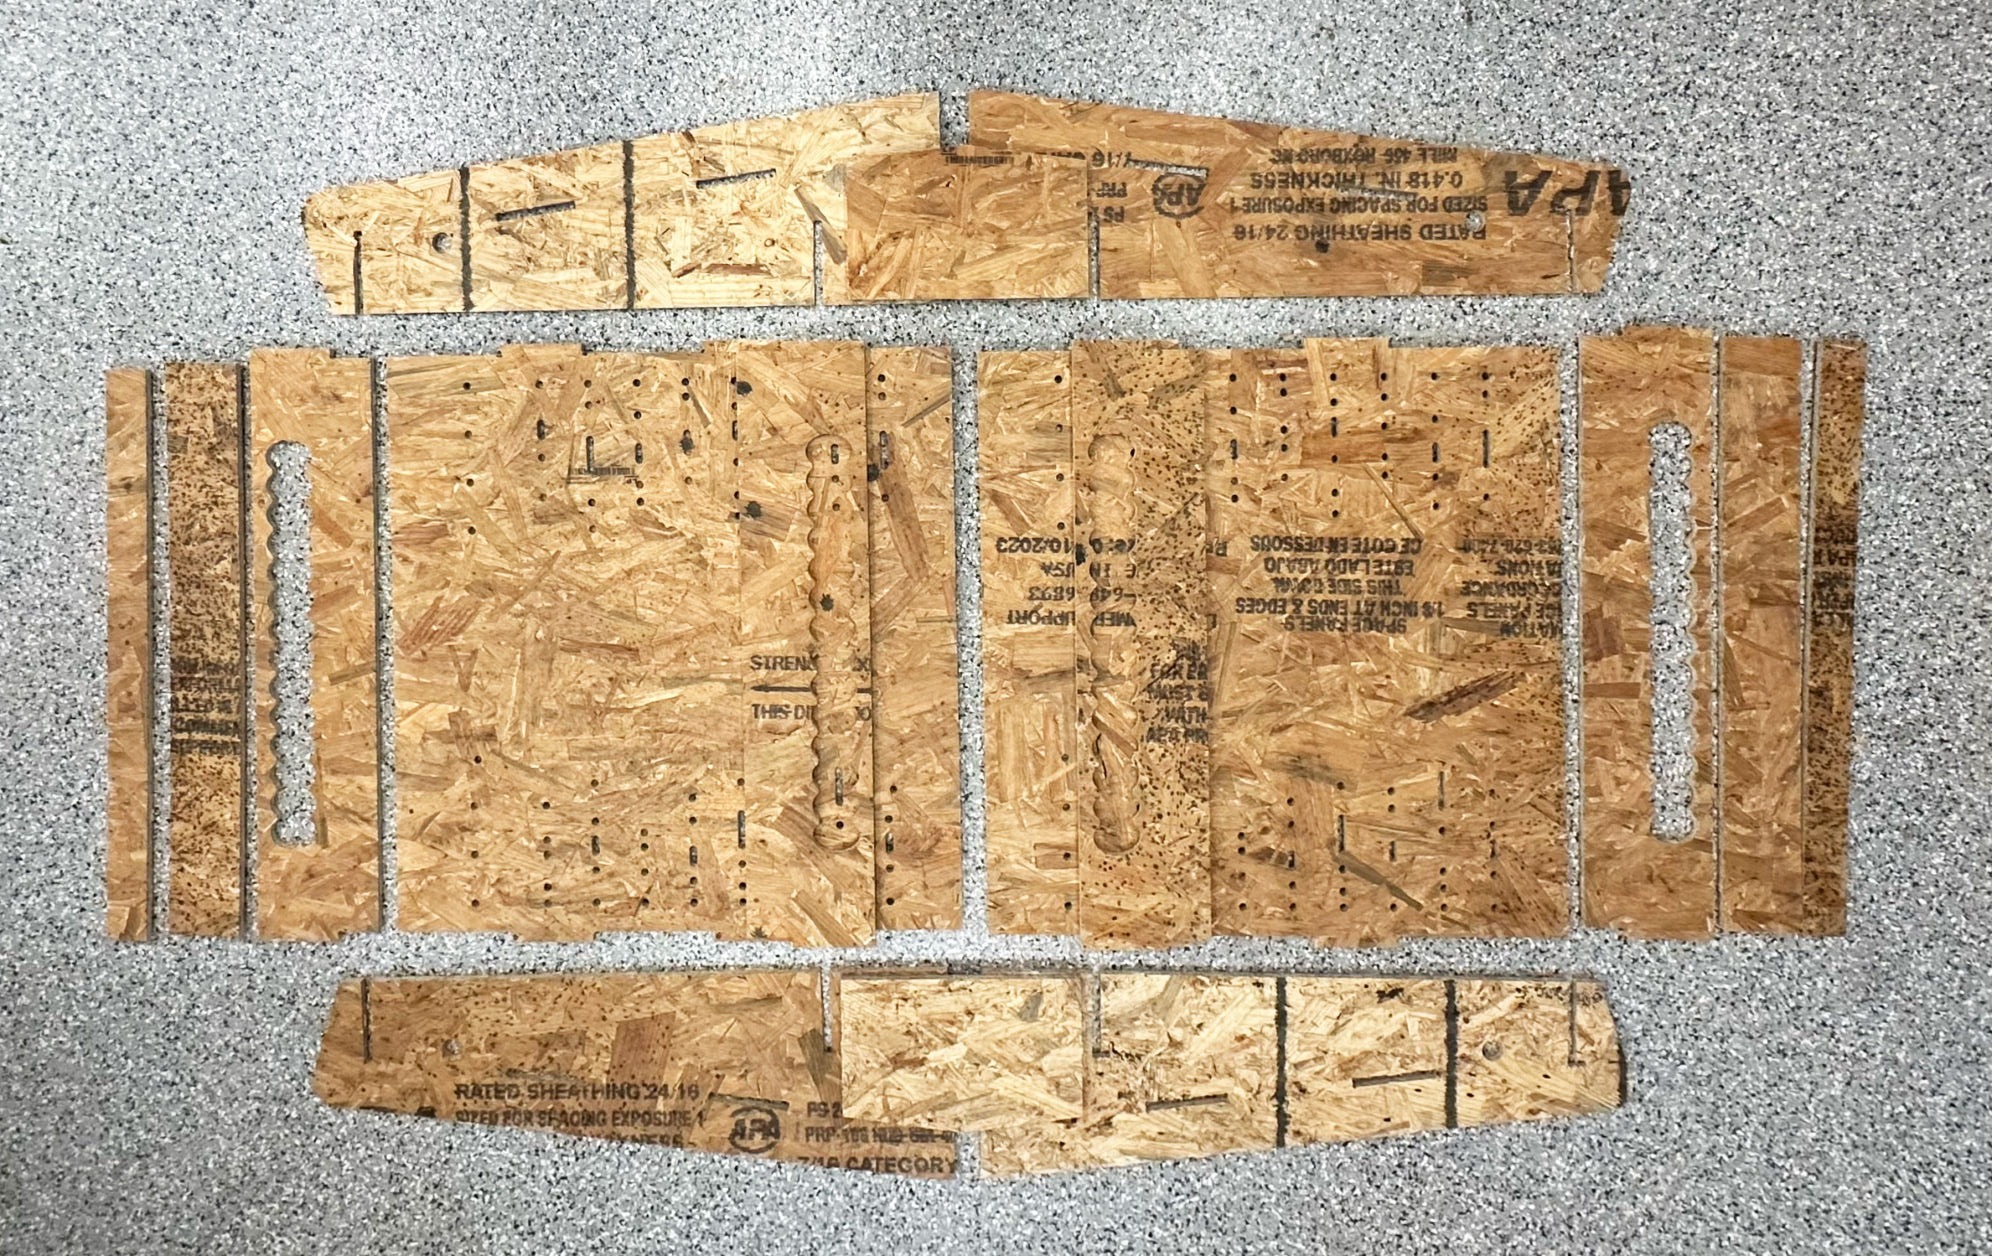
Before starting the assembly, I just placed all the pieces together and checked the dimensions again. I actually found some inaccurate parts during this process and fixed them before the assembly.
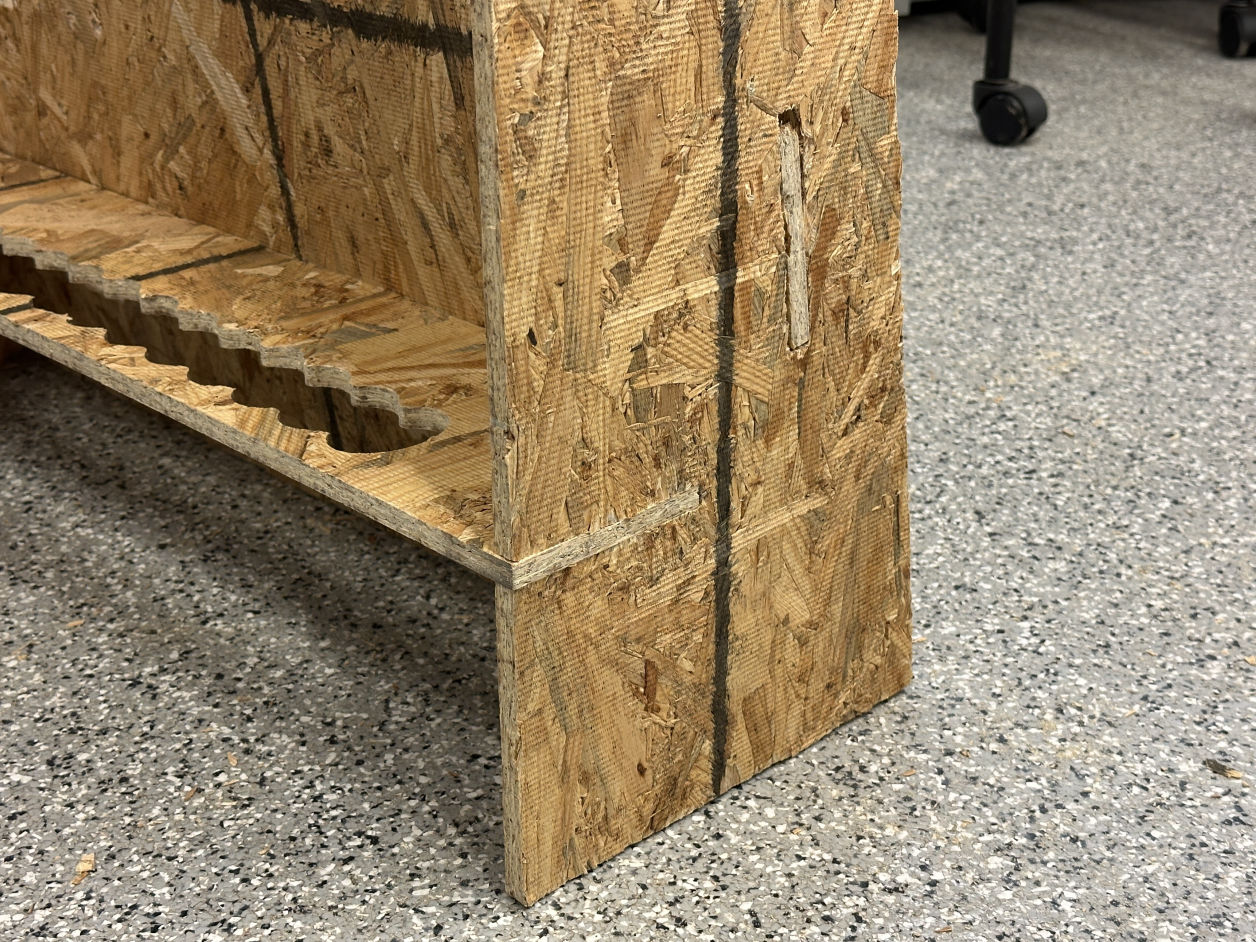
After a bit of sanding process, the parts went together pretty well; it was tight enough to be rigid without any glue's help.
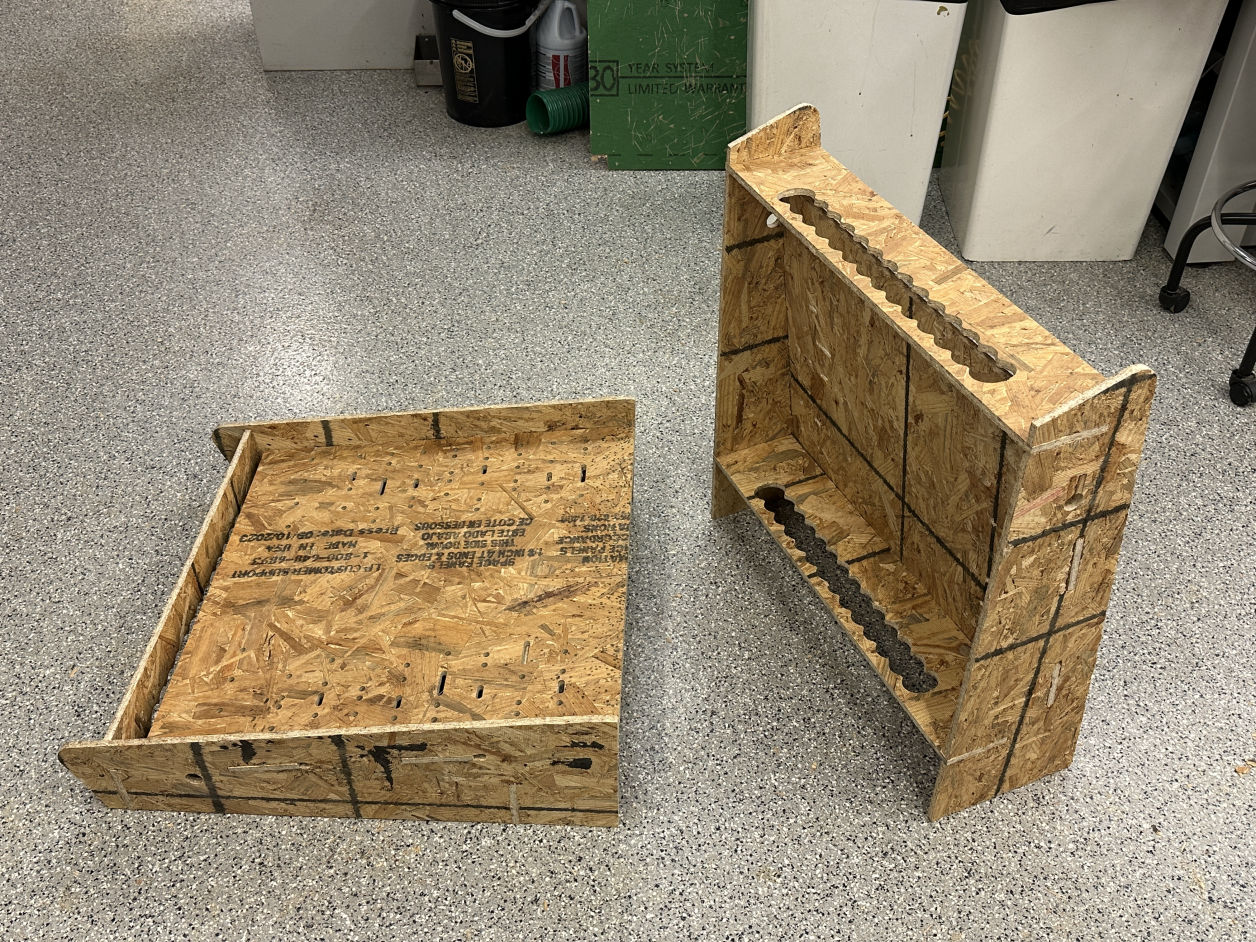
Based on the game rule, two table units should be touching each other to play. Thus, in this week, I rapid-manufactured two pieces of big things.

In Rhino, I also designed all the small components for the pinball machine. These components are not just for decorations but have different mechanism to move around.
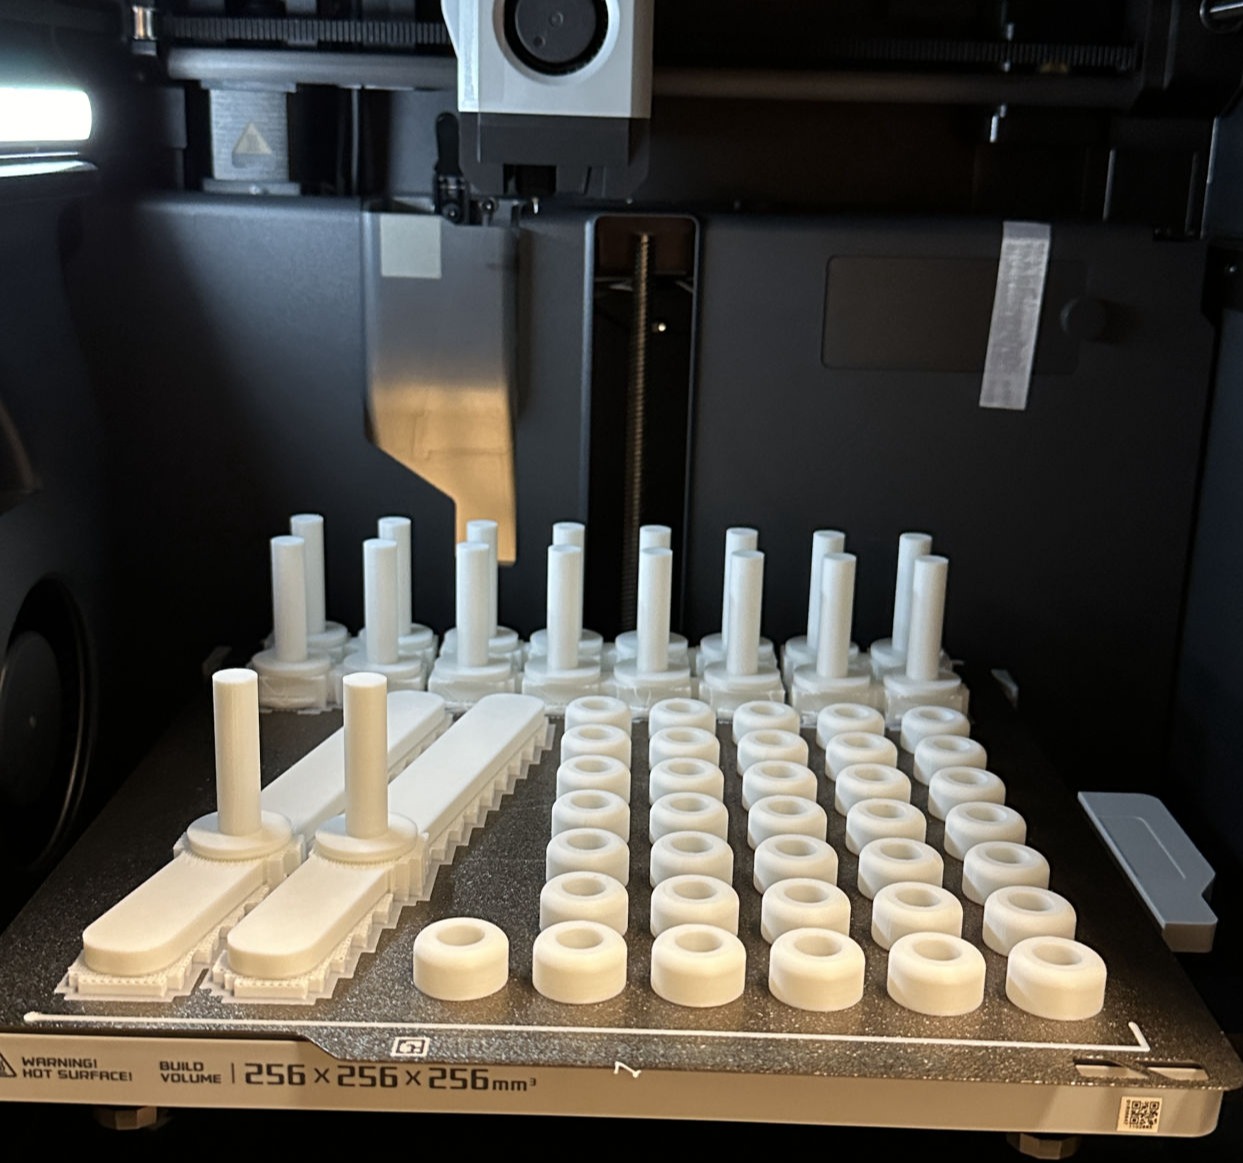
Standardized bolts and joints for the pinball machine. For the next generation of the machine, I would try to use some existing bolts instead of 3D printing all of them.
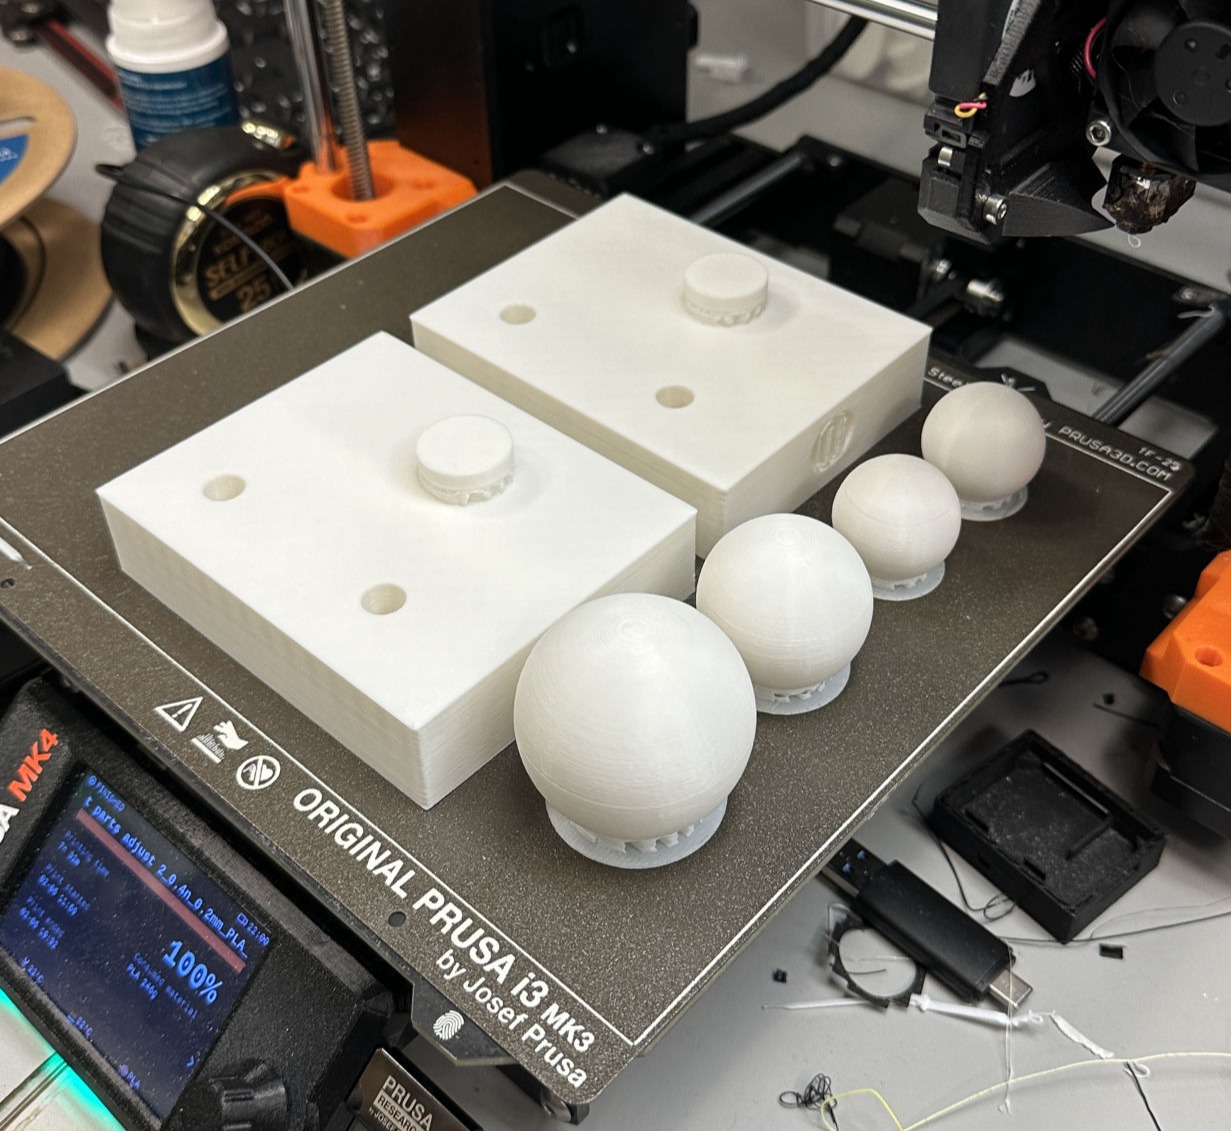
Printing different sizes of balls (including the standard size and some bigger gigs) and the flipper's body that will attach to the table.
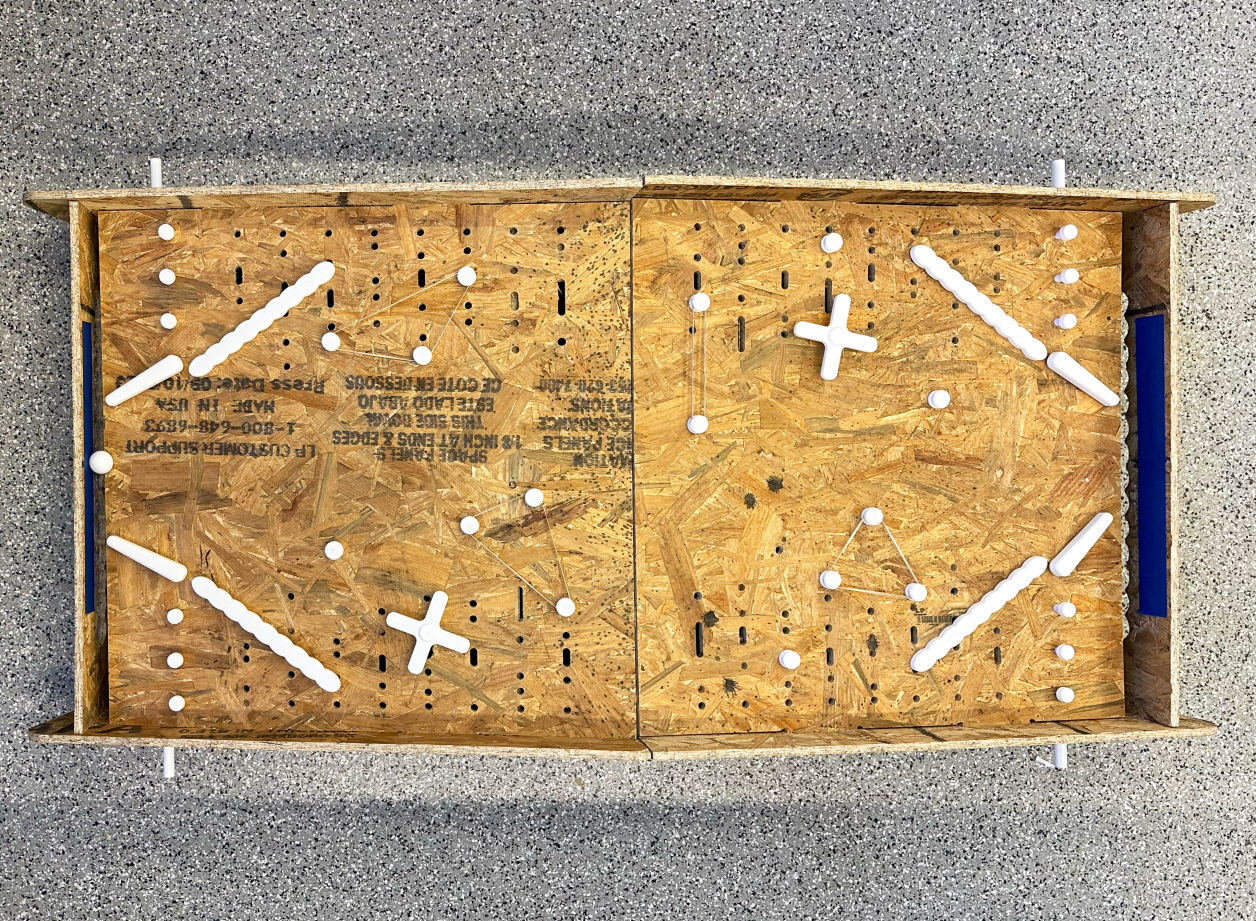
Most of the 3D prints were put together smoothly. However, it was broken once due to the torch and the tightness of the flipper box. The adjusted version was assembled right before Wednesday's class, so close!

During the class, I was playing the finalized dual pinball machine with Neil.
1 : 0
Free AI Website Builder