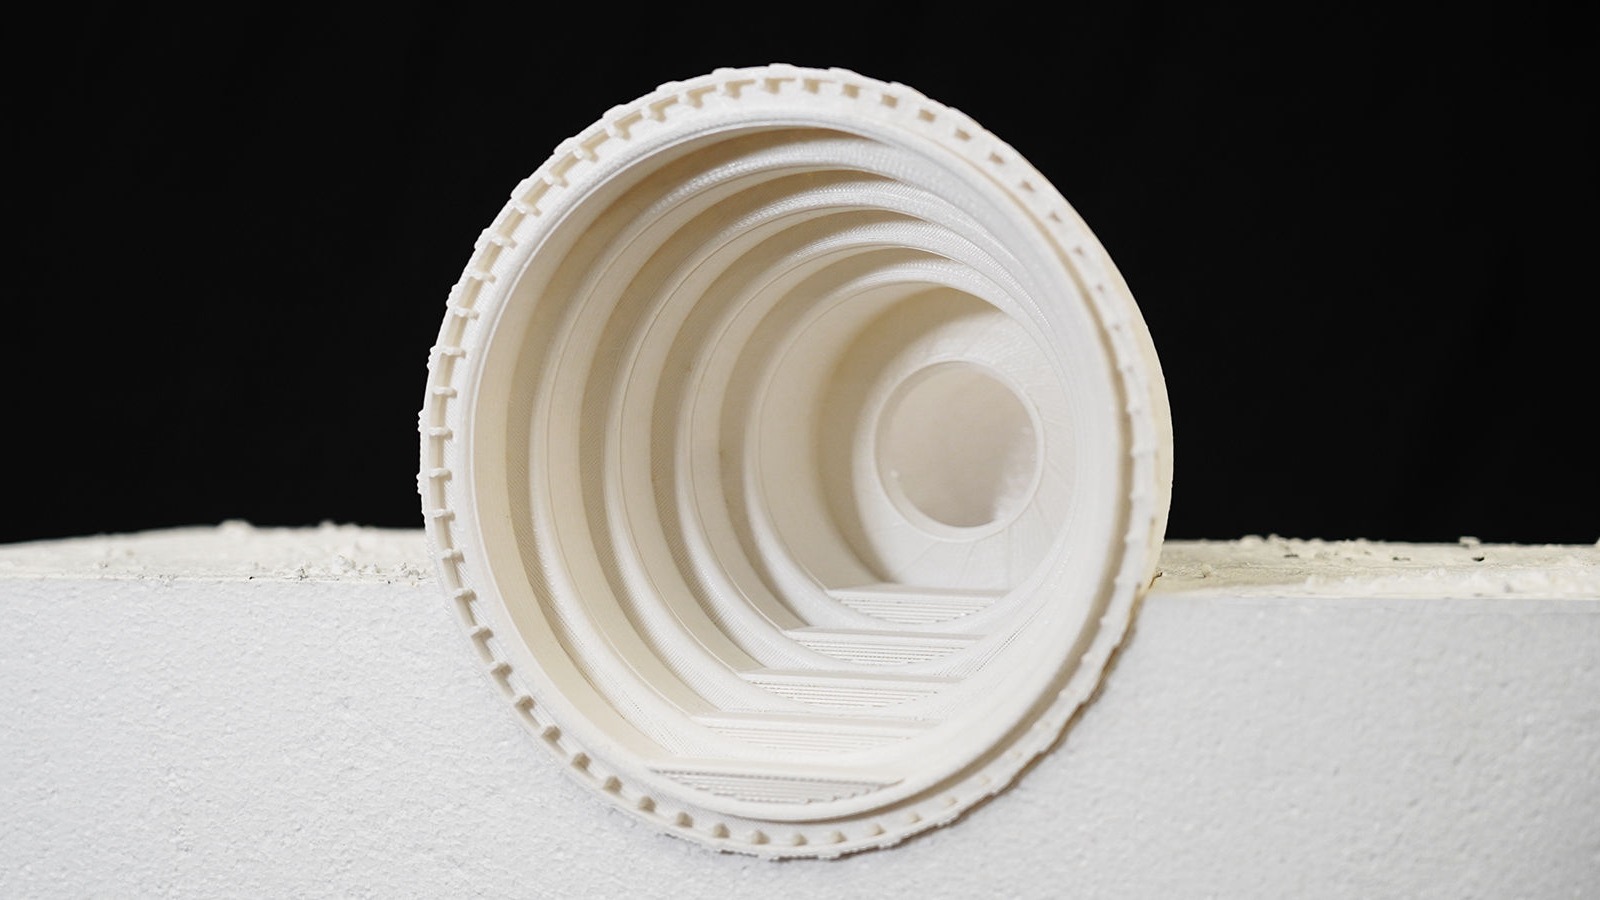

We worked with the Sindoh 3DWox 1 printer in Arch Shop using PLA filament.
Although we have prior experience with 3D printing, this was our first time printing objects directly onto a shaft, so we conducted a test.
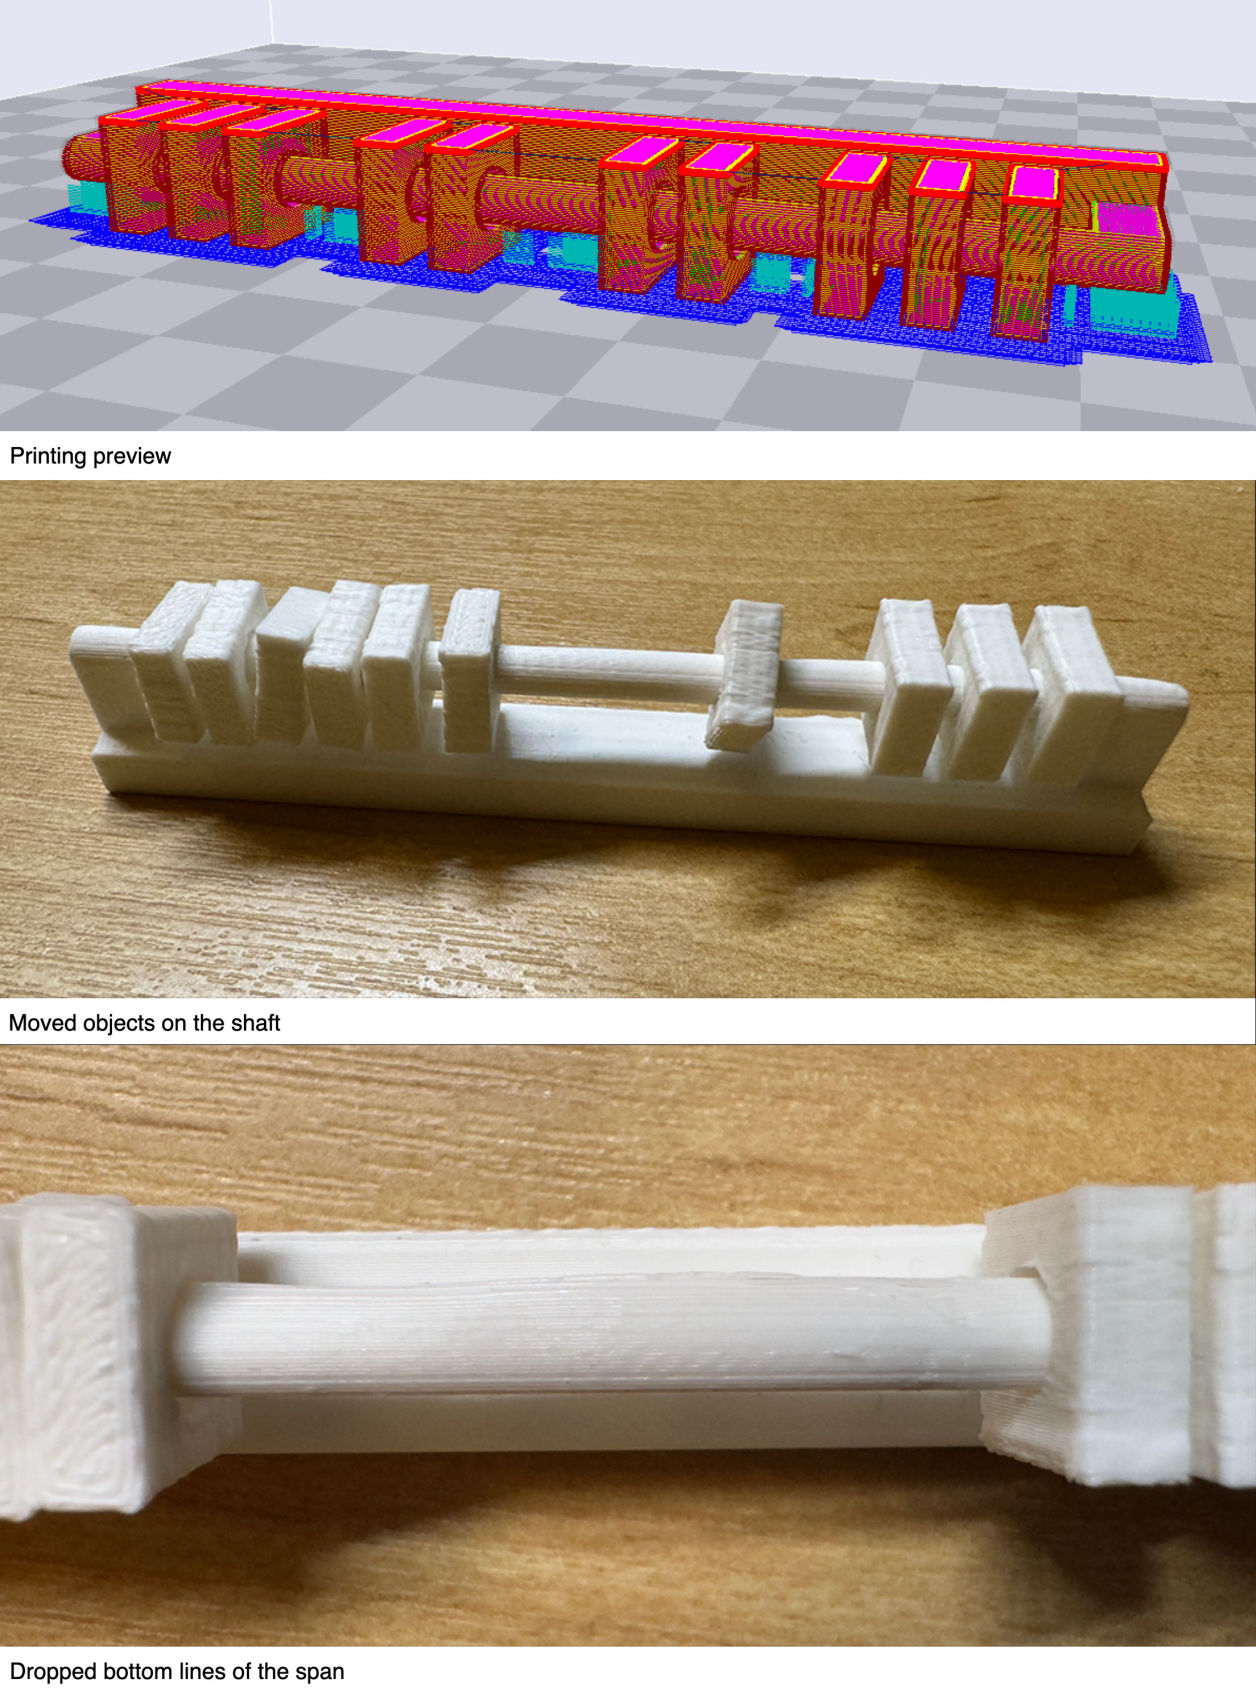
Using 3DWOX Desktop’s default settings for Sindoh PLA, we adjusted the layer height to 0.15mm for a smoother, rounded shaft. Since the shaft spanned approximately 8cm, we set the nozzle temperature to 195°C to speed up curing, and spaced the objects to allow for additional support, ensuring safer printing. The gap between the objects and the shaft ranged from 0.1mm to 1mm.
The testing result showed that objects with a gap from 0.4mm to 1mm all can freely (loosely) move and rotate on the shaft, while objects with 0.1mm to 0.3mm gaps stuck completely with the shaft.
The spanning of the shaft also affected the result a bit: the bottom lines of printing dropped a little, which made the movement of objects a bit jerky around that part.
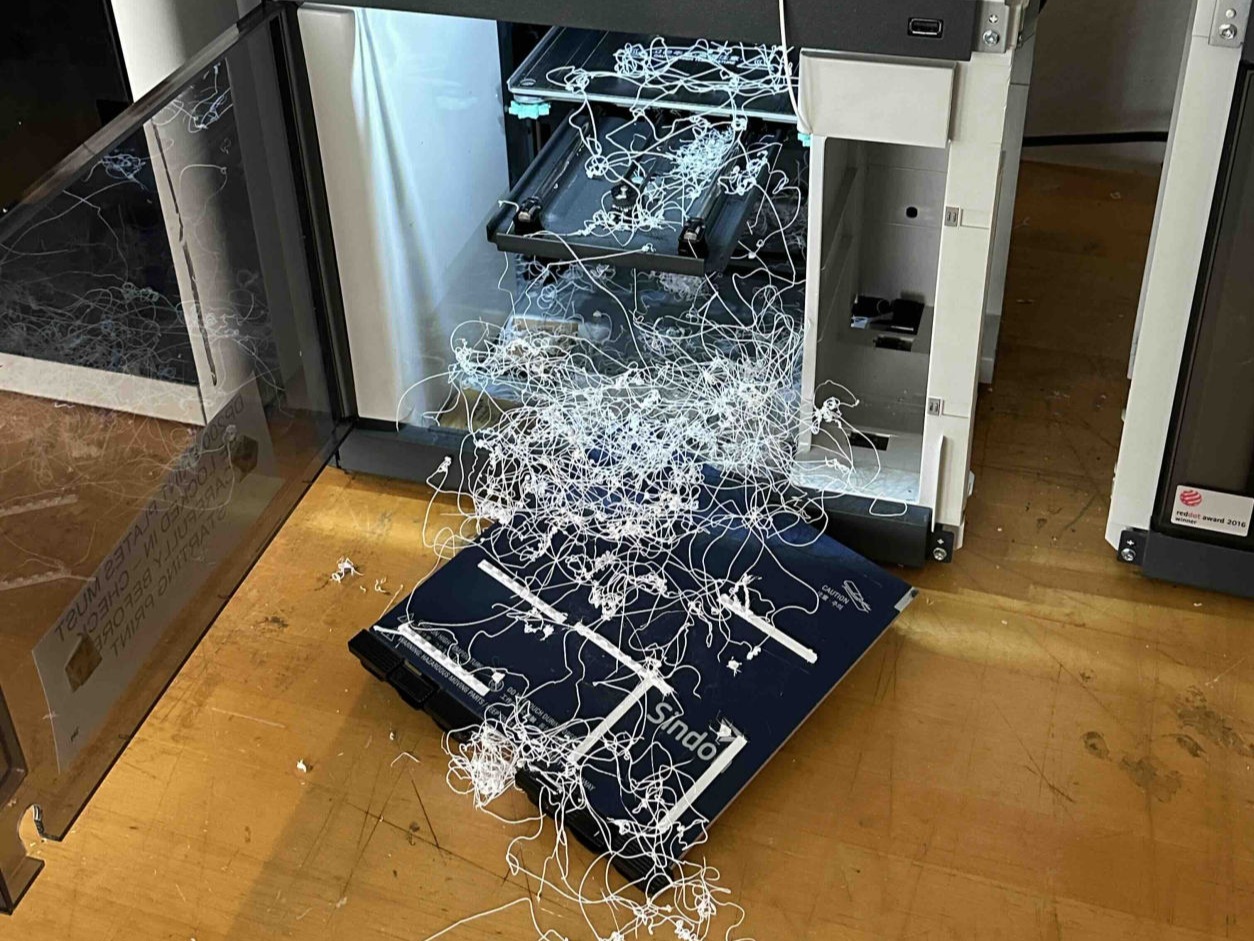
In 3D printing, it's common for prints to fail, leading to a significant amount of waste. The main challenge lies in finding efficient ways to reuse this material rather than discarding it.
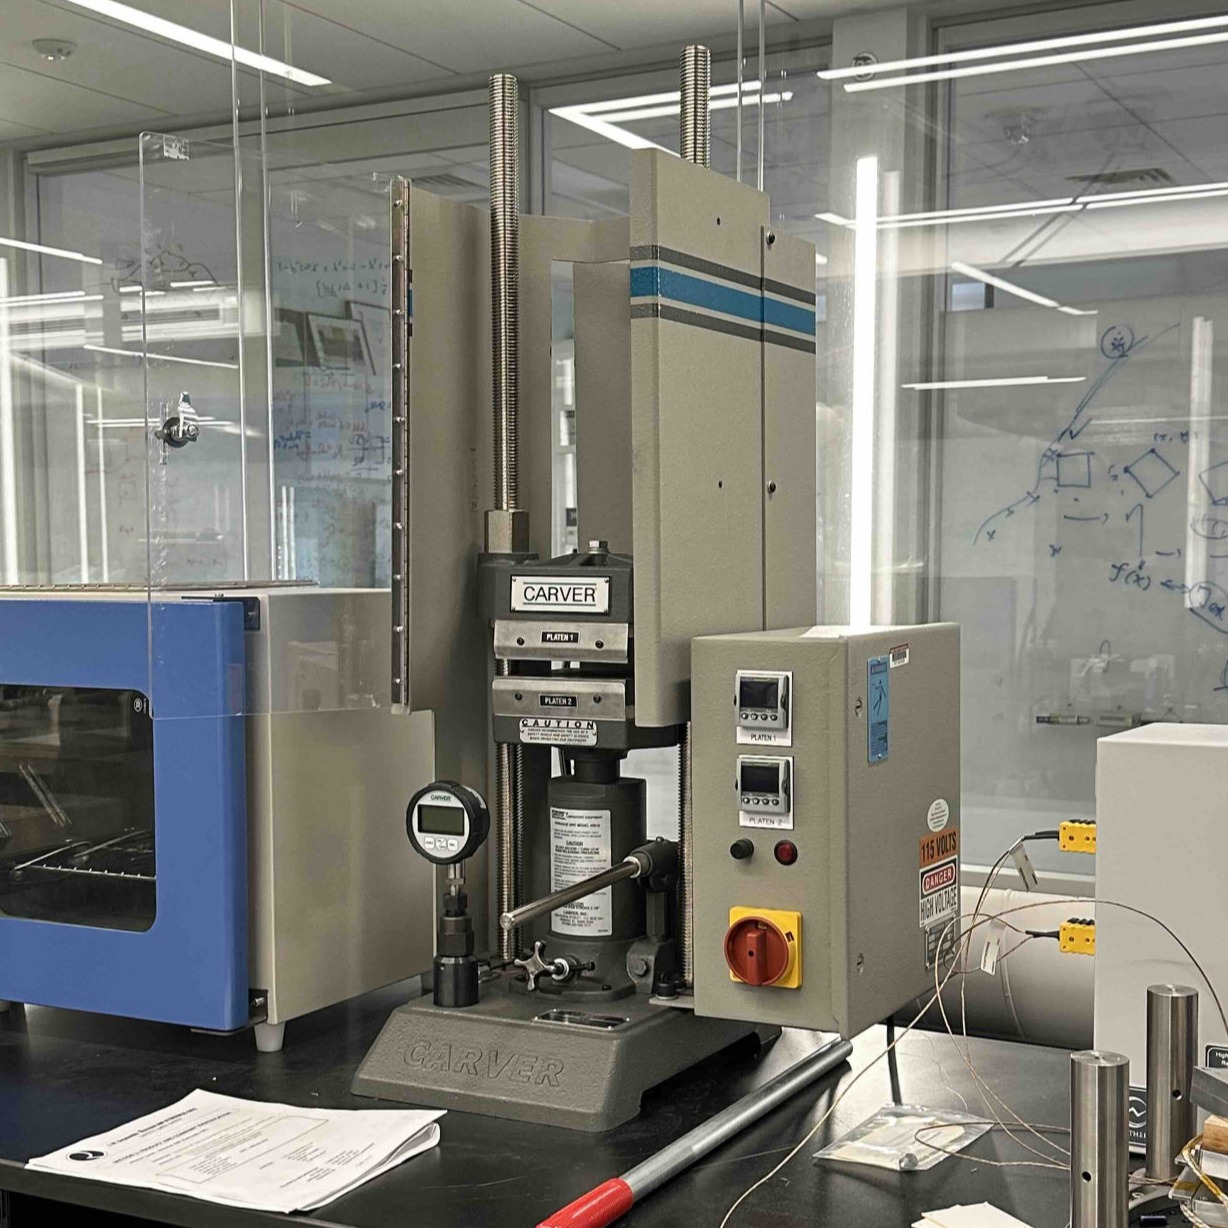
The experiment involves using a heat press machine to heat the metal plates to around 240°C, melting PLA to reshape it into sheets that can be repurposed for other products. This method focuses on reducing waste by reusing failed prints.
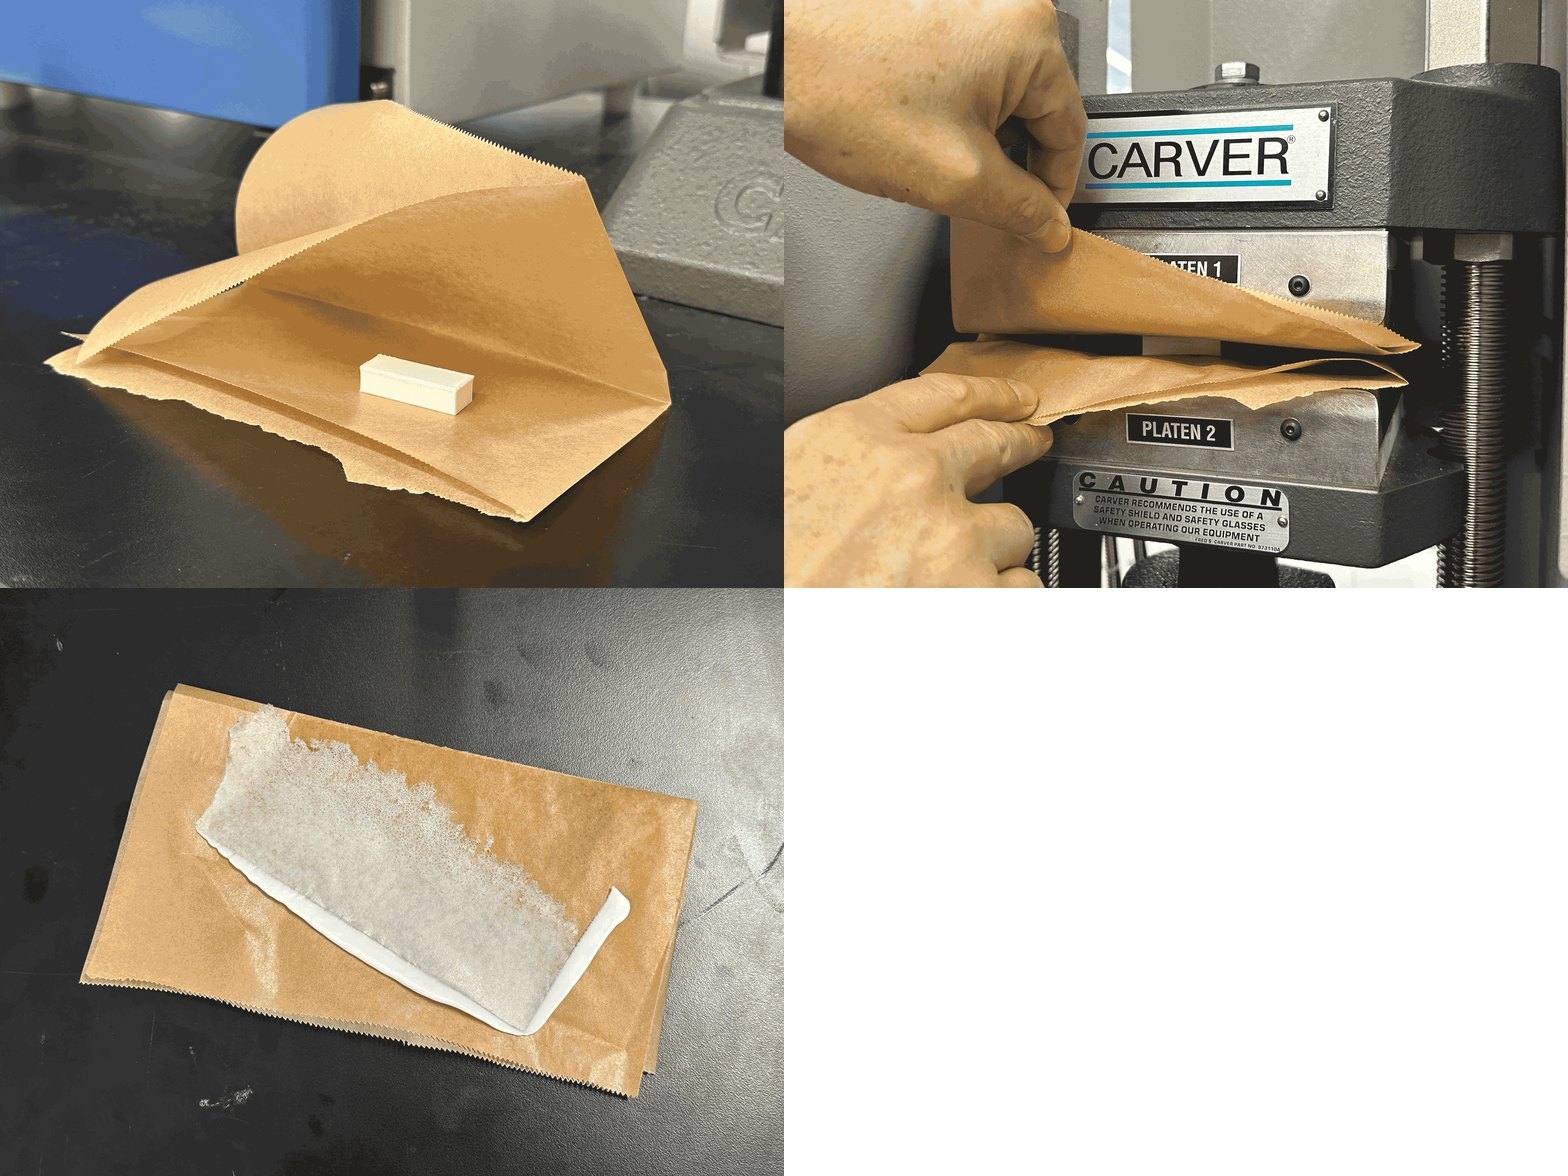
The first test utilized a simple PLA cube to assess the machine's capacity and the plastic’s material properties, and it resulted in a paper-thin sheet.
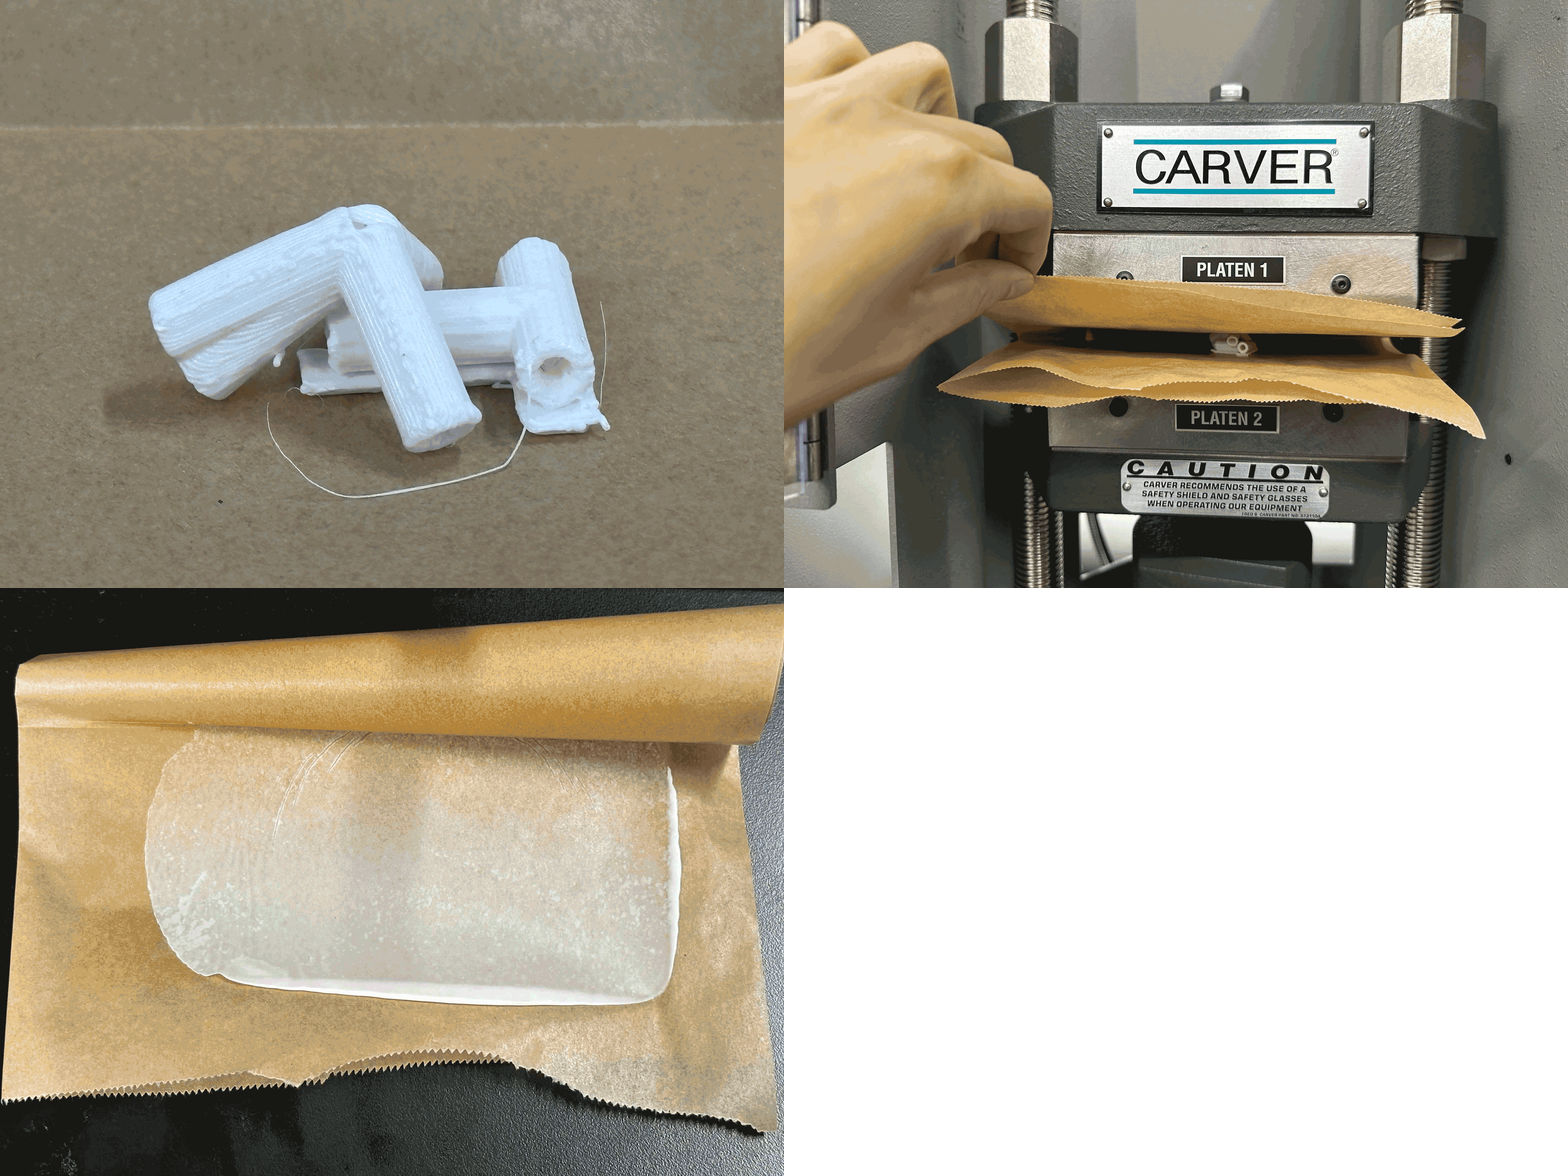
Similarly, the second test aimed to fuse two PLA units produced from the same 3D printer into a single object. The outcome was another very thin sheet.
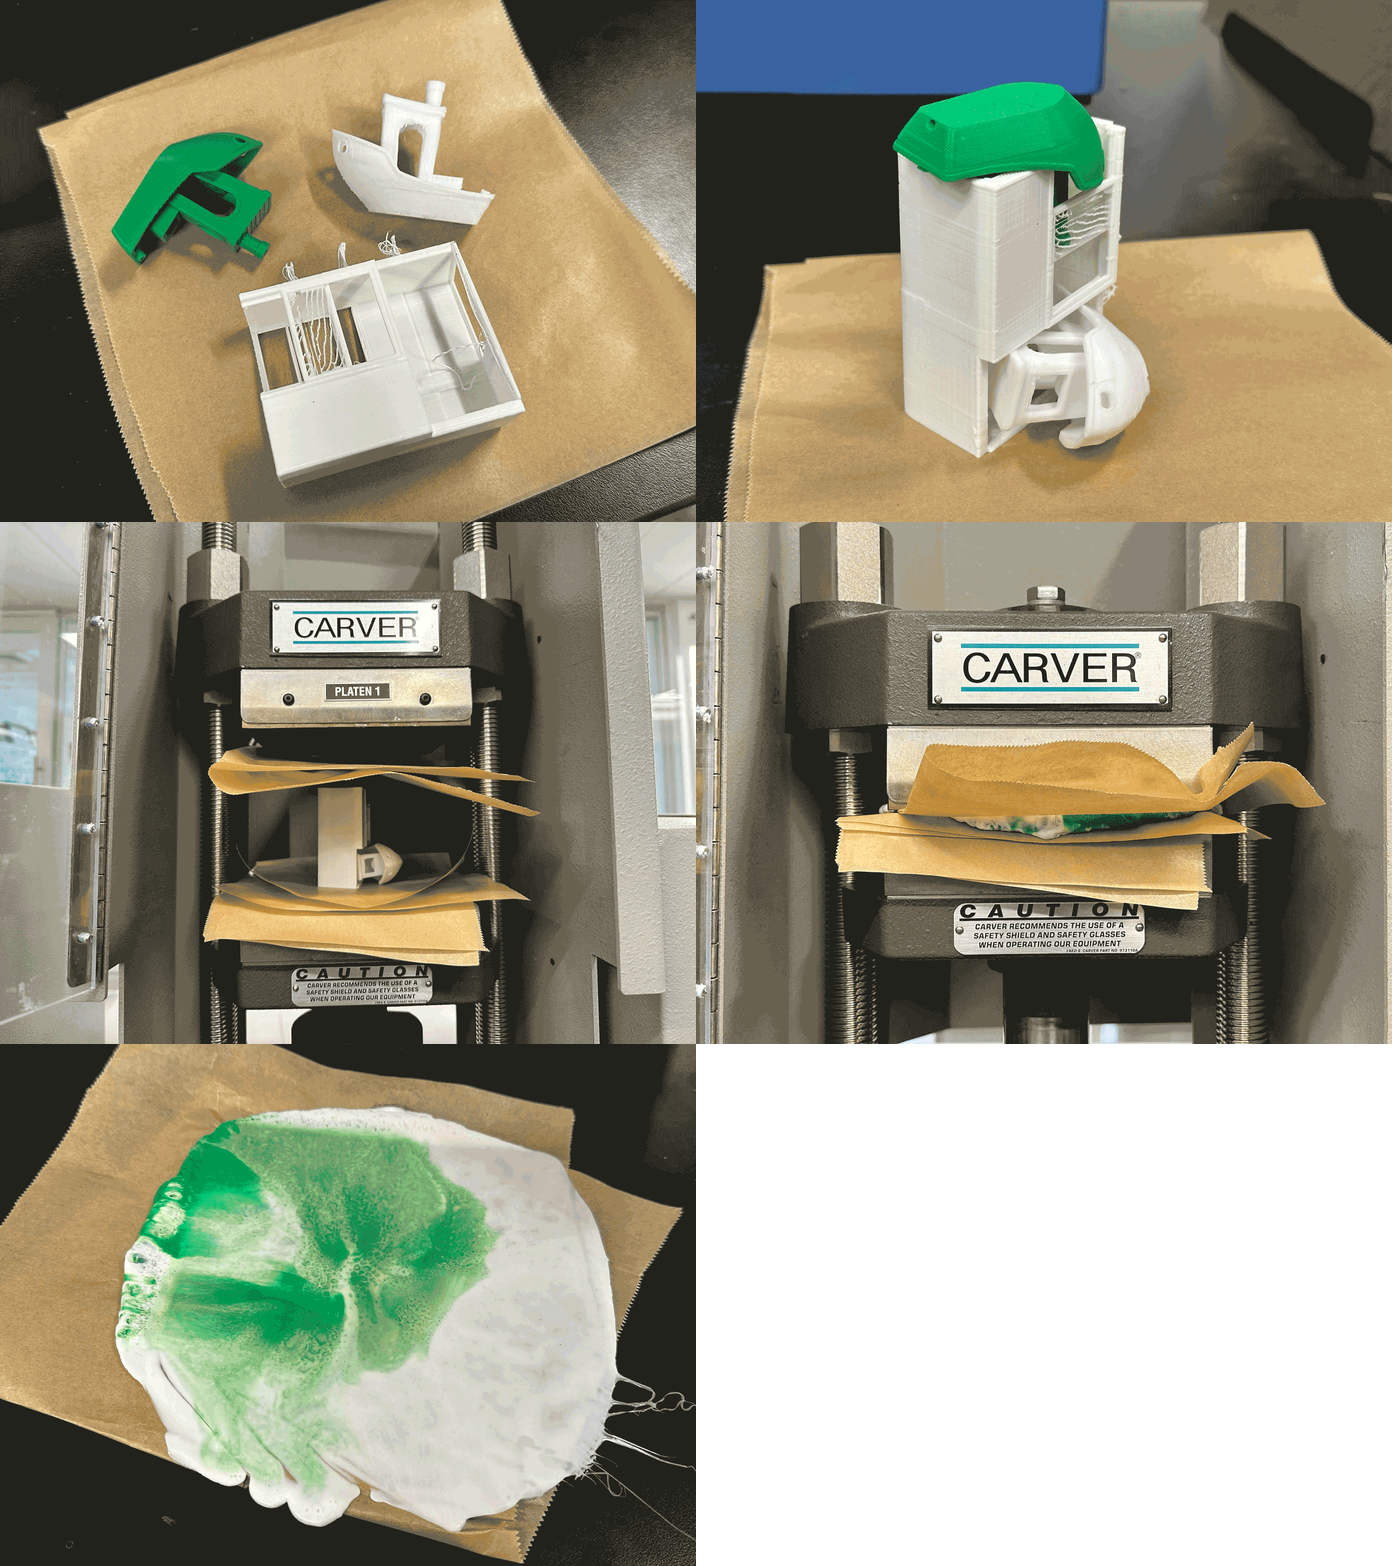
The final test scaled up the size of several imperfect prints, mixing two colors of plastic to observe how different textures visually combine. This test provided insight into how varied materials might interact during the reshaping process.
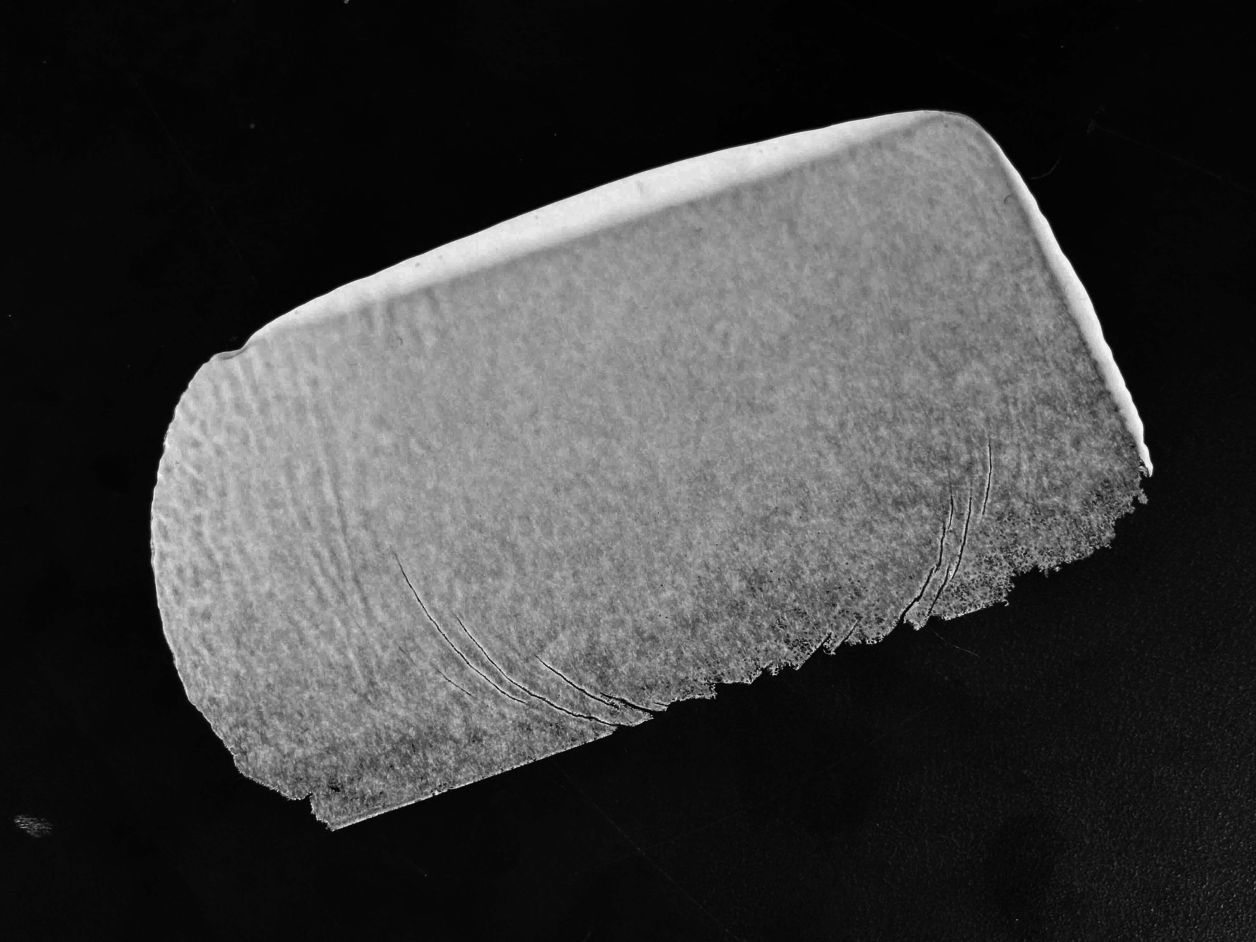
While the plastic can be reshaped successfully, the main challenge is to further control the material flow to achieve the desired width and thickness.
Additionally, due to the size of the current machine, modularizing the recycled pieces is essential for assembly in the larger-scale final project.
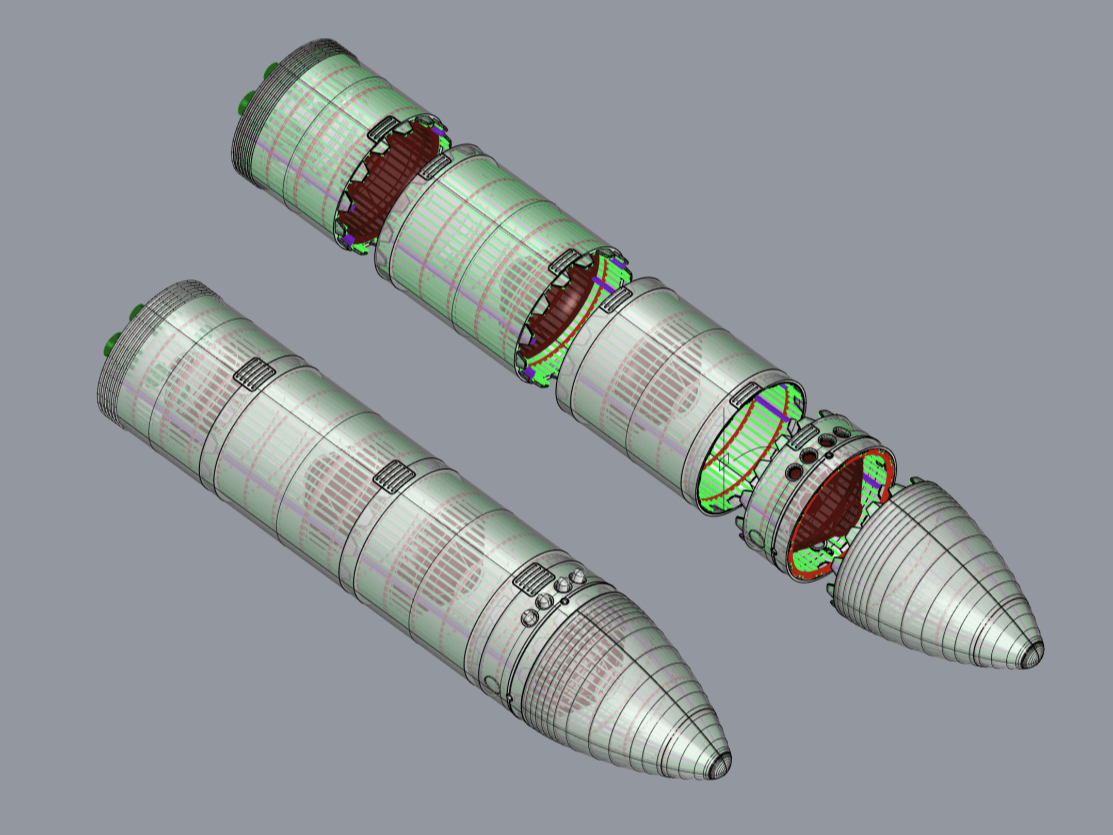
The project aims to 3D print a large-scale rocket model (around one meter) with PLA materials. In the early Rhino modeling phase, the volume was divided into five parts of the body in order to fit in the Sindoh 3Dwox machine.
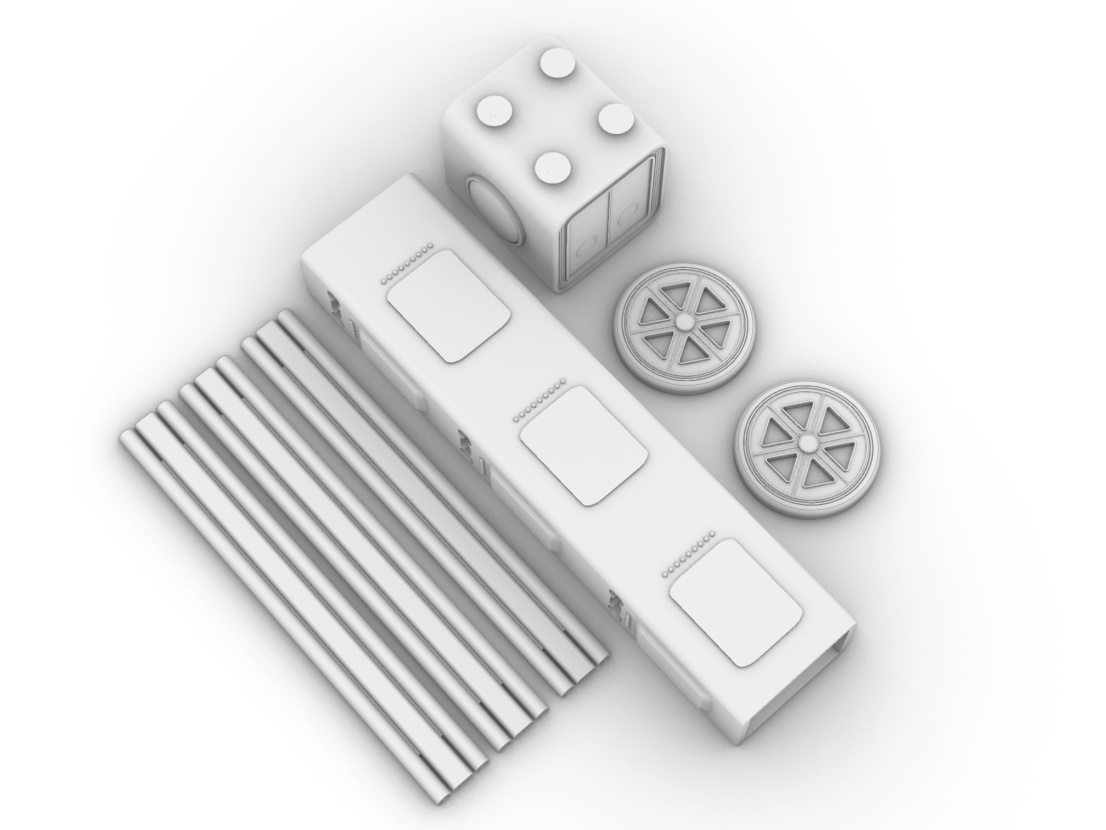
Additionally, some small components represent its airlocks, interior pipes, entrances, and vertical cores. These components are printed separately from the main body and serve as secondary joints between them.
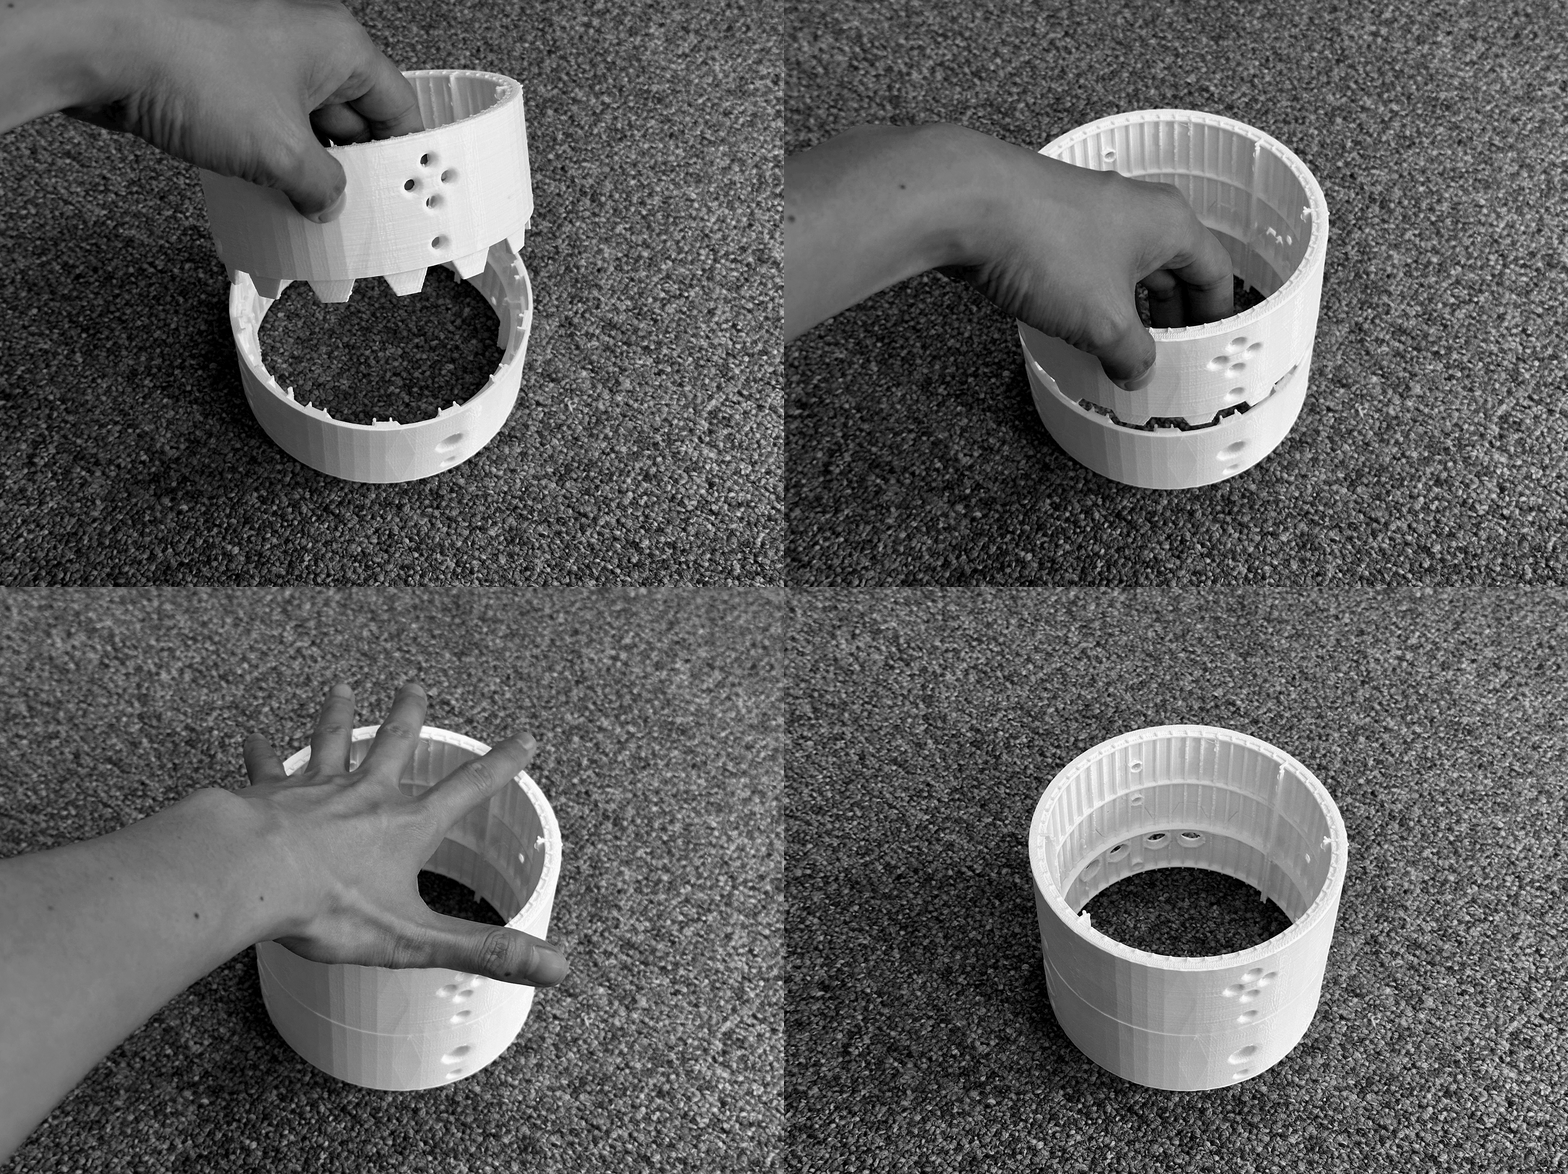
Between the main body, the teeth-shaped joints are designed to lock into each other firmly. This prototype successfully clicks in and performs well while all the joints are hidden inside.
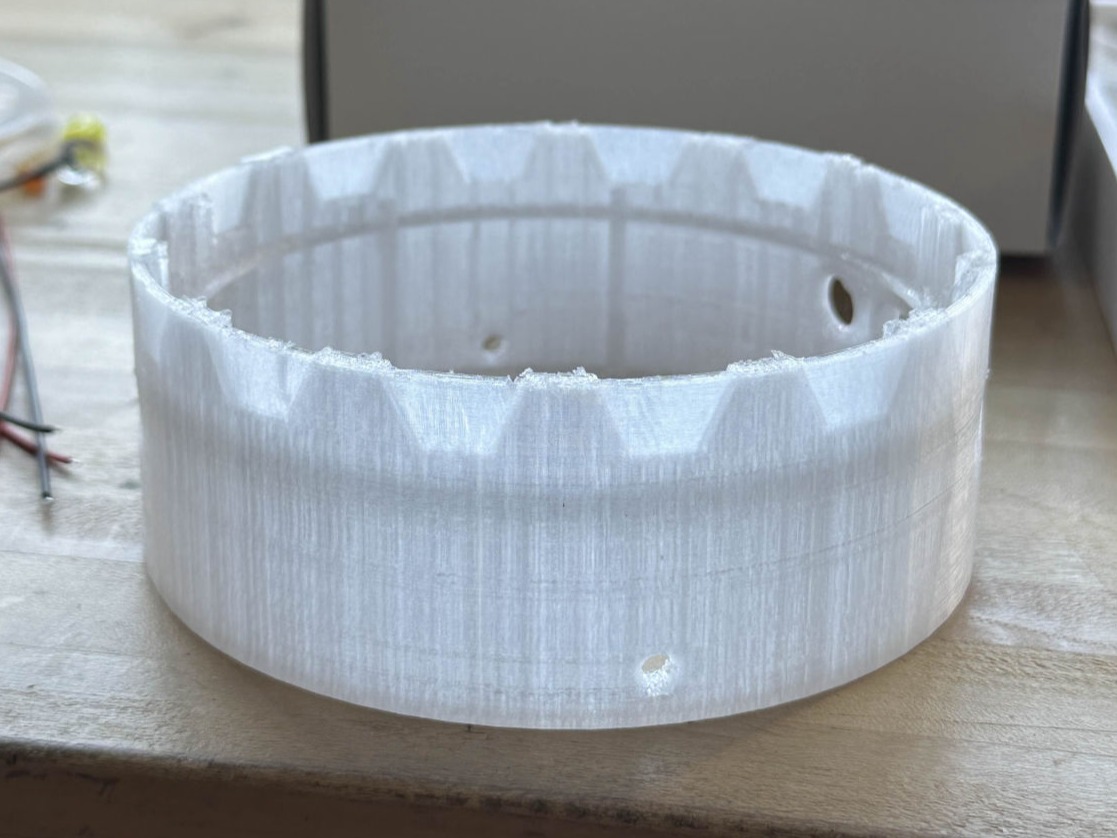
I also tested the transparent PLA's appearance and materiality during the prototyping process.
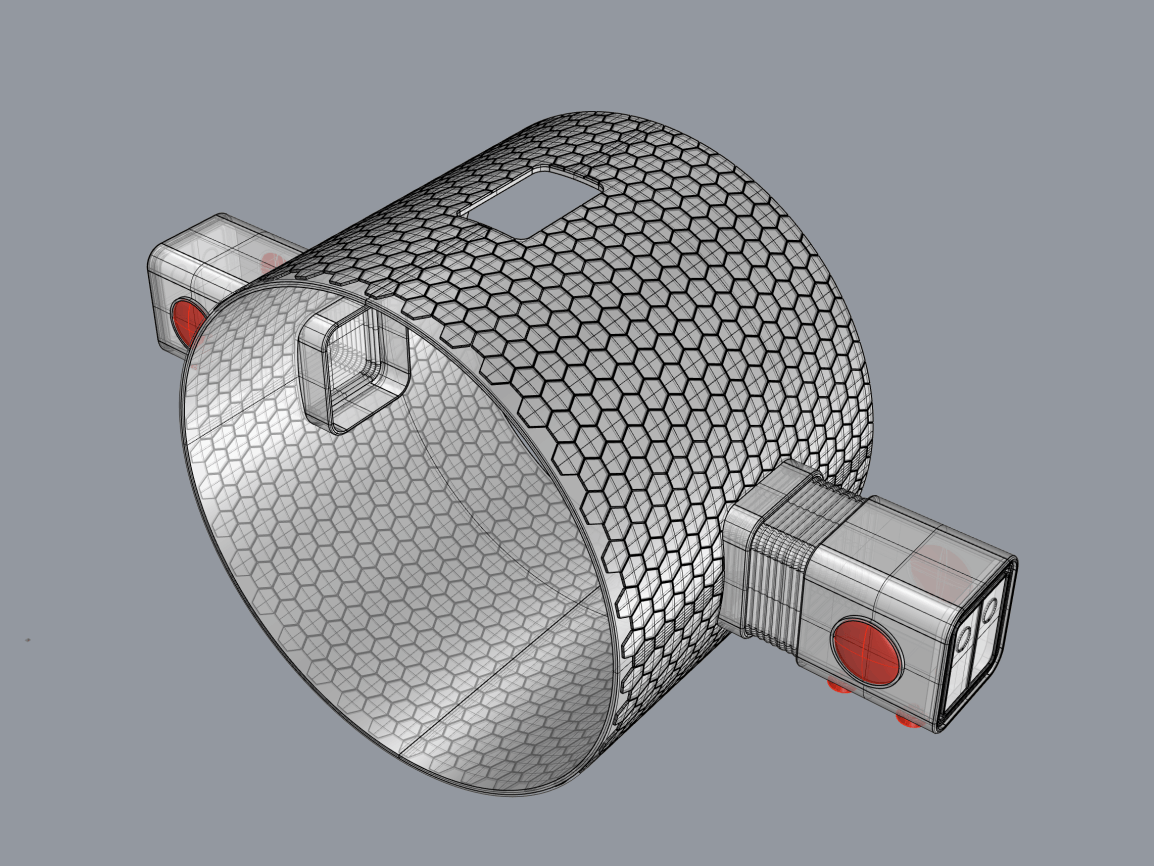
To make the skin more similar to the full-scale Starship HLS, I applied a grasshopper script to generate patterns wrapping around the whole rocket's model. This version was printed in a series of larger scale section models.
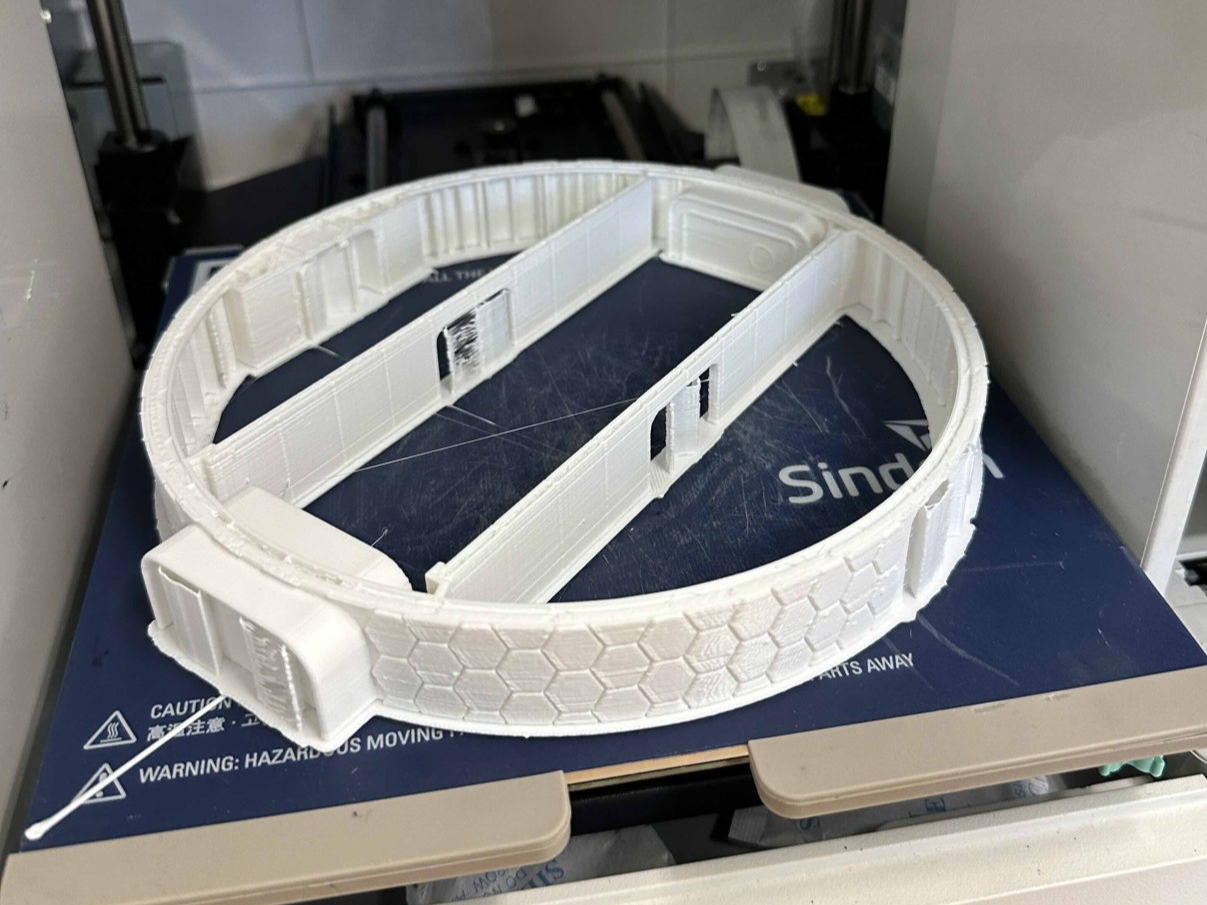
During the first prototype printing, I only picked a minimum slice of the model to test the textures and joints within it.
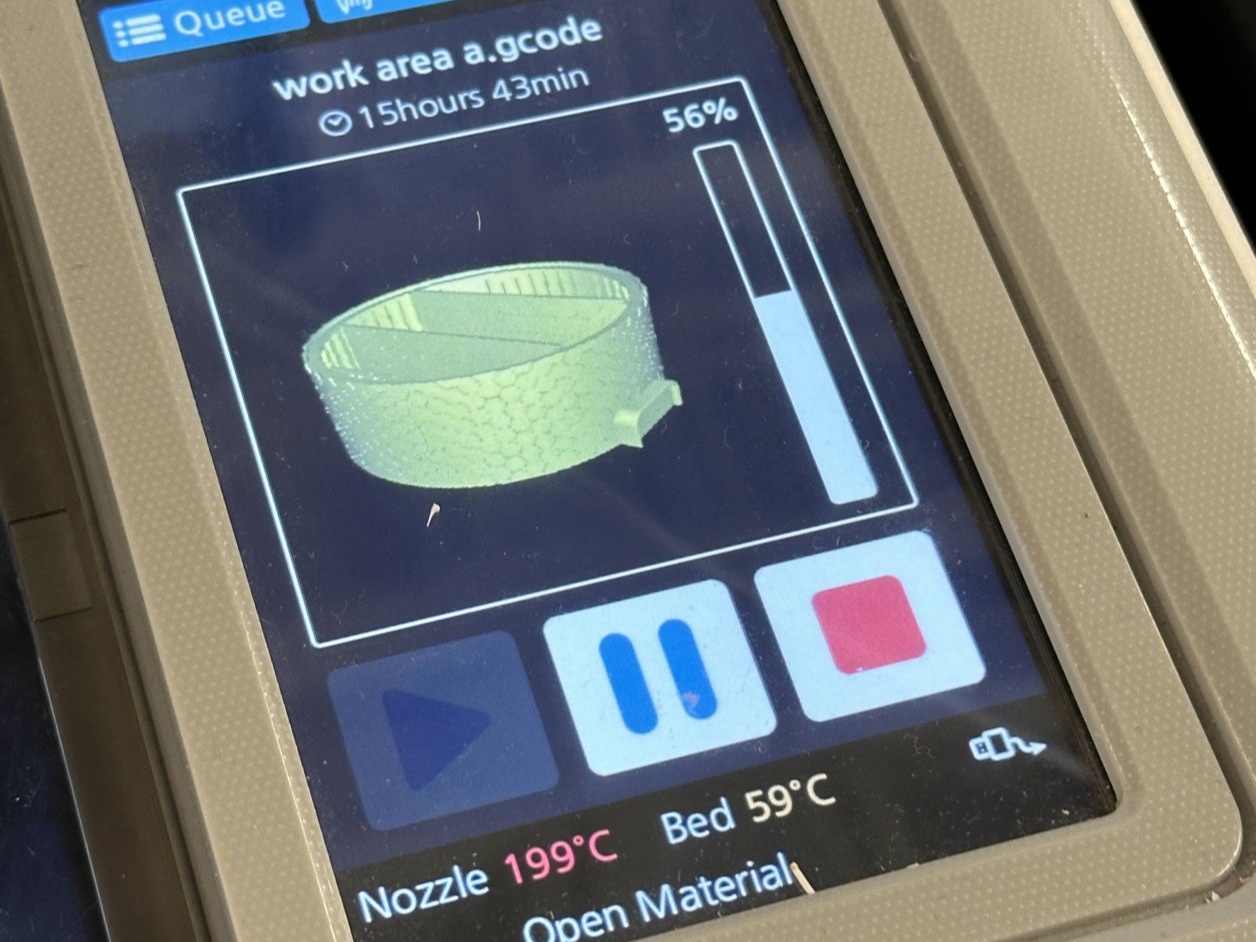
The final model can start printing after adjusting the computational model based on the prototypes!
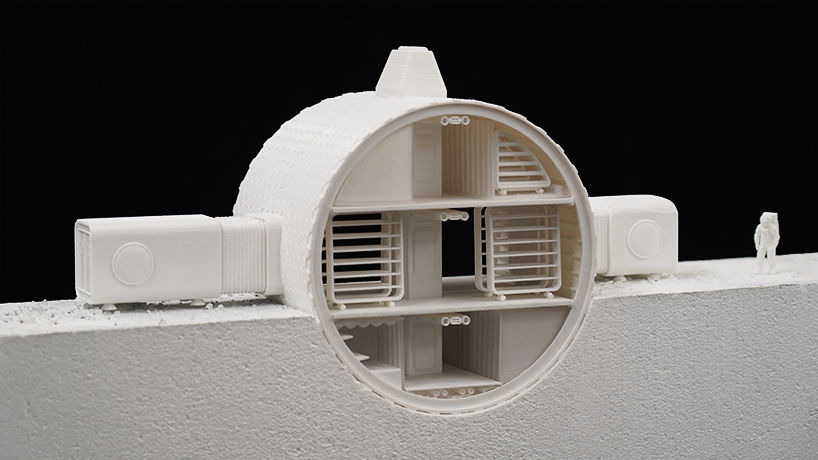
The first section of the model is combined with two main-body models and joined by modular components. All the elements are freely jointed without any glue and can be easily assembled or disassembled.
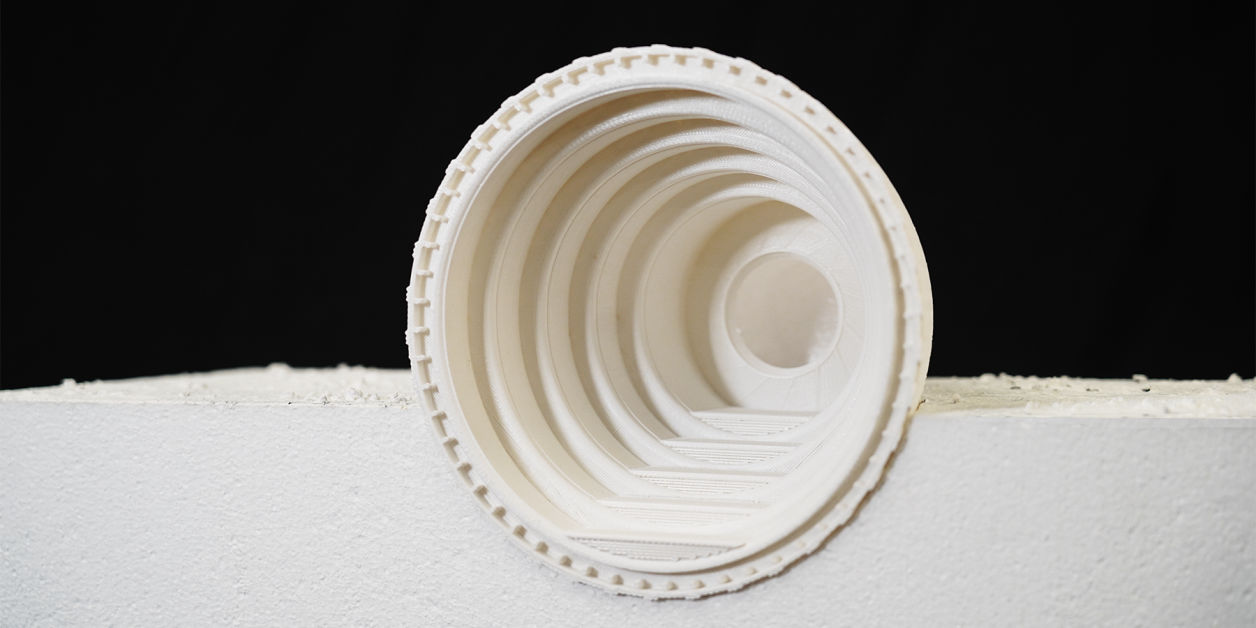
The second section model was finished with only one print session. Since each level of offsets wasn't cantilevered too much, there wasn't much support during the print as well.
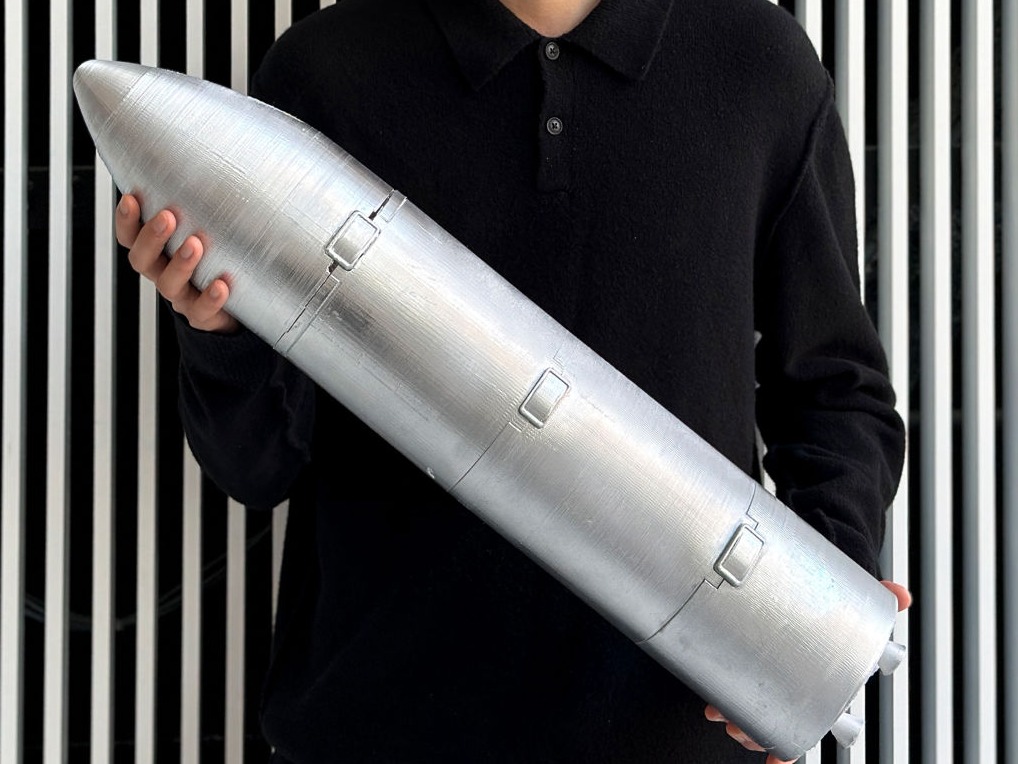
The first full-size (one-meter) rocket was printed to test all the joints and was used for several drop tests on sands. It was painted in silver to look spacey.
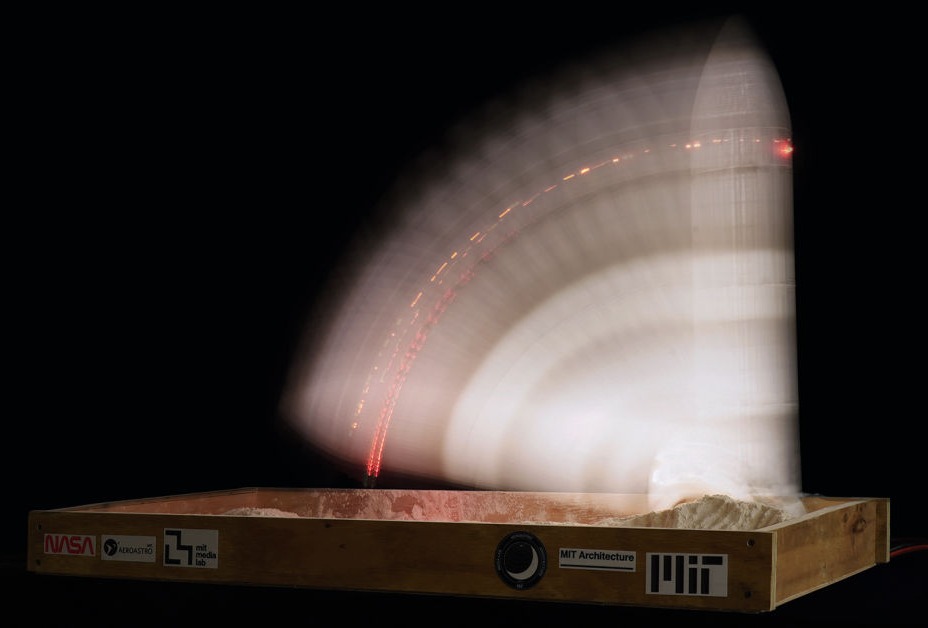
The final model was further integrated with light tubes, embedded LED programming, and a servo at the bottom to simulate the toppling process during lunar missions.
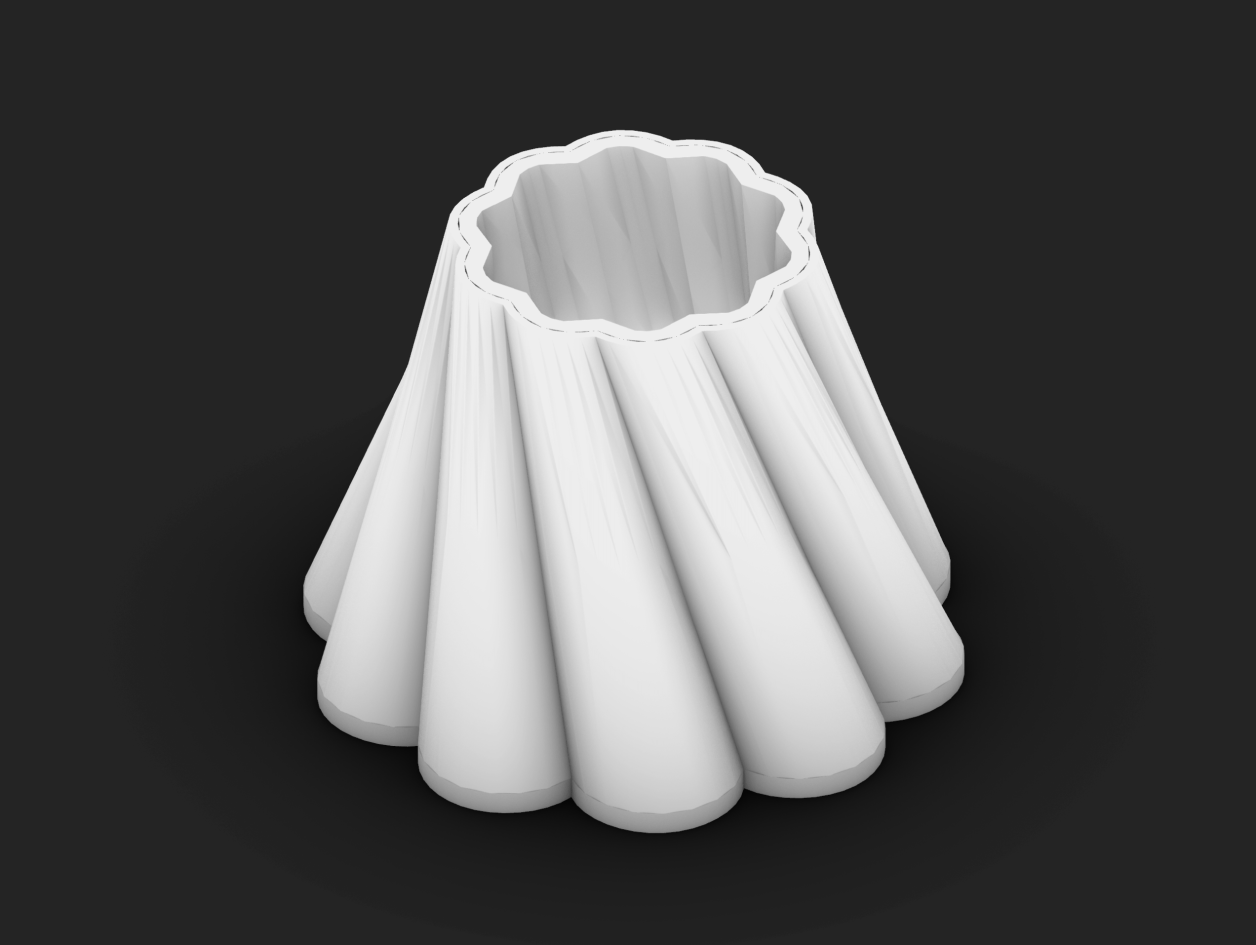
The initial mug was designed in Rhino with a shape that embodies air pockets interiorly and a double twisted geometry that reinforces its structure.
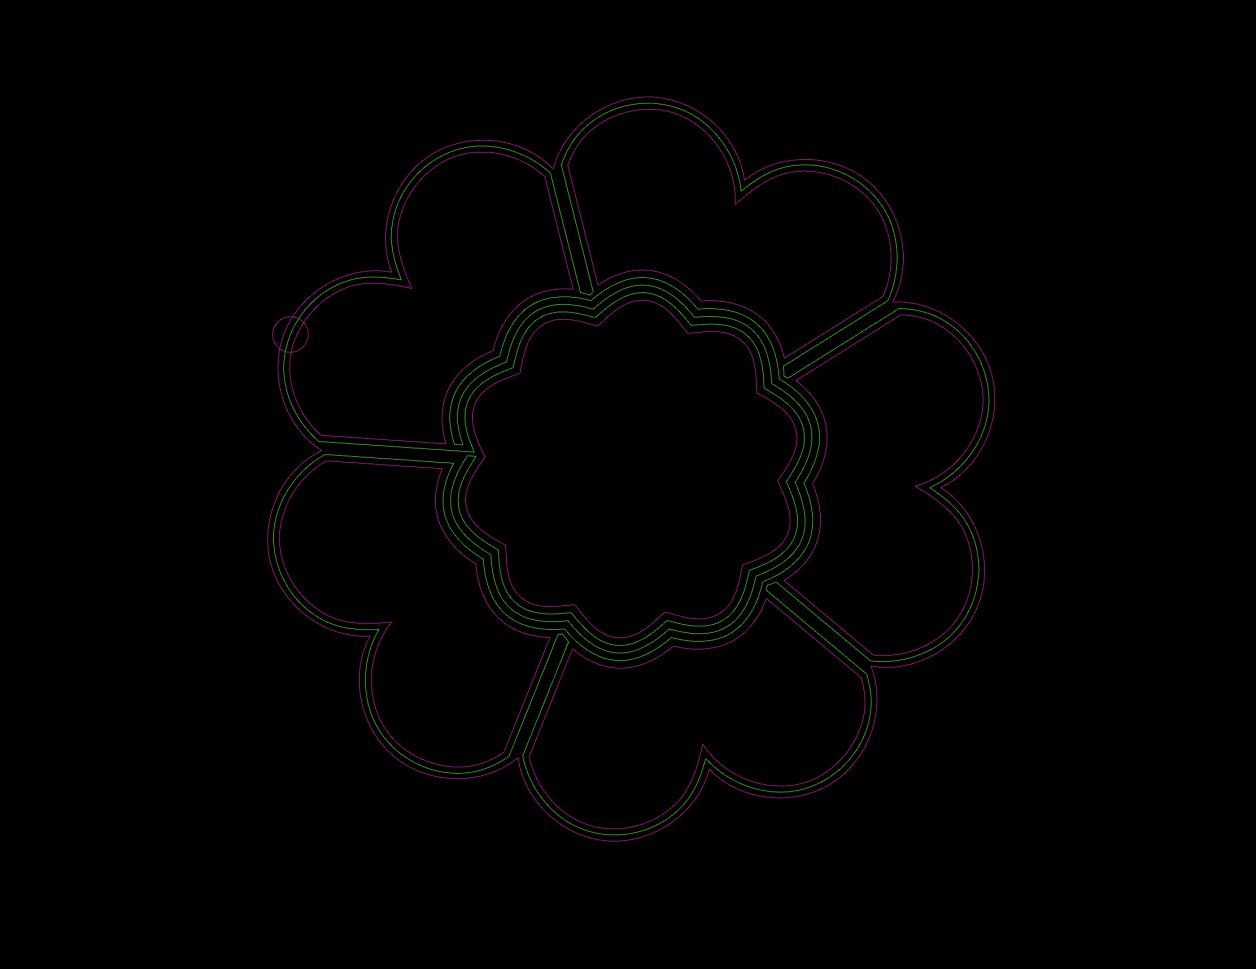
Due to the earth-printing machine being a "non-stop" process, the 3D printing path has to be organized in a linear sequence on each layer. All the thickness of the layers was also constrained by the sizes of the extruders.
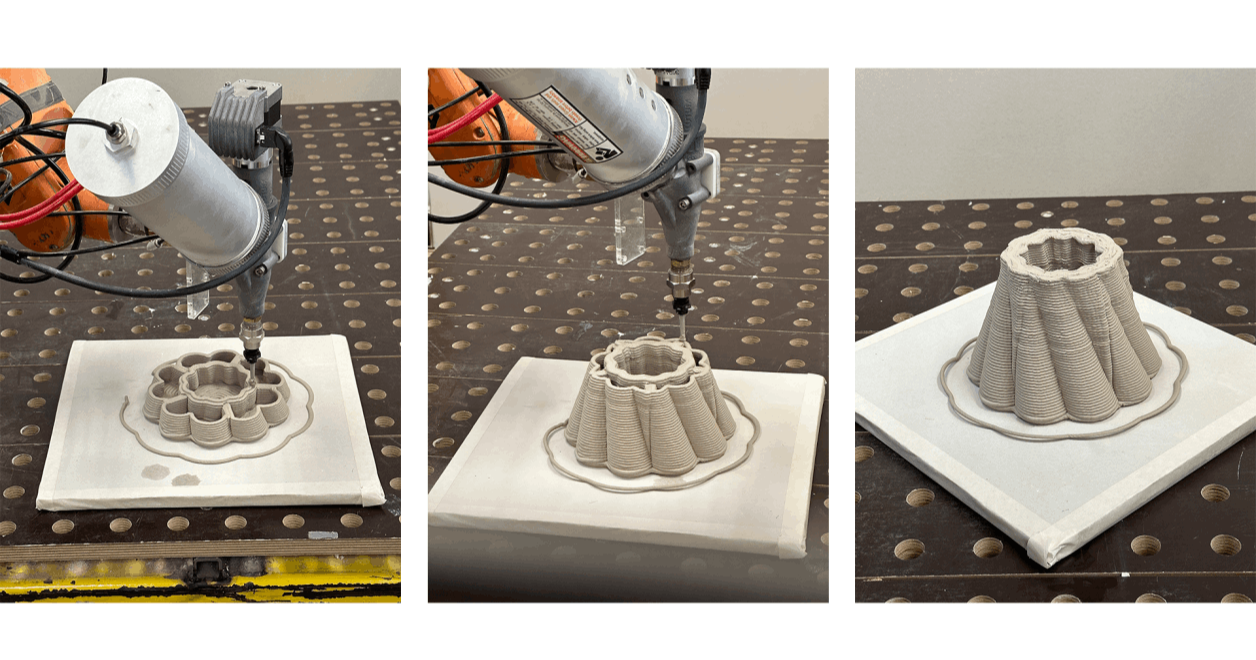
The "printer" was composed of a Kuka robotic arm and a bottle of mud. The printing process took about 2 hours and required full attention to the stock of materials in the bottle in case it ran out of mud.
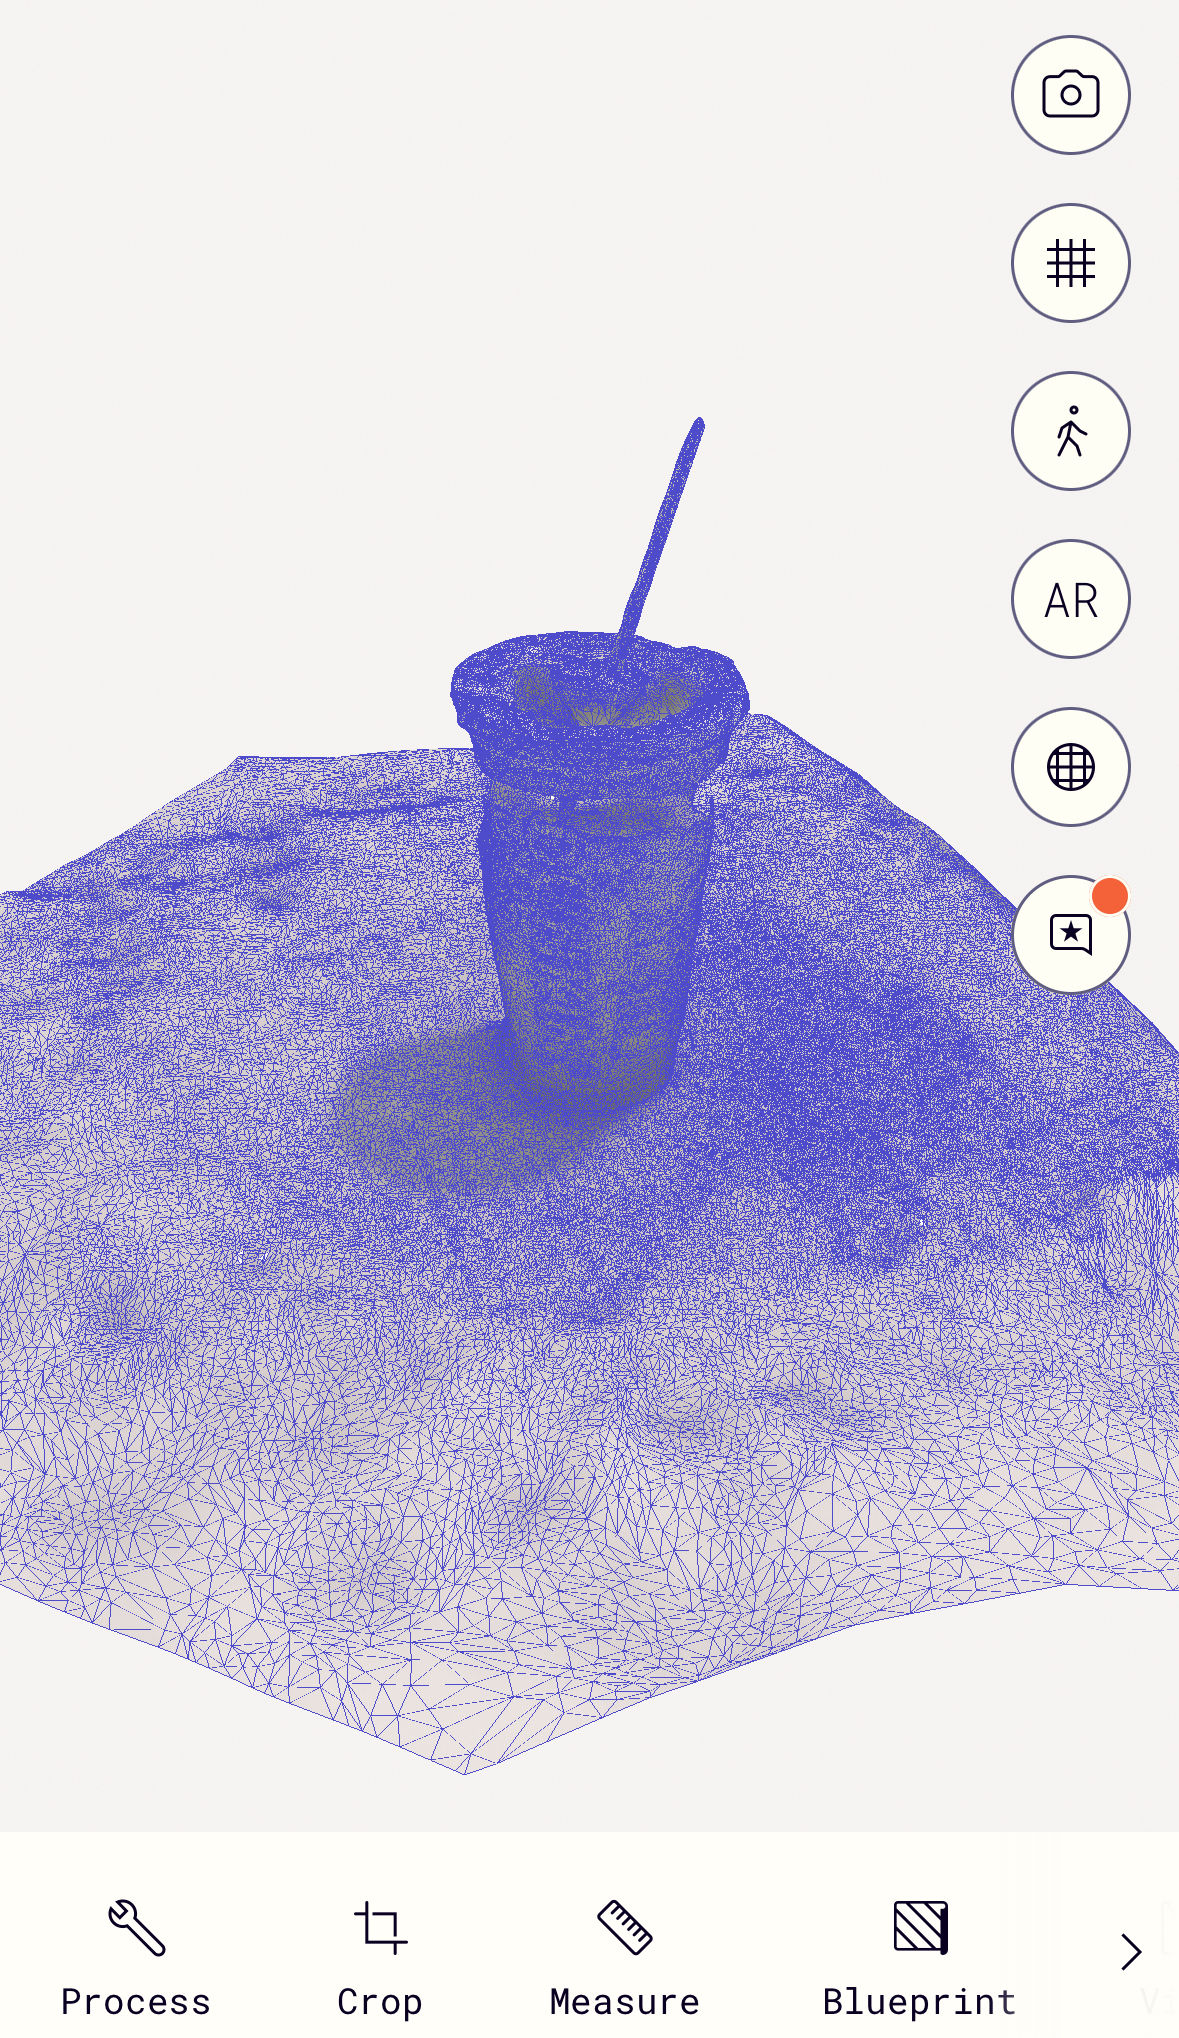
Using Polycam's iPhone app, I scanned my Dunkin coffee cup into a 3D object, capturing its detailed textures and shape.
The app uses advanced photogrammetry technology, which allows me to take multiple images of the coffee cup from different angles, and it automatically processes them into a highly accurate 3D model.
The result was a precise digital replica, complete with the cup's branding and surface details, which could be further edited or used in various 3D design projects.
This workflow demonstrates the ease of turning everyday objects into digital assets using just a smartphone.
Drag and Drop Website Builder