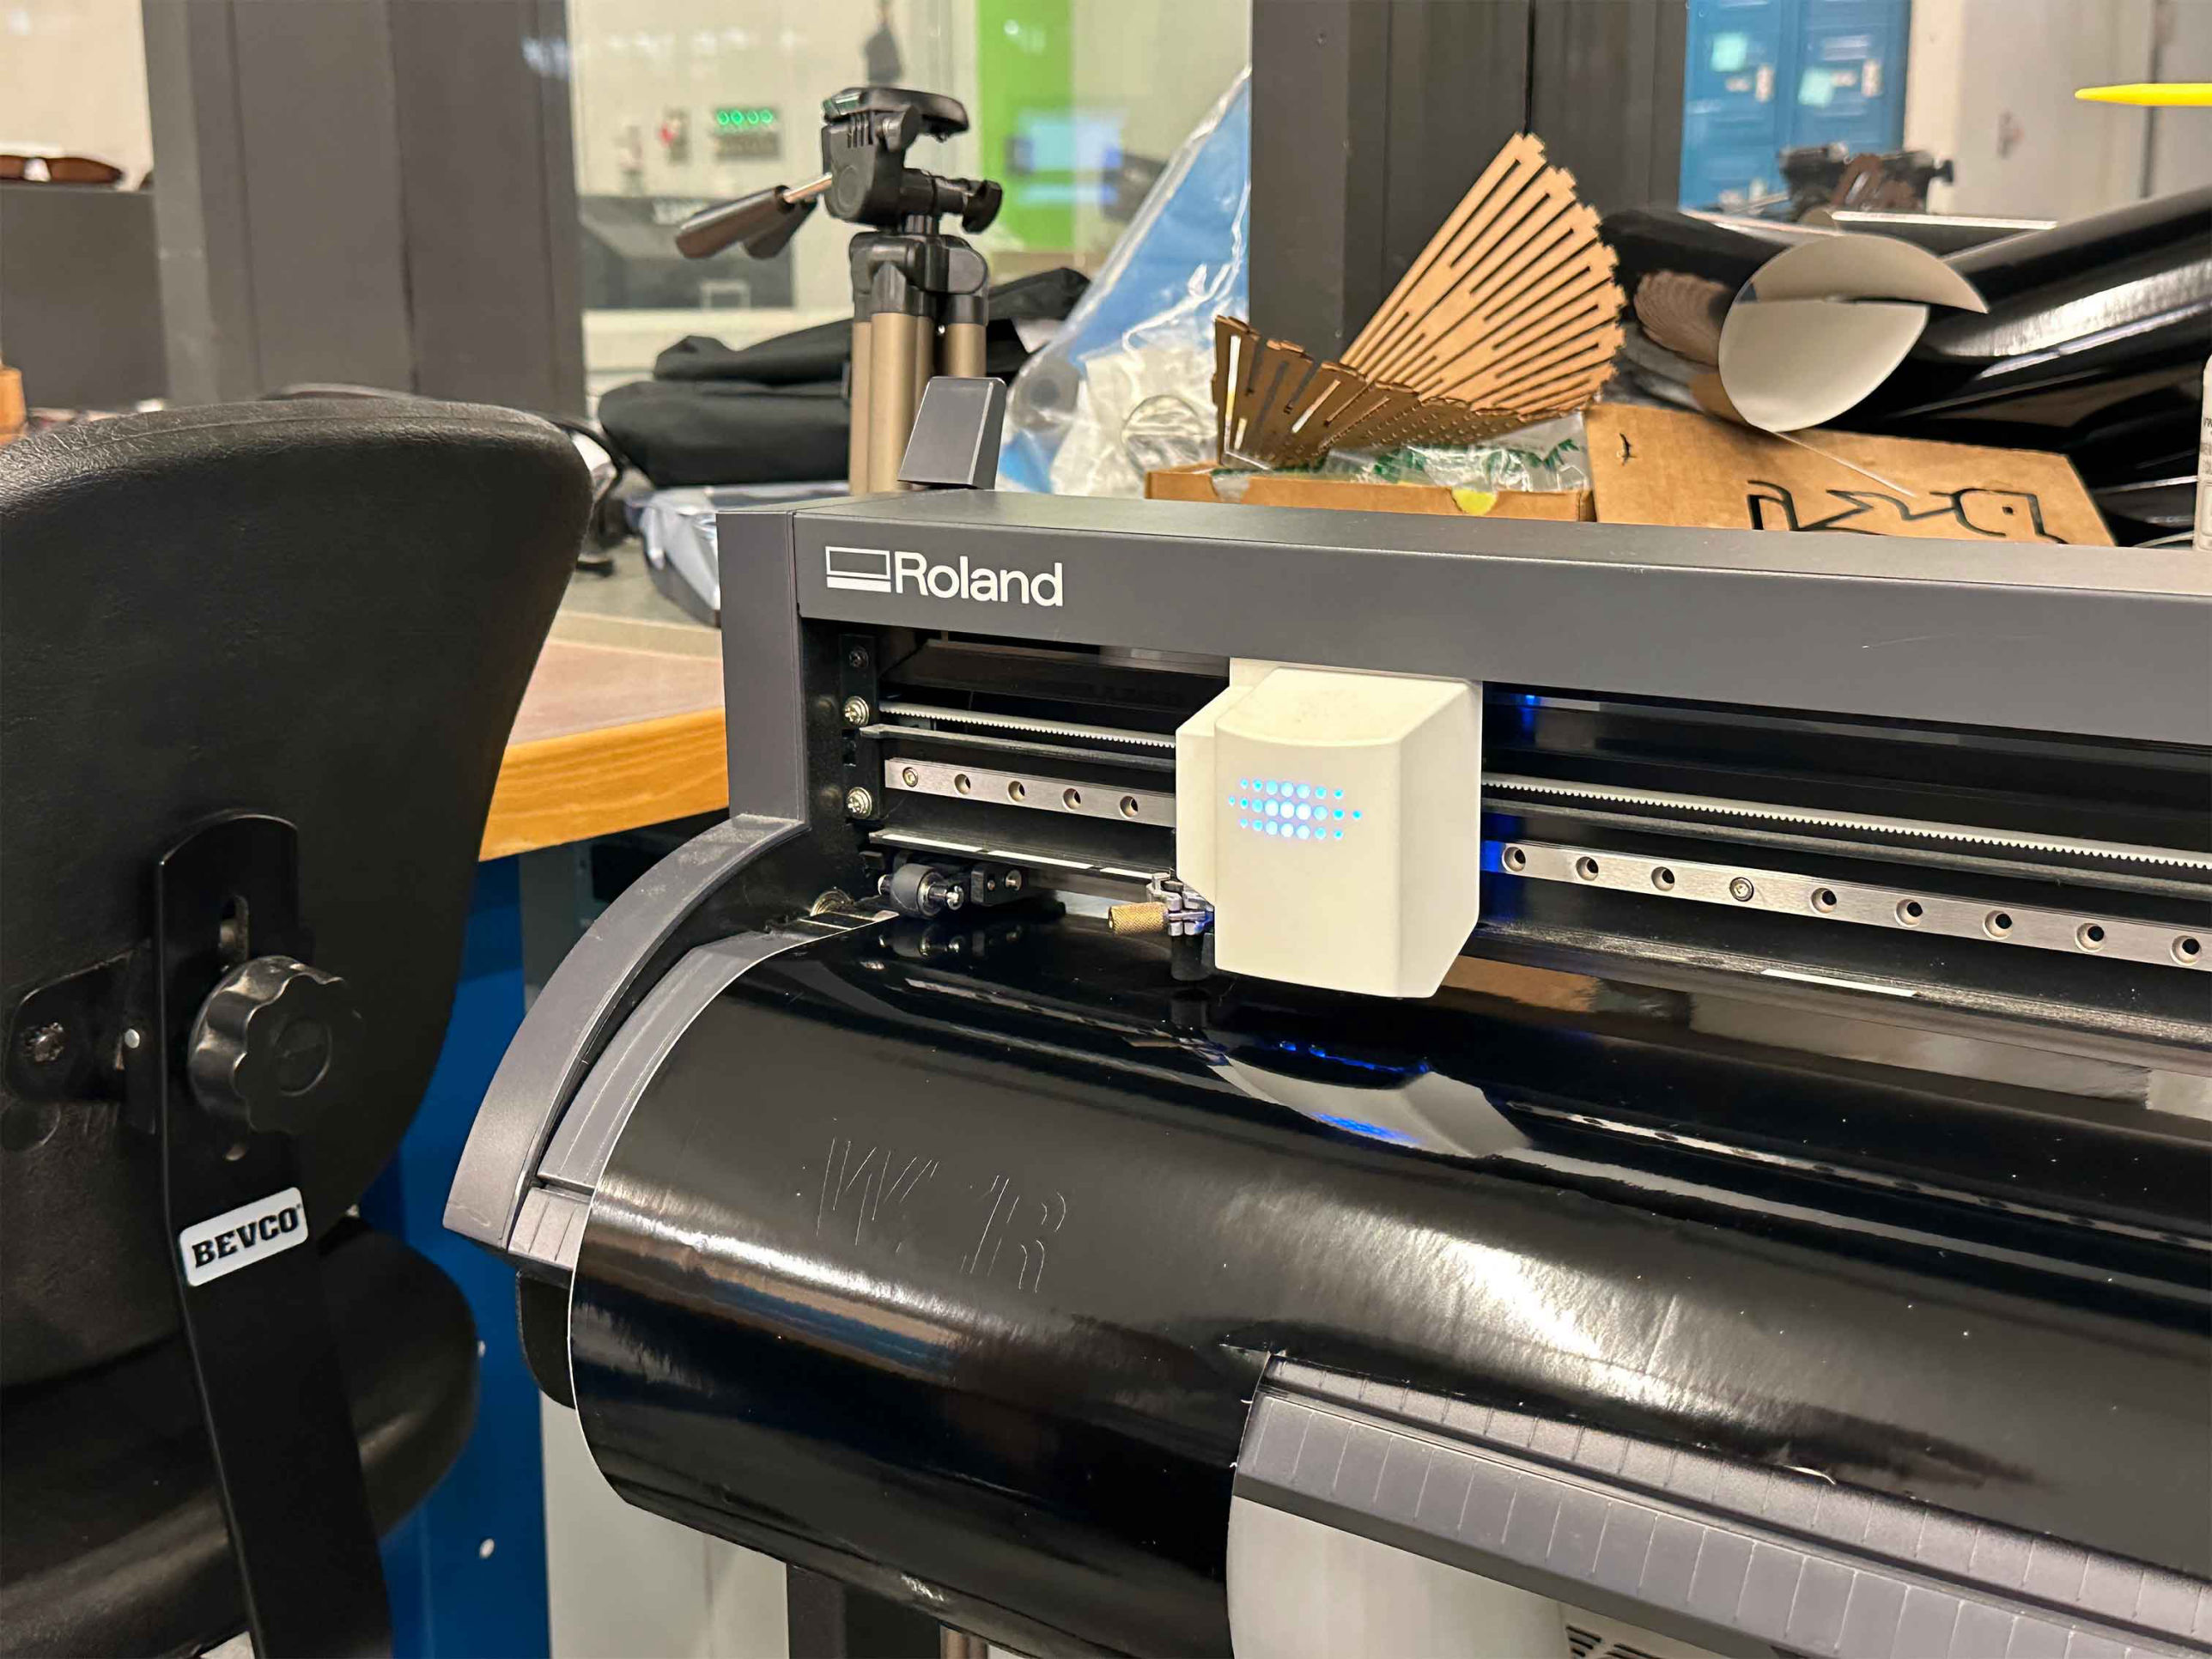

Group work with Xdd
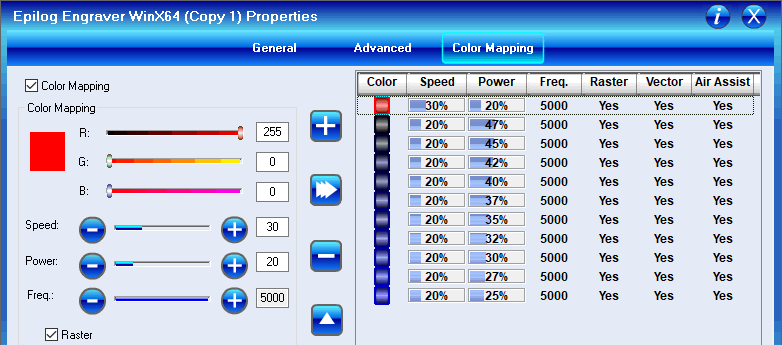
a gradient of blue to map 25 - 47 power to circles, and red to score the annotations.
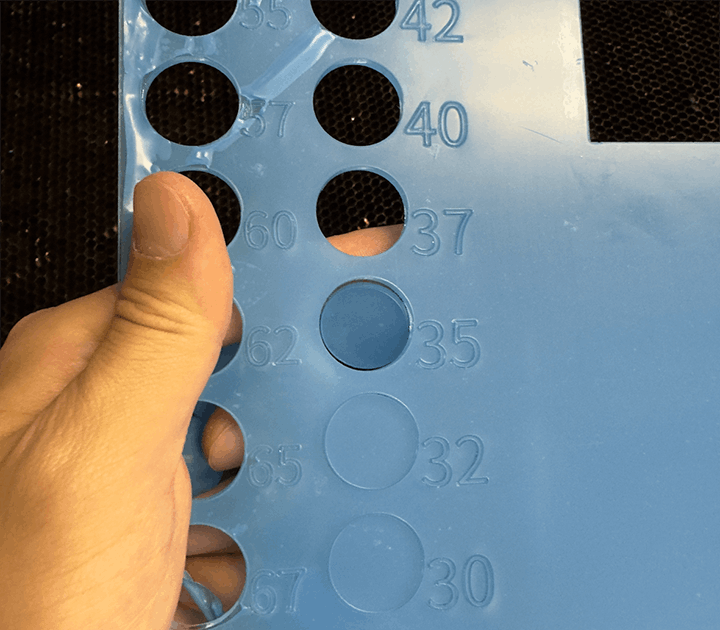
We found out the circle is barely detachable at power = 35, while it didn't cut through at power <= 32. Therefore, 35 - 40 is pretty much enough power.

Next, we designed a simple joint to test the kerf clearance. We offset the joint cutting lines from -0.020 inches to +0.015 inches.
Clearance test cutting lines. Blue denotes cutting line, black denotes original lines, and red is annotation scoring.

We cut them out and tried to join them. The joints with -0.020 to 0.000 offsets turned out to be loose. The pair with +0.005 offset provided comfortable friction. The pair with +0.010 offset cannot be joined with bare hand, but I hammered them together. The pair with +0.015 offset cannot be joined at all. Therefore, the kerf is about 0.005 inches thick.
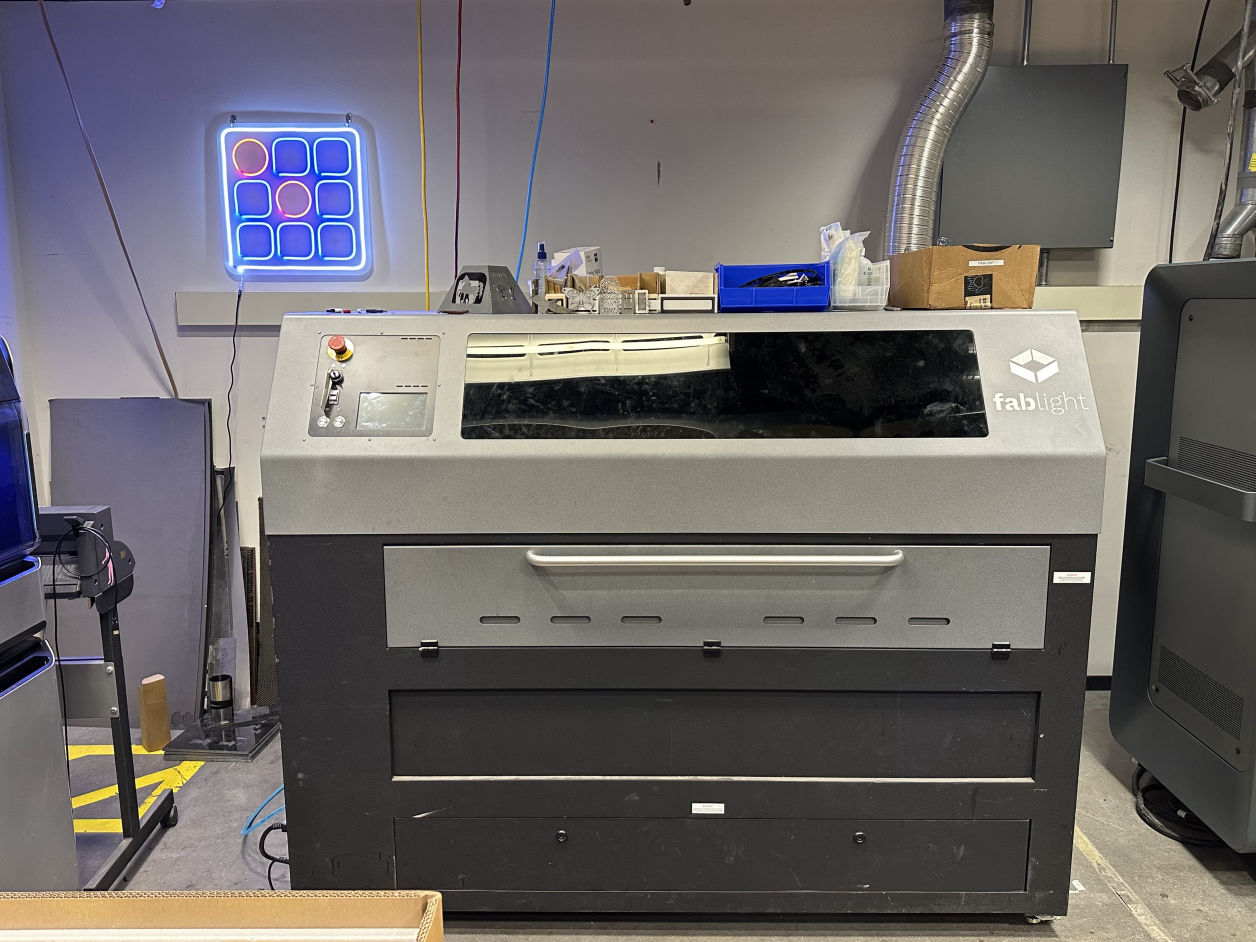
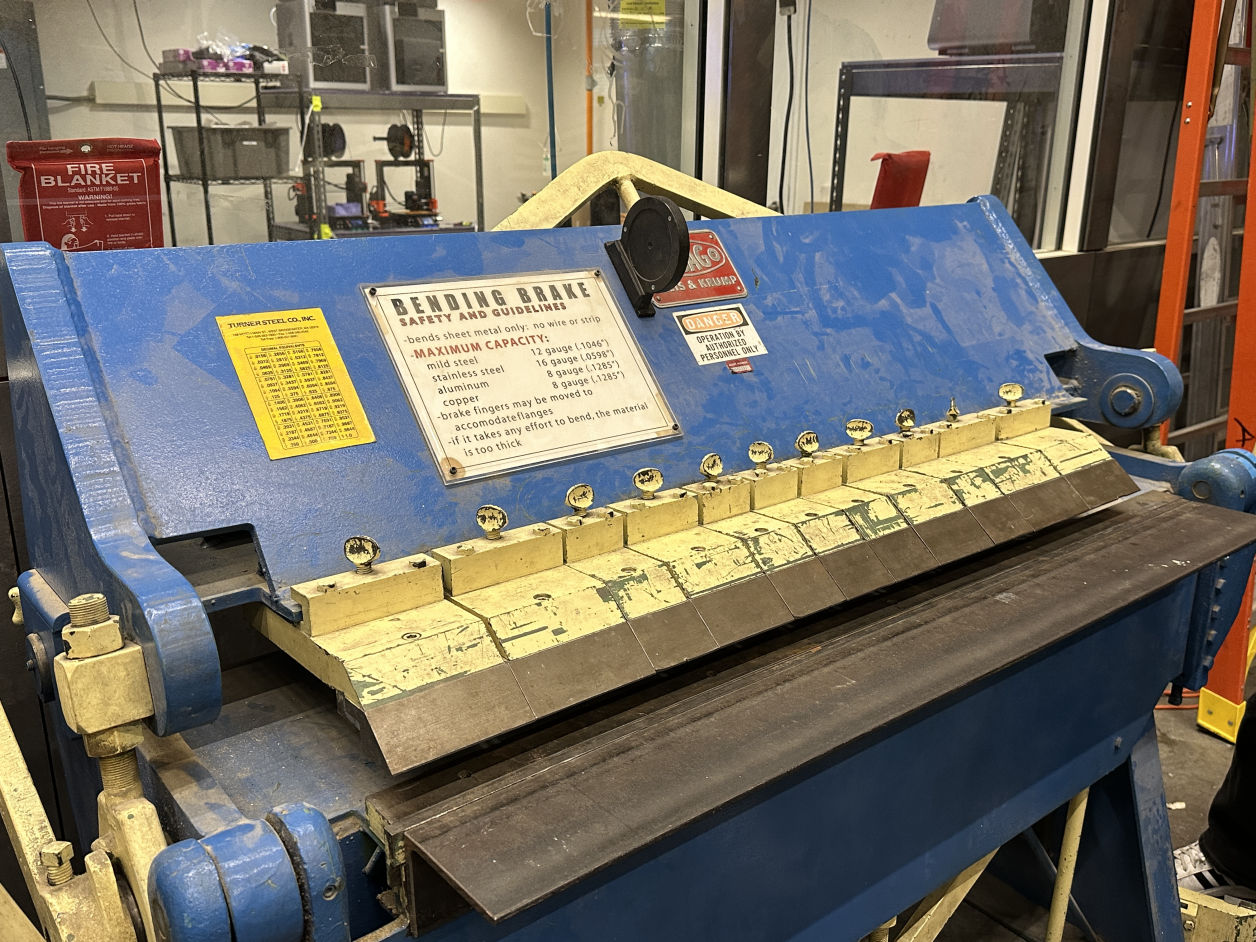
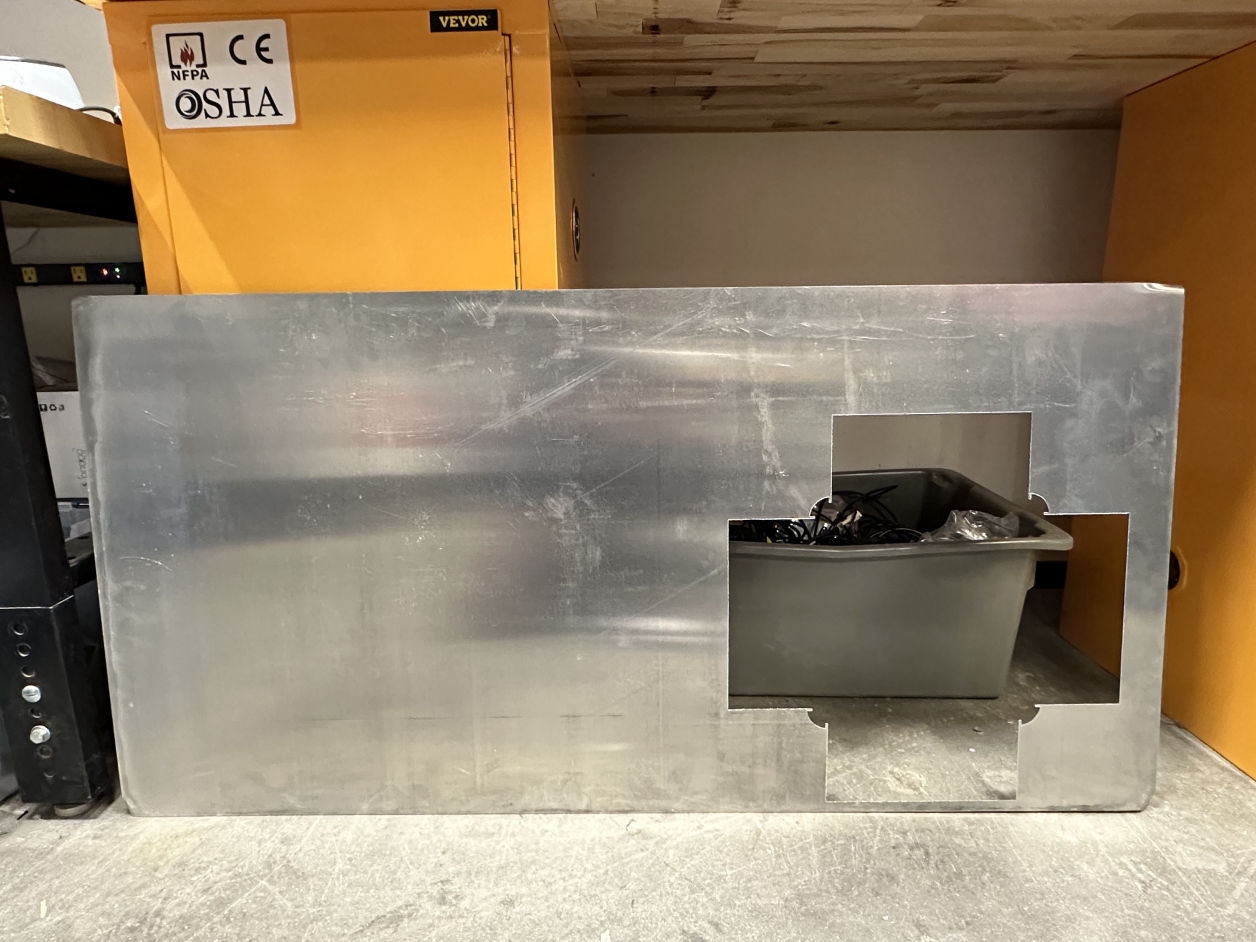
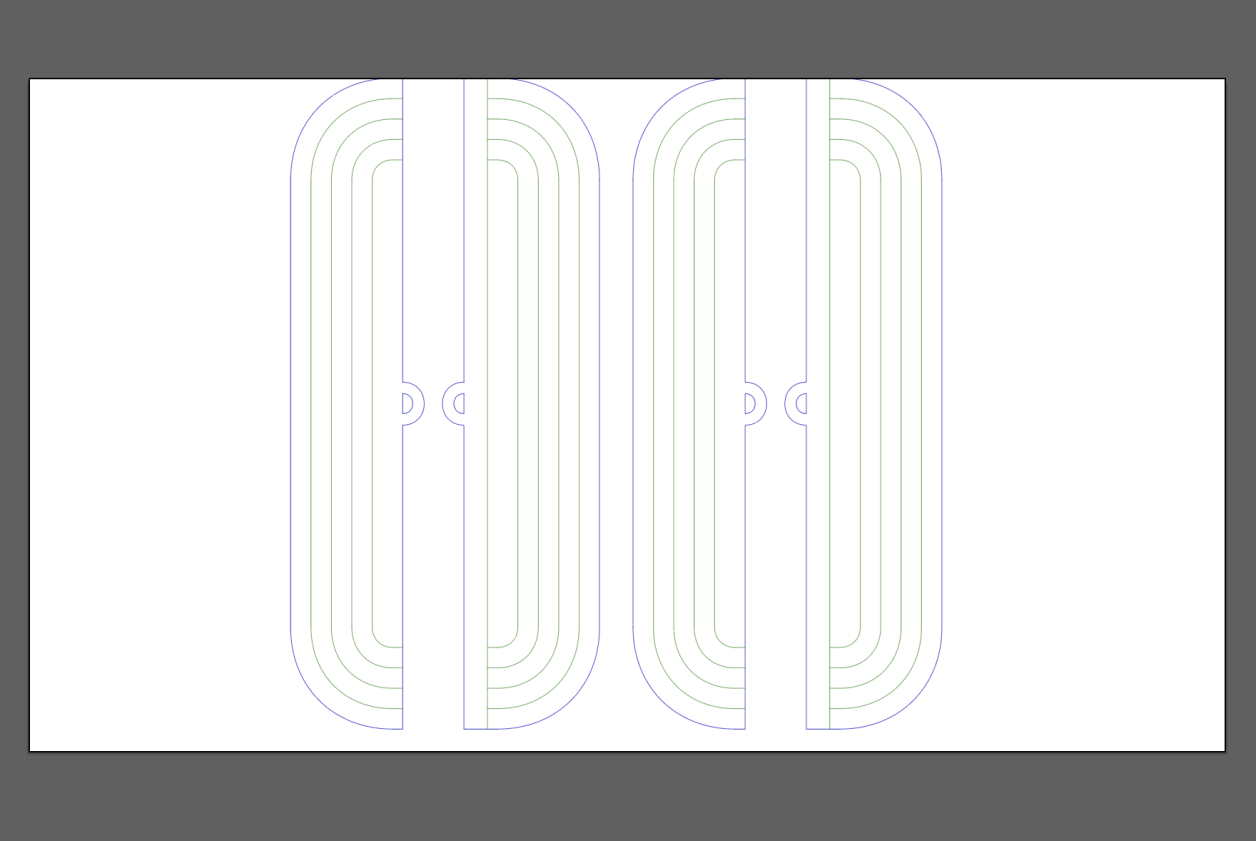
The file was prepared with two layers only, one for cutting and one for scoring.
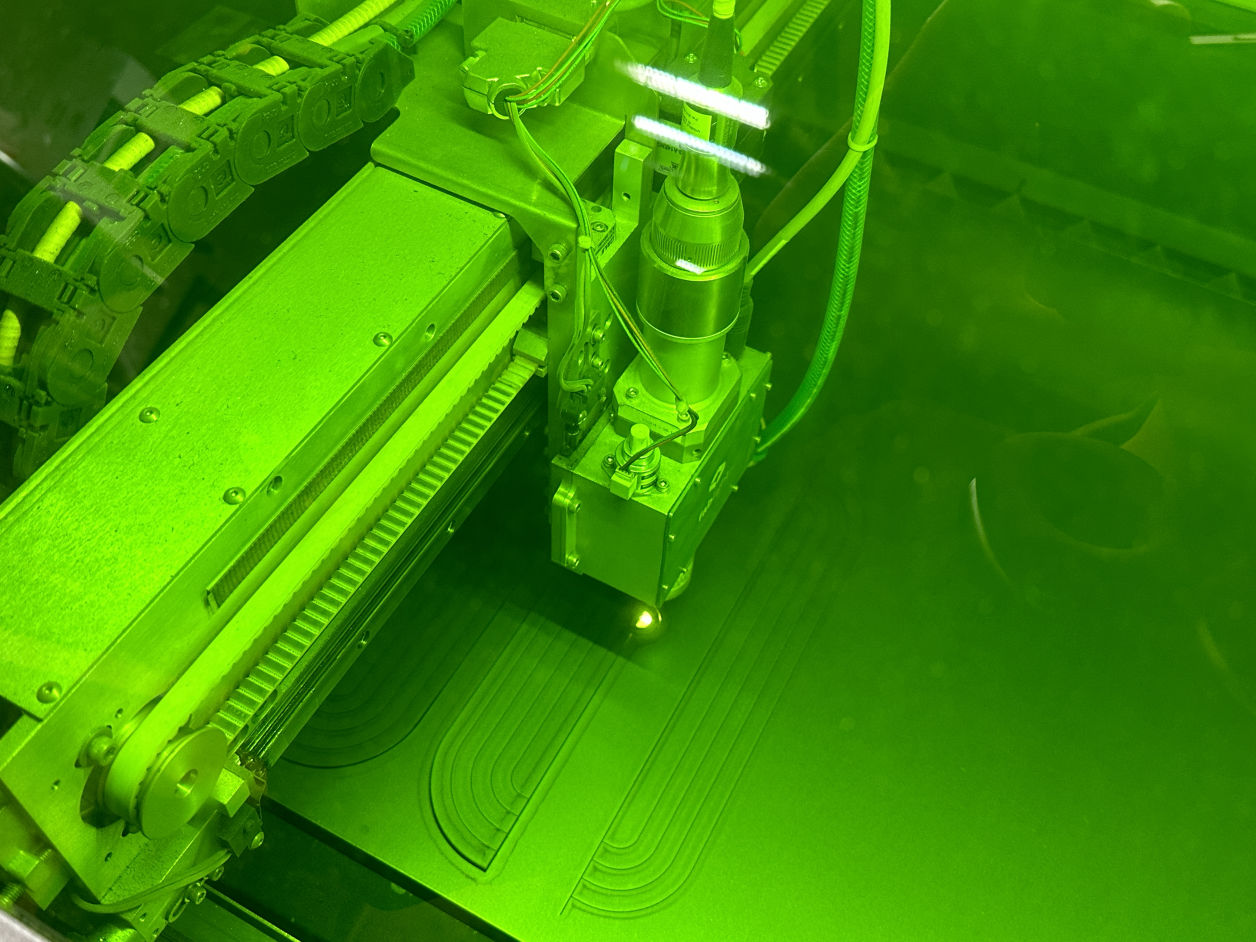
Run the job!
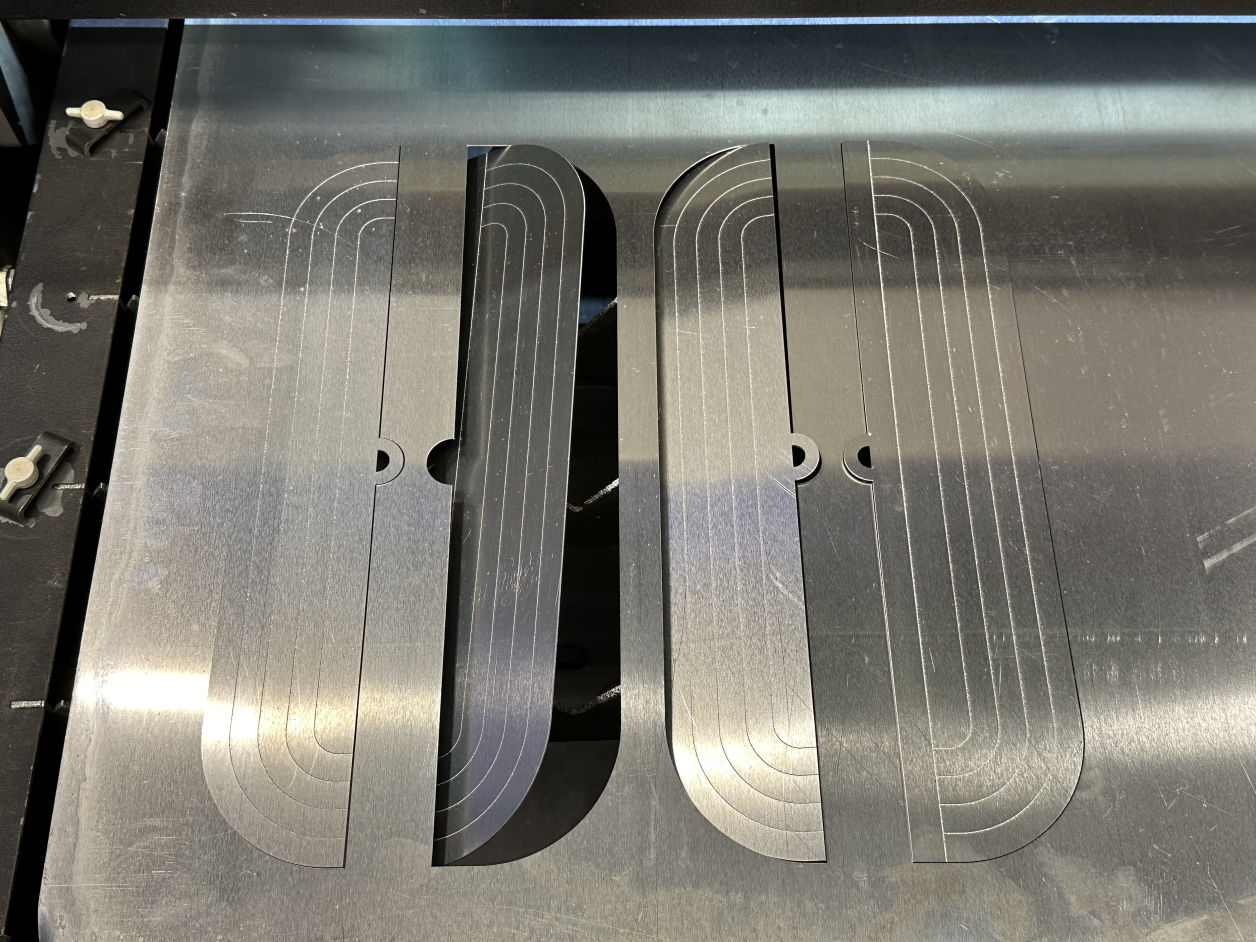
The aluminum laser cut was getting a great result with a clean cut and nice scoring!
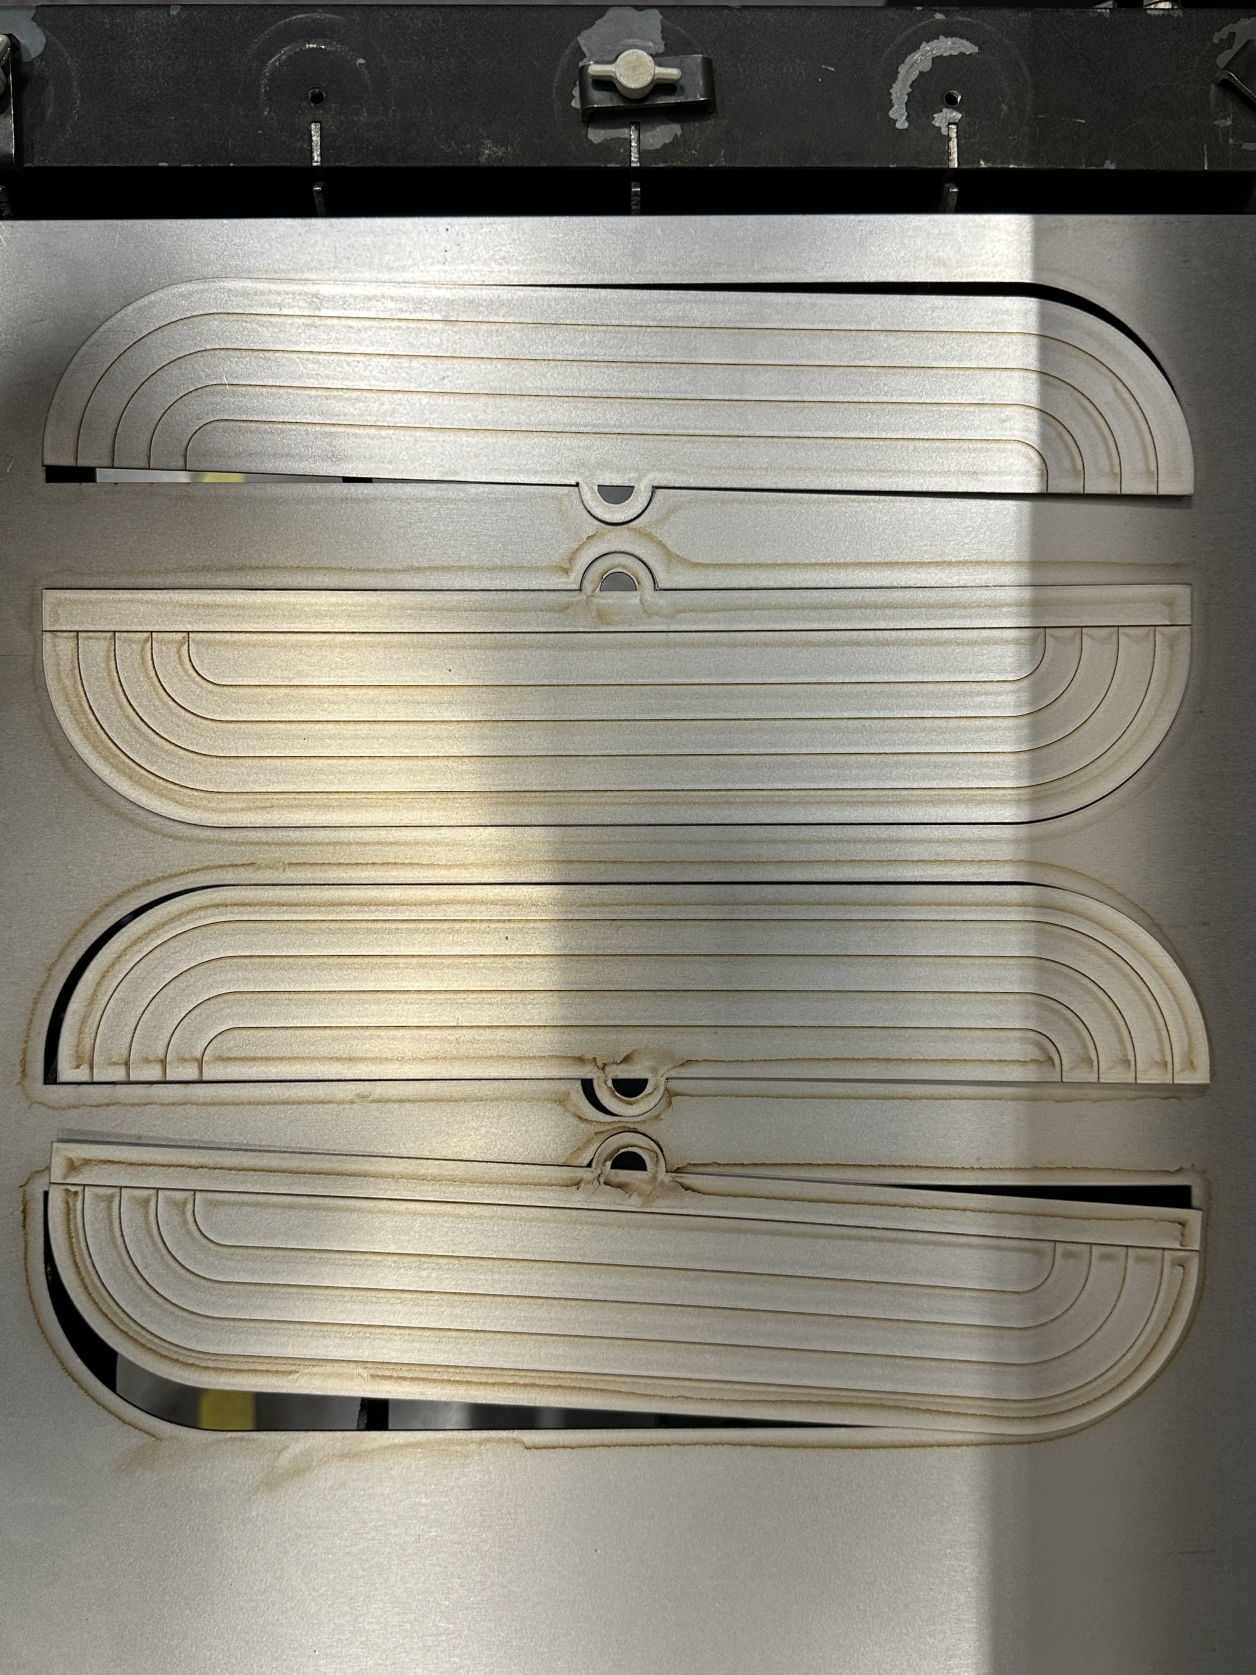
The metal laser cut is a bit rougher and needed more work on processing it afterwards.
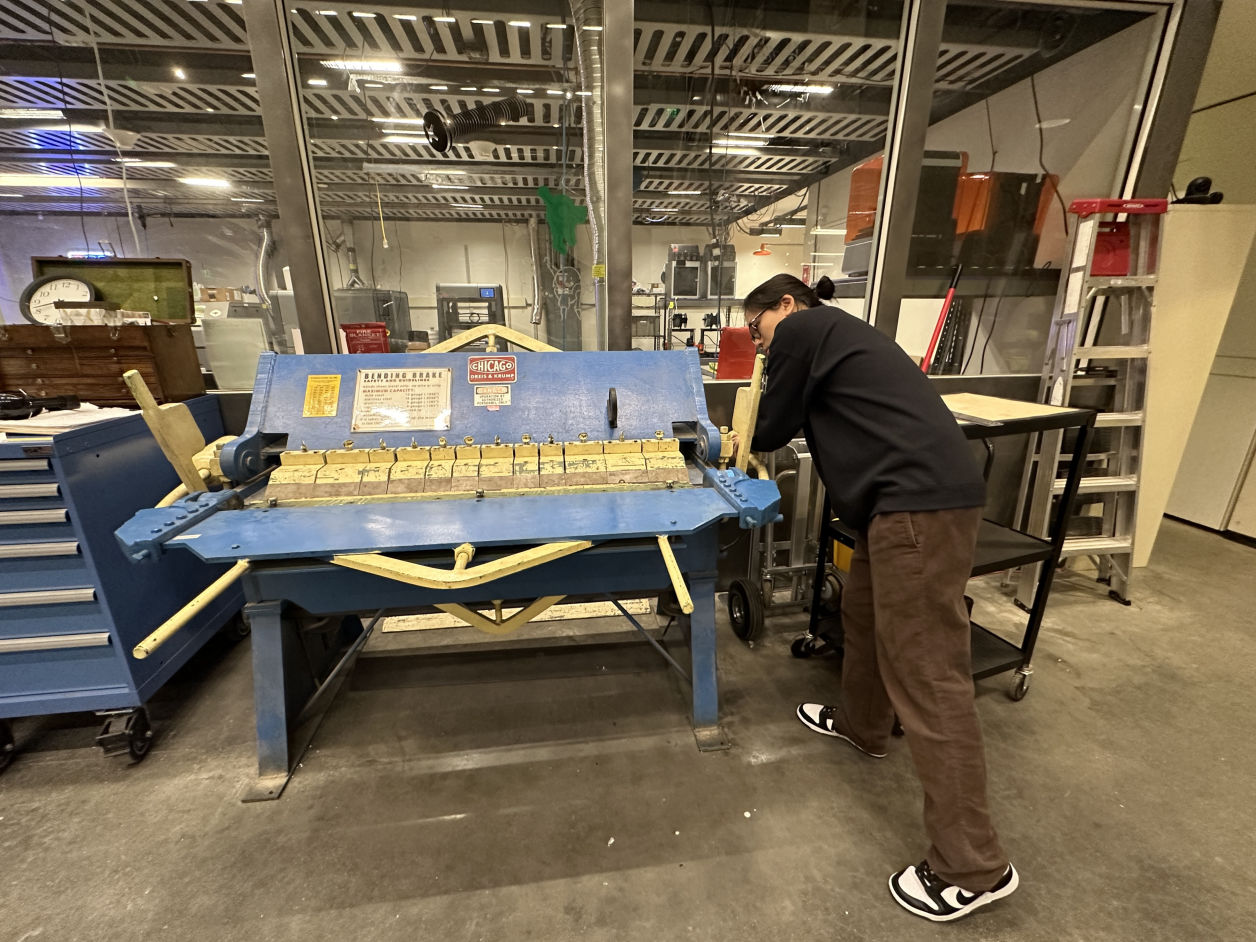
The metal laser cut is a bit rougher and needed more work on processing it afterwards.
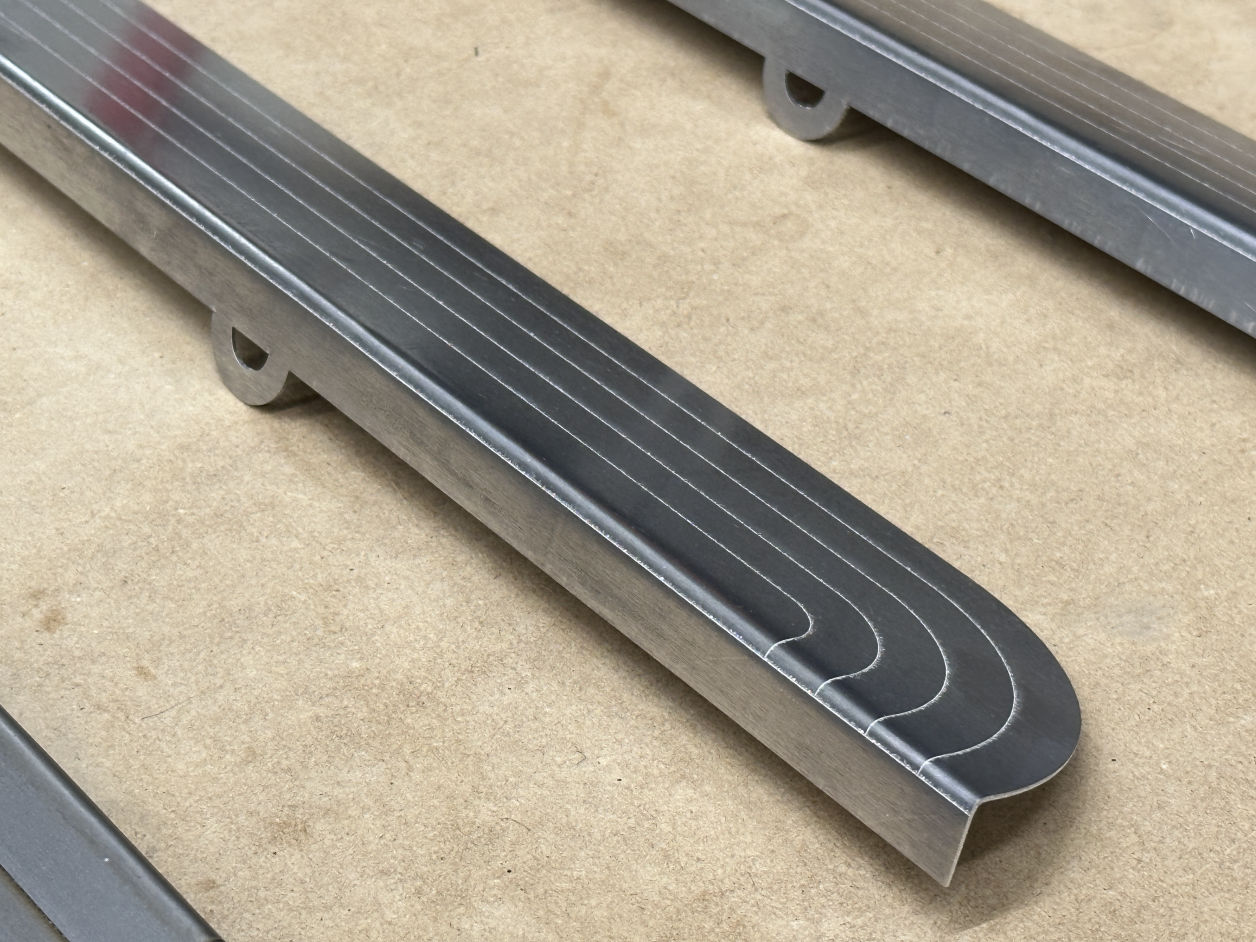
I am quite happy with the final result of the aluminum parts, both its finishes and the bending curve.
step 1
600 ppi minimum
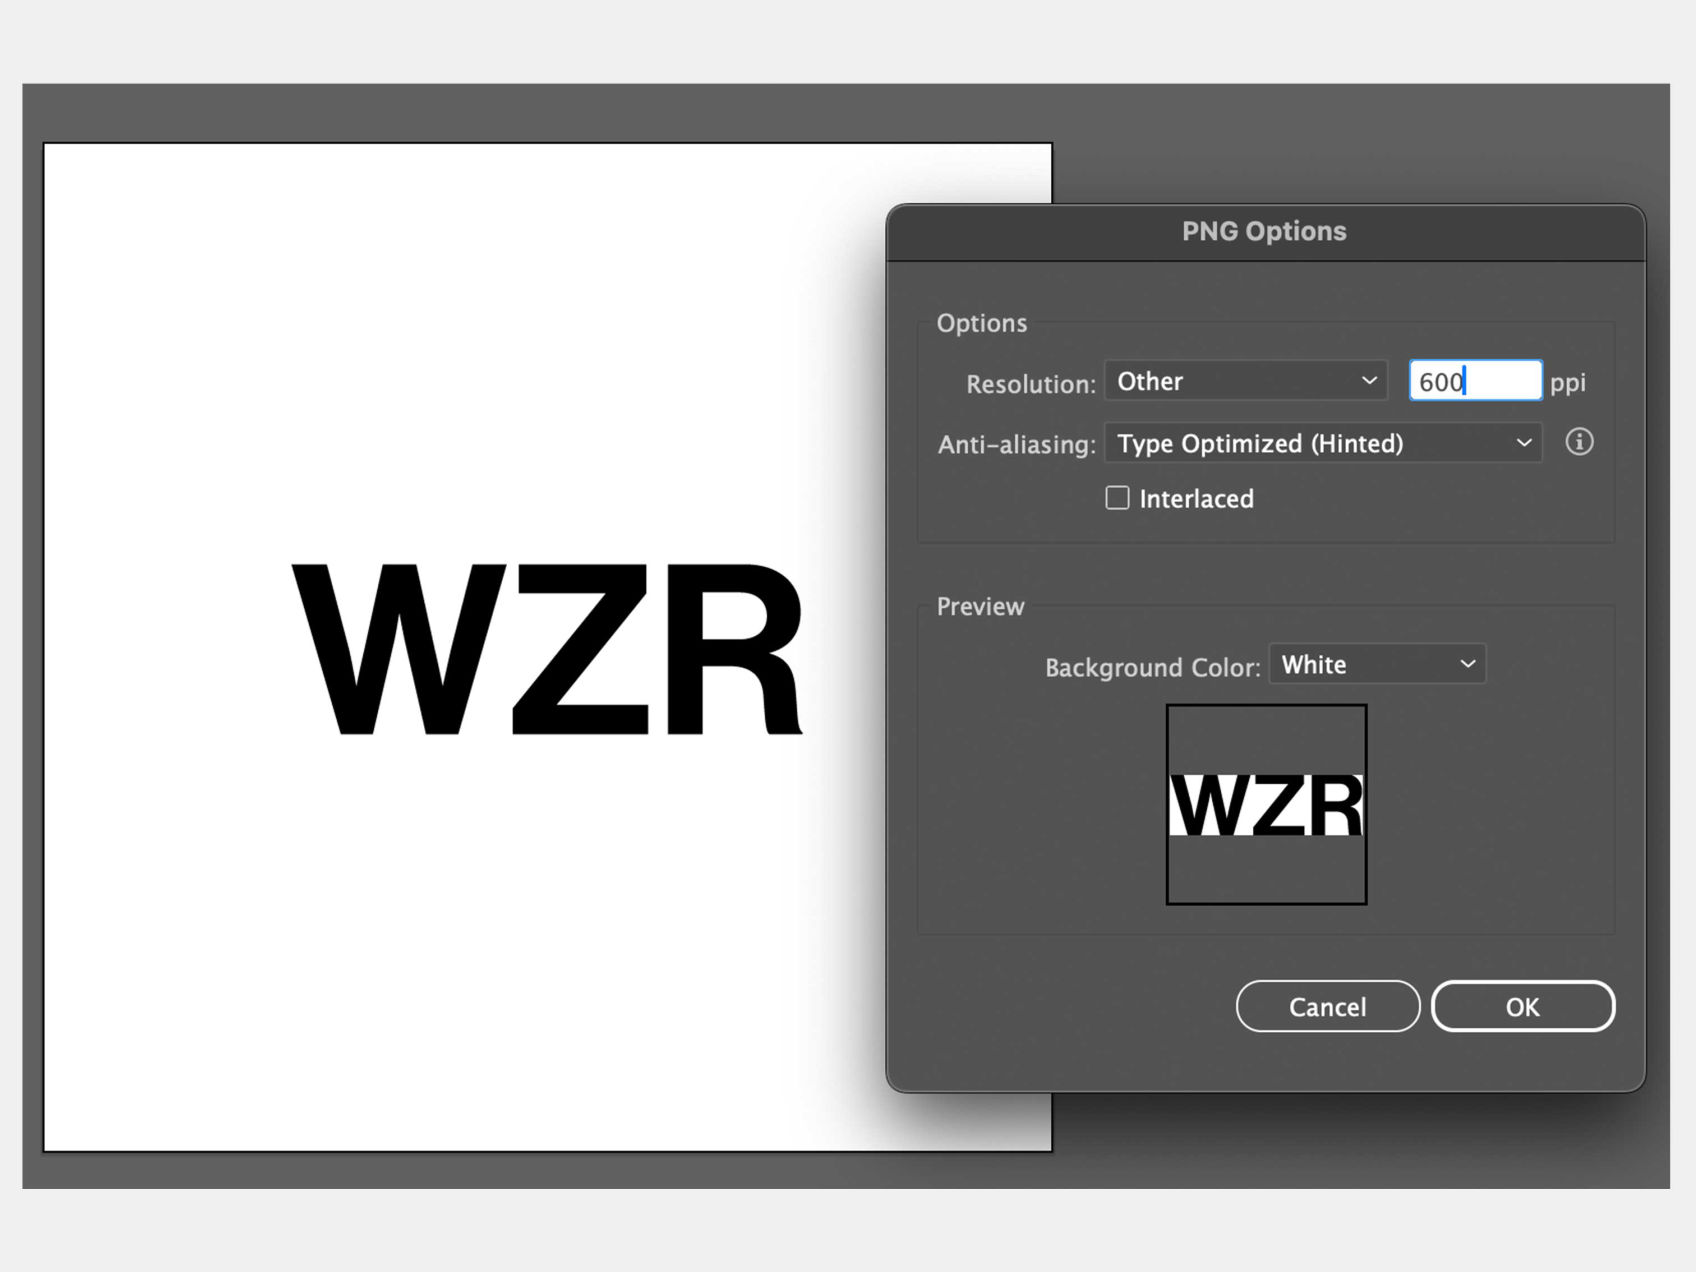
step 2
Calculate the png file and send it to the cutting machine
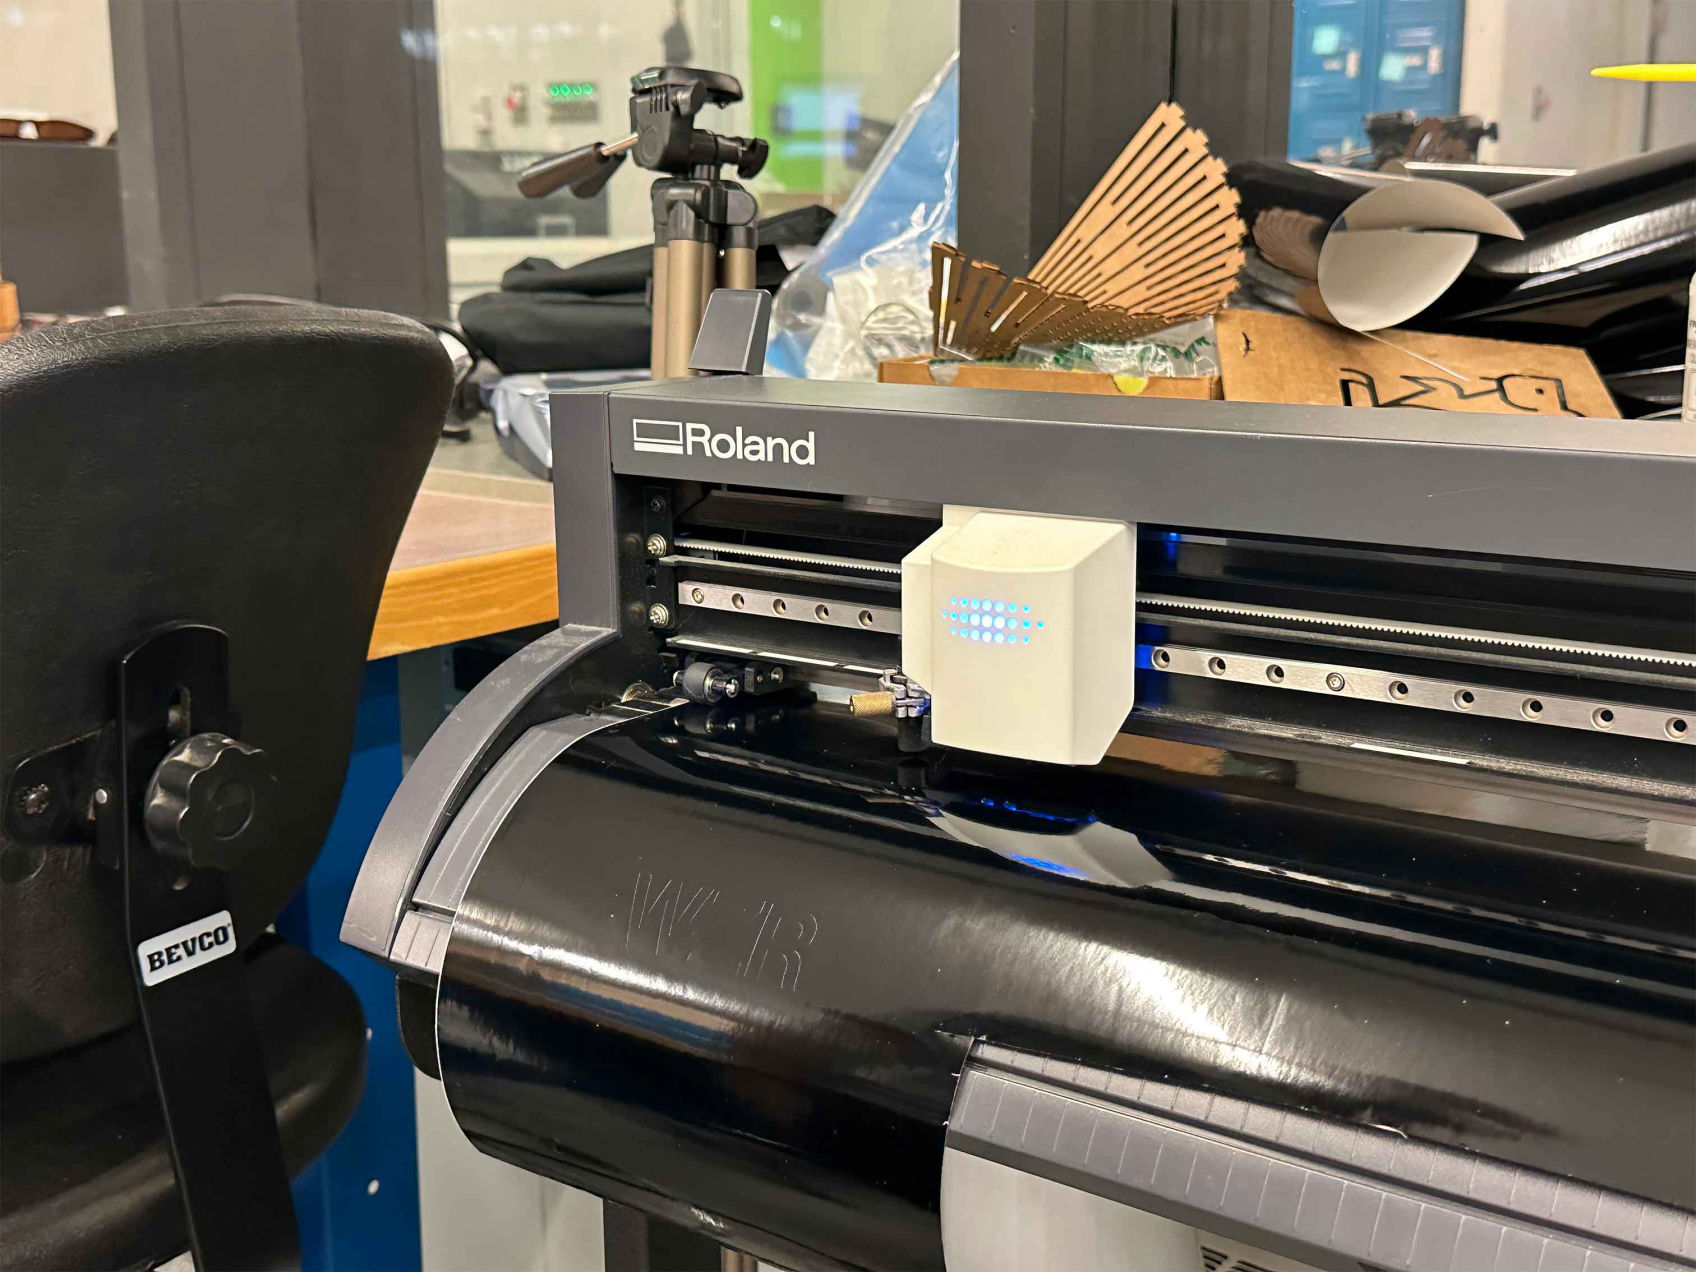
step 3
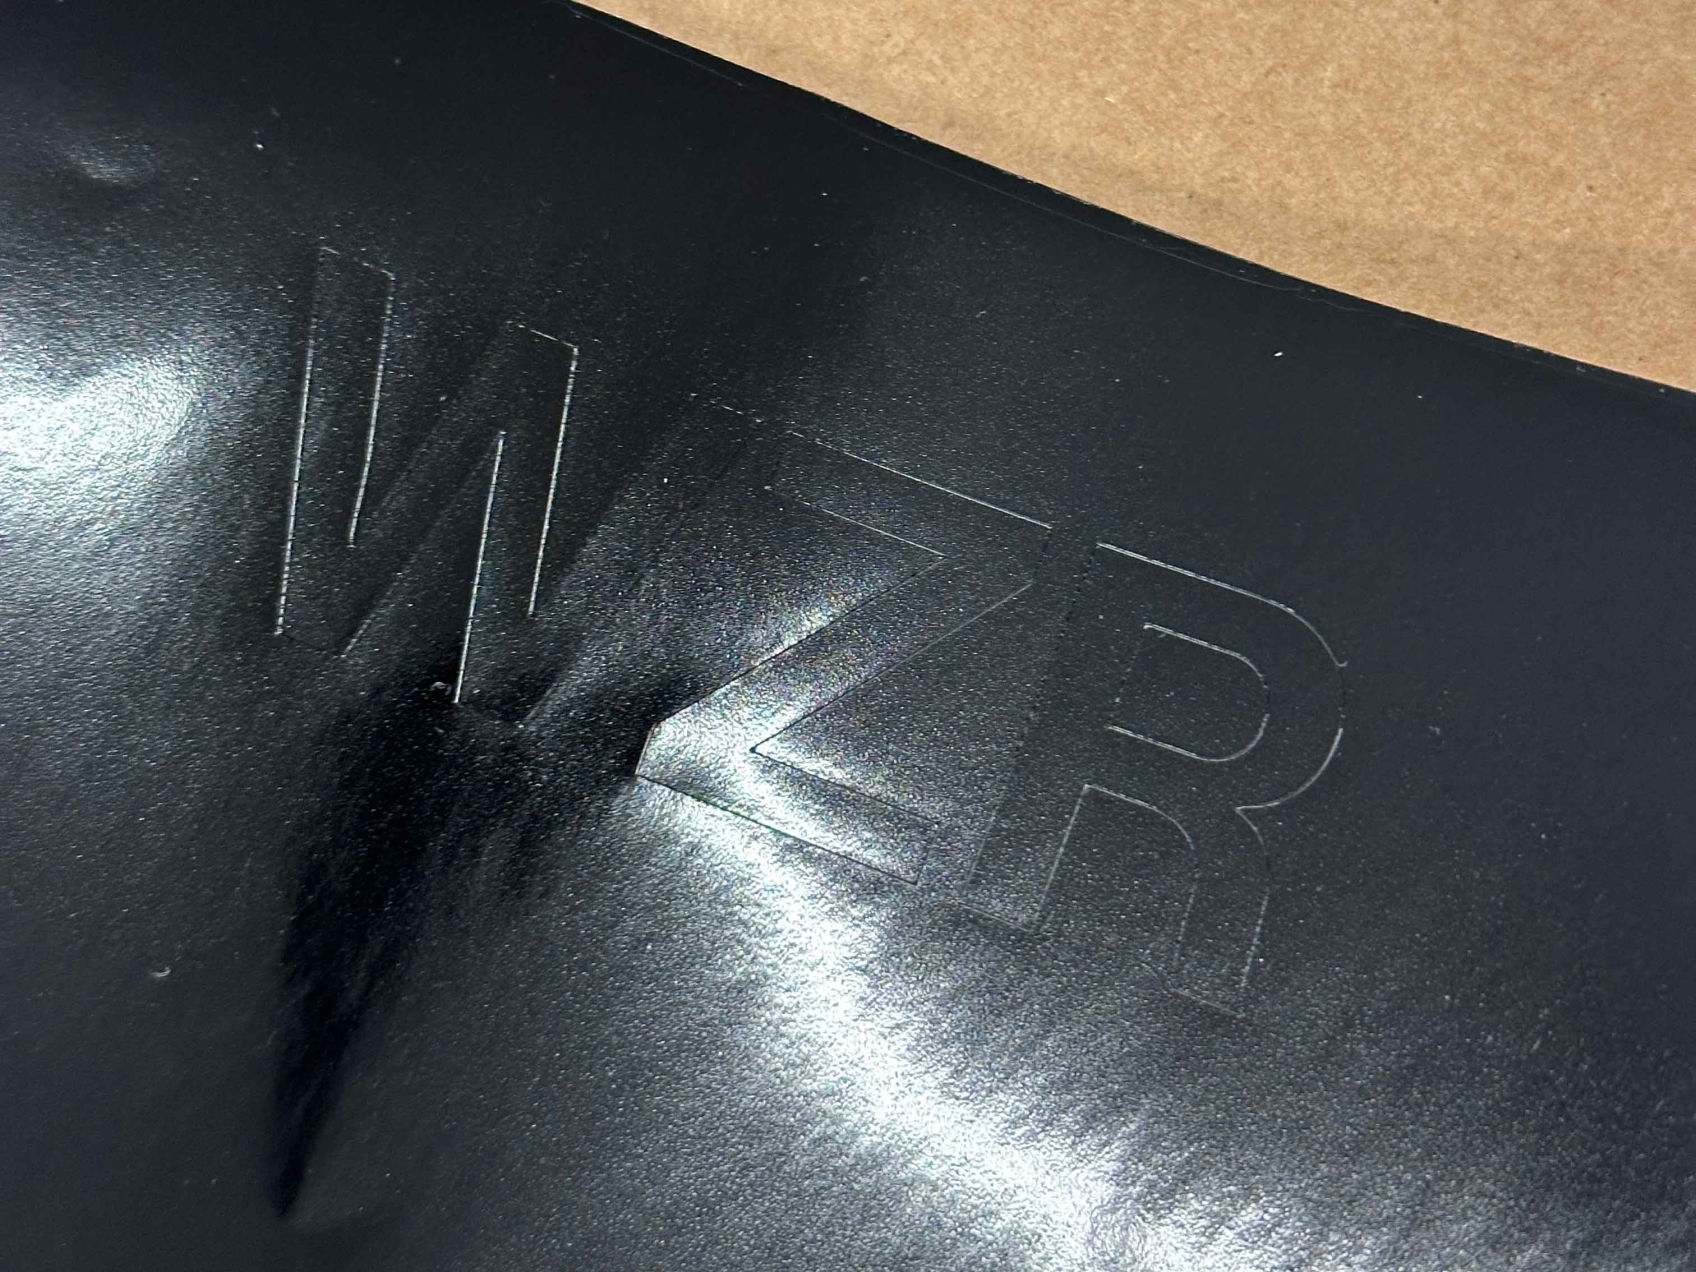
step 4
Use a paper stick to assist in removing the pattern. Never remove the whole thing first and stick each piece separately.
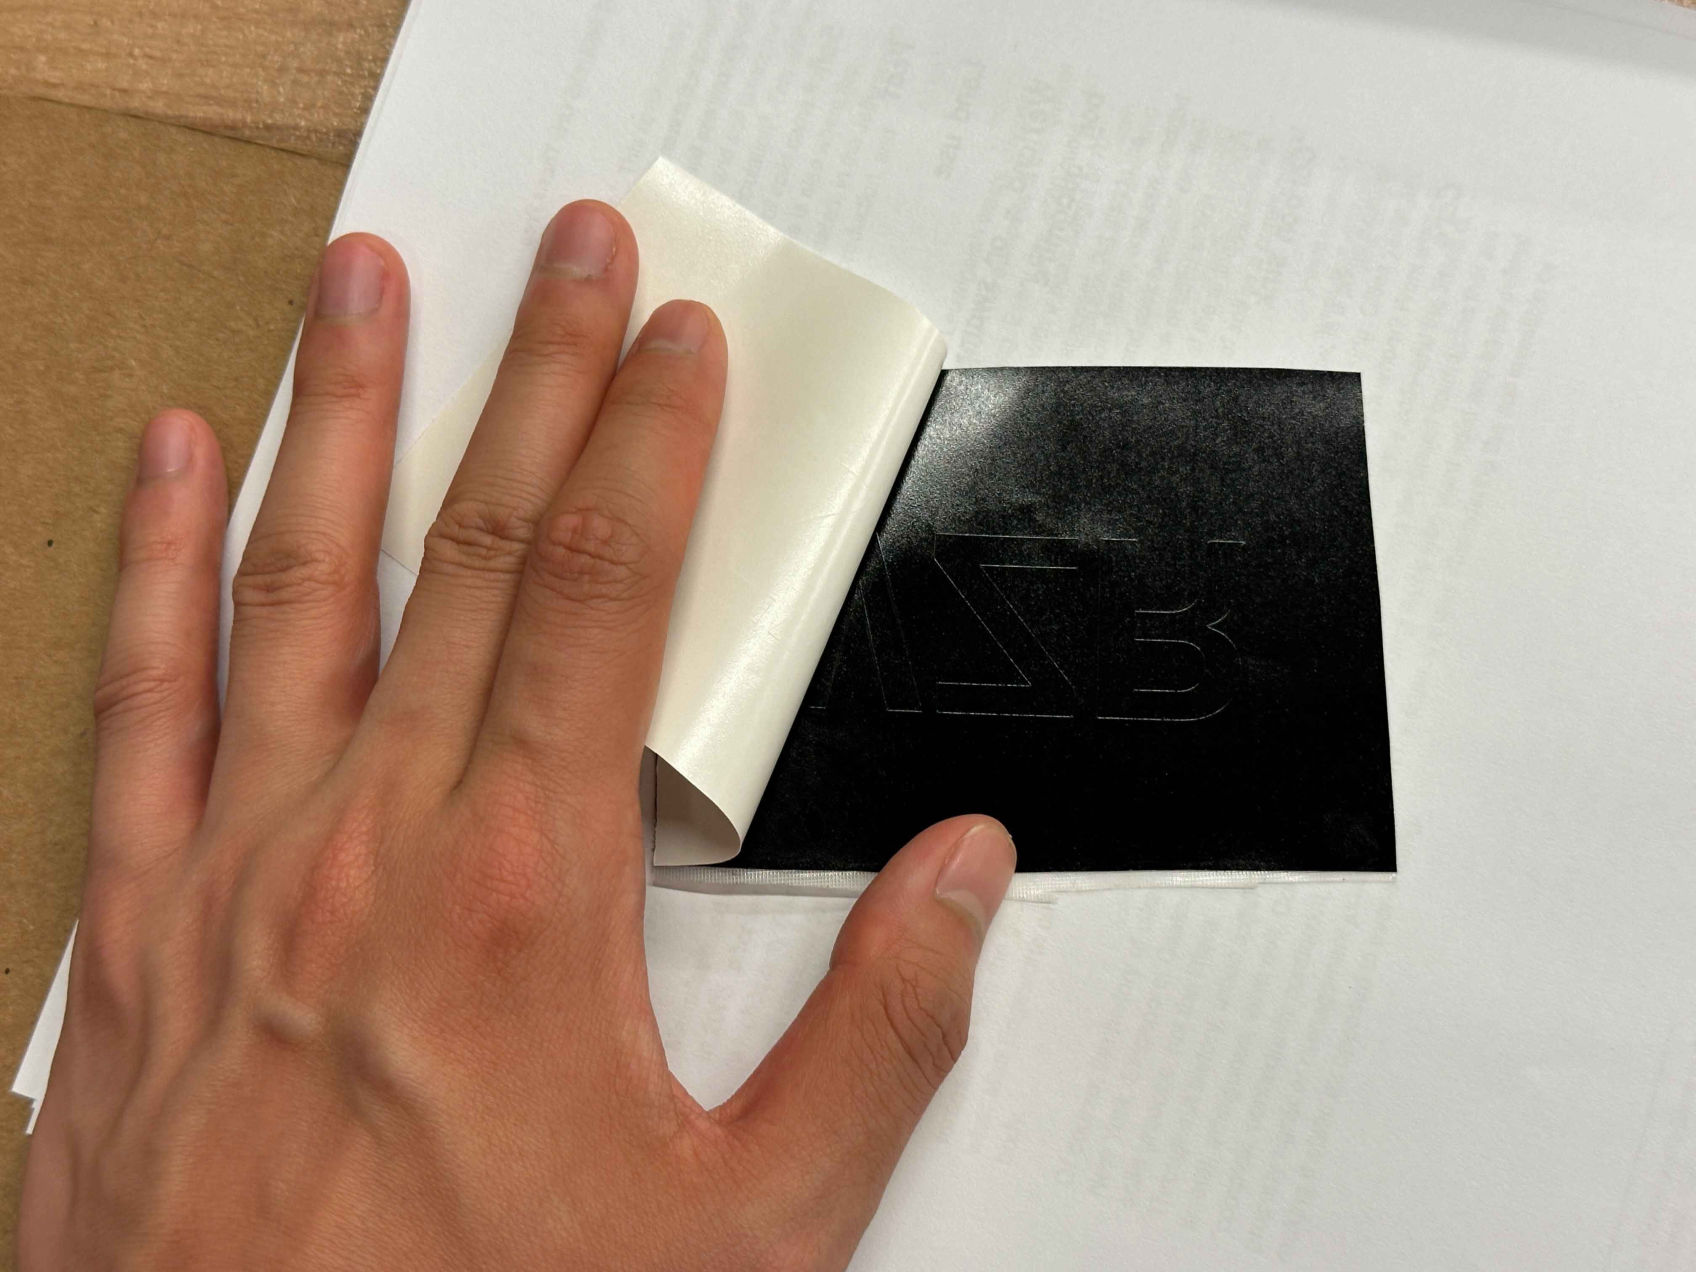
step 5
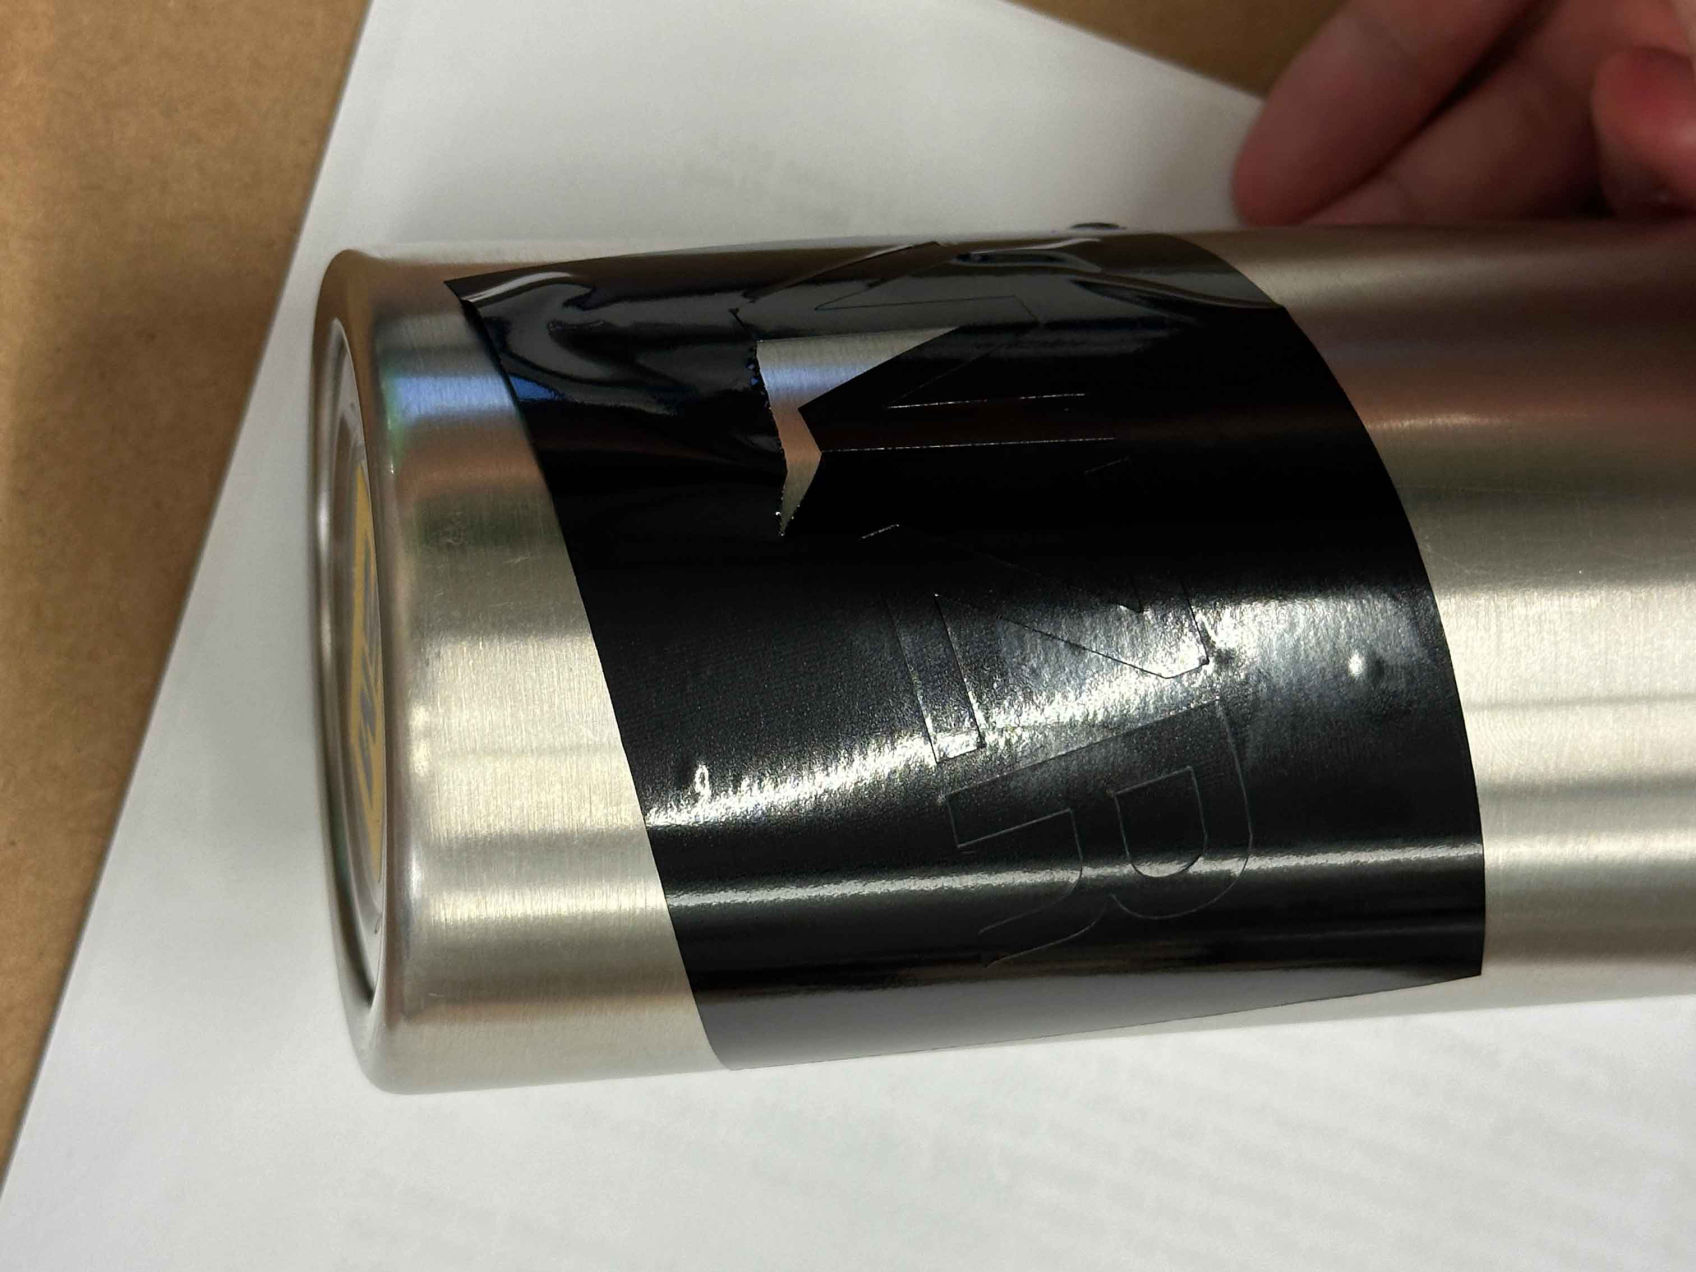
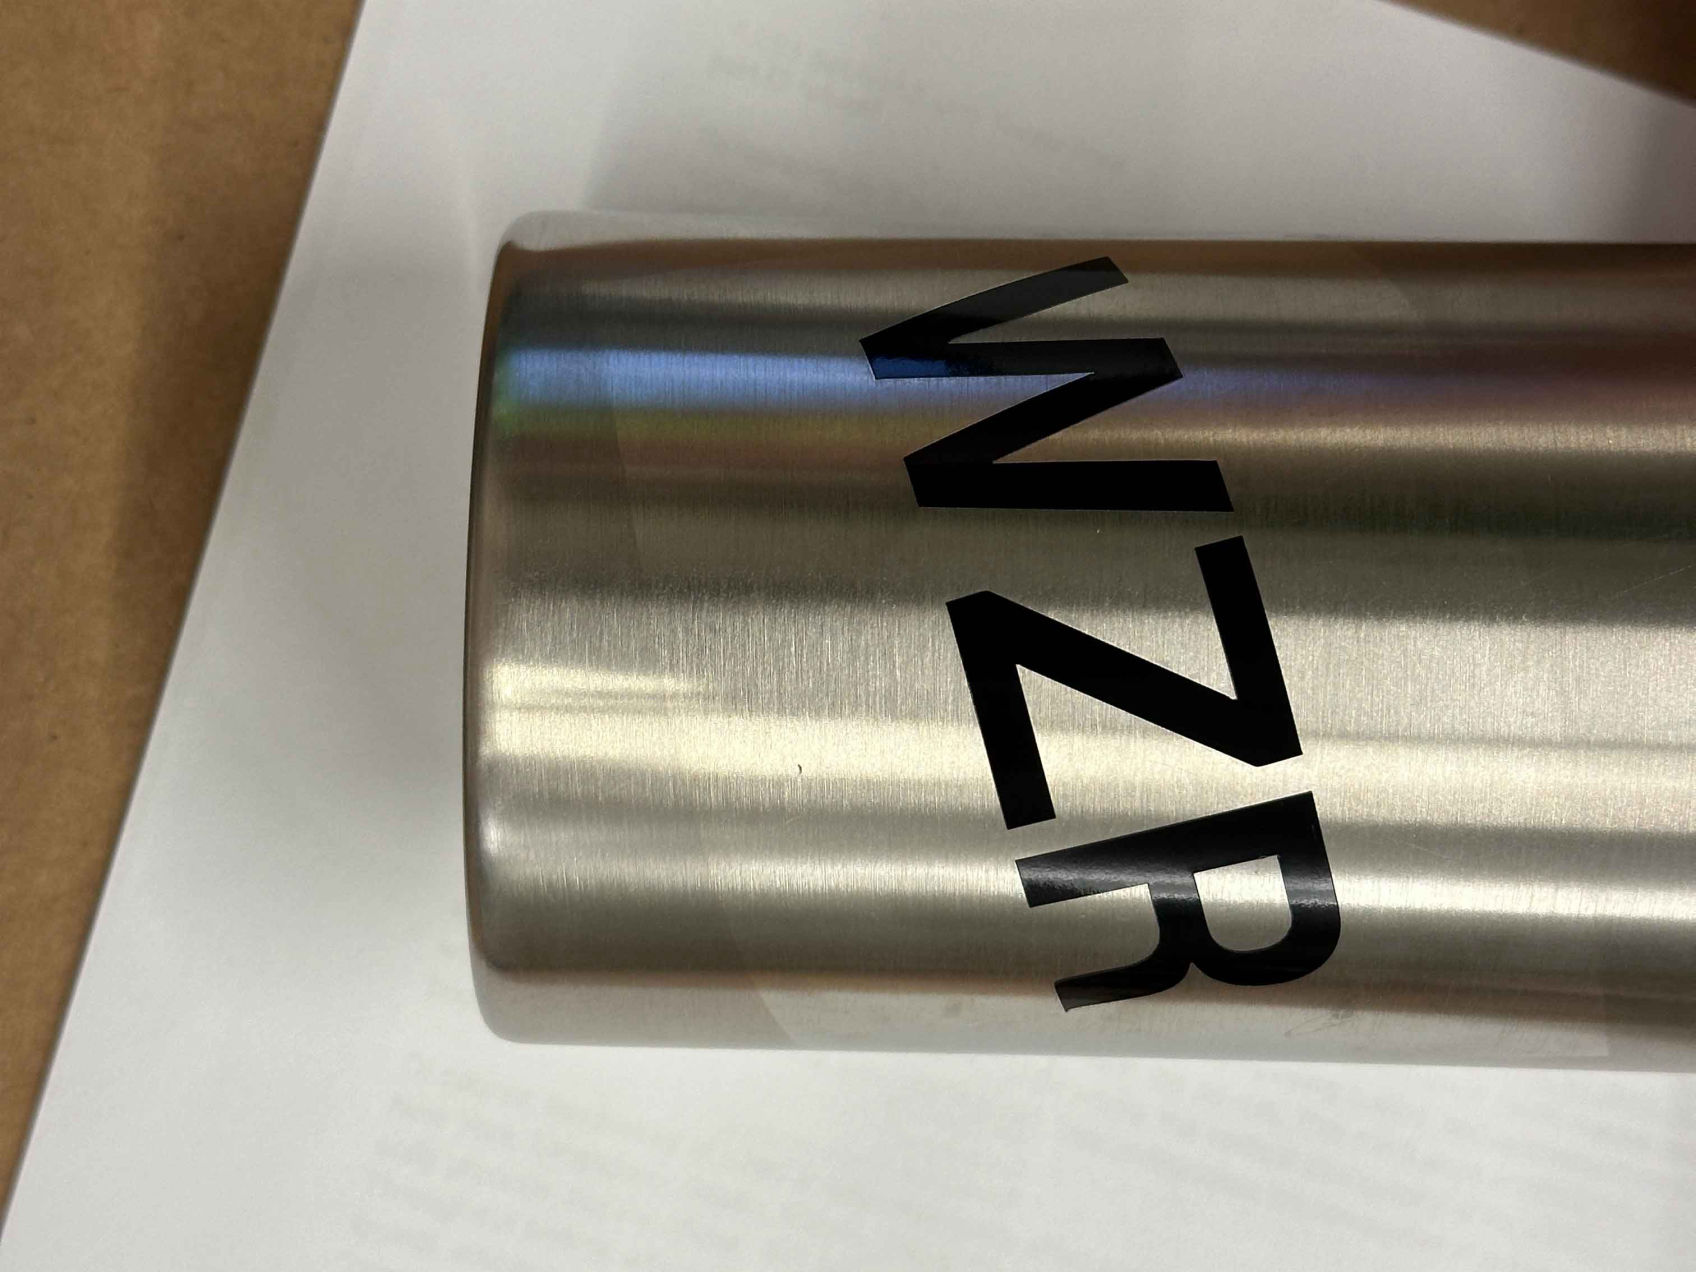
step 6

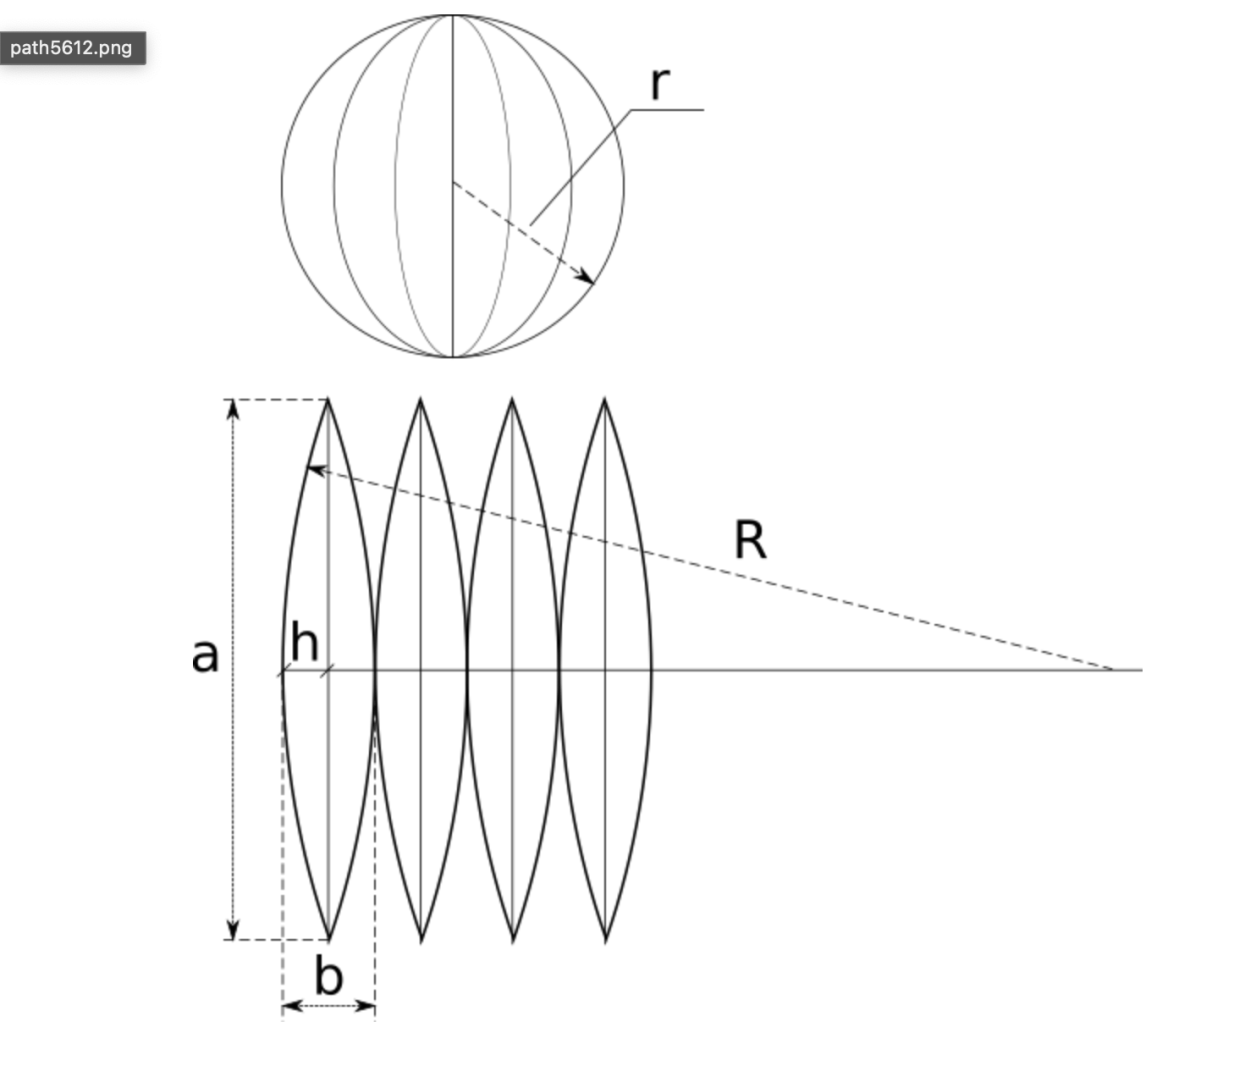
Thanks to Alan, we came up with a genius way to print a PLA ball, and wrap it with the copper sheet. This is a diagram showing how we can unwrap the geometry and make a flattened file to vinyl cut.
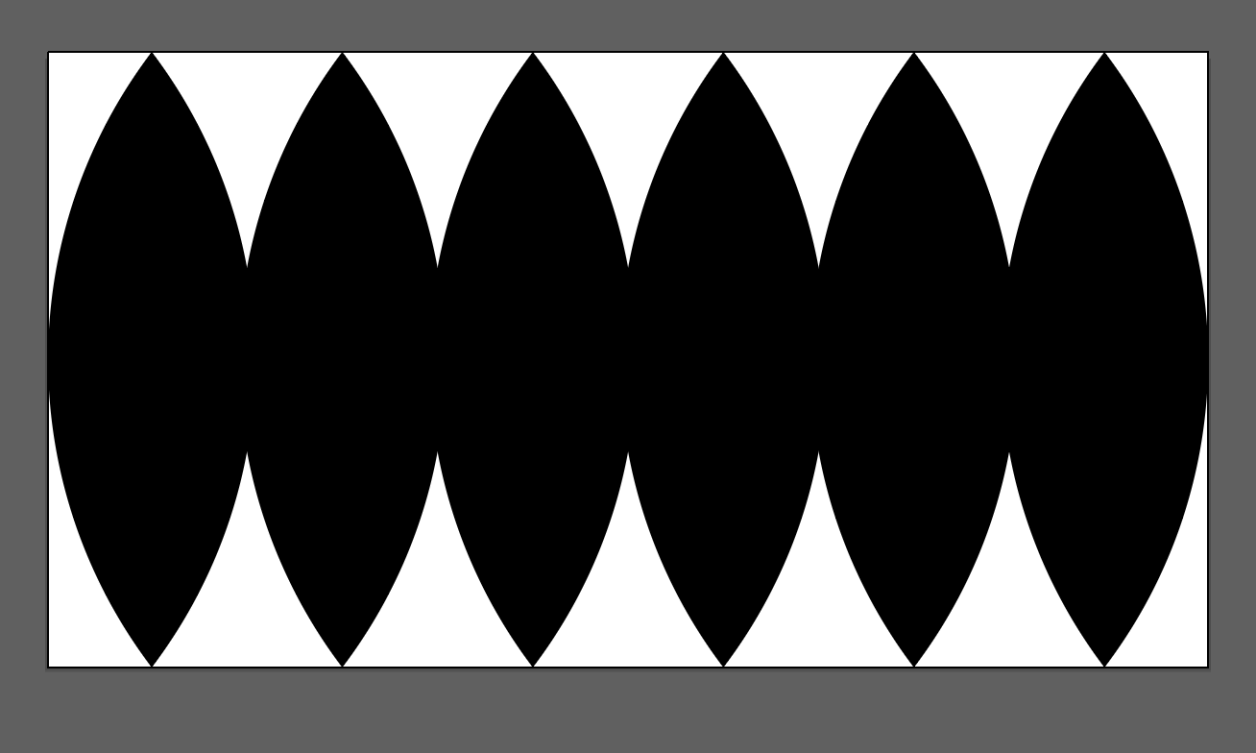
This is the flattened surface for a standard pinball's coating.
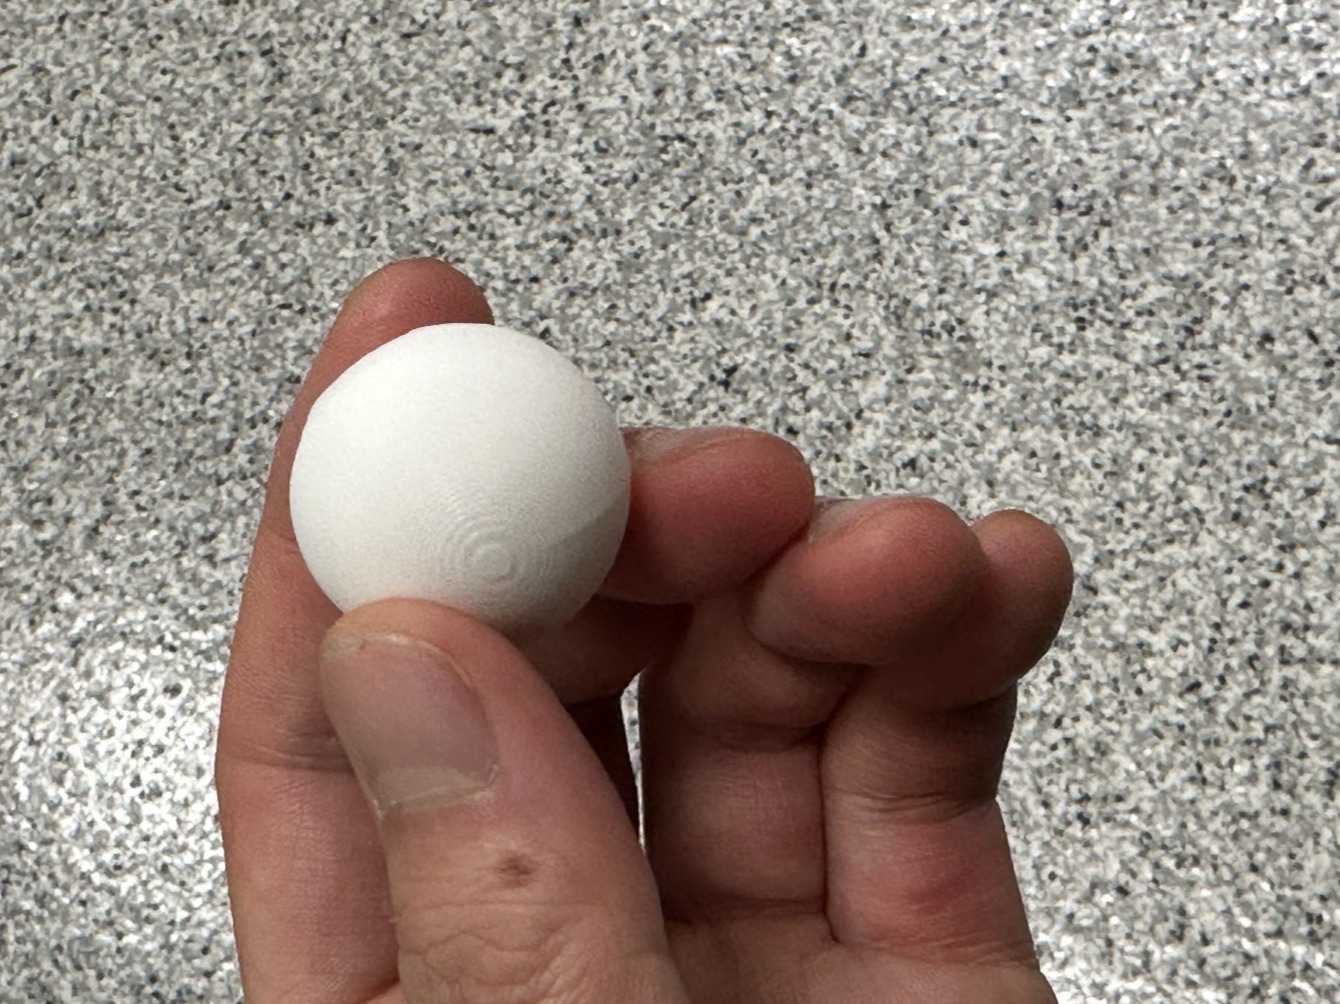
The ball was printed with Bambu
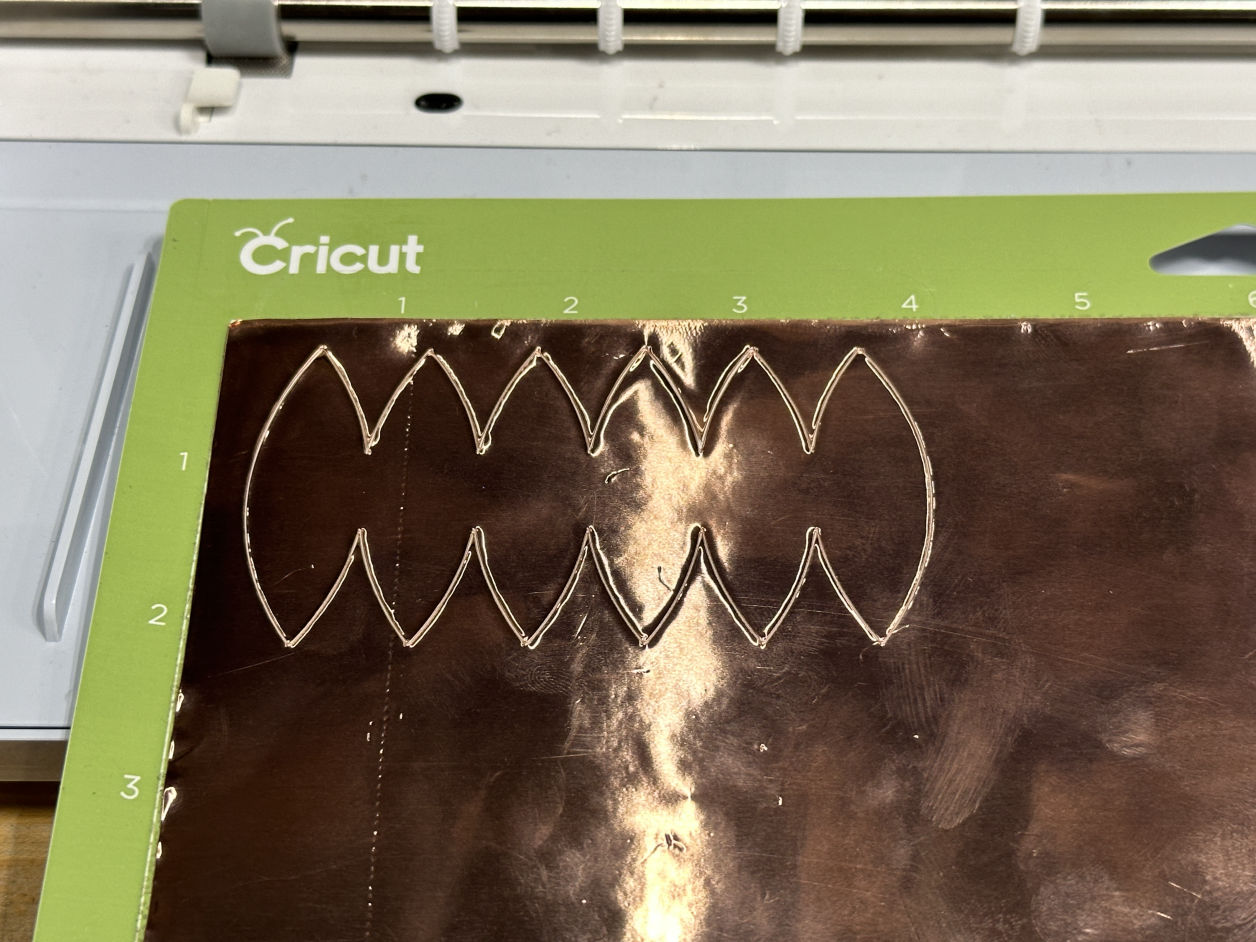
Cutting off the copper sheet.
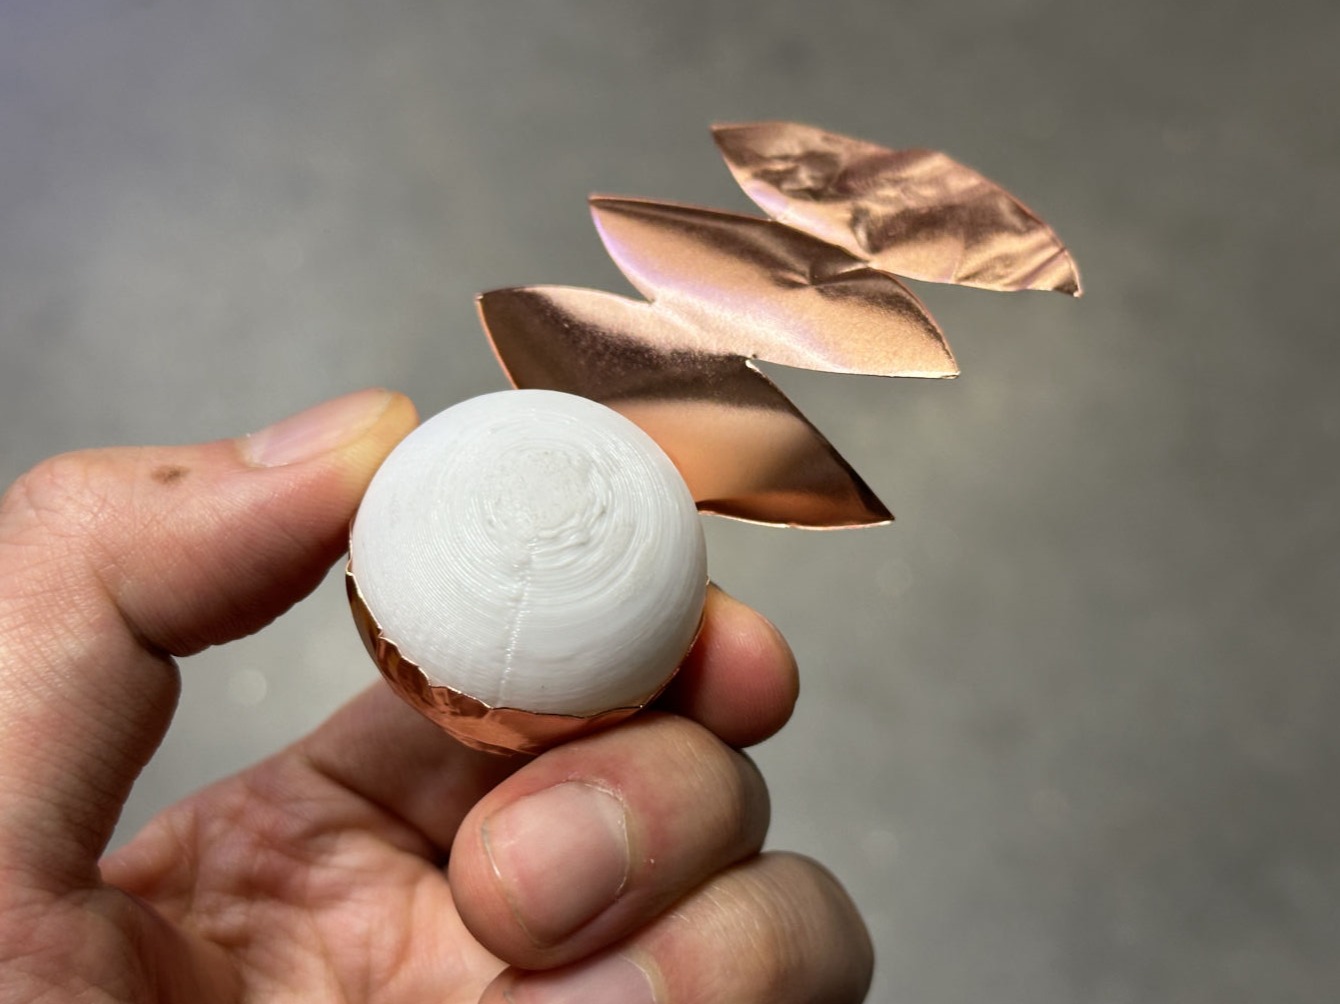
Cutting out the copper sheet.
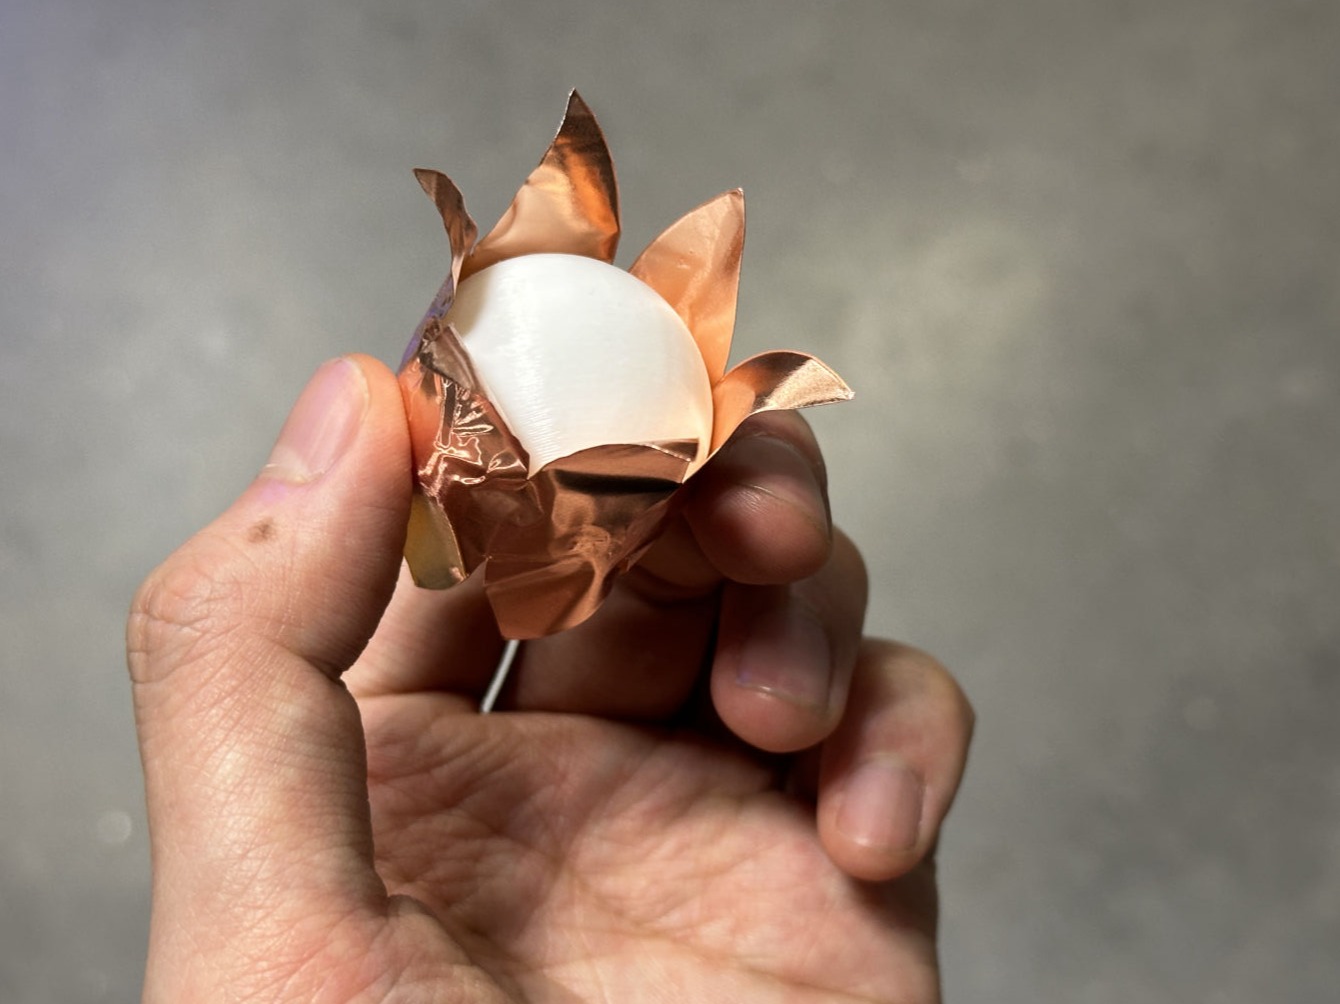
Cutting out the copper sheet.
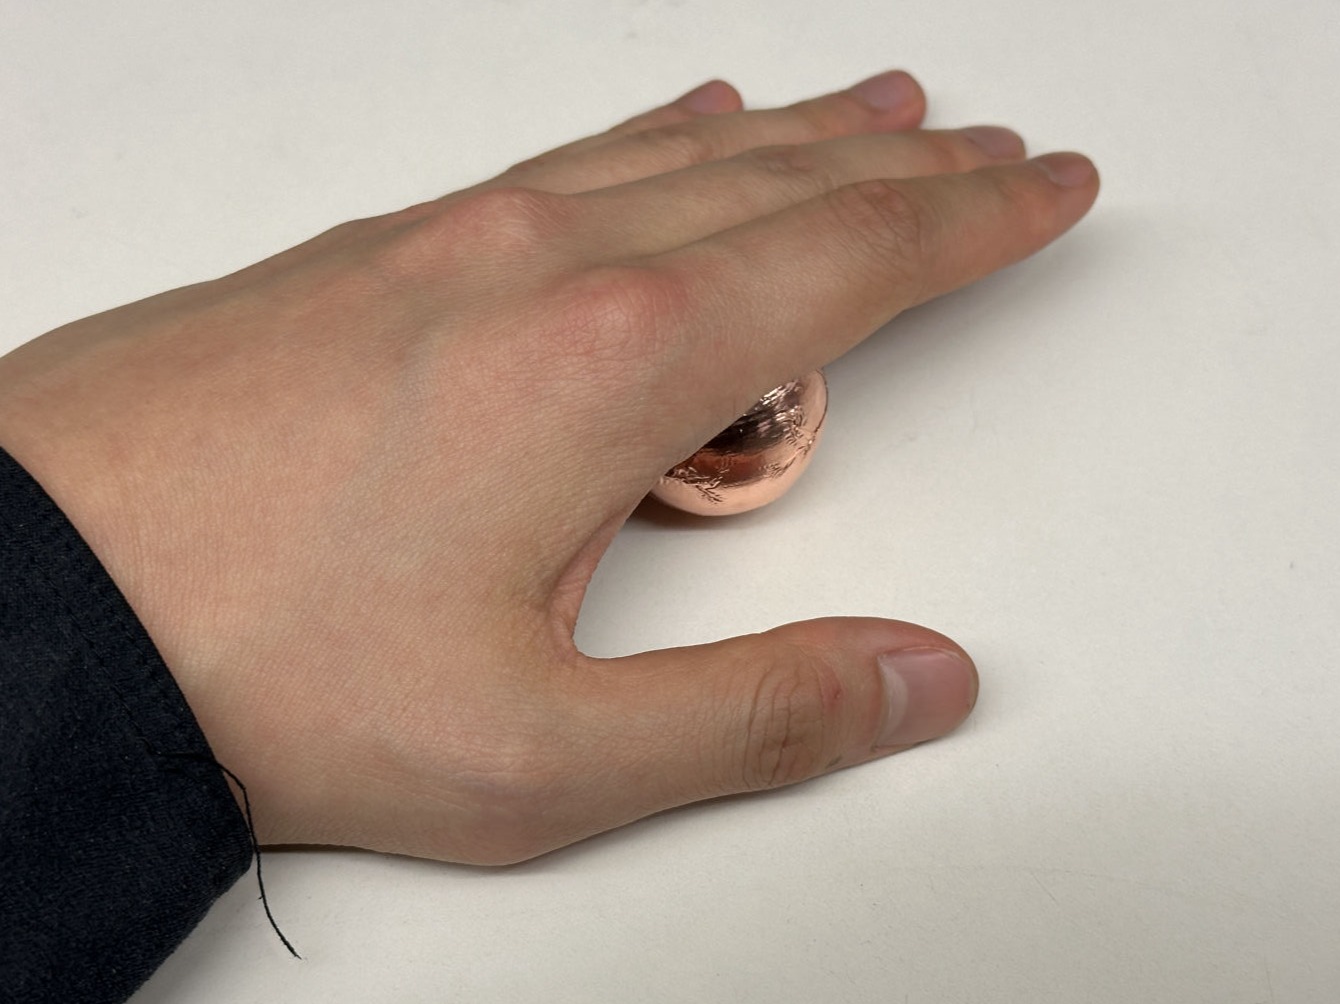
Smash it on the table carefully.
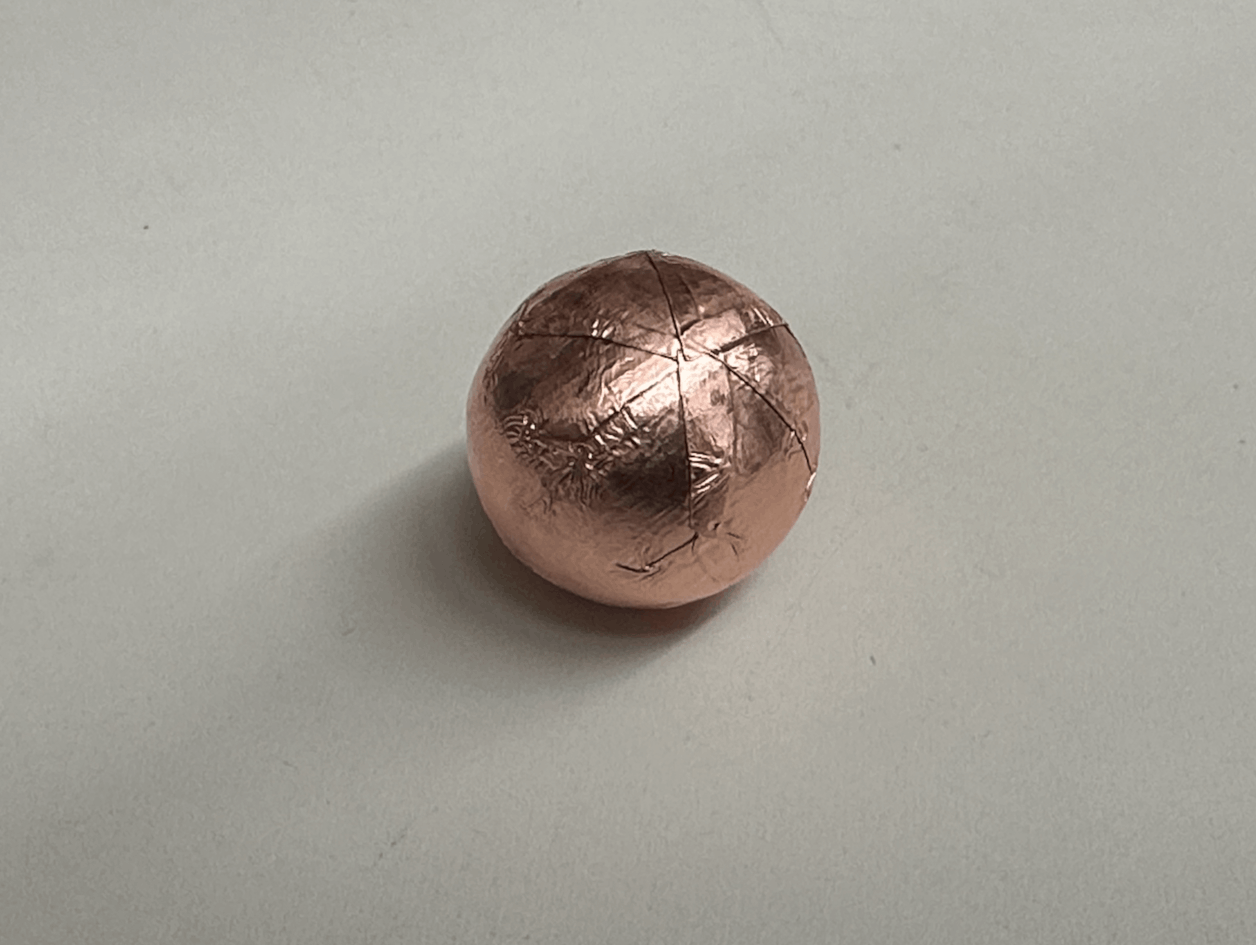
Here is the copper-coated pinball!
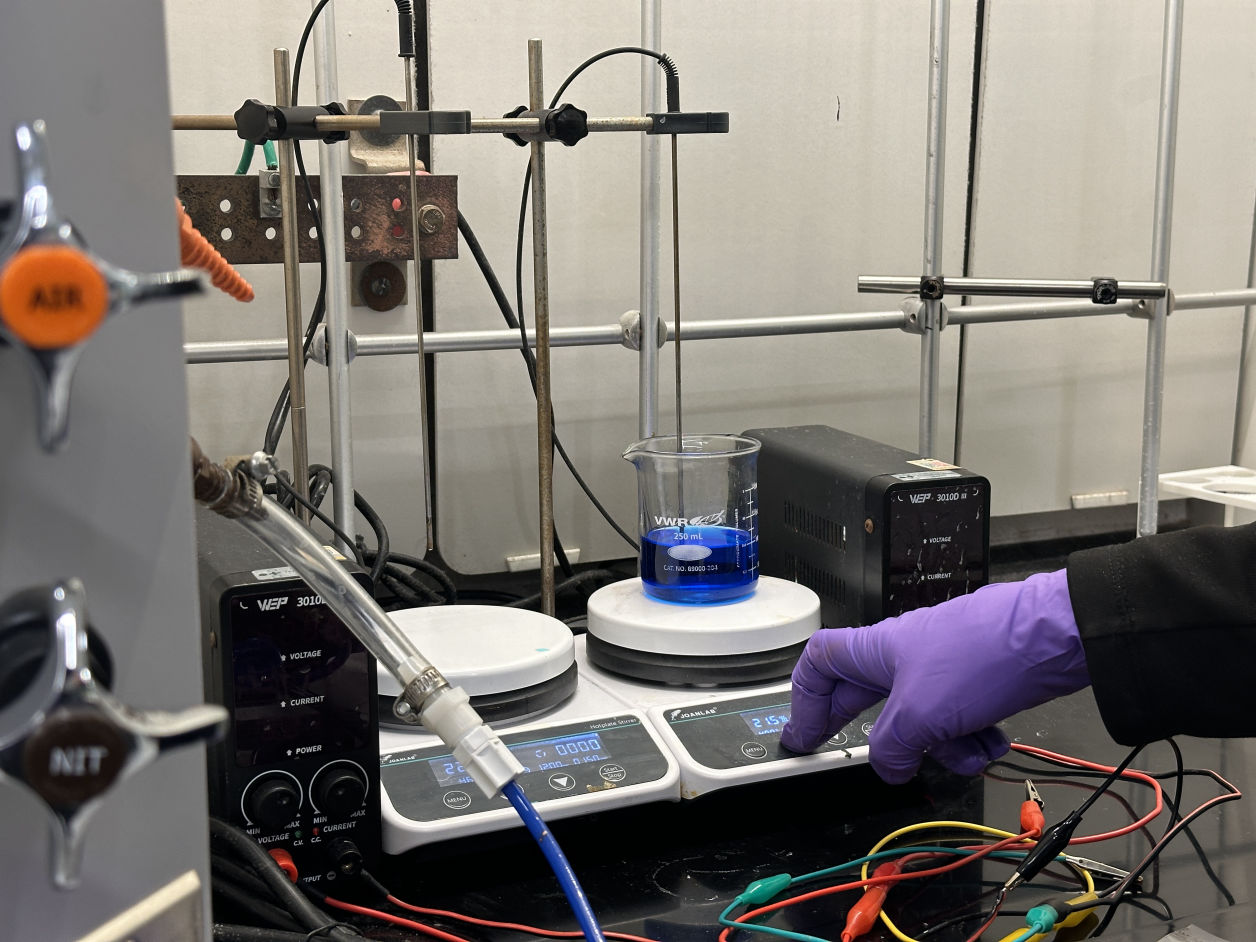
Fun fact that I also tried to electrify the PLA to make the iron attached on its surface, but the result wasn't that good.
AI Website Builder