Networking and Communications
Initial idea: connect my bluetooth headphones to my microcontroller
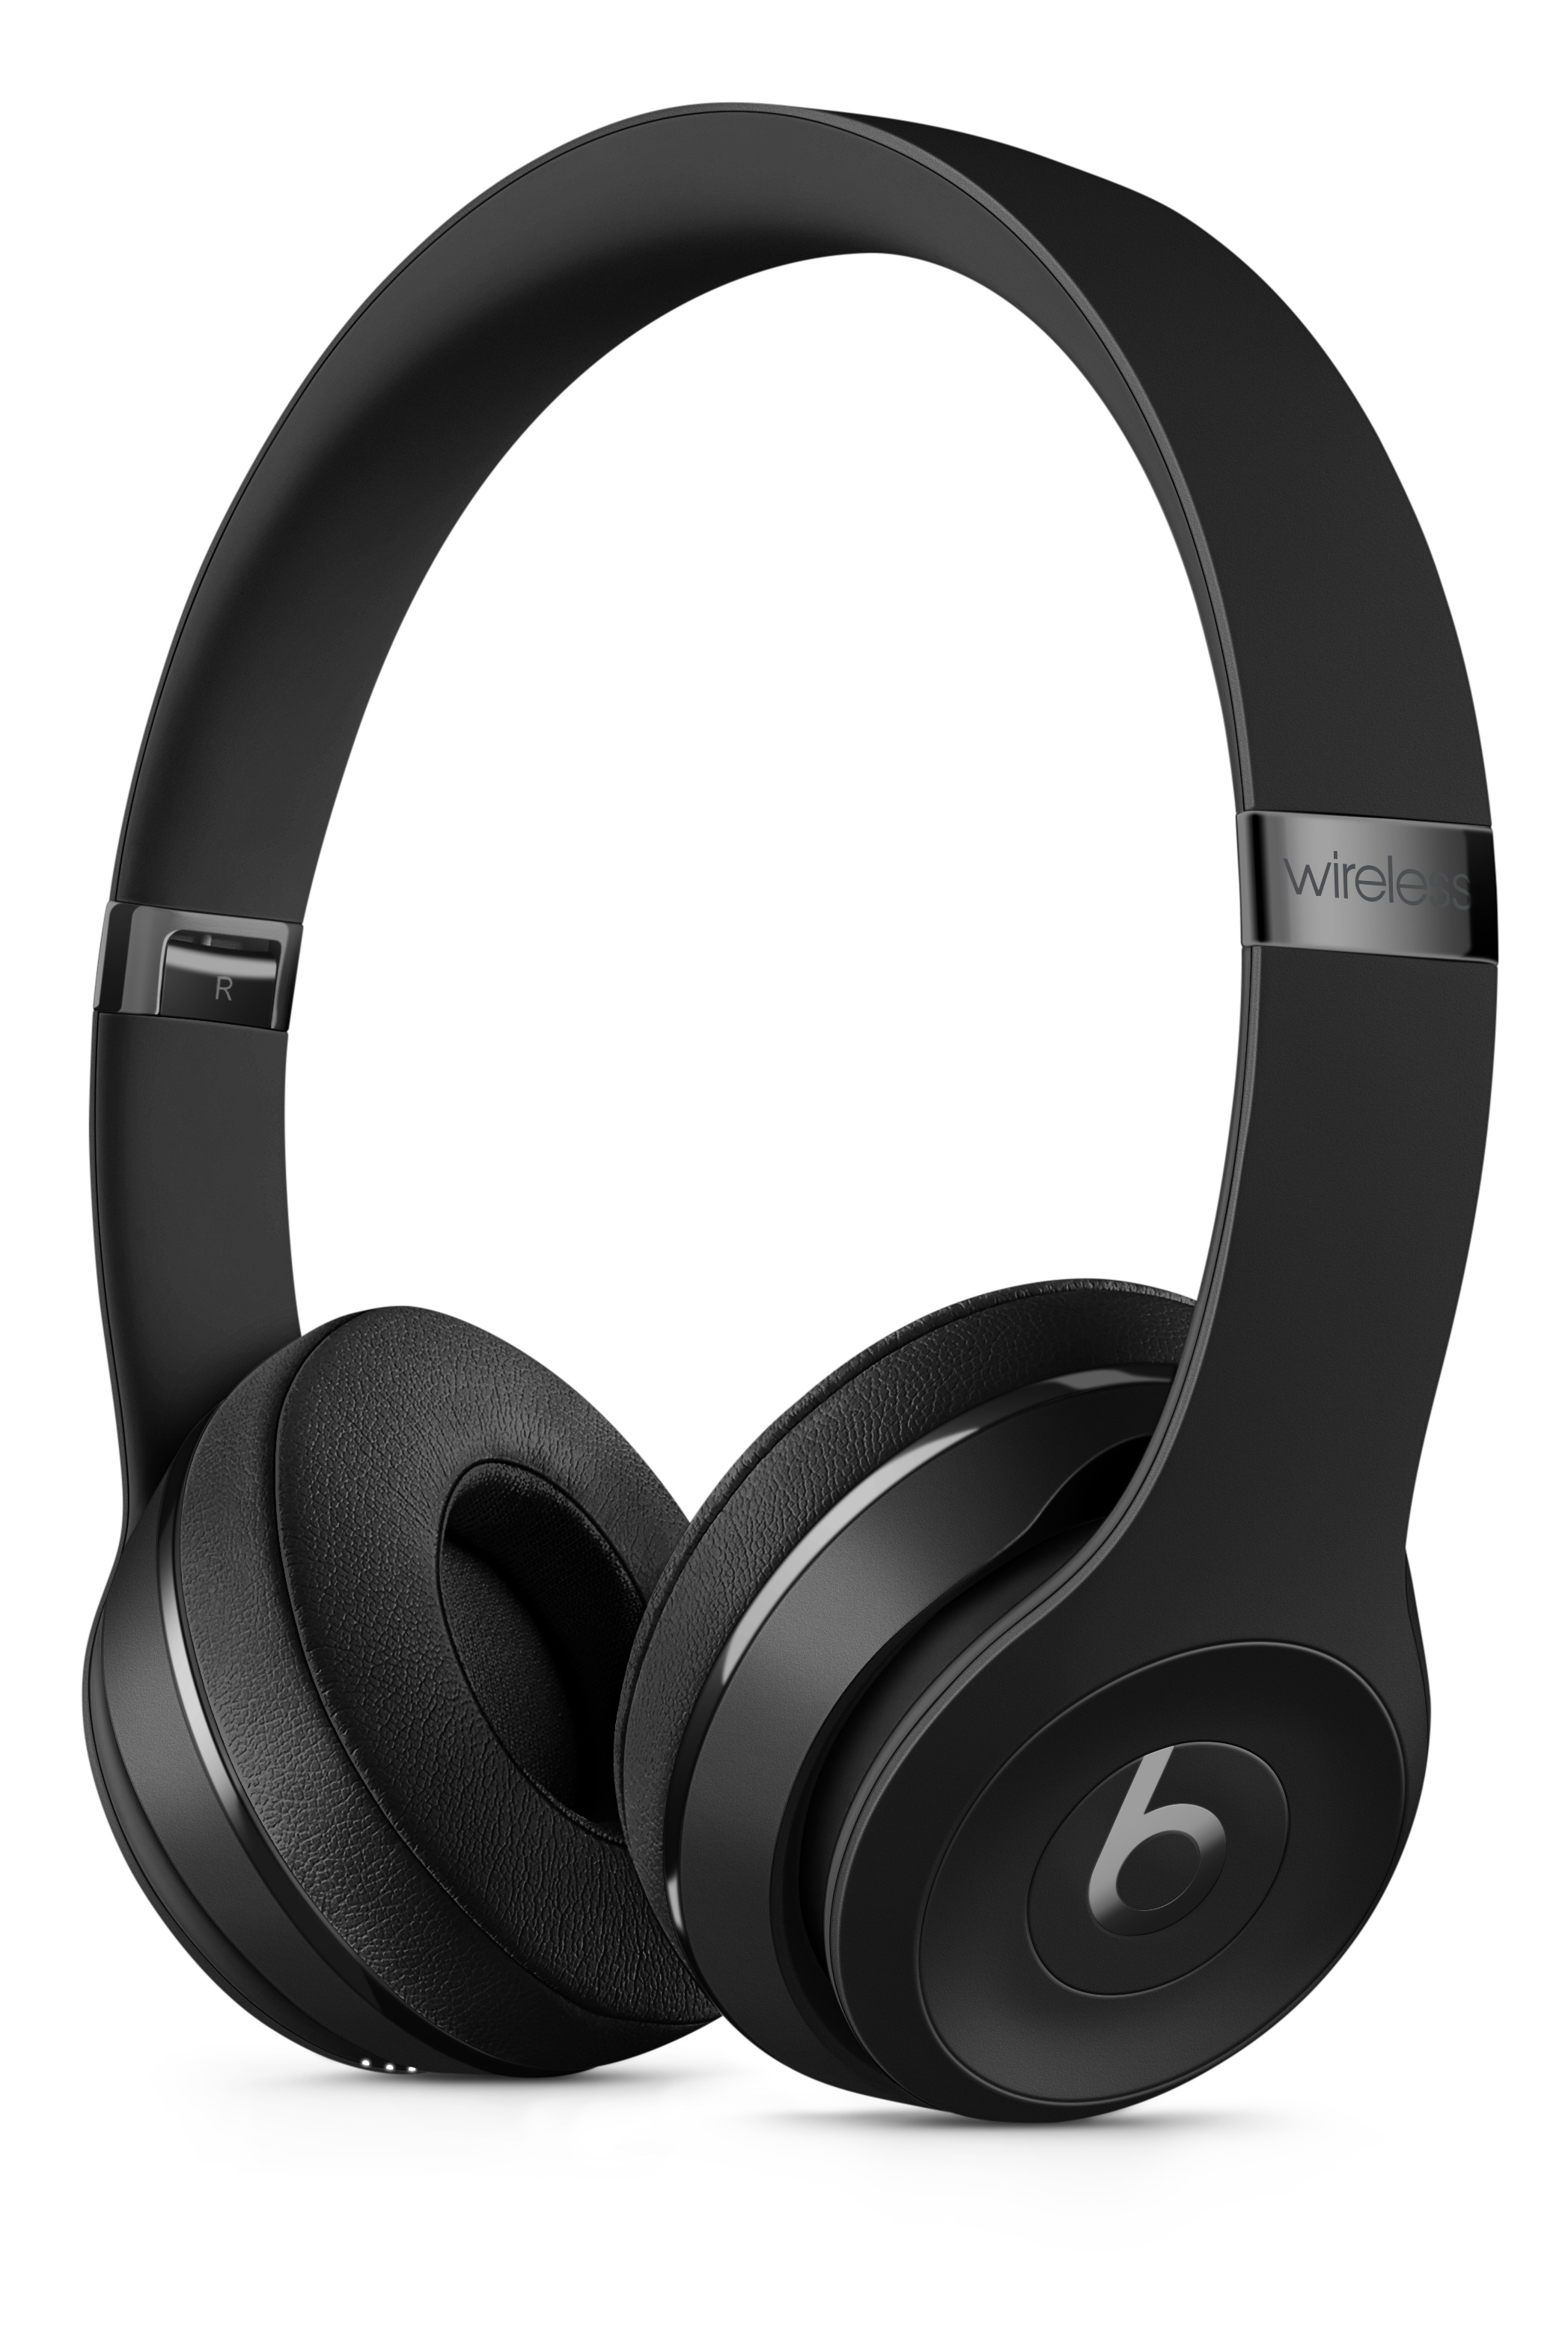
I'm always listening to music and using my Bluetooth headphones, so I thought it would be cool for this week if I connect my headphones to my microcontroller, and then use an API like Spotify or a radio to play music through my microcontroller.
Installing ESP-IDF in VS Code
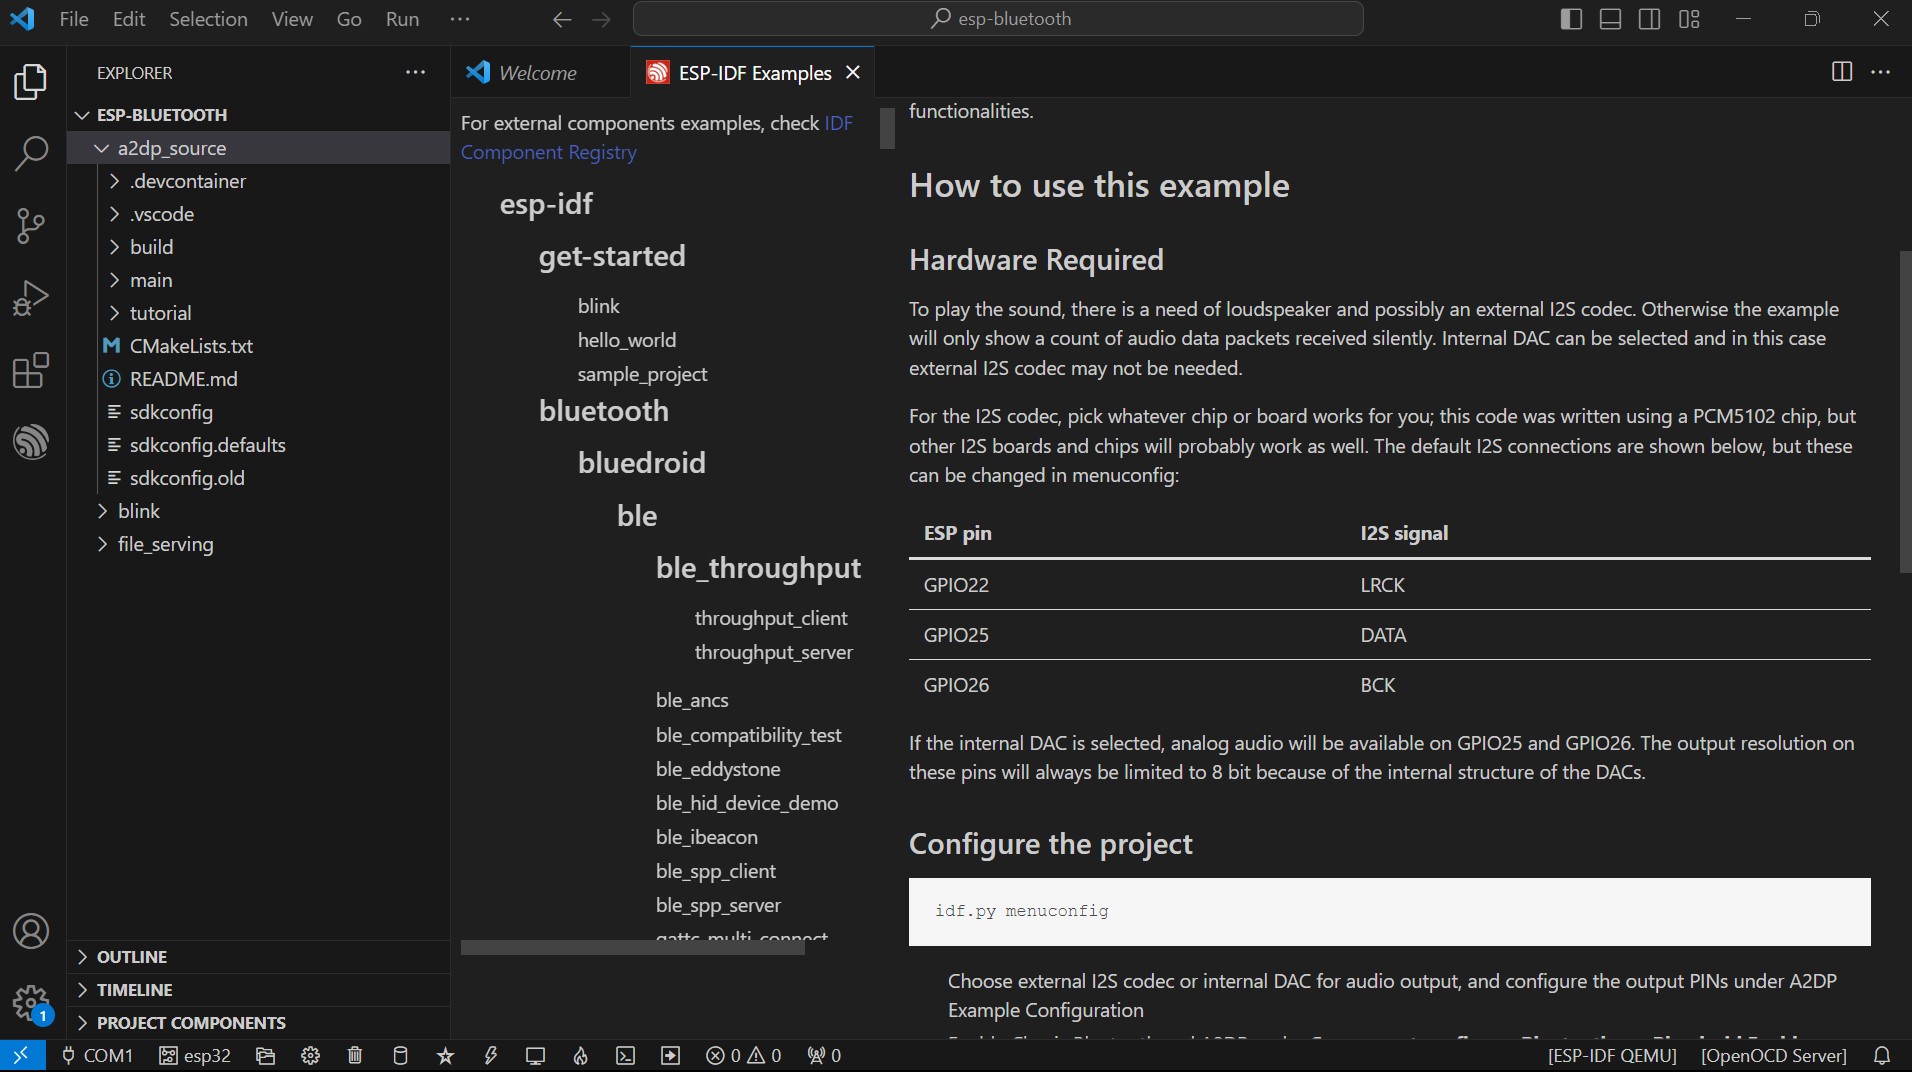
So to start, I'm using the ESP32C3 board, and when I look up how to use it, the documentation from Espressif tells me to download ESP-IDF, a software development environment for ESP boards. To download it, I download the extension on Visual Studio Code using these instructions. Once it's installed I run through the first "Blink" example and it works! Though this is already so much complicated than working with the Arduino IDE, which I've been using.
Changing ideas
So, ESP-IDF has an example code exactly for my idea called "A2DP audio sink." However, when I ran the code, it wasn't working. I spent hours debugging, and even when I ran the example Bluetooth code from the seeed wiki, my headphones wouldn't show up as a connectable device. After more research, I learned that there's two types of Bluetooth; classic bluetooth and bluetooth low energy (BLE). The ESP32C3 only has BLE, while the other ESP32 microcontrollers have classic bluetooth as well (and the example was using classic bluetooth). Turns out, my headphones have classic bluetooth and not BLE, and so that's why it wasn't connecting :( Maybe that's not the reason and there's still a way to connect, but I couldn't figure out after a few days so I decided to switch ideas.
My new idea is to connect my microcontroller to WiFi, and use an API to get information from a website and back into my microcontroller. I decided to use the OpenAI API to get ChatGPT to answer questions, since I had used it before for another project.

Coding
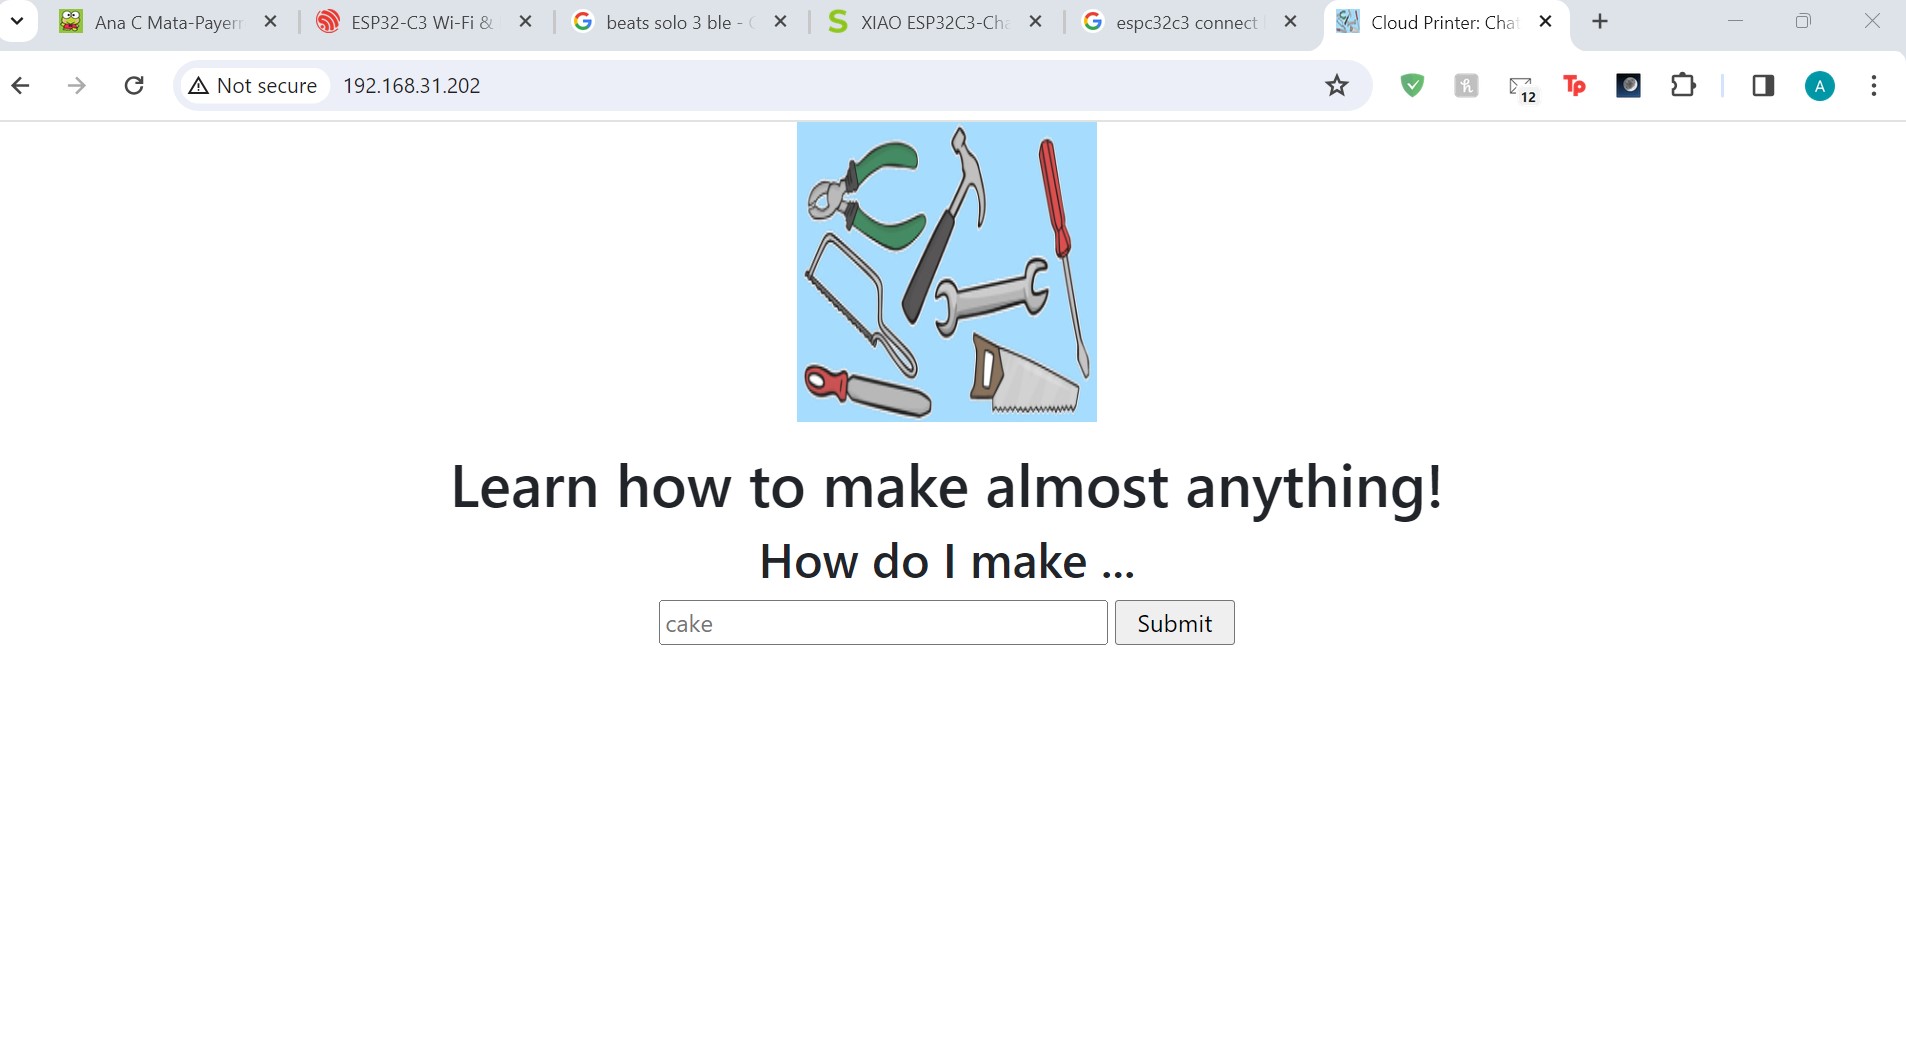
It was very nice to see there was already a tutorial from seeed on how to do this exact thing. I learned a lot about connecting to the WiFi and WiFi servers. Basically, the way that the code works is that it creates a website by creating a socket server using the WiFiServer libary. A socket server is just a two way connection between my computer and my microcontroller. This works only if we're on the same network, so the ssid and password I pass in on my code has to be the same network my laptop is connected to. Once the website is created, I can print HTML into the website and also get things back from it. That's how the website works.
To use the actual OpeanAI API I have to use another library, HTTPClient, which sends HTTPS requests. HTTPS is a protocol for transferring information on the internet, and it uses links to load websites. Using HTTPS, I can get information from websites by using the correct link. What the OpenAI API does is create these links so that you can ask their ML models anything, just by using a link. So basically, in the code I send a request to the OpenAI Model (POST request since I'm sending information to it) "text-davinci-003" to answer the question "How do I make" + whatever was inputed in the website. By sending the correct link, I get an answer back from this request on my microcontroller! Here is more on how to use the API.
Final Product
This is the final code! Most of it is the same as the tutorial from seeed, so big props to them. I learned a lot about APIs and Web servers! To run the code, replace the ssid and password with the network your laptop is connected to. Also replace with your OpenAI API key (unfortunately you have to pay everytime you use the API, I had to enter $5 into my account in order for it to work). Then, run the code on your microcontroller, and it'll print out the microcontroller's IP address. Put the IP address in your laptop browser and you'll see the website!