Ouput Devices
Idea: Displaying an animation
I want to learn how to use displays, so for this week I decided to take one of the small OLED displays and show a small animation. Using images online, I'm going to make a little animation of Keroppi walking. Here's the picture I used of Keroppi.

Designing the board
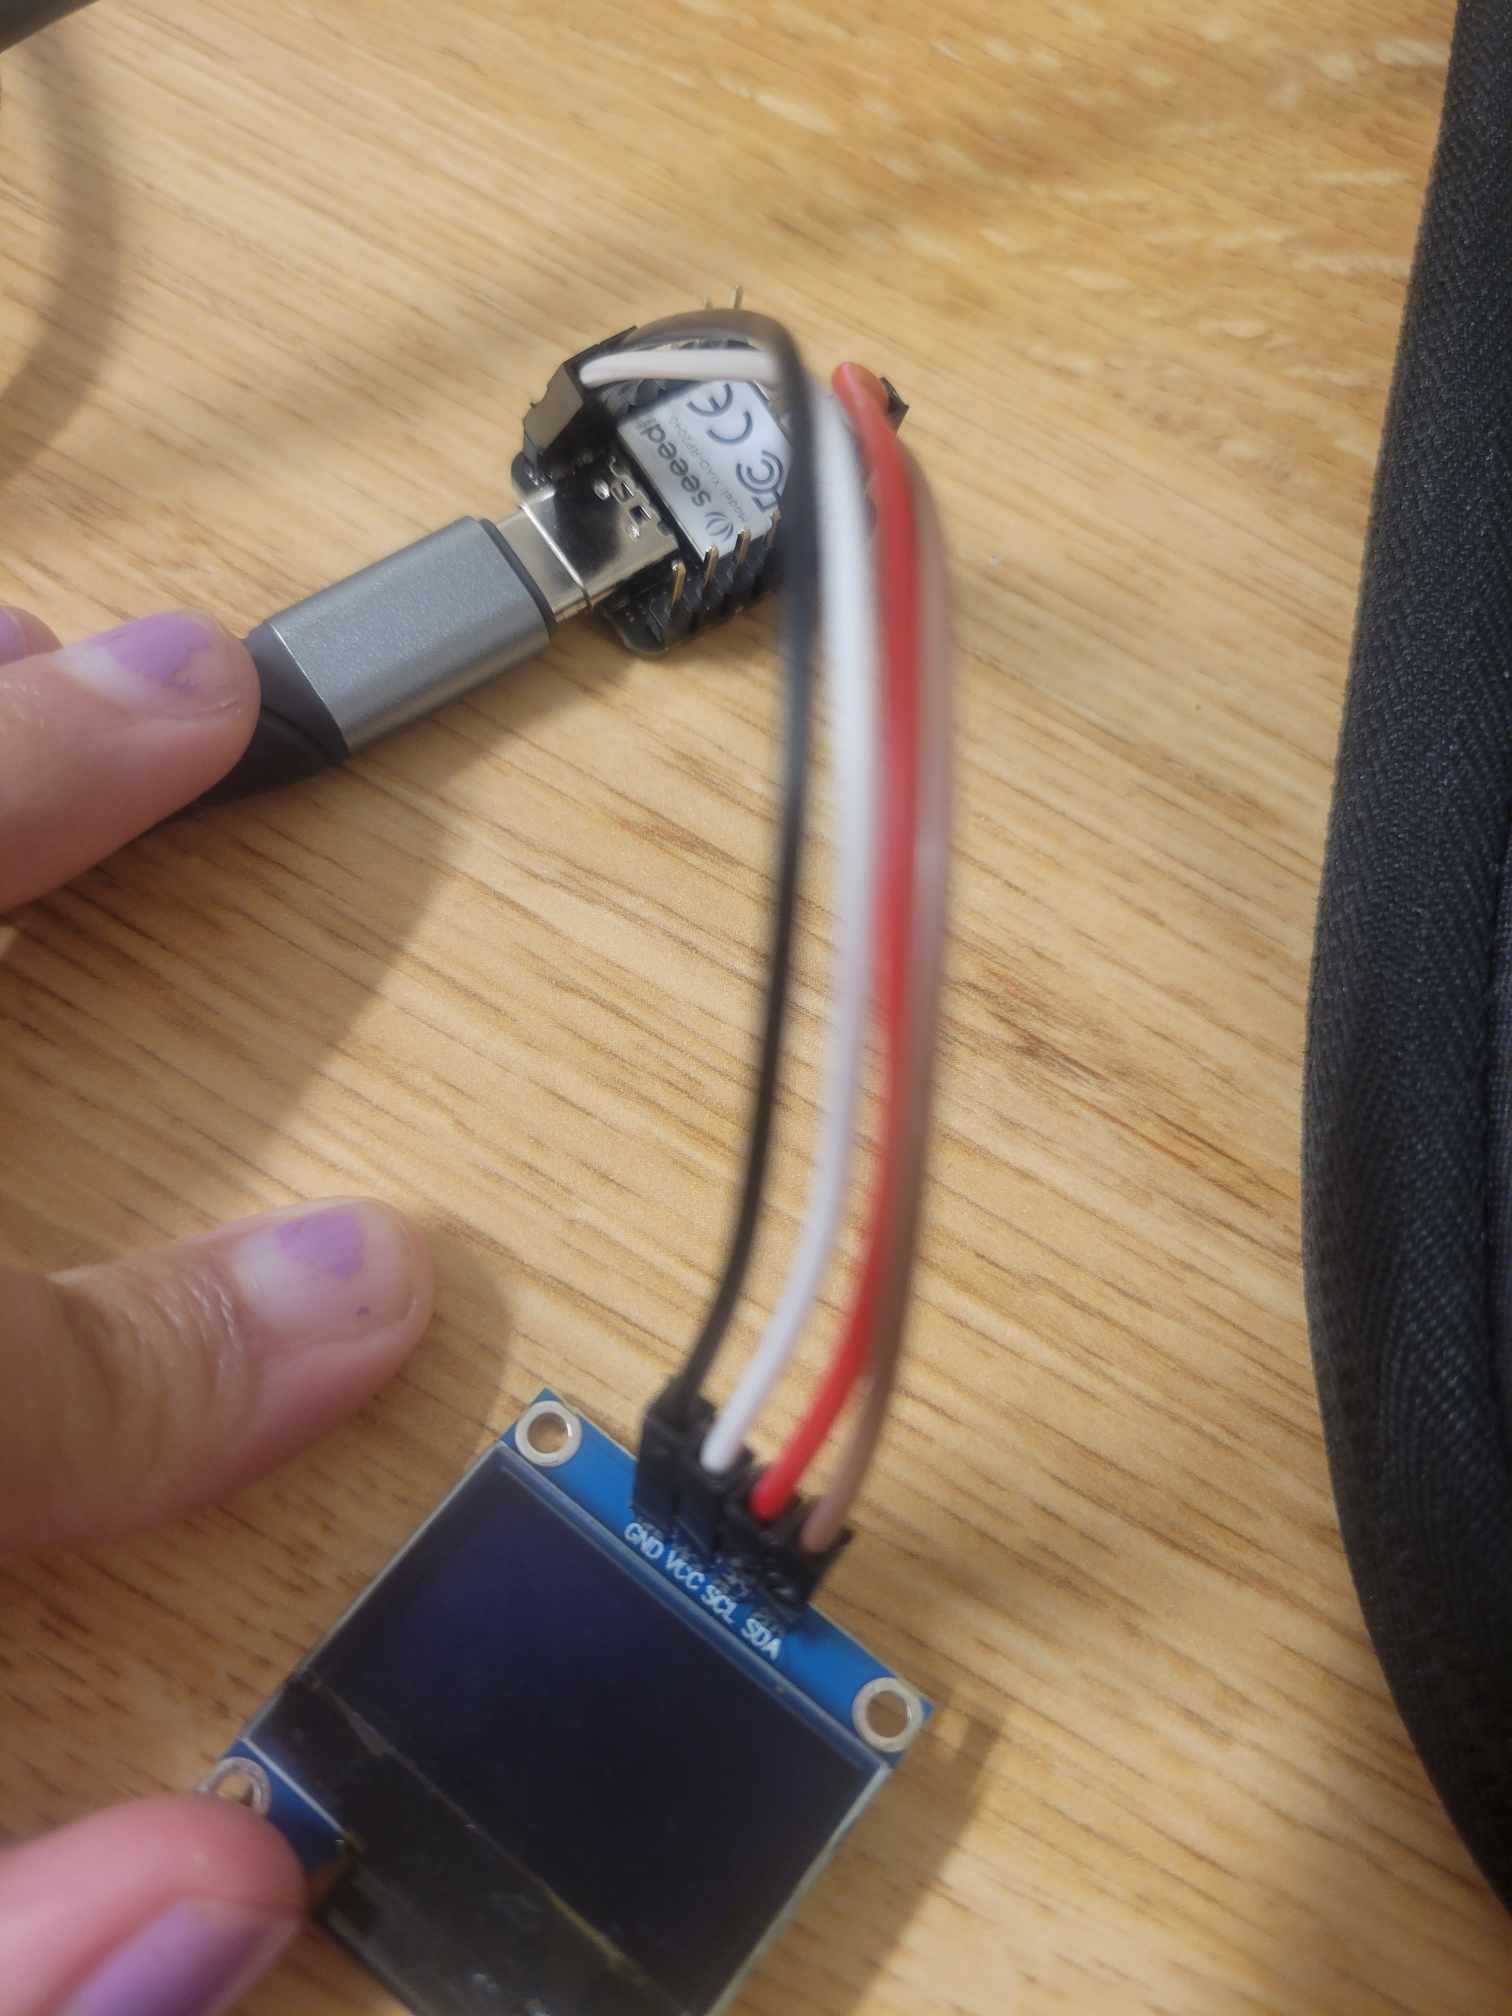
The board was very simple, simpler than I thought, since our OLED displays use I2C to communicate with our microcontroller. Because of this, I just used 4 wires, a rp2040 xiao, and the display. I connected 1 wire for power, 1 for ground, one for SCL (the SCL pin on the rp2040 xiao is D5) and one for SDA (the SDA pin is D4). Here's a picture of what that looked like.
Coding
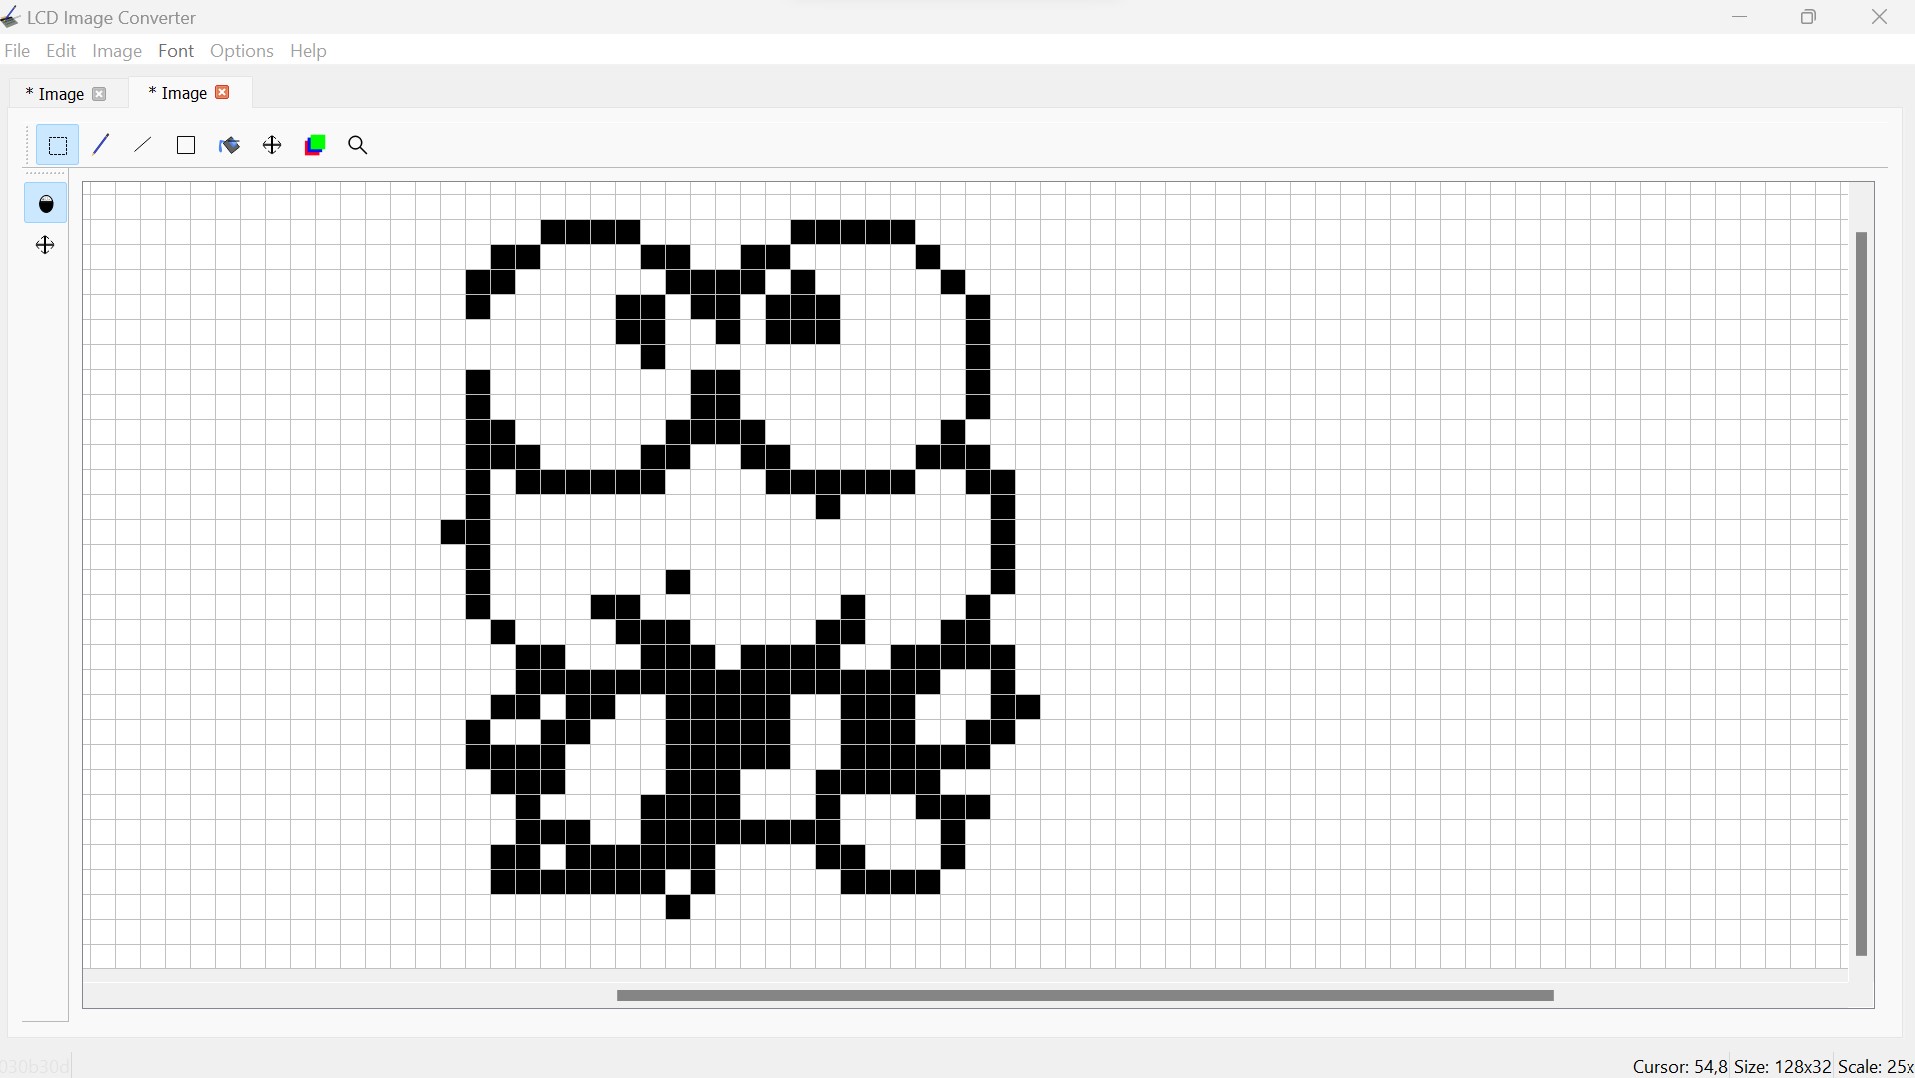
Coding was very simple and straight forward because of the library "Adafruit_SSD1306" and this very useful OLED quickstart tutorial. There were a lot of useful functions like "clearDisplay" and "drawBitmap." I used "drawBitMap" to import my images; I followed the tutorial in the link, but basically I took my image, made it small enough to fit in my screen (my screen is 128x32 pixels), then I converted it to a monochrome bitmap using MS Paint. Then, to convert it to an array of values I could use, I used LCD Image Converter. Using this app, I imported my bitmap and converted it to an array of values (see first tutorial link to see how). Also, make sure that before you convert, the bitmap is exactly the values of the screen, otherwise I got some weird errors.
To create the animation, I simply took the image and flipped it, then in the code I switch between the 2 images every half a second, making it look like Keroppi is walking.
Here is a picture of the bitmap I got from the image I chose, and also here's the final code.
Final Product
Here's a video of the final product! I was very happy and surprised how easy it was to upload images using the library. Uploading a full video would be hard since I would have to upload every frame, but I like how well this works for pictures and text!