Computer-Controlled Machining
Deciding what to do:
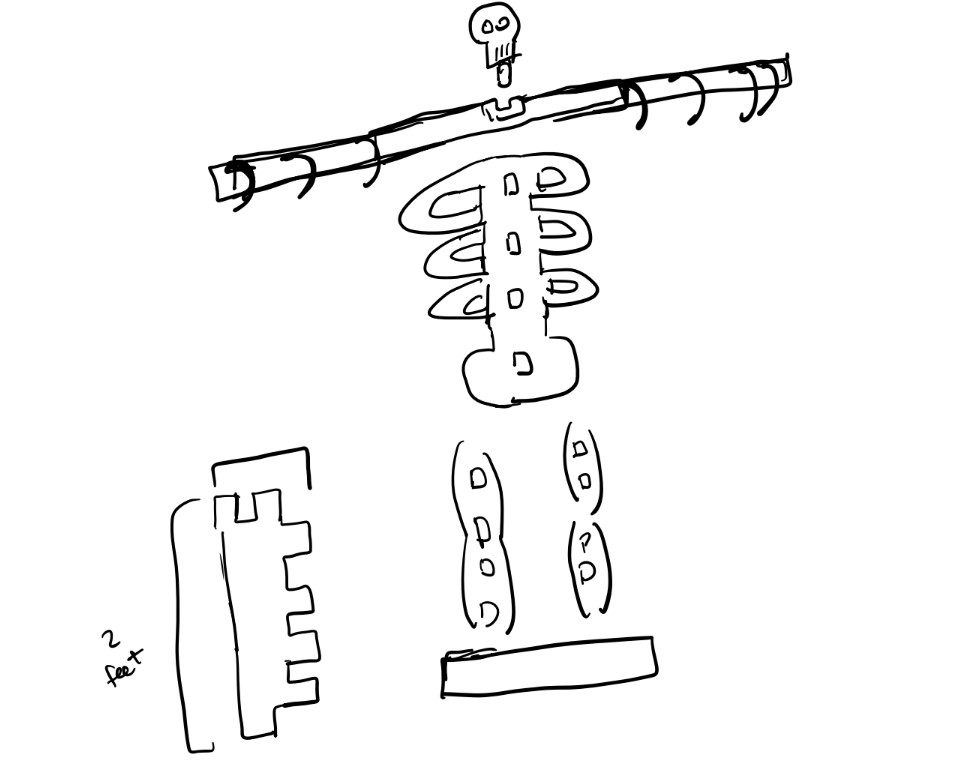
Since I was still in the halloween mood, I thought it would be cool to make a skeleton using the OSB wood. I designed it so that it would consist of these stackable pieces that I'll be able to place the skeleteon shapes on it. Here's a sketch of it (I am not very good at drawing).
CADing the Skeleton:
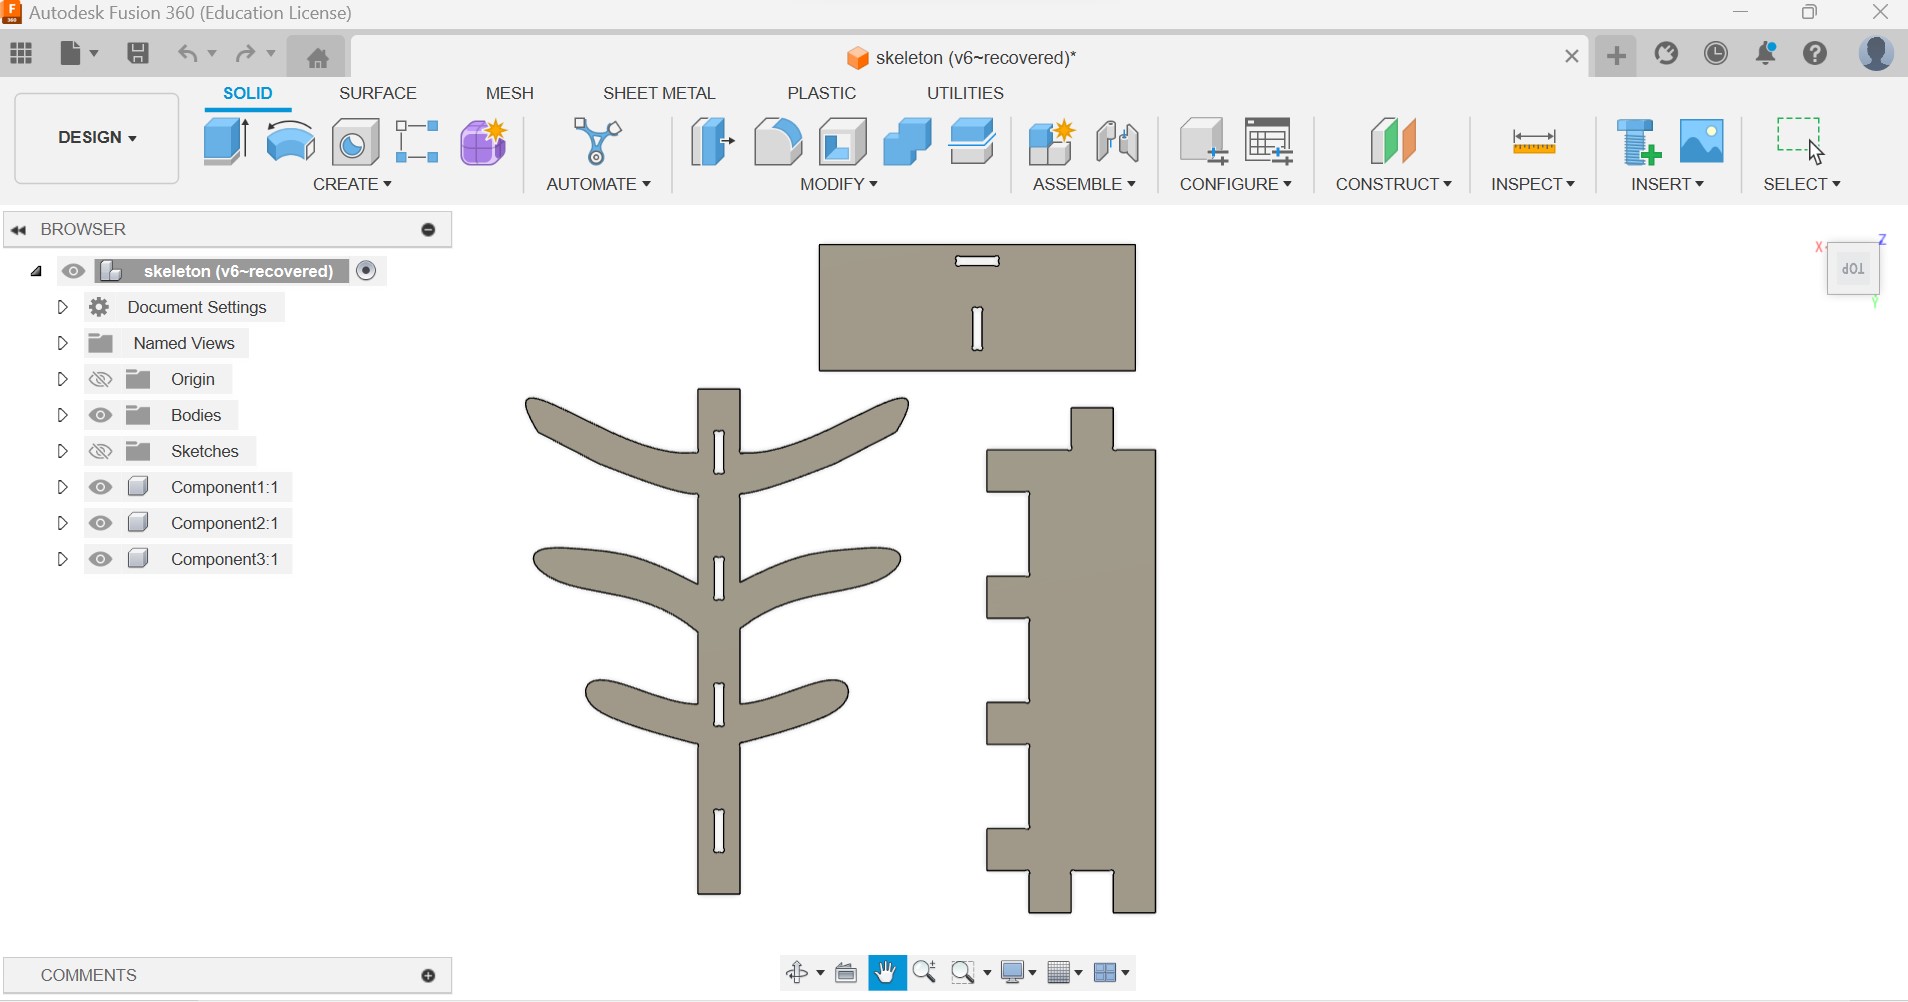
So I started making the CAD design on Fusion for the skeleton. I started with the rib cage since I didn't think I would be able to finish the whole skeleton, so I wanted to at least have the top half. So I first looked up if there were any 2D designs online of skeletons, but I could only find 3D models, so I decided to make it myself. However, I'm not very good artistically, so my ribs ended up looking like some sort of tree ? I also wasn't able to do any other parts other than the ribs, so I decided to just make this tree thing, and I can hang stuff from it in my room. Also, to make the dog bones I used a Fusion add-in called Nifty Dogbone that worked really well; all I had to do once I had the add in was go to "Modify," click Nifty dogbone tool and I would select a body or face and it will add dogbones automatically where it's needed.
CAM
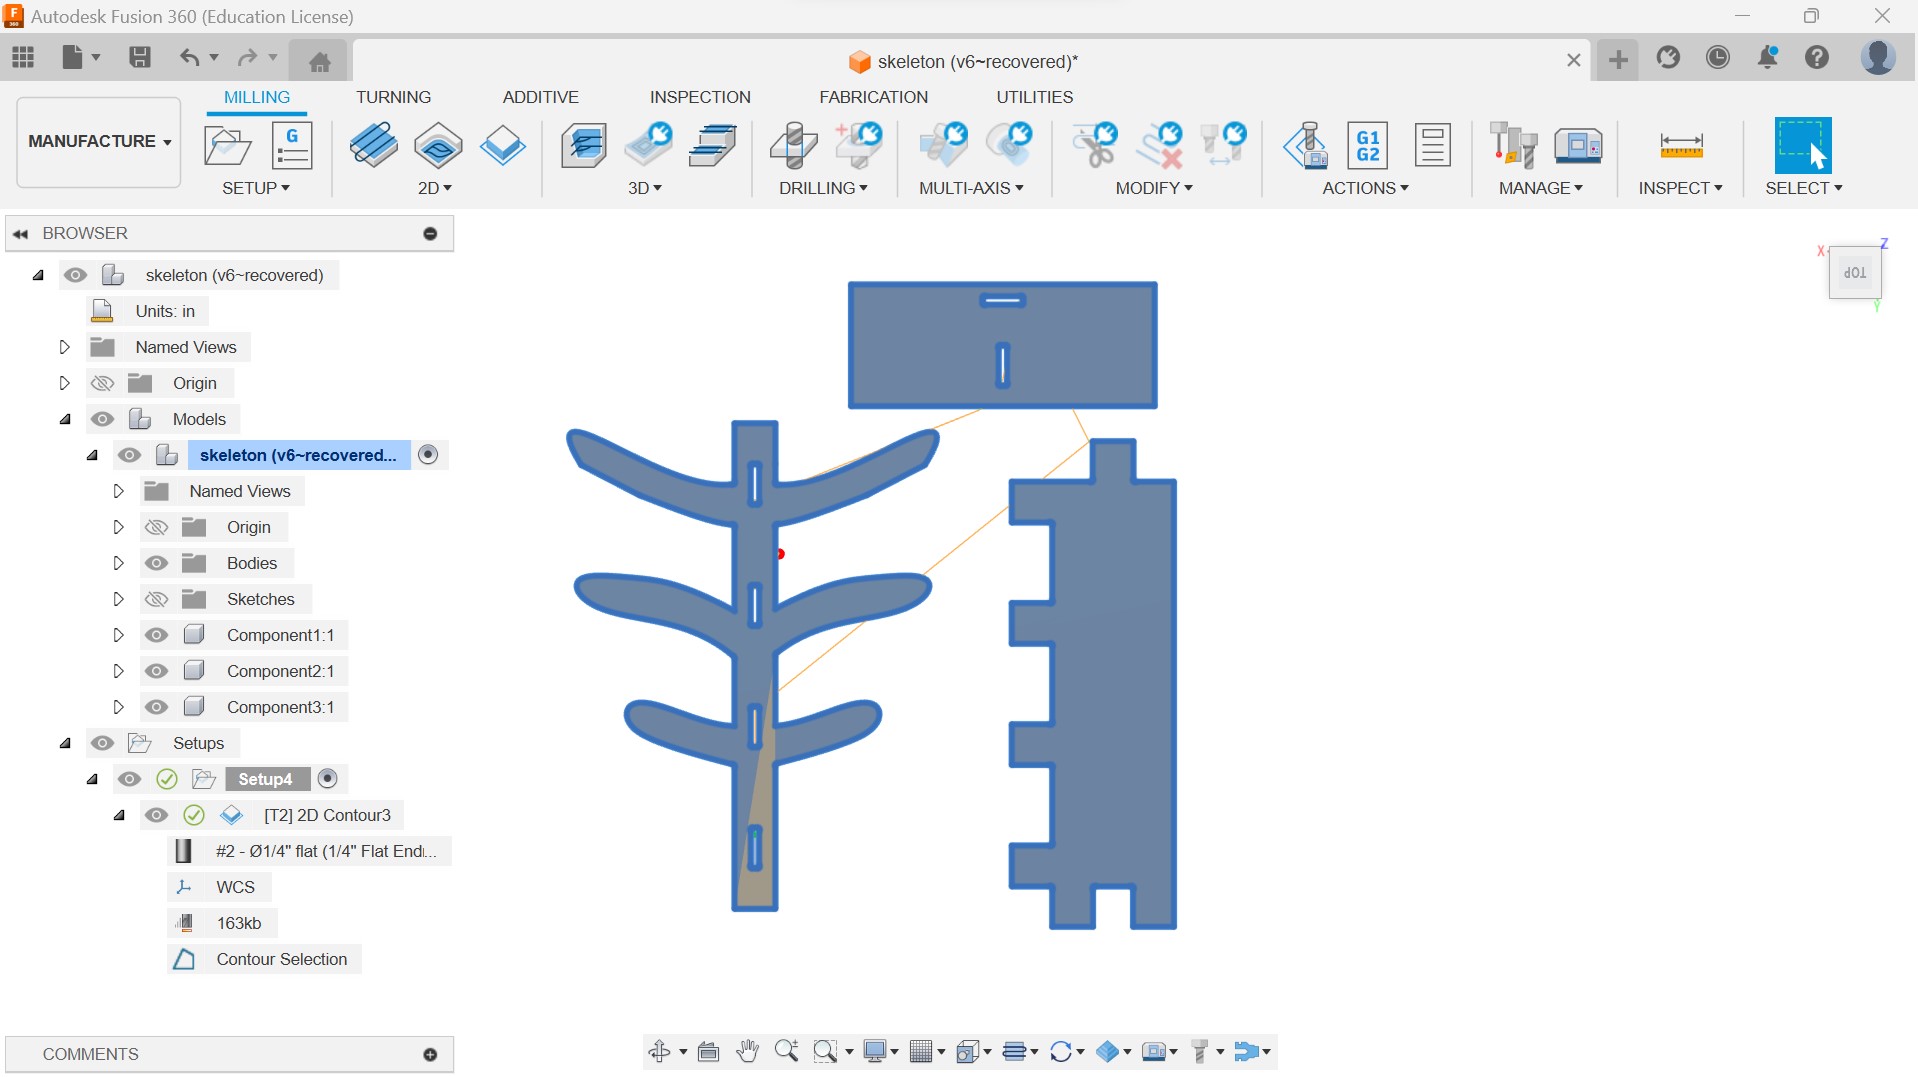
I again tried doing the CAM on my own but Anthony ended up helping me with a lot of it. We only needed 1 2DContour pass with a 1/4 inch flatmill tool. We also added tabs so that the different pieces wouldn't fly off when machining.
Machining
We used the same machine as last week (CNC Shark Pro Plus Router). I first took my 4'x4' piece of OSB and used a nail gun (with nails made of plastic) to nail down my board so it wouldn't move during machining. I then changed the tool, homed the machine, and calibrated the x, y, and z axises. I started the job and it only took a few minutes, maybe like 10 minutes. Once it was done, I used a pry bar to get off the nails on the sides, then I used an oscillating cutting tool to cut out the tabs and remove my pieces from the stock. These are how they turned out!
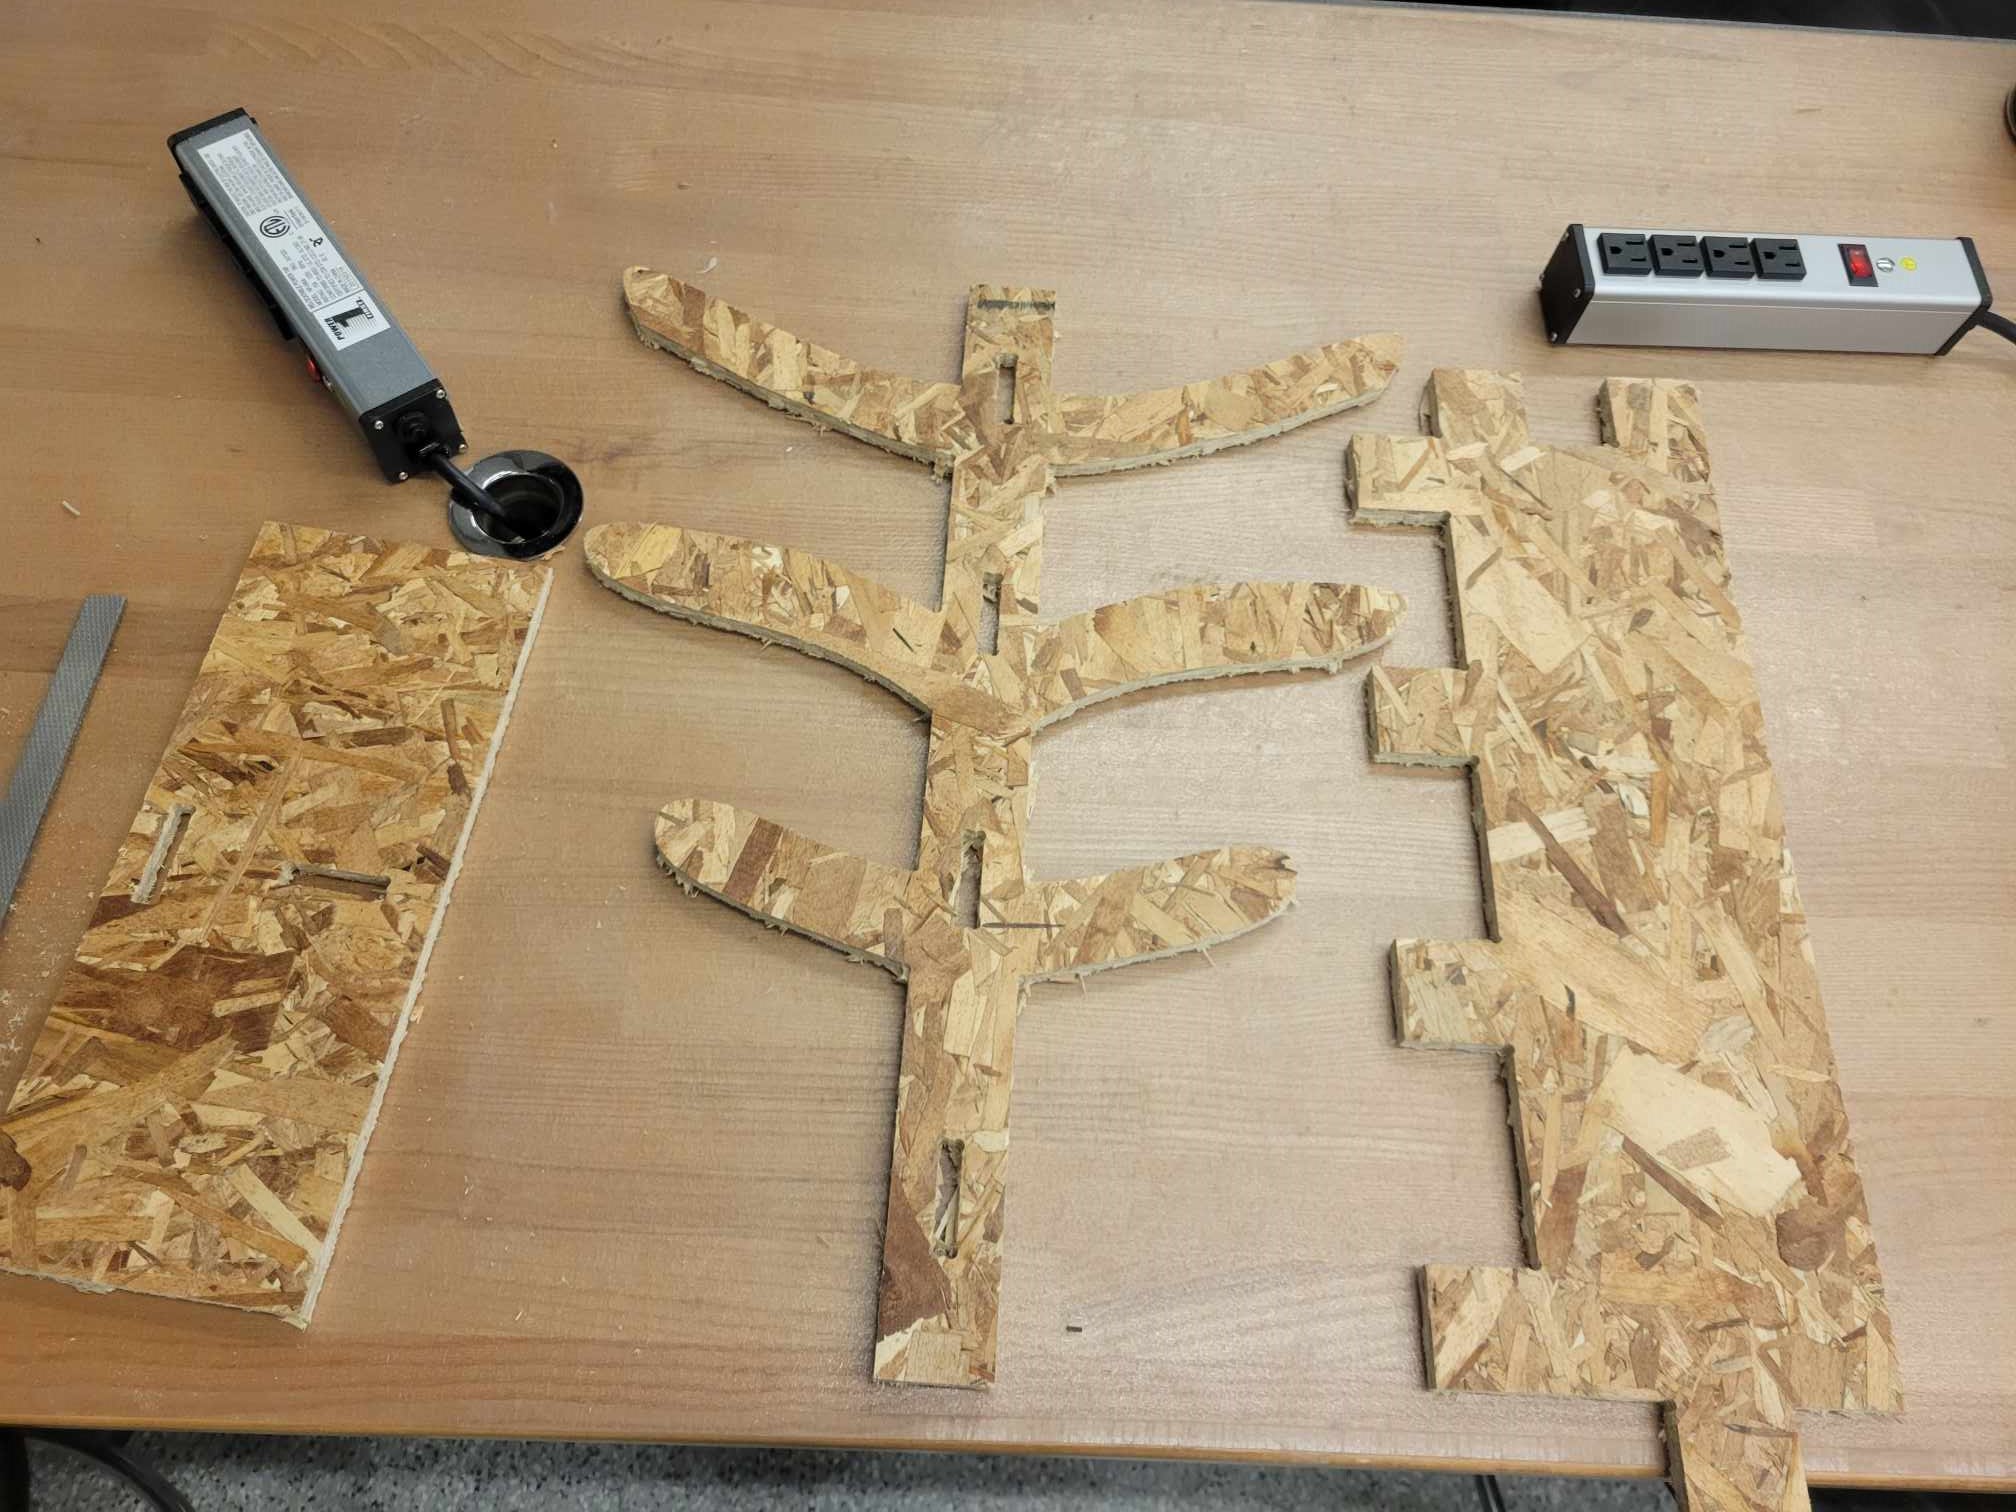
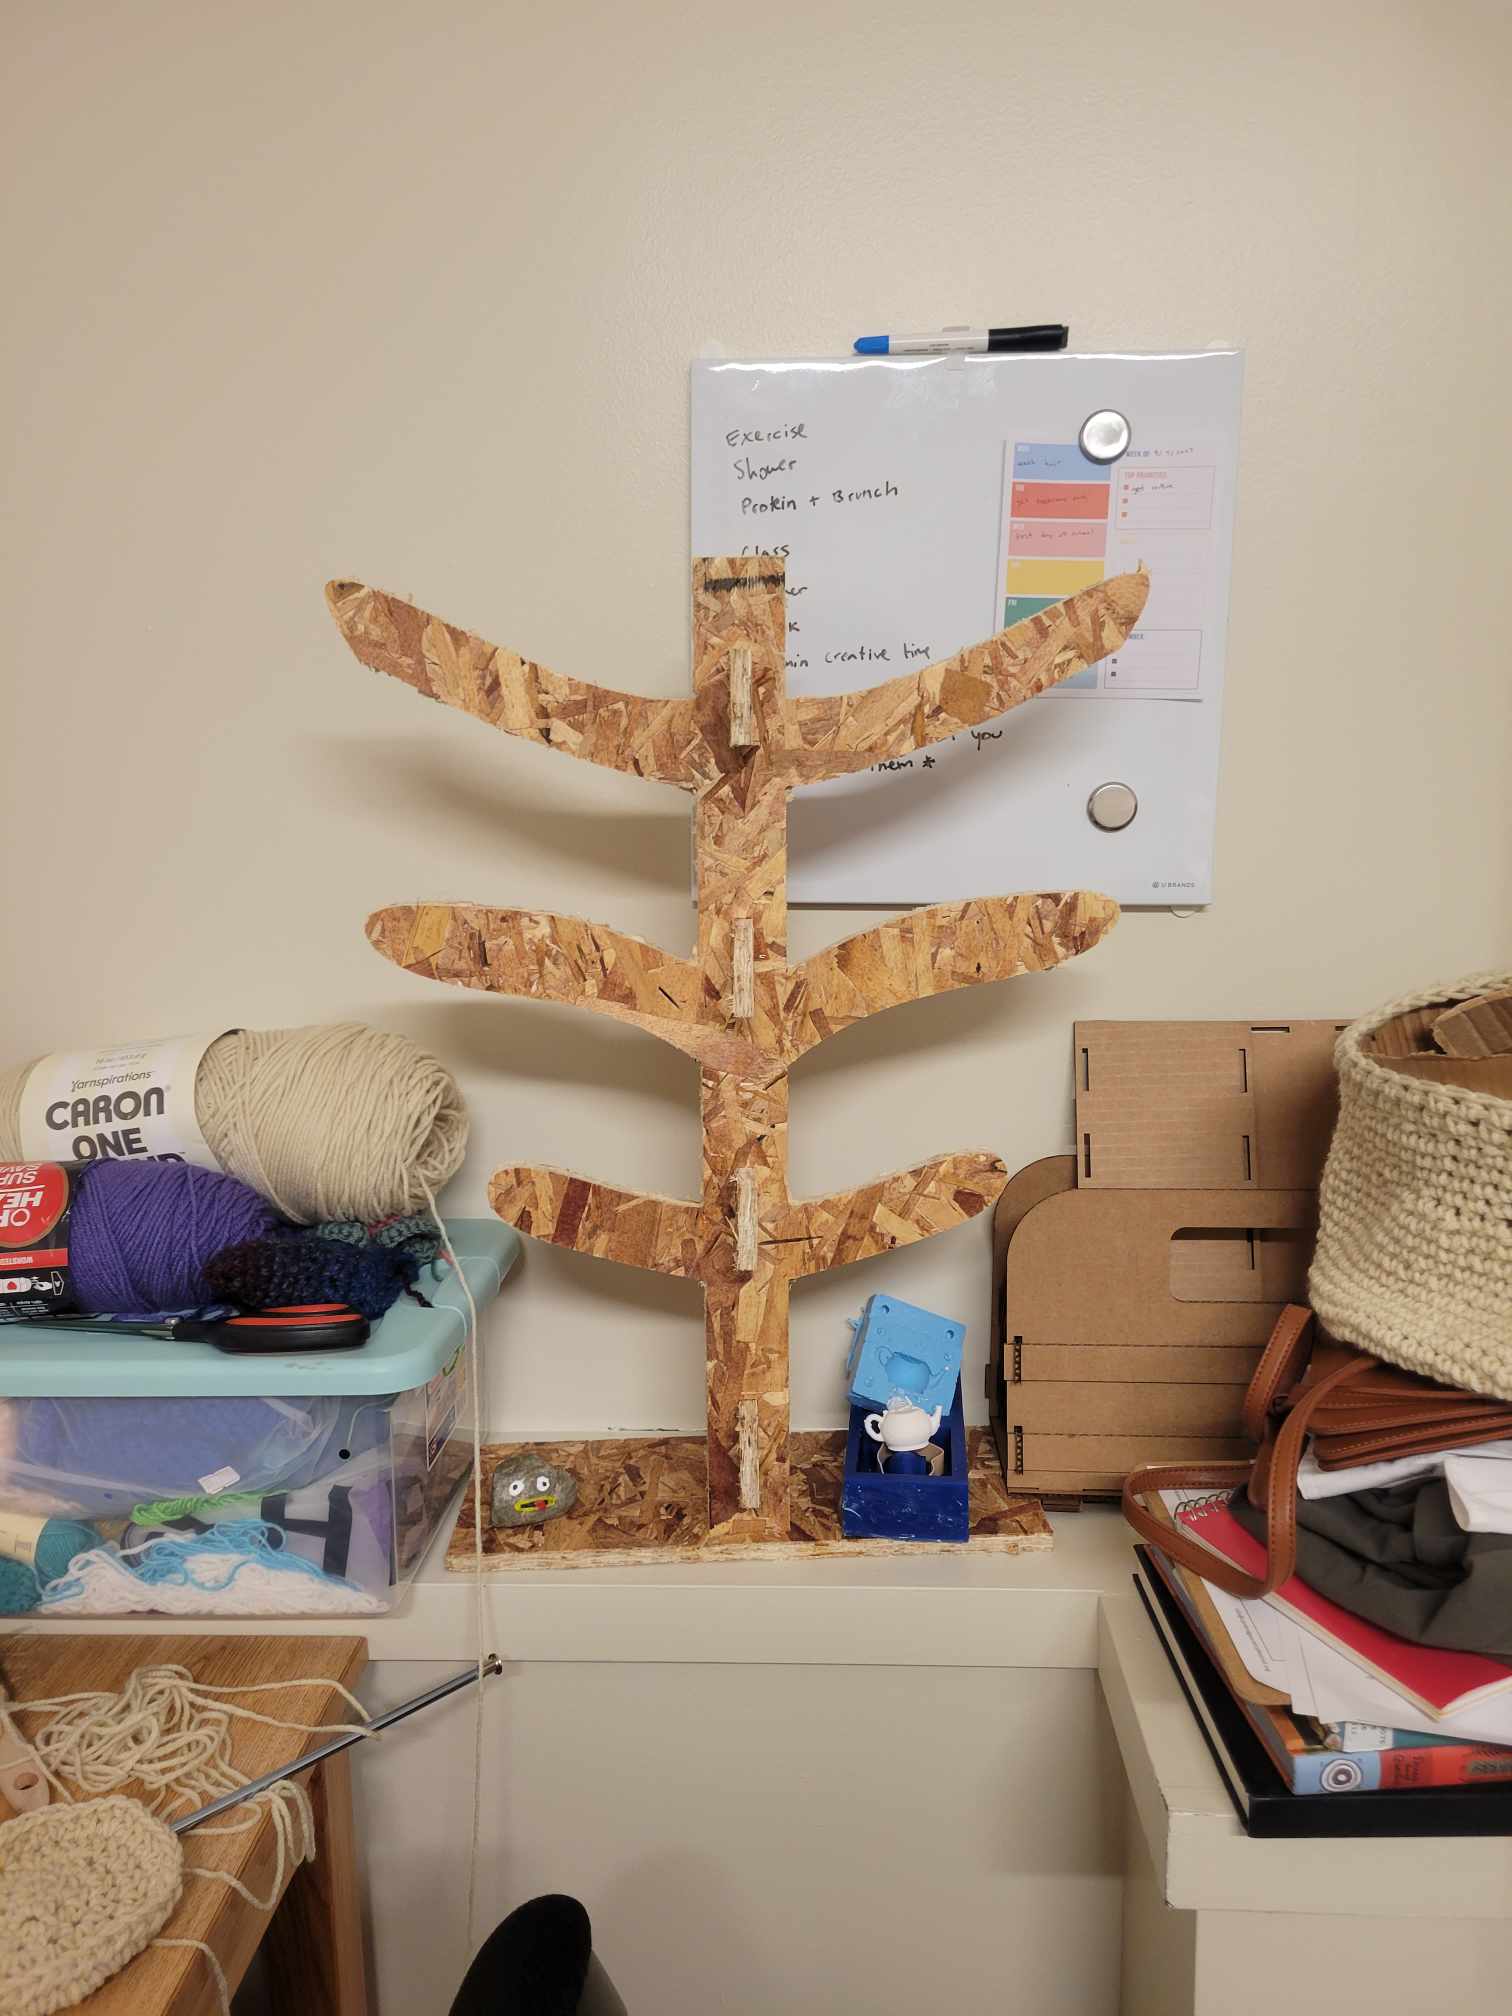
Finished product:
This is my final weird tree stand! I had to file down some of the holes for it to fit since I didn't account for the difference. I also used a rubber mallet to push the pieces together (from that I know it's very secure). I'm hoping to maybe hang up some hats or something on it (though I don't own many hats). I could also maybe hang jewelery!