Molding and Casting
Deciding what to do:
So for halloween, I decided to be Greg from the tv show "Over the Garden Wall," and this character has a teapot on his head. I thought I could make a small teapot and glue it on a headband for my costume.

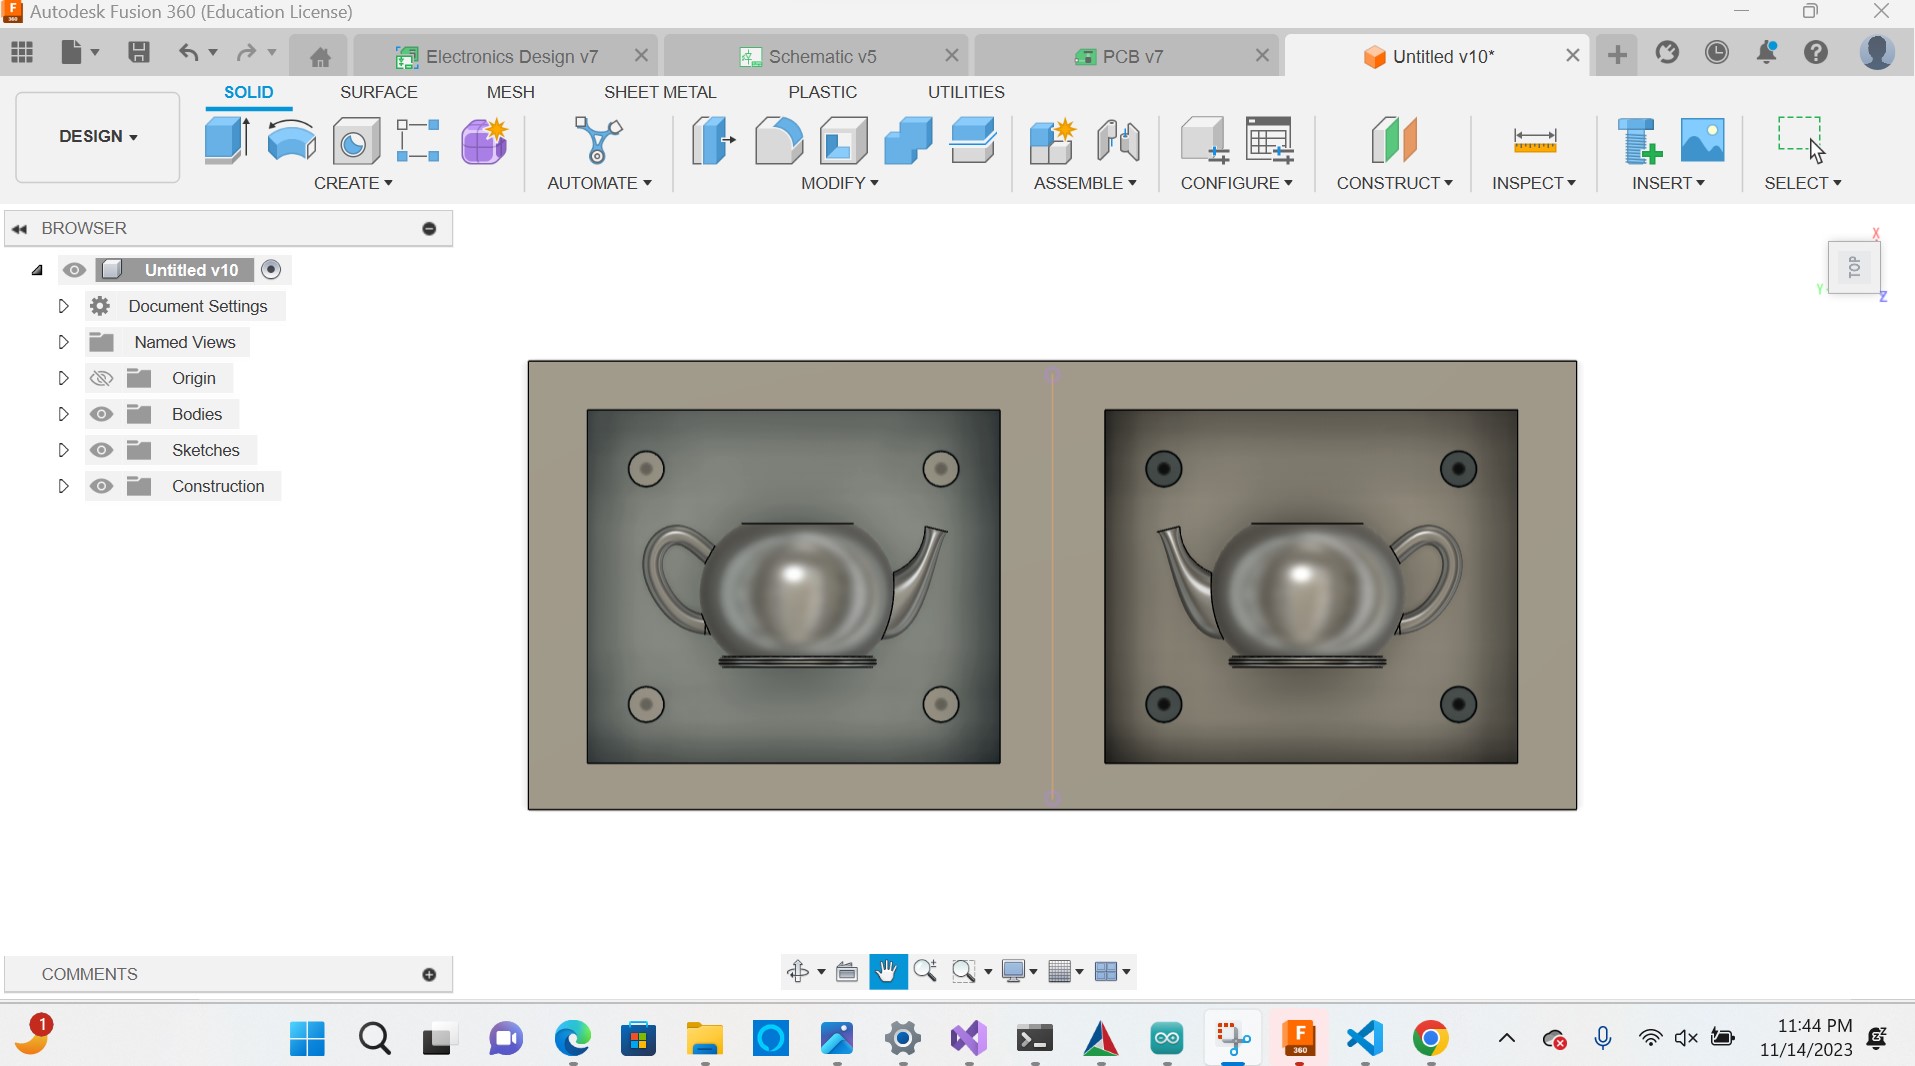
CADing a Teapot:
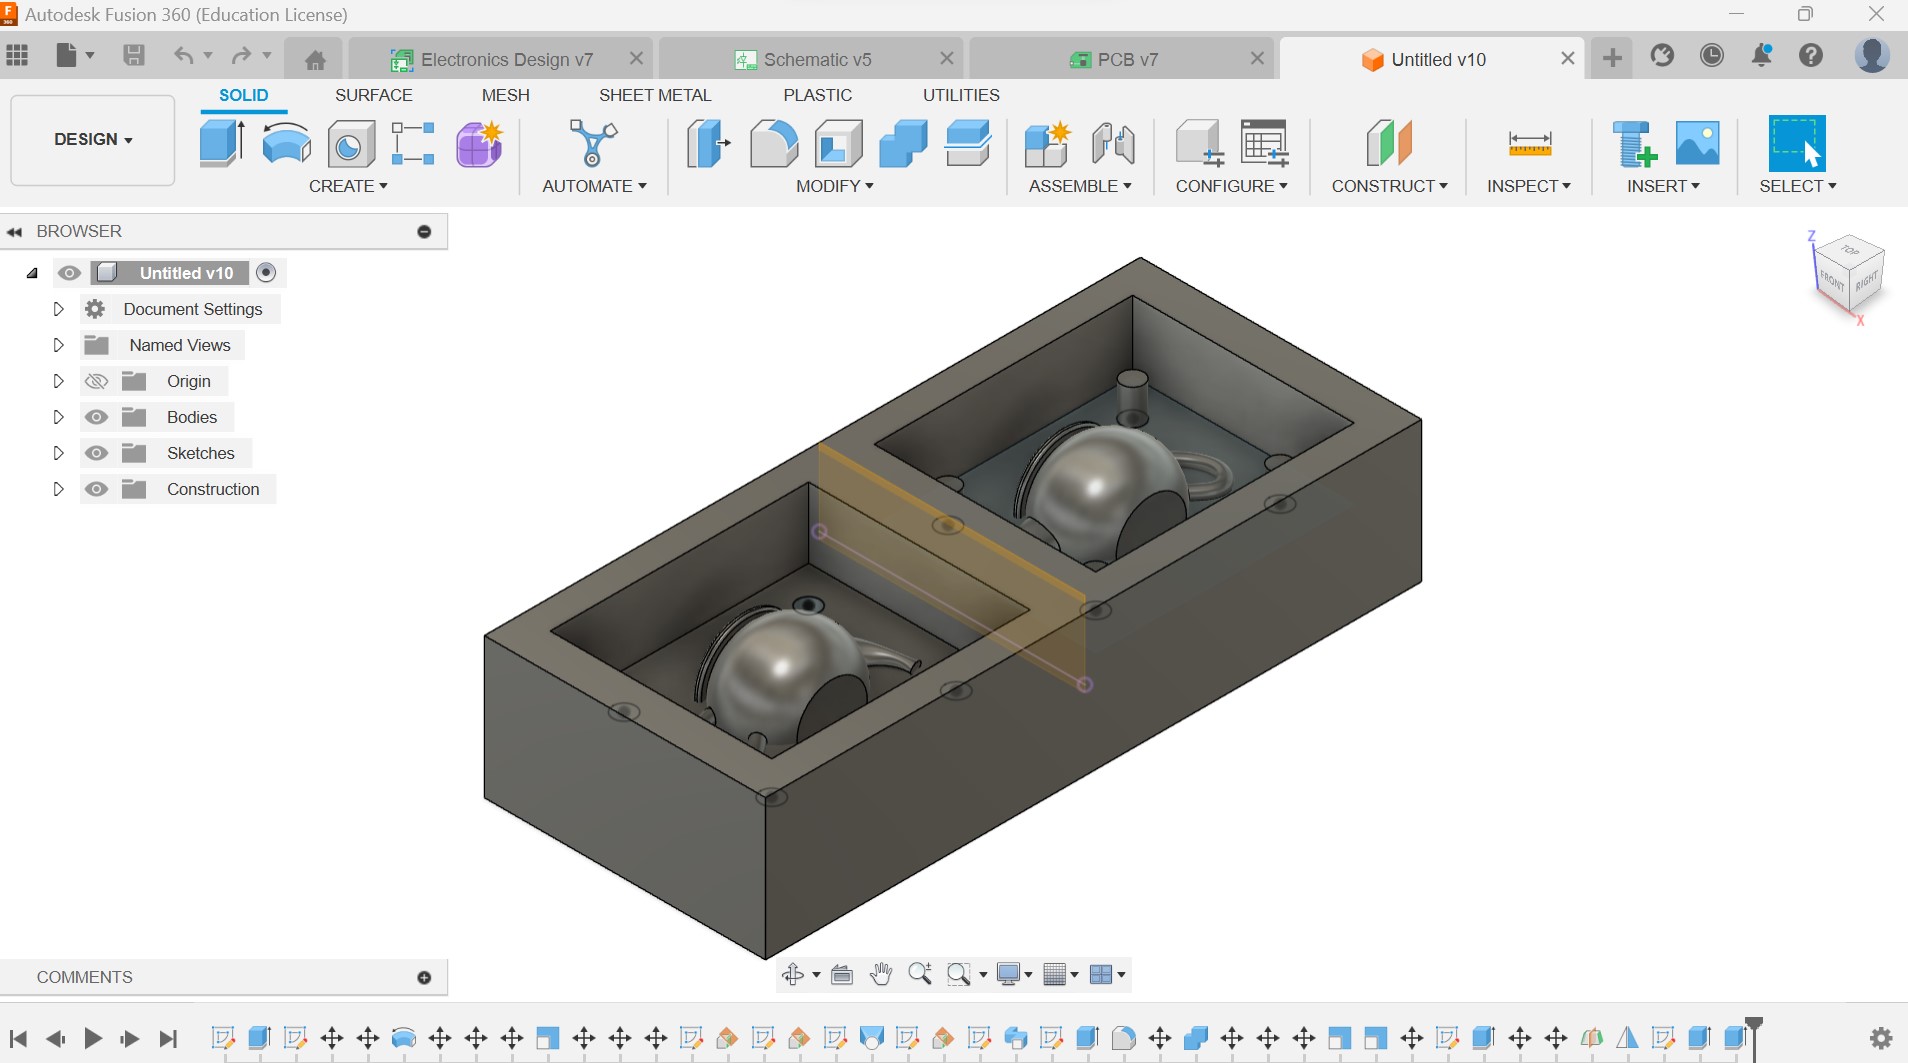
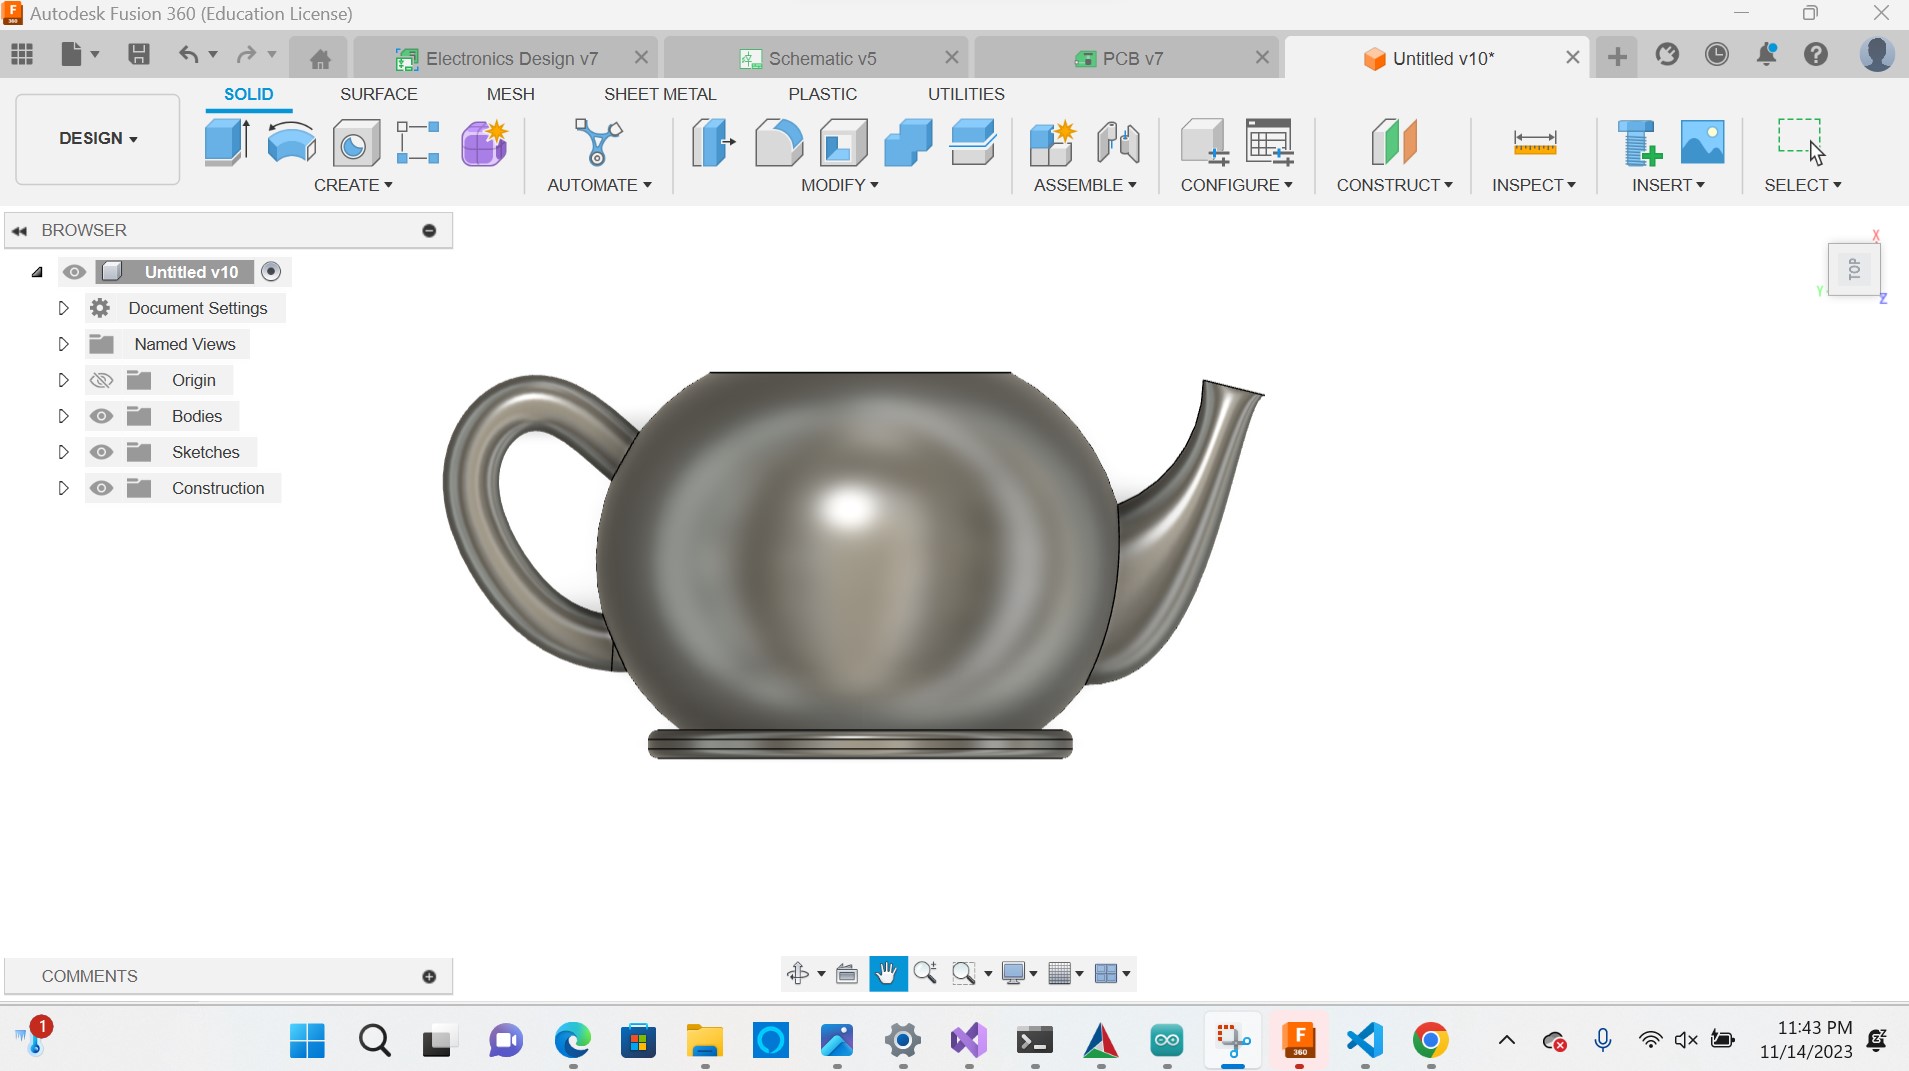
So I looked for a teapot model online and I didn't really like them, so I decided to make my own. I needed practice with Fusion anyway so I took on the challenge. Thank god there is a youtube video showing me exactly how to make it! It took around 2-3 hours but it turned out okay! I decided to add 4 pegs so that when I make the two molds it will be easy to put them together.
CAM
So I tried doing the CAM on my own but Anthony ended up helping me with a lot of it. We decided on doing 2 adaptive passes, one with a 1/4 inch tool and the second one with a 1/8 inch tool to get the small corners between the pegs. We then do a parallel pass with the 1/8 inch tool to get all the details.
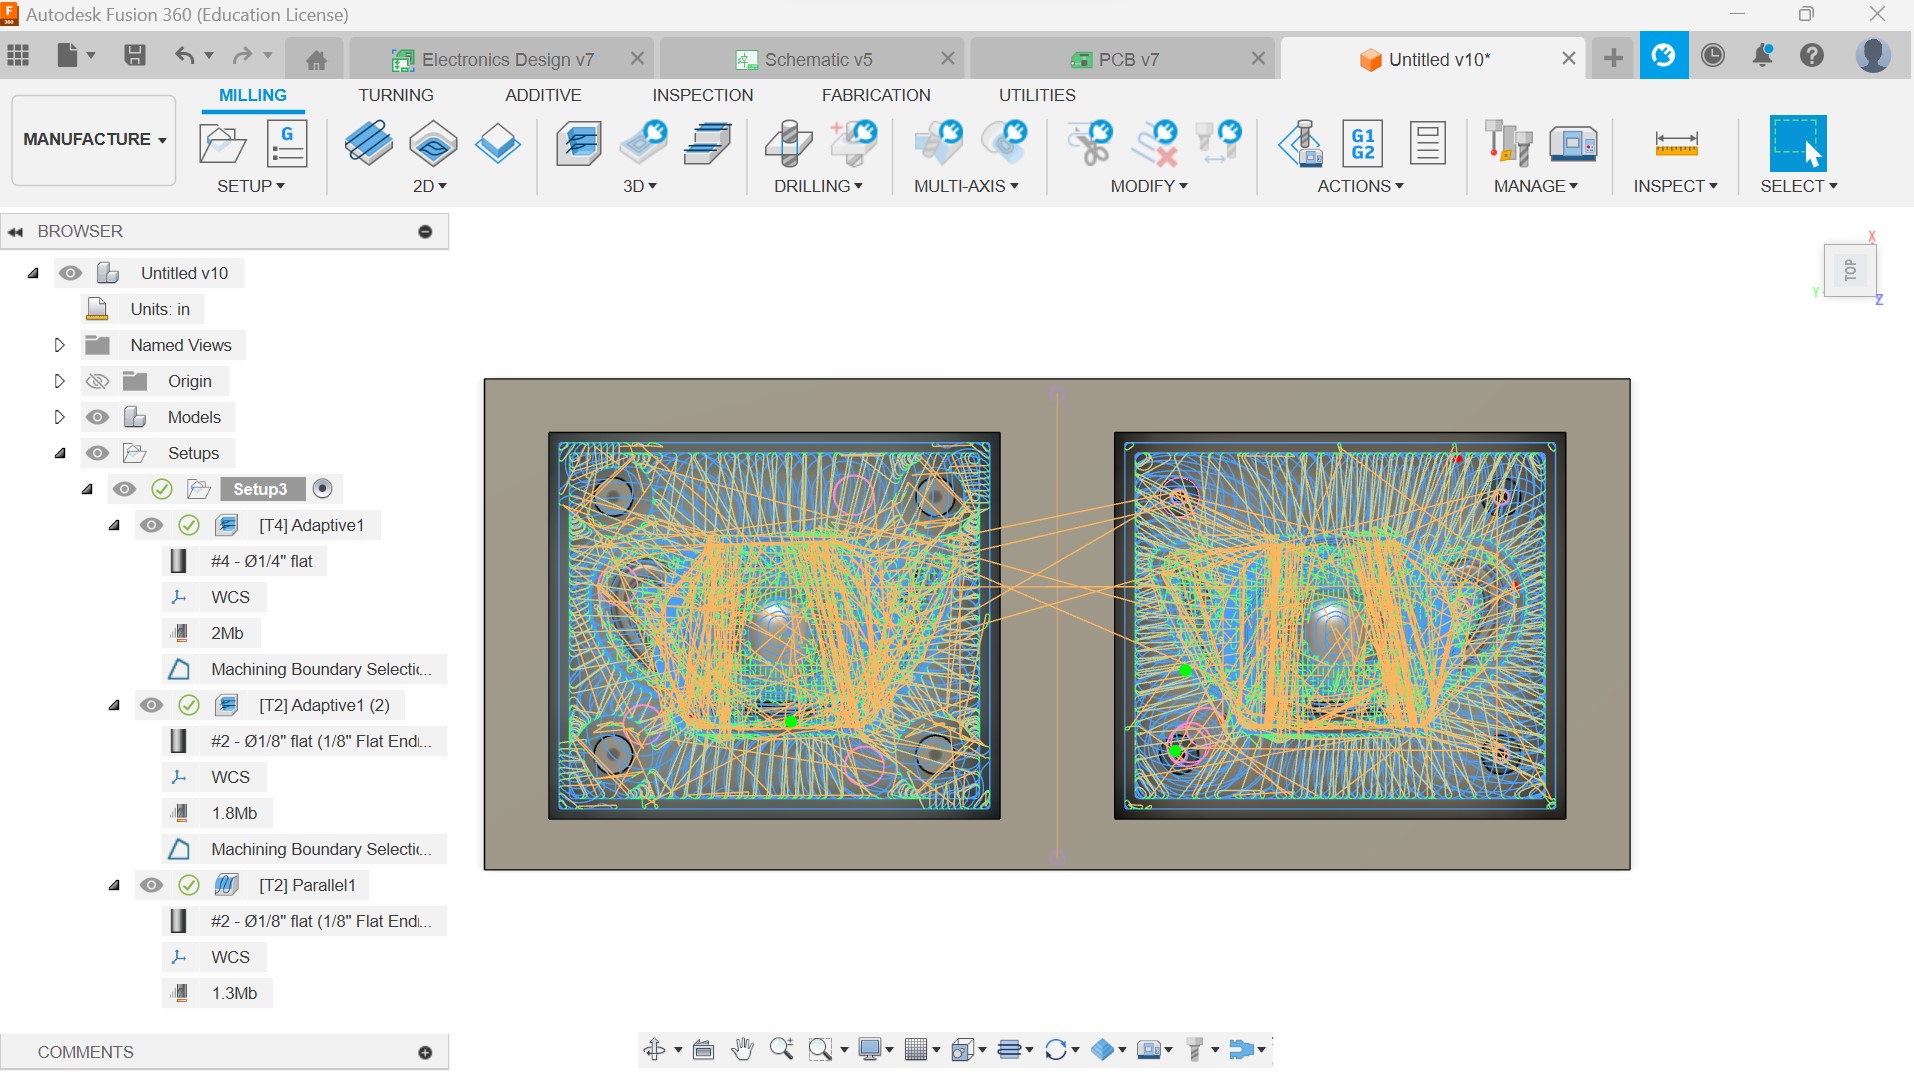
Machining
So the machine in our lab is the CNC Shark Pro Plus Router (got from eds website) and it's a pretty big machine. We first hot glue the chunk of wax (7inx3inx1.5in) into a designated space in the middle of the machine work space. To load the g code, I send my fusion file to Anthony and he converts it to g code on his computer. We have to calibrate the machine to the z axis since it's going to be going up and down. Once we home it and do that, we start the machine with a low speed and then we increase it once we hear it sounds good. It took around 20 minutes and it looked pretty nice!
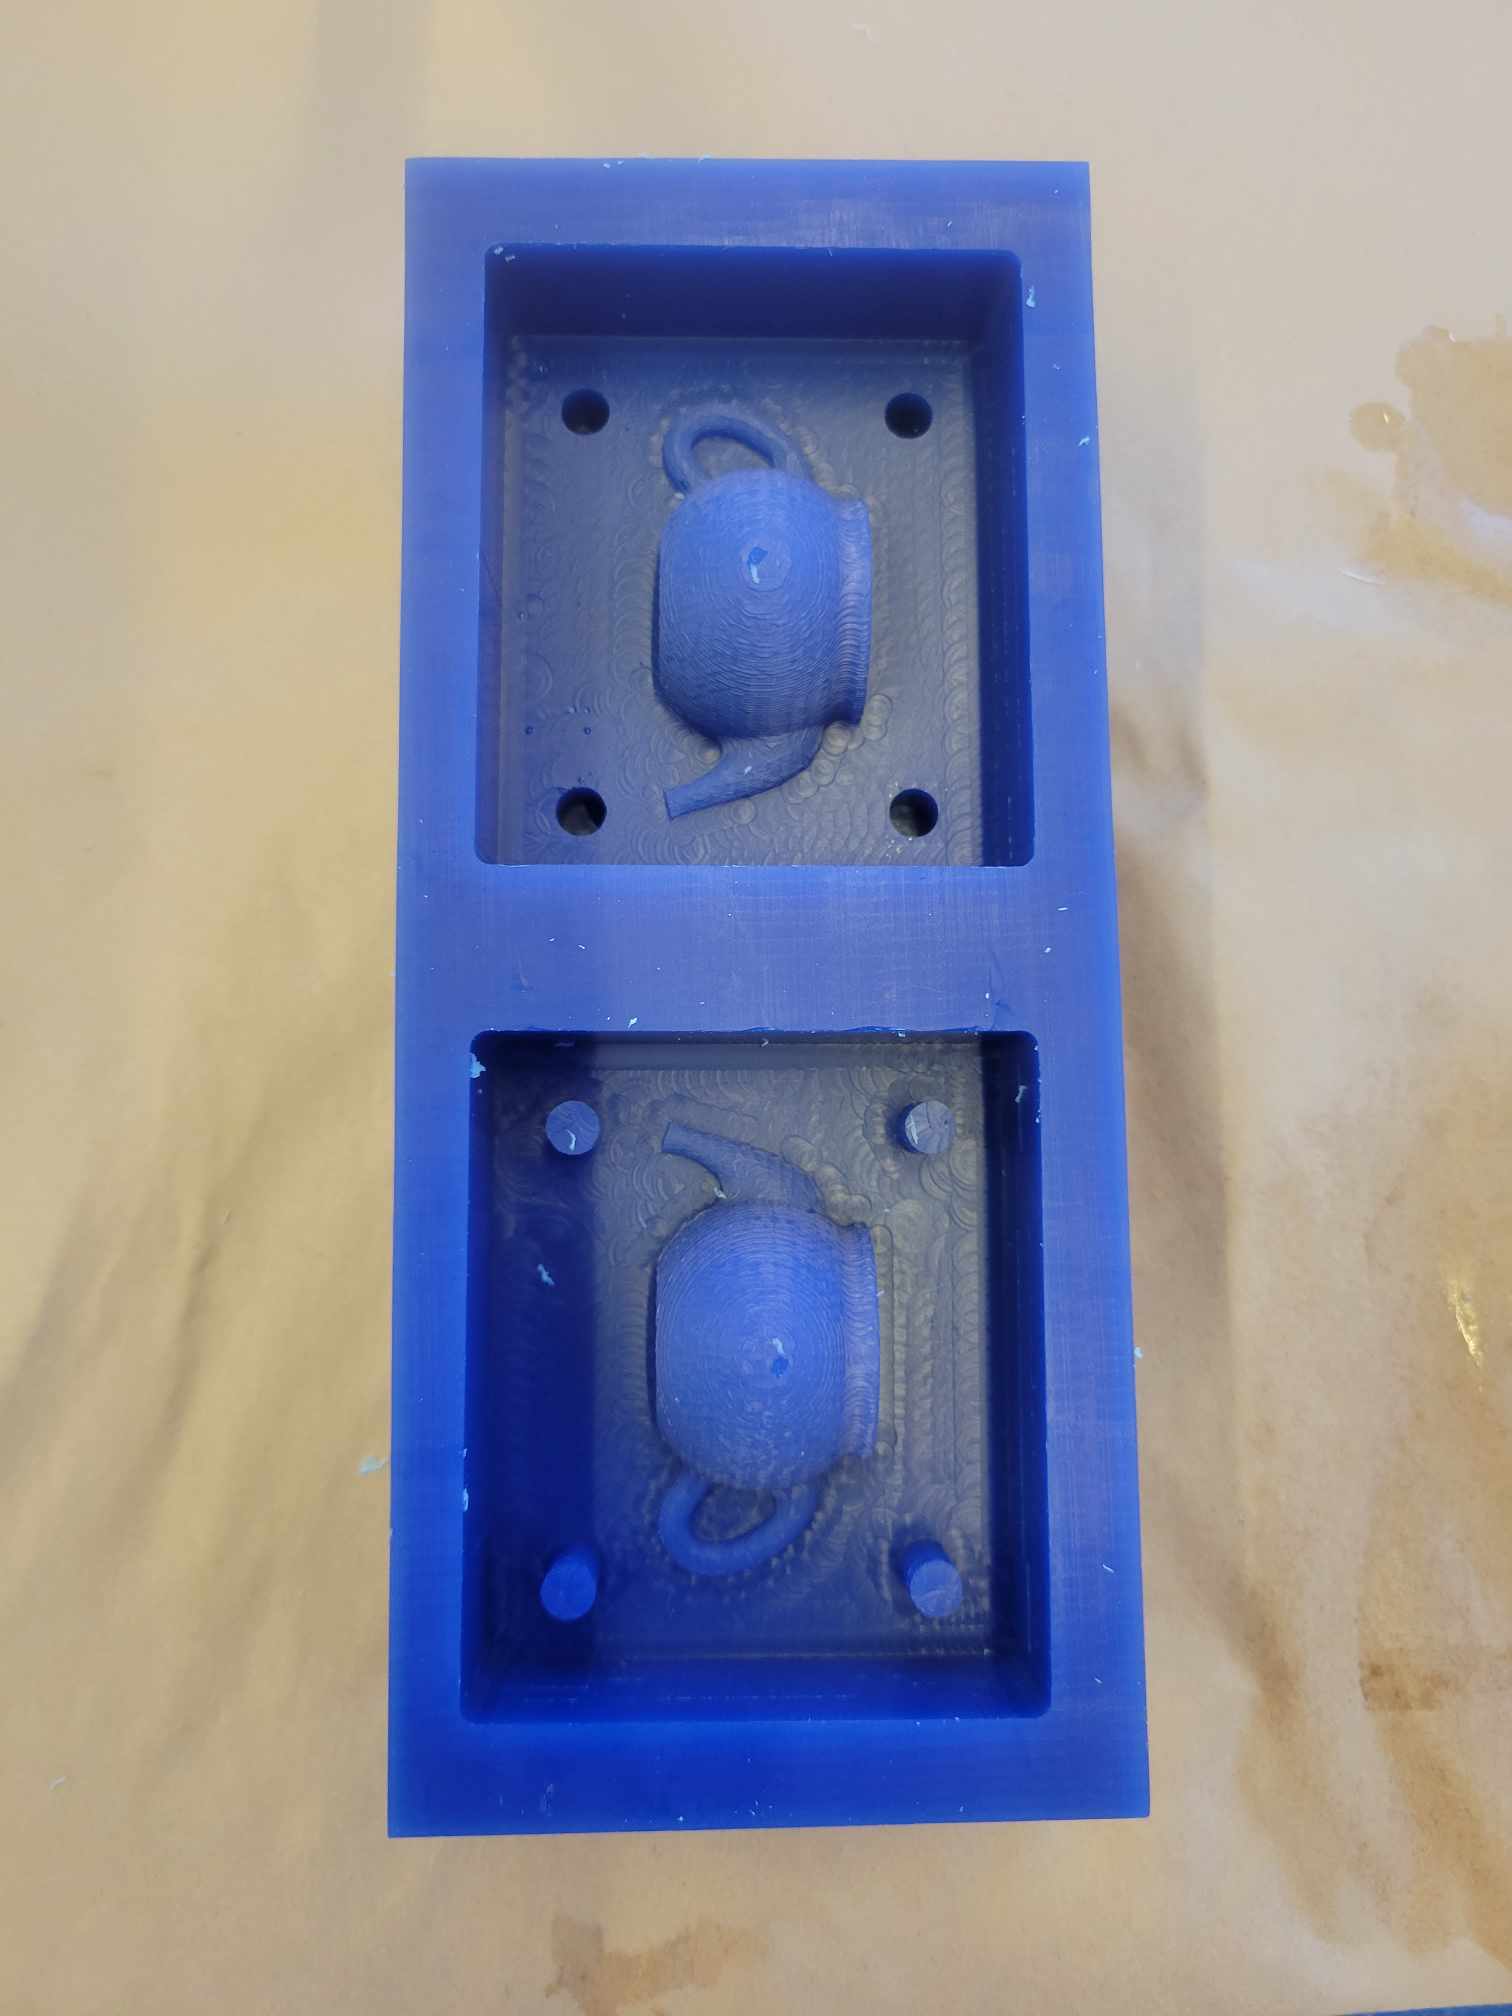
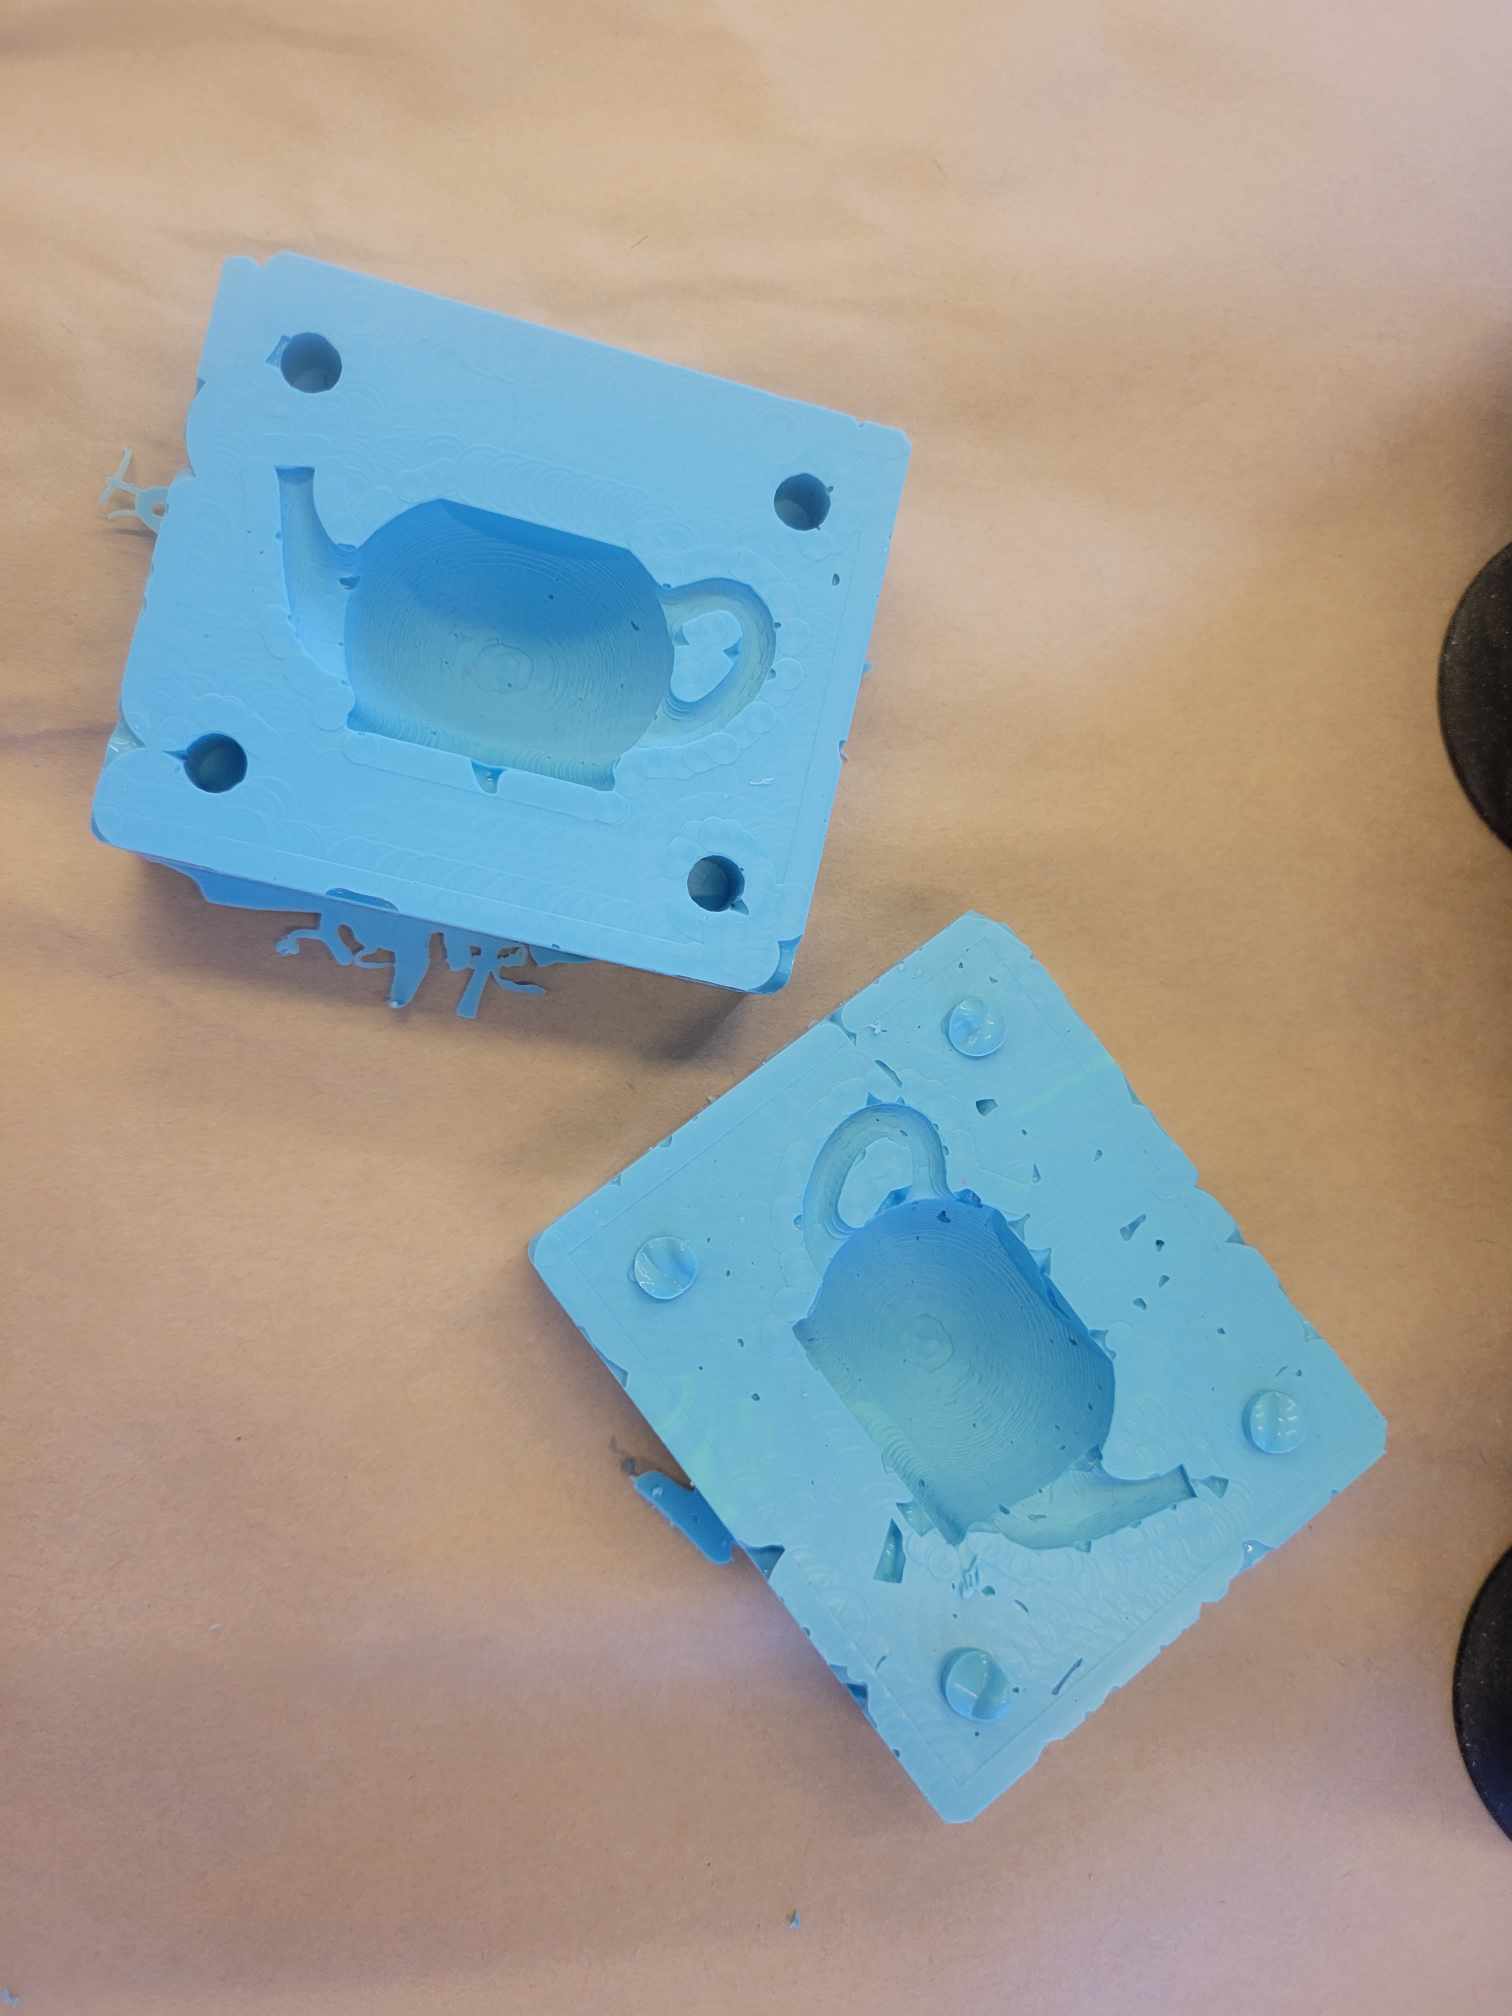
Molding and casting:
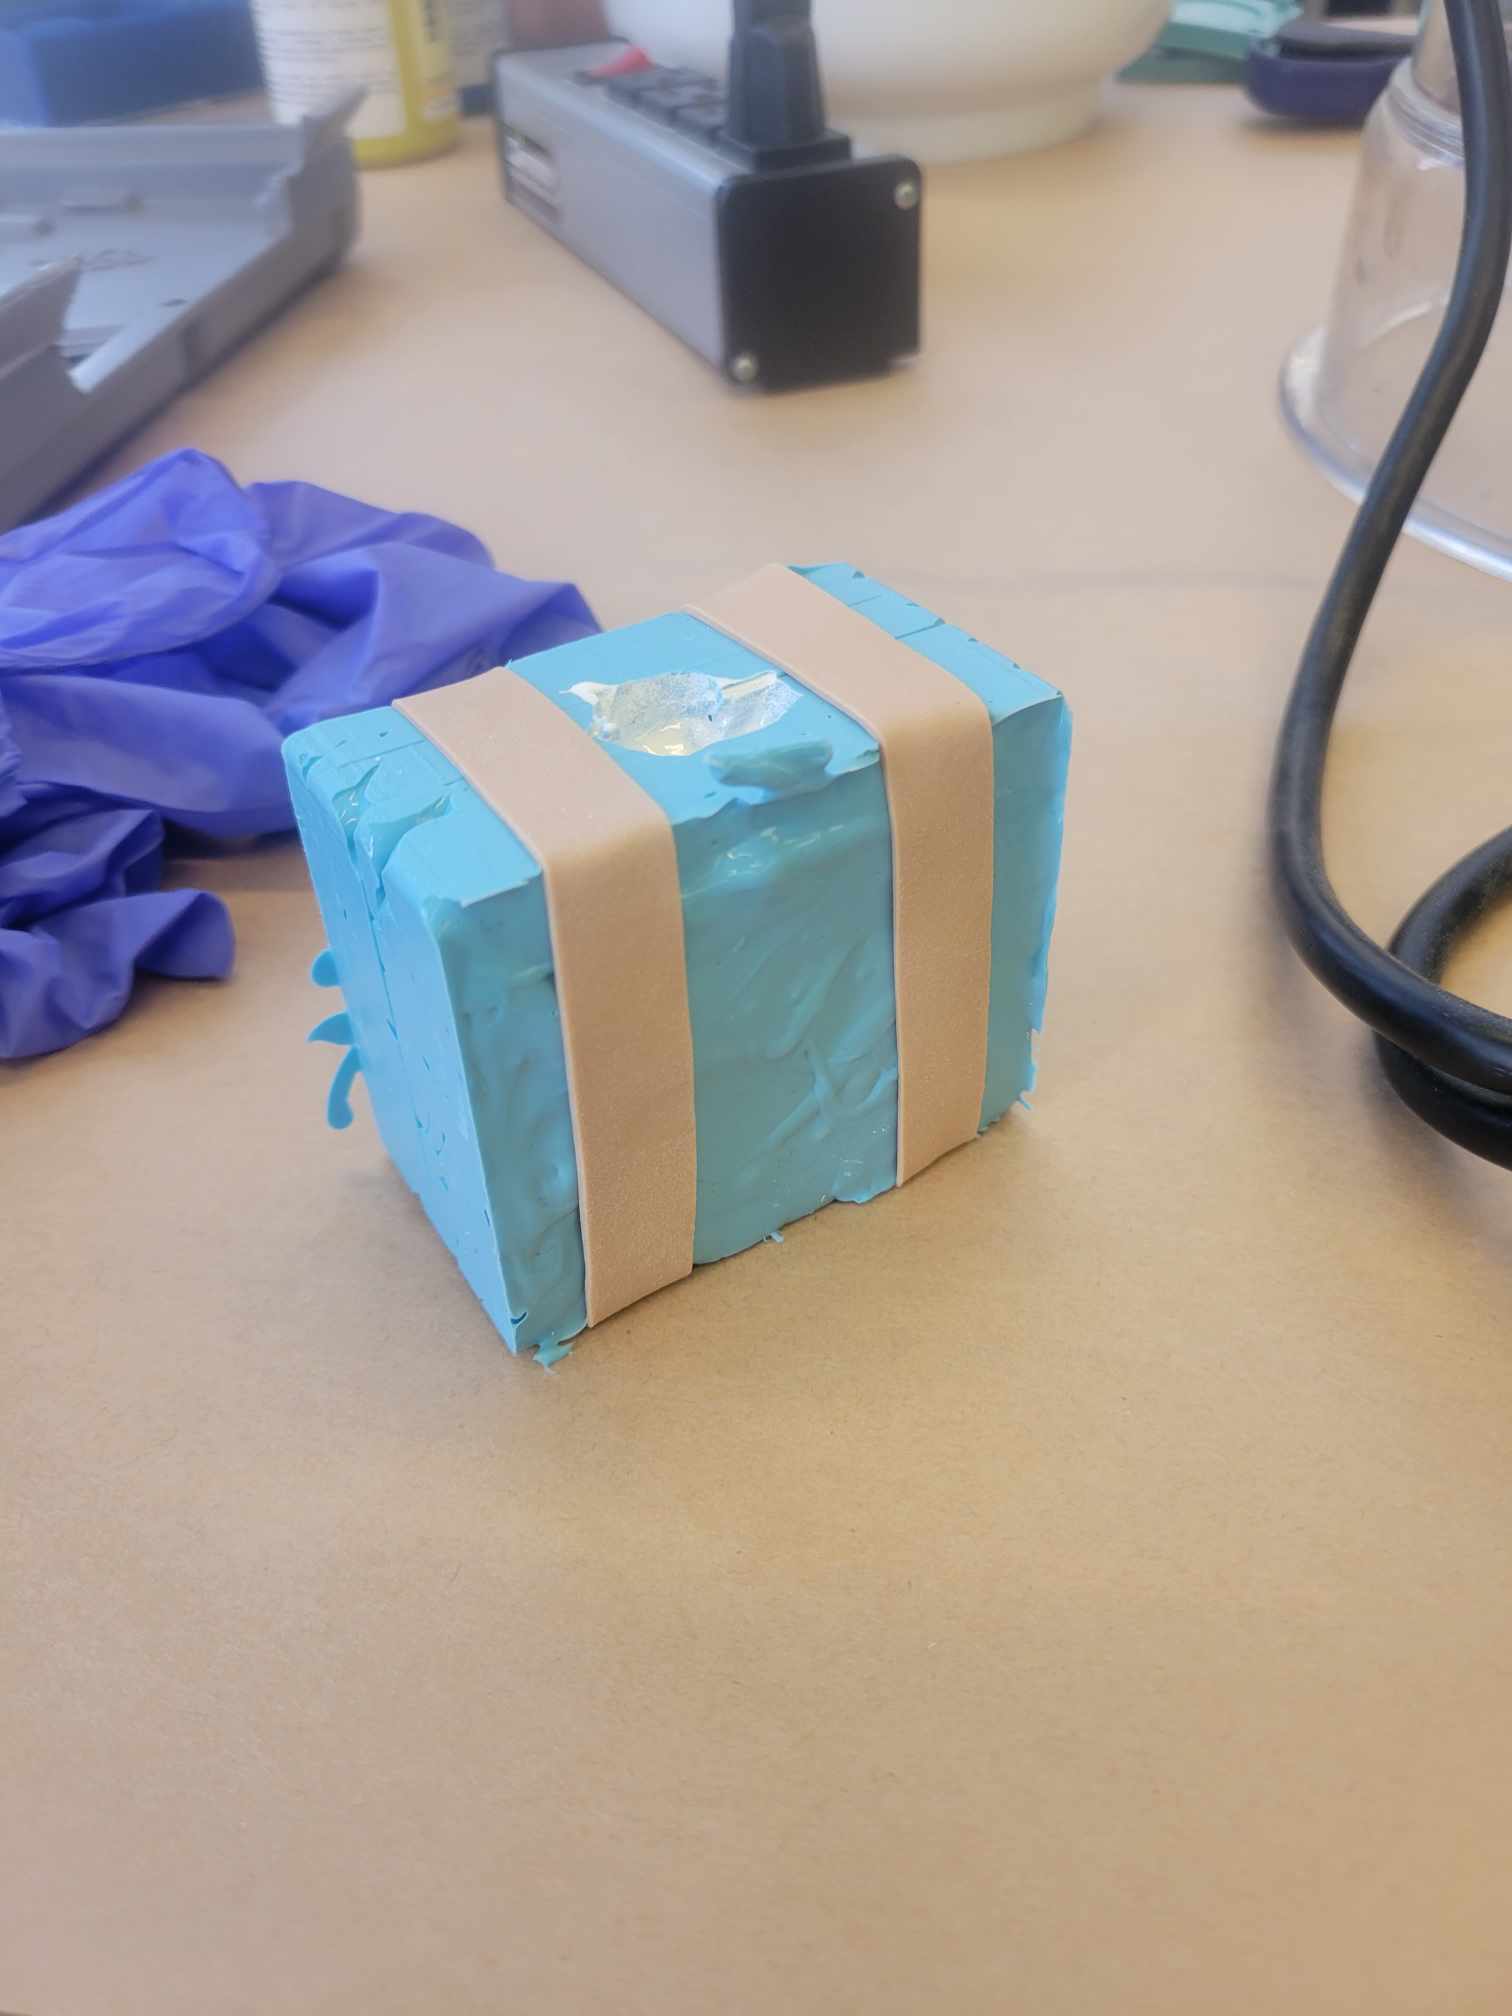
So to make my mold I decided to use oomoo since its available and easy to use. I first poured water into my wax model to find the volume of oomoo I need to prepare. I then poured that volume of part A and part B of the mixture into a cup and I mixed throughly for a few seconds. Then I started pouring it into my wax mold. I made sure when I was pouring that the oomoo was a very thin line to prevent bubbles. However, it was getting kind of thick by the time I got to the second half of my mold (from being exposed to air too long) so it started falling out in chunks rather than a thin line. You can see that in the picture one of my molds barely has bubbles and the other one had a lot because of this. Once I filled in the wax mold, I leave the oomoo over night and got my mold. Next, I take an exacto knife to cut out a hole so that I can pour the dry stone mixture. I then use 2 rubber bands to hold the 2 molds together, and I pour in the dry stone. I leave it for a day.
Finished product:
This is my final teapot! I really like it, I think it turned out okay detail wise.

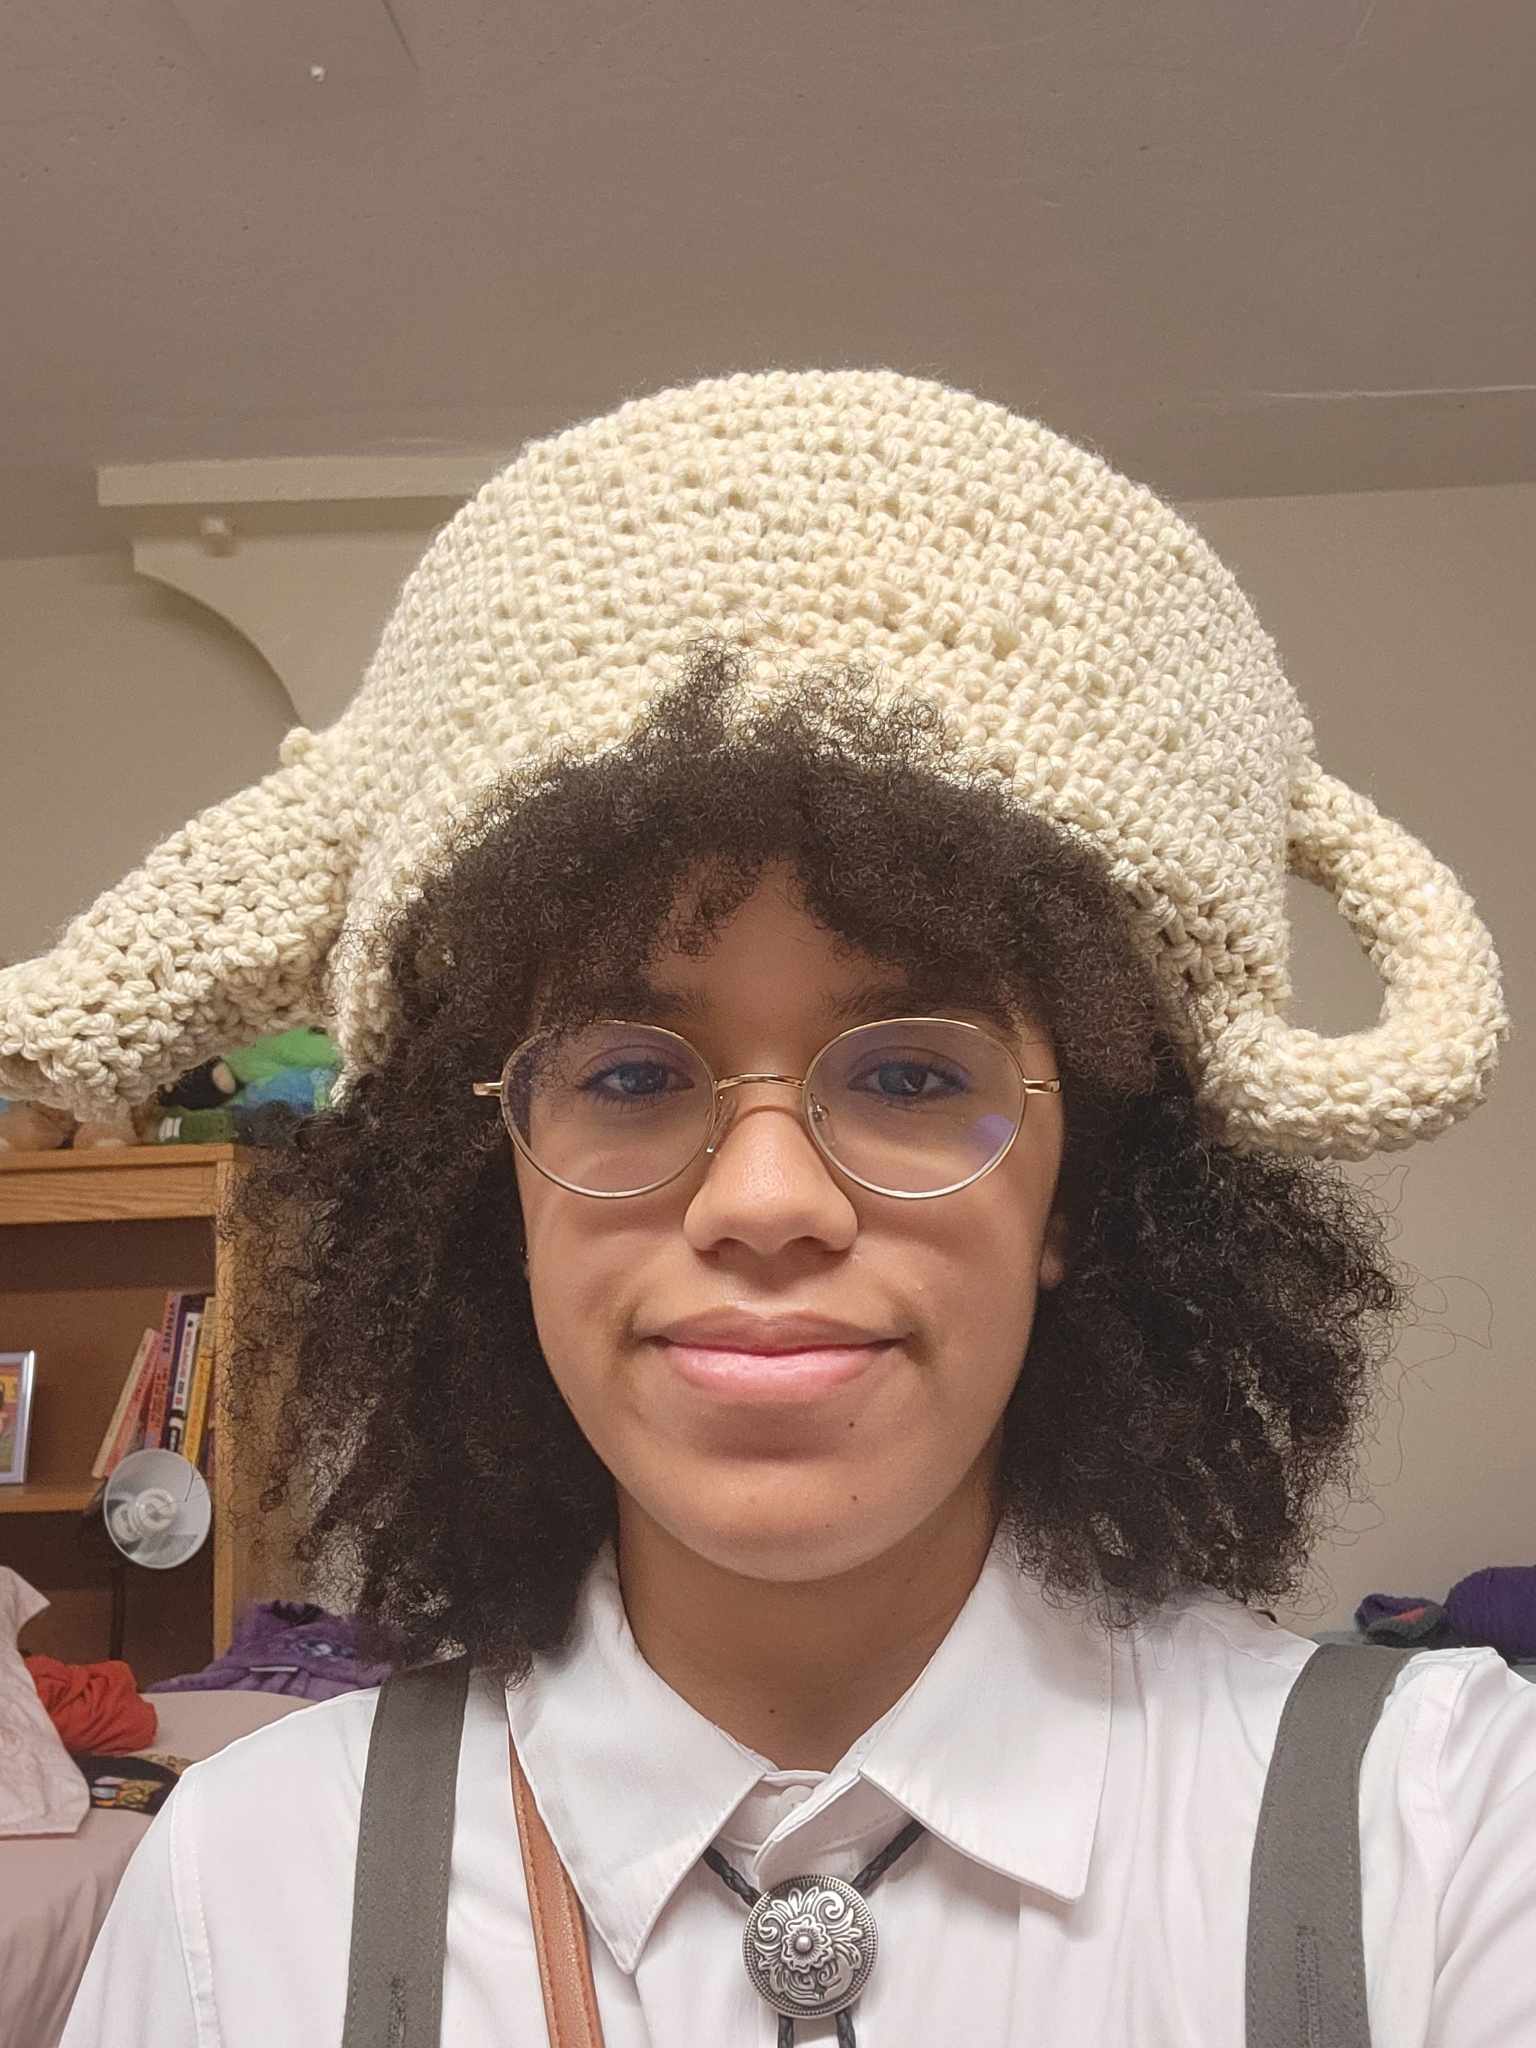
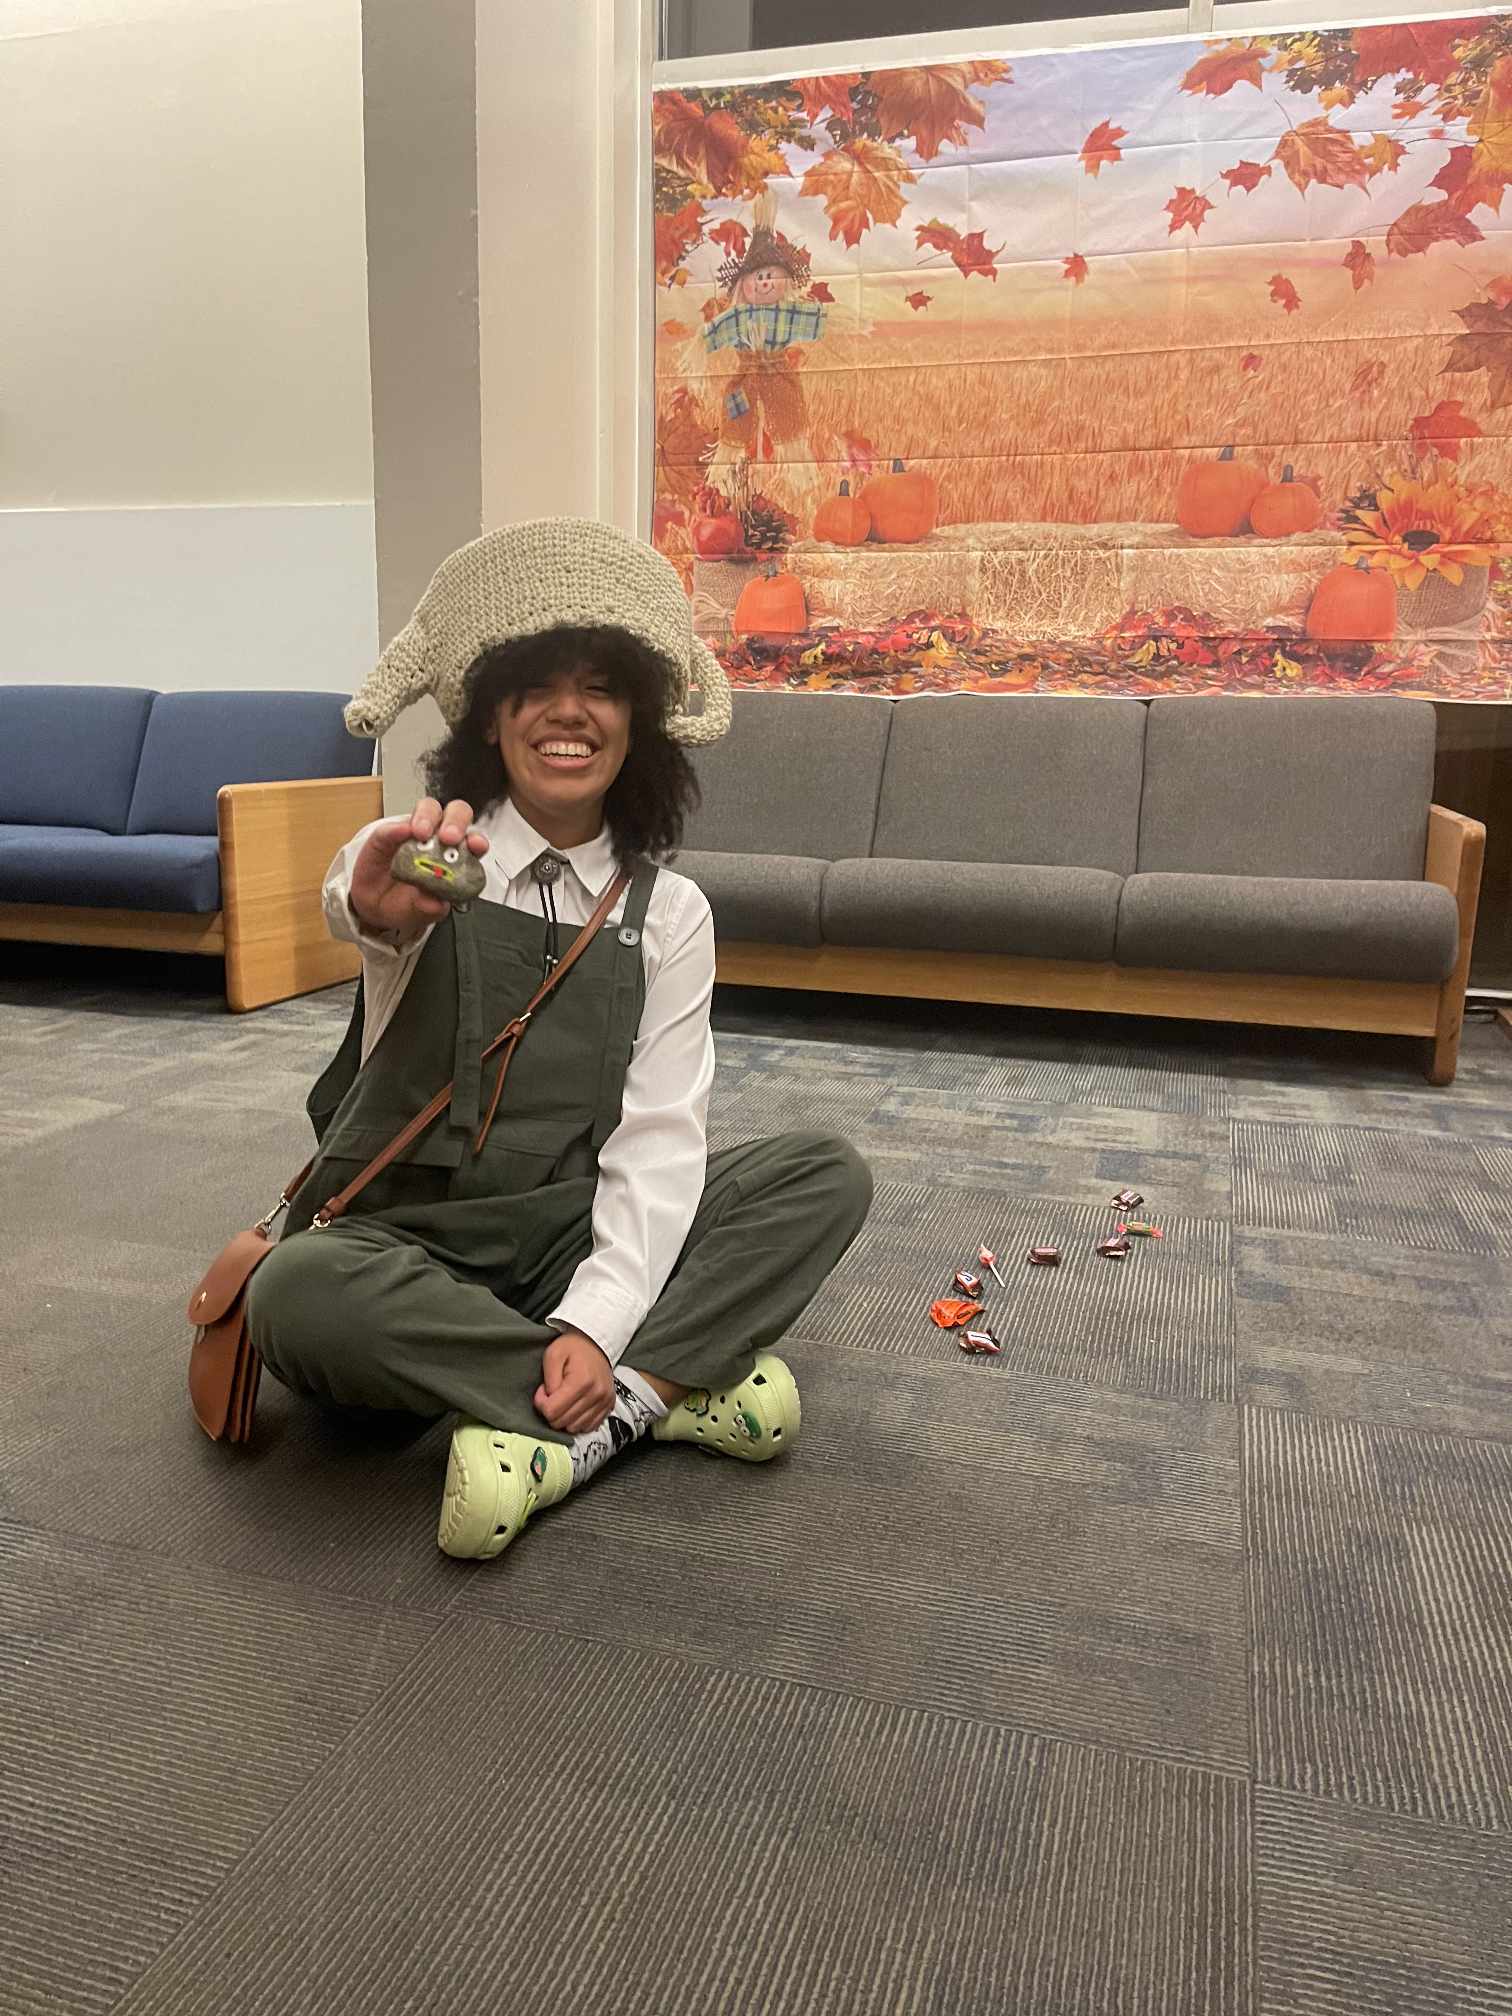
Bonus: my halloween costume
I really liked my teapot, but it ended up too tiny to glue to a headband (my hair is too big). Instead I decided to crochet the teapot for my costume, here are some pictures!