Embedded Programming
My idea: a drawing interface
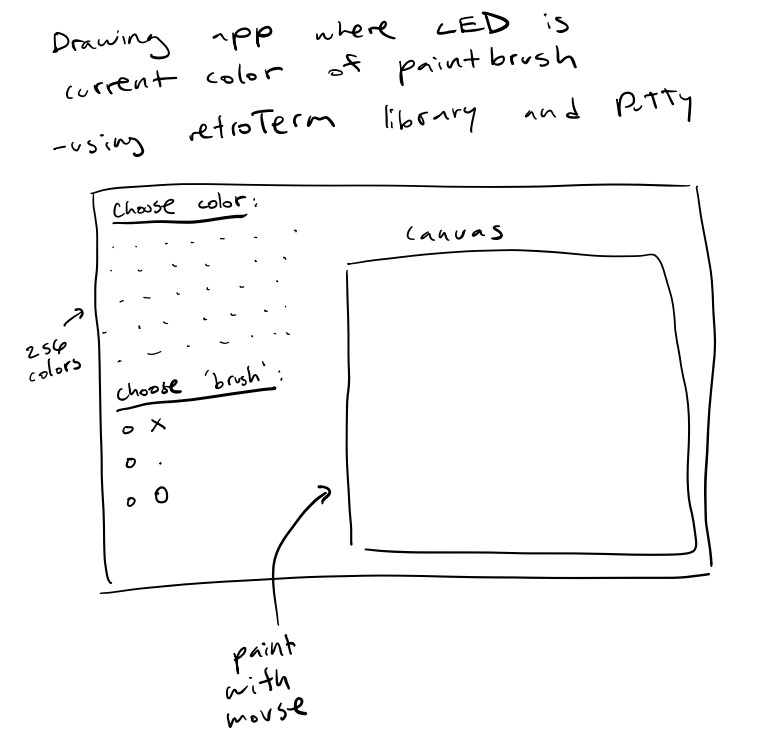
So after thinking of many different ideas, I thought it would be cool if I communicated remotely using the terminal, and created a drawing application on the terminal. The LED connected to the microcontroller will also showcase the color you're currently drawing with. You can also change the form of the "brush" to be either dots, Xs, or Os. A sketch of my idea is right here.
Group assignment
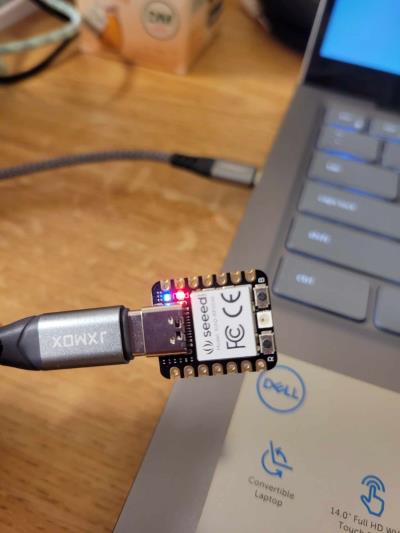
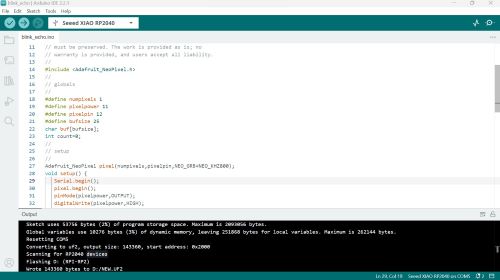
After comparing the chips and the coding languages, I decided to use the Seeed Studio XIAO RP2040 microcontroller, since (1) the RP2040 datasheet was easier to read and (2) there are a lot of libraries for the RP2040 chip. I decided to use the Arduino IDE and code in C because there were the most tutorials for it and I picked it up pretty fast. Pictured are the Seeed Studio XIAO RP2040 microcontroller, and me succesfully running the example from class using the Arduino IDE.
Looking for libraries: retroTerm
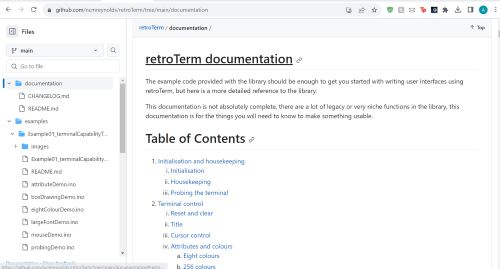
I wanted the terminal to be more interactive than just typing and text, so I found this library called retroTerm ("retro terminal"). It was the only library that did somewhat what I wanted to do (make a GUI); the description was "A library for creating GUI-esque interfaces in a terminal emulator with a microcontroller." Here are some of the pictures from their github. Based on this, I knew I wanted to use it.
Getting retroTerm to work
So to get retroTerm to work, I:
- Went to manage libraries and downloaded the retroTerm library
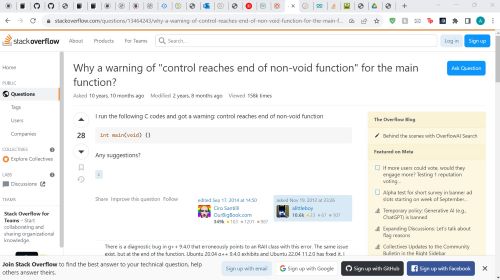
- I decided to run the first example, but I kept getting an error of "control reaches end of non-void function."
- After looking at this stack overflow post, I added "return(0)" to the functions that were getting that error in the library's code. I didn't really like that I had to edit the library's code for it to work.
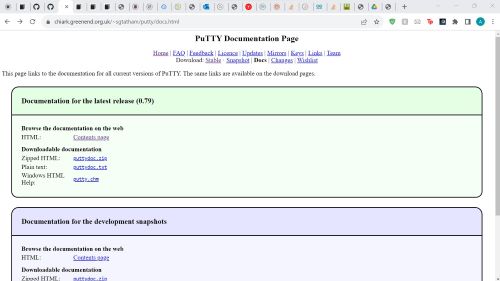
- Then, in the documentation for retroTerm it says it doesn't work on the Arduino IDE's serial monitor, and that you have to use a terminal emulator, called PuTTY. So, I installed PuTTY.
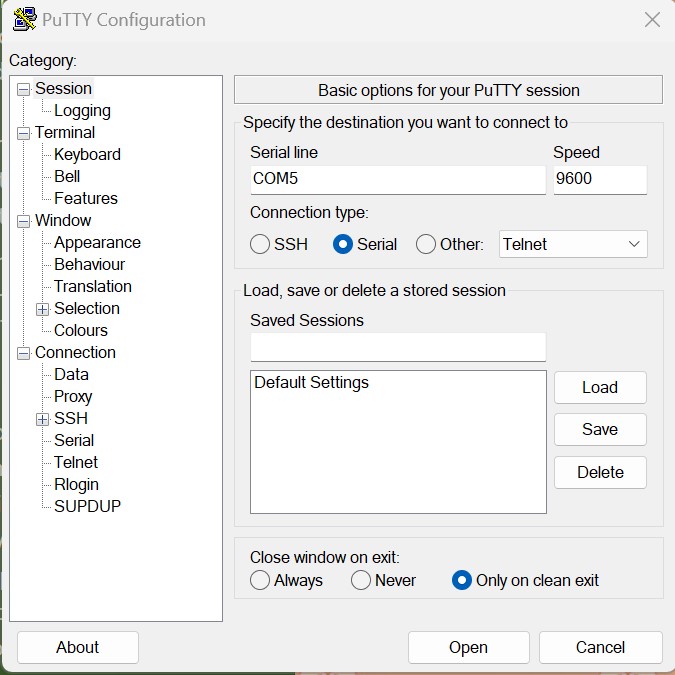
- I was really confused by PuTTY at first, but then I figured it out. I basically couldn't have a serial monitor running on Arduino, or it would get confused. I would just upload the sketch, then open PuTTy, and then open a Serial session on PuTTY by inputting the port where my board was.
- Doing this took and figuring it all out took a couple of hours. But I was able to successfully run the first example!
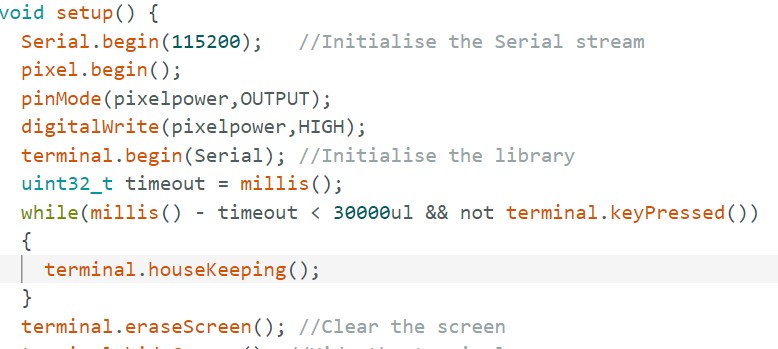
- When running the other examples, I ran into problems such as the elements not showing up on my screen. After reading more of the documentation, it turns out that this happens especifically with RP2040. However, there's an easy fix; just delay or await a key press during the setup, and everything loads fine.
Coding the actual drawing GUI (Final Code)
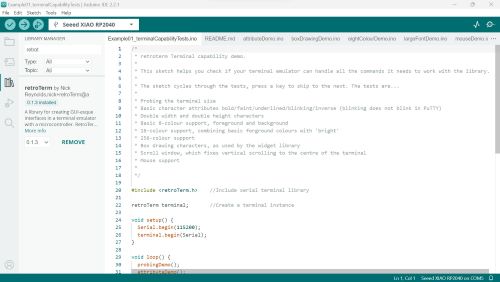
- First I looked through the examples and figured out if there was any code I could use (there was)!
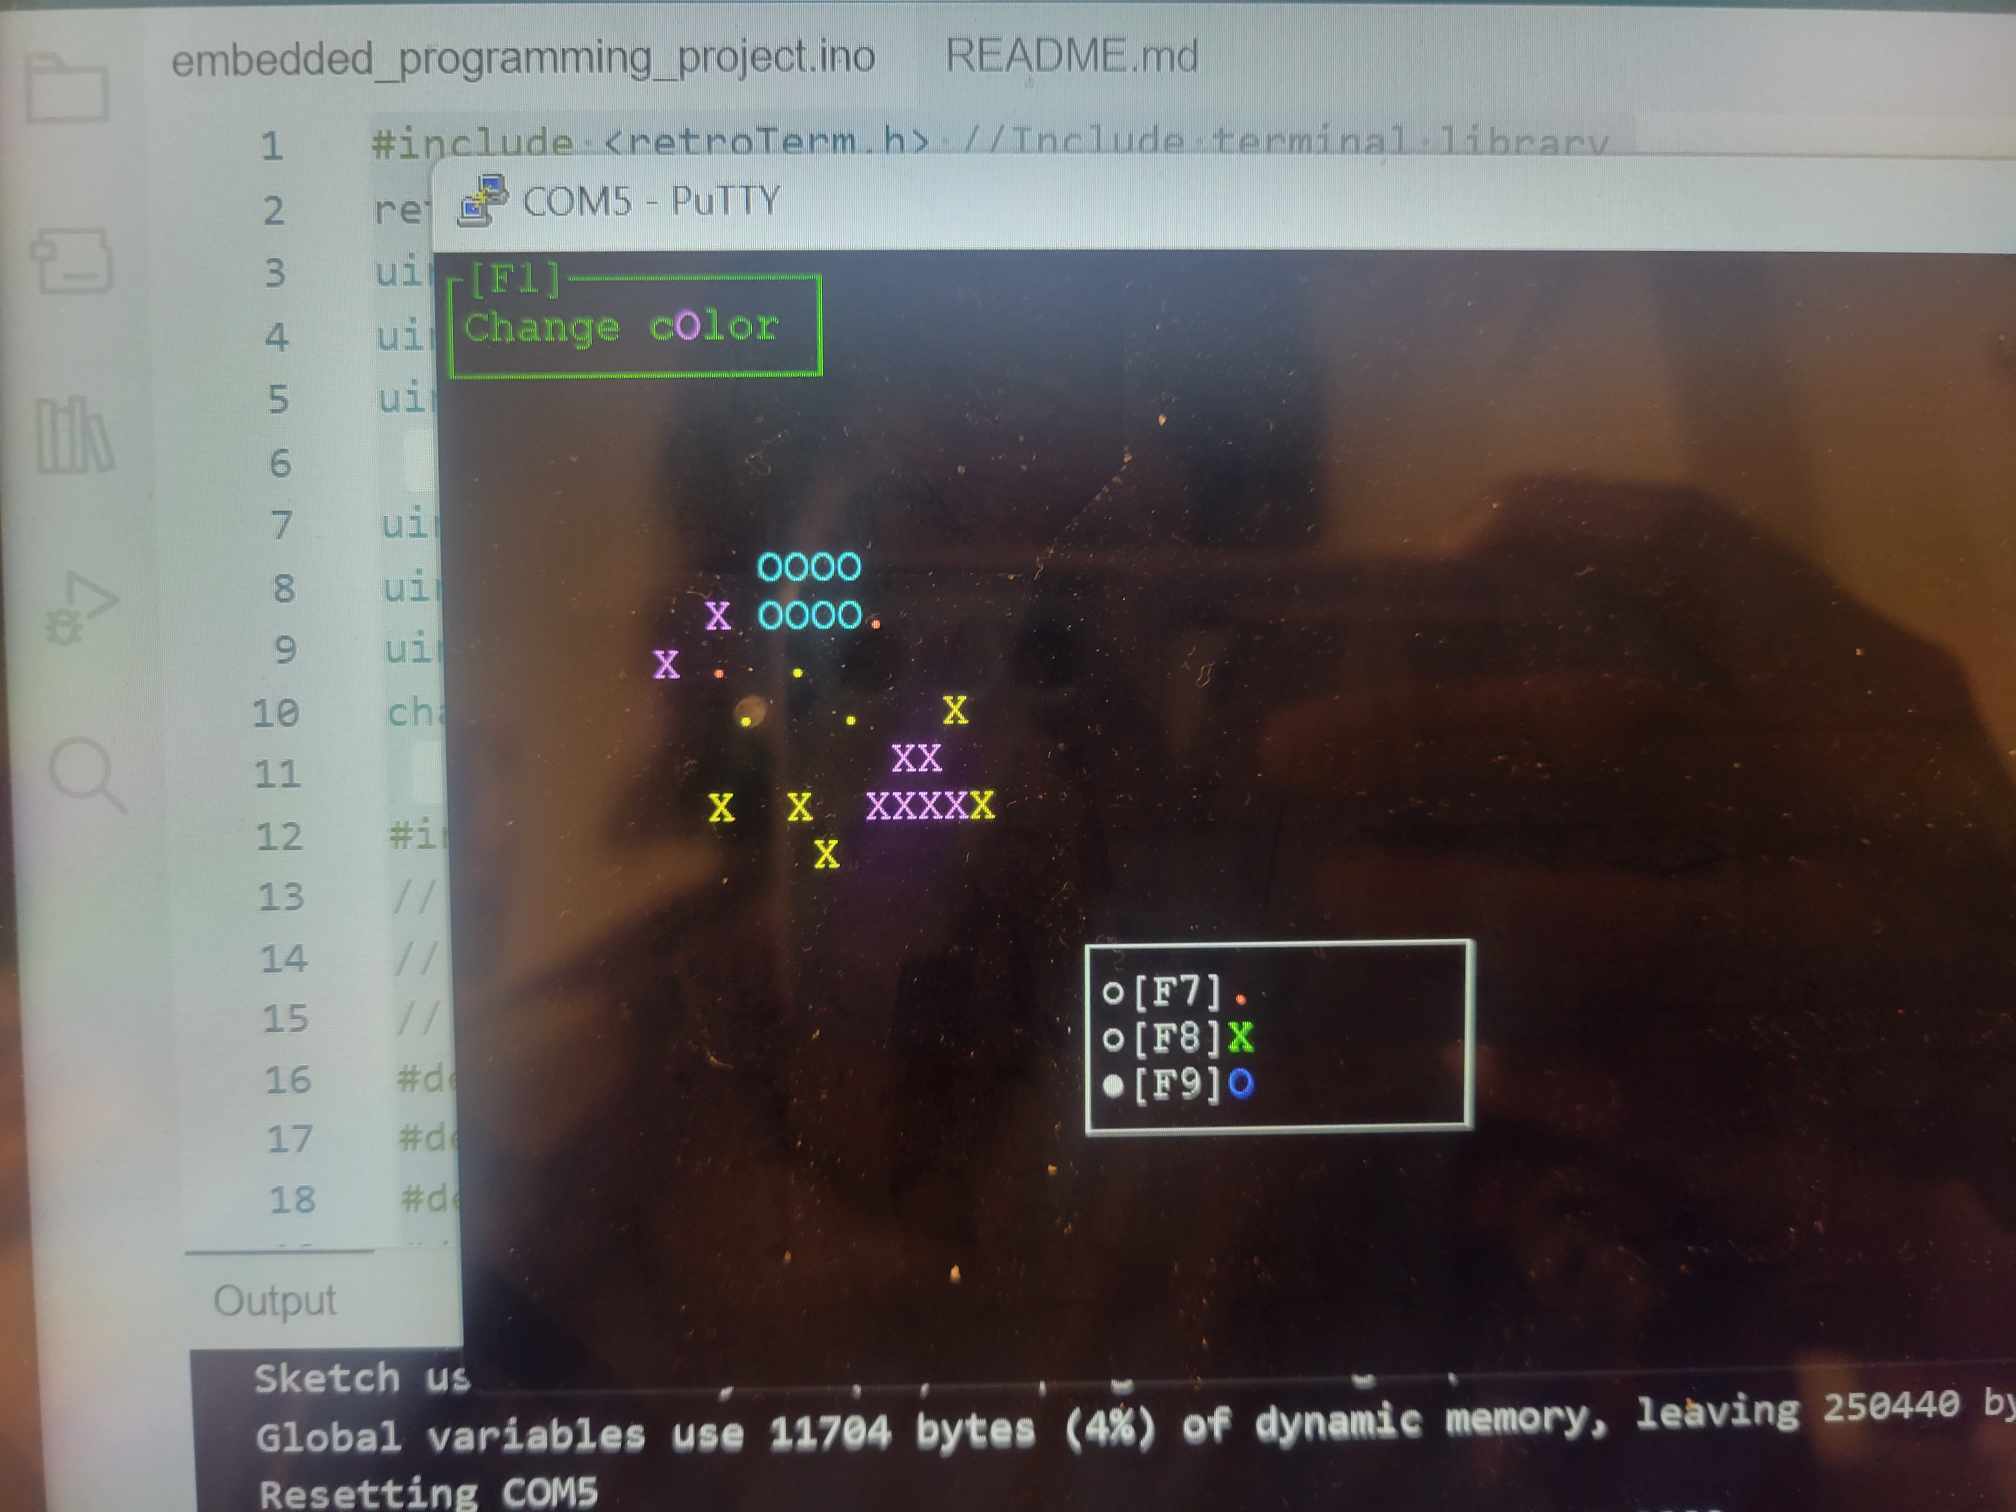
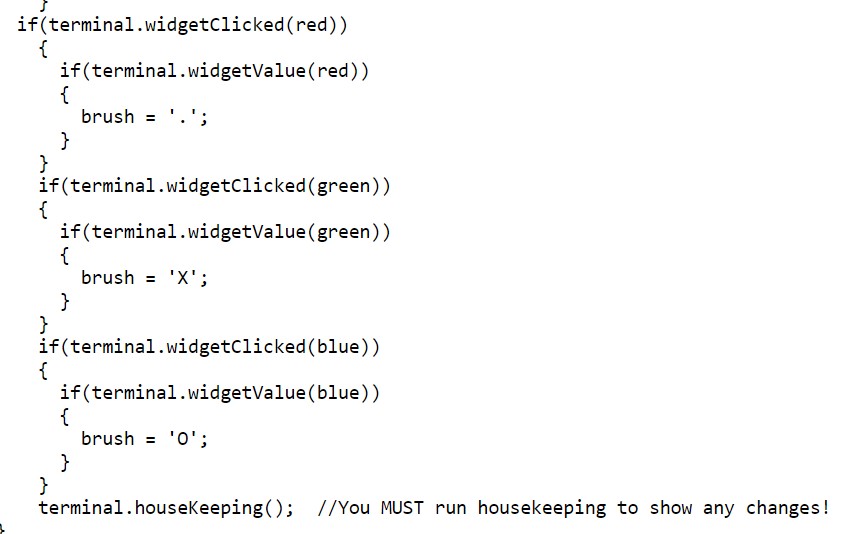
- There was a mouse test in example 1, which printed out a letter wherever the mouse clicked. I figured that was perfect for drawing. I used that function, but instead of printing a letter, I printed a variabled "brush," which will be either '.', 'X', or 'O', almost like different brush textures.
- To switch between brushes, I used the radio button widget that comes with the library. It creates buttons on the screen and it allows the user to click on them.
- The previous parts were pretty easy since there was a lot of example code, however, allowing the user to change the colors took me a few hours.
- My original plan for the colors were to allow the user to pick out of the 256 available colors in the library. I first tried to use text input; for some reason, the colors will always be white despite the number being typed. I debugged for hours until I decided to instead use a button, that gives the user a random color. This sucks because now the user can't really pick a color, but it was a sacrifice I had to make due to time.
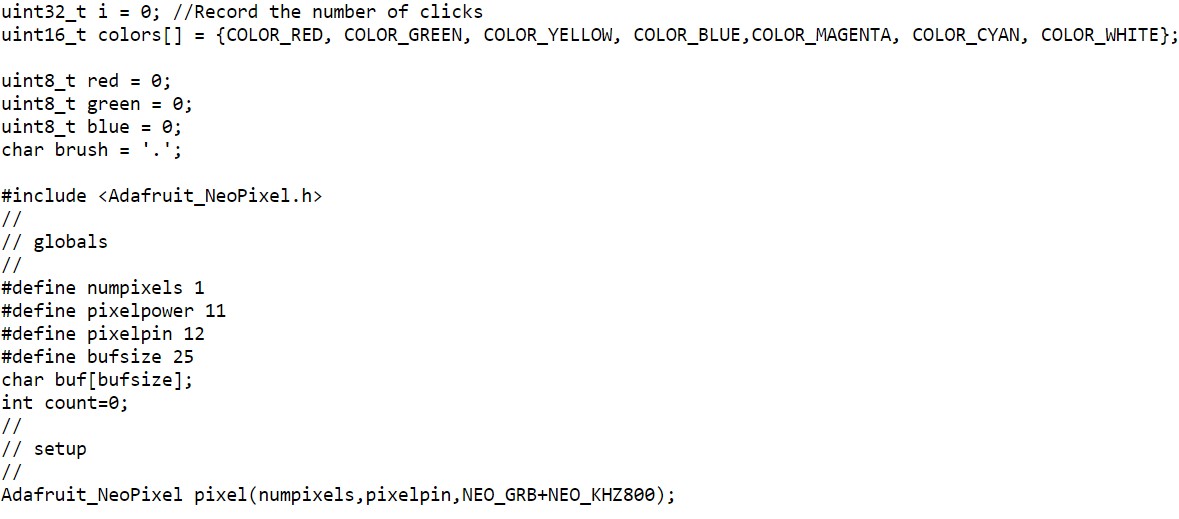
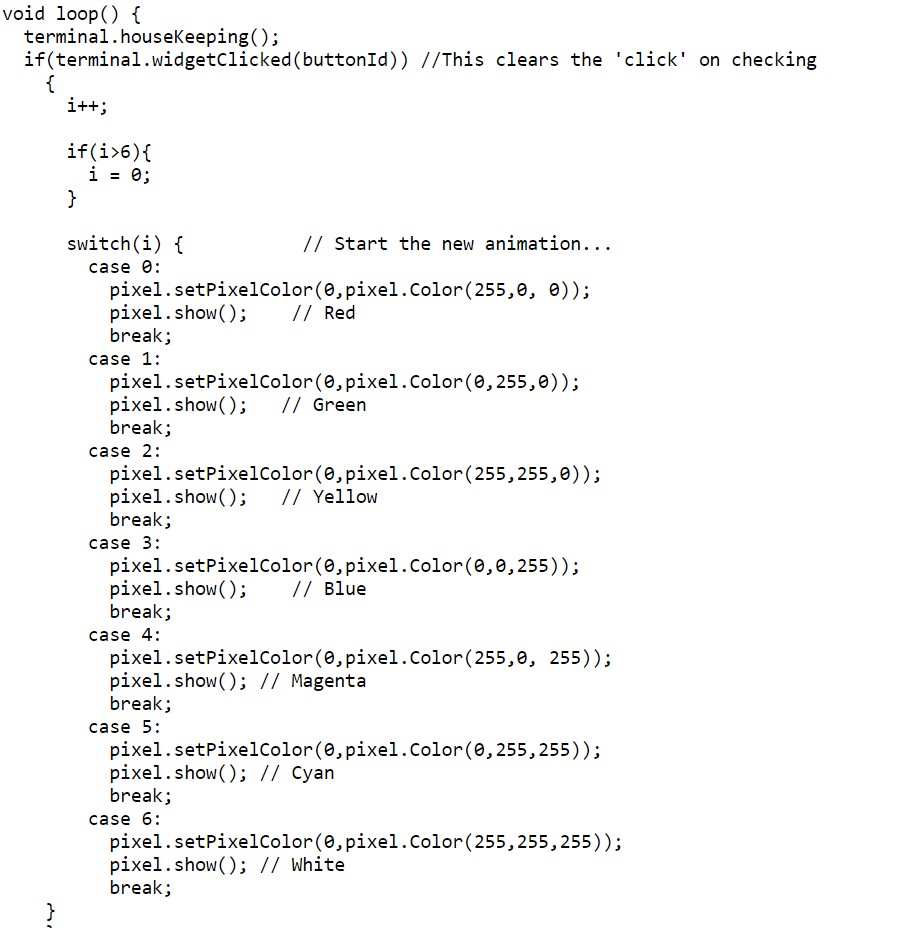
- Now, to add the matching LED light. By adding this LED light, the user will know what color they're about to paint with before drawing anything. I started using the AdaFruit NeoPixel library that was used in the class example. However, I ran into a huge problem; the retroTerm colors were the terminal built in colors labeled 1-256, and I needed to convert to (R,G,B) for NeoPixel. I looked for answers, but I couldn't find a way to do it in a way I could understand. So, I decided to just hardcode 7 colors, and let the user pick within those colors. Adafruit was then able to work, and my code was complete, though without as many capabilities that I initially planned for.

Final product
Here's a picture and a video of the final result. If I had more time, I would figure out a way to have more colors, and make it look nicer. It took longer than I thought to get used to the different libraries, but overall I'm happy I did most of what I wanted to do.
Click on middle of the video to play!