3D Printing and Scanning
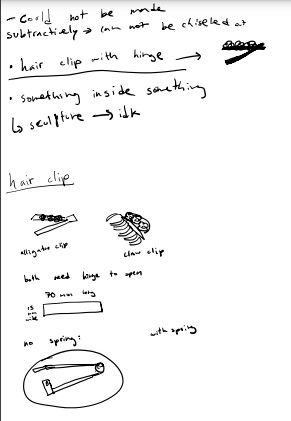
My idea: a hairclip
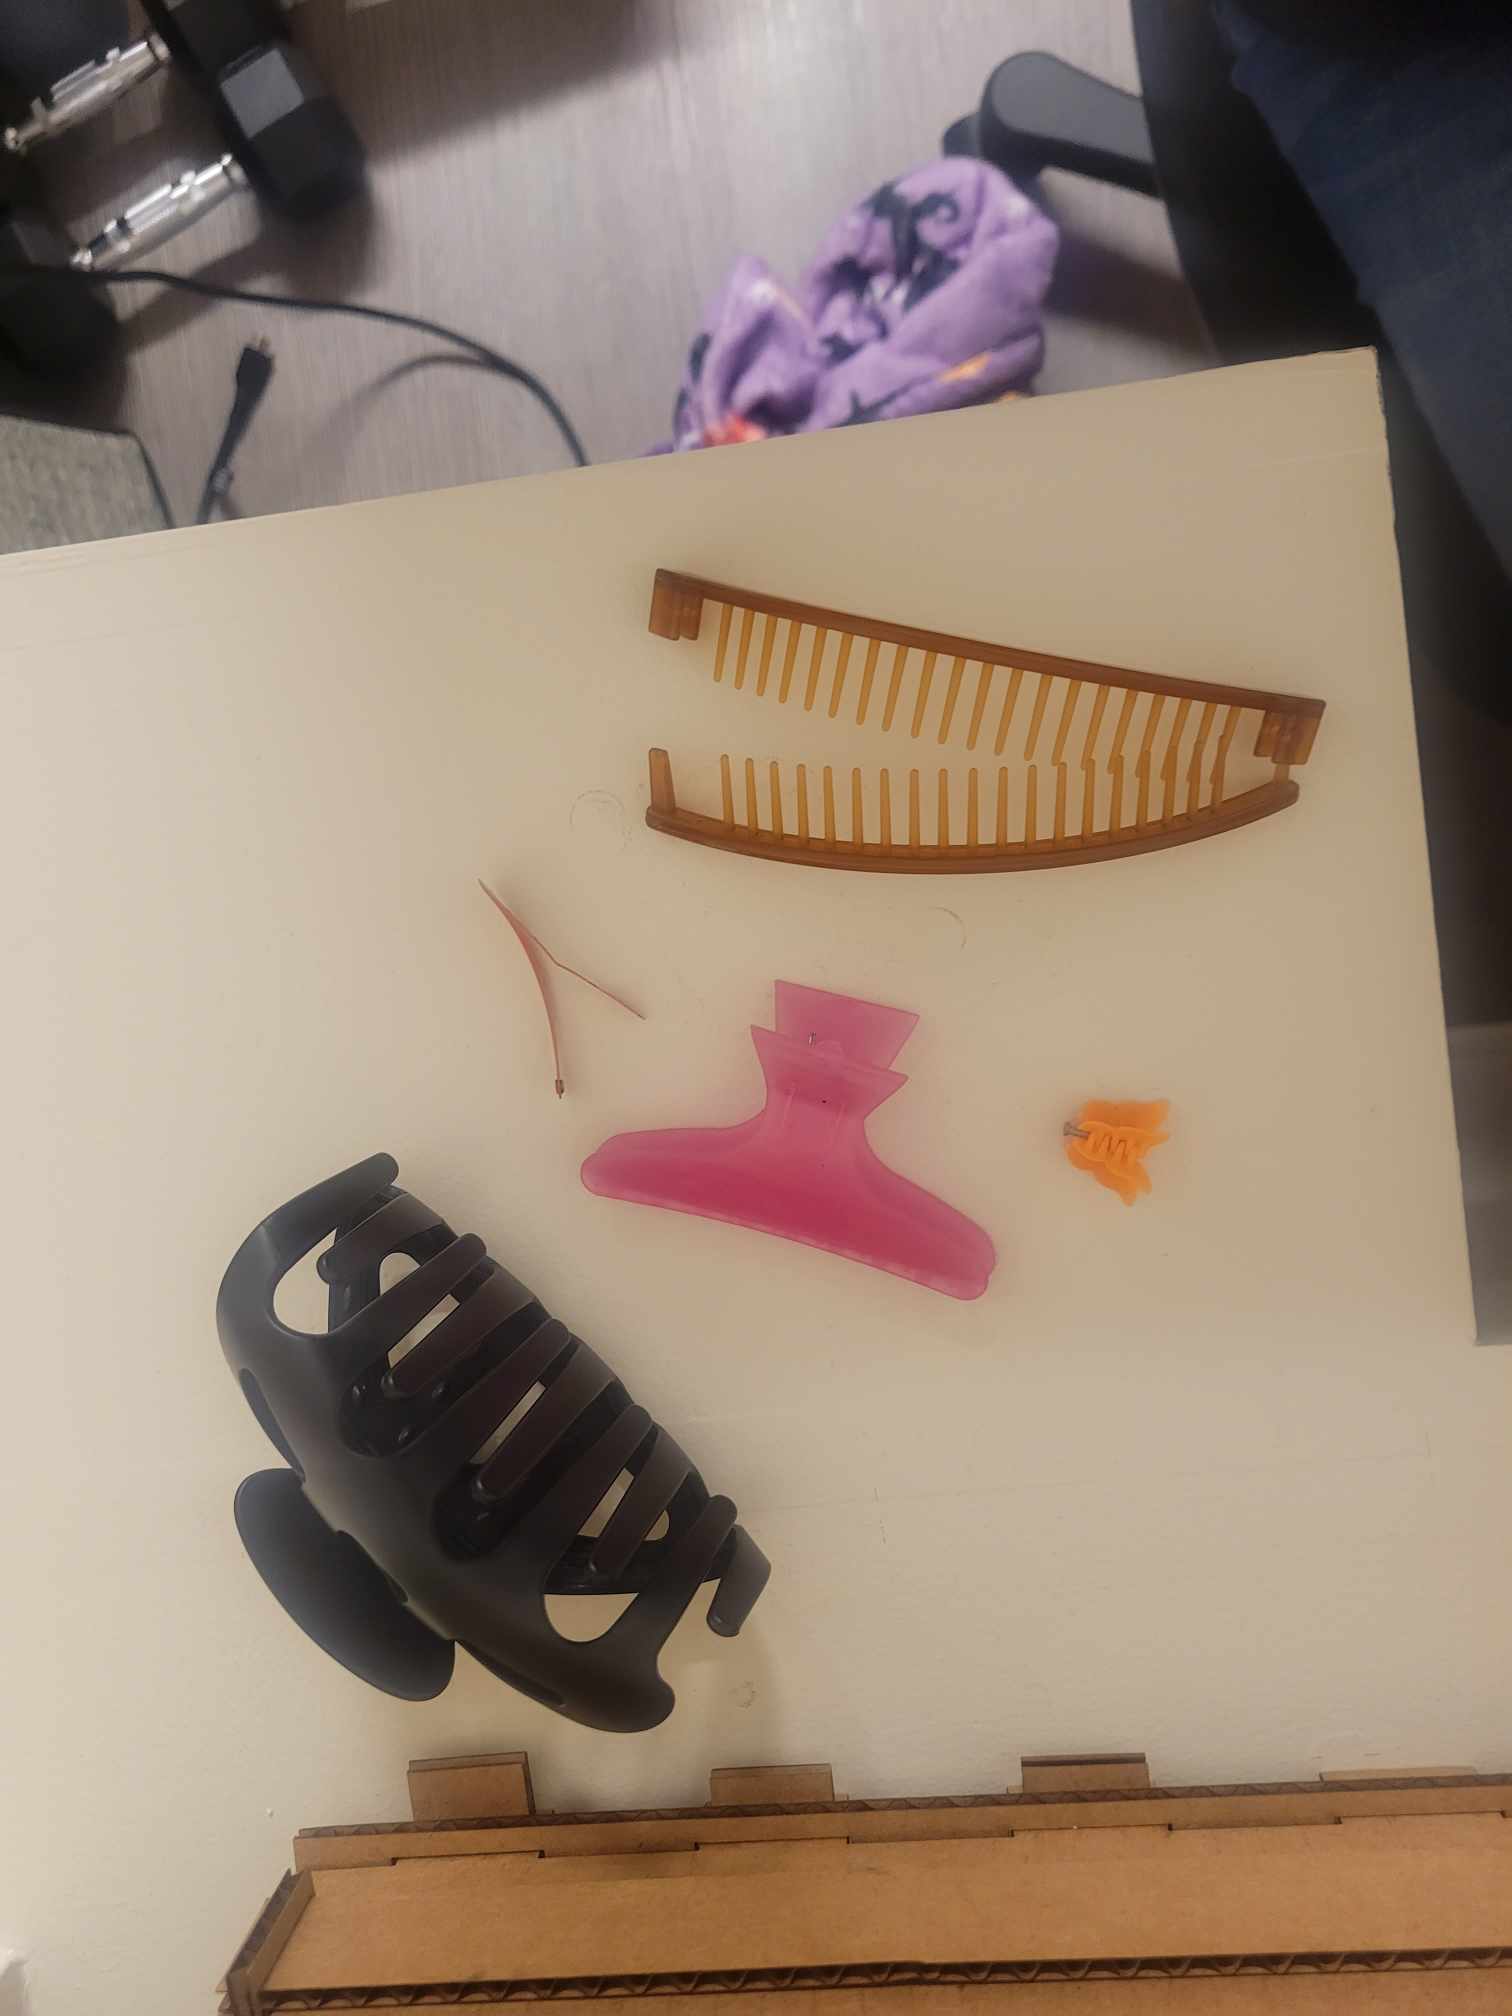
So I thought it would be cool to make a clip for my hair. I looked at all the different hair clips I own and I sketched a few out. These are my initial sketches. Something I noticed as I started sketching is that a lot of the hair clips used a small spring to allow for the retractability. However, I wasn't sure how possible it would be to create this spring using 3D printing, so I decided to use a clasping mechanism (which I'm not sure will work). Group assignment: For the group assignment, I printed out some things on the Pruse printer, and someone wrote up the findings at this page.
Cadding
So the first time I used CAD was 2 weeks ago during our first assignment, so cadding this week proved to be a big struggle for me. This was specially harder than the first week since we have to think more in 3D. Something I realized is that I really don't know how things work. I examined my hairclips to see if I could figure out how they worked. However, I decided on a clasping mechanism and I didn't have any clips like that, and I couldn't find any good pictures online, so I kind of figured it out in my head. This was a bad idea, since I really don't know how it was going to work. I realized I lack a lot of physics and engineering knowledge, and my head hurt just from thinking about how to CAD this. I gained a lot of respect for mechanical enginners. Here's my process:
- First I looked at my clips and thought about how to approach my clip
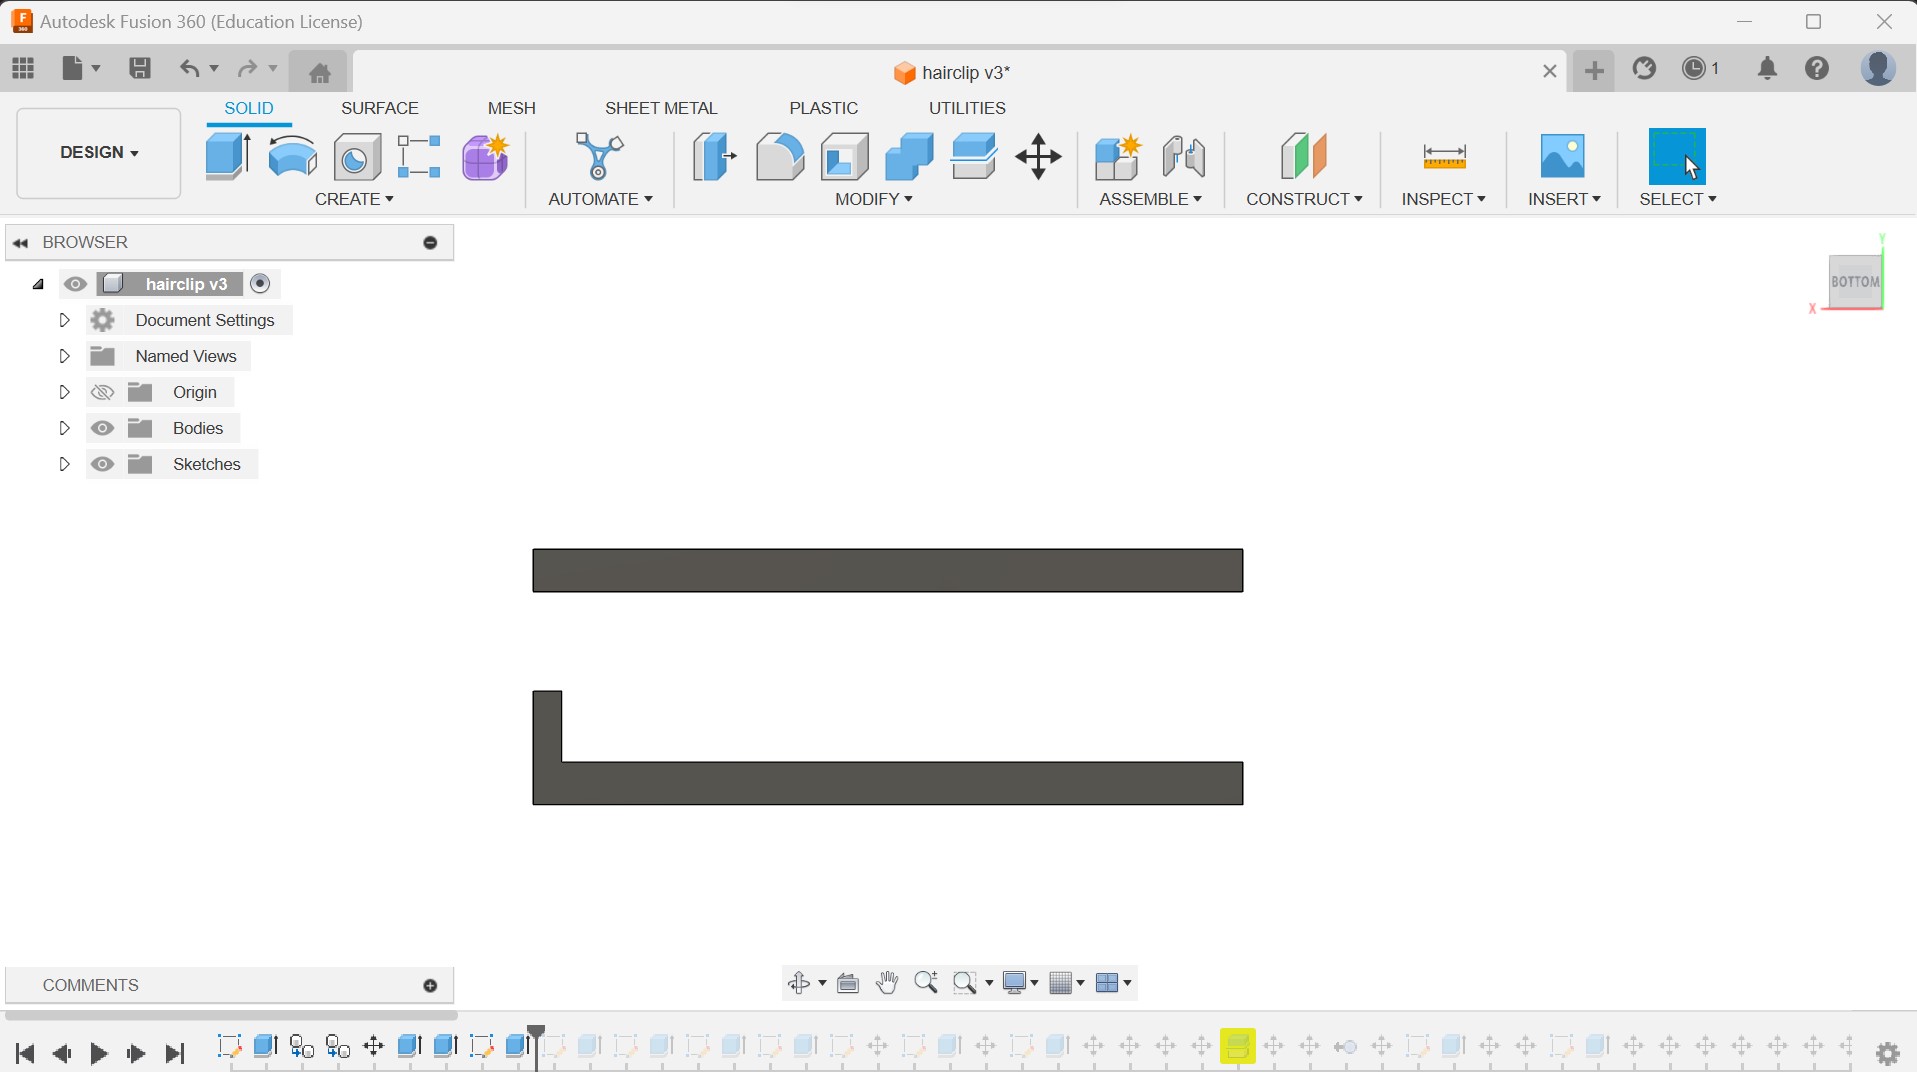
- Then I created 2 rectangles, one with an extra piece for the clasp
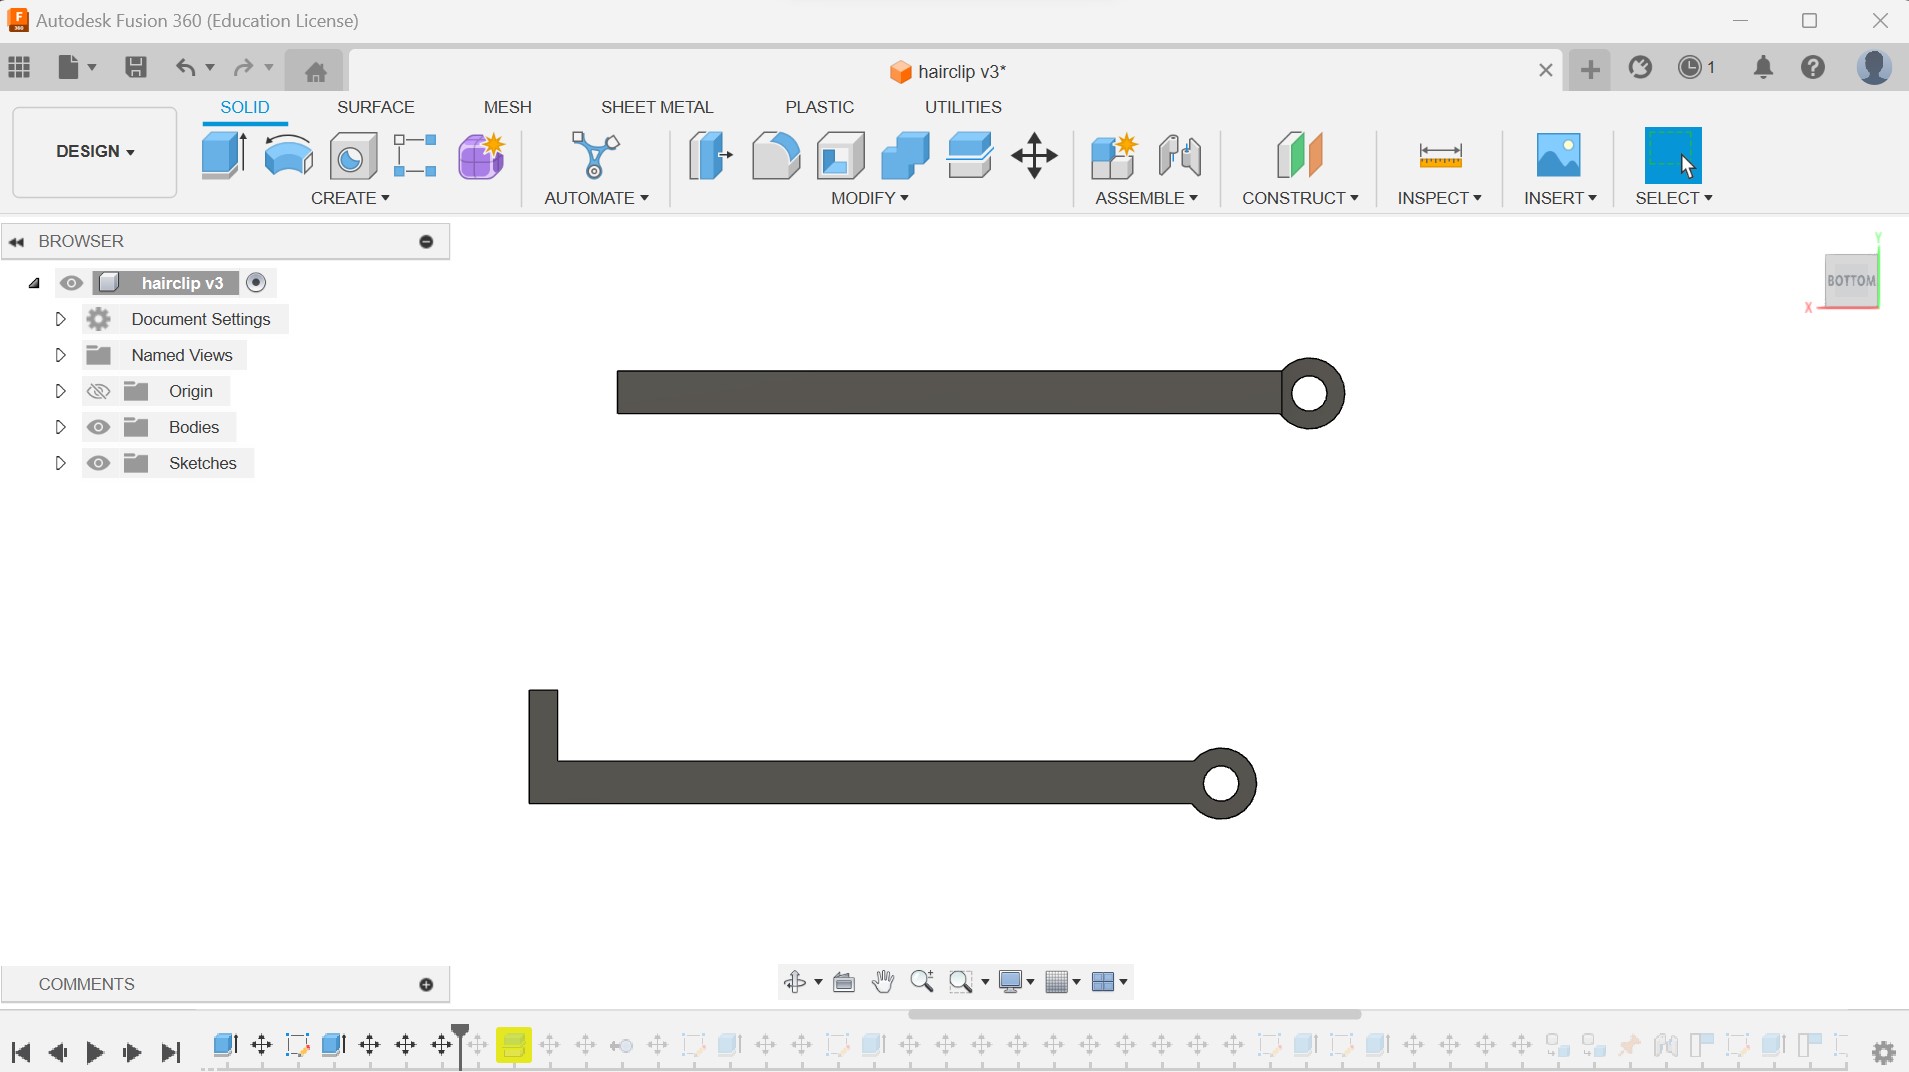
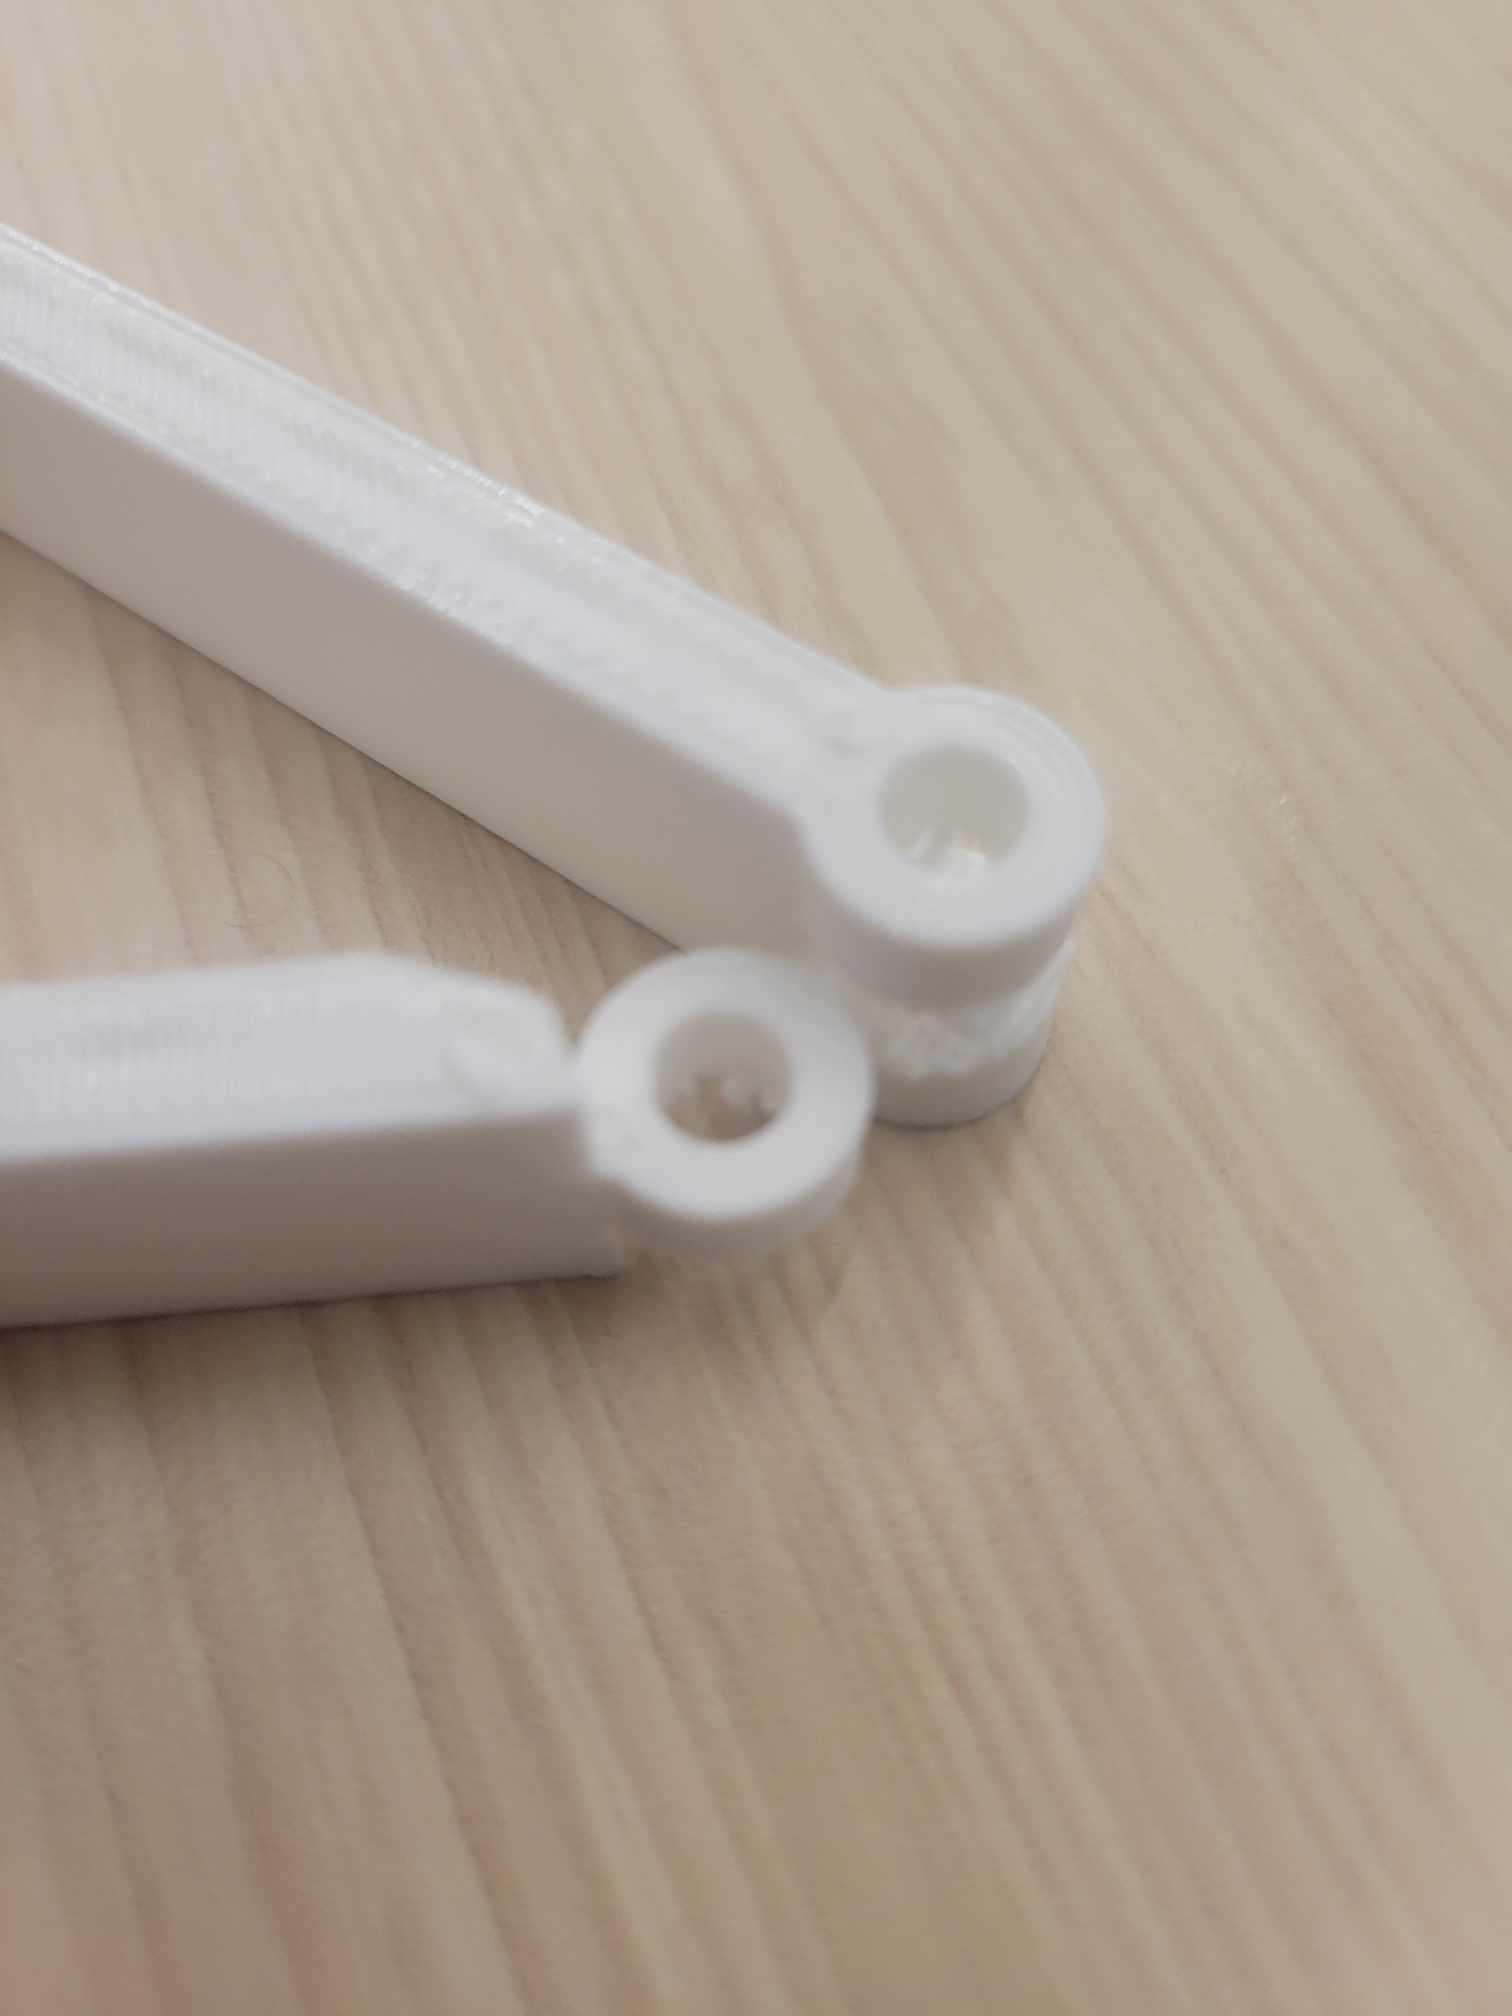
- Then I added circular pieces to each, this is where there's going to be a hinge
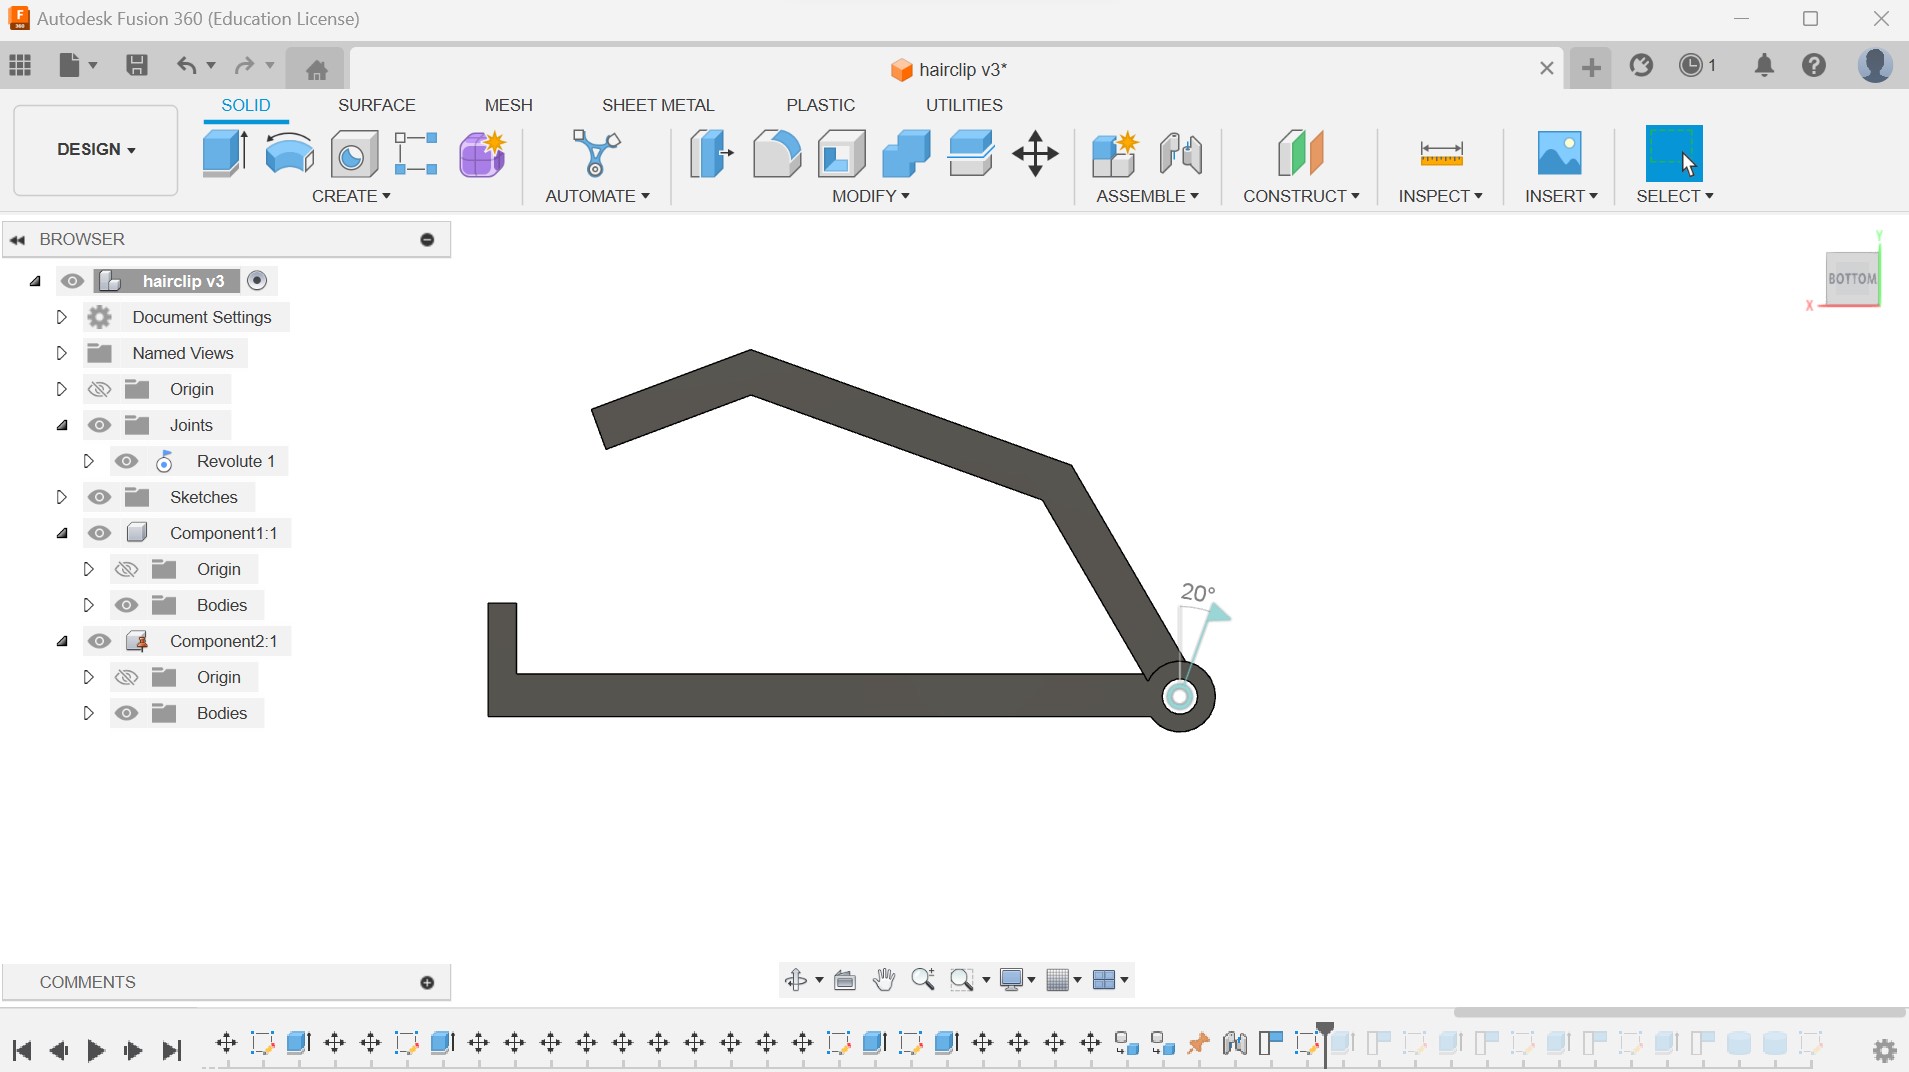
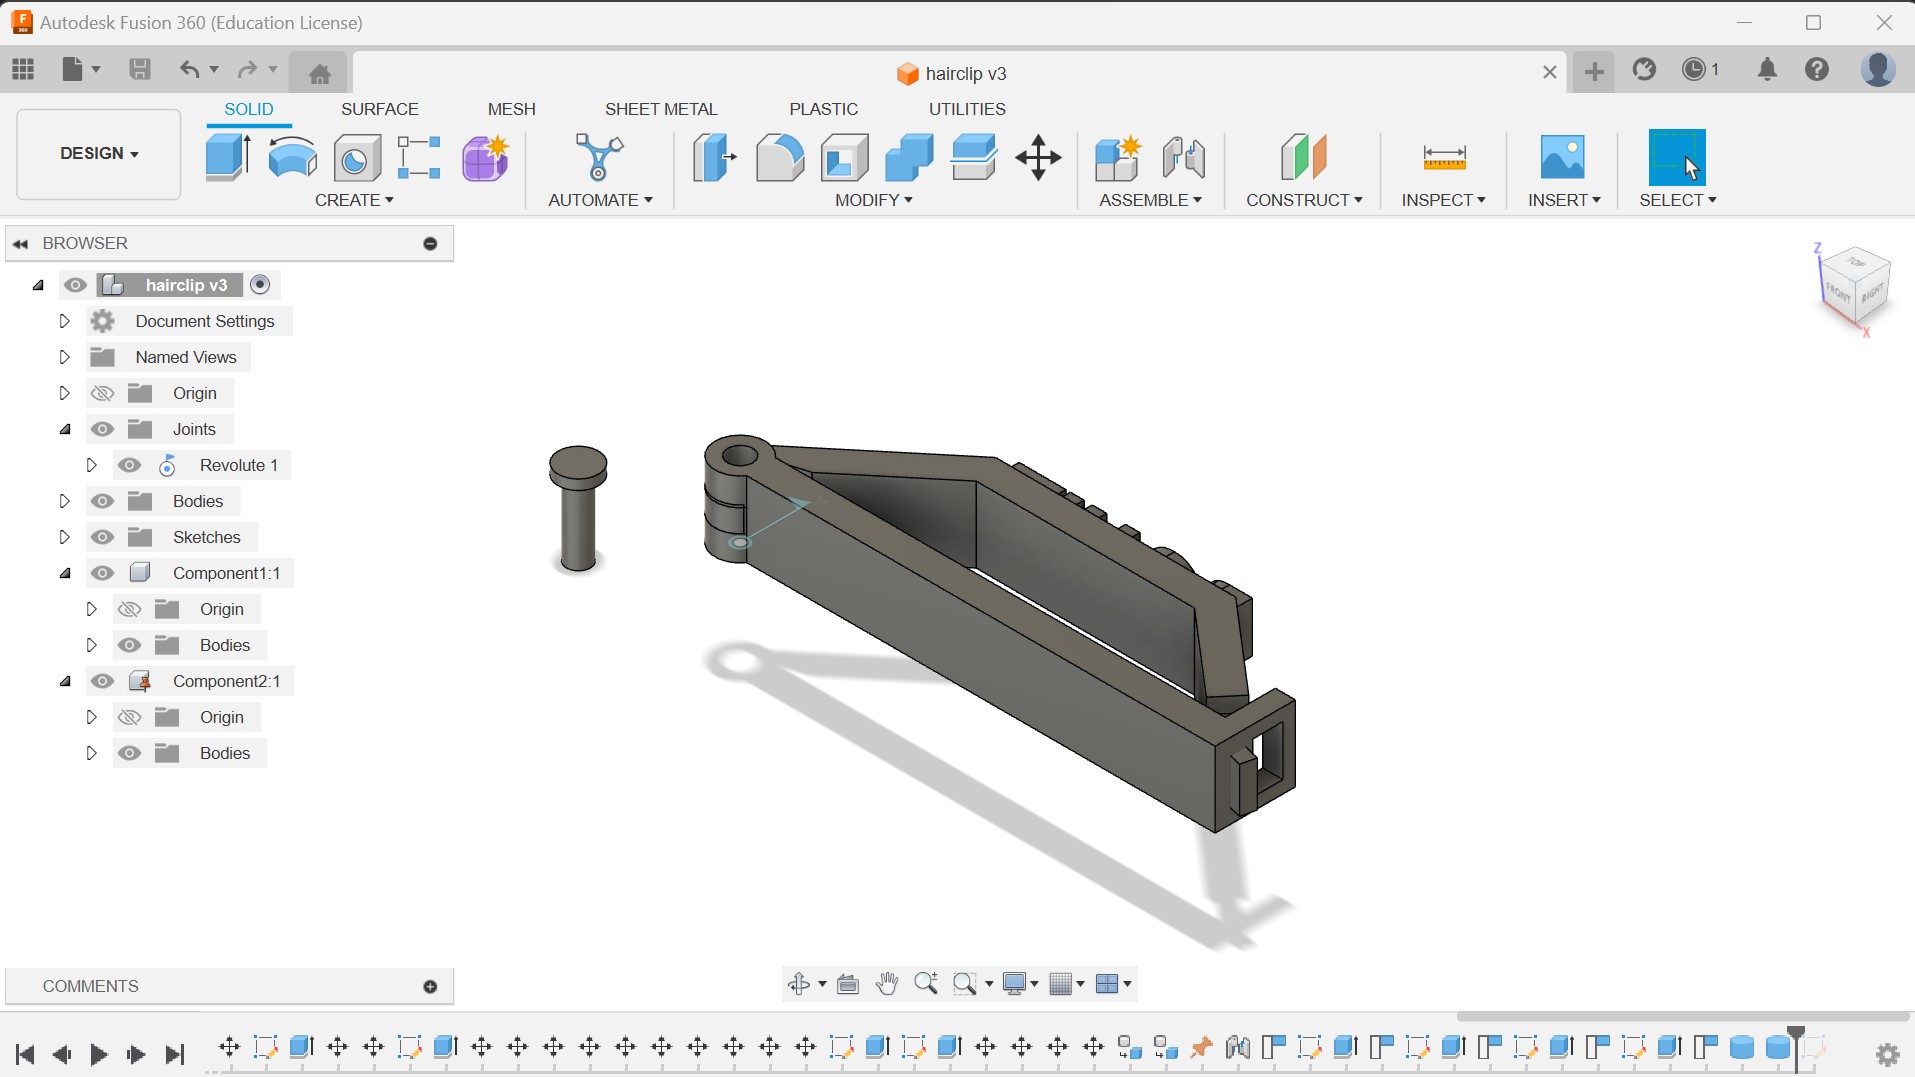
- I then realized that my clip won't hold hair if it's straight, so I made the top part a bit curved. I also connected the 2 pieces using Fusion's 'joint' feature
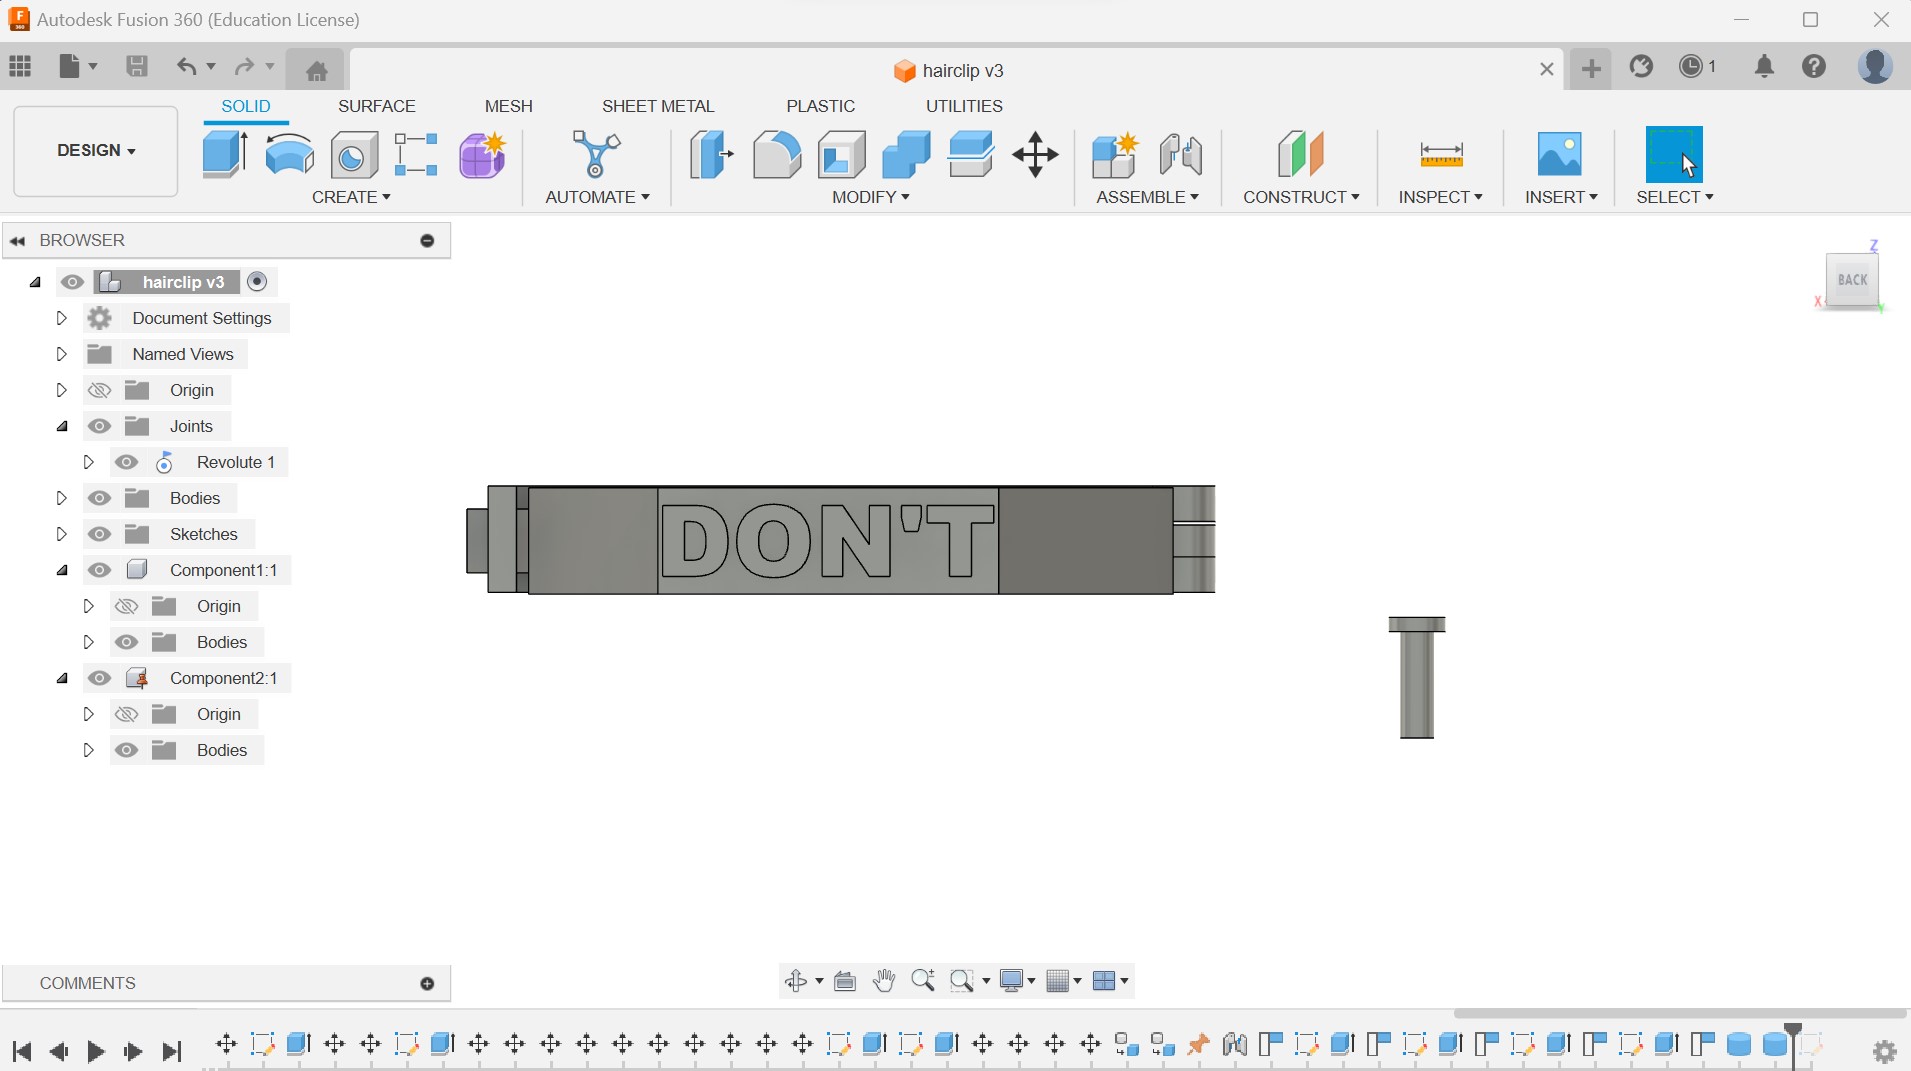
- This is the final design from the side. The last few things I added were the small screw like thing that will go between the hinges, and also I added the word 'DONT' at the top as a design choice, as in 'don't touch my hair.'
- This is the final desgn from the top
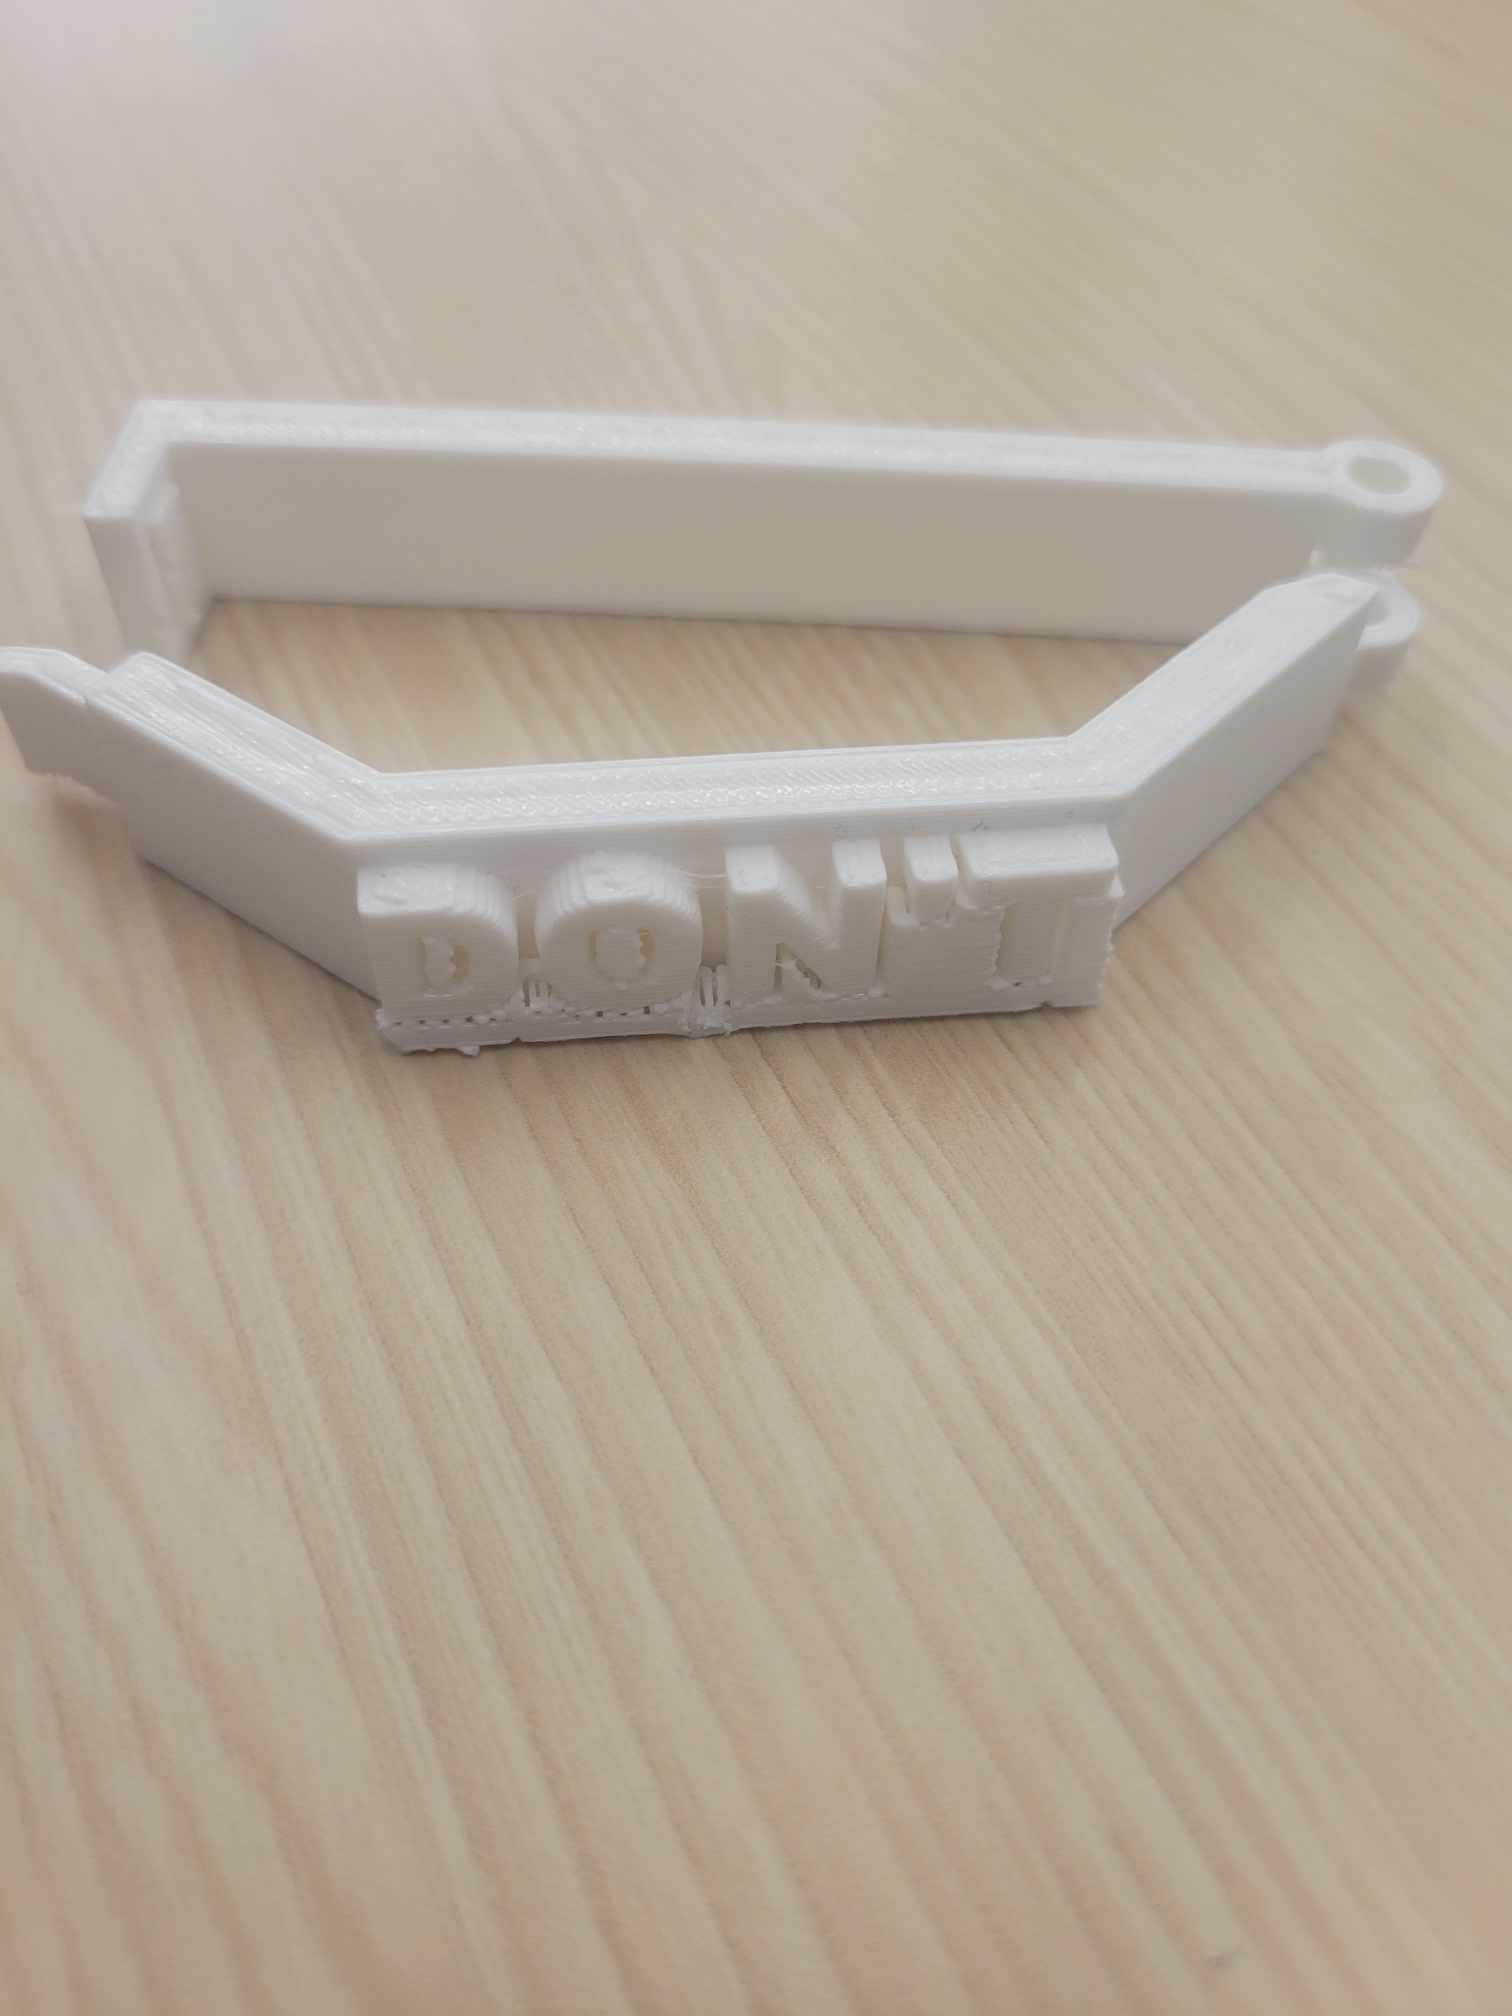
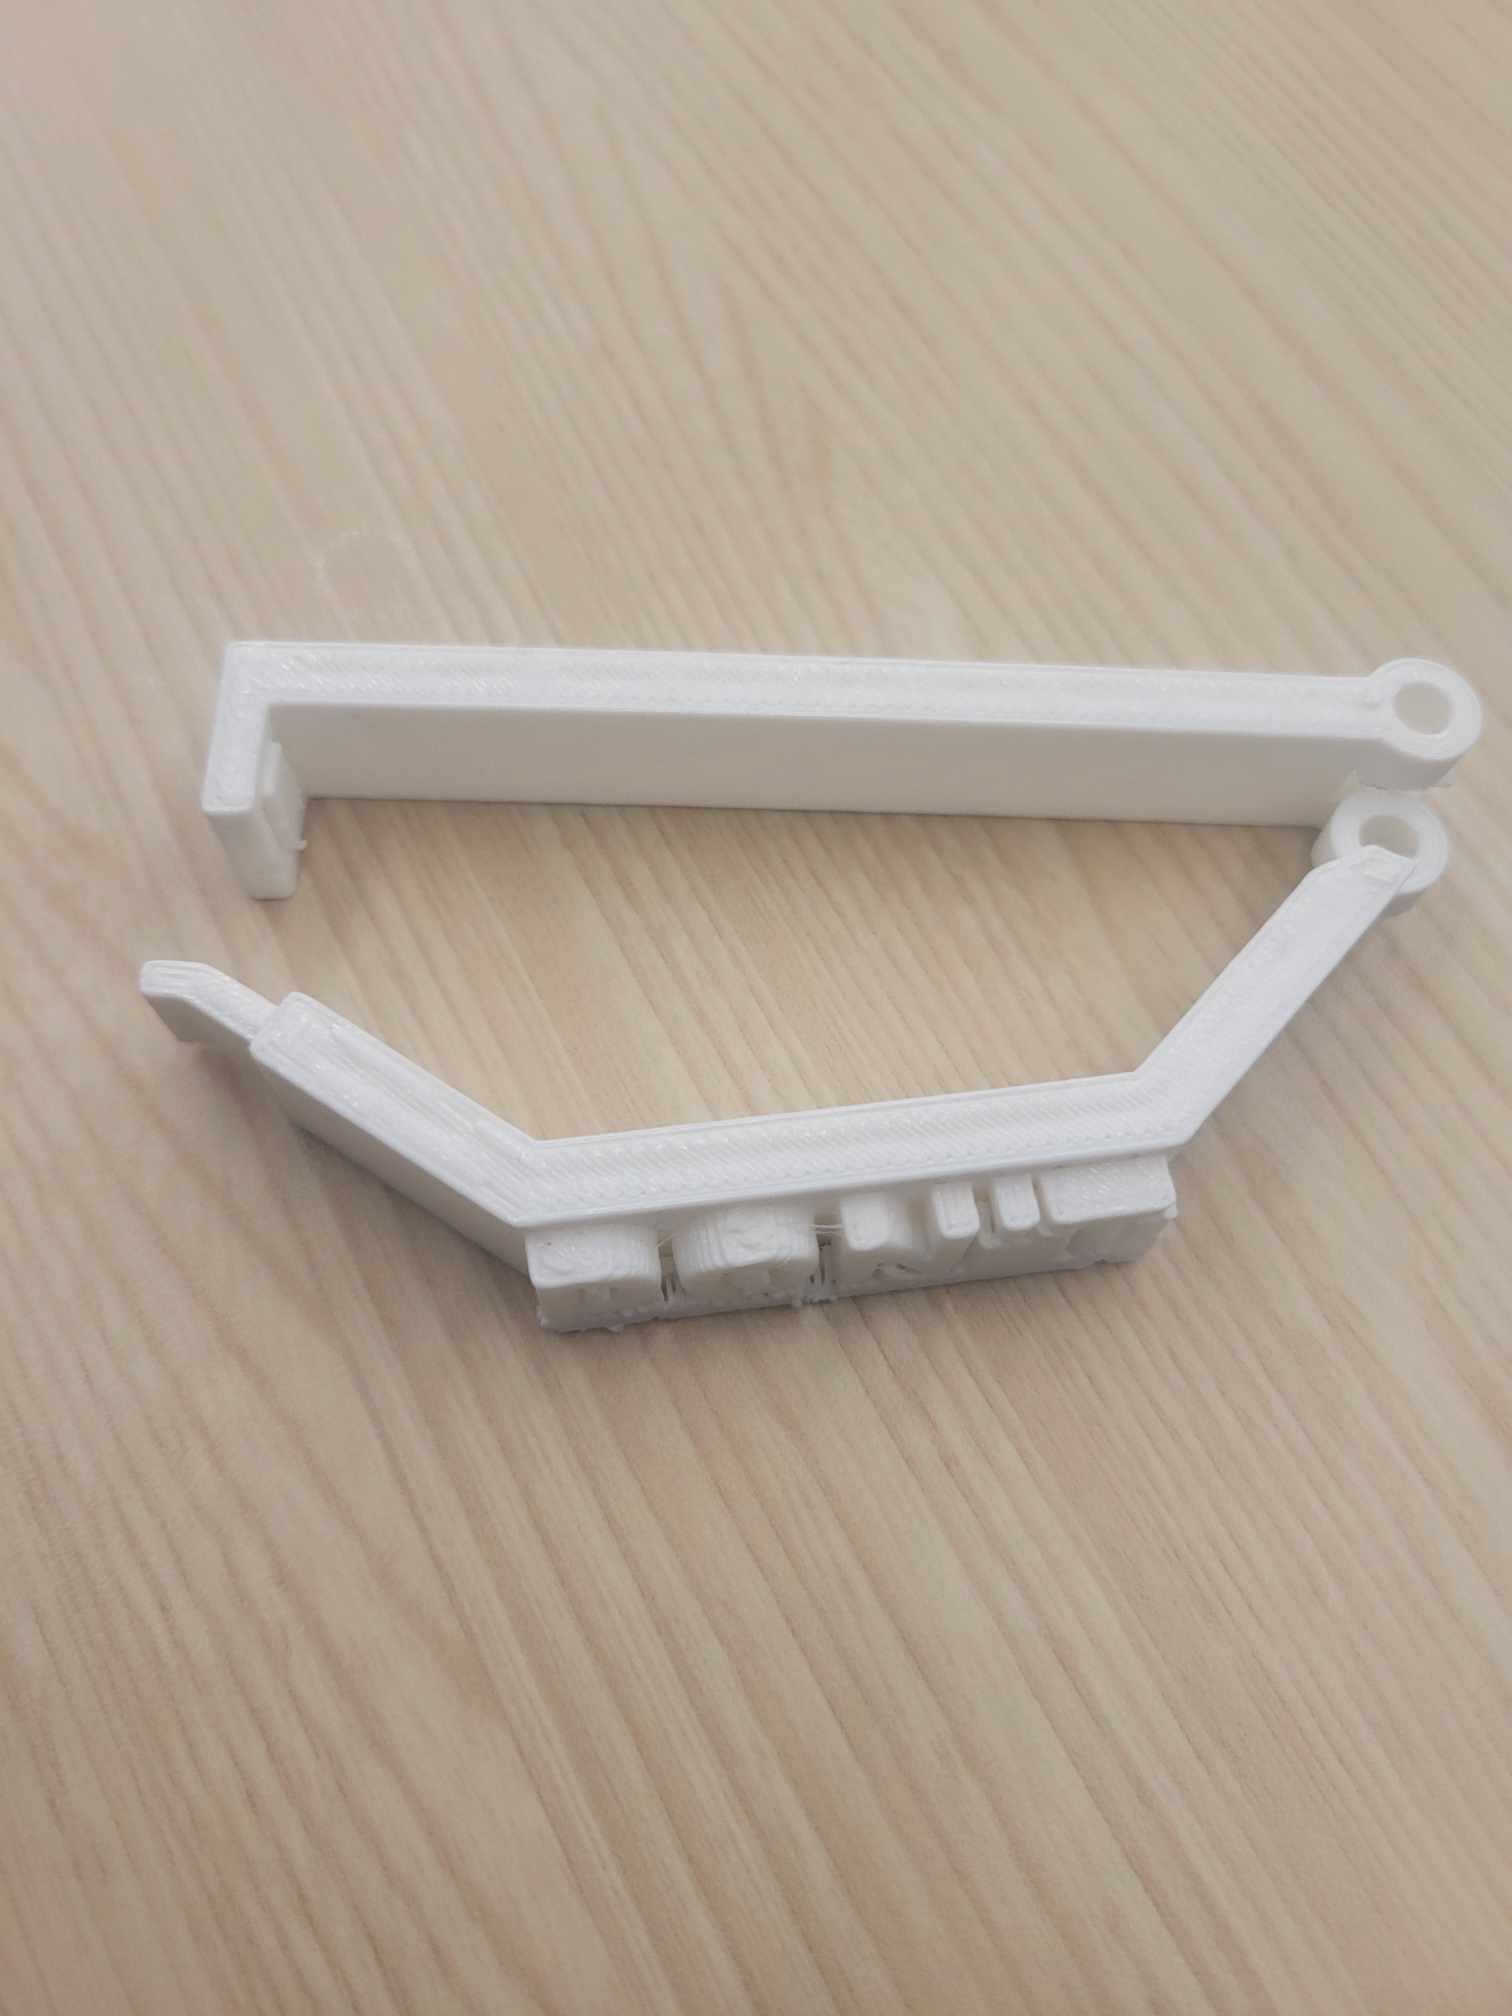
Final Results
Here is what my hair clip looked like after I printed it out. I used the Prusa printer in my lab. So, it turned out that even though I accounted for space in between my hinges, I didn't account for enough space, so my clip didn't work. I will try printing it again with more space in between. If I had more time, I would try to make a claw hair clip like the ones I already have.
Scanning my headphones (didn't work)
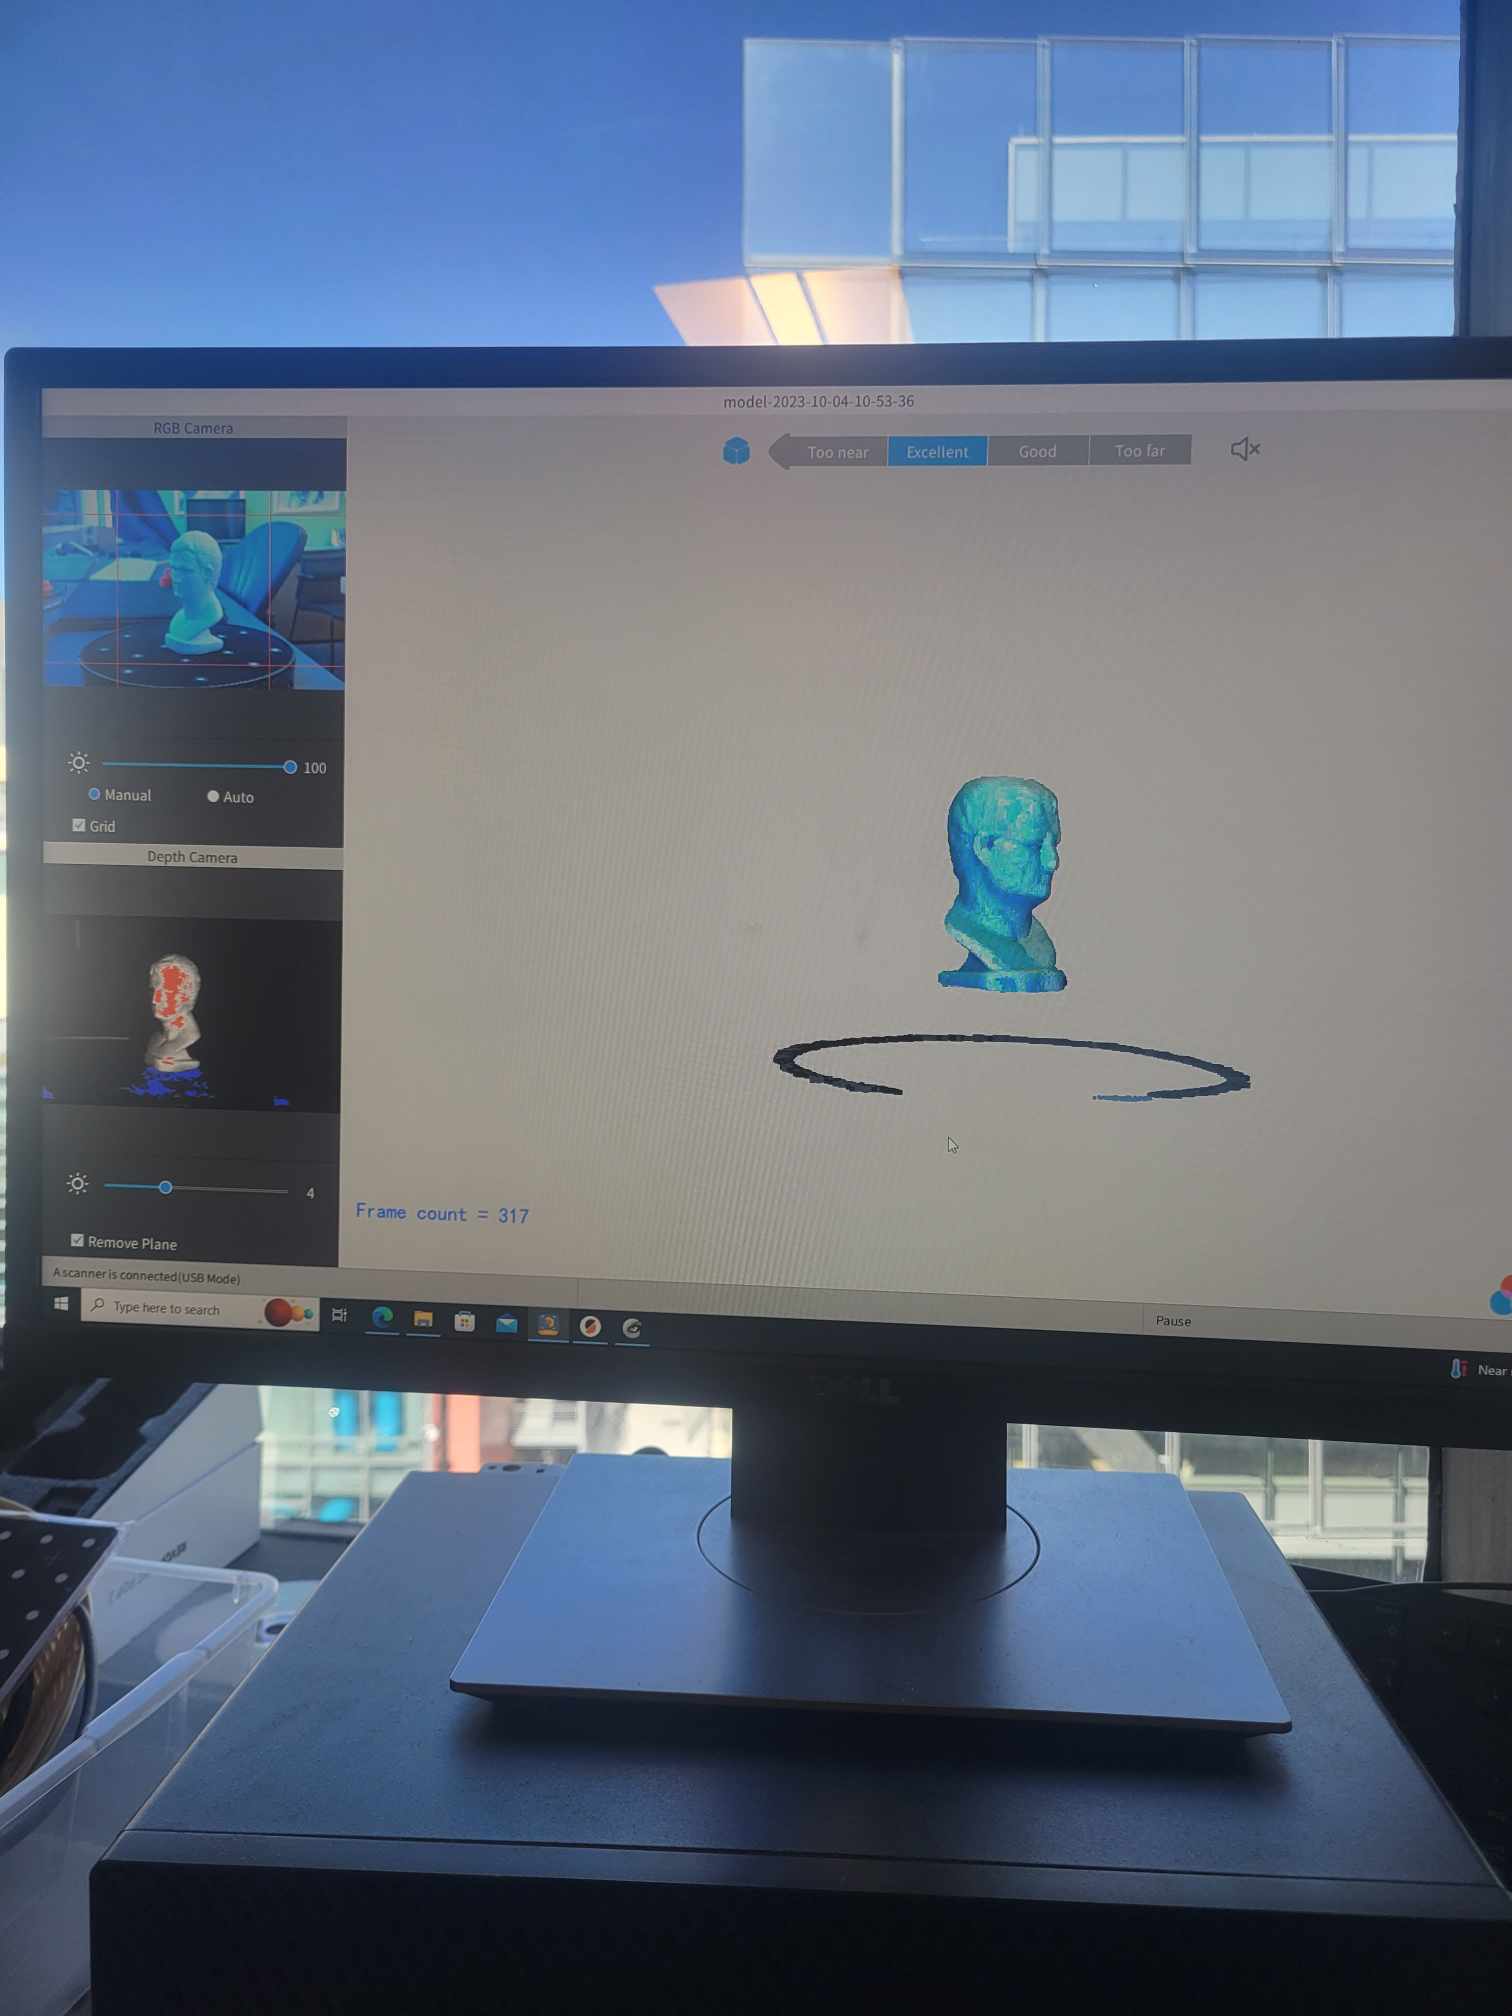
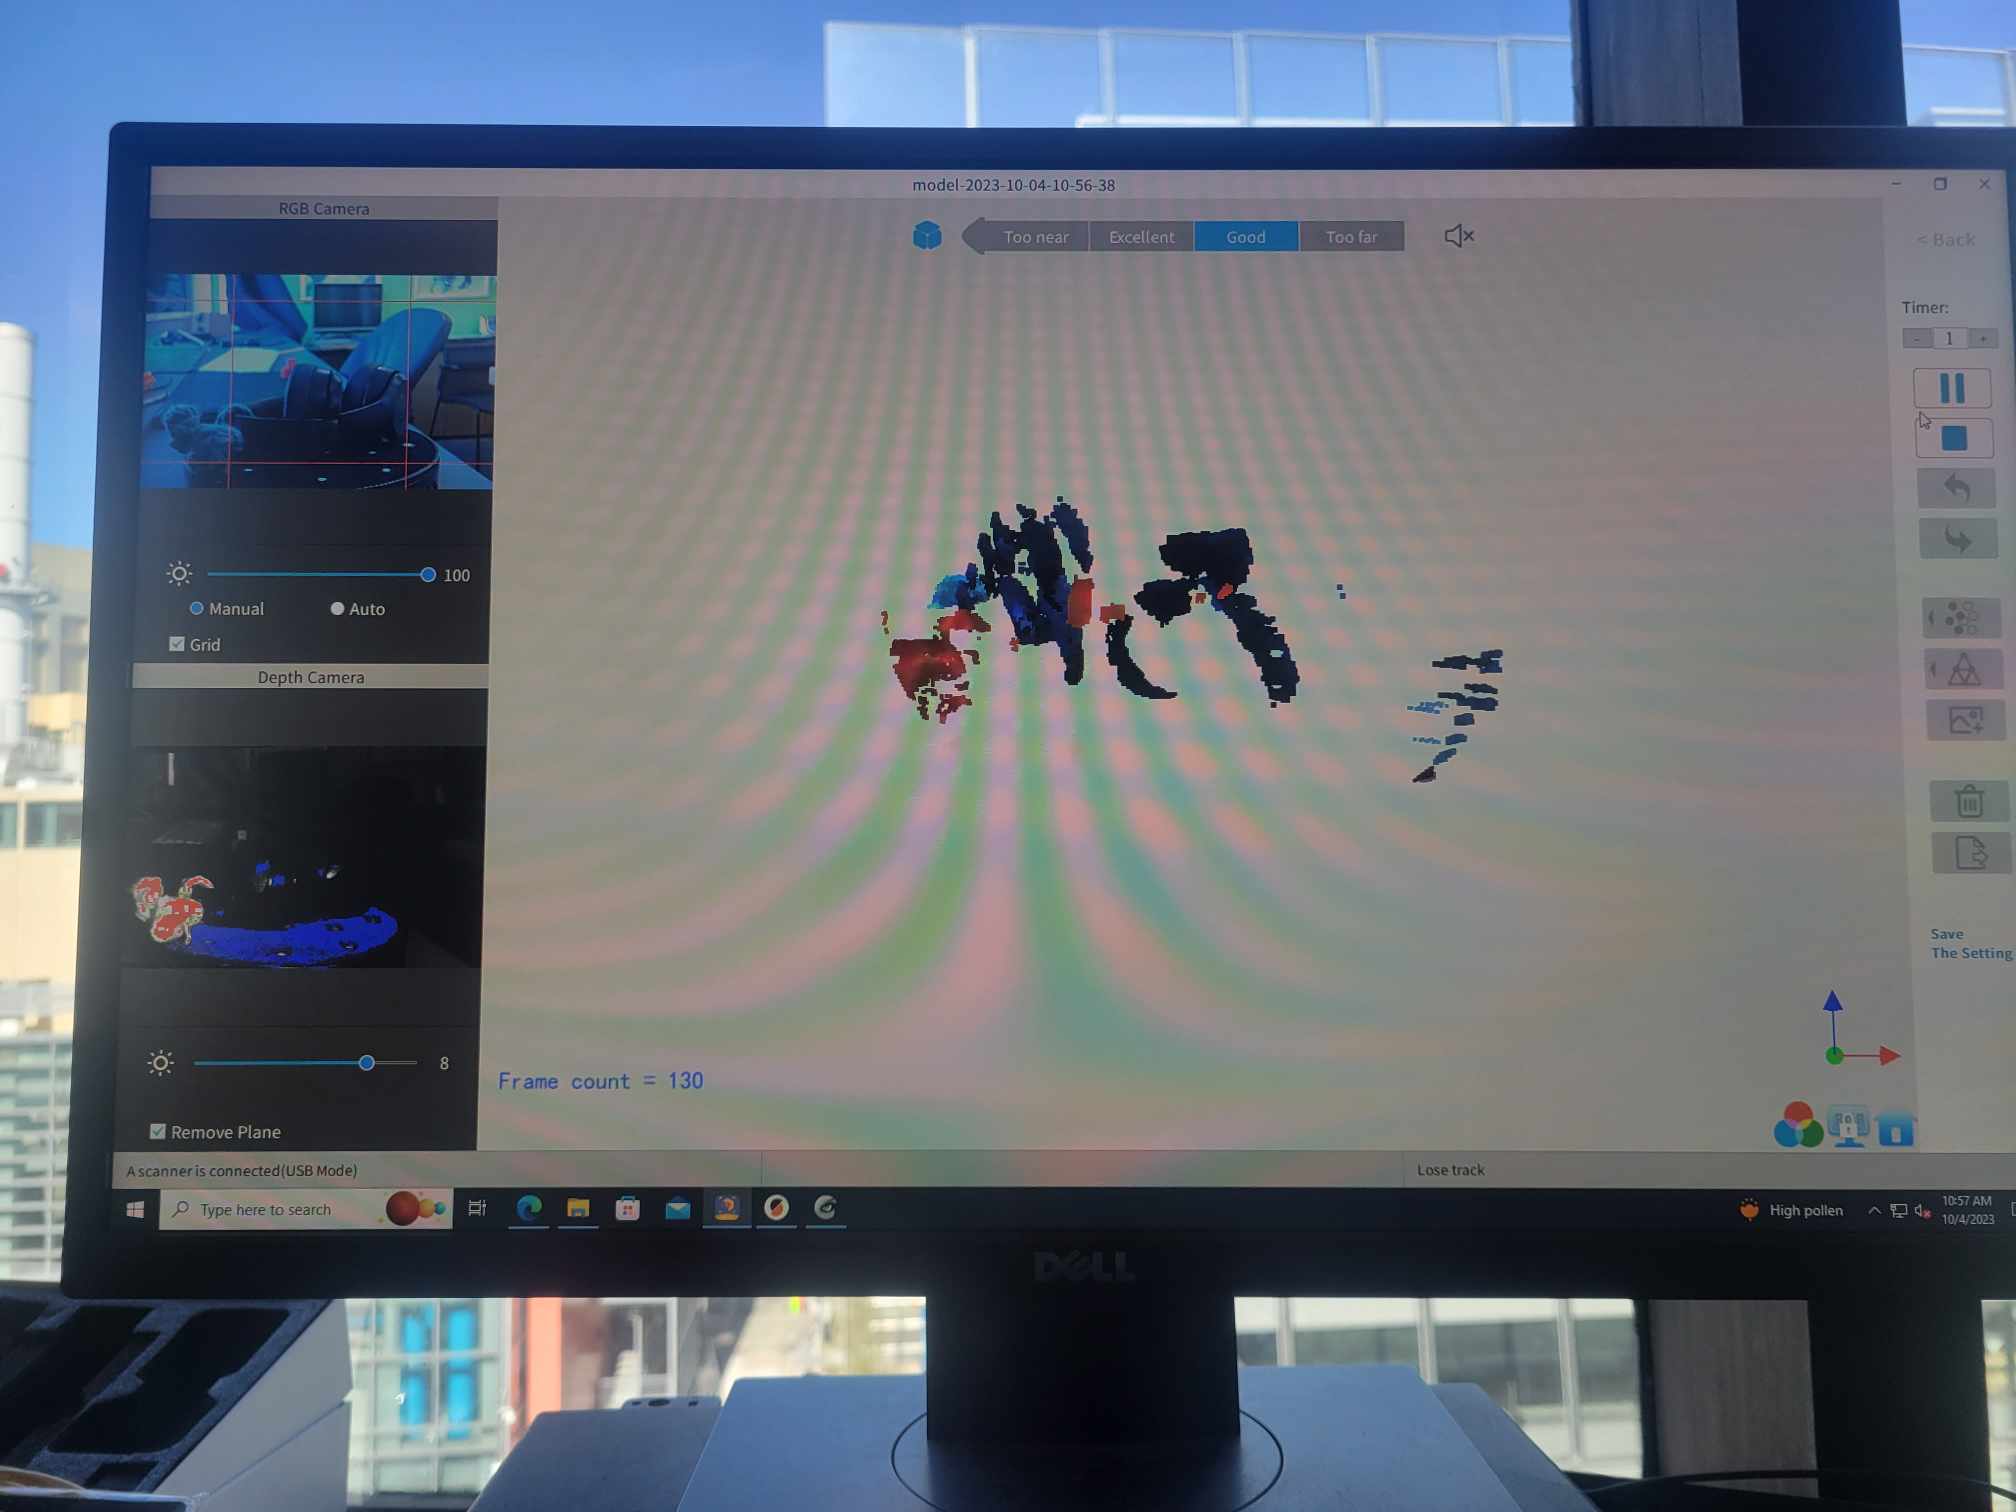
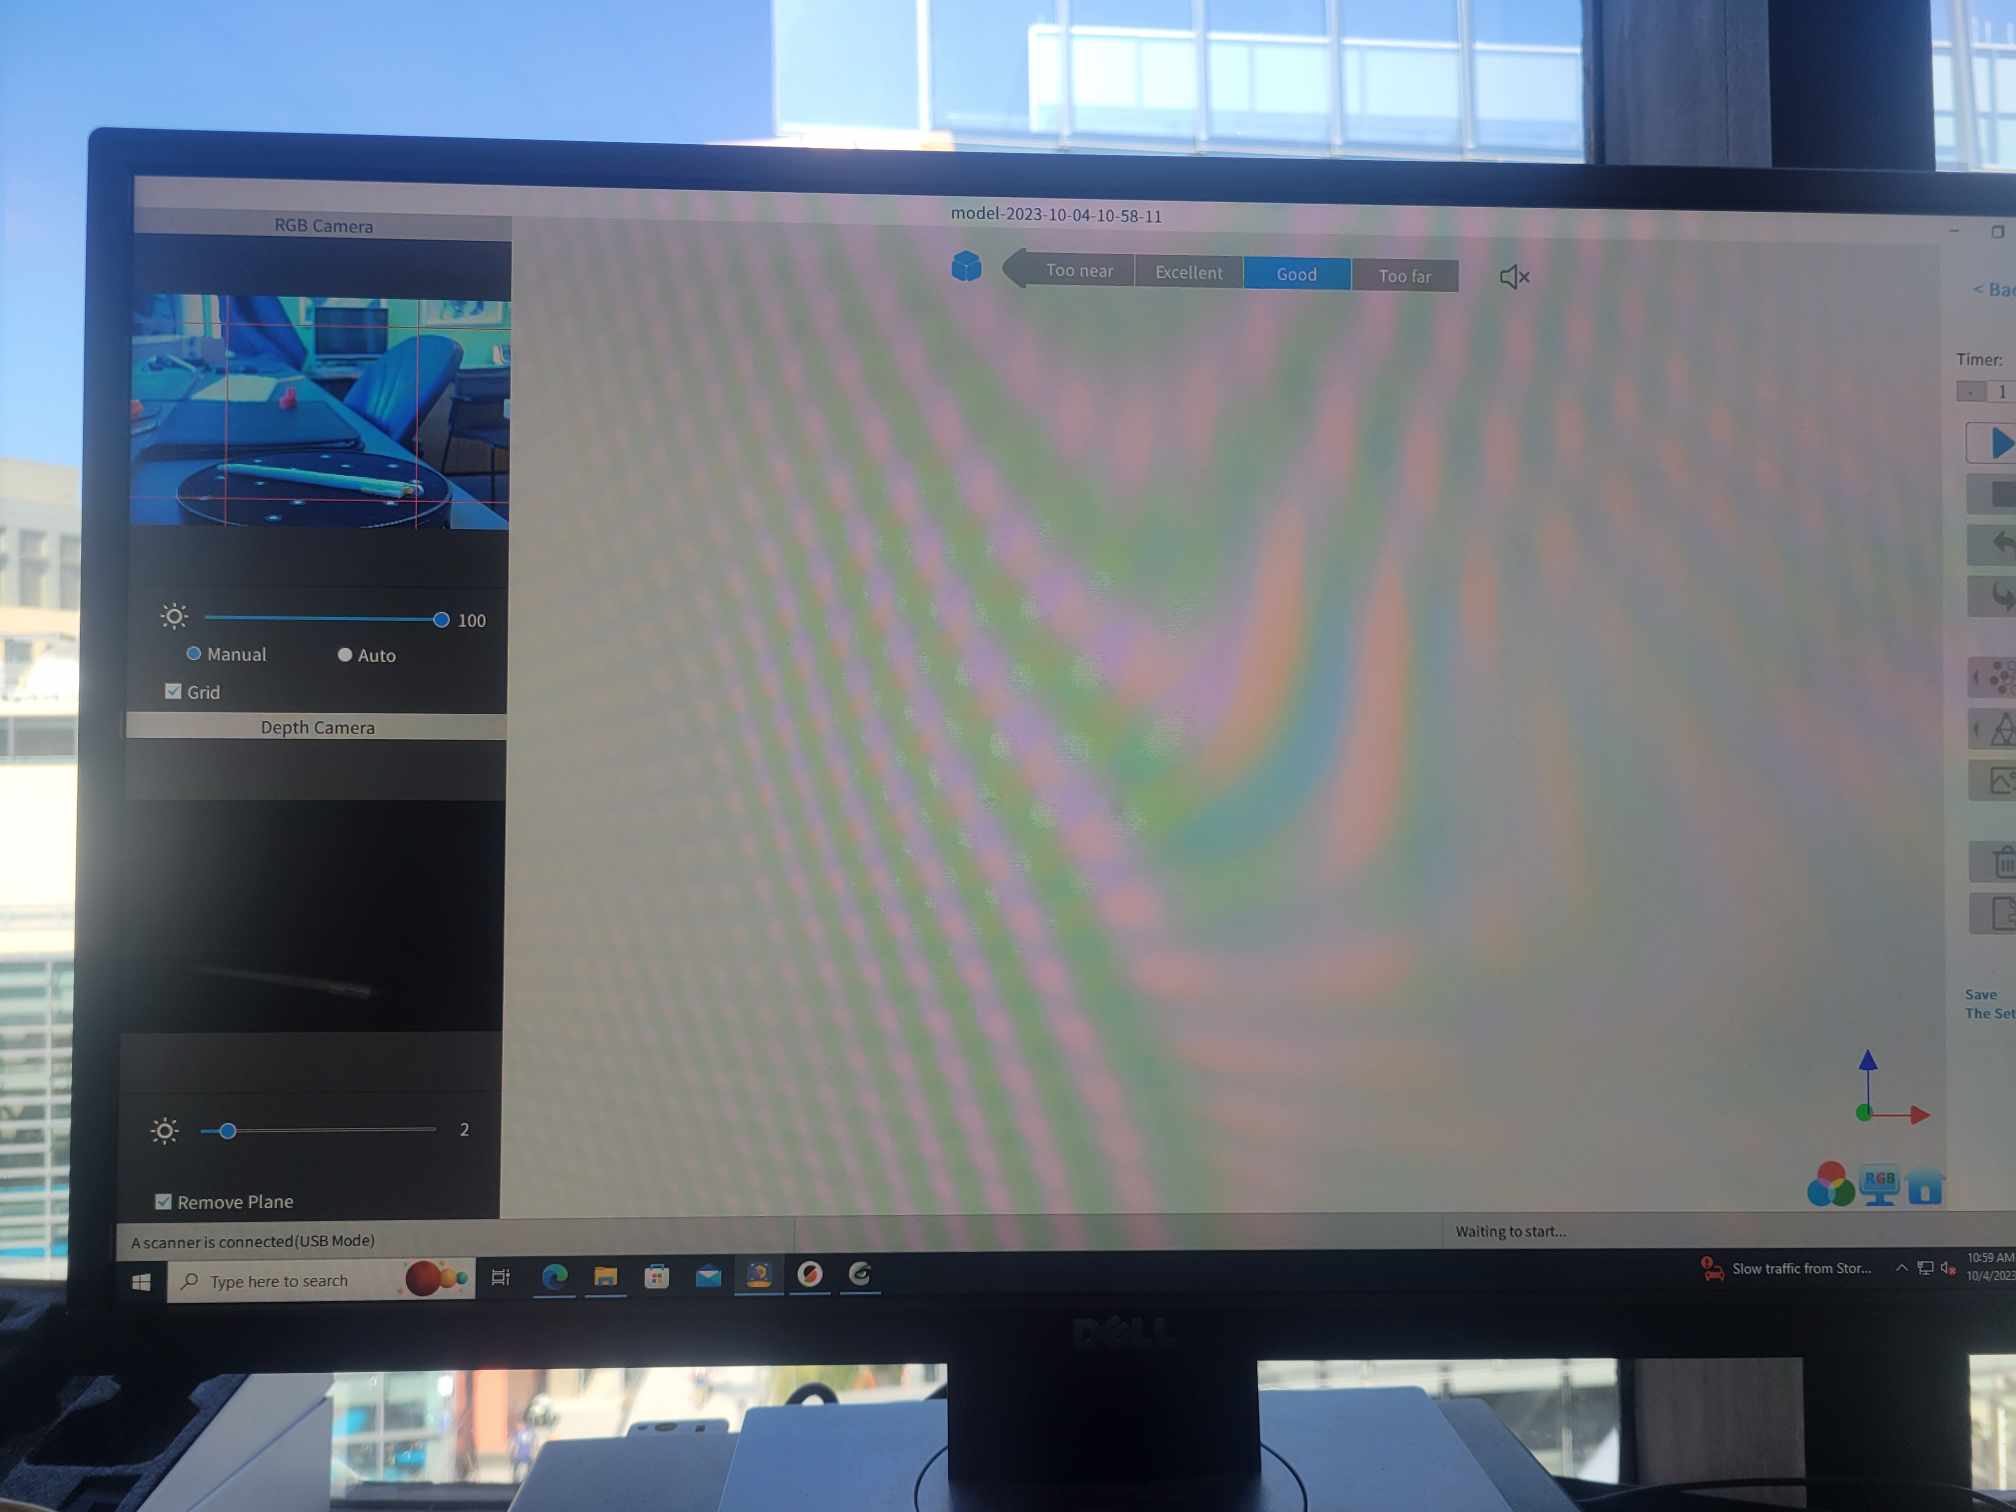
So I really wanted to scan my headphones. My lab has a 'Revo scan' scanner, and there's a small lazy susan that spins around. To scan things, I place the object on the lazy susan and the camera scans as the lazy susan spins. First, I scanned the Ceasar head that th scanner came with. It worked pretty good, the head looked great once the scanning was done. Then, I tried scanning my headphones. It wasn' working at all; the camera was not picking up most of it. I figured it was probably because my headphones were black and it was blending with the background. So, I tried this white pen I had. This time, the scanner did even worse; it was not picking up anything at all. I guess it was too small and close to the ground, so it couldn't really differentiate between the object and the background. Lesson learned: to scan using this scanner, it's better to have a larger object that's standing up and is not too dark.