HOW TO MAKE (ALMOST) ANYTHING
MAS.863 / FALL 2011
KELLY SHAW
M.ARCH LEVEL III
03 / PCB DESIGN, FABRICATION, AND ASSEMBLY
04 / WATERJET CUTTER AND CNC MILLING
11 / INTERFACE AND APPLICATION PROGRAMMING
12 / MECHANICAL AND MACHINE DESIGN
13 / NETWORKING AND COMMUNICATIONS
WEEK 12 / MECHANICAL AND MACHINE DESIGN
This week I played catch-up to my Final Project Proposal. Check Week 14 for the updates. I spent most of my
time battling with Charlieplexing in Eagle but each section was also tasked with making the MTM Snap-Fit
Machine. SUPER FUN to put together. Unfortunately I only have documentation of the CNC-milled components
coming together:
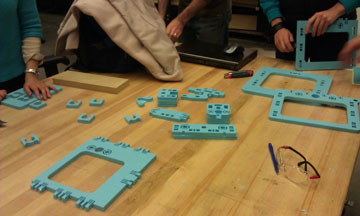
[all the milled pieces]
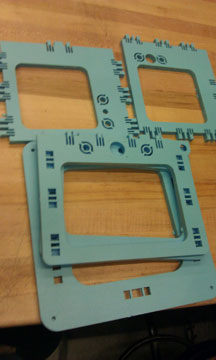
[enclosure pieces]
[laying the pieces out for assembly, orientation is important!]

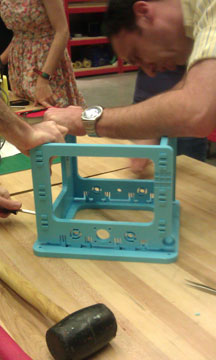
[Jonathan demoing how the pieces snap together]
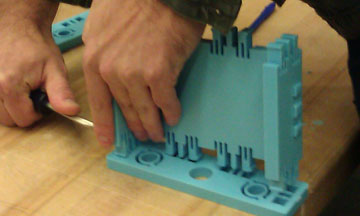
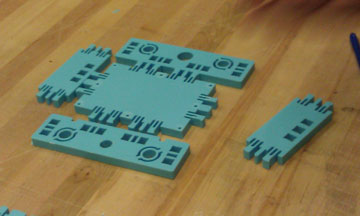
[using a screwdriver to push the flextures to fit each piece into its slot]
*Note that each notched leg has a channel to give the plastic more flexibility. It was also conveniently a slot
you could wedge the screwdriver into.
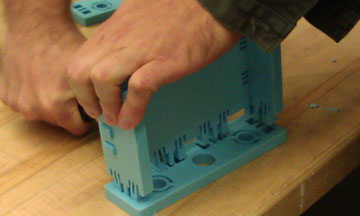
[adjusting each piece on one face just a little before applying a ton of downwards pressure]
[SNAP]
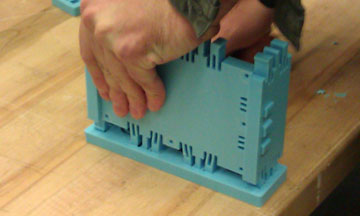
[assembling the body]