HOW TO MAKE (ALMOST) ANYTHING
MAS.863 / FALL 2011
KELLY SHAW
M.ARCH LEVEL III
03 / PCB DESIGN, FABRICATION, AND ASSEMBLY
04 / WATERJET CUTTER AND CNC MILLING
11 / INTERFACE AND APPLICATION PROGRAMMING
12 / MECHANICAL AND MACHINE DESIGN
13 / NETWORKING AND COMMUNICATIONS
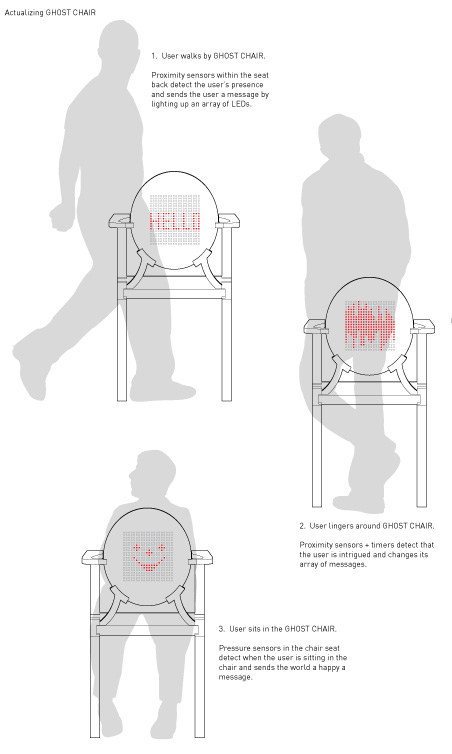
WEEK 14 / FINAL PROJECT DEVELOPMENT: MAKING GHOST CHAIR REAL
I've stayed true to my project proposal which I think will be really helpful in navigating these last
few weeks.
[Week 5 proposal]
First, I want to address the questions I had wanted to start answering from Week 5. Naturally answering
these questions generated new ones almost immediately.WEEK 5 QUESTIONS
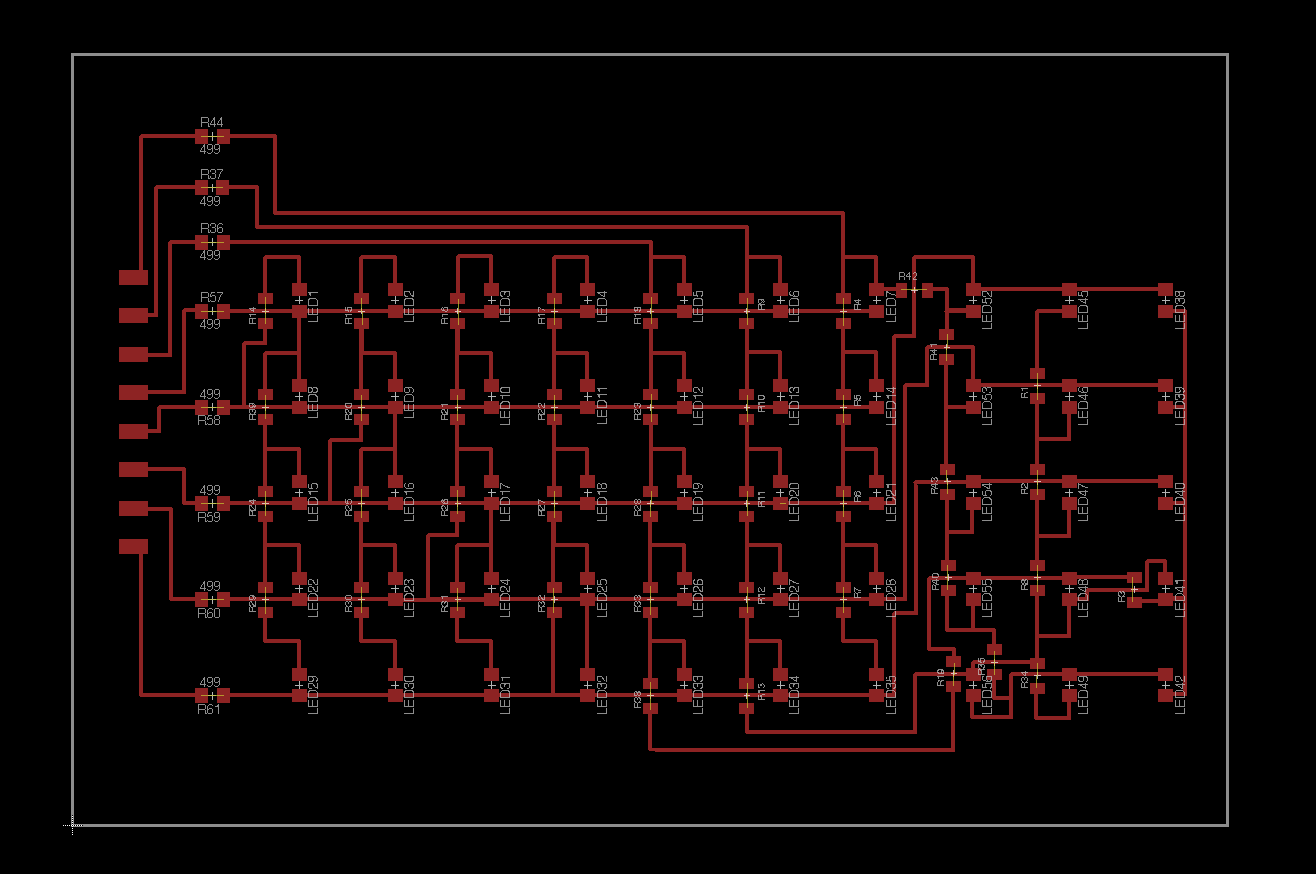
01. Circuit design???
I took the example from Neil's Charlieplexing exercise and tried very hard in the last 1.5 weeks to
design my own 5 X 10 array of LEDs in Eagle. Eagle is FUSSY and apparently so am I when I use it.
Thanks to Matt for answering my questions.
[choosing an array size]
I thought that doing a 5 X 10 array would minimize the amount of work I would have to do as the bare
minimum of lights I calculated to make my array light up the words of my choice. Little did I know that
going from something I could wrap my head around, 7 X 8 grid, to the 5 X 10 would take an eternity. I've
already decided that whether or not the board works, it still represents alot of TA-time and self-taught
learning.
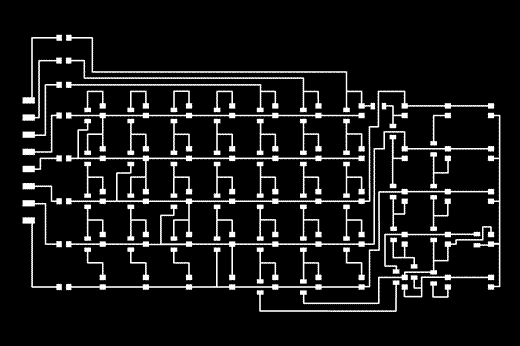
[laying out a board in Eagle with this many components is like navigating through a giant ball of string]
[I take alot of satisfaction in knowing that this board looks like it could work]
New ?: Will it work?
02. What kinds of sensors can I use?
I settled on using an IR Proximity Sensor courtesy of SparkFun.
New ?: Although I've accepted that the display of the sensor is necessary in order for the sensor to work,
I'm still trying to resolve how to integrate the sensor in the least conspicuous way into my chair. Also,
I'm still debating whether to put it in the front or the back of the chair.
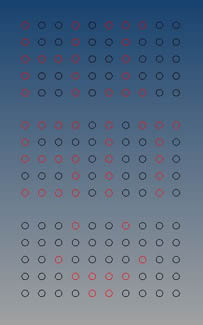
03. How will this array of LEDs be programmed to output different configurations based on
sensor inputs?
That would be this week's goal. In addition to milling and stuffing all 50 LEDs and 0 ohm resistors. Why
not vinyl cut you ask? After talking to Matt about the issues he had with vinyl cutting and layering his
boards (prone to tearing and unintended shorting between layers) I decided to put in a little extra effort up
front in order to make it easier for me to maintain and run my boards.
04. How will the sensor from the seat communicate with the array of LEDs in the backrest?
Clearly this question came before I ever chose the sensor. The new plan is that everything will be
embedded the in the backrest.
05. How will this hardware effect how the casing and light mounting is designed?
Answer: Alot. Also a question that remains to be answered in the next few weeks. I need to test how the
LEDs will be revealed through the wood. I suspect that creating the backrest for it will take some
experimentation and planning.
The schedule for the next few weeks:
Week of 12/5: Mill, stuff and program the board. Design new chair components.
Week of 12/12: Experiment with getting LEDs to shine through wood. Mill, build and embed chair.
-----------------------------------------------------------------------------------------------------------------------------------------------------------------------------UPDATE 12-10-2011
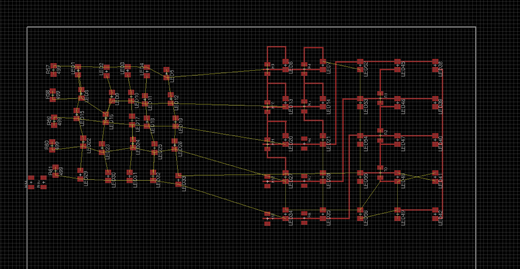
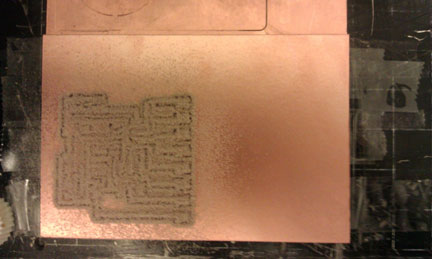
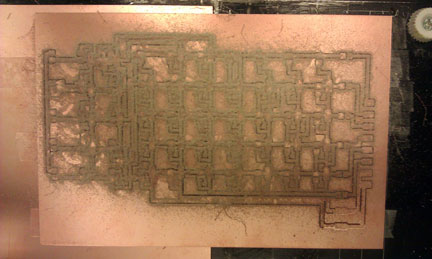
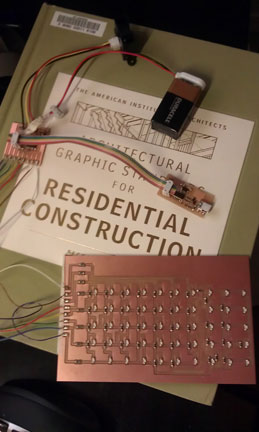
I was able to successfully mill and stuff my boards this week. The process of milling took about 2
hours because I had to go through 2 passes [first pass one corner had partially milled traces].
[controller board traces with Tiny44]
[array board traces]
[milling the controller]
[milling the array]
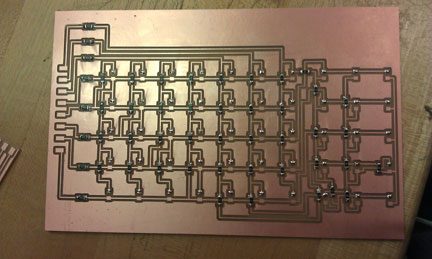
[empty array board]
Soldering the 50 LEDs and 0 ohm resistors was actually quite theraputic amidst finals week. Some people
may workout or do yoga, apparently I enjoy soldering.
[soldered array board]The last thing I wanted to push for the week was getting the boards hooked up and try to make sense
and organization to my LEDs.
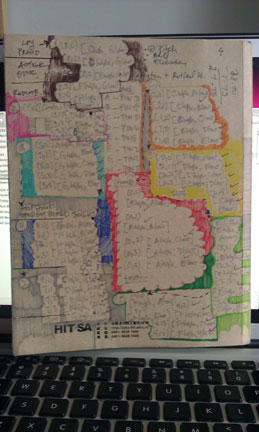
[hooked up boards]I was very anxious about whether or not the board would even work...Using a multimeter and Arduino
I was able to successfully test that all my LEDs worked. HOORAY!!To get organized I made a chart of which LEDs corresponded to which pins.
[LED coordinates map]
[testing out the board]
I'll share the code with my final documentation next week once I finish programming. My next step is
to integrate the sensor and get going on miling my new chair components...