Week 11: Output Devices
The main thing I made this week is a microcontroller board with a humidity and temperature sensor and a desktop mini-humidifier to make a humidity feedback control system for maintaining proper humidity conditions for aging homemade cheese. I also experimented a bit with LED arrays and servo motors.
Humidity control feedback system
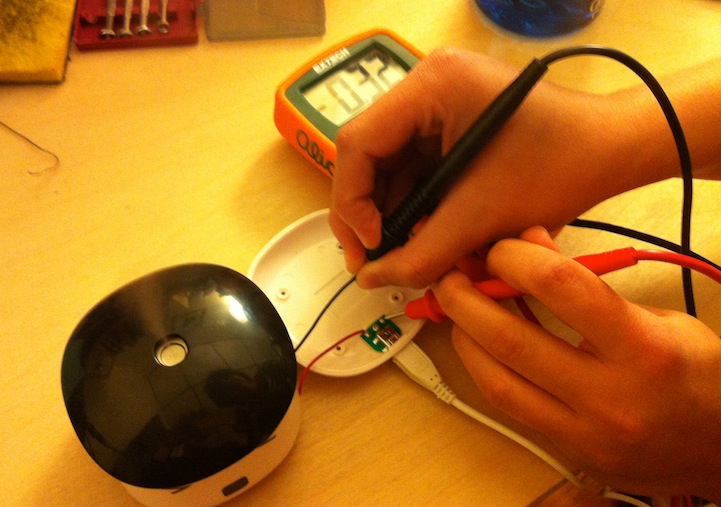
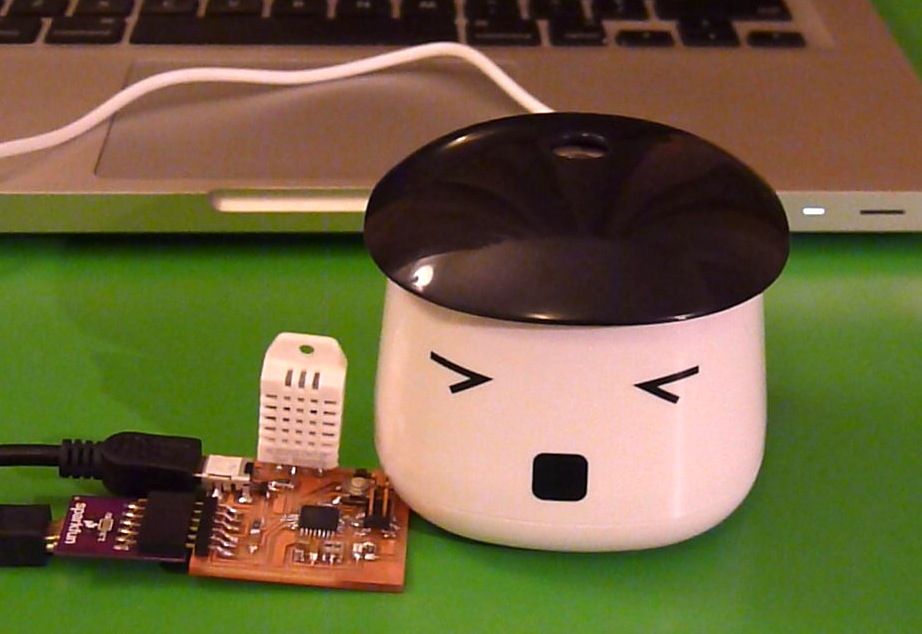
I continued with the board I made last week with a DHT22 humidity and temperature sensor that I purchased from Adafruit. I bought a USB-powered mini desktop humidifier from Amazon. While testing the humidifier out, I noticed that it had an on/off switch on the back. To change this, I opened the bottom of the humidifier and resoldered the wires to bypass the on/off switch so that the humidifier would run when powered regardless of pressing the button. I also used a multimeter to test how much current the humidifier draws when running. The current drawn is around 0.33 A, which is below the threshold for the MOSFET that I needed to use on the board, which had a limit of 1.7 A.
To test that the microcontroller board works with the humidifier, I wrote a simple program loop to turn the humidifier on for 5 seconds, then to turn it off for 5 seconds. During my first attempt, the humidifier ran all the time and would not switch off when plugged in. Eventually, I figured out that I was using a P-type MOSFET, which was the wrong one. I desoldered the P-type MOSFET and put on the correct N-type MOSFET. After this change, the humidifier turned on and off in 5 second intervals as I hoped.
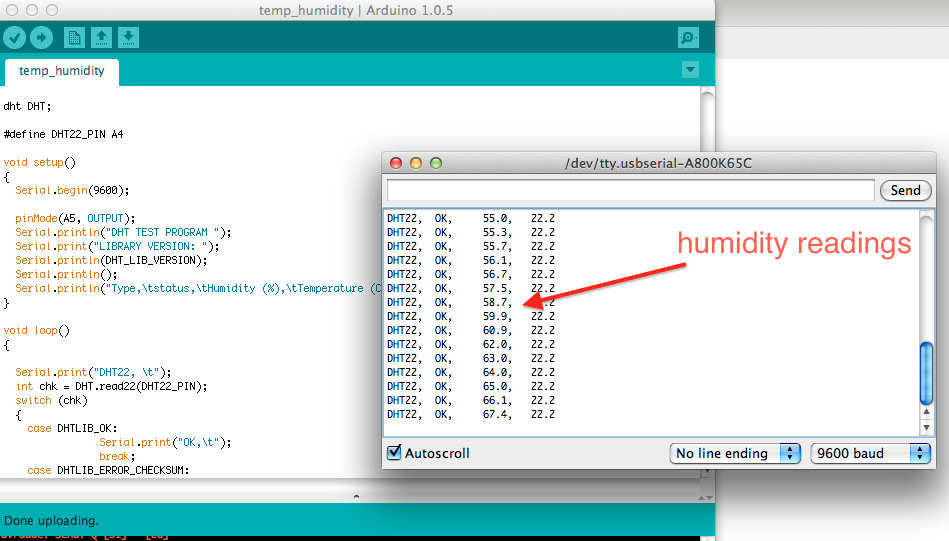
After the initial testing, I then wrote a program (used with this Arduino library) to write out the temperature and humidity at 1 second intervals and to also turn on the humidifier when the humidity dips below 75% and to turn it of when the humidity exceeds 75%. To test the program, I put the microcontroller board with the sensor and the humidifier in a box and loosely covered it with a lid. The lid allows the humidity to rise faster when on and quickly drop when removed. I put a wheel of cheese in the box too (this one is a gouda I made last week) to demonstrate how I intend the humidity control system to work.
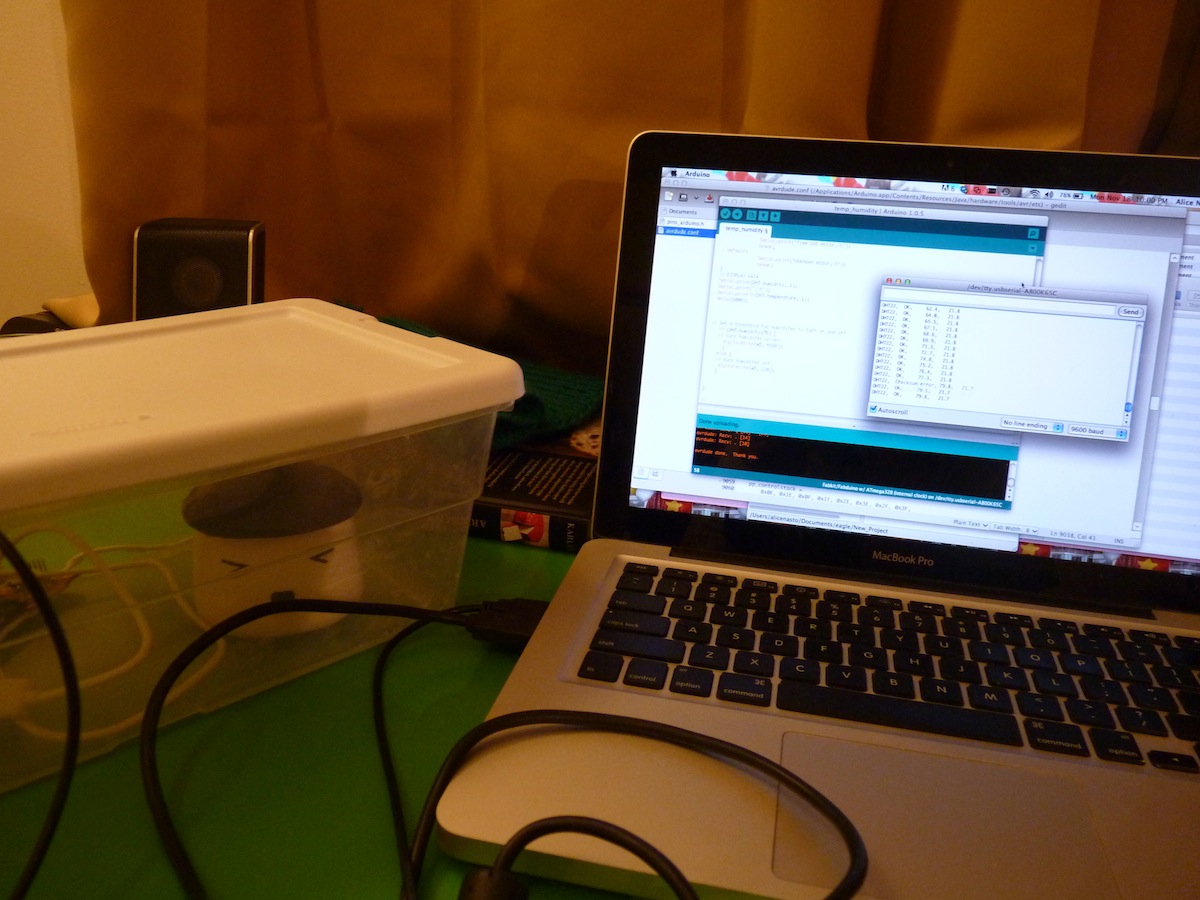
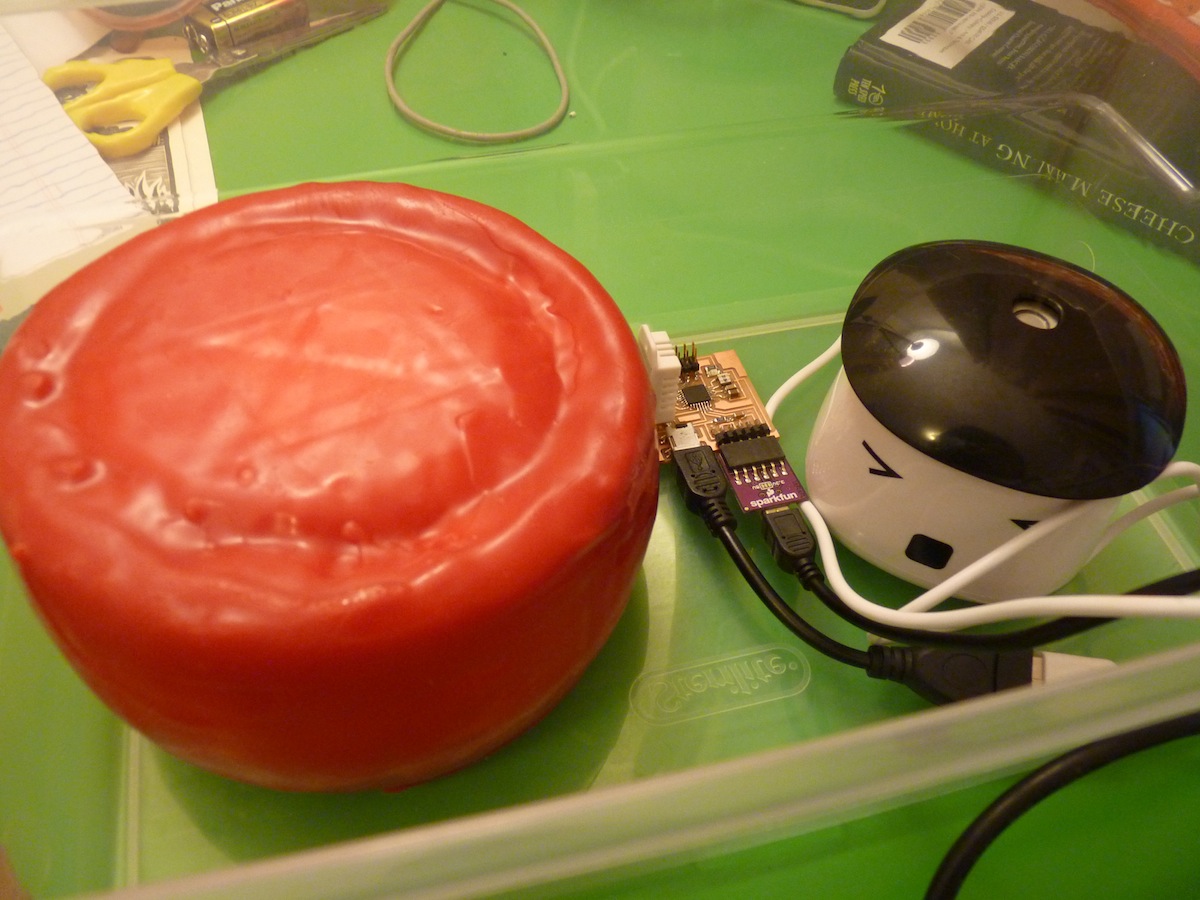
With the lid on the box, the humidity rises quite rapidly.
Here is a video of the humidity control system in action (admittedly, it's kind of hard to see the vapor in the video). Here I have removed the lid after the humidity had reached above 75%. The humidity soon drops below 75% and the humidifier switches on in response.
There are many potential improvements that could be made for this system. The system tends to overshoot the humidity. It turns the humidifier off just as the reading registers 75%, but the humidity continues to increase past 75% up to 80%. A possible solution would be to measure how quickly the humidity is increasing and program the shutoff to take the increase rate into account. Another potential issue is condensation on the circuit board components. This could perhaps be addressed with a protective cover, but should not hinder the operation of the humidity sensor.
Making cheese
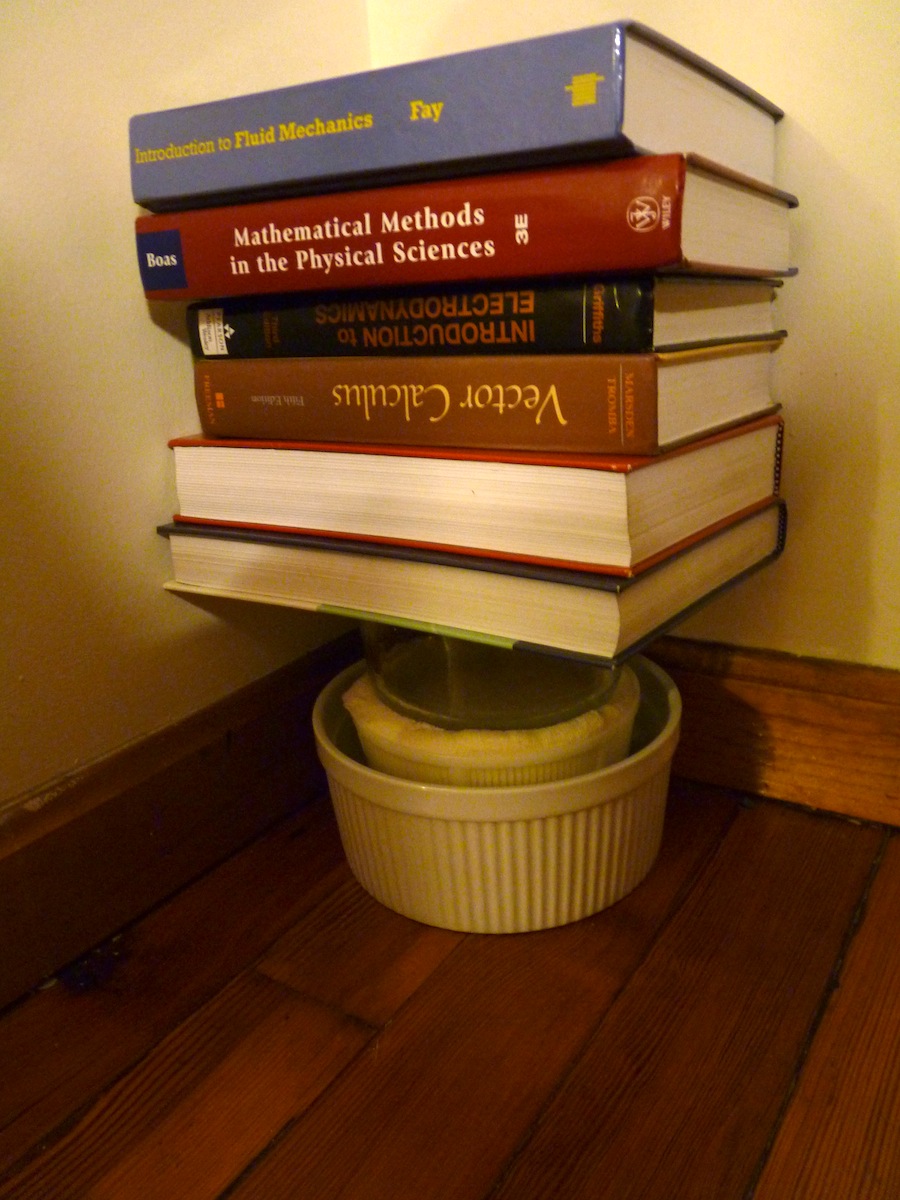
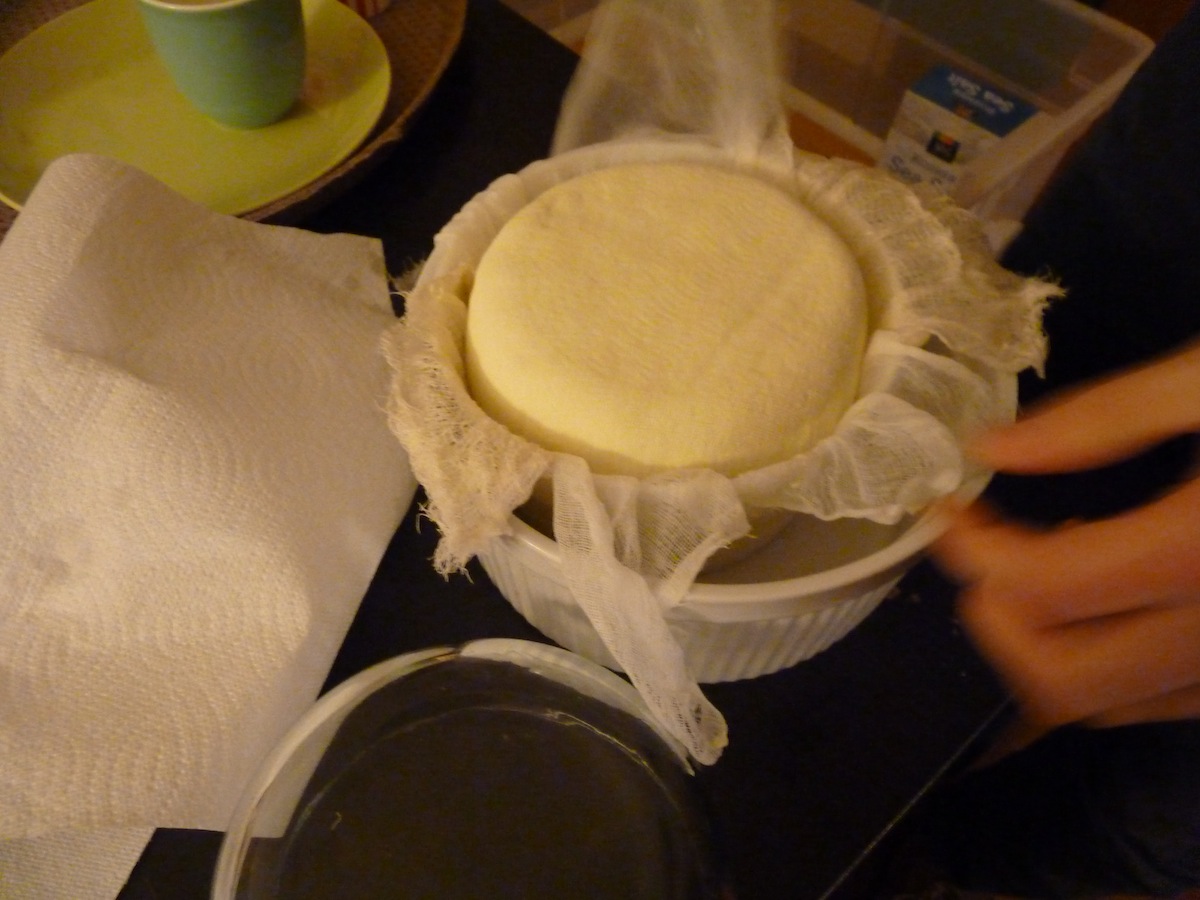
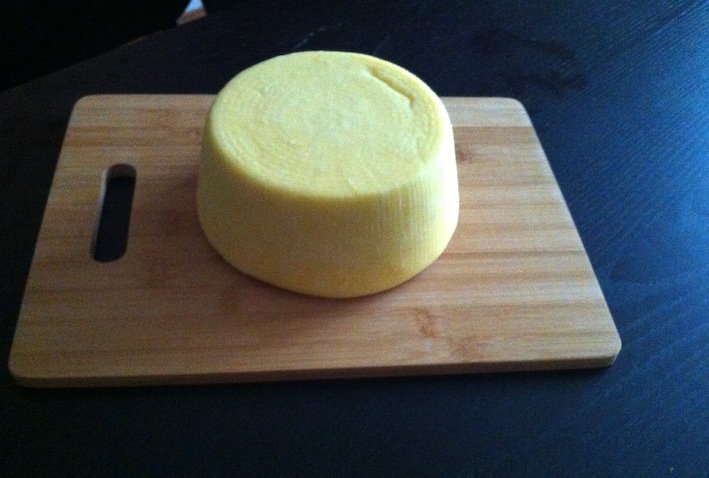
This course is about how to make almost anything, and cheese is included in the category of "anything", so here's a little detour about cheesemaking. Here I show the making of a 2 pound block of cheddar, which now needs to be aged for at least two months before sampled. Hopefully it will be tasty...
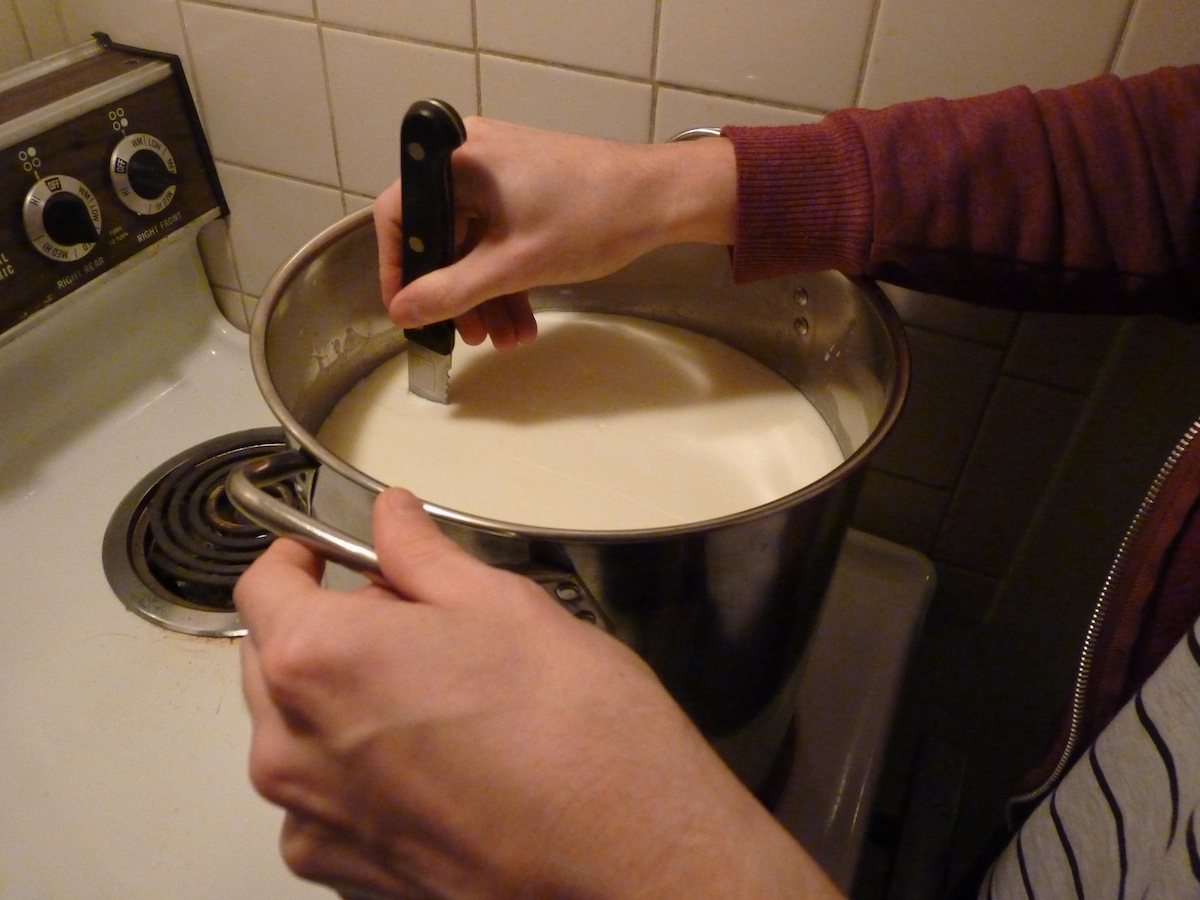
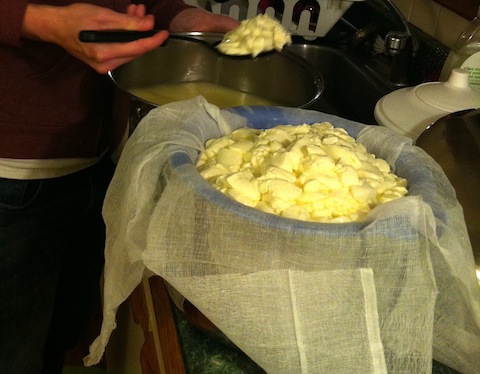
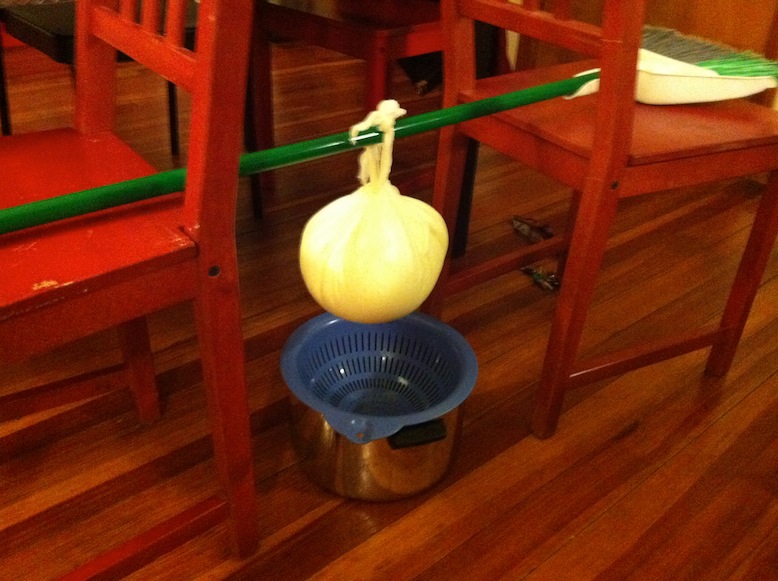
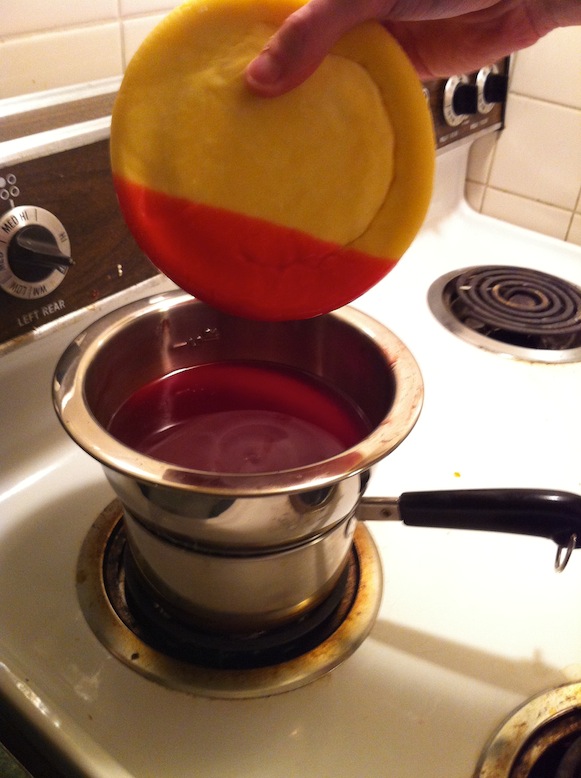
Cheesemaking involves milk, culture, and rennet. Cultures aid in preserving and the development of flavor in the cheese aging process. Rennet is a complex of enzymes that causes the coagulation of the milk protein casein and allows the curds to be seperated from the whey. I obtained cheesemaking supplies from the New England Cheesemaking Supply Company. First, milk is heated and rennet is added. The milk then takes on a jello-like consistency. Then the curds are cut with a long knife. The cut curds are cooked until they shrink and seperate from the whey.

Charlieplexed LED array
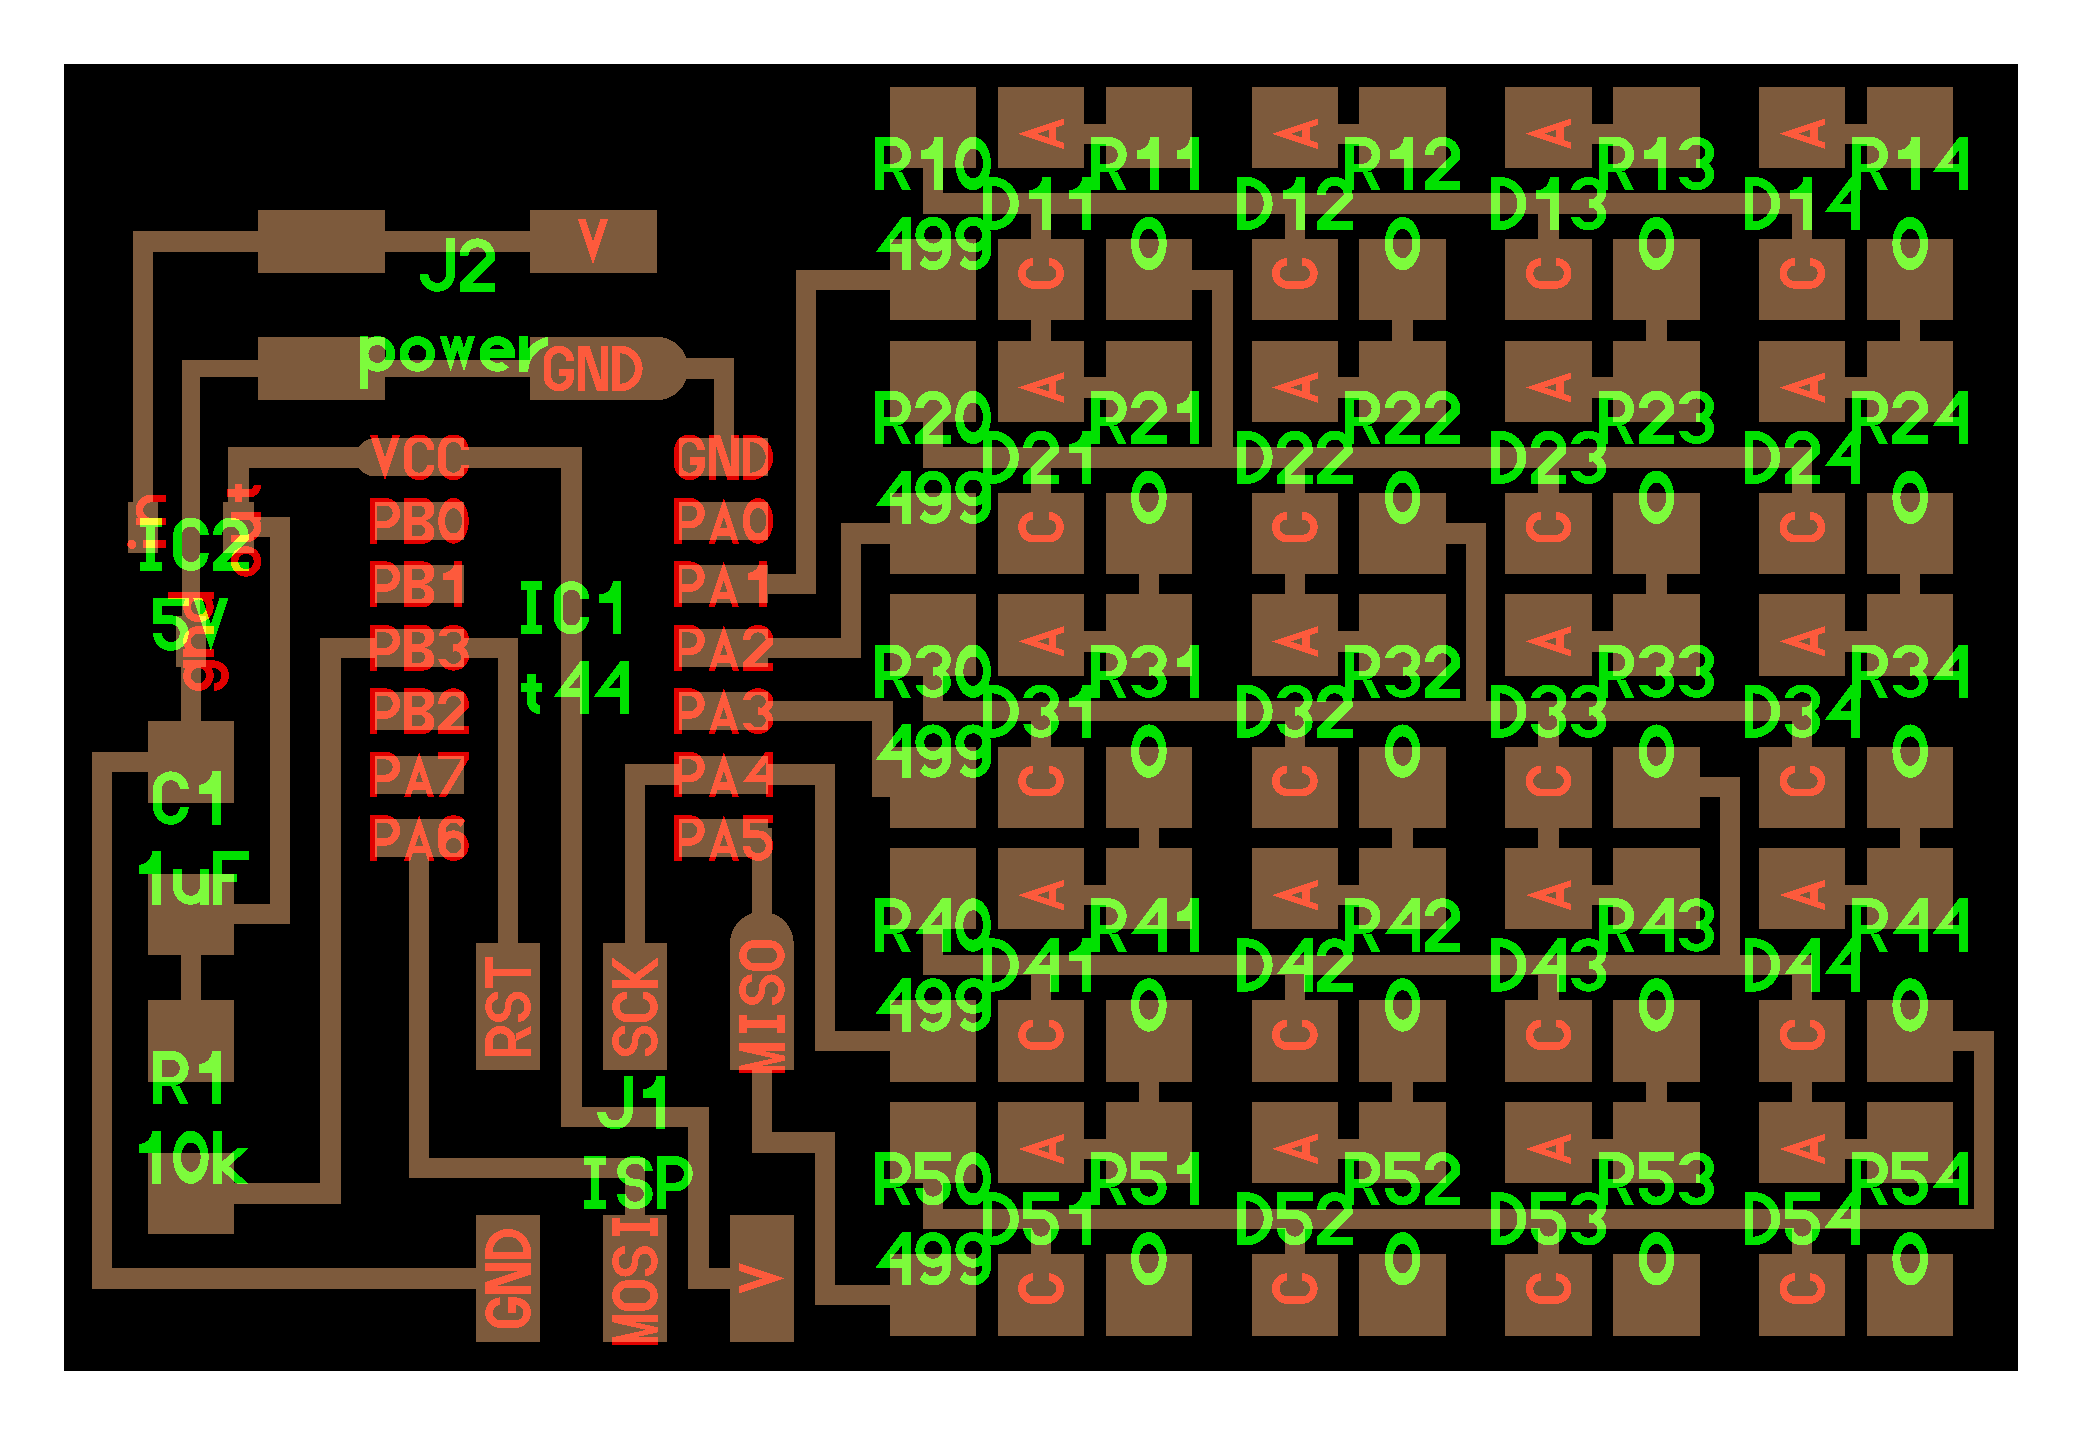
I really wanted to make an LED array board purely because I think they have a lot of "ooh sparkly" appeal. For quick experimentation to satisfy my curiosity, I machined the hello LED array board . This board involved a whole lot of soldering, which was great practice.
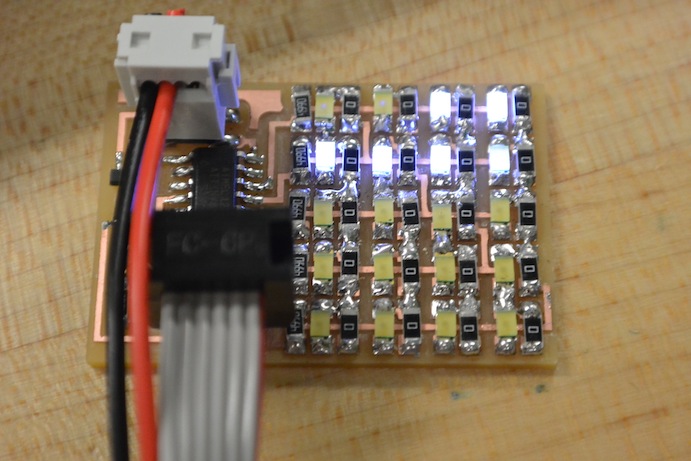
The technique for connecting the LEDs is called Charlieplexing, which is a method for driving a multiplexed LED display with relatively few microcontroller pins. First I programmed the board with the hello array C code. Here is the video of the board:
Then I modified the code to flash the letters to spell out "HELLO". I wrote seperate functions to display each of the letters. The letters didn't turn out so well in the video, but look better in real life (I promise...) The continuity of the appearance of the letters is affected by the frame rate of the video.
Servo motors
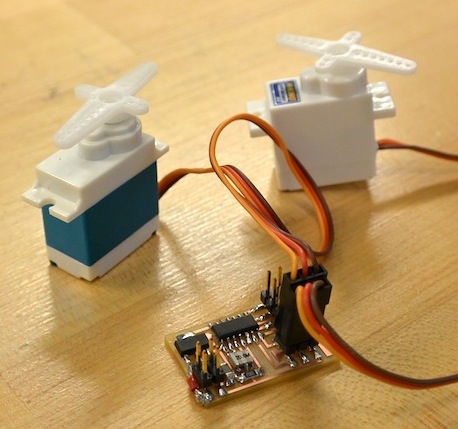
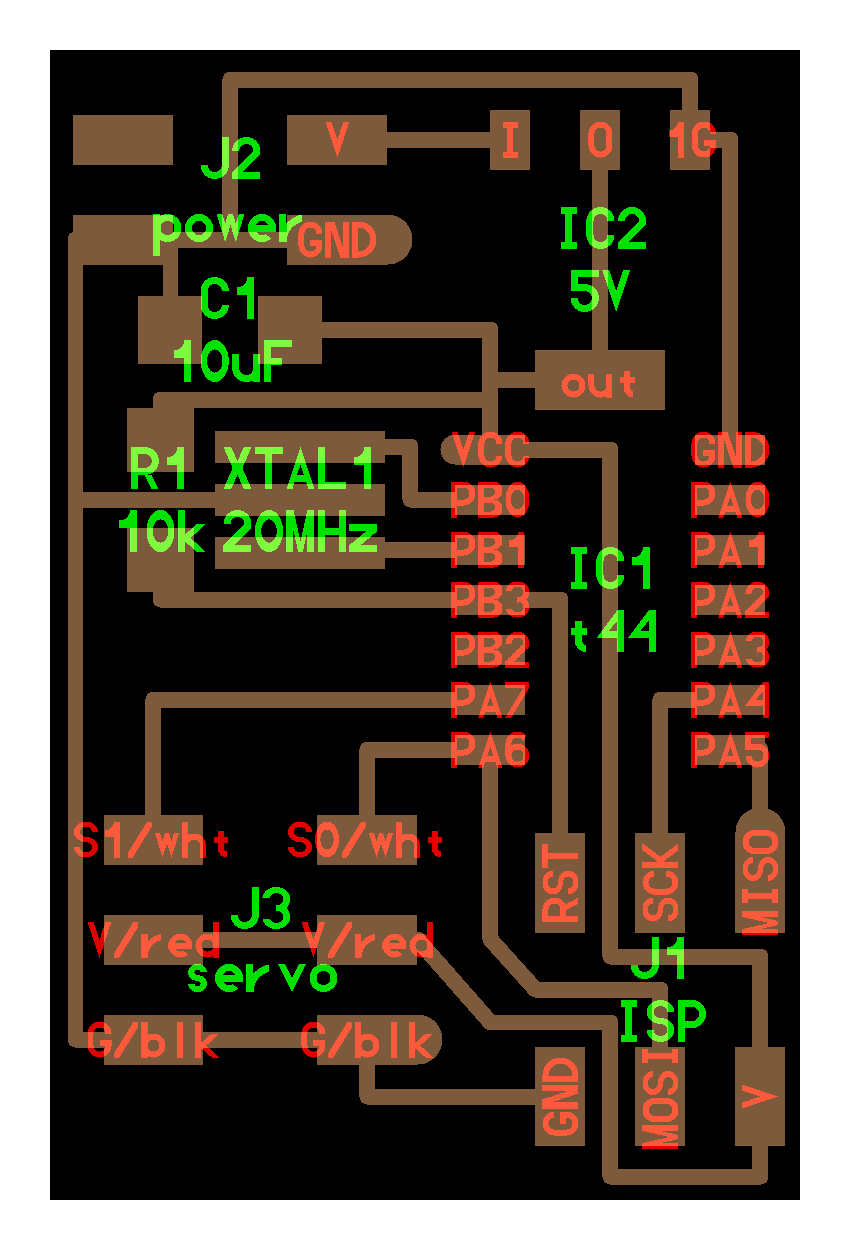
I also wanted to experiment with the servo motors and machined the hello servo board. I got the hello servo C code running on it. When I get a chance, I'll be doing more experimenting with controlling the servos.