Week 7: Molding and Casting
This week I wanted to make a popsicle mold. Since you can make a popsicle mold in an infinite variety of shapes, I had a lot of trouble settling on one idea. I knew I wanted to make something playful and whimsical, and somehow settled on the idea of a hot dog popsicle. Part of the reason is I thought it would be a fun exercise to CAD a hot dog...
Designing the mold
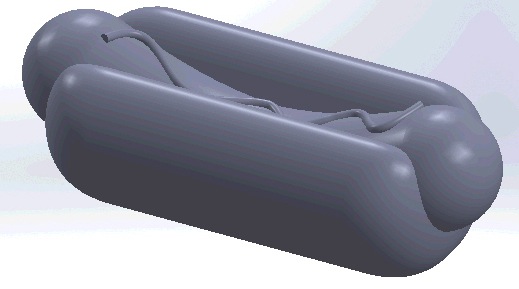
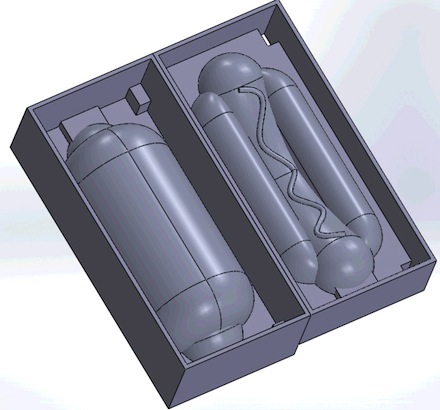
I designed my mold in SolidWorks. First I drew a hotdog. The hardest parts were getting the bun to be the right shape and figuring out how to get the mustard line to sit on the surface of the curved hot dog. Then I drew a cutting plane and split the hot dog in two and made a 2-part mold. In this step, it's important to make the box around the part tall enough (with enough clearance above the part) to create a thick enough bottom for the mold, but not so tall that you waste a lot of time machining unnecessary empty space. I created a pour hole large enough for a popsicle stick and also four notches in the corners to fit the two rubber mold parts together.
Machining the mold
Initially I attempted using the Modela desktop CNC machine to mill the mold out of wax. However, there was an error in one of the default settings in the fab modules, which thought the size of my part in the z-axis was 645.16 mm! However the x and y axis looked right when I was machining, so I didn't realize that error until an hour later.
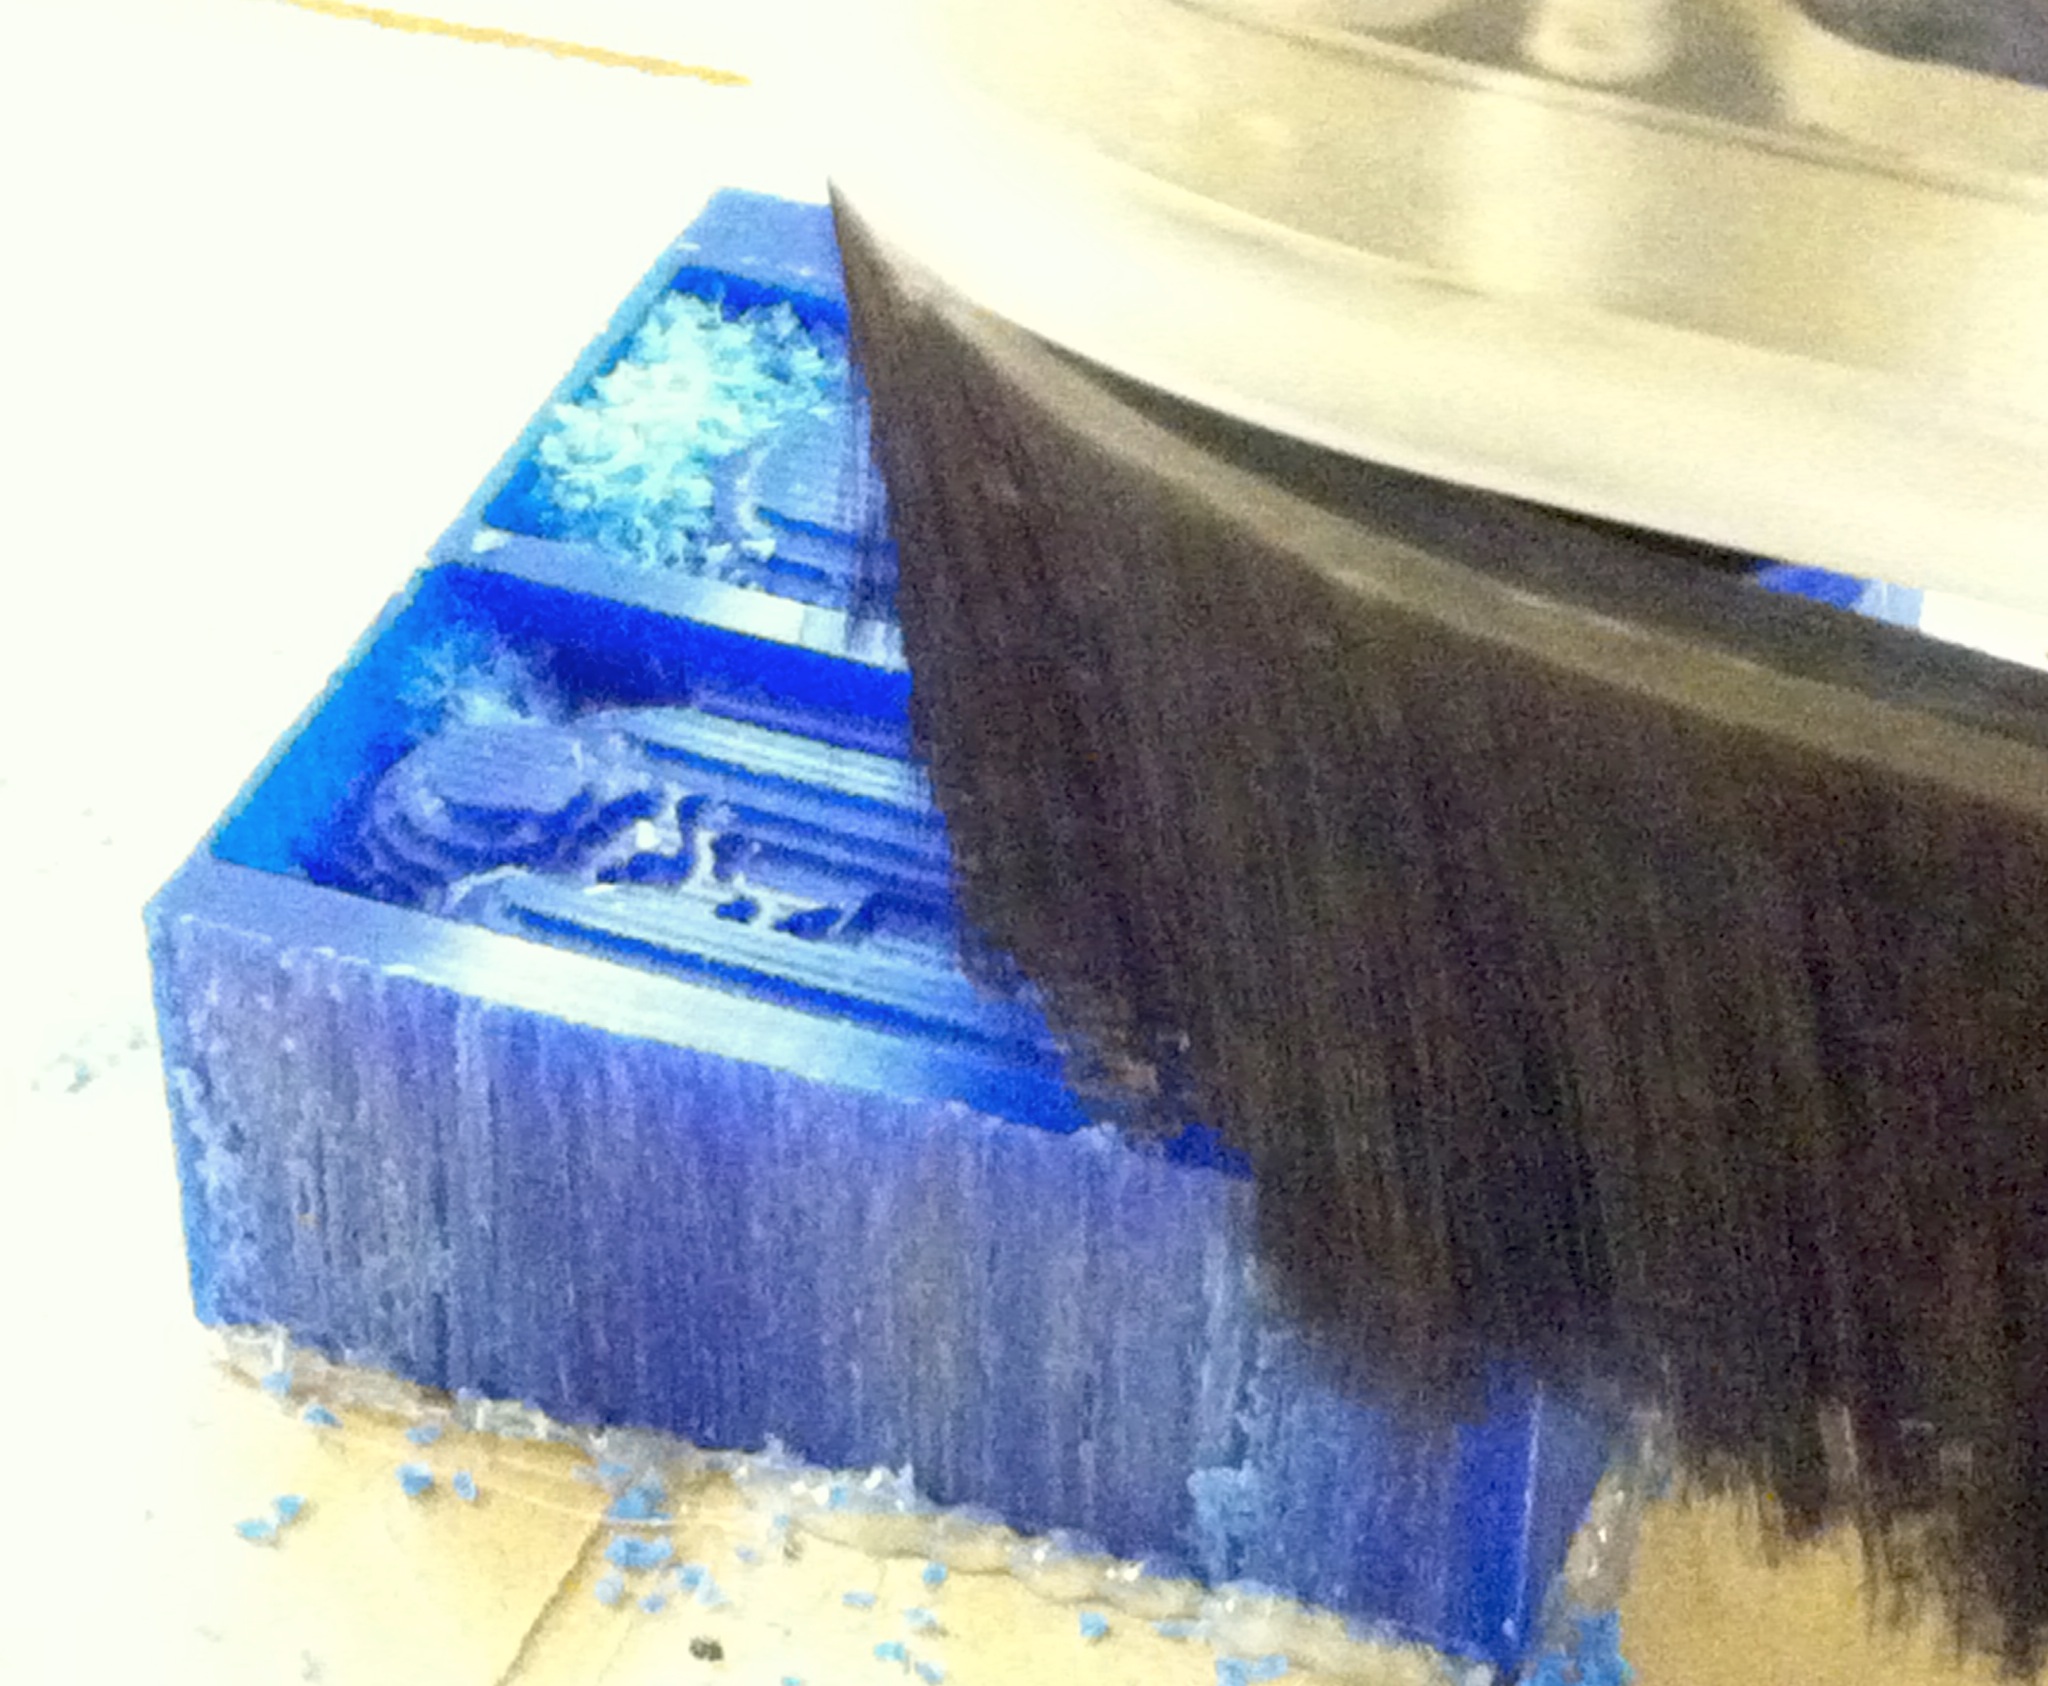
In my second attempt, I decided to use the shopbot with the help of Jared and Joelle, which is way faster than the Modela since the motor is much more powerful and can handle higher feed and plunge speeds. My part took about 45 minutes to cut, versus a few hours. I used the 3D PartWorks software to set up the tool paths. I used the 1/8th inch ball endmill, a spindle speed of 6000 rpm, and a feed and plunge speed of 75 mm/s. For the roughing pass, I used a 50% stepover, and for the finishing pass, I used a 25% stepover. Next time, I'll use a smaller stepover, since I wasn't quite satisfied by how rough the surface finish was.
Fixing up mold machining boo-boos...
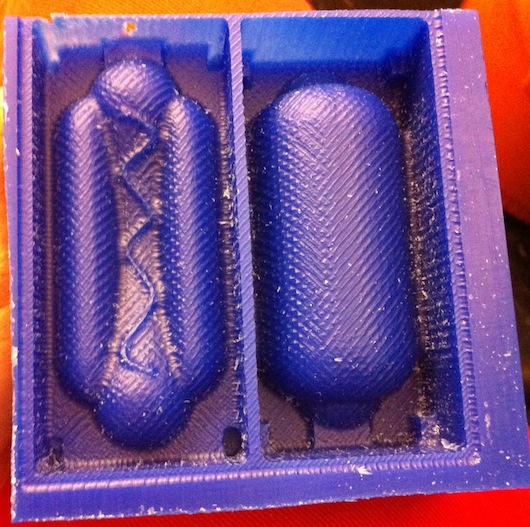
My mold did not come out perfectly. One problem was that I didn't choose the origin properly and thus the part was not centered in the wax. One of the walls was so thin and had holes in a few places. Also, I designed one of the mold parts too close to the edge of the wall such that the endmill could not cut deep enough to make the bottom of the mold flat along the edges of the bun. So I learned a very important in mold design: Make sure your walls are far enough away from your part so that your endmill can fit in between and machine all the way down to the bottom!

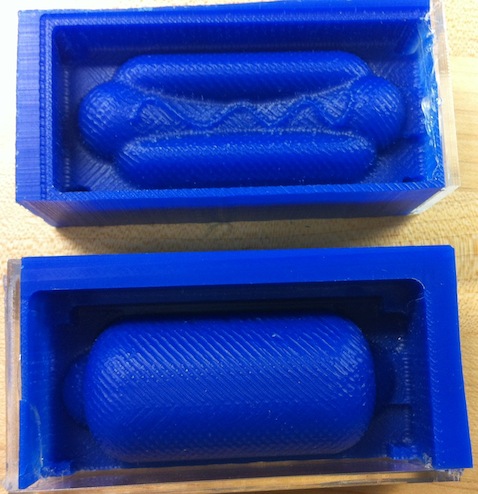
So I made a trip to the Edgerton machine shop and the shop manager Mark very kindly helped me figure out the best way to fix my problem. I had to machine away the excess material, but the pocket was too deep for an endmills smaller than 1/8", which typically have a short shank length. One side of the wall was thick enough that I could cut into it and still have the part be ok, but the wall in between the two parts was way to thin to do that. First, I used a bandsaw to cut the mold in half, leaving the thin wall with the hot dog top half. Then, with one side of the bottom half of the bun exposed, I used a milling machine to cut away at the material until it was level with the bottom. Then, I cut away at the other side, and had to cut into the wall a little bit. A slightly rough corner was left on the bun, so a chisel was used to smooth out the curve a bit. I also learned that the Edgerton CNC milling machines can be used by students with shop training, so I might try that next time (for even faster maching than the shopbot!)
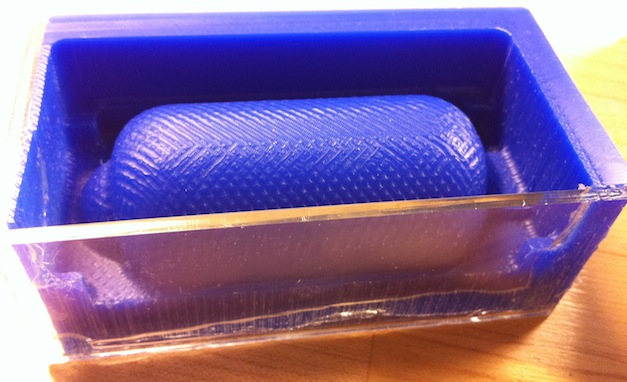
To fix the fact that the walls were too thin (or non-existant after I had to cut my mold in half to fix it), I laser cut acrylic plates and hot glued them on.
Casting the rubber mold
I took a trip to Reynold Advanced Materials in Brighton (thanks for driving Geoff!) and got a food-safe casting rubber called "Sorta Clear 40". Smooth-On has a variety of food-safe casting materials, which you can find on their very informative FAQ page.
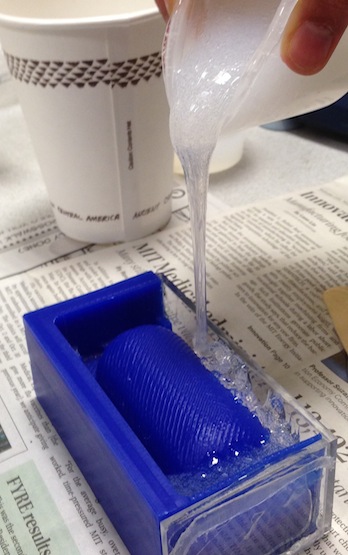
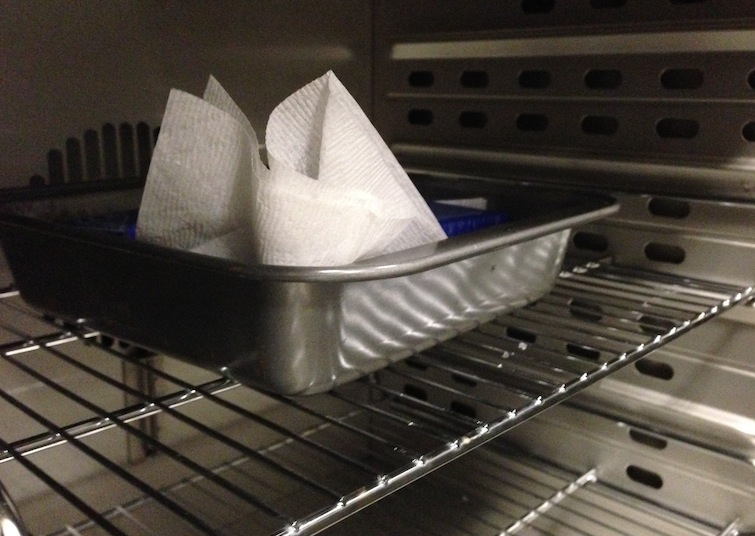
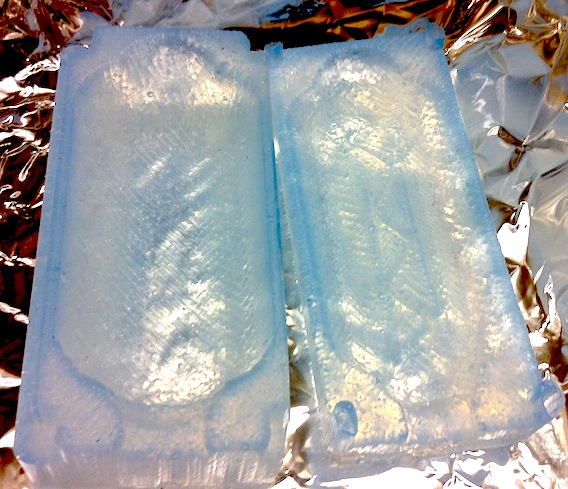
The casting rubber comes in two parts, which I weighed out in the appropriate proportion and mixed together. I used a vacuum chamber to de-gas the mixture. Then I poured it in my mold and put it in a mildly warm (40 degree Celcius oven) overnight. Then, I removed the rubber mold from the wax mold, and followed the post-curing instructions, which required a few more hours in the oven at 80C then 100C. The mold turned out ok, except for the notches. The casting rubber was quite viscous and had trouble getting in the little pockets.
Making Popsicles!
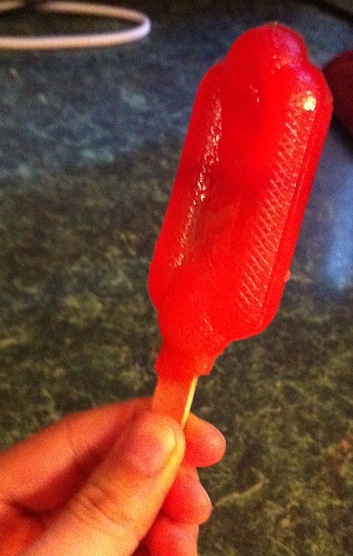
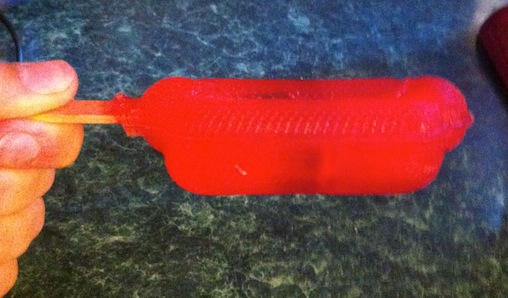
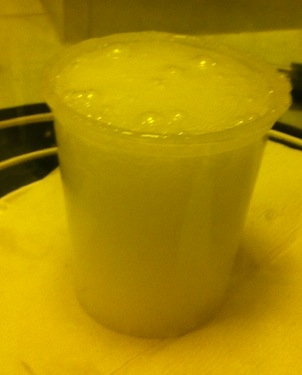
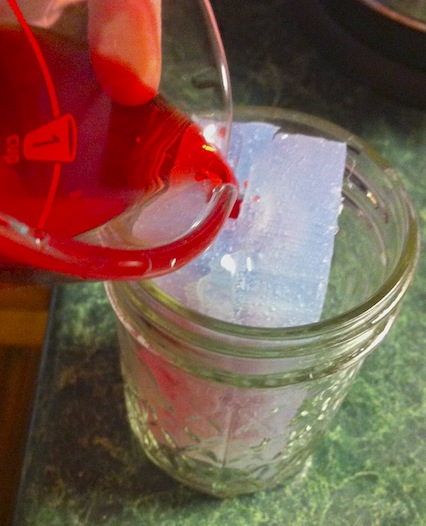
I had to first figure out a way to get the mold parts to fit together in a water tight fashion. I tried hot gluing the seams. The hot glue gun temperature is 380 F, and the maximum temperature Smooth-On recommended not exceeding with the rubber molds was 400 F, so I went ahead and used hot glue. Hot glue did not melt the rubber and is actually pretty easy to peel away and remove. It's important to gently squeeze the two parts together so that the seams are tightly closed and hold them as the glue sets to minimize leaking. Unfortunately, even after many attempts, I still got a small amount of leaking. I resorted to sticking the mold inside a jar and hoping for the best. Then I poured in my popsicle liquid, which I made from cherry Kool-Aid mix. Then I stuck a popsicle stick in and waited (not so patiently) for a couple hours...

Half of the filling leaked out of the mold while it was freezing. I just waited until it froze and added more, and that seemed to work ok. I'll have to figure out how to get the mold to actually be water tight...
Here they are!