Week 4: 3D Print and Scan
3D Print
The 3D printing challenge for the week is to design and 3D print something that can't be made through subtractive methods (such as by using a mill or a lathe). I made fish earrings with hinges in them, which can't be made in one piece through traditional machining methods, but can be accomplished with 3D printing.
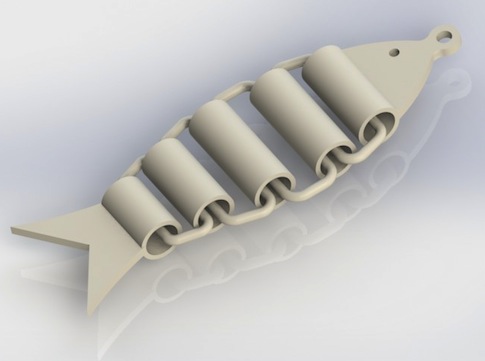
I designed the earrings with segments that are connected by barrels. Here is a CAD model of an earring I made in SolidWorks:
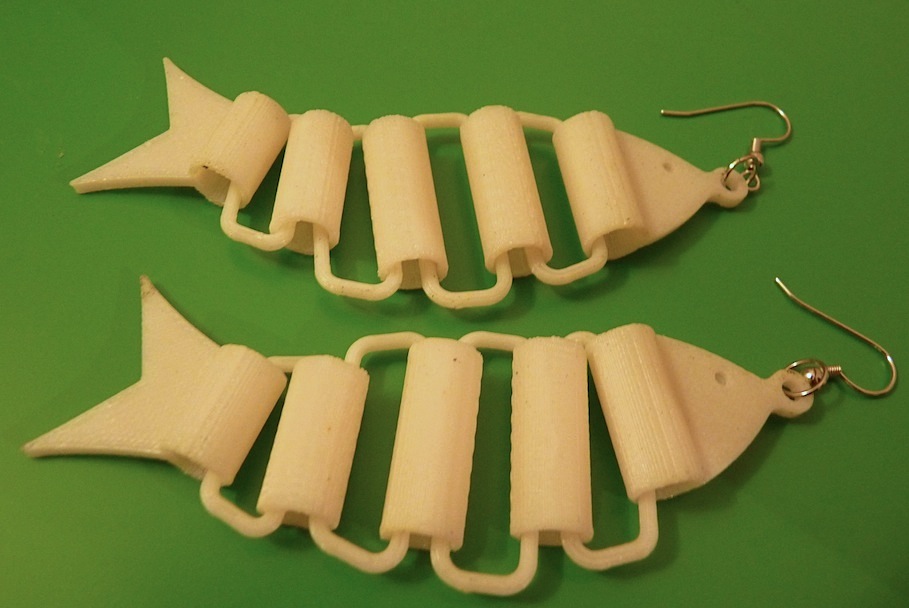
First, I tried printing them on a Dimension UPrint, which uses ABS plastic as the printing material.
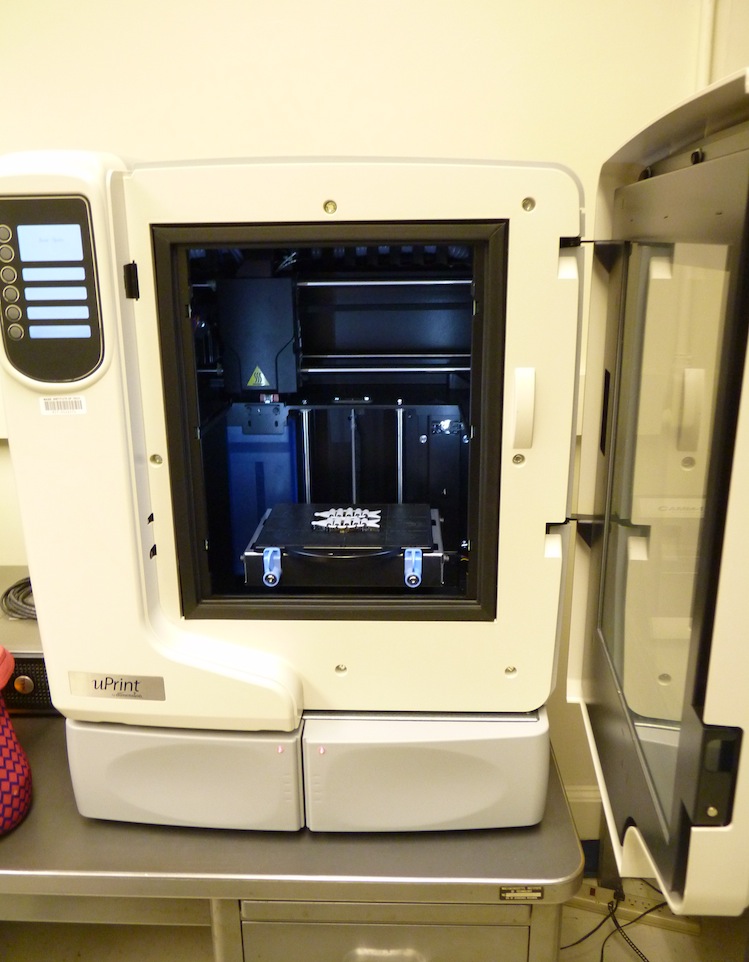
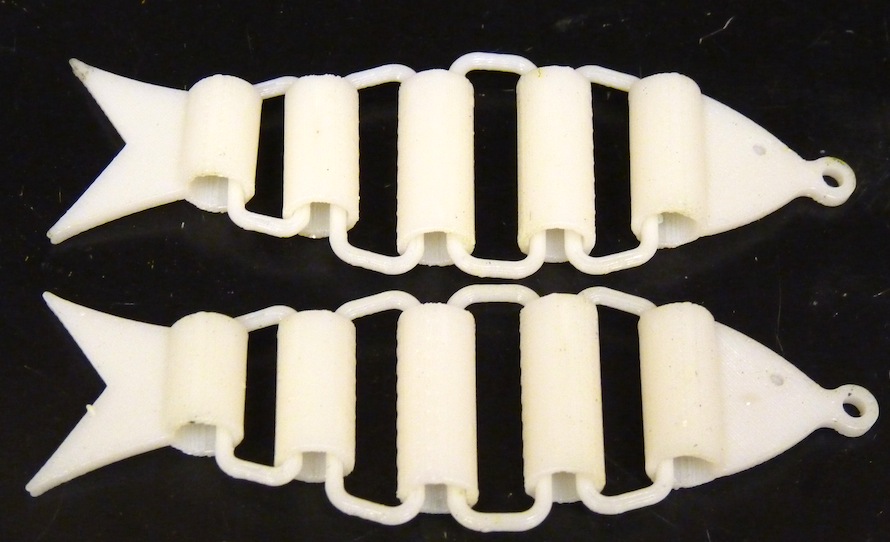
The Dimension printer prints a separate support material (the dark plastic) which has to be removed. Often it can just be snapped away, but in this case there was support material inside the cylinders, which makes things a bit more difficult.
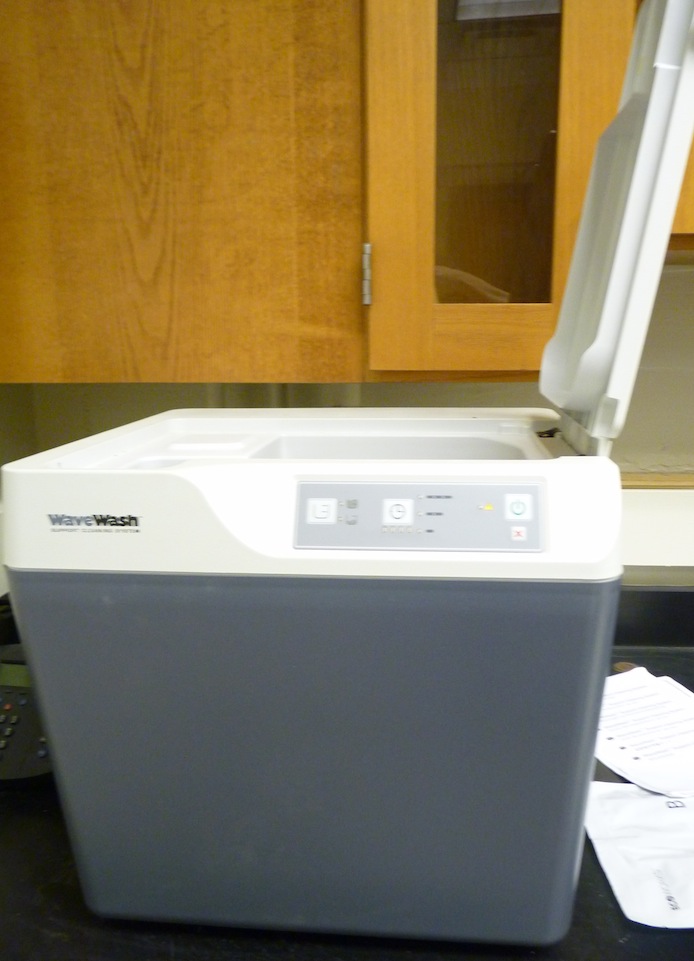
I used a sonicator/washer that is designed to dissolve and wash away the support material in an acidic bath. The support material was quite stubborn, so I had to repeat this process a couple times.
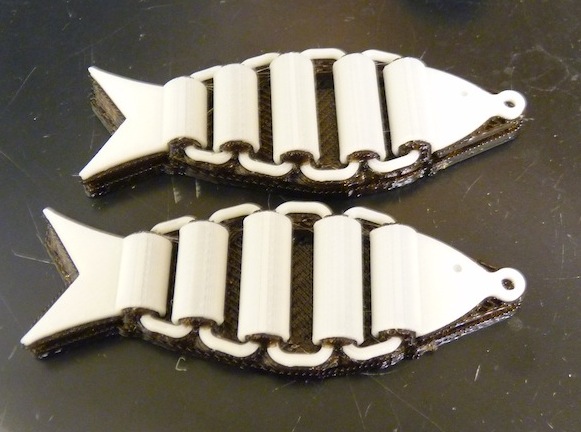
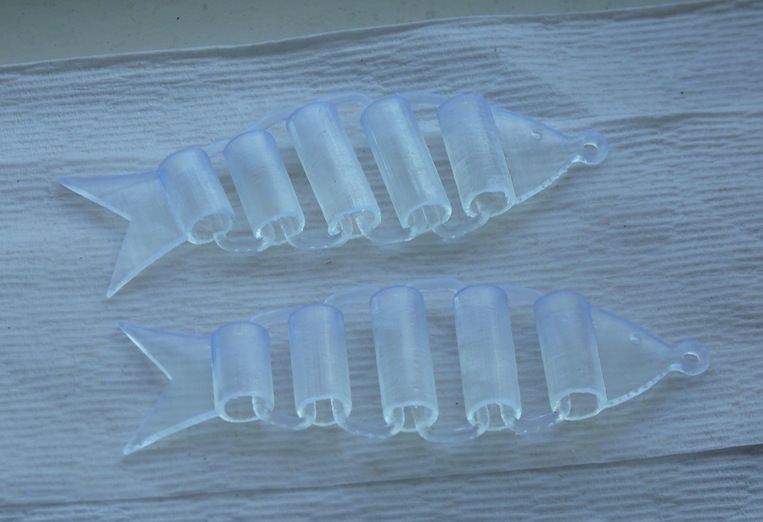
After a couple washes, I got my ABS fish earrings without the support material.
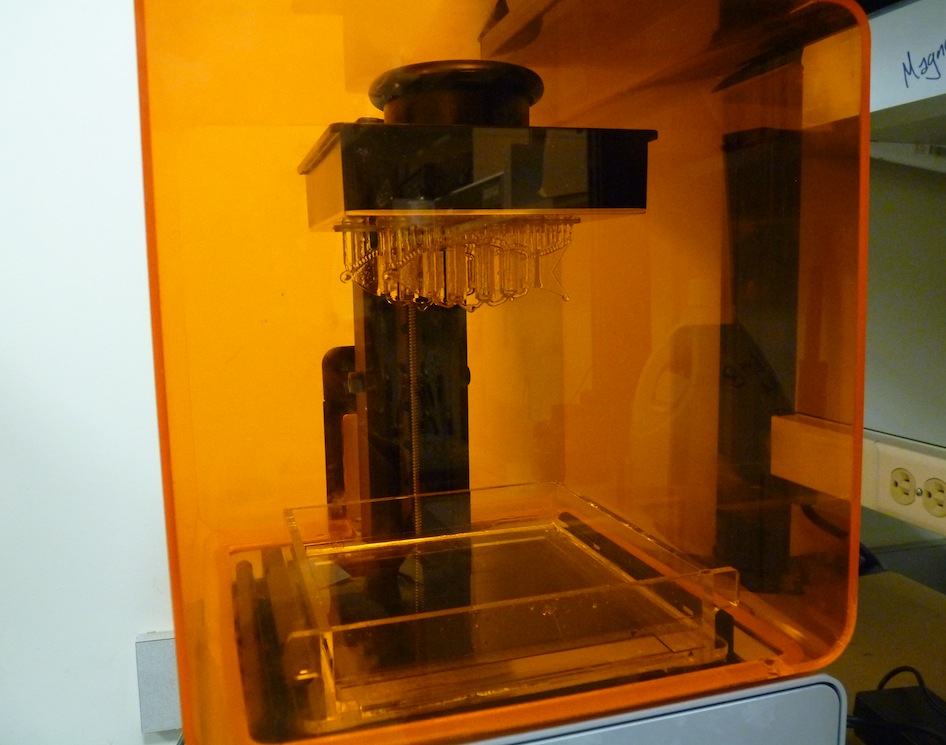
I also tried the Formlabs printer in my lab, which uses stereolithography and involves UV curing a resin to 3D print objects. Here are my earrings after a compelted printing job attached to the printing bed with supports.
After printing, the excess resin is washed away in isopropyl alcohol. For the Formlabs printer, the support material is the same as the object material. The support material is removed by simply snapping it off. After washing and snapping off the supports, I left the parts in the sunlight next to a window for a day to allow the resin to further cure and harden.
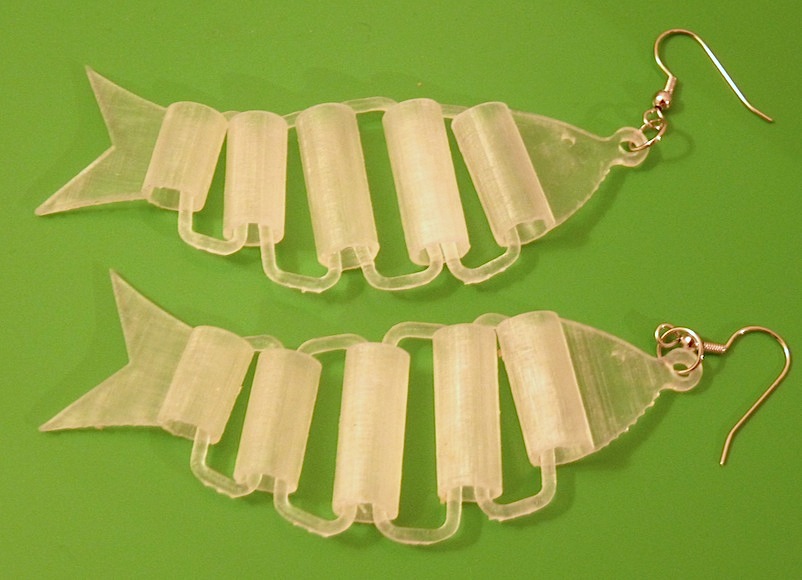
Then I visited the craft store to buy some jewelry hardware to complete my earrings. The barrel hinges make the earrings flexible and floppy despite the hardness of the plastics. I think I prefer the ones that were made with the Formlabs printer. I like the translucent appearance. Here they are!
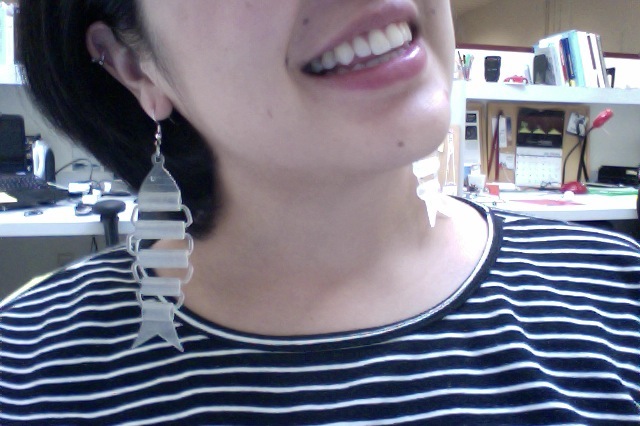
Obligatory photobooth action shot!
Download: Fish earring STL file
3D Scan
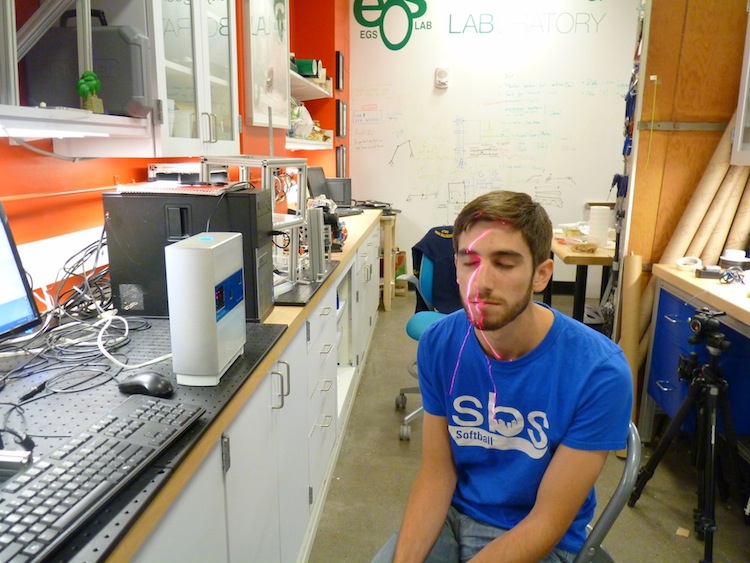
My labmate Mark wanted to do a scan of himself to make a bust figurine for his brother on his birthday. We have a NextEngine 3D laser scanner in my lab, so I thought I'd give it a try.
The first step is to select the settings on the software. I specified the distance Mark was sitting from the scanner and selected the "quick" (lower quality) scan option rather than the HD option. Suprisingly, the low quality option seemed sufficient. The scanner comes with a rotating stage for small objects and then you can set whether you want a 360 degree scan or a 180 degree scan and you can also set the intervals. Unfortunately, Mark does not fit on the tiny rotating stage, so I selected a single scan and just had him rotate in a swivel chair and do multiple single scans, being careful to have him try not to move his head or face.

Mark kept his eyes closed for the scans, since blinking can be a problem. Also the laser in your eyes can be a problem...
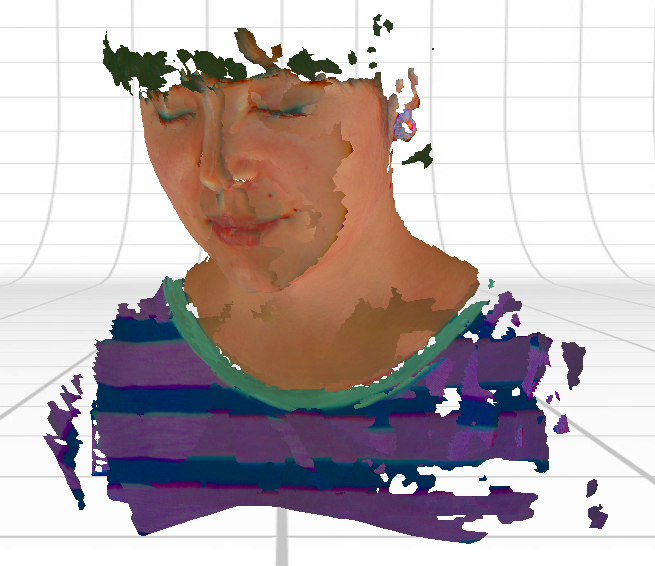
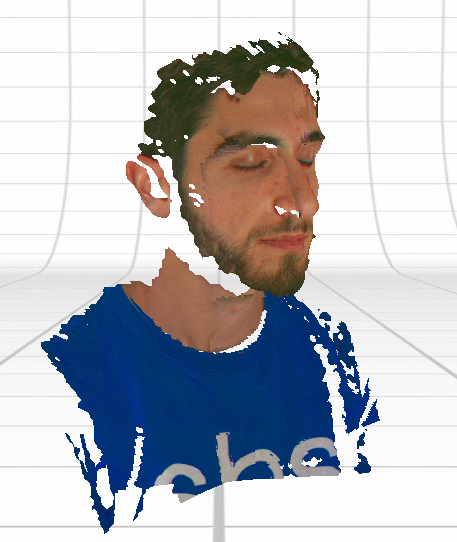
After capturing the individual scans, they had to be stitched together. This is accomplished by selecting similar features on the different scans. Faces are convenient for this, since you can select distinguishable features such as freckles, corners of eyes, the mouth, etc. Here is the stitched-together scan in color:
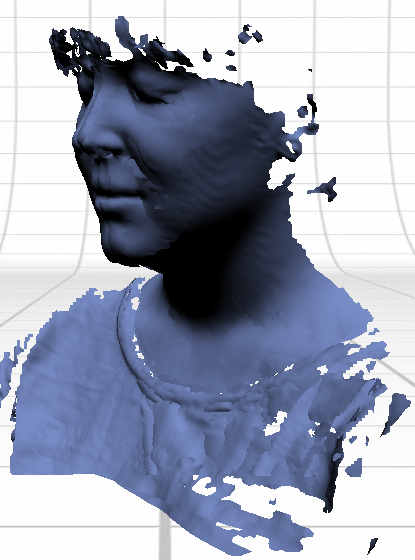
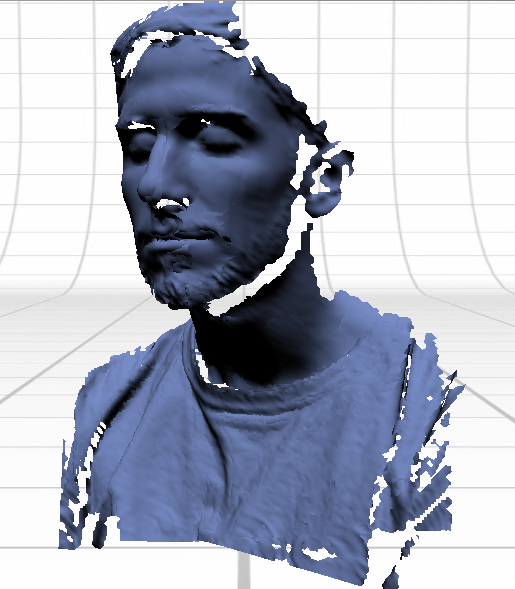
And here it is without the color. The quality is suprisingly not too bad. The scan can be exported as an STL file and then edited to close the holes.
I was jealous that Mark got to have so much fun being scanned, so I tried scanning myself too. Unfortunately, my dark hair did not show up in the scan. I would probably need to sit somewhere with a light background to get my hair to show up in the scan.