Week 12: Networking and Communications
For my final project I want to make a remote control blimp, so this week I decided to make a remote control with a joystick to communicate with a servo motor using infared (IR) communication.
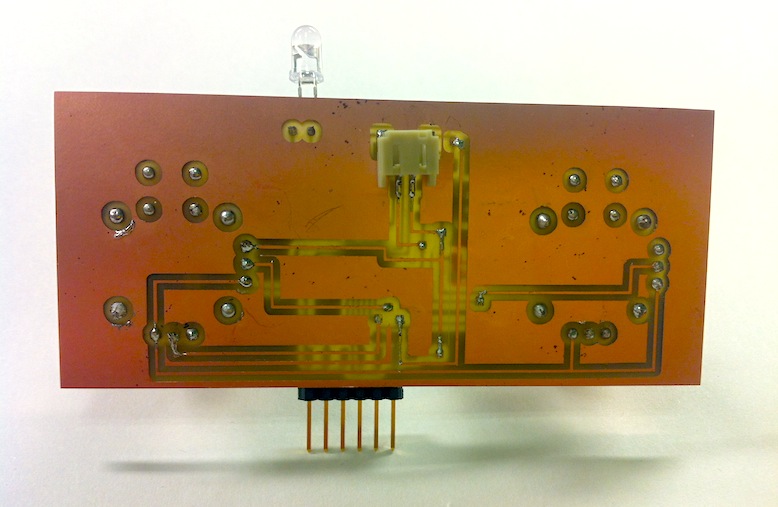
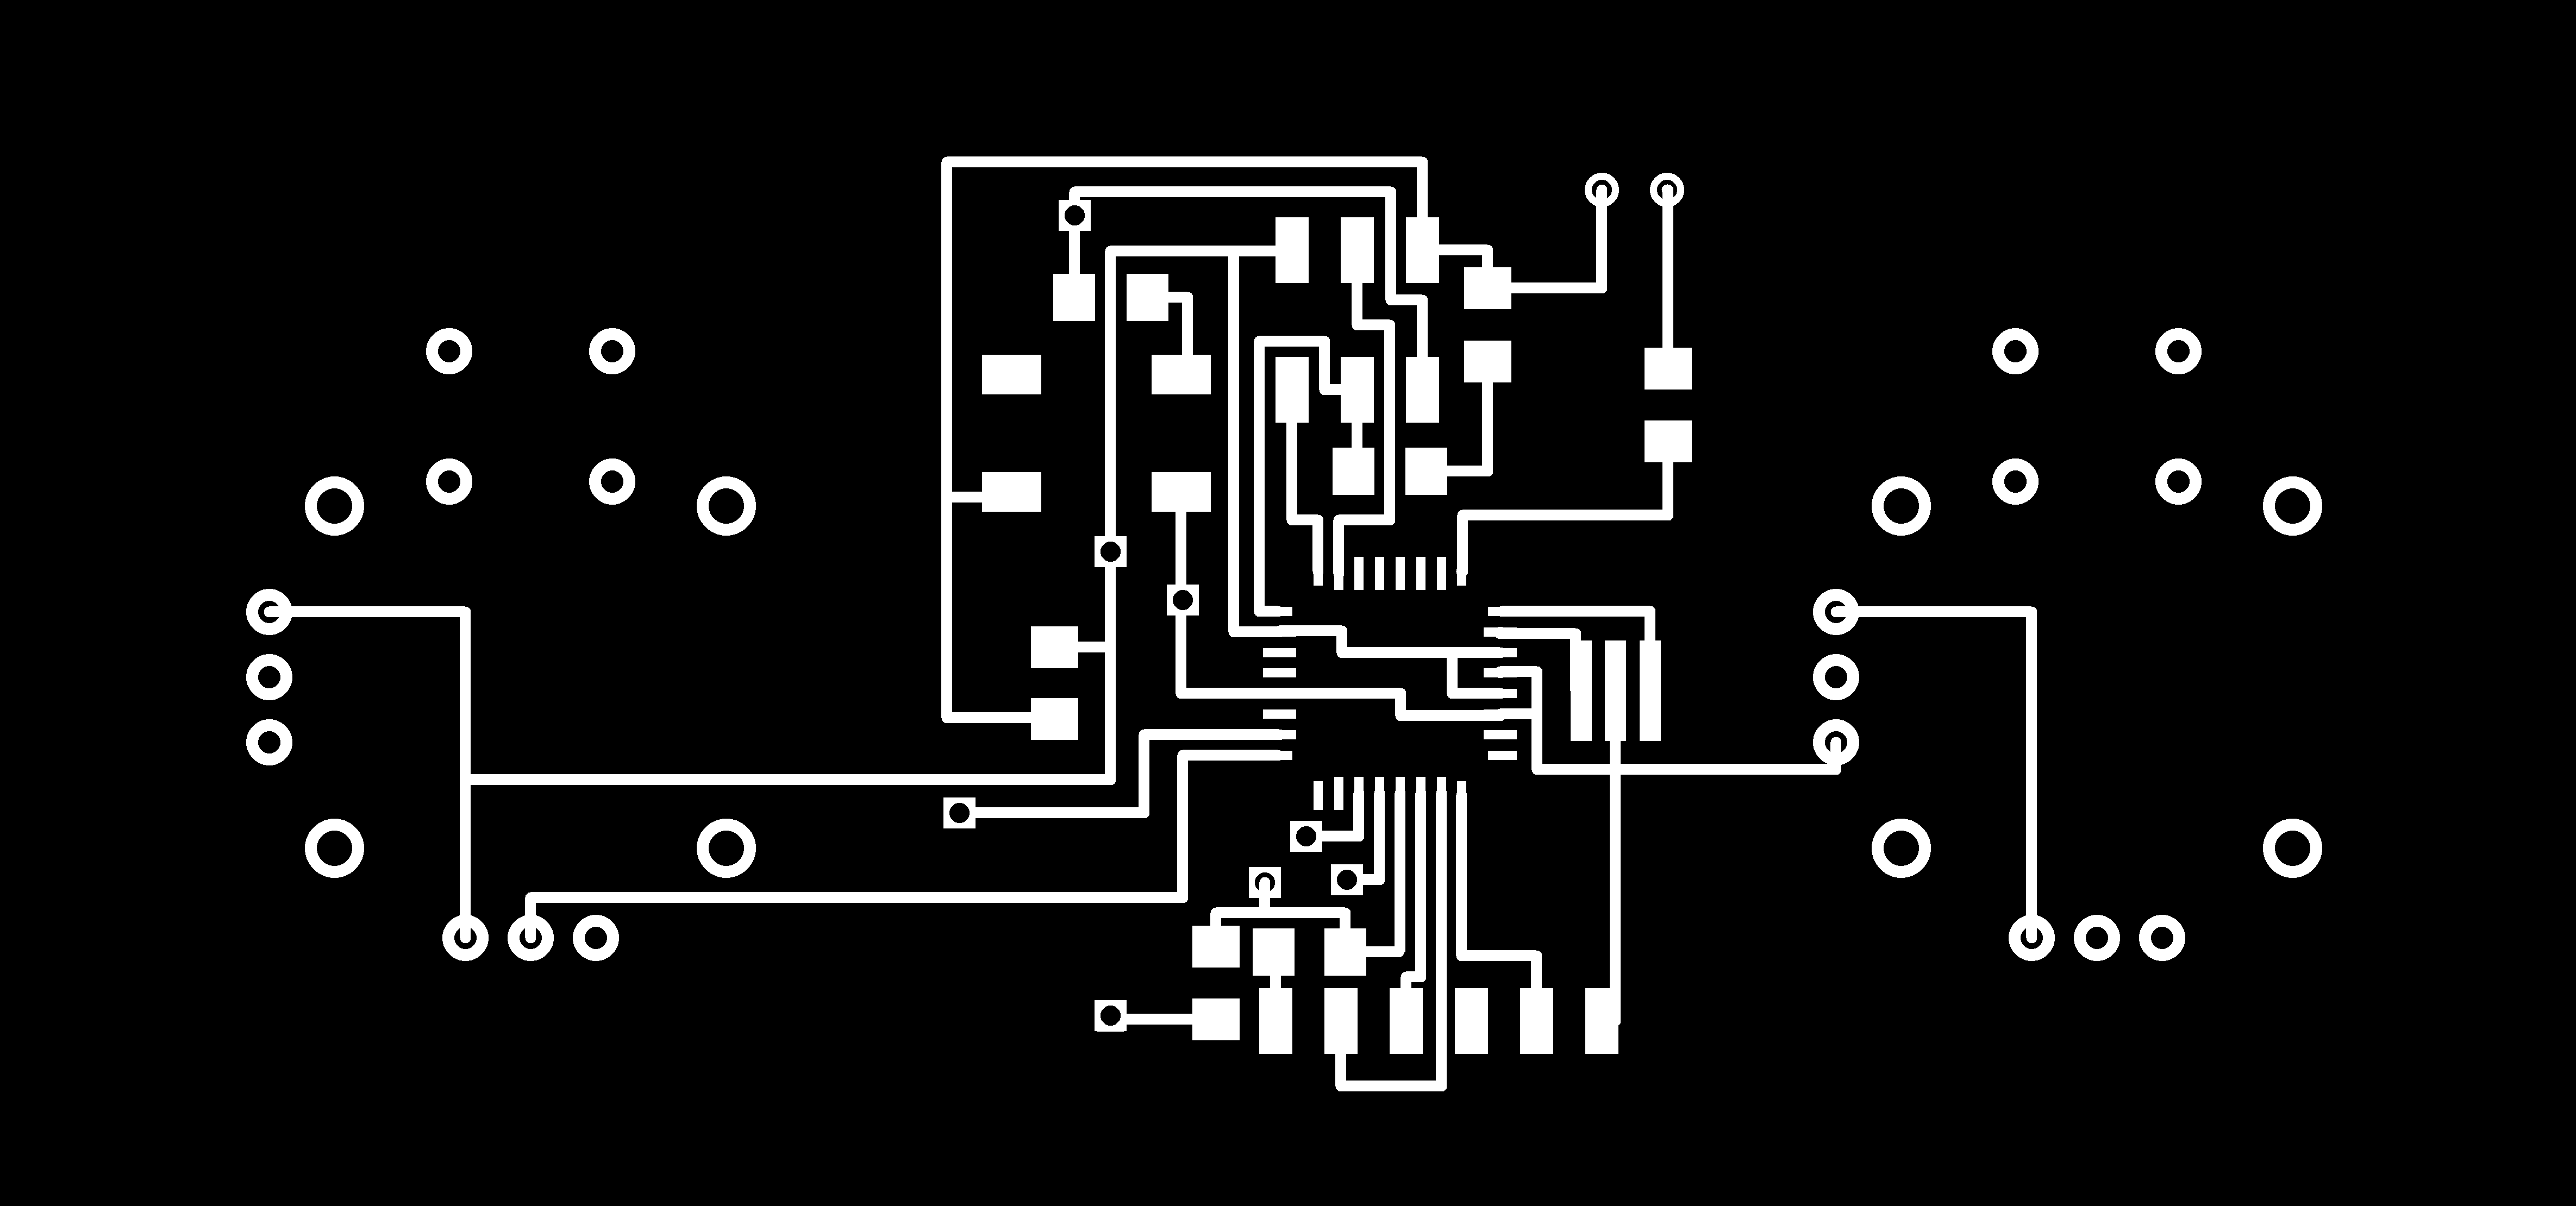
Joystick controller
I made a controller using two joysticks that I bought from SparkFun . For the microcontroller, I used an ATMEGA328p and made a fabduino style board. This was my first attempt at making a double sided board, which I decided to try since it was pretty difficult to route the connections on one side only. I found some SparkFun EAGLE libraries on GitHub that had the joystick components with the layout for the through-holes for the joysticks, which made designing the board easier.
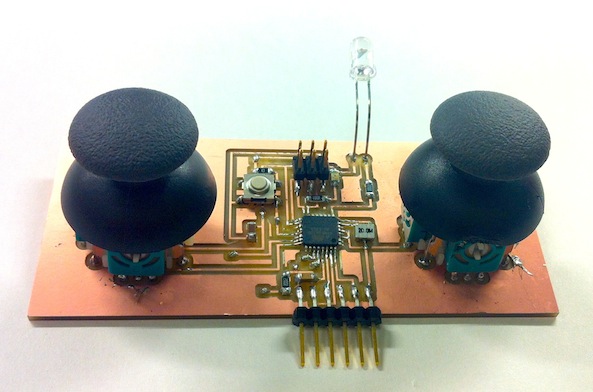
For IR communication, I am using an IR LED for transmitting IR signal and an IR receiver diode for receiving IR signal.
Programming the boards
I temporarily prototyped the receiver end of the board using an Arduino Uno since I haven't yet decided how I want to design the board for the final project. I connected a servo to the Arduino Uno as well as an IR receiver diode. First, I wanted to check that I could control the servos. I tested this quickly using a simple example code that uses the Ardunio servo library.
For the joystick controller, I wanted to verify that the joysticks could communicate over serial. The joysticks have potentiometers that work as a divider between 0 and 1024. Four analog pins were used in total, two for each joystick for the horizontal and vertical directions. I programmed the board with a simple code that writes out the serial values for each of the four pins and saw that the values changed as the joystick was moved, veryfing that everything was working as expected.