Or an opportunity to revisit the Erwin Hauer tile
This week, we design a mold that has to be milled, then cast
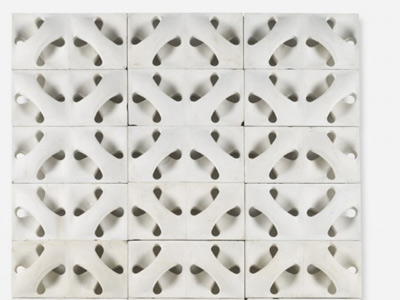
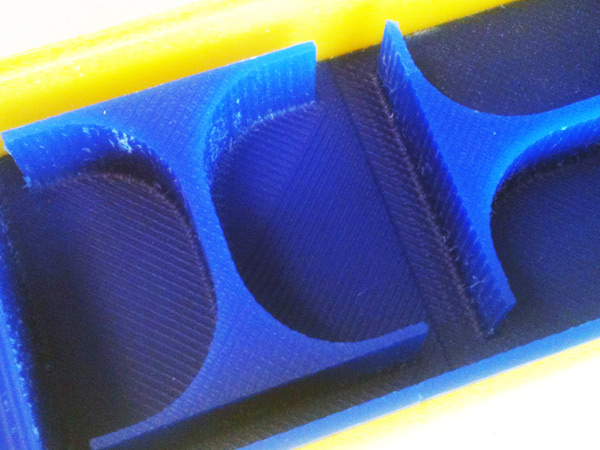
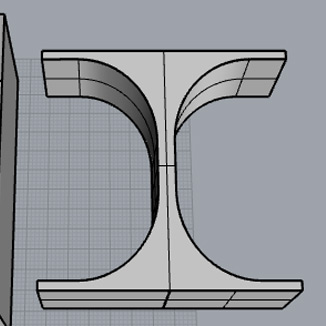
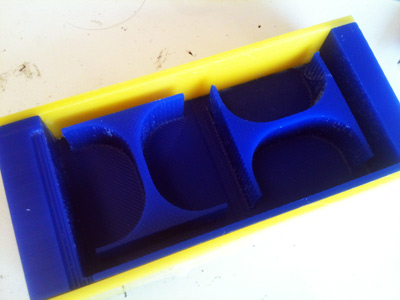
My inspiration for the design part this week was easy. I did a case-study on sculptor Erwin Hauer last year and I wanted to emulate his process. It was very interesting to deconstruct his own tiles to understand how they were conceived and made. Basically, most often his tiles work in pairs of the same element, in different rotations, while maintaining 4 corners for multiple assembly. I set to make a small version as we had to work on a small surface (3''x3.5''x1'').
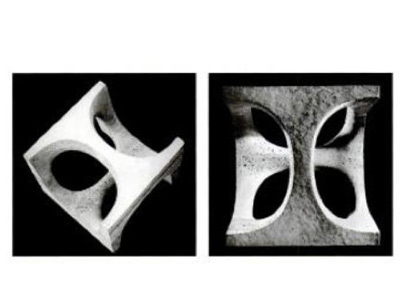
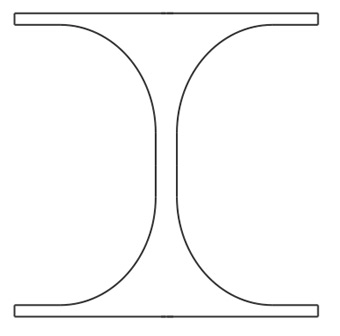
To keep it 'simple' this week, I chose to work with a figure that Hauer used for one of his walls, a 'I' type of shape that when superposed with other tiles create two circles that are offset from one another. I designed the initial figure in Illustrator using the mirror effect. I wanted the shape to only connect through its 4 corners but it meant that the part in Rhino got much more complicated, so I went back to a simple extrusion and after asking friends for some basic command lines, I was able to design the positive of the mold.
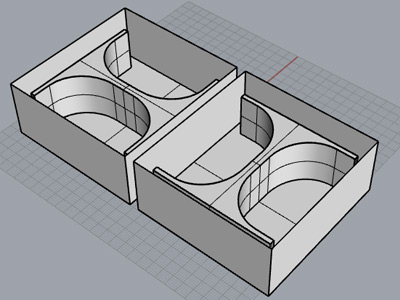
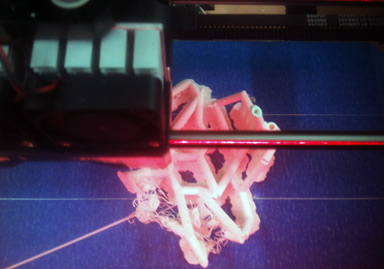
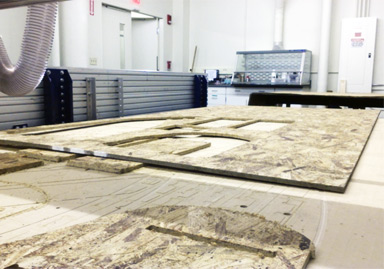
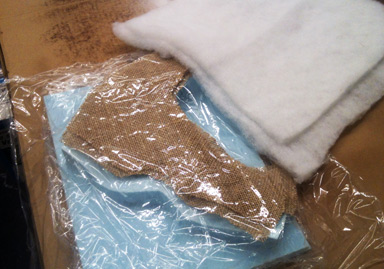
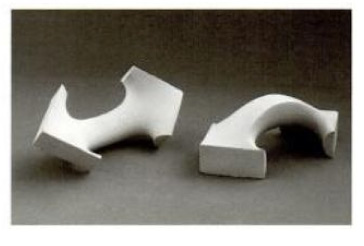
I had to go back to Rhino a couple more times, after I realised that my file would not be milled properly, mostly because you need a closed surface. Also, the TA explained that in the case of my tile, I couldn't join the 2 parts of the mold together - I would have to do a two-part mold. After checking the with the CNC Modela, the milling would take 3-4 hours or more, I opted to use the shopbot with a 1/8'' tool bit. The job took about an hour. I ran into more problems, as the mold broke in a couple parts, and it failed to keep the outer wall of my box. So I laser cut two parts to replace the wall.
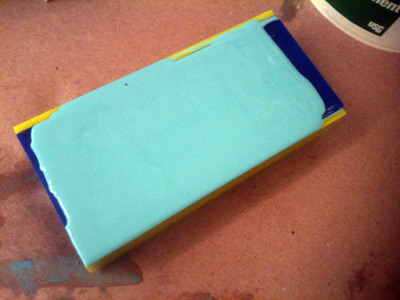
The casting part is more straightforward. We used the silicone rubber Oomoo-25 for our part. In this case you have to mix equal parts (in volume) of two different components A and B for 3 minutes. Then let it set for 75minutes (time given by instructions, but most people found it took 3 hours or so). In my case, I couldn't wait that day, so I will come back to finish the last step which is the casting.
Week 10
Week 11
Week 12
Week 13

Week 14
Week 15
Week 16