Or Using a CNC milling machine with wood
We had to make something 'big', which reminded me of the process of the construction kit week, except this time, think furniture or giant
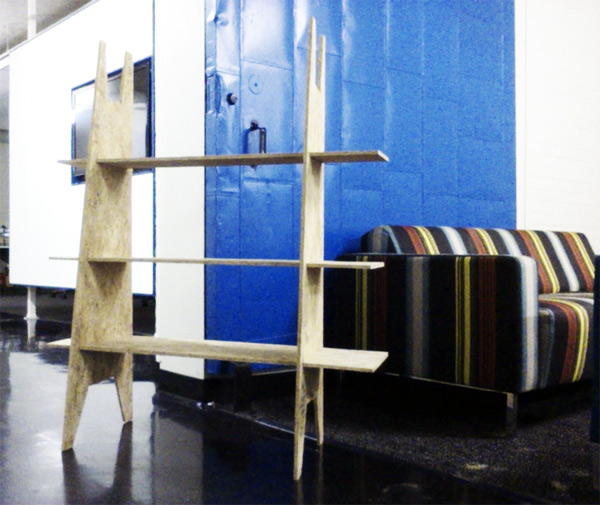
I wanted to make a tons of things, a bed frame, a coffee table, shelves for my clothes, etc. Because of time constraints (realistically you can be sure to get a 2-3 hour spot with the machine), quality of the material (Osb), quantity (a sheet of 4'x8') and thickness (7/16''), I opted for the shelves. And also, it's a good design topic. Shelves could seem boring, but the key is to give it a twist. I got inspired by Scandinavian-style designs (= simple, elegant, with a care for details).
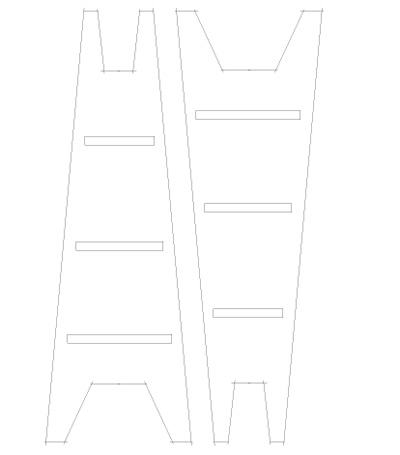
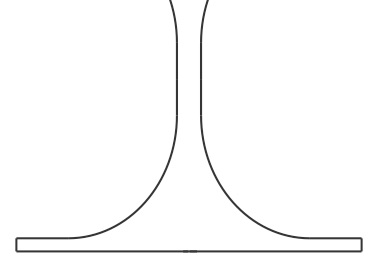
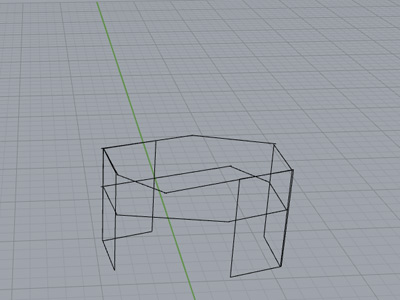
I still made the designs for all three items in Illustrator, which at this point is my favorite software for everything 2D. I just used Rhino as an extra for a rough sketch of the coffee table assembly. I made several iterations of the shelves on Illustrator, because I needed to get the right proportions. In the end, my shelves are 8'', 10'' and 12''x 40''over a 50'' tower structure.

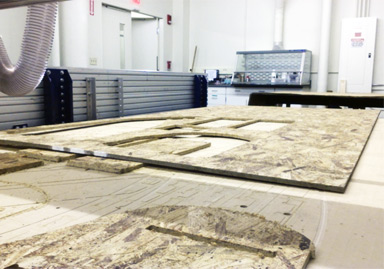
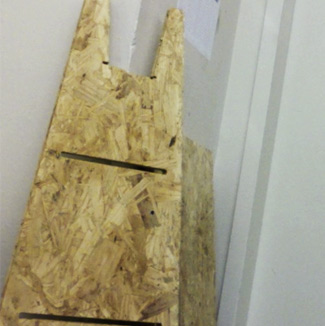
After our software and machine tutorial with the ShopBot, we paired up to do our cuts. Again the whole process reminded me a lot of what you do with a laser cutter, and with the CNC Modela milling machine. You also have to set for instance depths of cut, and you can have different profiles for each layer. The first time I use the machine, the cut went smoothly but the openings for the shelves were way too large for the fit, so I had to run the cut again. This time, I change the size to that of the osb thickness (7/16'') but it was too small this time.
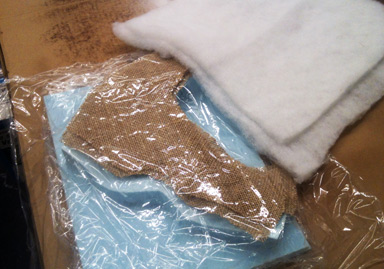
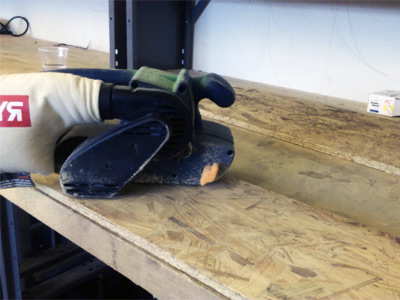
So the main solution for that is to sand. Sand a lot, with a hand sander. It works great for osb because it gives it a nice texture, but prepare to spend 2 hours on getting the right fit for the openings. And also you get dusted everywhere, under you clothes, your hair, everywhere. You have to wear eye protection and a face mask, and ear protection as well while you're at it, because the sound is deafening. But the result is worth it!
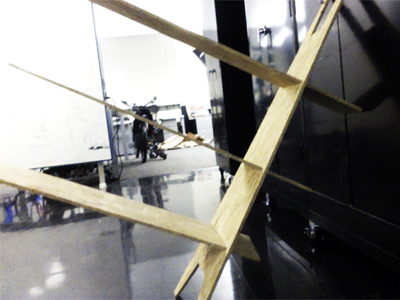
It's the assembly, which is pretty straightforward when you've been sanding the wood to the right dimension. All together very happy with the outcome! (see above)

Week 10
Week 11

Week 12
Week 13

Week 14

Week 15
Week 16