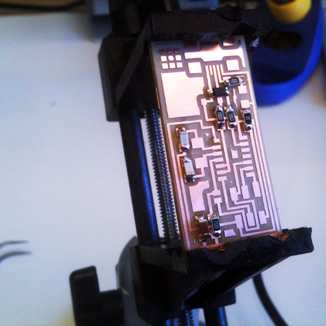


Also milling, soldering, programming, wishful thinking
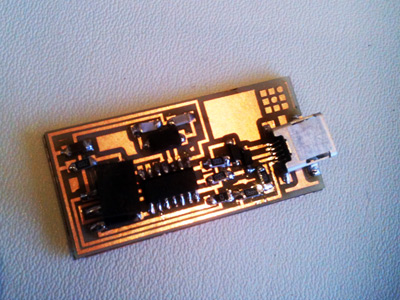
Mill the traces of a circuit board and solder each component of the board onto it. Test it and program it to be used as a microcontroller. It's like making an Arduino from scratch.
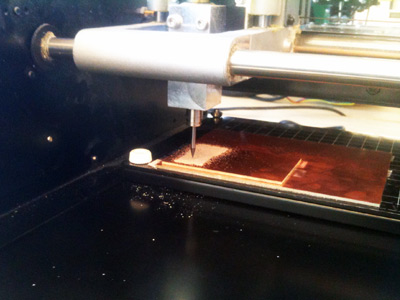
We start with the milling part, with the Roland Modela machine, a small cute CNC milling machine. It's a very straightforward process except it worked fine the first time I did it, and terribly when I did a second board. The second time i didn't screw the end mill tight enough so it was too loose to properly cut. Also when you change settings, make sure to "make path" in the software interface again.
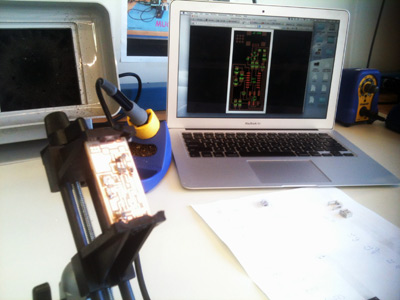
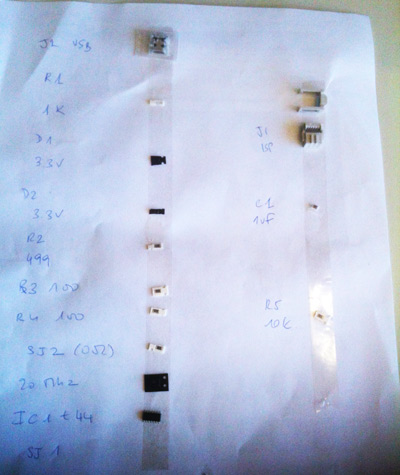
I had little experience in the past with soldering, especially such small components. So first thing I did was train on a discarded circuit board for 20 minutes or so. Then it was pretty much two hours of careful delicate work with a result that wasn't always as elegant as someone would hope. But I thoroughly enjoyed the meditative quality of the task. What you need is very good light, tweezers, a thin solder iron, a clamp, steady hands and good eyes. Also an important tip given by our TA, Rob: gather all the components and stick them onto a sheet with double-side tape, and their names next to them, so you know what's what.
That's when you realise it's not working. Probably because the solder job was not good enough. So you have to do it all over again. But this time it took me one hour instead of two. Good learning curve. Also this time it worked. Well, that's thanks to Rob who helped debugging it and figuring out what was wrong (mainly, adding more solder in some parts and clearing out some others). There's a program to run at the end so the micro controller is ready-to-use as a usb device.
Week 10
Week 11
Week 12

Week 13

Week 14

Week 15
Week 16
Week 12