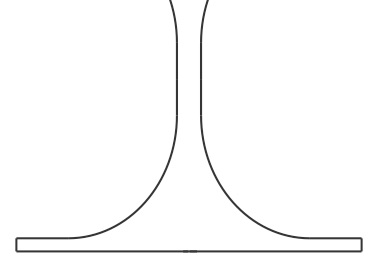
Or a hat depending on the angle, or a lamp shade, or a dome of sorts
The point is to go from a 2D drawing to a 3D object in cardboard by way of a laser cutter
The hardest part again is to come up with a compelling idea that would drive the whole process. I kept thinking of only 'big' things but this was not this week's assignment. So I spent quite a long time on the class's archive and browsing on the web on DIY and designers site for objects inspiration. For some reason, I was more attracted by 'useful' things rather than decorative, or gadgets, possibly because I moved to Boston with no furniture and it's on my mind a lot.
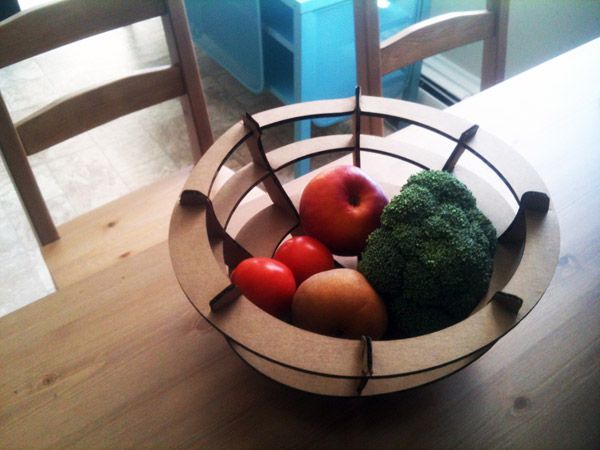
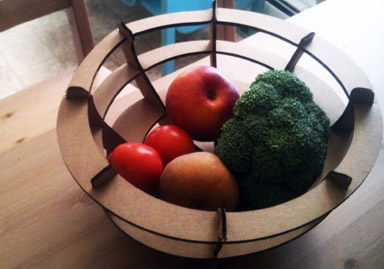
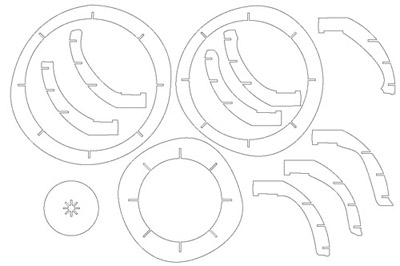
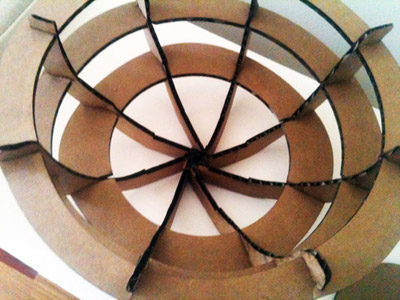
I decided to make a fruit bowl, because it's a 'simple' shape that is elegant and slick. I first needed to understand the 'physicality' of a press-fit construction kit for a fruit bowl: what it needs to hold together, what the different parts should be, etc (I've very little knowledge of 3D design). There are many different models online (on Instructables, Thingiverse, etc) and I studied them all and understood not only the parts I needed to design but also how I wanted my bowl to look like in comparison.
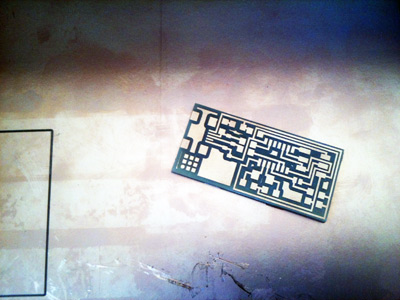
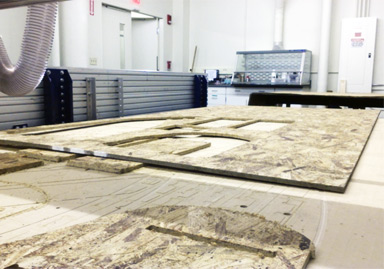
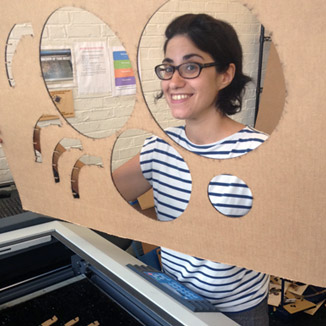
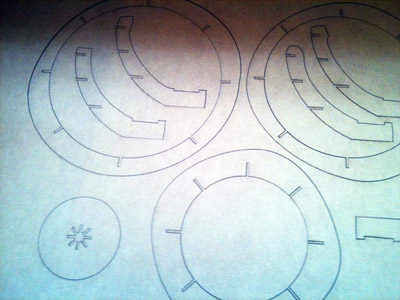
I drew each part on Illustrator in proportion to the biggest outer ring, and it took me forever. I drew the dents with a 3mm length based on the thickness of the cardboard. And then proceeded to prepare my file for the laser cutter: all the parts would fit on a cardboard panel of 36inx24in that I cut at this specific size. I met a really nice person that was using the laser cutter before me in the shop. And I was happy that he stayed around while I was using the cutter. I made 3 tests on a small piece of cardboard to check the speed and power for the cut. My best result came with a setting of 65%/38%
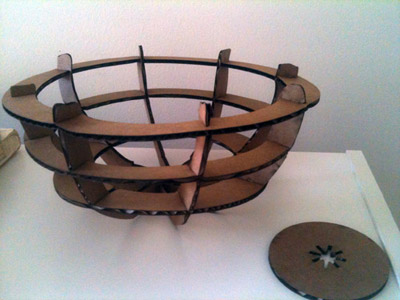
I had to assemble the pieces later on due to a time constraint. Let's say it wasn't the most pleasant part. The dents were really narrow and I had to force the parts to fit. I ended up even not using the bottom piece as it wouldn't fit at all, but like a friend of mine said: it's the same experience with Ikea! And actually it turned out to be an even nicer design without the bottom piece. I like when accidents improve the design.
Week 10
Week 11
Week 12
Week 13
Week 14
Week 15
Week 16