In tune with my craft making (not so amazing) skills
This week, we had to design and 3D print an object that should be printed in an additive manner (as opposed to substrative), for instance nested objects. Also, we used a 3D scanner for another object.

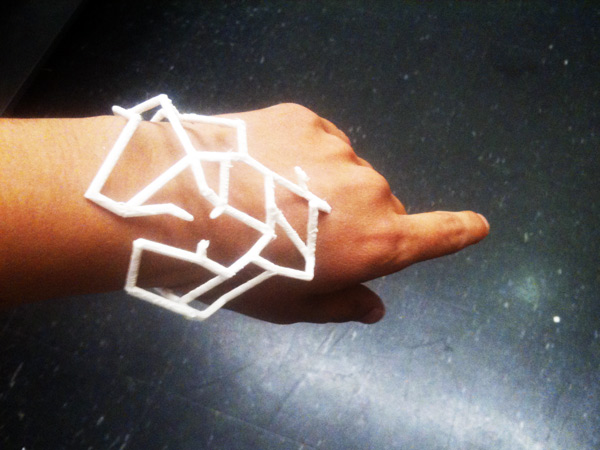
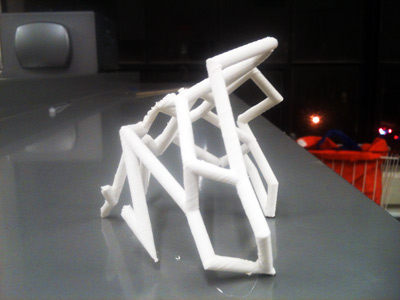
As usual, the design is the key part. I wanted to experiment with jewellery that uses the most compelling aspect of 3D print in that it allows for unusual shapes and holds. It thus creates a distinctive aesthetic. I went for a bracelet, out of size constraint and because it's the sort of jewellery I would wear. For inspiration, I browsed the web and sites such as Shapeways and Thingiverse.

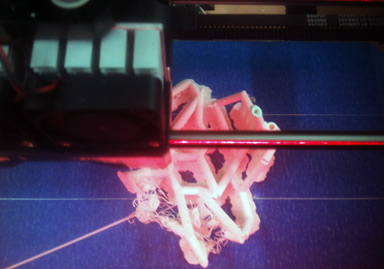
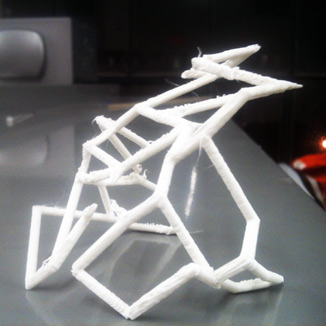
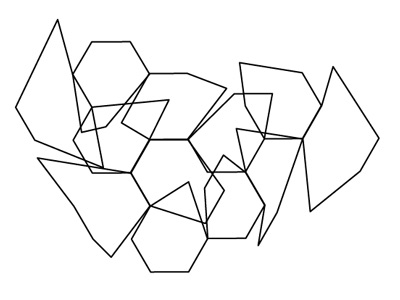
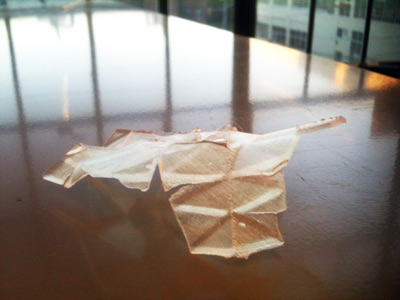
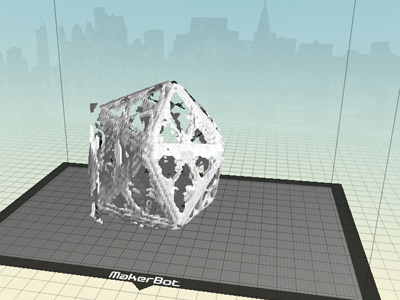
I'm neither a 3D designer nor a jewellery maker, although my grandfather was one. So, I had to follow some intuitions and get by with my little knowledge. I start with the idea of transforming an association of polygons with each point going in different directions in space while converging in a circular motion. I started briefly with Illustrator, but mostly used Rhino for making the shapes in 3D space. I used SketchUp and a script called "TubeAlongPath" to create tubes along the lines of the polygons. Indeed I naively thought that lines were enough to generate a 3D print, but then without the tubes, it generates surfaces (see first attempt on the FormLabs 3D printer).

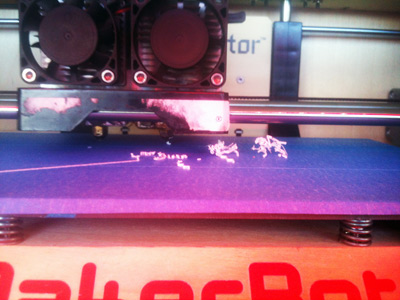
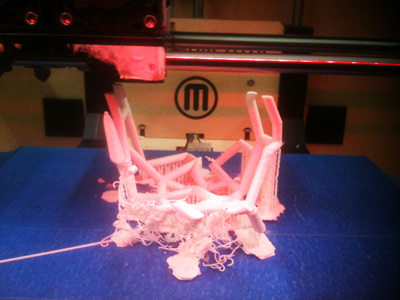
Two years ago, I built a MakerBot with colleagues at Culture Lab and I loved using it for a research project. This time I was printing my own design and it took about 4-5 iterations (and some 7 hours) to get it right. The first issue had to do with sticking the print on the platform. What I found that worked best, was to have a raft. Usually good designs don't need a raft, but this one did, with additional support. So I chose ABS for material, with raft and support and I printed it on standard quality to make it faster.
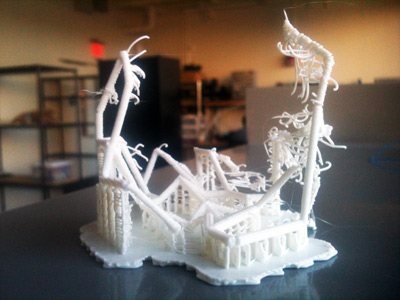
The other issue I ran into was the size. It was never the size I wanted, either too small or too big. In the end, the last design I did was slightly bigger than I wished for but I ran out of time to make further iterations. Let's say I'm not too displeased with the final result even if it lacks a certain smoothness and elegance.
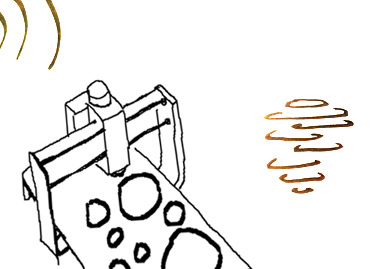
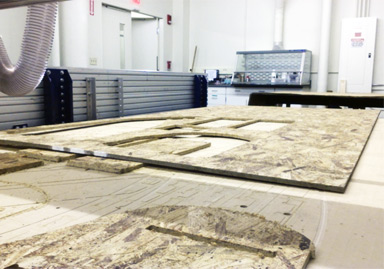
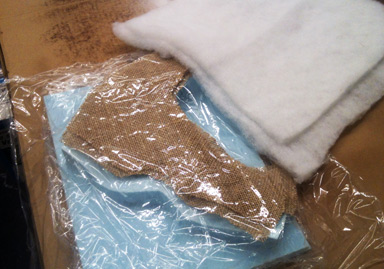
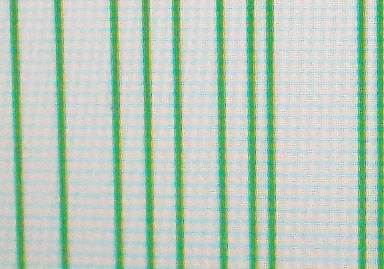
The 3D scanning proved to be an endless disappointment. I tried with the Digitizer and with the Autodesk app 123D catch. The results were definitely interesting but really far from the actual objects. My conclusion is that you need to have the best lighting conditions, a proper camera on tripod that can roll, with markers on the floor. The object itself should also be matte. You should also spend a good amount of time cleaning the result. In my case, I failed to get a result even decent enough to go trough the cleaning phase. I think I never picked the right object (I tried with a bottle of Tylenol, a box of Altoids, a Japanese tea cup, and a 3D dodecahedron print).
Week 10
Week 11
Week 12
Week 13
Week 14
Week 15
Week 16