Pranam Tries To Make Things
MAS.863 - 2016
Week 5: Computer-Controlled Cutting
Making Yoko a Doghouse
Back to fun making! This week's idea was simple enough: make something BIG! We were given access and training to use the ShopBot in the CBA shop. It's a huge, dangerous machine that can easily kill you if you don't use it properly! Safe to say, I was going to be very careful when using it.
So, a cute little background. In the CBA, Ben, one of the graduate students, has the sweetest little Boston terrier puppy named Yoko! (I know, too much cuteness to handle!) She's always so energetic and joyous in lab, bringing so much happiness to the CBA. But, as all puppies do, she eventually gets tired, and though Ben obviously makes sure she gets a good rest in her dogbed, I wanted to give her an EVEN nicer place to rest when she's here in the CBA office.
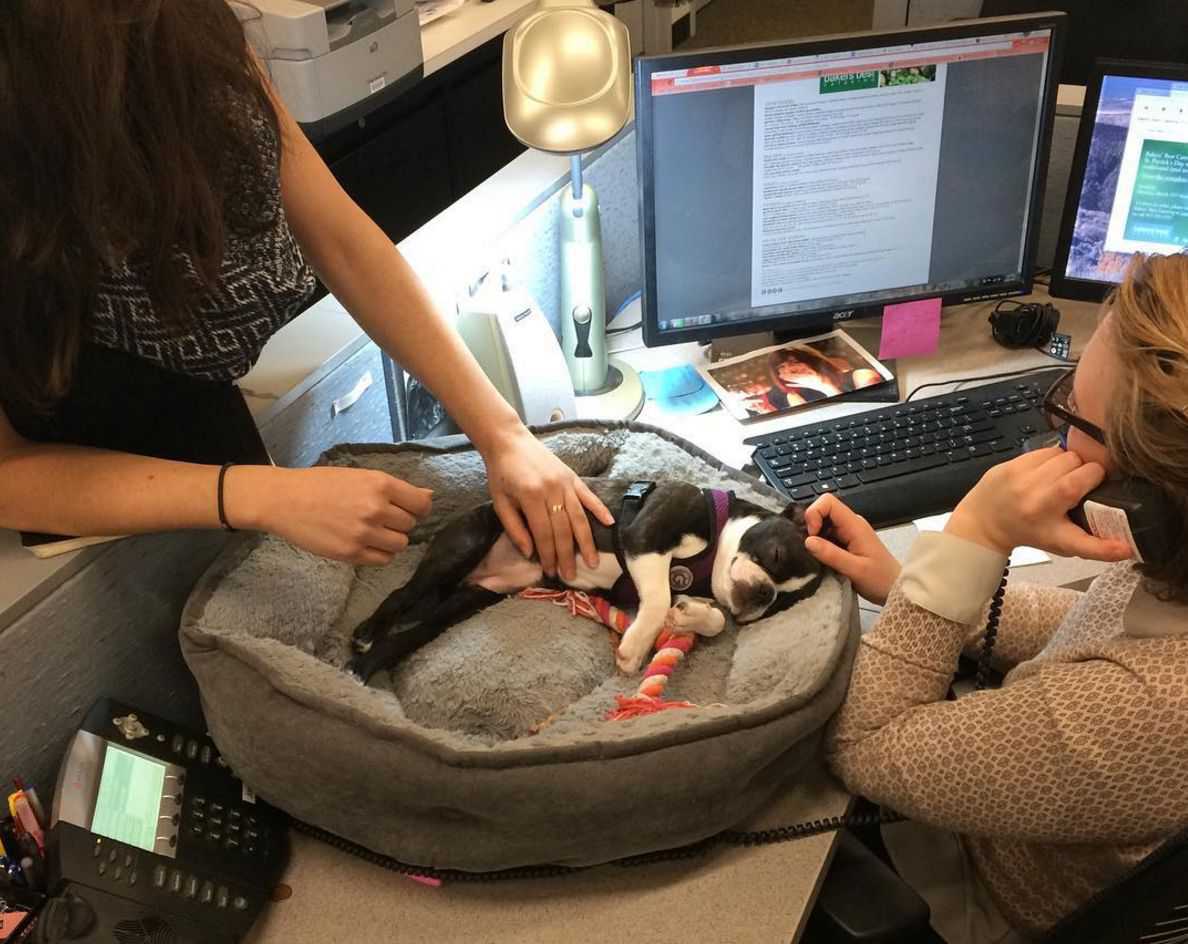
Figure 1. Yoko receives so much love from the CBA! ^_^
To begin the design process, I took inspiration from this press-fit Fuora doghouse. To make it a bit more design-friendly, I removed all of the weird angles, and just stuck with a box shaped doghouse with an open door. The front and back, would press-fit into the walls, which all would stick to a press-fit floor. Finally, the roof would press-fit four corner protrusions from the front and back panels.
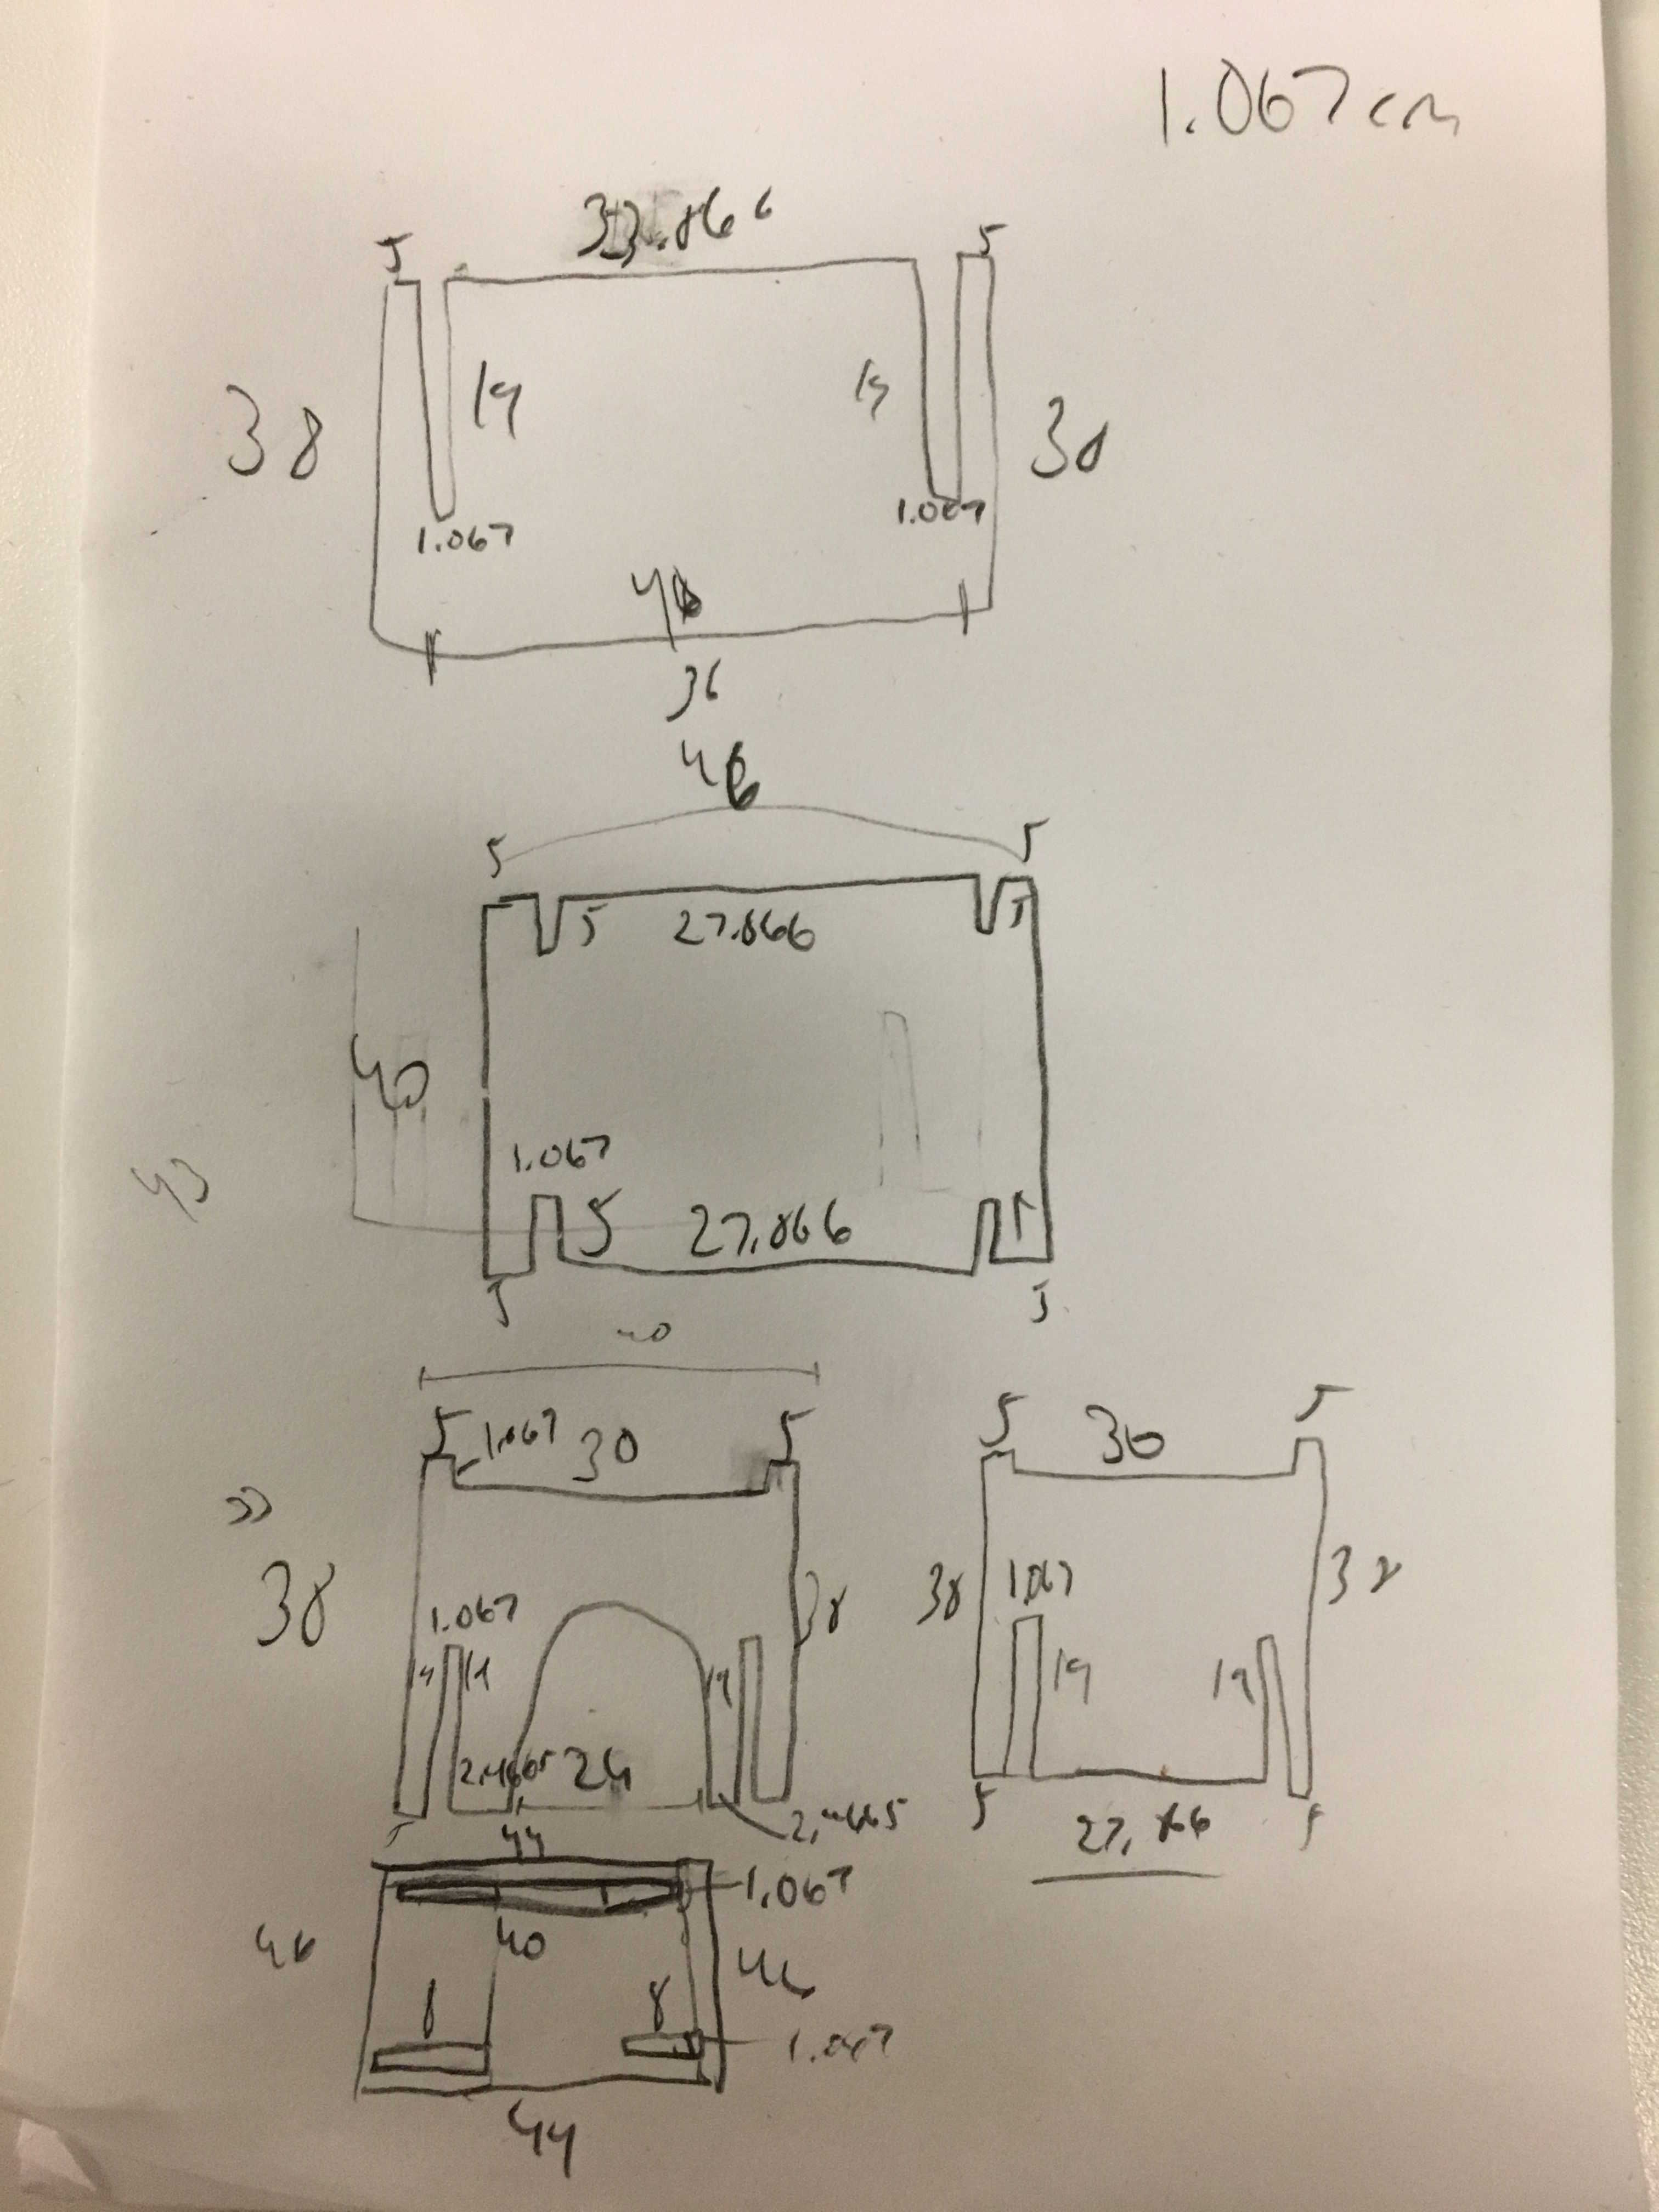
Figure 2. A rough sketch of the 2D model plan for the doghouse.
Next, I just took the rough sketch and drew it non-parametrically in Rhino. I confirmed all of the dimensions, including the width of the OSB material we were to use (0.47 inches), and simply estimated the dimensions of the house itself, considering Yoko's small stature.
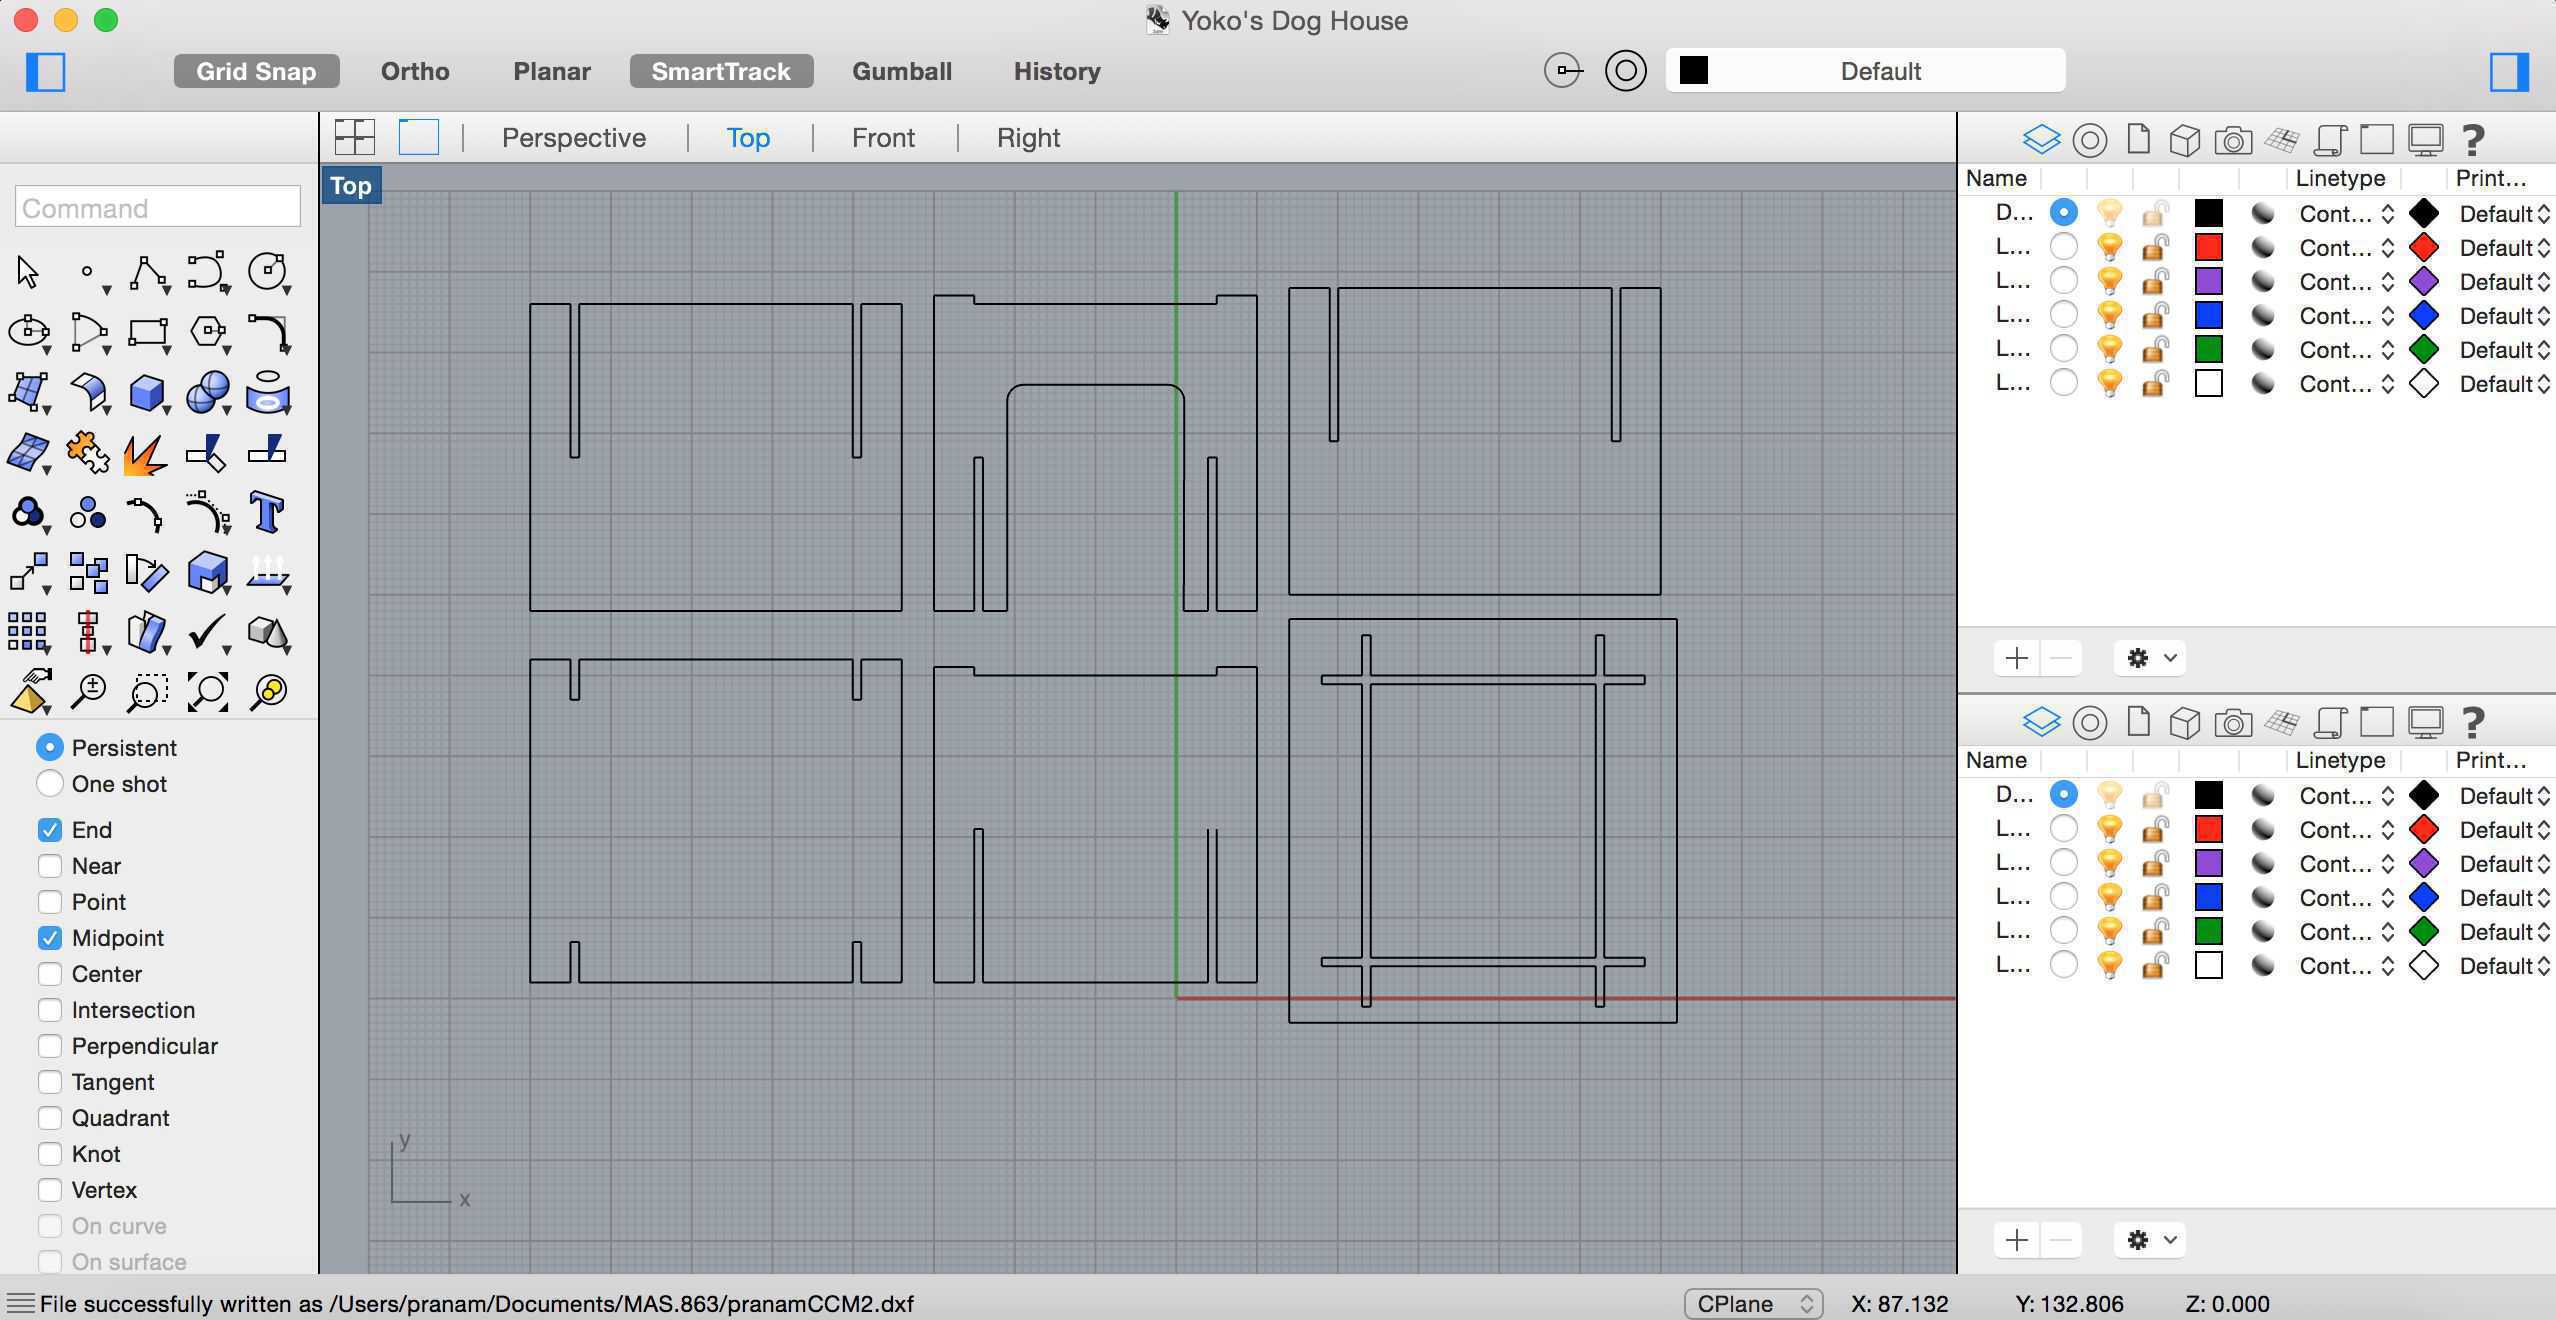
Figure 3. 2D model of the doghouse made in Rhino.
After exporting the file as a .dxf, I took my design down to the machine shop to cut! It was definitely a bit disorienting at first, but after watching Dhaval take a shot at it, I felt more comfortable. When it was time to import, however, I realized that, first, my dimensions were wrong, thus I had to manually scale it using VCarve Pro, the software that goes with the ShopBot. Next, I had to fillet the corners of the press-fit edges. So, quick question: when you are making a doghouse, what kind of fillets do you use? DOGBONES. Yep, it was meant to be.
Anyway, with the wonderful help of my absolutely amazing, awesome classmate, Hisham, I created the appropriate toolpath and was able to get myself ready to go with the machine. First step after attaching the (insanely terrible) OSB wood to the table, is to zero the machine -- it's important to do this correctly to avoid cutting off of the board.
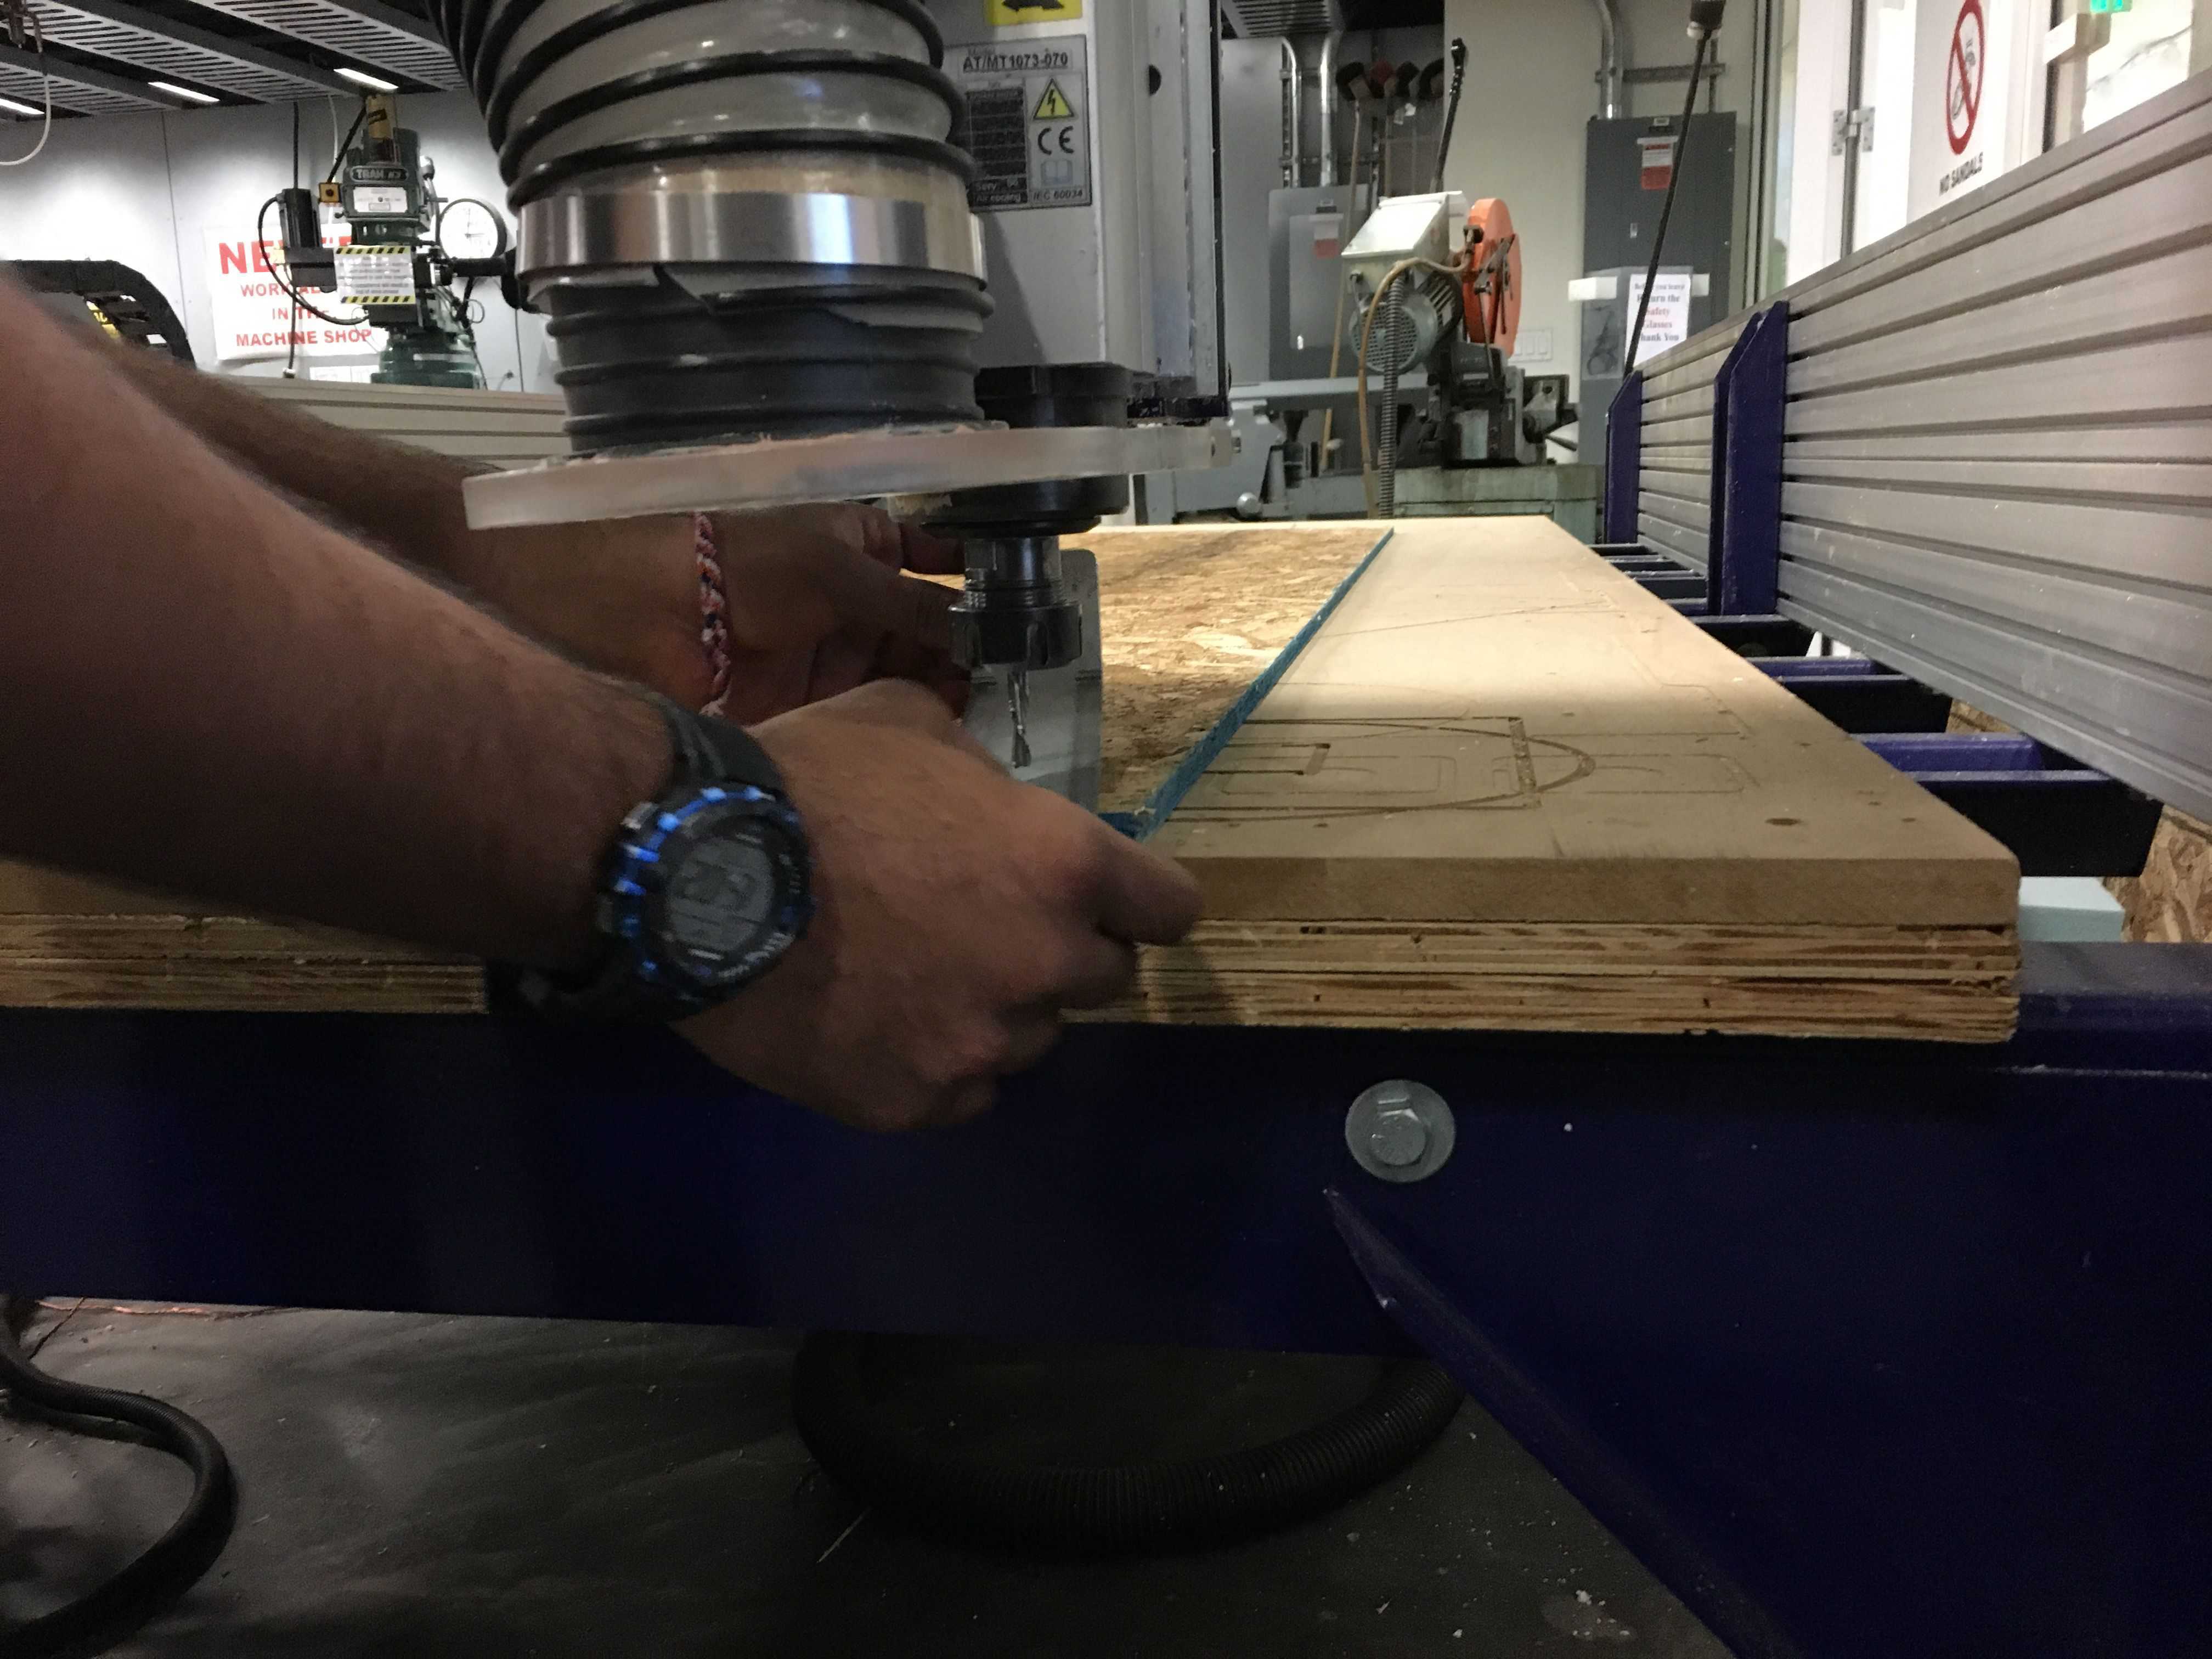
Figure 4. Zeroing the ShopBot.
After zeroing, I import the toolpath, turn on the dust collector, and start the cutting process. All was going well, until I realized that I may go off of the board. Luckily, Tom and Hisham navigated me through the process of rezeroing, and updating the toolpath so to not repeat cuts.
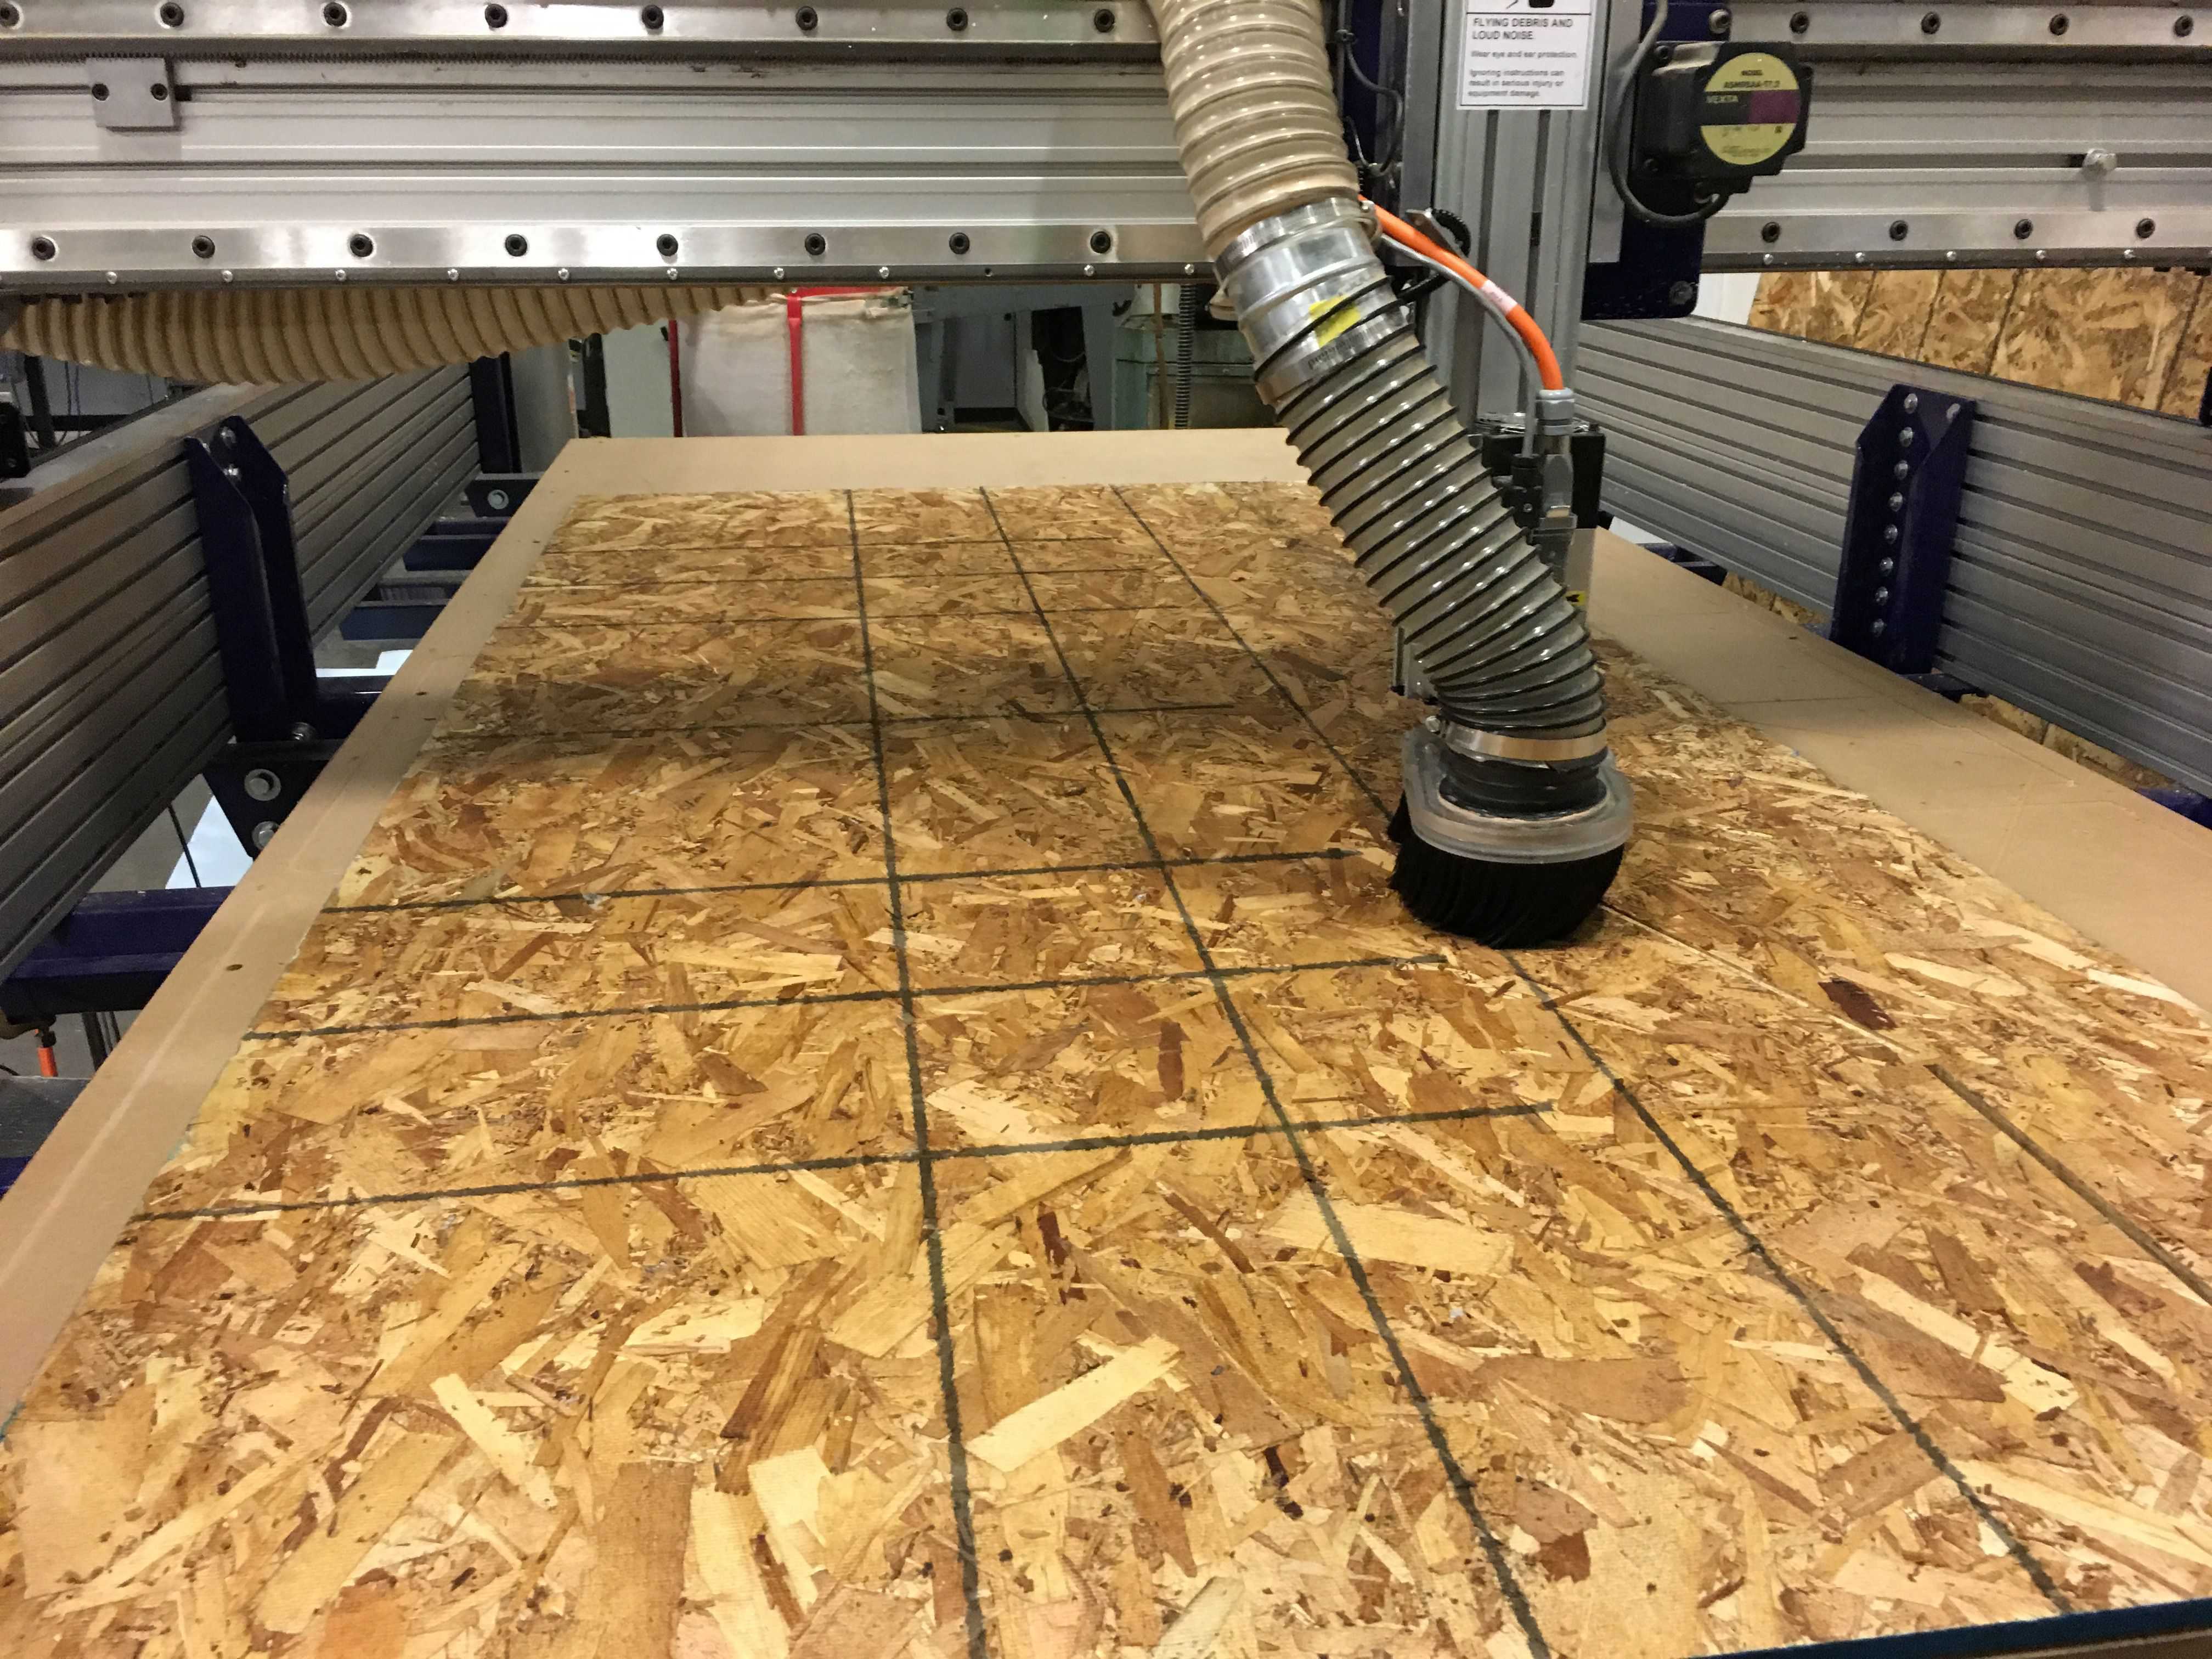
Figure 5. The ShopBot cutting my design.
After extracting the cut parts, I had the immense pleasure of press-fitting the doghouse together into a beautiful creation for Yoko to enjoy! Of course OSB is really terrible, and could give Yoko splinters, so I designed the doghouse not to have a floor within the walls, so to later add a pillow for maximum comfort! :)
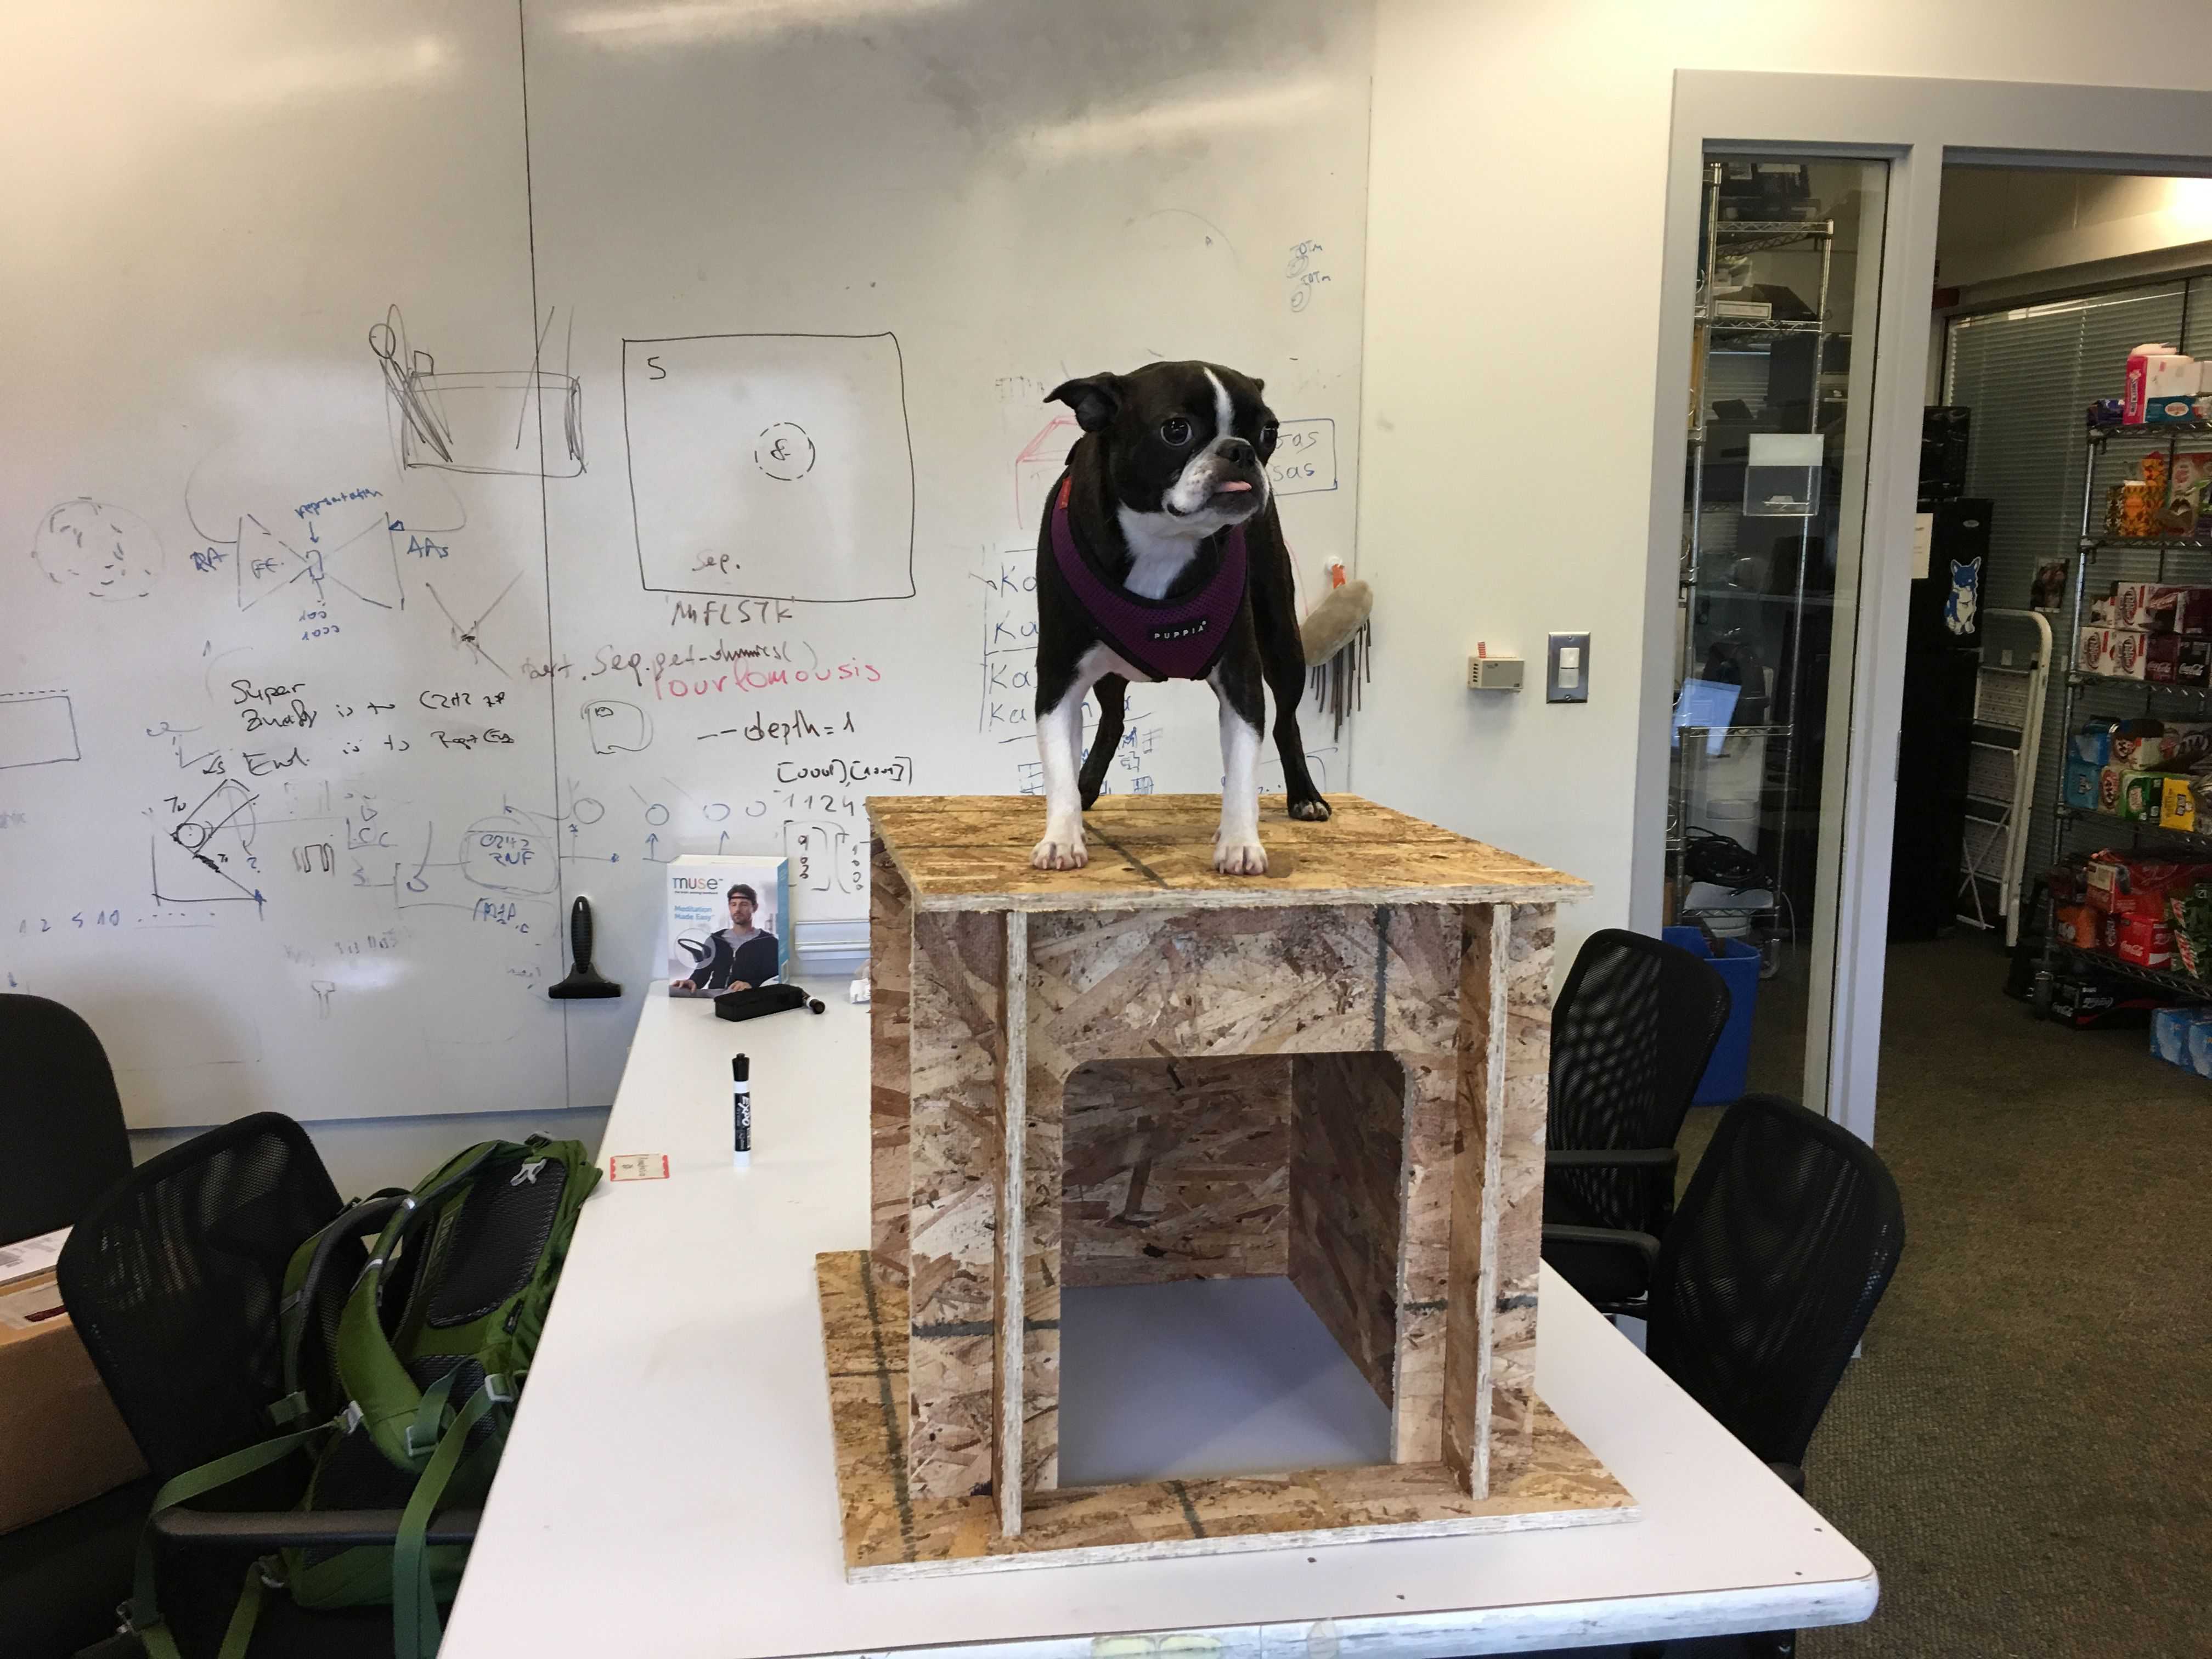
Figure 6. Yoko's preliminary doghouse press-fitted together.
Finally, to make it extra-personalized for Yoko, I vinyl-cutted Yoko's name and put it over the door. And even so, Yoko still prefers the top of her doghouse to the interior! Oh well -- I have to make it homier. :)
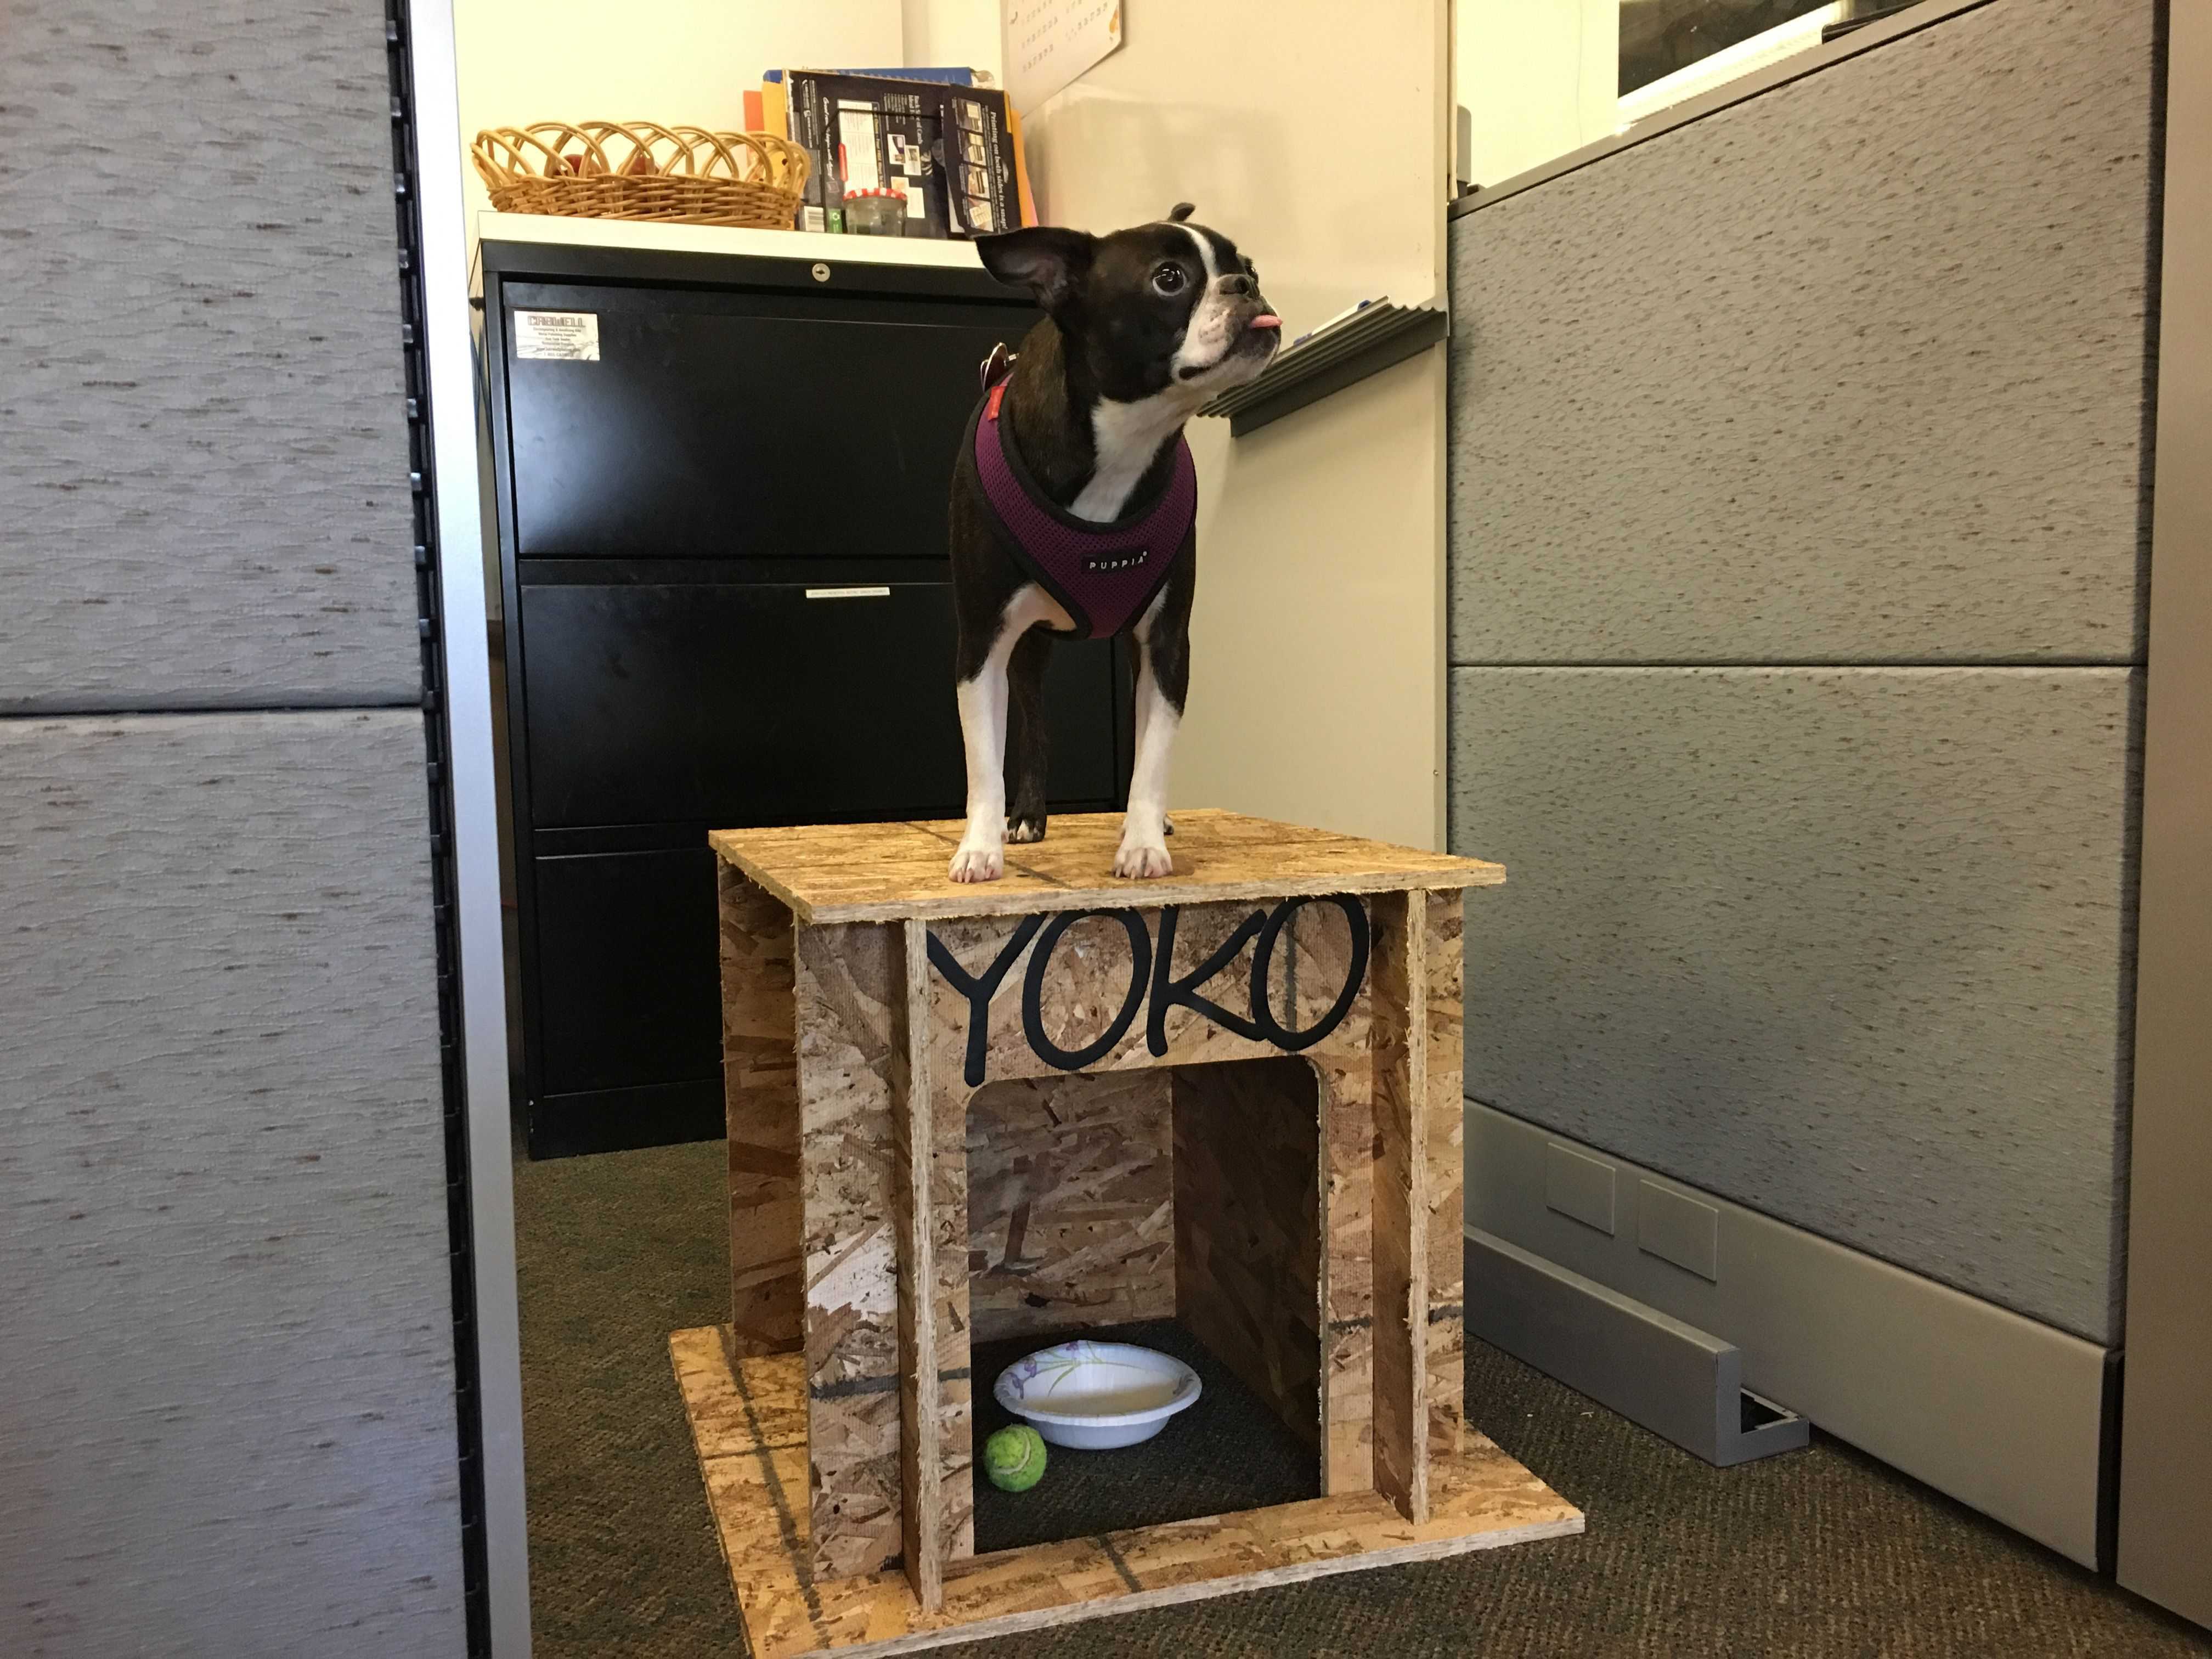
Figure 7. Yoko enjoying the view from her personalized doghouse.
| Activity | Tools Used |
|---|---|
| 2D Modeling | Rhino |
| Toolpath Creation | VCarve Pro |
| Computer-Controlled Cutting | ShopBot |
| Vinyl Cutting | Roland Vinyl Cutter |